Diy Metal Sign Complete Guide with Safe Steps and Pro Tips
Making a diy metal sign involves choosing the right metal, designing your layout, and using proper cutting and finishing techniques. Using quality tools and safety gear ensures a precise and safe project. Start by selecting metal thickness and type based on your sign’s size and where it will be displayed.
Key Takeaways
- Choose steel, aluminum, or copper depending on durability and desired appearance for your metal sign.
- Select metal thickness suited to your sign’s size; thicker metal for larger outdoor signs ensures strength.
- Keep your lettering and graphics properly sized, like using 2 to 3 inch tall letters for a 12 by 18 inch sign.
- Select equipment such as a plasma cutter, laser cutter, or CNC router to achieve clean, precise cuts on metal sheets.
- Wear safety equipment like gloves, goggles, and a respirator to protect from sharp edges and dust.
- Apply primer and allow 1, 2 hours drying before painting or finishing your metal sign surface.
Selecting the Best Metal for Your DIY Sign
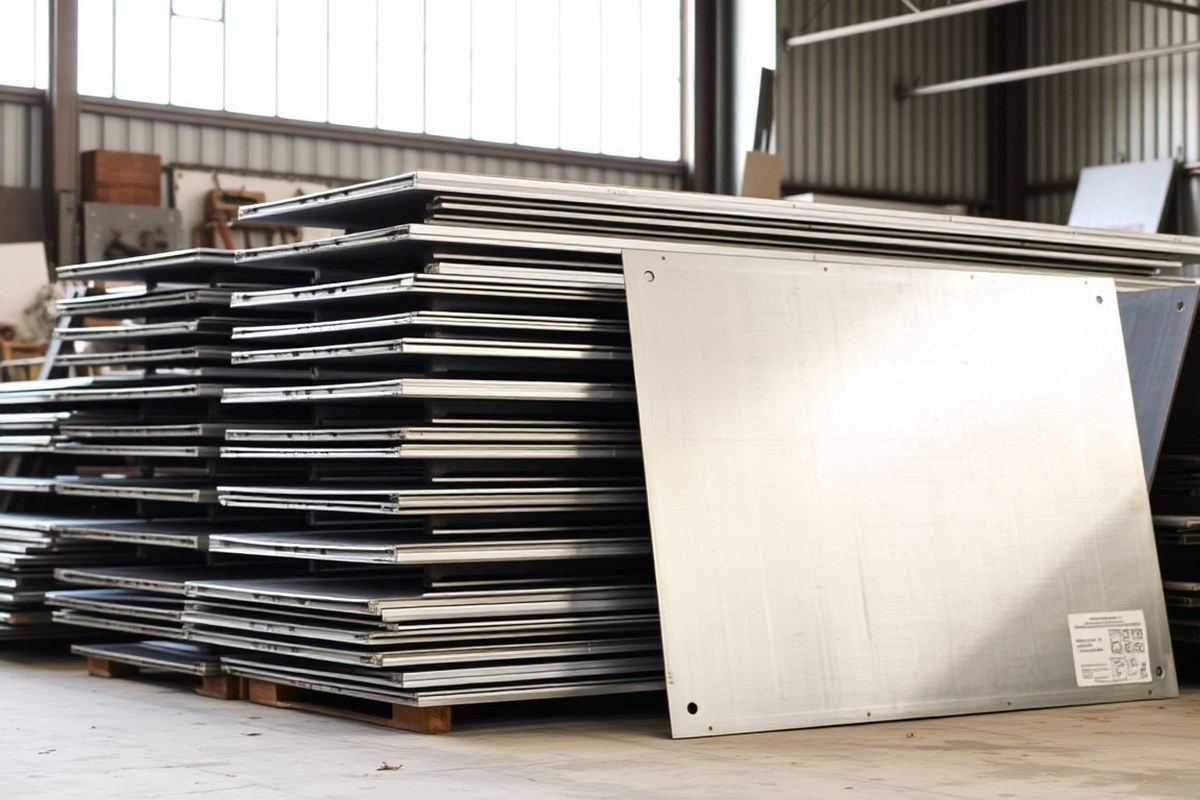
Choosing the right metal for your DIY metal sign depends mainly on where you’ll place it, how durable you want it, and your budget. For outdoor signs, materials that resist rust and corrosion like aluminum or stainless steel are best. Aluminum is naturally rust-proof, lightweight, and works well for most indoor and outdoor signs, usually in thicknesses between 16 and 22 gauge. Steel can be more affordable and sturdy but needs a protective coating outdoors to prevent rust. For smaller signs or tighter budgets, galvanized steel offers some rust resistance at a lower cost but weighs more than aluminum.
Thickness also affects both durability and ease of cutting. Thicker metals are sturdier and can last longer, especially outdoors, but they’re heavier and require stronger cutting tools. Thinner metal sheets are easier to cut and bend but may dent or warp more easily. For most DIY projects, 16 to 22 gauge metal strikes a good balance, with 16 gauge being thicker and tougher to cut but great for larger outdoor signs.
| Metal Type | Rust Resistance | Weight | Relative Cost | Best For |
|---|---|---|---|---|
| Aluminum | High (natural) | Light | Moderate | Standard indoor/outdoor signs |
| Steel | Low (needs coating) | Heavy | Lower | Indoor signs or coated outdoor signs |
| Galvanized Steel | Moderate (zinc-coated) | Heavy | Moderate | Budget outdoor signs with limited rust resistance |
To decide which metal to pick, think about where your sign will be displayed. For indoor use, steel is cost-effective and sturdy, and you won’t worry much about rust. For outdoor signs exposed to weather, aluminum is the best choice since it won’t rust and stays lightweight. Galvanized steel can work outdoors too but expect some eventual wear if not properly sealed. If you want a long-lasting, high-end option, stainless steel offers excellent rust resistance but comes with a higher price tag.
Balancing weight and cost matters for larger signs, where heavier steel may add shipping and installation difficulty, while aluminum keeps weight down but can cost a little more. Gauge thickness affects cutting tools you’ll need, thinner aluminum can cut using home tools like a Cricut or jigsaw, but thicker steel often requires power tools like metal shears or a plasma cutter. Picking the right metal and thickness upfront will save time and effort while ensuring your sign looks great and lasts in its intended environment.
Essential Tools and Safety Equipment for Metal Sign Projects
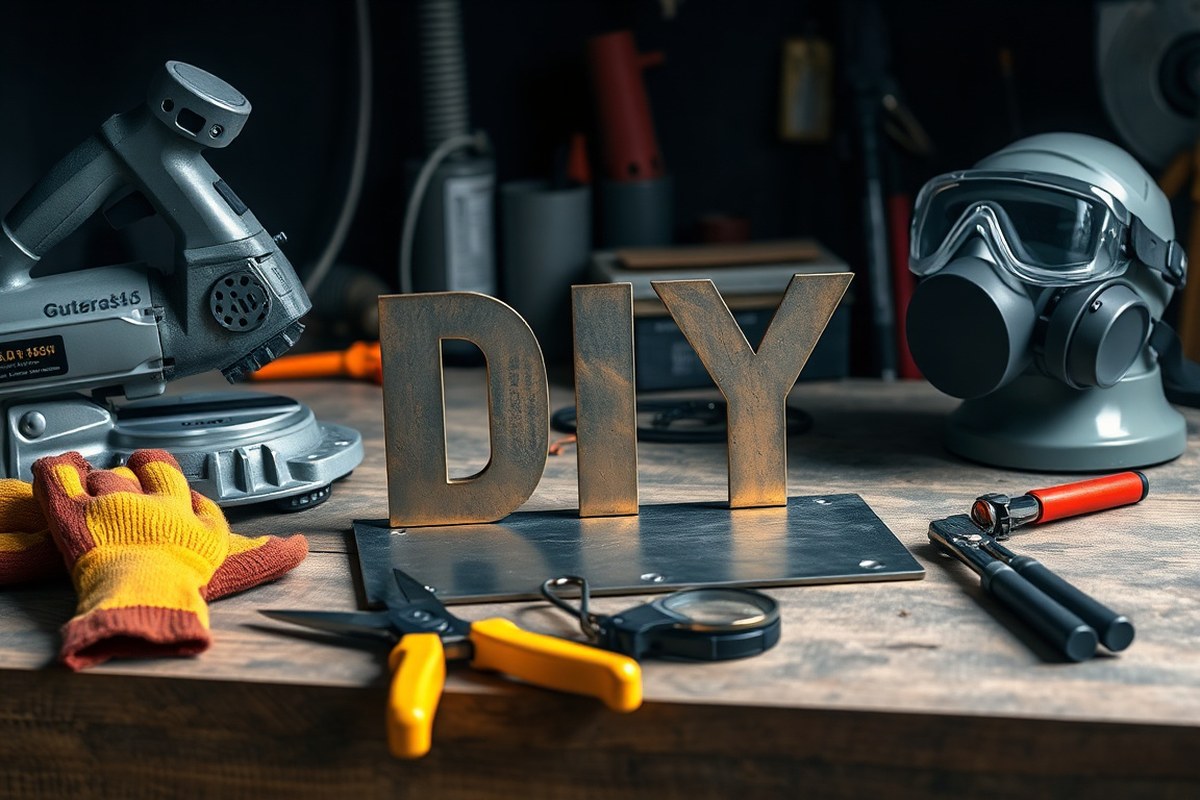
Handling metal sheets and power cutting tools requires careful preparation and the right equipment to ensure safety and precision. For beginners, hand tools like metal shears or tin snips form the foundation for cutting and shaping metal sheets. They are affordable, usually under $20, and effective for thin metals up to 18 gauge. Advanced makers often move to power tools such as jigsaws with metal-cutting blades or angle grinders fitted with abrasive discs, which handle thicker metals and allow for more complex cuts. These power tools cost between $50 and $150, depending on brand and features.
Using a cutting machine like a Cricut is suitable only for thin metal foil sheets designed for craft applications. It cannot cut standard sign-grade metal, which typically ranges from 22 to 14 gauge and requires tools like plasma or laser cutters for clean cuts. These industrial machines are expensive and usually not practical for home use.
Equally important is personal safety gear. Always wear cut-resistant work gloves to protect your hands from sharp metal edges. Safety goggles shield your eyes from metal shards, and ear protection is necessary when using loud power tools. A dust mask helps protect your lungs from metal dust and fine particles, especially while grinding or sanding.
Never underestimate the importance of a clean, well-lit workspace; clutter increases the risk of accidents and makes it harder to control tools safely.
- Metal shears or tin snips for hand cutting thin metal sheets
- Jigsaw or angle grinder with metal-cutting attachments for thicker metals
- Cut-resistant work gloves to prevent cuts and abrasions
- Safety goggles to protect eyes from flying debris
- Ear protection like earplugs or earmuffs for noisy power tools
- A dust mask to avoid inhaling metal dust particles
- A sturdy, flat work surface with good lighting and ample space
Setting up a safe workspace means choosing a flat, stable table free from clutter to hold your metal sheets while you work. Make sure the area is well-ventilated, especially when grinding or welding, to avoid buildup of harmful fumes. Clamp the metal securely before cutting to prevent slips that can cause injury or uneven cuts. Keep fire extinguishers nearby if using tools that generate sparks, like angle grinders.
Good results come from matching the tool to the metal’s thickness and your design needs. Clean, smooth edges without burrs indicate proper cutting technique and tool choice. Without adequate safety equipment and a safe workspace setup, risks include serious cuts, eye injuries, hearing damage, and respiratory problems. Prioritizing safety gear and right tools will help you create metal signs safely and effectively.
Designing Your Metal Sign: From Concept to Transfer
Start your metal sign project by designing artwork that suits your cutting or etching method. Choose a design style, digital or hand-drawn, that fits your skills and the level of detail you want. Transfer the design onto your metal with stencils, vinyl cutting, or carbon paper, each offering different precision and ease of use.
Creating Your Design Digitally or by Hand
You can create your metal sign design either digitally or by hand, depending on your comfort and access to tools. Digital designs offer precision and easy scaling using software like Adobe Illustrator, Inkscape (free), or Cricut Design Space for cutting vinyl decals. These programs allow you to create clean lines and smooth curves and can export files compatible with vinyl cutters or laser machines.
Hand-drawn designs start with sketching on paper using pencils and rulers for clean lines and accurate proportions. Once satisfied, you can trace the design onto tracing paper or use carbon paper to transfer directly onto the metal. Hand drawing is ideal for simple logos or lettering but is harder to scale precisely without digital tools. Depending on your skills and project scope, combining both methods works well: sketch by hand, then digitize by scanning or photographing your drawing and refining it in design software.
Best Methods to Transfer Design on Metal
Several methods exist for transferring your design onto metal, each with advantages for different project types and tools.
- Carbon Paper Transfer: Place carbon paper between the metal sheet and your drawn or printed template. Press and trace the design with a pen or stylus to transfer the outline. This method is low-cost (carbon paper costs under $10 per pack) and simple but less precise for detailed work.
- Stencil Application: Cut out your design from stiff paper, plastic, or vinyl to create a stencil. Position the stencil on the metal and use paint, etching cream, or spray to apply the design. Stencils work well for repeated patterns or lettering but require accurate cutting and secure placement.
- Vinyl Cutting and Decals: Use a vinyl cutter to create a decal from your digital design. Apply transfer tape, then peel and stick the vinyl precisely to the metal surface. This method offers crisp edges and is great for intricate logos or fonts. Vinyl cutters range from $150 for entry models to over $400 for professional versions.
Choosing your method depends on detail level, budget, and available tools. Vinyl decals provide the cleanest finish, while carbon paper works for quick, simple outlines. Stencils balance cost and detail for medium-complexity signs.
Scaling and Positioning Your Design Correctly
Accurate sizing and placement of your design are important to professional results on your metal sign. Measure the metal sheet first and decide on text height and graphic size that suit its dimensions. For example, on a 12 by 18-inch sheet, letters between 2 to 3 inches tall offer good readability from a reasonable distance.
Use a ruler, measuring tape, or grid paper to help mark where your design will fit. Before transferring, draw light guide lines on the metal surface with a pencil or masking tape strips to keep elements aligned horizontally and vertically. These guides prevent crooked or off-center placements, which are common problems in DIY metal sign projects.
Scaling your design digitally is easier since most vector design software includes scaling tools to set exact dimensions. When working by hand, use a photocopier to resize your artwork before transferring. Always do a dry run by placing a paper print or vinyl stencil on the metal sheet to check appearance and fit.
Cutting and Shaping the Metal Sheet Safely and Accurately
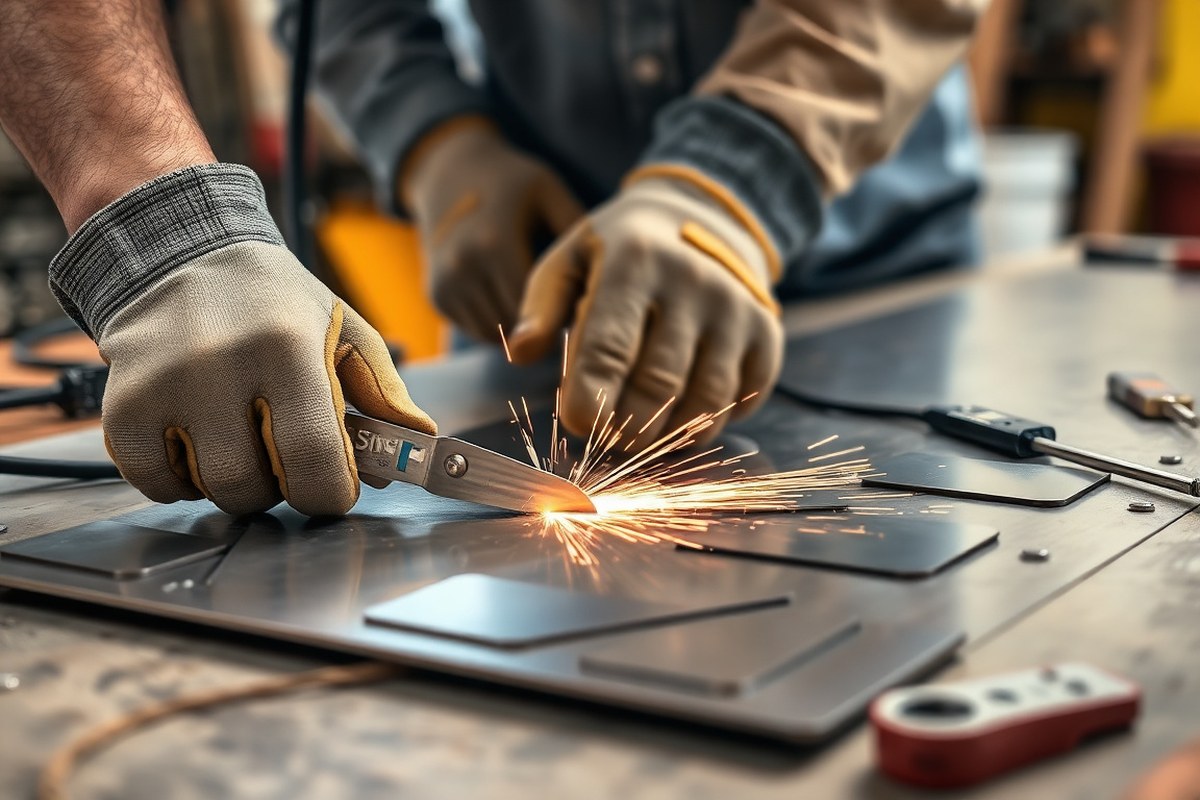
Choose the right cutting tools and methods based on your metal sheet’s thickness and the design’s complexity to ensure clean, precise shaping of your DIY metal sign. Use hand tools like metal shears for thin metals, while thicker metal demands power tools such as jigsaws or plasma cutters. Proper handling and finishing of edges will prevent injuries and warping during the cutting process.
Cutting Thin vs Thick Metal Sheets
Thin metal sheets, typically under 18 gauge (about 0.05 inches thick), can be cut effectively with manual tools like metal shears or tin snips. These tools offer clean cuts for materials like aluminum or thin steel, costing around $15 to $30 for a good pair. For thicker metals, usually above 18 gauge, power tools like a jigsaw fitted with a fine-toothed metal-cutting blade or a plasma cutter become necessary. A jigsaw blade suitable for metals runs $10 to $20 each, while plasma cutters start near $200 but handle thicker steel and complex designs with ease.
Power tools reduce physical strain and provide more consistent cuts for heavy materials, while manual tools offer control for simple shapes and thin sheets. Always secure the metal to a stable surface to prevent movement and reduce the risk of jagged cuts or accidents.
Techniques for Complex Shape Cutting
Achieving detailed shapes or lettering takes steady hands and the right equipment. A jigsaw fitted with a metal-cutting blade or a plasma cutter works well for sharp curves and small details. Access to a CNC router or laser cutter offers the most precise cuts, though these devices usually involve rental costs or the need for expert help. Start by marking your design clearly on the metal sheet using a permanent marker or transfer method. Follow these steps for cutting:
- Secure the metal sheet firmly with clamps to prevent shifting.
- Use a drill to create a starter hole inside the area to be cut if your tool requires one for internal cuts.
- Slowly guide the jigsaw or plasma cutter along your marked lines, maintaining steady, consistent pressure for smooth edges.
- Pause frequently to cool the metal if it heats up, reducing warping risk.
- Wear gloves and eye protection throughout to guard against metal shards.
Manual hand tools can also trim small details after the main shape is cut, but they are slower and require a steady hand.
Post-Cut Edge Treatment and Safety
Cut metal edges are often sharp and can cause serious cuts if left untreated. Deburring and smoothing the edges is essential for safety and a professional look. Use fine-grade sandpaper (around 120 to 220 grit) or a metal file to gently remove burrs and sharp bits along all cut edges. A rotary tool with sanding attachments speeds this process for larger projects.
Wear thick gloves during edge treatment to protect your hands. After smoothing, inspect for any rough spots or sharp points. Polishing with a clean cloth removes dust and fine particles. Avoid hammering edges too aggressively, which can cause warping or distortion of your metal sign.
Preparing and Finishing Your Metal Sign Surface
Proper surface preparation is essential to achieve a lasting and attractive finish on your metal sign. Start by cleaning the metal thoroughly to remove grease, dirt, and oils that prevent paint from adhering. Use a mild degreaser or warm soapy water, then dry the surface completely before proceeding. Next, roughen the surface with 80 to 120 grit sandpaper to create a texture that helps primer and paint stick better. Pay extra attention to the edges and corners for an even finish.
Applying primer is a key step before adding color. Choose a primer designed for metal surfaces, such as a rust-inhibiting or etching primer, which promotes adhesion and protects against corrosion. Spray primers work well for even coverage. Apply thin, even coats, allowing 15 to 30 minutes of drying time between each layer. Two thin coats typically provide solid coverage without runs or drips. After priming, apply your base coat using metal spray paint or paint formulated for metal. Hold the spray can about 10 to 12 inches away, and use smooth, overlapping strokes to avoid uneven spots.
Always wear a mask and work in a well-ventilated area when sanding, priming, or painting metal to avoid inhaling dust and fumes.
Creating a rusted or aged look on steel metal signs can add character. For a controlled rust patina, use a diluted solution of vinegar and salt. Lightly sand the metal surface first to expose fresh metal, then apply the vinegar-salt mixture with a spray bottle or brush. Leave the metal in a dry, well-ventilated place and repeat the application every few hours until you reach the desired level of rust. Rinse and dry the sign once the rust look meets your goal to stop further corrosion.
- Clean the metal surface with degreaser and dry well
- Sand with 80-120 grit sandpaper for better paint adhesion
- Apply a rust-inhibiting primer in thin, even coats
- Use spray paint designed for metal, applying multiple light coats
- For rust patina, apply diluted vinegar and salt after sanding
- Repeat rust applications cautiously, rinsing when desired finish appears
- Allow all coatings to dry fully between steps to avoid imperfections
Good surface prep produces a smooth, well-adhered finish visible in consistent color and no paint peeling or bubbling. Skipping sanding or priming often results in premature paint failure or rust. Controlled rusting requires patience and care; too much moisture or salt can damage the metal rather than improve the sign’s look. Selecting the right primer and paint based on your metal type and environment extends your sign’s life and appearance.
Etching and Adding Lettering or Designs to Metal Signs
Creating sharp designs or lettering on metal signs often involves etching or painting techniques that require precision and timing. The choice between etching and painting depends on the desired effect, durability, and level of detail you want in your finished sign. Proper control during etching and careful application of paint help preserve fine details and ensure a professional look.
DIY Etching Methods Explained
Etching removes a thin layer of metal to reveal a design or lettering, giving signs a textured, permanent finish. Popular DIY etching methods include chemical etching, electrochemical etching (using a battery or power supply), and mechanical engraving.
Chemical etching involves applying a metal-safe acid or etching solution where you want the design removed. Electrochemical methods use a saltwater solution and an electric current to eat away at exposed metal areas. Mechanical engraving uses tools like rotary bits or engravers to carve the design manually or with a CNC machine.
Timing and Control in the Etching Process
Knowing when to stop etching is key to a clean result. Most etching processes take about 20 to 30 minutes, depending on the metal thickness and the strength of the etchant. Check progress every 5 to 10 minutes by rinsing the metal and inspecting the depth of your design.
Proper safety includes wearing nitrile gloves, eye protection, and working in a well-ventilated space or outdoors. Keep the metal clamped securely to avoid movement. If you want sharper detail, apply the etchant in thin layers and rinse between each application to avoid over-etching.
- Clean the metal surface thoroughly to remove grease and dust.
- Apply a stencil, vinyl mask, or resist to protect areas you don’t want etched.
- Secure the metal on a flat, stable surface with clamps.
- Apply the etching solution or set up the electrochemical etching cell.
- Start timing and check every 5 to 10 minutes for depth and detail.
- Rinse the metal immediately once the desired etch depth is reached.
- Remove the stencil or mask and clean the metal again.
Preserve design details by avoiding prolonged exposure to the etchant and by using stencils or vinyl masks with clean edges. Repeated etching can blur lines, so work slowly in short intervals if deeper etching is needed.
Alternative Lettering Techniques
Aside from etching, you can add lettering with vinyl decals, stenciling, or hand-painting. Vinyl decals offer precise, intricate designs, are easy to apply, and remove without damaging the metal. They cost around $10 to $40 for custom cuts depending on size and complexity.
Stenciling uses cut-out templates to apply paint cleanly over the metal. Spray paint or enamel brushes work well here, and you can reuse stencils for consistent lettering. Hand-painting is best for unique, artistic signs but requires steady hands and quality metal paints that adhere well to metal.
Each method has tradeoffs: vinyl decals provide sharp edges and quick application but may not be as durable outdoors over years. Stenciling balances cost and longevity but needs careful placement and multiple coats. Hand-painting delivers custom flair but demands practice for crisp letters.
Sealing, Protecting, and Installing Your Finished Metal Sign
Sealing your metal sign protects it from weather damage and extends its lifespan. Clear polyurethane spray is one of the best sealants for outdoor metal signs because it forms a hard, waterproof layer and resists UV fading. Apply 2 to 3 thin coats, letting each dry for 24 hours, to avoid drips or cloudiness. For indoor signs, acrylic spray sealers or clear epoxy resin offer durable protection while maintaining the metal’s finish. Avoid oil-based sealants outdoors as they can yellow over time and attract dirt.
Securely mounting your metal sign depends on the material and position where you want to display it. Use screws with wall anchors for indoor surfaces like wood or drywall. Start by making pilot holes in the sign and the wall, then fasten with stainless steel or coated screws to prevent corrosion. For walls made of brick or concrete, combine masonry anchors with screws for a strong hold. Outdoor signs in gardens or yards work well attached to metal stakes or posts, which should be driven at least 12 inches into the soil; weld or bolt the sign to the stake for stability. Attach D-rings or sawtooth hangers to the back with rivets or screws if you want an easy option for hanging on walls.
- Polyurethane spray for outdoor waterproof sealing
- Acrylic spray or epoxy resin for indoor protection
- Use stainless steel or coated screws to resist rust
- Wall anchors for drywall or masonry anchors for brick/concrete
- Metal stakes driven 12+ inches for yard display
- Attach D-rings or sawtooth hangers for wall hanging
- Check mounting hardware yearly and replace if corroded
Keeping your metal sign in good shape takes little work but helps maintain its appearance for longer. Every six months, clean it with mild soap and water to clear away dirt without harming the finish. Avoid harsh cleaners that might scratch the protective layer. Check the mounting hardware once a year, replacing any screws or anchors showing rust or looseness to avoid damage or loss. Promptly fix small paint chips or cracks in the sealant by applying matching paint and resealing, which keeps the sign fully protected. Combining proper sealing, solid installation, and regular care can extend the life of your metal sign by many years.
Common DIY Metal Sign Mistakes and How to Avoid Them
Rust often forms when untreated steel or iron gets exposed to moisture and oxygen. Avoid this by selecting rust-resistant metals like aluminum or stainless steel for your sign. Always apply a protective sealant after painting or etching to prevent corrosion. Warping usually results from uneven heating or cooling during cutting, welding, or finishing. Use steady, low heat and let the metal cool naturally to keep its shape intact. Poor cuts often happen when using dull blades, the wrong tool for the metal thickness, or applying inconsistent pressure. Maintain sharp blades designed for metal, and practice steady, controlled cutting motions.
Design transfer errors happen when the stencil or vinyl mask shifts, or when the surface isn’t clean and dry. Secure the stencil firmly using low-tack tape and clean the metal with alcohol before applying any adhesive designs. Missed etching spots might mean the acid or etching solution wasn’t applied evenly or long enough. Follow the etching times recommended by the product, and keep the acid contacting the metal surface steadily and uniformly.
Knowing when to hire professionals can save time, money, and frustration. Precision cutting with laser or waterjet equipment offers clean edges and complex shapes that are hard to replicate at home. If your design requires intricate cuts or very thick metal sheets over 1/8 inch, professional services might be safer and more cost-effective. Finishers with powder coating equipment can provide durable, weather-resistant surfaces not easily replicated with home spray paint.
- Use rust-resistant metals or thoroughly seal painted signs to prevent corrosion
- Keep blades sharp and matched to the metal’s thickness for clean cuts
- Secure your stencil firmly; clean the surface well before application
- Apply even pressure and steady motion when cutting or etching
- Avoid overheating metal to reduce warping risk
- Hire professionals for complex cuts or heavy-duty finishing jobs
Always wear protective gloves and eye protection when handling acids or cutting metal to avoid injury.
Rust prevention involves cleaning the metal surface with a degreaser before painting or sealing, then applying at least two coats of a metal-specific sealant. Warping is reduced by cutting in a well-ventilated, stable environment with no sudden temperature changes. For etching, soak the metal for the full recommended time, often 10 to 15 minutes, and rinse thoroughly afterward. When unsure about your cutting tool’s capability or the finish’s durability, gather quotes from local shops; professional results typically cost $40 to $100 but can save you costly material mistakes and improve your sign’s lifespan.
Step-by-Step Action Plan to Create Your DIY Metal Sign
Follow these steps carefully to make your custom metal sign, ensuring safety and quality from start to finish.
- Before you start: Choose the right metal sheet based on your design and location needs; verify it’s clean and free of defects for a smooth finish.
- Day 1: Gather all essential tools and safety gear, including gloves, eye protection, and respiratory masks; inspect tools to ensure proper functioning.
- Day 2: Finalize your design and transfer it onto the metal using a stencil or transfer paper; check that all elements are accurately positioned.
- Day 3: Cut and shape the metal using appropriate tools, working slowly to maintain precision; confirm your cuts match the design dimensions.
- Day 4: Prepare the metal surface by sanding and cleaning thoroughly; test for a smooth texture that accepts paint or etching evenly.
- Day 5: Apply your lettering or etch your design carefully, following safety instructions for chemicals or tools; verify the design is clear and consistent.
- Day 6: Seal and protect your sign with a suitable coating to guard against weathering; let it dry completely while avoiding dust and debris.
- Day 7: Install your finished sign securely following local regulations; check stability and placement for optimal visibility and durability.
Frequently Asked Questions
What Is the Best Way to Mount a DIY Metal Sign Outdoors?
Use weather-resistant mounting hardware like stainless steel screws and anchors to prevent rust and secure the sign firmly to surfaces like wood or masonry for long-lasting display.
Can You Paint a DIY Metal Sign Without Sanding the Surface First?
It’s best to lightly sand the metal surface to help the paint adhere better and prevent peeling over time, especially if the metal is smooth or coated.
How Do You Prevent Rust on a Metal Sign Made from Steel?
Apply a rust-inhibiting primer followed by a clear sealer or outdoor-grade paint to protect the steel from moisture and extend the sign’s lifespan.
Are There Beginner-Friendly Design Ideas for a First DIY Metal Sign?
Simple geometric shapes, block lettering, or stencils are good starting points for beginners because they are easier to transfer and etch onto metal.
Can You Use Household Tools Like a Jigsaw to Cut Metal Sheets for Signs?
Lightweight metals like aluminum can be cut with a fine-toothed jigsaw blade, but it’s safer to use metal shears or a dedicated metal cutting tool for cleaner edges.
What Maintenance Does a DIY Metal Sign Require for Long-Term Use?
Regularly clean the sign with mild soap and water and reapply sealant every few years to keep it protected from weather damage and fading.
Final Thoughts
Your custom metal sign will hold up best when each step is done right, from selecting metal to installation. Start today by choosing your metal and gathering gear, so you’re ready to make precise cuts and designs. This approach ensures a professional look and long-lasting result you can be proud of. Taking action now sets you on the path to creating a standout piece that fits your unique style and needs.