Marquee Sign Ideas for Every Occasion: Creative and Practical Tips
Marquee sign ideas often spark the challenge of creating eye-catching, clear, and versatile displays. Using large illuminated letters or numbers up to 4 feet tall instantly draws attention and sets the tone for any occasion. Start with a sturdy base like a 2’x4′ half-inch board to ensure your sign is both stable and highly visible.
Key Takeaways
- Choose oversized marquee letters up to 4 feet tall to create dramatic visual impact at weddings or events.
- Use a 2’x4′ half-inch board as the base for DIY marquee signs to ensure durability and size consistency.
- Add marquee lights after painting to make your signs bright and easily readable in low-light settings.
- Create custom shapes and designs by cutting foam board templates to add thematic elements to your sign.
- Incorporate a buffer like foam blocks between sign layers to maintain stability and depth in the display.
- Use high-quality paint and small brushes or paint markers for crisp, clear messages on your marquee sign.
Top Creative Marquee Sign Ideas to Try Today
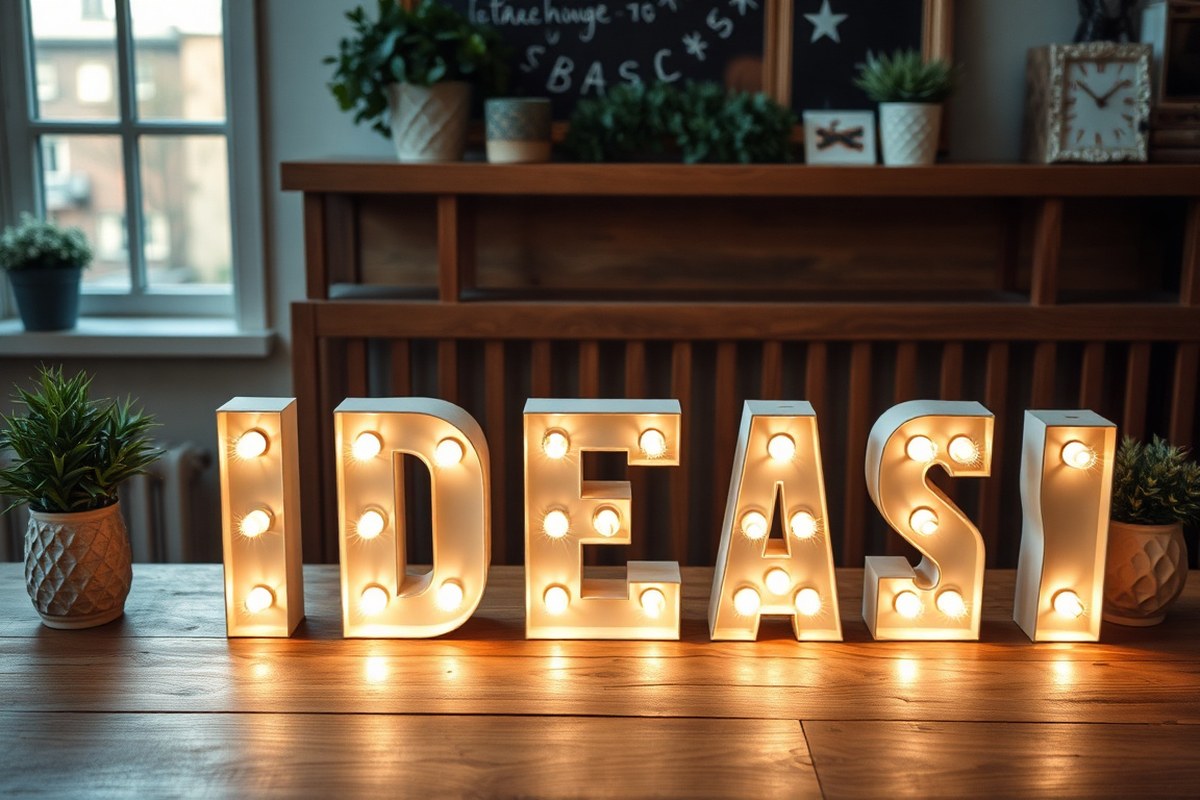
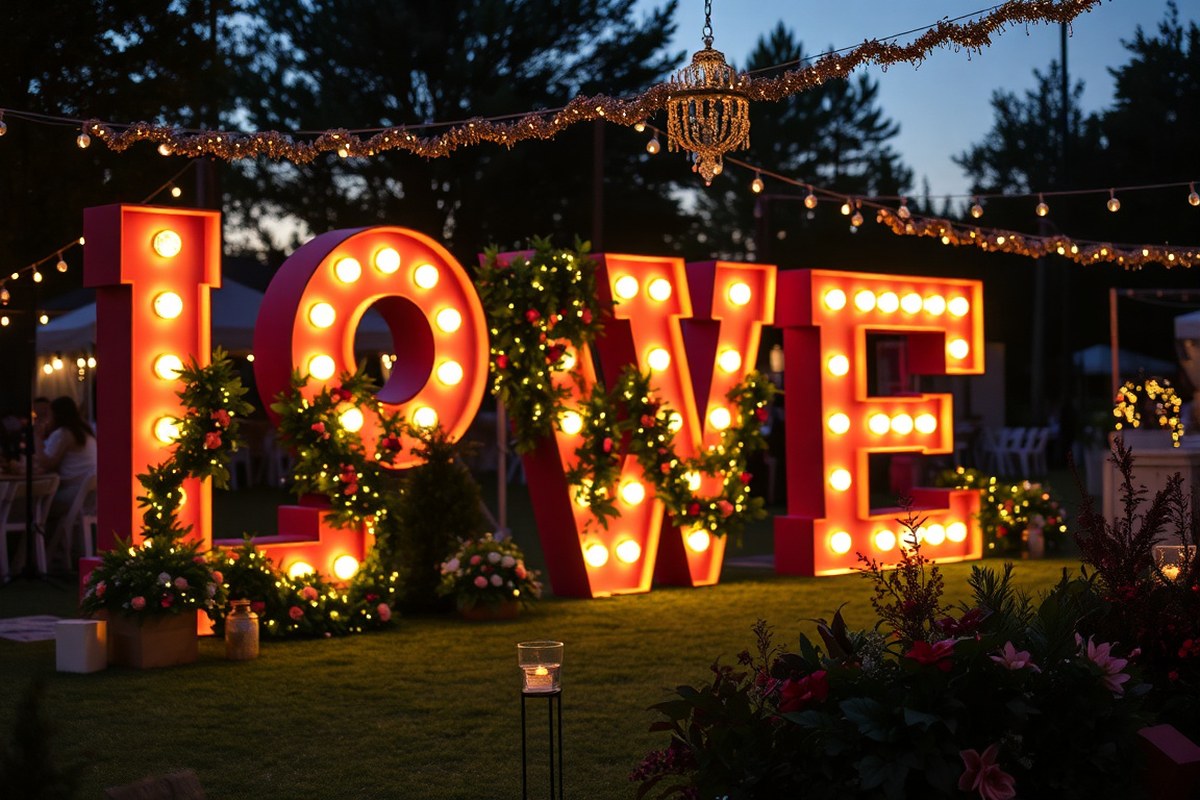
Marquee signs make a striking statement in a variety of settings by combining bright lighting with bold design. For weddings, personalized marquee numbers up to 4 feet tall help highlight key moments like anniversary years or special dates, creating memorable photo backdrops. Pairing these with heart-shaped illuminated signs adds a romantic glow that guests remember. Using elegant script fonts on wood or metal backgrounds adds a classic, sophisticated touch that suits upscale events or boutique businesses.
Businesses benefit from combining different typographic styles with innovative materials to create a unique look that commands attention. Retro marquee letter lights work well to craft a cozy, nostalgic ambiance, often drawing customers in with playful, easy-to-read messages. LED signs, on the other hand, offer vibrant color options and allow for creative motion effects or message changes, which work perfectly for engaging seasonal promotions or new arrivals.
For event planners seeking interactive elements, adding neon lighting to marquee signs introduces a retro flair while also improving visibility from a distance. Incorporating neon outlines around each letter or around intricate designs helps attract attention and build atmosphere. These lights bring a lively, whimsical element when used indoors, like in a reception hall or pop-up shop, especially when combined with thematic elements such as bistro-style marquee signs in dining areas.
Creating a marquee sign that reflects your brand or event theme strengthens the atmosphere and leaves a lasting impression. For example, a business can use marquee signs to showcase their company name boldly, relying on classic appeal to foster customer connection and brand recall. In weddings or celebrations, crafting marquee signs that match the event’s color scheme and tone, such as using warm white bulbs for a soft vintage vibe, improve visual unity and guest experience.
To make a marquee sign stand out, placement is key. Position signs where natural foot traffic or guest gatherings occur, like near entranceways or photo stations. Using a sign with light outlines or painted patterns highlights the marquee’s shape, creating eye-catching visuals at night or in dimly lit spaces. For a playful twist, funny marquee sign messages add charm and encourage social media sharing, boosting engagement without added cost.
Materials and Tools Needed for DIY Marquee Signs
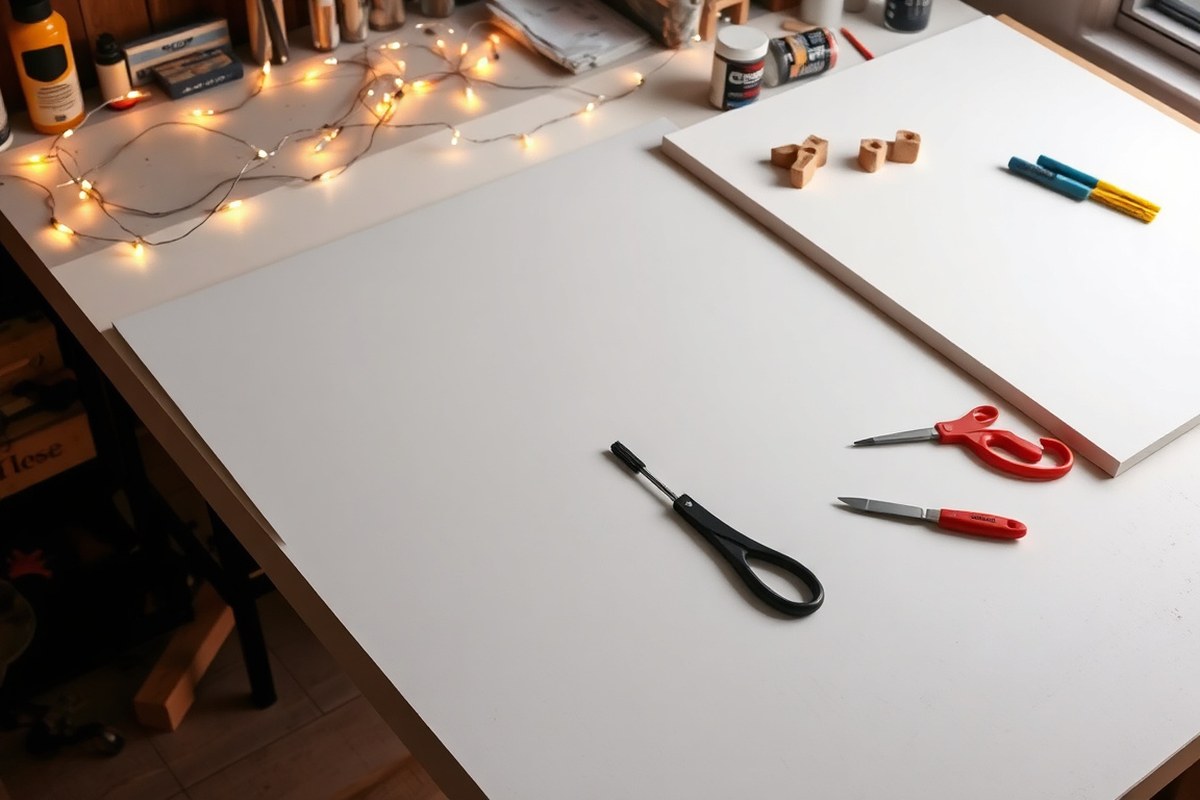
Creating a DIY marquee sign involves gathering specific materials and tools that suit your design and lighting preferences. Choosing the right supplies ensures your sign looks polished and lasts through events or home use. Exact needs vary depending on your sign’s size, lighting type, and whether it will stay indoors or outdoors.
Essential Materials for Basic Marquee Signs
Start with a sturdy base to shape your sign. Common materials include plywood or MDF, which are easy to cut and paint. For a lightweight option suitable for indoor use, foam board or corrugated plastic also work well.
Lighting defines a marquee sign’s appeal. LED string lights or LED bulbs are popular for their energy efficiency and cool operation. A light-up marquee sign often requires small sockets to hold each bulb, wired together with a low-voltage power adapter for safe, durable illumination.
Lettering can be painted, cut from vinyl, or outlined with light tubes. For a clean look, cut the text or shapes out of the board or attach pre-cut letters. Decorative touches like greenery garlands or floral elements can add personality, especially for weddings or home bars.
Tools You’ll Need to Build and Assemble
Having the right tools speeds your project and improves the finished quality. At minimum, you’ll want:
- Jigsaw or handsaw – for cutting your board into shapes or letters.
- Drill with bits – to make holes for lights or mounting hardware.
- Screwdriver – for fastening parts and installing lights.
- Measuring tape and pencil – to mark cuts and placements precisely.
- Sandpaper – for smoothing edges and preparing surfaces for paint.
- Paintbrushes or rollers – if painting the sign or letters.
- Hot glue gun or wood glue – for attaching decorations or securing small parts.
Optional tools include a rotary tool for detailed cutting or engraving and clamps to hold pieces in place during assembly. Many tools can be rented locally if you prefer not to buy them outright.
Power and Lighting Components for Illumination
Select LED bulbs or string lights designed for marquee signs, paying attention to brightness and color temperature. Warm white lights create a cozy feel, while cool white offers a modern, crisp look. Outdoor signs require weatherproof lighting and sealed wiring connectors to protect against moisture and temperature changes.
Plan your electrical setup carefully, using low-voltage LED systems to avoid overheating and reduce energy use. Include a switch or dimmer if you want to control light intensity. Consider battery-operated lights or solar options for signs placed where electrical outlets are unavailable.
Decorative and Functional Accessories
Add interest with trim pieces like metal edges, rope lights, or rustic wood accents. For weddings or seasonal events, greenery garlands or faux flowers personalize the sign. Mounting hardware depends on sign size and location, sturdy brackets, picture wire, or freestanding legs are common choices.
Protect your work with sealants or clear coats, especially if your sign will spend time outdoors or in humid conditions. A final coat of polyurethane or acrylic spray helps prevent chipping, fading, and water damage.
Always test your electrical components before final assembly to catch wiring errors and prevent safety hazards.
How to Build Your Own Marquee Sign: Step-by-Step Guide
Making a marquee sign at home takes several hours depending on the size and detail. You’ll need to cut the base, paint it to your liking, wire the lights carefully, and assemble the parts. Common mistakes like rushed cutting, improper wiring, and uneven painting can be fixed with patience and proper tools.
Cutting and Shaping Your Base Material
Start by choosing a sturdy base material like plywood or foam board that suits whether your sign will be used indoors or outdoors. Measure your design carefully and mark it clearly on the board. Use a jigsaw or craft knife to cut along the lines slowly, ensuring smooth edges.
Curling edges or jagged cuts happen when blades are dull or cutting too fast. To avoid this, keep your tools sharp and steady. Sand uneven parts lightly to smooth the surface. If your design includes curves like a heart or ampersand shape, practice on scrap material first to get the hang of the shapes.
Installing Lighting Safely and Effectively
Installing bulbs or LED string lights properly is key for both look and safety. Drill holes evenly along the design where each light will sit. Make sure the holes aren’t too tight to avoid cracking the material but snug enough to hold bulbs firmly.
Follow electrical codes and package instructions to wire your sign safely. Use low-voltage LED bulbs to reduce heat and energy use. Secure wires with clips or hot glue to prevent loose connections. Test your lights before final assembly. Common mistakes include poorly connected wires which can cause flickering or shorts; double-check connections and use insulated wiring to fix this.
Painting and Personalizing Your Sign
Select paint suitable for your base material and event setting, acrylic paint works well for indoor plywood signs, while enamel paint is better for outdoor durability. Apply a primer coat first for even color and longer-lasting results. Use painter’s tape for clean edges if your design includes separate colors or lettering.
Personalize with names, dates, or messages by stenciling or freehand painting once the base color dries. To prevent brush marks or uneven coats, apply multiple thin layers with drying time in between, usually 30 to 60 minutes per coat. Avoid painting immediately after cutting to prevent warping. For added effect, seal your paint with a clear coat to protect against chips, especially for signs used multiple times or outdoors.
- Measure and sketch your marquee sign design on your chosen base material.
- Use appropriate tools to cut out the shape carefully and sand the edges smooth.
- Drill evenly spaced holes for each light fixture along the design outline.
- Paint the base with primer, then your chosen colors, allowing adequate drying time between coats.
- Wire your lights according to instructions, securing connections and testing before final assembly.
- Insert lights into drilled holes and secure wires discreetly with clips or glue.
- Add personalized details such as names, dates, or messages with stencils or freehand paint.
- Apply a clear protective coat if the sign will be exposed to weather or heavy handling.
Choosing the Right Lights for Your Marquee Sign
Choosing the right lighting for your marquee sign depends on where you’ll place it and the atmosphere you want to create. LED string lights, incandescent bulbs, and neon-style lights each offer different looks and levels of energy use, cost, and maintenance. For indoor settings like wedding receptions or small business displays, LED bulbs are energy-efficient and long-lasting. Outdoor signs benefit from weather-resistant bulbs designed to handle moisture and temperature changes, usually LED or sealed incandescent lights.
The type of light also affects the visual style. Incandescent bulbs give a warm, vintage glow that suits classic or retro décor, while LEDs can provide dynamic effects like color changes or pulsating patterns, boosting interactivity and attracting attention during events. Neon-style lights offer bold, bright colors but use more power and require extra care with installation and upkeep.
| Lighting Type | Advantages | Disadvantages | Best Use |
|---|---|---|---|
| LED Bulbs | Energy-efficient, long-lasting, low heat, customizable colors and effects | Higher initial cost, may require compatible dimmers or controls | Indoor and outdoor events, interactive signs, energy-conscious setups |
| Incandescent Bulbs | Warm, classic glow; lower upfront cost | Higher energy use, shorter lifespan, heat generation | Indoor vintage style, short-term displays, budget-friendly projects |
| Neon-style Lights | Bright, eye-catching, vibrant colors | Expensive, fragile, high energy use, requires careful installation | Outdoor signs needing bold visibility, retro or themed events |
When installing electric marquee lights, safety is essential. Use weatherproof bulbs and wiring if your sign is outdoors. Keep all electrical connections off the ground and shielded from rain. Verify that your lights are UL-listed or meet local electrical codes. Avoid overloading circuits by calculating the total wattage of bulbs and using appropriate extension cords and power strips. For example, a sign with 50 LED bulbs averaging 0.12 watts each uses about 6 watts total, much less strain than 50 incandescent bulbs at 7 watts each (350 watts total).
Timer plugs or smart home devices can help manage when your marquee sign lights turn on and off, reducing energy use and improving safety by preventing lights from running unattended too long. For outdoor setups, check bulbs and connections regularly and replace any damaged parts promptly to keep your display bright and secure.
Customizing Marquee Signs for Events and Business Use
Customizing marquee signs for weddings and parties means creating messages and visuals that fit the event’s mood and style. For weddings, personal touches like the couple’s names, initials, wedding date, or a meaningful quote help make the sign a memorable decoration that matches the overall aesthetic, whether elegant or rustic. You can select colors and fonts to complement your theme. Size the sign for key locations, such as the entrance or reception area, ensuring guests notice it. Rental or purchase costs vary widely but expect $100 to $500 for custom rental signs, with purchases higher depending on size and lighting options.
At parties, marquee signs serve as both decorative and functional tools. Display witty or celebratory messages that change throughout the event using letter boards or programmable LED signs. This flexibility keeps guests engaged and aids in guiding them around the venue, such as pointing to food stations or photo booths. For major events, plan sign sizes to be readable from 25 to 50 feet away to maximize impact.
Retail businesses can use marquee signs to attract customers by promoting current sales, special offers, or hours of operation. A study by the International Sign Association found 68% of people link a sign’s quality with the business’s quality, so invest in durable materials and clear, eye-catching designs. Programmable LED marquee signs are especially useful, allowing you to update messages daily without replacing parts. These signs typically cost a few hundred to over a thousand dollars but can increase foot traffic and boost sales when placed in high-visibility areas.
Changing custom messages adds versatility. Use interchangeable letter boards for simple and affordable updates, ideal for weddings or short-term parties. For businesses, digital or LED marquee signs provide dynamic messaging with remote control options, perfect for shifting promotions or events. These setups require sufficient power supply and occasionally software updates but offer high flexibility. Make sure your message is clear and concise; crowded or overly long texts reduce readability.
The key to successful customization lies in matching your marquee to the event type and goals: weddings and parties benefit most from personalization and thematic harmony, while businesses require frequent updates and high visibility to drive action. Planning the sign’s placement, lighting, and message in advance ensures it supports the event or business brand effectively without causing confusion or visual clutter. Avoid overly complex fonts or colors that blend into the background, as these reduce impact.
Ensure your marquee sign text is legible from the typical viewing distance of the venue; small fonts or cramped letters can frustrate guests and fail to convey your message.
Outdoor and Seasonal Marquee Sign Ideas and Tips
You can safely use marquee signs outdoors by choosing weatherproof materials and protecting electrical components. Durable options like powder-coated steel, treated wood, or waterproof PVC resist rain and sun damage. Light bulbs should be rated for outdoor use, typically indicated by an IP (Ingress Protection) rating. Look for bulbs with an IP65 or higher rating to ensure they can withstand splashes and dust. Proper sealing of wiring with silicone or waterproof connectors also prevents moisture-related failures.
For seasonal marquee signs, switch themes by changing letters, shapes, or decorative attachments. Use strong but removable adhesives or clips to quickly update visuals. For example, switch to red and green lettering with leaf or snowflake accents for winter, or bright pastels and floral designs for spring events. String lights with color-changing bulbs can add variety without rewiring. Keep a storage kit with extra bulbs, mounting clips, and themed decorations to refresh your sign efficiently.
Start with a checklist before setting up an outdoor marquee: ensure the base is sturdy and level to withstand wind, confirm your lights have outdoor ratings, and pick materials that won’t corrode or warp in your climate. In cold regions, avoid plastics that become brittle below 20°F, while in hot, sunny areas, UV-resistant coatings prevent fading and cracking. Cost varies but expect to spend $50 to $150 more for outdoor-rated lights and materials compared to indoor setups.
Secure your marquee sign by anchoring it with ground stakes or heavy bases if you place it on soft earth. For pavement installations, use weighted stands or sandbags to prevent tipping. Check local guidelines to avoid blocking sidewalks or violating sign ordinances. When decorating, keep electrical cords off the ground and use outdoor-rated extension cords to avoid trip hazards and moisture damage.
Good results look like a vibrant, clear sign visible from a distance, with consistent lighting that stays on despite weather changes. Watch for fading paint, loose decorations, or flickering bulbs as signs it’s time for maintenance. Common issues include water seeping into bulbs causing shorts or wind removing attachments, recheck seals and fasteners regularly. Planning seasonal themes ahead saves time and money by letting you reuse the main sign base while swapping accents.
Here’s an example script for a winter-themed marquee update: First, remove spring décor by unclipping or peeling off adhesive shapes. Switch to white or red LED bulbs on your IP65 strand lamps. Attach snowflake decals with removable outdoor-safe glue dots around the border. Add a string of battery-powered icicle lights along the top edge for extra sparkle. Check and seal all electrical connections with clear silicone to keep moisture out. Plug in and test light output before your event starts to avoid last-minute problems.
Common Marquee Sign Mistakes and How to Fix Them
Marquee signs often face common problems that can affect their appearance and functionality. Wiring issues, like flickering or non-working bulbs, usually occur from loose connections or incorrect wire gauge. Using wires that are too thin for your lights increases resistance and can cause bulbs to dim or flicker. Check all connections by unplugging the sign, then tightening terminals and inspecting for corrosion. Replace any damaged wires with ones rated for at least 16-gauge to ensure safe current flow. Using a multimeter helps find breaks or shorts in wiring.
Paint flaws are another frequent mistake, especially when lettering or designs look uneven or chip too easily. Poor surface prep, like skipping sanding or cleaning, causes paint to peel. Always sand smooth surfaces and wipe off dust with a tack cloth before painting. Use outdoor-grade paint for marquee signs exposed to weather, which usually costs $20 to $40 per quart and lasts multiple seasons. Applying two to three thin coats with a small brush or paint marker improves coverage and reduces runs or blotches. Allow at least one hour of dry time between coats for good adhesion.
- Test bulbs before installation to avoid replacing multiple lamps later
- Use a waterproof sealant on painted letters when sign is outdoors
- Secure wiring with cable clips to prevent shorts from movement
- Align letters with a pencil grid to keep the message straight
- Clean bulbs regularly to maintain brightness and prevent overheating
- Replace bulbs in batches to avoid uneven lighting near sign edges
Structural problems often stem from framing that isn’t square or level, making it hard to mount letters or lights consistently. Use a carpenter’s square during assembly and a level when mounting the sign to your wall or stand. Inconsistent spacing between letters distracts viewers and degrades the professional look. Mark exact letter positions with tape or pencil before attaching to maintain clean spacing. Fix sagging or loose panels promptly by tightening screws or adding braces, which usually cost under $10 in hardware supplies.
Lighting choices also impact troubleshooting. LED bulbs generate less heat and last longer but require correct voltage and current ratings. Incandescent bulbs are simpler but run hotter and burn out faster. Choose bulbs matching your existing sign fixture’s specifications to avoid electrical issues. When replacing bulbs, switch off power and wear gloves to prevent oil transfers that can damage filament life. Regular inspections every few months help catch problems before events or business hours.
Innovative and Interactive Marquee Sign Ideas
Innovations in marquee signs now go beyond static displays, combining digital technology, interactive features, and natural decor to capture attention and engage audiences more deeply. Using interactive lighting, changeable digital messages, or lush plant elements can transform your signage into a dynamic focal point for events, storefronts, or weddings.
Adding Digital and Changeable Message Boards
Digital marquee signs allow you to update messages in real time, making them ideal for events or businesses with frequently changing promotions. LED message boards can display scrolling text, animations, or customizable fonts, offering flexibility that traditional marquee letters can’t match. You can connect these boards to a smartphone or computer to schedule content weeks ahead or make instant updates.
For example, a wedding planner might display the couple’s names and event schedule one moment and switch to thank-you notes after the ceremony ends. Small businesses often invest between $200 and $1,000 for a basic digital message board, which pays off by attracting new customers, 76% of people have entered unfamiliar stores due to compelling signage, according to a National Signage Research and Education Conference report. Combining digital boards with your marquee sign works best when you position the digital panel below or beside the classic letters, creating a layered effect that balances vintage charm with modern functionality.
Using Living Plants and Floral Accents
Integrating greenery into marquee signs adds warmth and texture, softening bright lights and creating a unique atmosphere. Botanical elements such as ivy, ferns, or colorful flowers can frame the sign or weave through letter outlines for organic appeal. This approach works well for wedding decor or rustic business storefronts, where nature ties into the event theme or brand image.
Choose hardy, low-maintenance plants like succulents or moss for longer events, or fresh-cut flowers for one-day setups. Keep plants moist and avoid direct heat from lights to prevent wilting. Pricewise, buying potted greenery can cost $10 to $30 per plant, while garlands and floral clips typically range from $5 to $25, depending on size and material quality.
Secure plants with clear fishing wire or floral tape to avoid distracting from the sign’s letters and allow easy removal after use. Combining living decor with marquee signage works best in sheltered indoor environments to protect plants from weather damage.
Incorporating Smart Lighting and Controls
Smart lighting innovations let you brighten your marquee sign with programmable LEDs that adjust color, brightness, and timing. Use a smartphone app or voice commands to create effects like pulsing, colour changes synchronized to music, or dimming for different parts of the day. These features increase the sign’s visibility and create interactive experiences that catch the eye of event guests or passersby.
Wireless LED strips specifically designed for signage start around $30 per 16-foot roll, with smart controllers adding $20 to $50. These setups plug into standard outlets but require planning to hide wires for a clean look. Choosing weatherproof materials and controllers ensures durability if the sign is placed outside.
Combined with motion sensors, smart lighting can trigger onlookers’ curiosity by lighting up as people approach. This tactic suits storefronts or event entrances where you want to welcome visitors with a dynamic visual greeting.
Using too many plants or excessive lighting without coordinating colors and placement can clutter your marquee sign, making it harder to read, aim for balance to highlight key details effectively.
Step-by-Step Action Plan for Your Marquee Sign Project
Follow these steps to create and display a marquee sign that stands out and serves your event or business well.
- Day 1: Choose your marquee sign style and design. Confirm your choice by sketching the layout and selecting colors that match your brand or event theme.
- Day 2: Gather materials and tools, including wood or metal for the frame, LED or incandescent bulbs, wiring, and paint. Verify by checking you have everything listed in your design plan.
- Week 1: Build the sign frame according to your dimensions, securing joints and edges. Test stability by gently shaking the frame; it should feel firm and secure.
- Week 2: Install the lights, wiring them safely and arranging bulbs to ensure even illumination. Confirm success by turning the sign on in a dark room and checking for consistent lighting.
- Week 3: Customize the sign with paint, vinyl letters, or decorative elements that fit your event or business style. Review by comparing the finished look with your original design sketch.
- Day 22: Set up the marquee sign in its intended location, keeping weather exposure and visibility in mind. Ensure the sign is securely mounted and clearly visible from your target viewing distance.
- After 1 Month: Evaluate the sign’s impact by measuring foot traffic or engagement, and inspect for any weathering or electrical issues. If improvements are needed, plan adjustments to materials or lighting.
Frequently Asked Questions
What Are Some Unique Marquee Sign Ideas to Attract Customers?
Use large illuminated letters or funny messages to grab attention quickly, making your business stand out effectively. Adding interactive elements can also boost customer engagement.
How Can I Make My Marquee Sign Stand Out at a Wedding?
Choose a lighted heart-shaped marquee or personalized signs as a romantic, eye-catching centerpiece. Adding greenery garlands softens the look with natural charm.
What Materials Are Best for Durable Outdoor Marquee Signs?
Use weather-resistant boards like treated wood or plastic and waterproof LED lights for lasting durability and brightness. Proper sealing prevents damage from the elements.
Can Marquee Signs Be Reused for Different Events?
Yes, removable letters and customizable messages make marquee signs versatile for weddings, holidays, or business promotions. Switch themes easily with new decorations.
How Do I Position a Marquee Sign for Maximum Visibility?
Place your sign at eye level near entrances or busy walkways to ensure everyone can see it clearly. Lighting also improves visibility at night or indoors.
What Lighting Options Work Best for DIY Marquee Signs?
LED string lights and customizable LED bulbs offer bright, energy-efficient illumination. They are safe for indoor or outdoor use and can be adapted to any design style.
Wrapping Up
Crafting a marquee sign lets you blend creativity with practical presentation, and it adds memorable appeal to your event or storefront. Experiment with different materials and lighting until you find the right mix for your context. Start by sketching your design today, then gather your supplies to bring your vision to life.