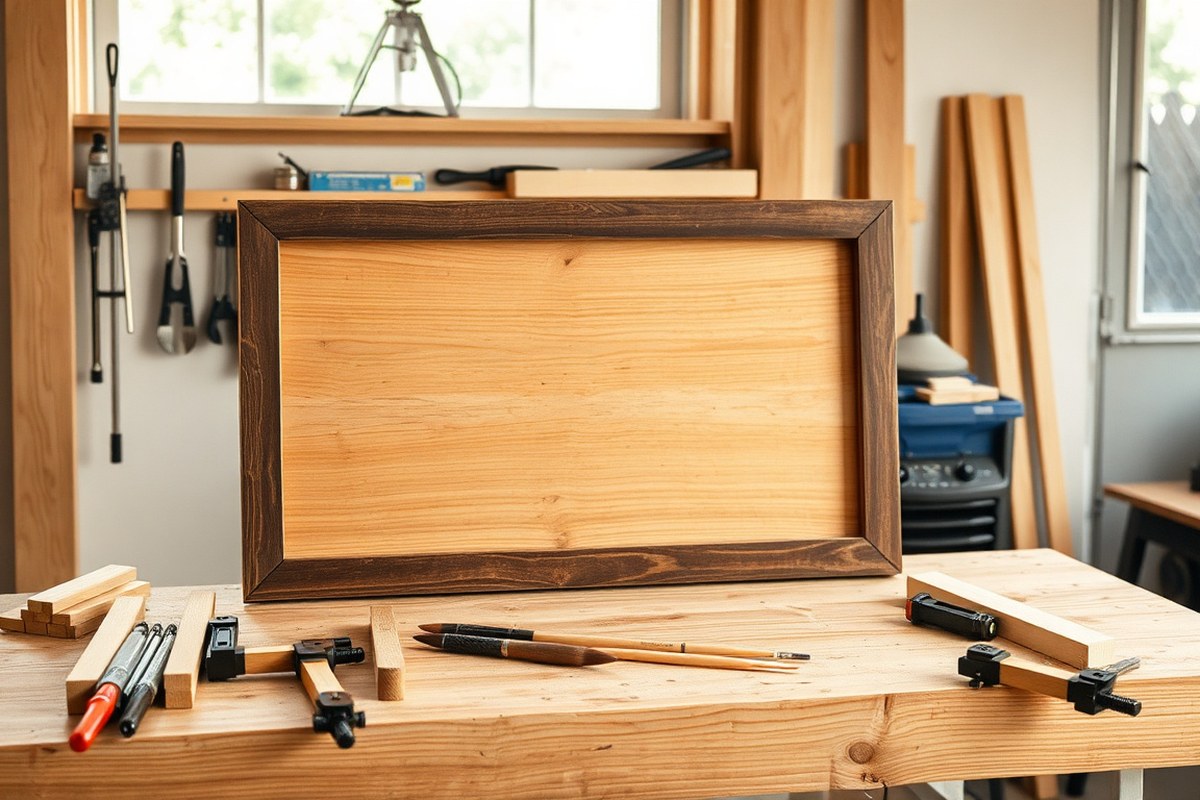
How to Make a Framed Wood Sign by Hand: Simple Steps for Fast Results
How to make a framed wood sign by hand starts with selecting the right wood and carefully measuring your project to ensure a perfect fit. Use plain 3/4″ birch plywood or wood lath cut to your desired size, then design and transfer your artwork onto the wood. Building a clean, sturdy frame using wood pieces cut slightly longer than the sign’s dimensions helps create a professional finish. Begin with exact measurements to avoid size discrepancies in your final sign and frame.
Key Takeaways
- Choose plain 3/4″ birch plywood for your sign base to ensure a smooth surface and durability.
- Cut wood pieces slightly longer to accommodate frame thickness and achieve snug, 90-degree corners.
- Apply 2-3 light coats of paint, including edges, allowing up to 24 hours to dry between coats.
- Use transfer paper or stencils to accurately place your design on the wood without slipping.
- Wood lath sold in 4 ft lengths can accommodate large signs up to that size, but always measure each piece.
- Heat press vinyl designs at 300°F-330°F for 10-20 seconds using parchment or Teflon for protection.
How to Make a Framed Wood Sign by Hand Step-by-Step
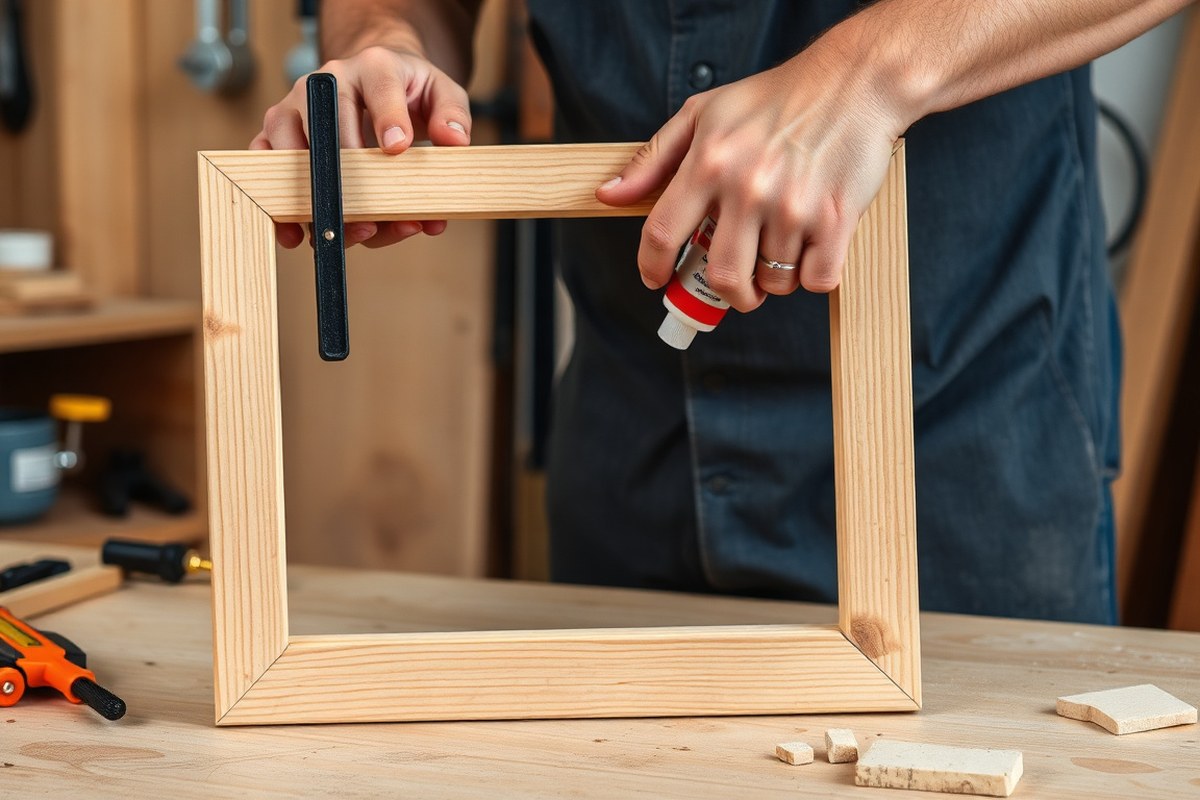
Building a framed wood sign by hand involves a sequence of focused steps that ensure precision, clean design transfer, and a secure frame. Starting with a well-prepared wooden board, your workflow should follow a logical order, from cutting the board to transferring the design, applying paint, and finally assembling the frame. Properly attaching the frame is key to durability and a professional appearance, especially when clamping and fastening techniques are used. Here’s a clear, actionable sequence to make your framed wood sign:
- Cut the wood sign backing to size. Measure and cut a sanded wooden board to your desired dimensions, typically between 12 to 18 inches wide and 8 to 12 inches tall for beginner projects. Use a saw suitable for straight, clean cuts. This preparation provides a smooth canvas for the design and paint.
- Transfer your design onto the wood. Use a vinyl stencil cut from a machine like a Silhouette Cameo or Cricut to place your design precisely. Apply the stencil with transfer tape onto the wood’s surface, making sure it adheres well and lines up perfectly. This method produces crisp, clean lettering or graphics and minimizes paint bleed over edges.
- Paint the design. Use quality acrylic paint in thin layers, applying with a stencil brush or sponge to avoid bleeding under the stencil. Allow 15 to 30 minutes drying time between coats. Remove the vinyl stencil carefully once the paint is dry to reveal sharp edges. Additional touch-ups can be done with a fine brush.
- Cut frame pieces. Cut wooden strips to frame the sign, ensuring they are about ½ inch wider than the edges of the sign backing for good coverage. Miter the corners at 45 degrees for clean joints. The typical frame width ranges from 1 to 1½ inches depending on the overall sign size.
- Attach the frame pieces using wood glue and brad nails. Apply a thin bead of wood glue along the edge of the sign backing. Position one frame piece flush against the board edge, then secure it with 1¼-inch brad nails using a brad nailer or hammer with finishing nails. Repeat for all sides, working around the sign to keep the frame square.
- Clamp and secure with Kreg screws. After gluing and nailing, clamp the frame firmly around the sign to ensure tight joints and prevent movement. Drill pilot holes and drive 1¼-inch Kreg screws through the frame pieces into the board backing for extra strength. This step is especially important for larger signs or heavier wood types.
- Sand and finish the frame. Lightly sand the frame edges and corners to smooth out any rough spots or glue residue. Apply a finish or sealant appropriate for your sign’s location such as polyurethane for outdoor durability or a matte varnish for indoor use. This protects the wood and improve the overall look.
Each step builds upon the last to produce a framed wood sign that holds up over time and looks professionally made. Properly aligning and fastening the frame with glue, brad nails, and screws prevents gaps and ensures your sign remains intact through handling and display. Taking time during design transfer and painting prevents errors that are harder to fix later.
Choosing the Right Wood and Materials for Your Sign
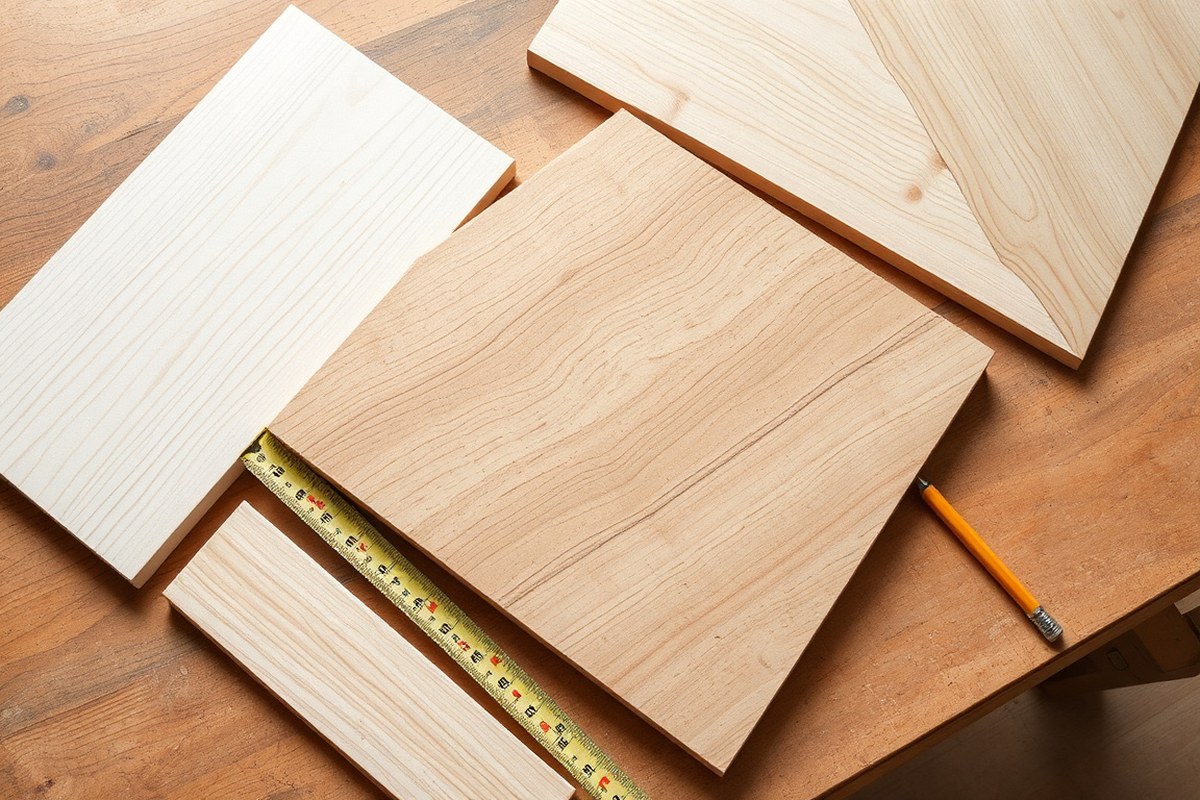
Choosing the right wood and materials sets the foundation for a successful framed wood sign. Select durable wood types that fit your sign’s location, indoor or outdoor, and prepare with proper thickness and finishing supplies like paint, brushes, and clamps. The right combination ensures your sign looks great and lasts.
Best Woods for Sign Bases
Use plywood or solid wood for the sign base that balances durability and ease of working. For most projects, 3/4-inch birch plywood is ideal because it offers a smooth surface, strength, and resistance to warping. Softwoods like pine or cedar can be a good choice for indoor signs due to their affordability and easier sanding, but they may dent or wear faster than hardwoods.
For outdoor signs, choose weather-resistant woods like cedar or redwood, since these handle moisture better without warping or rotting. Avoid thin woods under 1/2 inch thick, as they may flex and crack over time. Using 3/4 inch thickness for the base keeps the board stable and easy to mount the frame securely.
Wood bases that are too rough or uneven make painting and transferring your design difficult. Sand the surface with 220 grit sandpaper for a smooth finish before you start applying stain or paint.
Recommended Wood for Frames
The frame wood should complement the sign base in both appearance and durability. Common choices include 1×2 or 1×3 pine or poplar boards at about 3/4 inch thickness. These are easy to cut, shape, and stain or paint. For hardwood frames, birch or oak add a refined look but cost more and need more precise cutting tools.
Frames are usually cut slightly wider than the thickness of the sign base to create a called “rabbet” joint or flush fit. For signs with thinner bases (around 1/4 inch plywood), a box frame is better to provide stability and avoid bending. The frame can then be stained or painted to match or contrast with the sign. Using clamps during assembly is essential for aligning and securing the frame pieces tightly.
Clamping the wood frame pieces firmly prevents misalignment and gaps when you attach them to the sign base.
Essential and Optional Supplies
Besides wood, prepare these supplies for a clean, durable finish:
- 220 grit sandpaper to smooth all wood surfaces before finishing
- Wood stain or acrylic paint suitable for indoor or outdoor use
- Small paintbrushes to fill in design details or cover edges
- Clear sealant or polyurethane to protect the finished sign
- Clamps to hold the frame pieces tightly during assembly
- Tape or transfer paper for design application
- Clean cloths for wiping off excess stain or dust
Choose acrylic paint for bright, easy-to-use colors that dry quickly and resist chipping indoors. For outdoor signs, use exterior-grade stains and sealants that protect against UV rays and moisture. Allow paint or stain to dry fully before applying sealant, which adds several years to the sign’s life.
Keep project costs reasonable by selecting pine plywood for the base, which ranges around $15 to $25 for a 2×4-foot board, and pine or poplar for the frame at about $3 to $7 per linear foot. Stains and paints usually cost between $4 and $15 per can. Scaled-down projects for small signs use less material, lowering costs.
How to Transfer Your Design Onto Wood Accurately
To transfer your design onto wood accurately, you can choose from tracing paper transfer, using stencils, or vinyl adhesive transfers. Each method offers a different balance of ease, precision, and finish quality. Preparing the wood surface by sanding and cleaning helps create a smooth, receptive base, ensuring crisp and lasting results regardless of the method.
Tracing Paper Transfer Method
This method is great if you don’t have access to vinyl cutters or pre-made stencils. It works by transferring graphite from the back of your printed design onto the wood surface, giving you a clear outline to paint or burn.
Start by printing the design in the exact size you need. You’ll use graphite (transfer) paper placed between the design and the wood.
- Sand and clean the wood surface to remove any dust or rough patches.
- Place a sheet of graphite transfer paper with the graphite side down onto the wood.
- Position your printed design face up on top of the transfer paper.
- Tape all layers securely to keep them from shifting.
- Using a ballpoint pen or stylus, trace firmly around the edges and detailed parts of your design.
- Remove the paper and check the transferred lines on the wood.
- Touch up any faint spots with a pencil before painting or finishing.
This method suits detailed designs and is beginner-friendly at an estimated material cost under $10 for graphite paper. Avoid pressing too hard or moving the paper layers during tracing to prevent smudges and inconsistent lines.
Using Stencils for Painting
Stencils work well for repeated designs or clean lettering with sharp edges. They require a porous or chalky wood surface so paint adheres evenly without bleeding.
Create your stencil on cardstock or buy pre-cut vinyl stencils. Secure the stencil firmly on the wood with painter’s tape to avoid shifting.
- Lightly sand and clean the wood surface to allow paint absorption.
- Place and tape the stencil onto the desired area of the wood sign.
- Apply paint with a small, stiff brush or foam applicator, using a dabbing motion to reduce bleeding.
- Remove the stencil carefully while the paint is still slightly wet to avoid peeling.
- Let the paint dry completely before adding a protective finish.
Stenciling delivers consistent, clean graphics best for simple text or shapes. Material costs vary from $0 (homemade paper stencil) to $15 for reusable vinyl stencils. Patience during painting and taping reduces paint smudges and edge blurring.
Vinyl and Adhesive Transfers
Vinyl transfers provide crisp, professional-looking designs using permanent adhesive vinyl cut with a craft machine or ordered cut. Ideal for smooth, painted, stained, or sealed wood surfaces. This technique uses transfer tape to move the weeded vinyl from carrier paper onto the wood smoothly.
- Prepare the wood by sanding and wiping it clean.
- Weed your vinyl design, removing unwanted pieces to reveal the pattern.
- Cut a piece of transfer tape slightly larger than the design and place it over the vinyl, pressing firmly to adhere.
- Slowly peel the vinyl backing paper away, leaving vinyl attached to the transfer tape.
- Position the vinyl with transfer tape onto the wood and rub over it with a scraper tool, applying even pressure.
- Carefully peel away the transfer tape at a sharp angle, leaving the vinyl on the wood.
- Add a sealant or clear coat if you want extra protection against wear.
While this method offers the highest precision and the fastest application for replicable designs, you’ll need a vinyl cutter or purchasing the design from a supplier, which can cost from $5 to $30. Keep your hands and the surface clean to avoid dust under the vinyl, which can cause bubbles or poor adhesion.
| Method | Typical Result | Best Suited For | Pros | Cons |
|---|---|---|---|---|
| Tracing Paper | Hand-drawn outline for painting | Detailed custom artwork, beginners without special tools | Low cost, easy to do | Time-consuming, potential for faint lines |
| Stencil | Clean painted edges | Repeated lettering, simple shapes | Reusable stencils, precise edges | Paint bleed risk, harder on smooth surfaces |
| Vinyl Transfer | Sharp, professional, sticker-like | Smooth, sealed wood surfaces, multiple signs | Fast, high precision, durable | Requires vinyl cutter or supplier, moderate cost |
Painting and Finishing Techniques for Durable Wood Signs
Acrylic paint is an excellent choice for crafting framed wood signs due to its fast drying time and versatility. It adheres well to smooth plywood or solid pine, the usual woods for DIY signs. Applying two to three thin coats provides full coverage while avoiding drips or uneven texture. Allow each coat to dry for about 24 hours before adding the next to ensure proper curing and avoid smudging. For faster projects, working in a warm, dry environment can speed up drying without compromising the finish.
Painting the edges and sides is as important as the front surface to protect the entire sign, especially if displayed outdoors. Use a small brush or foam roller for even coverage on edges. A foam paint roller, particularly a 9-inch size, works well to cover larger surface areas quickly and smoothly. Thin coats prevent paint pooling and peeling over time.
For signs destined for indoor use, a clear acrylic sealer or polyurethane varnish provides sufficient protection and adds a slightly glossy finish. Apply one to two coats, ensuring full coverage of the front, edges, and back surfaces. Outdoor signs need more strong protection with exterior-grade polyurethane or spar varnish. These sealants resist UV rays, moisture, and temperature changes better, prolonging the sign’s life. Apply at least two coats, allowing 24 hours between each, and coat all sides, including the edges and back. This prevents water infiltration that can warp or crack the wood.
Staining the wood is another route, especially if you want a natural wood look under a clear finish. Test your stain on a scrap piece first to ensure the color meets your expectations. Stains usually require less drying time, around 6 to 8 hours, but should still be sealed afterward to protect the surface. Applying thin layers lets you build up color without blotches.
Once paint and sealers are dry, consider finishing touches like distressing edges lightly with sandpaper for a vintage look or adding hardware like knobs or hooks for functionality and decoration. These should be added after full curing, which can take up to a week for some sealants. Avoid rushing this step to keep your wood sign looking its best for years.
Building and Attaching a Professional-Looking Wood Frame
A professional-looking frame requires precise measuring, cutting at the right angles, and secure attachment with glue, nails, or screws. Using clamps ensures a tight bond and clean 90-degree corners that keep your frame square and flush with the sign base. Properly assembling and attaching the frame not only improves appearance but also strengthens your wood sign for lasting use.
Measuring and Cutting Frame Pieces
Start by measuring the wood sign base accurately. To calculate frame piece lengths, add 1.5 inches to the height for the two vertical sides. For the horizontal pieces, add twice the thickness of your framing wood to the sign’s length. These adjustments accommodate the mitered 45-degree cuts at the corners that create smooth joints.
Cut each piece using a miter saw set to a 45-degree angle on both ends, forming neat corners that join tightly without gaps. Double-check measurements before cutting. For example, if your sign measures 20 by 10 inches and your frame wood is 0.75 inch thick, cut two vertical pieces at 11.5 inches (10 + 1.5) and two horizontal pieces at 21.5 inches (20 + 2 × 0.75). Precise cuts help your frame fit perfectly around the sign.
Assembling the Frame with Clamps and Glue
Using wood glue along each mitered edge strengthens the frame joints. After applying glue, position the pieces together and use clamps or a ratcheting tie-down strap around the frame. This holds the pieces firmly in place while the glue dries, which typically takes about 30 minutes to an hour for initial set but 24 hours for full cure.
Once the glue sets, reinforce corners with brad nails or small screws for extra support, especially on larger signs. These fasteners prevent the joints from coming loose due to handling or wood movement over time. Using clamps prevents shifting and keeps the frame square as the glue bonds.
Attaching the Frame to the Sign Base
Apply wood glue along the edges of your wooden sign where the frame will sit. Carefully place the assembled frame around the sign base. Then secure the frame by gently hammering brad nails or small pins through the frame into the sign backing at regular intervals around the perimeter.
For a stronger attachment, some woodworkers add Kreg screws through the frame into the backing boards. This method requires drilling pilot holes to avoid splitting the molding. Wood glue alone can suffice for smaller or decorative signs, but nails or screws are recommended for signs exposed to outdoor conditions or frequent handling.
Use clamps or straps to hold frame corners tight while glue dries; otherwise, joints may separate or warp.
- Measure your wood sign’s height and length accurately.
- Calculate frame piece lengths: vertical pieces equal sign height plus 1.5 inches, horizontal pieces equal sign length plus twice the frame wood thickness.
- Cut all frame pieces with 45-degree miter cuts on both ends using a miter saw.
- Apply a thin layer of wood glue along the mitered edges of frame pieces.
- Join pieces to form the frame and clamp tightly to hold corners in place while glue dries.
- After glue sets, reinforce corners with brad nails or screws.
- Apply wood glue along the sign edges, then place the frame around the sign base.
- Attach the frame to the sign backing with brad nails or screws, evenly spaced around the perimeter.
Safety Tips and Tools Needed for Handmaking Wood Signs
Protecting yourself is the first step to a successful woodworking project. Always wear a dust mask or respirator when sanding or cutting wood to avoid inhaling airborne particles. Use safety goggles to shield your eyes from flying wood chips or paint splatters. Gloves protect your hands from splinters and sharp tool edges. For painting, work in a well-ventilated area to reduce exposure to fumes, especially when using sealants like polyurethane or epoxy resin. Consider using paint products labeled low-VOC (volatile organic compounds) to limit hazardous fumes.
Essential tools for beginners include a hand saw or jigsaw for cutting wood, sanding blocks or electric sanders for smoothing surfaces, brushes or foam applicators for painting, and clamps to hold your wood steady. Advanced woodworkers might add a miter saw for precise angled cuts, a rotary tool for intricate designs, or a power sander to save time and effort. When starting out, focus on mastering hand tools since they cost less and offer more control; for example, a basic jigsaw typically costs under $50, while a miter saw can run $100 to $300.
Controlling dust and fumes is important. Sand wood outdoors or near an open window to minimize indoor dust accumulation. Use a sanding block with 120- to 220-grit sandpaper for smooth finish but avoid excessive sanding that raises dust clouds. Keep your workspace clean by wiping surfaces with a damp cloth regularly. When painting, apply thin coats and allow each to dry fully, usually 1-2 hours per coat. Let your sign cure in a dust-free place for about a week to achieve durable, professional results.
- Wear a NIOSH-approved dust mask or respirator during sanding and cutting
- Choose safety goggles with side shields to protect eyes
- Use a hand saw for small-cut projects, upgrade to a jigsaw or miter saw as skills grow
- Sand with 120- to 220-grit sandpaper, starting coarse and finishing fine
- Apply paint and sealants in thin, even layers with good ventilation
- Clean brushes immediately after use to prolong tool life
- Keep your workspace organized to avoid trips or accidents
Before any cutting or sanding, check your tools for damage or dull blades to prevent slips and poor cuts. Maintain steady, moderate pressure when cutting to avoid rough edges. Clamp your wood securely so it doesn’t move unexpectedly. When painting, shake or stir your paint well and test on scrap wood to ensure the color and finish match your expectations. Following these measures not only keeps you safe but also produces cleaner lines and longer-lasting signs.
Common Mistakes When Making Framed Wood Signs and How to Fix Them
Paint bleeding or uneven lettering often happens when the stencil or tape isn’t firmly sealed against the wood surface. This lets paint seep under the edges, causing blurry lines. To prevent this, press down stencil edges firmly with a scraper or use painter’s tape with a low-tack adhesive designed for delicate surfaces. Applying paint in thin layers with a foam brush rather than heavy coats reduces the chance of bleeding. Excess paint pooling on edges also worsens the problem.
Warped or split wood panels can ruin your sign’s appearance and make framing difficult. Warping occurs if wood absorbs moisture unevenly or dries too quickly. Using kiln-dried plywood that’s about 3/4 inch thick, which is recommended for wood signs, helps limit this issue. Your panel may be warped. Clamp it flat between two rigid boards and let it rest for 24 to 48 hours. Splits might require filling with wood filler or wood glue and clamps, followed by sanding to smooth the surface before painting. Sometimes, replacing a severely damaged panel is the best option.
- Splintering when cutting or sanding wood: fix by sanding edges with fine-grit sandpaper (150-220 grit) and using a sharp blade for cuts.
- Paint bleeding under stencils: press stencil firmly, use painter’s tape, and apply paint sparingly with a foam brush.
- Crooked or misaligned frames: measure corners and cut frame pieces with a miter box at exact 45-degree angles, then dry-fit before final nailing or gluing.
- Warped wood panels: clamp flat with rigid boards and let dry gradually; replace if damage is severe.
- Uneven or blotchy paint finish: sand between coats lightly and apply thin, even layers of paint.
Frames with corners that don’t line up perfectly typically result from angle cuts that are slightly off or wood pieces that expanded after cutting. Check your miter box or saw calibration before cutting frame pieces. Cut each piece carefully at a 45-degree angle, then dry-fit all four sides to see if they meet tightly. Sand small uneven spots on the inside edges of the frame pieces or use wood filler to fill gaps before attaching. Gaps that are too large require you to recut or replace that piece. Clamping the frame during glue drying ensures better alignment and tighter joints.
Estimated Time, Costs, and Tips to Speed Up Your Wood Sign Project
The total time for making a framed wood sign by hand can vary between 4 and 8 hours, spread over a couple of days to allow drying and assembly. Start with measuring and cutting your wood, which usually takes about 1 to 2 hours depending on whether you have power tools or use hand tools. Next, transferring your design and painting typically take 2 to 3 hours, including careful brushwork and allowing several thin coats. Lastly, assembling the frame and final touch-ups require around 1 to 2 hours, again depending on your skill level and tool access.
The biggest time factor is drying time. Paint and sealant can take 3 to 6 hours to dry between coats, so plan accordingly. To speed this up without sacrificing quality, place painted pieces in a warm, dry room with good air circulation or use a fan. Avoid direct sunlight because it can cause uneven drying or bubbles.
| Material or Tool | Estimated Cost (Beginner) | Notes |
|---|---|---|
| Wood board (recycled or purchased) | $10 – $25 | Size varies; 4 ft board typical |
| Paint (acrylic or latex) | $5 – $15 | One or two colors for design |
| Clear sealer or polycrylic | $8 – $15 | Protects paint, indoor use recommended |
| Vinyl for stencil (optional) | $10 – $20 | For cutting stencil with Cricut or Silhouette |
| Hand tools (saw, brush, clamps) | Varies or $0 (if borrowed) | Buying power tools increases cost but speeds up cuts |
The total material cost may be as low as $30 if you use recycled wood and already own basic tools. Buying a vinyl cutter is optional, and you can cut stencils by hand or paint freehand with practice. Consider that spending more on quality brushes and paint improves finish and reduces frustration.
To speed up assembly, dry each paint coat in a well-ventilated space with a fan. Use quick-setting wood glue or brad nails if available with a small hammer or nail gun to speed frame attachment. Clamps help hold pieces steady while adhesive sets. Avoid rushing drying times; incomplete drying can cause paint to smudge or frame joints to weaken.
Use a fan to circulate air around your drying sign pieces, but keep them out of direct sunlight to avoid uneven drying or paint bubbles.
Step-by-Step Action Plan for Your Framed Wood Sign
Follow these steps to complete your framed wood sign smoothly and on schedule.
- Before You Start: Gather all materials and tools listed for the project. Check each item to confirm quality and quantity, ensuring you have the right wood, paints, brushes, and frame components.
- Day 1: Prepare and cut your wood pieces for the sign and frame. Smooth all surfaces with sandpaper; a well-prepared surface shows no rough spots or splinters.
- Day 2: Transfer your design onto the wood using your chosen method. The design should be clear, centered, and correctly sized on the sign surface.
- Day 3-4: Paint your sign using durable paint and apply protective finish. Let each coat dry completely to avoid smudges and ensure longevity.
- Day 5: Assemble and attach your wood frame carefully. Check that all corners are square and that the frame fits snugly without gaps.
- Day 6: Inspect your work for any touch-ups or finishes needed. The sign should be fully dry, framed securely, and ready for display.
- After 1 Week: Mount your sign in its intended spot, making sure it is level and appropriately fastened.
Frequently Asked Questions
What Tools Do I Need to Make a Framed Wood Sign by Hand?
Basic tools include a drill, brad nailer, clamps, paintbrushes, and sandpaper for smooth edges and assembly. Using quality tools ensures better results and easier handling of materials.
Can I Use Plywood Other Than Birch for My Wood Sign?
Yes, but 3/4” birch plywood is preferred for its durability and smooth finish. Other plywood types might warp or have rough surfaces, impacting your sign’s look.
How Do I Choose the Right Paint for Outdoor Wood Signs?
Use exterior-grade acrylic or latex paint for weather resistance and lasting color. These paints protect the wood from moisture and fading over time.
How Should I Store or Display My Finished Wood Sign?
Keep signs in a dry, temperature-controlled area to prevent warping or fading. Hanging indoors or using outdoor sealants can extend their lifespan.
Can I Create a Wood Frame Without Special Corner Tools?
Yes, you can cut frame pieces to size and join them with wood glue and brad nails or screws. Clamping while drying helps achieve tight corners.
What Is the Best Way to Avoid Mistakes in Lettering My Wood Sign?
Practice your design on paper before transferring it to wood for accuracy and confidence. Using transfer paper helps avoid smudges and misalignments while painting.
Wrapping Up
Making a framed wood sign by hand combines skill with personal style and practical techniques. Next, pick a simple design and gather your materials so you can try creating your sign step by step. This hands-on approach will build your confidence and skill for future projects.