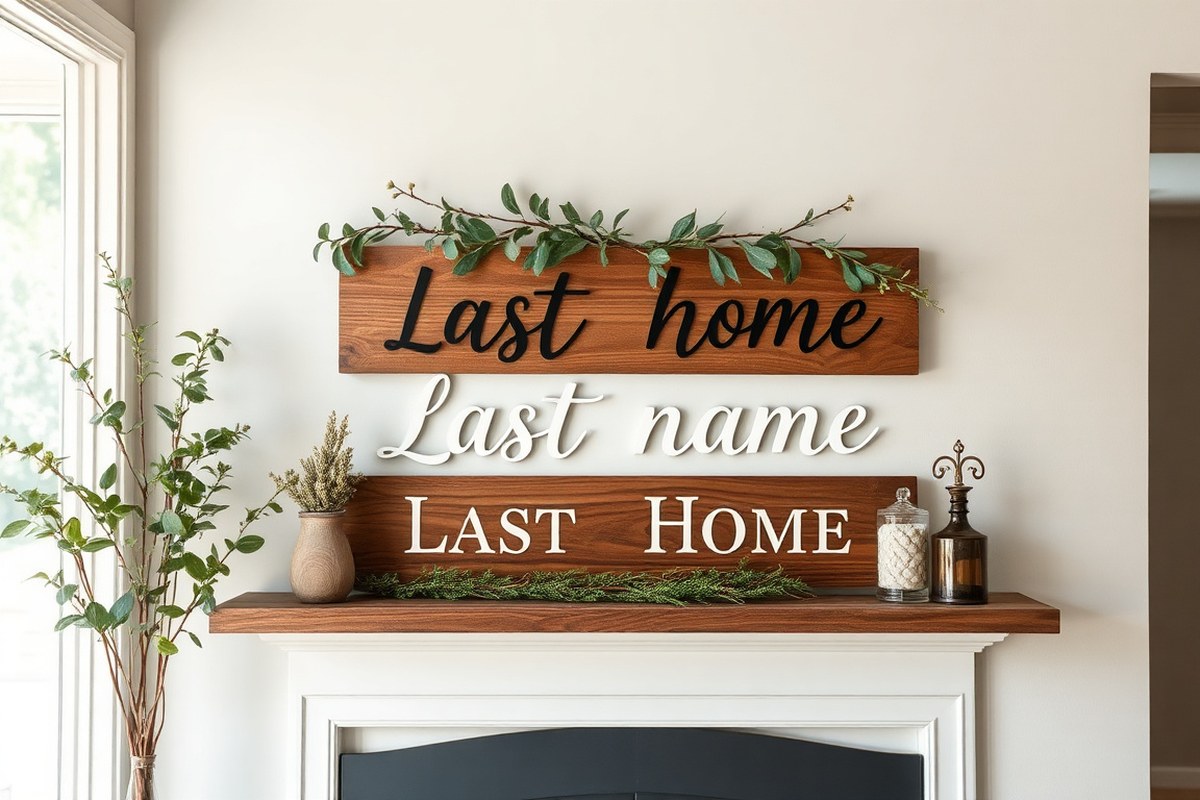
How to Make a Last Name Sign with Easy Steps and Pro Tips for Perfect Results
How to make a last name sign starts with choosing a design that fits your style and gathering affordable materials like Baltic birch wood and paint. Cut or buy a pre-made stencil or letters, then carefully paint your chosen font onto the surface. Applying a quality adhesive, such as Beacon Adhesives 3-in-1, firmly attaches letters for a durable finish.
Begin by selecting a simple layout and prepare your work area well to ensure clean lines and even paint coverage. This approach saves money and guarantees a personalized, professional-looking name sign.
Key Takeaways
- Use Baltic birch wood for durable and attractive last name signs costing under $10 total.
- Choose a readable font like BetterFly in a 4” height for clear, elegant lettering.
- Create or purchase a stencil to guide your painting and maintain clean edges.
- Apply Beacon Adhesives 3-in-1 to securely attach letters after your sign dries.
- Add seasonal ribbons or decor to personalize and complement your home’s style.
- Test paint on scrap wood to avoid mistakes and ensure the color matches your design.
What Is a Last Name Sign and Why Make One?
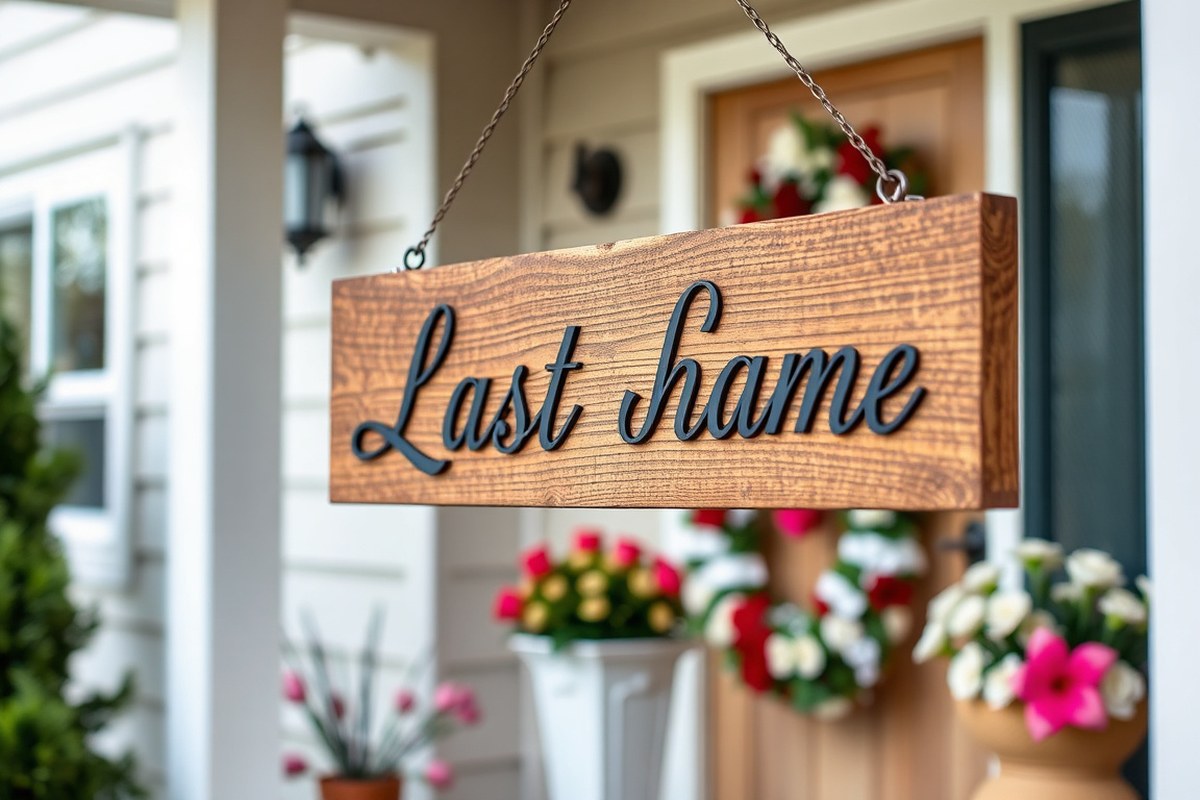
A last name sign is a personalized piece of decor typically featuring a family’s surname, often combined with an established date or a meaningful motif. These signs are crafted from various materials like wood, metal, or canvas, and they can be cutout, painted, or printed. For example, a wooden farmhouse style sign might say “The Johnsons Est. 1995” to proudly display a family’s heritage and identity in their home. Some signs use monograms or script fonts to emphasize elegance, while others feature rustic, bold lettering to suit a more casual style.
People create personalized family name signs to celebrate their roots and add warmth to their living spaces. These signs serve both decorative and emotional purposes. Displaying your last name visually shows pride in your family story and makes your home feel uniquely yours. It’s more than just decoration, it’s a way to mark shared experiences and invite guests into your family’s story. For instance, a sign at the entrance of a home instantly communicates who lives there and reflects the family’s personality and style.
Last name signs are often displayed in front entryways, on porches, or inside the home above mantles or in gathering spaces. They also make thoughtful gifts for occasions such as weddings, housewarmings, anniversaries, or the birth of a child. A newly married couple might showcase a custom metal cutout sign with their shared last name at their wedding, which later becomes a keepsake for their home. These signs are also versatile in style, adapting to modern, farmhouse, rustic, or traditional home décors, ensuring the sign complements where it’s placed.
Making a last name sign yourself can be cost effective, with DIY projects often costing under $10 for materials when using wood and paint. Online family name sign makers help simplify the design process by generating templates that you can personalize and print. This approach is especially helpful if you want to ensure correct spacing, font choice, and layout before transferring the design onto your chosen surface. Good results have clear, legible lettering, balanced spacing, and a finish that protects against indoor or outdoor wear, depending on where you plan to display the sign.
Some common challenges with last name signs include uneven lettering, incorrect paint adherence, or a finish that wears too quickly when placed outdoors. Paying attention to material preparation, choosing weather-resistant paints for outdoor signs, and following a clear stencil or template can prevent these issues. The emotional satisfaction of seeing your family name beautifully displayed often outweighs the effort involved, making the project meaningful and personal.
Choosing the Right Materials for Your Last Name Sign
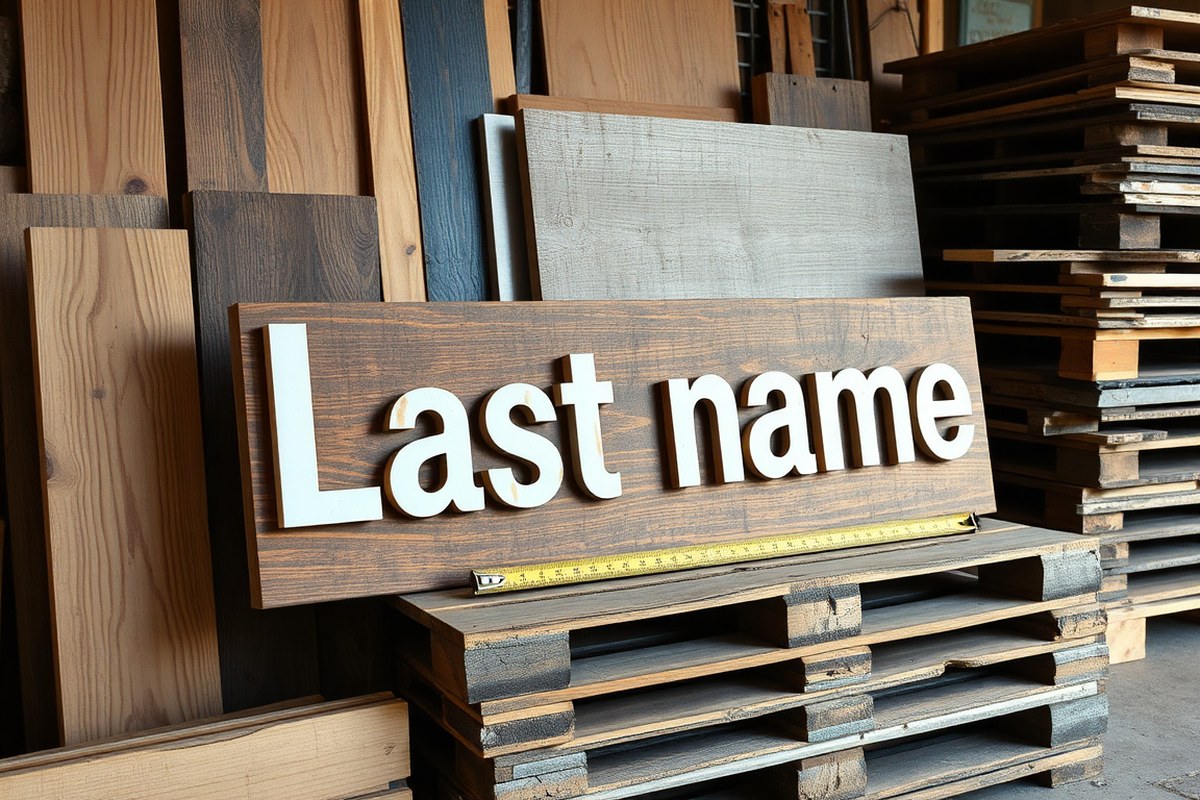
Choosing the right material for your last name sign depends on where you plan to place it and how you want it to look. Wood is a popular choice, offering warmth and rustic charm. For outdoor signs, treated wood or pallet wood can hold up well when sealed properly, while untreated wood may warp or fade. Metal signs provide durability against the elements and a modern visual appeal but often come at a higher cost and require specific tools.
Medium-density fiberboard (MDF) is an affordable alternative best suited for indoor signs since it doesn’t resist moisture well. Pallet wood is budget-friendly and great for a rustic finish but may need sanding and sealing for a smooth and protected surface before painting or staining.
| Material | Best For | Average Cost | Durability | Tools Needed |
|---|---|---|---|---|
| Wood (Pine, Oak, Cedar) | Indoor & Outdoor (with sealant) | $10, $30 (per 12″x12″ board) | Good, lasts years outdoors if sealed | Saw, sandpaper, drill, paintbrush |
| Metal (Aluminum, Steel) | Outdoor & Indoor | $20, $50 (depends on thickness) | Very durable, weather-resistant | Metal cutter, drill, metal paint |
| MDF | Indoor only | $5, $15 (per 12″x12″ panel) | Low, swells with moisture | Saw, sandpaper, primer & paint |
| Pallet Wood | Indoor & Outdoor (with sealant) | Less than $10 (often free/cheap) | Moderate, depends on sealing | Hammer, crowbar (to disassemble), sandpaper, paintbrush |
Wood signs offer versatility in style and finish, working well with many décor themes. Pine is softer and easier to cut but dents easily, while oak is harder, more expensive, and holds paint well. Cedar resists insects and decay, making it a good outdoor choice. Creating wooden signs requires a saw and sanding tools to smooth edges, plus paint or a sealant to protect your work.
Metal signs can add a sleek and modern touch to your space. Cutting and shaping metal usually require power tools like a metal cutter or a grinder, which could make it less practical for beginners. Most metal signs benefit from a coat of metal-safe paint to prevent rust if exposed outdoors.
For pallet wood, prepare by carefully dismantling the pallets using a hammer and crowbar, then sanding to remove rough spots or splinters. Since pallet wood is often salvaged, it may have inconsistencies, so inspect for nails or damage before starting. Sealing pallet wood with a weatherproof finish extends its life outdoors.
Tip: Always wear protective gloves and eye protection when cutting or sanding wood and metal to avoid injury.
Designing Your Last Name Sign: Fonts, Layouts, and Personalization
Selecting the right fonts, layouts, and personalization details shapes the look and feel of your last name sign. Clear, stylish fonts improve readability, while thoughtful arrangements balance your name with added elements like established dates or quotes. Including monograms and personal phrases can make the sign unique to your family or gift recipient.
Popular Font Styles for Readability and Style
Choose fonts that combine legibility with the atmosphere you want to create. Sans-serif fonts like Arial or Helvetica offer clean, modern looks and work well on smaller signs. Serif fonts such as Times New Roman or Georgia add a traditional or rustic feel, often favored for wooden signs.
Script fonts bring elegance and charm but use them sparingly for longer names because they may be harder to read from a distance. Fonts like BetterFly, which was used on a Baltic Birch round sign, provide a handcrafted feel without sacrificing clarity. Generally, keep your font size around 3 to 4 inches tall for last names to ensure visibility.
Common Layout Arrangements with Visual Tips
Start by deciding the main focus: often the last name appears prominently at the center or top. Established dates or wedding years typically go beneath the name in smaller fonts. You can also position a short quote or phrase below or around the name, depending on your sign’s shape. Typical layout types include:
- Centered layout: Last name in a large font at the center with “Est.” and year below in a smaller size.
- Stacked layout: First names aligned above or beside the last name, plus an established date under it.
- Circle layout: Last name curved along the top or bottom edge with established year opposite, perfect for round signs.
Maintaining balance, white space, and font size variety creates a visually pleasing design that’s easy to read and attractive.
Using Monograms and Adding Personalized Text
Monograms add elegance and a timeless feel. A faded or subtle monogram behind the last name can enrich the design without overwhelming it. You can create a monogram using the first letter of your last name or a combination of first initials if including multiple family members.
Adding established dates personalizes the sign and highlights your family’s history. Other custom text options include favorite quotes, song lyrics, or Bible verses that resonate with your family’s values.
Several online tools like Canva, Adobe Express, or free printable templates help you visualize different fonts, monogram styles, and layouts before committing to a design. They often provide drag-and-drop features and export options so you can print or create stencils easily. Follow these steps to design your last name sign:
- Choose your font style: Select one or two fonts based on your preferred look and readability.
- Decide your layout: Sketch or use an online tool to place the last name, established date, and any quotes.
- Create or find monogram designs: Use design software or download templates to add a faded monogram behind or beside your name.
- Add personalization: Include your established date or meaningful phrase beneath the last name.
- Adjust size and spacing: Ensure letters and elements are sized for clear visibility and balanced appearance.
- Print or cut templates: Produce stencils to guide painting or carving based on your layout.
- Review digital mockups: Make any changes before finalizing to avoid errors.
Creating a Stencil or Template for Your Sign Letters
Creating a stencil for your last name sign helps you transfer the design cleanly and accurately onto your material. You can use printable templates, adhesive vinyl stencils, or hand-cut paper ones, depending on your tools and detail level. Each method offers a way to maintain sharp edges and avoid painting mistakes.
Printing and Preparing Your Design
Start by designing your last name layout on your computer or selecting a font you’ll use. Print the design to the size that matches your sign’s dimensions, remembering that “The” might be smaller in width to keep a balanced look. For stencils, print on thick paper or card stock to make cutting easier. Avoid plain printer paper, as it can tear or shift during cutting.
When using printable templates, mirror the image if you plan to paint through the stencil, so the final text reads correctly. Use a laser printer if available because ink smudges less than inkjet. If printing larger than standard paper sizes, print your template on multiple sheets and tape them carefully to assemble the full design.
Cutting a Stencil Using Vinyl or Paper
Vinyl stencils offer crisp edges and reusable options but require a vinyl cutter or craft machine. Paper templates are simpler for beginners but less durable and prone to shifting. For hand-cut stencils, use a sharp craft knife with a metal ruler on a self-healing cutting mat. Take your time, making clean, steady cuts to avoid frayed edges.
When using vinyl, cut the design with your machine’s settings adjusted for your vinyl type, then weed out the letters carefully using a weeding tool to remove excess material. For paper, score around letters on the back lightly before cutting to help prevent tearing.
Applying and Securing the Stencil Onto the Sign
Proper placement and adhesion of the stencil keep your painted letters clean and sharp. Use a low-tack spray adhesive or repositionable glue stick applied lightly to the back of paper stencils. Stick vinyl stencils using transfer tape; peel the backing carefully to avoid stretching or tearing.
Press the stencil firmly onto the sign surface, smoothing out bubbles with a plastic card or a soft cloth. Tape edges of paper stencils with painter’s tape to prevent paint bleed. Test your stencil first on scrap wood or cardboard to practice. After painting, remove the stencil slowly to prevent smudging or peeling off fresh paint.
- Print your design to the correct size on thick paper or vinyl.
- For vinyl, use a craft cutter to cut the letters; for paper, hand-cut with a sharp knife on a cutting mat.
- Weed out excess vinyl or remove the cut letters carefully from paper.
- Apply spray adhesive or glue stick to the back of paper templates; use transfer tape on vinyl.
- Position the stencil on your sign, smoothing out bubbles and wrinkles.
- Secure edges with painter’s tape if using paper stencils.
- Paint your letters through the stencil without saturating the edges.
- Remove the stencil gently once the paint is dry to the touch.
Painting and Finishing Techniques for a Professional Look
Choosing the right paint sets the stage for a professional last name sign, especially when working with wood or metal. Acrylic latex paint works best on wood because it adheres well and offers durability. For metal surfaces, oil-based paints or spray paints specifically designed for metal resist rust and weather better. Select outdoor or exterior-grade paint if the sign will hang outside. Quality paint brands cost around $5 to $15 per quart, depending on the finish and coverage.
Before painting, prime the surface to ensure the paint sticks evenly and lasts longer. For wood, lightly sand the sign with 120- to 150-grit sandpaper, then wipe away dust with a tack cloth. Apply a stain-blocking primer or a bonding primer with a brush or roller. Let the primer dry fully, usually 2 to 4 hours, before adding color. Metal signs require a rust-inhibiting primer applied in a thin, even coat. Priming helps prevent peeling and uneven color.
Layering colors can create depth and richness in your design. Start with a base coat using a larger brush or roller, applying two thin coats instead of one thick coat to avoid drips. After the base dries, add your letters or decorative elements with a stencil and smaller brushes. For a rustic finish, sanding edges gently or using a dry brush technique to apply less paint in certain areas can create a distressed look. This technique highlights natural wood grain or worn metal for a vintage feel.
Sealing is important, especially for outdoor signs that face sun, rain, or temperature changes. Clear acrylic polyurethane sealers provide good protection without yellowing. Apply two coats with a synthetic brush, allowing one hour drying time between coats. For signs exposed to harsh weather, consider a marine-grade varnish, which resists UV rays and moisture better but often costs more. Avoid applying sealers too soon, as trapping moisture can cause bubbling or peeling.
Creating either a rustic or modern finish depends on your paint and finishing choices. A rustic look benefits from layering earth tones, distressing with sandpaper, and using matte or satin sealers to keep a natural feel. A modern look uses solid, crisp colors with minimal distressing and a gloss or semi-gloss finish to add sleekness. Choose paint brushes with synthetic bristles for smooth lines on modern signs. Light sanding between paint layers can improve adhesion and smoothness for that glossy effect.
Test paint and sealer on a scrap piece of your material to ensure compatibility and desired finish before working on your final sign.
Decorating Your Last Name Sign with Creative Additions
Adding ribbons, floral decor, seasonal accents, and other embellishments to your last name sign makes it uniquely yours and fits the style of the space where you’ll hang it. Consider the overall look you want, rustic signs pair well with burlap ribbons and dried flowers, while modern designs often suit sleek metal or acrylic accents. Traditional farmhouse signs benefit from fresh or faux greenery, and coastal-themed signs look great with shells or nautical rope details.
Securely attaching fabric, flowers, or ribbons depends on the material of your sign and whether it will be indoors or outdoors. For fabric and ribbons, use a hot glue gun for a strong, quick bond on wood or painted surfaces. Wrap ribbons around the sign’s edges or tie them into bows for added texture. Floral pieces can be attached with floral wire threaded through small holes in the sign or secured with a hot glue gun. When using live flowers, make sure to attach them last and replace them regularly; faux flowers last longer and require less maintenance.
Seasonal decorations are an easy way to refresh your sign for holidays or changing weather. Keep a few simple additions on hand to swap out throughout the year without fully redecorating. For example, autumn accents like mini pumpkins, orange and red leaves, or plaid ribbon add warmth from September to November. Winter can feature pinecones, holly branches, or red berries attached with wire or glue. Spring and summer lend themselves to pastel ribbons, bright floral clips, or small decorative butterflies.
- Use hot glue or floral wire to attach decorations firmly.
- Burlap or satin ribbons add texture and come in various widths (1 to 3 inches) for layered effects.
- Attach seasonal pieces with removable adhesive hooks or Velcro strips to avoid damage.
- Faux flowers and greenery last through multiple seasons and weigh less on the sign.
- Add small, lightweight embellishments like wooden cutouts or metal charms for personalization.
- Consider the sign’s placement to choose weather-resistant materials if outdoors.
- Store seasonal decorations in labeled containers for easy access and reuse.
Decorations should improve the sign without overwhelming the last name you designed. Keep embellishments proportional, too many bulky additions can hide the lettering or make the sign difficult to hang. Light attachments also reduce stress on hooks or nails and prevent damage to the sign over time. Well-chosen additions highlight your style and the changing seasons, making the sign a focal point all year long.
Common Mistakes When Making Last Name Signs and How to Fix Them
Peeling or fading paint is often caused by inadequate surface preparation or using paint not suited for outdoor use. Before painting, make sure to clean the wood thoroughly and sand it smooth to remove any dirt, oils, or old finishes. Use a primer designed for exterior wood to help the paint adhere better and last longer. Acrylic latex paint works well outdoors, and applying at least two coats will increase durability. Avoid painting in direct sunlight or extreme temperatures, as these conditions cause paint to dry too quickly and crack.
Misaligned or uneven letters usually result from rushing the stencil application or not securing the template properly. Fix this by repositioning the stencil carefully before painting. Use painter’s tape on all edges to hold it firmly in place. When painting, apply the paint lightly in layers with a dry brush or sponge to prevent bleeding under the stencil. Spot minor smudges by waiting for the paint to dry fully, then fix edges with a small artist’s brush in matching paint, or clean lines with a damp cloth right after you take off the stencil.
Stencil leaks and smudges happen when excess paint seeps beneath the stencil edges. Minimizing this requires taping the stencil carefully and using the right brush technique. Dab or gently brush paint instead of heavy strokes. Smudging should be wiped off promptly with a wet cotton swab before the paint sets. For stubborn leaks, lightly sand the affected area once dry, then repaint with precision.
Material warping or cracking can ruin your sign’s appearance and longevity. This occurs if the wood or base material absorbs moisture or is exposed to harsh weather without proper sealing. To prevent warping, choose kiln-dried wood and seal all sides, including edges and back, with outdoor-grade sealer or spar varnish. Keep your sign out of direct rain and extreme sun whenever possible. For composite materials, follow manufacturer instructions for sealing and avoid prolonged exposure to water.
- Always sand and clean the base surface before painting
- Use exterior primer and at least two coats of acrylic latex paint
- Secure stencils firmly with painter’s tape to prevent shifting
- Apply paint lightly in layers to avoid bleeding under the stencil
- Correct smudges immediately with matching paint or damp cloth
- Seal all sides of wooden signs with outdoor-grade varnish to prevent warping
- Store or hang signs where they won’t be soaked or baked by sunlight
These steps help ensure your last name sign looks sharp and stays strong over time. Precision in each phase, from preparation to finish, reduces mistakes and extends your sign’s life. Taking your time especially around stencil application and paint drying delivers a neat, professional appearance. Remember that using quality materials and proper sealants adds to your project’s cost but protects your work and makes it more satisfying to display.
Hanging and Maintaining Your Last Name Sign for Longevity
Use suitable hanging hardware and thoughtful placement to secure your last name sign safely and showcase it effectively. Proper maintenance, including cleaning and occasional touch-ups, keeps your sign looking fresh, especially against outdoor elements. These steps protect your work and extend the life of your personalized decor.
Choosing Hanging and Mounting Hardware
For heavy or large last name signs, opting for strong hanging hardware ensures stability. D-ring hangers or keyhole brackets attached to the back of the sign distribute weight evenly and reduce strain on the wall. To hang very large signs, consider using wall anchors or toggle bolts compatible with your wall type (drywall, brick, or wood).
Smaller signs under 10 pounds can use simple sawtooth hangers or heavy-duty adhesive strips if weight and surface are suitable. For outdoor signs exposed to wind or weather, stainless steel screws and rust-resistant hooks prevent corrosion.
- Attach two D-ring hangers near the top corners for balanced support
- Use wall anchors rated for the sign’s weight when mounting on drywall
- Choose stainless steel or brass hardware outdoors to resist rust
- Use a level to ensure straight hanging
- Consider mirror mounting strips for a clean look on smooth surfaces
Ensure all screws and anchors are tightly secured to avoid the sign falling and damaging itself or the wall.
Optimal Placement Ideas for Home Decor
Place your last name sign where it naturally draws attention without cluttering the space. Popular spots include above the mantel, near the front entrance, or in the dining room where family gatherings happen. Height matters: hang your sign at eye level (about 57 to 60 inches from the floor) for the best visibility.
Balance the sign with surrounding decor, such as picture frames or shelves, to create a cohesive look. Avoid placing it in direct sunlight indoors to prevent fading of painted finishes over time.
Cleaning and Protecting Your Sign Long-Term
Keep your last name sign clean with regular dusting using a soft, dry cloth or feather duster. For more thorough cleaning, a damp cloth with mild soap and water works well on sealed surfaces. Avoid abrasive cleaners or harsh chemicals that can damage the finish.
Outdoor signs require extra care: inspect the finish yearly and apply a clear outdoor polyurethane or sealant as needed, usually every 1 to 2 years depending on weather exposure. Touch up any chips or scratches early using matching paint to prevent wood damage, especially on birch plywood signs.
- Dust the sign monthly to prevent buildup
- Clean with mild soap and soft cloth quarterly
- Inspect outdoor sealants annually
- Reapply weather-resistant polyurethane every 1 to 2 years
- Touch up paint chips or scratches promptly
- Avoid placing outdoor signs where water pools or direct heavy rain hits
Step-by-Step Action Plan
Follow these steps to create a last name sign that looks great and lasts long.
- Before you start: Choose a durable material like cedar or pine and decide on your design style to match your space.
- Day 1: Create or print a stencil for your letters and layout. Confirm the stencil fits your sign size perfectly.
- Day 2: Prepare the wood by sanding it smooth and cleaning off dust. Test a small spot to ensure paint will adhere well.
- Day 3: Paint your background color and allow it to dry completely. Check that the finish is even without drips.
- Day 4: Use your stencil to paint the letters carefully, applying thin coats for crisp edges. Let each coat dry before adding another.
- Day 5: Add decorative touches like floral designs or borders with fine brushes, keeping them balanced and not overcrowded.
- Day 6: Seal the entire sign with a clear outdoor polycrylic or varnish for protection. Allow it to cure as per product instructions.
- After 1 week: Hang your sign using weather-resistant hardware and make sure it is secure. Check it periodically to maintain appearance.
Frequently Asked Questions
What Tools Do I Need to Make a Last Name Sign?
Basic tools like a saw, paintbrushes, sandpaper, and measuring tape are essential. Choose tools based on your materials, such as wood or metal, to ensure a clean and precise sign.
How Can I Choose the Right Size for My Last Name Sign?
Pick a size that fits well in the display spot without overpowering it. Measure the wall or area before crafting to ensure your sign complements the space proportionally.
What Type of Paint Works Best on Wooden Last Name Signs?
Acrylic paint is ideal for wooden signs because it adheres well and is weather-resistant. It comes in many colors and finishes, allowing customization for indoor or outdoor use.
Can I Add Lights to My Last Name Sign?
Yes, small LED string lights or battery-operated spotlights can accentuate your sign. Ensure they are suitable for outdoor use if the sign is outside and avoid wiring risks with low-voltage options.
Is It Better to Use Stencils or Freehand for Lettering?
Stencils provide neat, consistent letters, especially for beginners. Freehand works if you have steady handwriting or want a personalized, imperfect look, but it requires practice for best results.
How Do I Protect My Last Name Sign Outdoors?
Apply a clear sealant to shield against rain and UV rays. Choose a sealant compatible with your paint and materials to prevent fading and wear over time.
Wrapping Up
Creating a last name sign gives you a personalized and lasting decor piece that reflects your style. Begin by gathering your materials and making your stencil today. Taking your project step-by-step ensures a professional finish and a sign that stands up to time and weather. Start crafting your unique last name sign and get ready to showcase your home with pride.