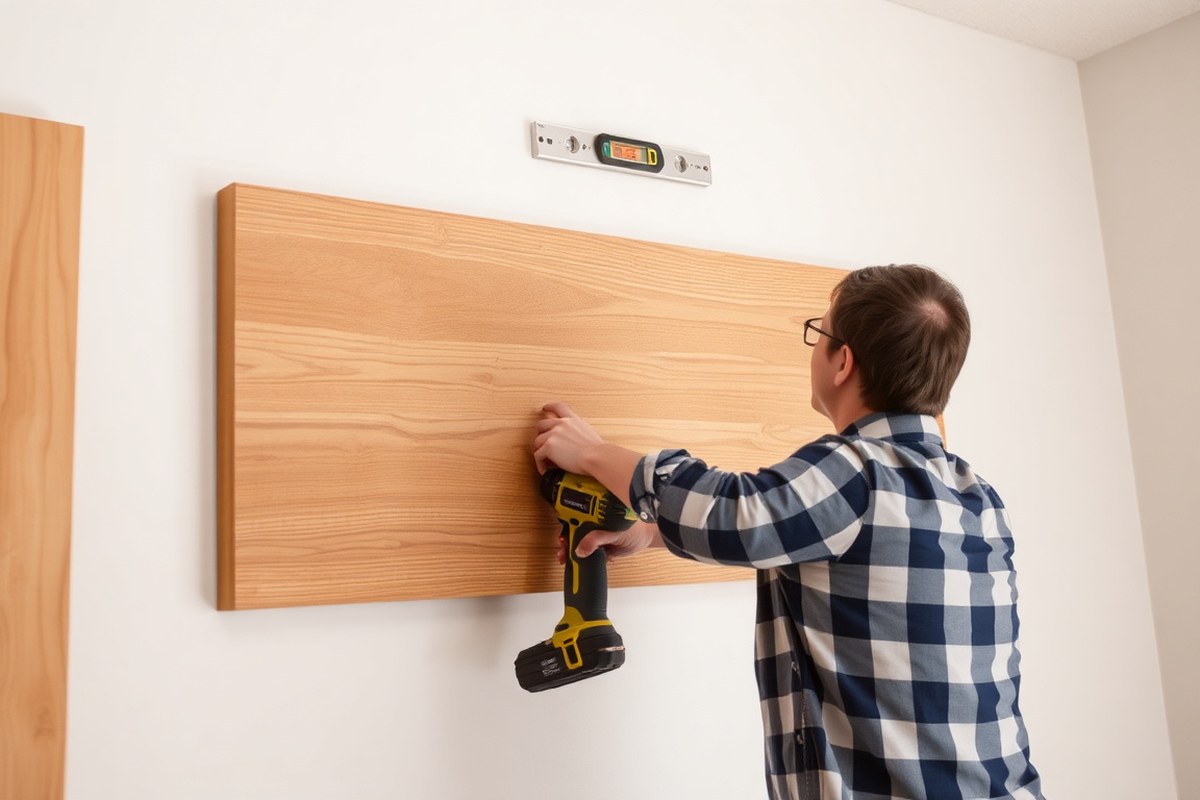
How to Hang a Wooden Sign: 8 Practical Methods for Secure Results
How to hang a wooden sign depends on the wall type and the sign’s weight. Use the right anchors or screws for drywall, masonry, or wood walls to ensure secure mounting. Start by finding studs when possible, since they provide the strongest support for heavier signs.
Key Takeaways
- Locate wall studs about 16 inches apart to anchor heavy wooden signs securely.
- Use wood screws sized 1 1/2 inches plus three-fourths of the sign’s thickness for firm attachment.
- Hang signs at eye level, around 57, 60 inches from the floor, for optimal visibility.
- Attach a French cleat system for heavy signs to evenly distribute weight across studs.
- Prepare the sign by sanding it smooth before adding hardware or mounting.
- Use picture hangers for wooden signs weighing between 3 and 20 pounds as reliable support.
1. How to Hang a Wooden Sign on Different Wall Types
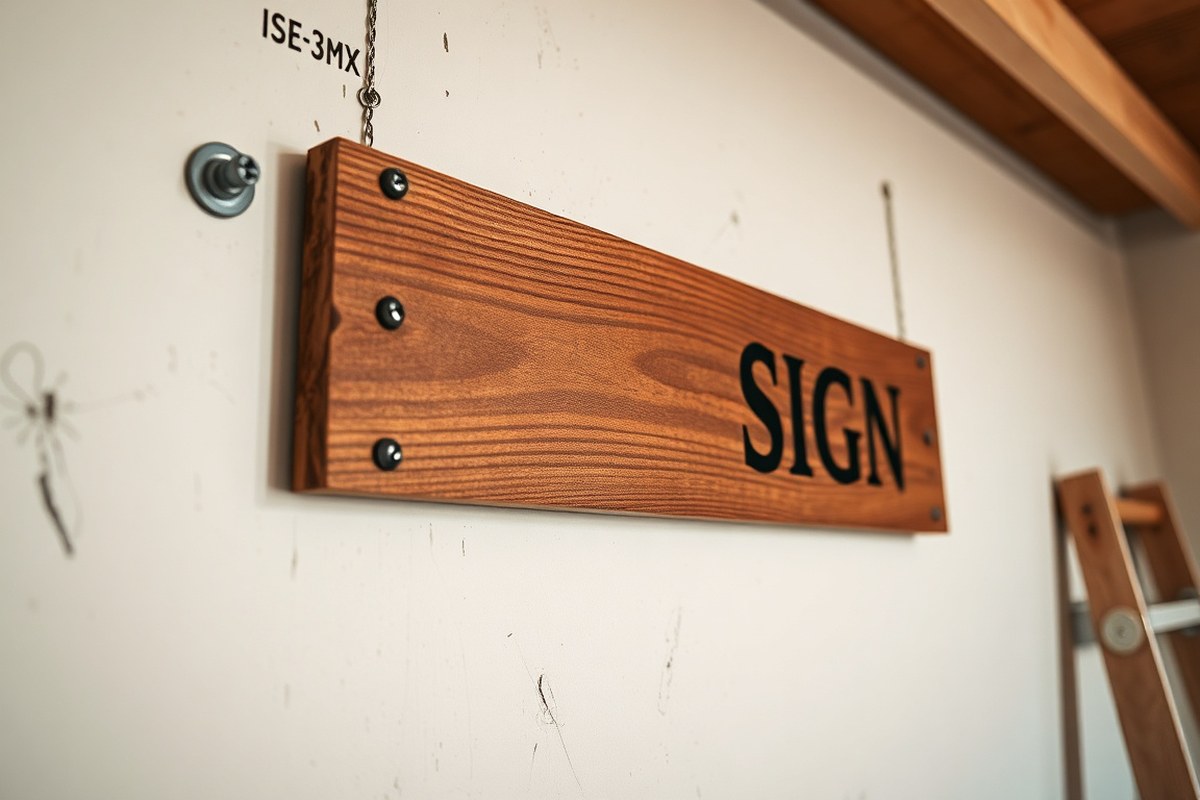
Choose mounting hardware based on your wall type and the weight of the wooden sign. Drywall with studs lets you use standard #8 wood screws directly into the stud for a secure hold. If you can’t find a stud, opt for threaded drywall anchors or toggle bolts rated for at least twice your sign’s weight. Those free plastic plugs in some hardware kits won’t support heavier signs and can pull out easily.
Plaster and lath walls need gentle handling. Slow-drill a pilot hole to avoid cracking the surface, then insert a toggle bolt rated for your sign’s weight. Avoid forcing a drill bit, as this can spall or chip the plaster around the hole.
Brick and concrete are harder to drill but provide a strong base. Always drill into the mortar joints rather than the brick face to make repairs easier if you remove the sign later. Use a masonry bit with a hammer drill to create holes, then insert masonry anchors or concrete screws sized for your hardware. For heavier signs, drilling into the solid brick center and using sleeve or expansion anchors offers a stronger hold compared to older mortar joints.
Adhesive strips and command hooks work for signs under 5 pounds if the wall surface is smooth and clean. However, textured walls reduce adhesion significantly. On textured or temperature-variable walls, rely on mechanical anchors instead of adhesive strips for longevity and security.
| Wall Type | Recommended Hardware | Important Considerations |
|---|---|---|
| Drywall (into stud) | #8 wood screw | Locate stud accurately; direct screw-in |
| Drywall (no stud) | Threaded anchor or toggle bolt rated 2× sign weight | Avoid using free plastic plugs; ensure anchor rating |
| Plaster and lath | Toggle bolts with slow pilot hole | Drill slowly to prevent plaster damage |
| Brick or concrete | Masonry bit and masonry anchors in mortar joints | Drill mortar joint, not brick face; use hammer drill |
To drill for masonry or brick, start with a hammer drill equipped with a masonry bit sized to your anchors. Press firmly and drill straight into the mortar joint where possible. This area is easier to patch if needed than the brick surface. For brick, target solid sections rather than hollow or cored bricks. Insert the masonry plug and then fasten your screw or hook. Avoid using standard drill bits on masonry as they’ll wear out quickly.
When using adhesive strips on wooden signs, apply them only to flat, smooth, and clean surfaces. Allow the strips to set according to manufacturer instructions before hanging. Applying extra strips adds margin for safety. Adhesives fail on textured walls and under temperature swings, making mechanical anchors the better choice in those situations.
2. Choosing the Right Hardware Based on Sign Size and Weight
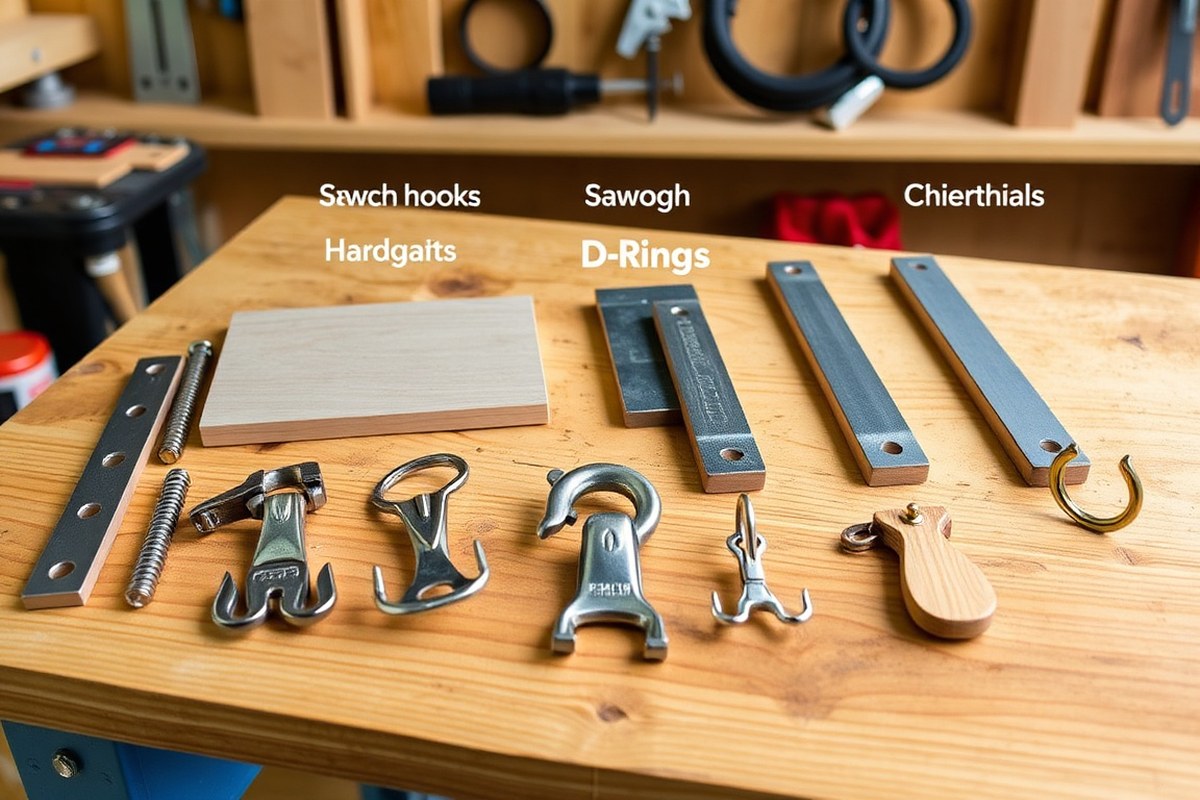
Choosing the right hardware for hanging a wooden sign depends on its size and weight. Lightweight signs under 5 pounds work well with sawtooth hangers or adhesive strips. Signs between 5 and 15 pounds usually mount securely with D-rings and wire. Signs heavier than 15 pounds or wider than two feet need a French cleat system for safe, sturdy support.
Hardware for Lightweight Signs Under 5 Pounds
Small wooden signs, like nameplates or decorative plaques, typically weigh under five pounds. Sawtooth hangers attached to the back center of the sign are ideal here because they are simple and secure. One nail or screw on the wall is enough to hold these signs safely.
Adhesive strips designed for wall mounting can also work for very lightweight signs, especially when you want to avoid nails or screws. These are best for smooth surfaces and signs that do not require perfect alignment. Using adhesive strips means no visible hardware on the front.
Ensure the wall surface is clean and dry before applying adhesive strips to maximize holding strength.
Mounting Medium to Heavy Signs
Signs between five and fifteen pounds, often made from hardwood or larger pine boards, require stronger mounting hardware. Using D-rings screwed securely into the back of the sign at balanced points helps distribute weight evenly. Connecting the D-rings with a sturdy wire allows for easier hanging and adjustment on hooks or screws mounted in the wall.
Two hooks or screws spaced to match the distance between the D-rings keep the sign stable and prevent rotation. When the sign width approaches two feet or it is thick and heavy, make sure the mounting hardware and wall anchors are rated to support the weight. For medium-weight signs, picture hanging hooks rated for at least 20 pounds provide a good safety margin.
French Cleat System for Very Heavy Signs
Signs heavier than fifteen pounds or wider than two feet benefit most from a French cleat system. This method uses two 45-degree beveled wood strips: one securely attached to the back of the sign and the other mounted level on the wall, ideally into studs. The sign then hangs by fitting the cleat strips together, creating a strong, hidden mounting.
French cleats support heavy loads safely and keep the front face of the sign free from visible screws or hooks. Using at least two cleats or wider cleats prevents rotation and increases stability for large signs. High-quality screws and wall anchors designed for heavy-duty use are essential for safety when mounting the wall cleat. Below is a comparison table summarizing the best hardware choices based on sign weight and size:
| Sign Weight/Size | Recommended Hardware | Number of Fixing Points | Visibility of Hardware | Wall Support Needed |
|---|---|---|---|---|
| Under 5 lbs (small signs) | Sawtooth hanger, adhesive strips | 1 fixing point | Visible with sawtooth, concealed with adhesive | Minimal support, standard drywall anchors |
| 5, 15 lbs (medium signs) | D-rings with wire, picture hooks | 2 fixing points | Visible hooks or screws, hardware behind sign | Wall anchors or studs recommended |
| Over 15 lbs or >2 ft wide (heavy signs) | French cleat system | 2 or more cleats | Hardware completely hidden | Stud mounting required with heavy-duty anchors |
Choosing the right hardware avoids damage to your wall and sign while ensuring safety. For heavier signs, relying on studs and heavy-duty hardware prevents falls and damage. For lighter signs, avoiding overkill hardware keeps installation simple and neat.
3. Preparing Your Wooden Sign and Wall Before Hanging
Preparing your wooden sign and wall properly ensures a secure and damage-free installation. Sanding the wood smooth prevents splinters and damage when handling and hanging. Accurately marking where the hardware will go avoids misalignment. Locating wall studs guarantees strong support, especially for heavier signs.
Sanding and Treating the Wood Sign
Sanding your wooden sign smooth removes rough spots and splinters that could cause injury or damage the wall during hanging. Use fine-grit sandpaper (around 120 to 220 grit) to gently smooth all surfaces and edges. After sanding, wipe off any dust with a damp cloth.
Applying a wood sealer or finish protects the wood from dirt, moisture, and wear during handling and after hanging. This step is especially important for signs displayed outdoors but also helps maintain indoor signs. Let the finish dry completely before proceeding.
Marking and Measuring for Hardware Placement
Accurate measurement and marking ensure your sign hangs level and centered. Begin by measuring the sign’s width, height, and thickness to select appropriate hardware and estimate anchoring points. Use a pencil to lightly mark these points on the back of the sign for pre-drilling holes for screws or hooks. Pre-drilling prevents the wood from splitting when the screws go in.
On the wall, measure the desired hanging height and width. Use a spirit level to draw straight, horizontal pencil lines where the hardware will sit. Mark the exact spots where screws or anchors will go, usually matching the mounting points on the sign, especially if using two or more screws for heavier signs.
- Measure the sign’s dimensions (width, height, and thickness).
- Decide on the hardware placement based on sign size and weight.
- Mark drill holes on the back of the sign with a pencil.
- Pre-drill holes using a drill bit slightly smaller than the screw diameter.
- Measure and mark the matching points on the wall with a spirit level.
- Double-check the level marks and spacing before drilling into the wall.
Locating Studs and Wall Preparation
Finding wall studs allows you to anchor screws securely into wood framing behind drywall. Stud-mounted screws hold significantly more weight than drywall anchors, reducing the chance of the sign falling and damaging the wall or sign. Use an electronic stud finder to scan the wall where you want to hang the sign.
Once a stud is located, mark its edges and center with a pencil. Plan to screw directly into the stud, aiming for the center for best support. For signs over two pounds or wider than 12 inches, use at least two screws into studs or approved anchors elsewhere. Avoid nails for heavy signs, as they can damage both the sign and wall.
Before drilling into the wall, clear the area of electrical wires and plumbing. Drill with proper sized bits and consider attaching an anchor plate to the wall for very heavy signs to distribute the load.
- Turn on the stud finder and calibrate it according to the instructions.
- Slowly move the stud finder along the wall at the desired height.
- Mark stud edges and center clearly with a pencil.
- Measure and mark screw placement points aligned with studs and your sign’s hardware.
- Check wall for obstacles like wires; avoid drilling into them.
- Proceed with pre-drilling holes into studs or installing heavy-duty anchors as needed.
4. Step-by-Step Guide to Hanging a Wooden Sign Indoors
Hanging a wooden sign indoors requires careful preparation to avoid damage to both the sign and your wall. Pre-drilling holes in the back of the sign prevents splitting and makes attaching hooks or screws easier and more secure. Using the appropriate hardware such as picture hooks for medium-weight signs or wall anchors with mounting screws for heavier hardwood signs ensures a strong hold. Leveling and alignment on the wall are critical for a professional appearance, so take extra time measuring before and during the installation. Here is a detailed, step-by-step method to attach hardware to your wooden sign, mount it on the wall, and make sure it hangs perfectly level.
- Pre-drill holes in the back of the wooden sign. Select a drill bit slightly smaller than the screws you plan to use, commonly 1/16 to 1/8 inch diameter. Drill two to four holes evenly spaced near the top edge, about one inch from the edge, to prevent cracking and make hardware installation smoother.
- Attach hanging hardware to the sign. For medium-weight signs (10-20 pounds), screw in sturdy picture hooks or D-rings into the pre-drilled holes. For heavier hardwood signs, use heavy-duty screw eyes or brackets. Tighten screws firmly but do not overtighten to avoid damage.
- Mark your wall for anchors or screws. Hold the sign against the wall where you want it hung. Use a pencil to mark the wall through the hardware on the back of the sign. For heavier signs, locate wall studs with a stud finder to mount directly; if studs aren’t available, mark points for wall anchors.
- Install appropriate wall anchors or screws. Drill pilot holes in the marked spots using a drill bit matched to the anchor size, usually 1/4 inch for plastic expansion anchors. Insert the anchors, then drive in screws, leaving the heads slightly protruding to catch the hanging hardware.
- Hang the wooden sign on the screws or hooks. Carefully fit the sign’s hardware onto the installed screws or hooks. For longer or heavier signs, have a helper support the sign during this step.
- Check the level of the sign and adjust as needed. Use a carpenter’s level placed on top of the sign. If it tilts, gently shift the sign side to side or slightly reposition the hanging points to level it. Some hardware allows minor sideways movement to aid leveling.
- Tighten all screws and fixings after confirming level. Once satisfied with the placement, securely tighten any mounting screws and hardware on both the sign and the wall. This prevents the sign from loosening over time.
Properly pre-drilling holes helps avoid cracks in your wooden sign and makes mounting hardware more stable. Using wall anchors for heavier signs protects drywall from damage and ensures the sign stays securely fixed. Taking time to measure and align reduces the risk of crooked mounting that detracts from the appearance. Expect the entire process of preparation and hanging to take around 30 to 60 minutes depending on sign size and wall conditions. Basic hardware, including screws and anchors, typically costs under $10 and can be found at most hardware stores or home improvement centers.
5. Techniques for Hanging Heavy Wooden Signs Safely
Heavy wooden signs typically weigh more than 20 pounds and demand stronger hanging solutions than standard picture anchors. For such signs, lag screws and French cleats are the most reliable choices. Lag screws are thick, sturdy screws that provide deep, secure anchoring into studs or solid wood, making them ideal for supporting heavy loads. French cleats consist of two interlocking angled wood or metal strips, one fixed to the wall and one attached to the back of the sign, distributing weight evenly across a larger surface.
Start by identifying the exact weight of your sign. Signs over 20 pounds require lag screws or French cleats. Use a stud finder to locate studs behind drywall, since lag screws must embed in solid wood for maximum strength. Choose lag screws that are at least 3 inches long and 1/4 inch thick for large signs. For drywall without studs, heavy-duty wall anchors rated for the sign’s weight are necessary; never rely on basic plastic anchors for heavy signs.
French cleats are recommended for signs wider than 16 inches because they spread the weight horizontally and reduce pressure on individual mounting points. To install, cut two wood strips 1 to 2 inches wide and 3/4 inch thick. Cut a 45-degree bevel along the long edge of each strip in opposite directions. Secure one strip to the wall over at least two studs using lag screws, and attach the other to the back of the sign. Hang the sign by fitting the angled edges together.
Even weight distribution is important. With lag screws, mount at least two screws horizontally spaced across the sign’s width to reduce use stress on the wall. For signs taller than 12 inches, place a third lag screw vertically centered for extra support. Always pre-drill holes in the wood sign and wall to prevent splitting. If unsure about stud placement, use a combination of lag screws and heavy-duty anchors rated for the full load.
A practical checklist before hanging a heavy wooden sign includes weighing the sign accurately, locating studs with a stud finder, selecting lag screws of appropriate length and thickness, buying heavy-duty anchors if needed, preparing a French cleat if the sign is wide, and pre-drilling holes. This setup typically costs between $10 and $30 depending on hardware quality and size. Proper installation means your sign will hang flush, stable, and not tilt or pull away from the wall over time.
Tip: Avoid using screws that are too thin or anchors rated below your sign’s weight; they can strip or fail, causing damage and safety hazards.
6. Outdoor Hanging: Preparing and Protecting Wooden Signs
Wooden signs intended for outdoor use should always be treated before installation to protect them against moisture, UV rays, and temperature changes. Applying a wood sealer or outdoor-grade varnish prevents water penetration and reduces the risk of warping, cracking, and rotting. You should start by sanding the sign smooth, then apply at least two coats of a clear exterior-grade polyurethane or spar urethane. Allow each coat to dry completely, typically 24 hours, and lightly sand between coats to ensure good adhesion. This treatment typically costs around $15 to $30 for a quart of finish, which can cover multiple signs, making it a cost-effective step to extend your sign’s life outdoors.
Choosing hardware resistant to rust and weather is essential for durability. Stainless steel screws, galvanized nails, or brass hardware offer the best resistance to corrosion. Avoid plain steel fasteners, which can rust quickly when exposed to rain or humidity. For mounting signs on posts or fences, use two hanging points such as eye screws or heavy-duty hooks spaced evenly across the top edge of the sign. This reduces swinging and strain on the wood. Attach galvanised or stainless steel chains or wire between the mounting points and the post. Check these connections annually, as hardware typically fails before wood does and can become loose or corroded over time.
Securing signs to surfaces like wooden posts or fences requires hardware appropriate for the mounting material. If the post or fence is wood, direct screw fixing is most effective, driving stainless steel screws through the sign into the support. For metal posts, use U-bolts or metal straps rated for outdoor use to firmly clamp the sign. Tighten hardware just enough to hold the sign securely without crushing the wood. Signs heavier than three pounds might demand more strong attachments; for lighter signs, strong outdoor adhesives can sometimes work as a drill-free option, but they are less reliable in harsh weather.
A checklist for preparing and protecting your outdoor wooden sign includes sanding and sealing the wood with two or more coats of exterior finish, selecting stainless steel or galvanized mounting hardware, using two mounting points for stability, and matching fasteners to the mounting surface. Inspect hardware yearly, especially chains and eye screws, to maintain a safe installation. Signs well-prepared and properly mounted will resist weather damage for several years, while untreated or poorly mounted signs risk cracking, fading, and falling down within a single season.
7. How to Hang a Wooden Sign Without Nails or Drilling
Hanging a wooden sign without nails or drilling works best with adhesive strips, over-the-door hangers, or magnetic solutions made for renters or delicate walls. These methods protect your surfaces from damage while supporting lightweight to medium-weight signs in different placements. Understanding each option’s strengths and limits helps you pick the right one for your wooden sign and wall type.
Adhesive Strips and Mounting Squares
Double-sided adhesive strips, like Command strips, are a common no-drill option that supports wood signs up to about 3 pounds. They hold well on smooth, painted surfaces and allow for clean removal without damaging walls. Mounting squares work best on flat-backed signs and should be spaced roughly 6 inches apart to ensure even support and prevent warping.
To install, clean the back of your wooden sign with rubbing alcohol and let it dry completely. Cut the adhesive strip into smaller pieces if needed, then attach two strips near each top corner and one or two along the bottom edge. Press firmly for 30 seconds on each strip. Wait a minute before pressing the sign to the wall for optimal adhesion. Avoid high humidity or extreme temperatures below 40°F (4°C) or above 100°F (38°C), as these can weaken the bond.
| Feature | Adhesive Strips | Mounting Squares |
|---|---|---|
| Weight Capacity | Up to 3 lbs | Varies, usually light signs |
| Surface Type | Smooth, painted walls, metal doors | Flat, smooth sign backs |
| Installation Time | 5, 10 minutes, plus 1-hour curing | 3, 5 minutes per square |
| Removal | Clean, no damage if followed | May leave minor residue |
| Cost per Pack | $5, 10 for 12 strips | $3, 7 for 4, 6 squares |
Adhesive strips are ideal if you want to avoid holes and have a low-weight sign in a low-moisture indoor area. Excessive weight or textured walls reduce effectiveness. Monitor the sign periodically, especially if exposed to sunlight or temperature swings.
Over-the-Door and Clamp Hangers
An adjustable over-the-door hanger offers a no-damage method for hanging signs on front doors without adhesives or nails. These hangers clamp over the top edge of the door and hold signs at your chosen height, making them perfect for wooden door signs. Their weight capacity often exceeds 5 pounds depending on the model, and they keep your door surface intact.
To use, open the door and slip the hanger’s hook or clamp over the top. Position the wooden sign onto the attached hook or loop. Adjust the height so the sign hangs centered and visibly. This setup is quick, can be reused for different signs or doors, and works well even outdoors on painted or metal doors.
| Feature | Over-the-Door Hanger |
|---|---|
| Weight Capacity | Typically 5, 10 lbs |
| Surface Type | Door edges; no surface damage |
| Installation Time | Less than 2 minutes |
| Placement Flexibility | Height adjustable, portable |
| Cost | Between $8 and $15 |
These hangers suit renters or anyone hesitant about adhesives. Downsides include restricting door closure if the sign is large or heavy and limited use on doors with high trims. Make sure the door can fully close with the hanger in place.
Magnetic and Suction Cup Solutions
Strong, outdoor-rated removable adhesive hooks or magnets serve well for signs on metal or glass doors. Magnets require metal backing on your door and heavy-duty magnetic hooks rated for the sign’s weight. Suction cups also work on smooth glass or metal but often have lower weight limits, typically under 2 pounds.
Attach heavy-duty outdoor magnets or suction cup hooks on a clean, dry door surface. Hang your wooden sign from the hook or magnet’s loop or hole. This method offers an almost invisible mounting that doesn’t harm the door finish and can be quickly removed or repositioned.
| Feature | Magnetic Hooks | Suction Cups |
|---|---|---|
| Weight Capacity | Up to 4, 6 lbs | Up to 2 lbs |
| Surface Type | Metal doors | Glass, smooth metal |
| Installation Time | Under 5 minutes | Under 5 minutes |
| Durability | Reliable in most conditions | Less effective in heat or moisture |
| Cost Range | $6, 12 per set | $4, 8 per pair |
Use magnetic mounts on metal doors where no holes or adhesive damage are allowed. Suction cups work best indoors on glass doors or windows. Both have limited weight capacity, so check how heavy your wooden sign is before choosing this method.
8. Avoiding Common Mistakes When Hanging Wooden Signs
Signs that fall or tilt after hanging usually result from using the wrong hardware for the sign’s weight or not properly anchoring the fasteners into the wall. Using nails instead of wall anchors on drywall, for example, can fail under the sign’s weight. Uneven spacing between mounting points or incorrectly measured hanging braids can also cause signs to hang crooked or shift out of place. Ensuring that the weight is evenly distributed and secured to strong points in the wall prevents common slipping problems.
Fixing misaligned holes or anchors starts with removing the sign carefully to avoid damage. If holes are close but off by less than an inch, you can fill the old holes with wood filler or spackle, wait for it to dry (usually 4 to 6 hours), then sand smooth before re-drilling. For anchors installed too far apart, fill the original holes with a durable patching compound rated for walls, let it cure fully (typically 24 hours), then mark new holes accurately using a level and tape measure. Using a laser level or a carpenter’s level ensures the new holes align correctly and the sign hangs straight. Always check that your wall anchors match the load capacity required by the sign’s weight to prevent future falls.
- Use a level to mark mounting holes before drilling or hammering
- Choose anchors rated to hold at least 25% more than your sign’s weight
- Measure twice and mark precisely to avoid drilling multiple holes
- Fill and repair old holes with appropriate patching compounds before new installations
- Use mounting hardware that distributes weight evenly, like D-rings or French cleats
- For heavy signs, support mounting points into studs or masonry, not just drywall
Hanging wooden signs incorrectly can cause damage not only to the wall but to the sign itself, risking costly repairs or replacements. A good result shows a sign firmly attached, perfectly level, and free of movement when gently nudged. Signs installed in high-traffic areas or outdoors may require periodic checks and retightening to maintain safety and appearance.
It’s wise to hire a professional for installation when handling large, heavy signs that require secure mounting into masonry, brick, or uneven surfaces that need special anchors and tools. Professionals can also ensure compliance with any local building codes or HOA regulations, reducing liability risks. Labor costs for professional hanging vary greatly but expect $50 to $150 for a straightforward wall mount and more for complex or outdoor setups.
Always test the stability of your hanging setup by gently pulling on the sign before finishing and avoid over-tightening screws to prevent splitting the wood.
Step-by-Step Action Plan for Hanging Your Wooden Sign
Follow these steps to hang your wooden sign securely and attractively, matching your wall type and sign weight.
- Before you start: Measure your sign and wall space. Confirm the weight to pick the right hardware and location.
- Day 1: Choose hardware based on your wall and sign weight, such as anchors for drywall or masonry hooks for brick. Test the hardware by gently pulling to confirm it holds.
- Day 2: Prepare the sign by attaching hanging hardware like D-rings or hooks securely. Verify they are evenly spaced and tightly screwed in.
- Day 3: Clean and mark the wall where the sign will hang. Use a level to ensure your markings are straight.
- Day 4: Install hardware on the wall, drill holes or apply adhesive strips based on your chosen method. Check stability by applying light pressure after installation.
- Day 5: Hang the sign and make minor adjustments to the position or levelness as needed.
- After 1 week: Inspect the sign’s hold and alignment. Tighten or adjust any loose parts or hardware.
Frequently Asked Questions
How Do You Hang a Wooden Sign at Eye Level?
Hang your wooden sign at about 57 to 60 inches from the floor, the standard eye level used in galleries. This height makes your sign easy to read in a room without clutter.
What Hardware Is Best for Hanging a Wooden Sign Securely?
Use sturdy hooks, screws, or an anchor plate for heavy signs to ensure a solid hold. Choose hardware that matches your sign’s weight and wall type.
How Can You Hang a Sign Without Hooks or Nails on a Wall?
Use strong adhesive strips or mounting tape rated for your sign’s weight to avoid holes. This method works well on smooth, clean wall surfaces.
What’s the Best Way to Attach a Wooden Name Sign to a Wall?
Attach mounting hardware like D-rings or sawtooth hangers to the back, then hang at eye level with screws or nails. This approach keeps the sign flat and stable.
How Do You Avoid Damage When Hanging a Wooden Sign Outdoors?
Use spacers or hooks to keep the sign off the wall, allowing air flow and rain drainage. This prevents moisture buildup and extends the sign’s life.
What Should You Do Before Hanging a Heavy Wooden Sign Indoors?
Attach an anchor plate to the wall first to distribute the weight safely. Prepping the wall and sign with proper hardware avoids accidents and wall damage.
Before You Go
Hanging a wooden sign correctly depends on matching the hardware to your wall and sign, preparing surfaces, and using the right method for your situation. Start by selecting proper anchors or hooks for your setup to ensure lasting stability. Once you hang your sign, check it regularly to keep it looking its best and firmly in place.