What Is Printable Vinyl a Complete Guide to Uses, Types & Printing
What is printable vinyl? It’s a special type of vinyl material you can print on using specific printers and inks.
You create custom designs that stick to almost any surface, great for labels, decals, and craft projects. Printable vinyl works because it’s coated to absorb ink well without smudging, then you cut and apply it easily to your project.
Start with knowing your printer type, some printable vinyl only works with inkjet, eco-solvent, or latex printers. Avoid laser printers since their heat can melt vinyl and ruin your print. Once printed, wait about 24 hours before exposing your vinyl to water to keep your design sharp and durable.
Key Takeaways
- Printable vinyl is coated for ink absorption, allowing sharp, durable prints for stickers and decals.
- Use inks compatible with your vinyl and printer, like eco-solvent, solvent, latex, or inkjet inks.
- Avoid laser printers to prevent melting the vinyl and damaging your equipment.
- Wait at least 24 hours after printing before exposing vinyl to moisture or hand washing.
- Printable vinyl can last 3 to 5 years outdoors when properly applied and maintained.
- Store vinyl rolls in a stable indoor climate between 18-22°C and 40-60% humidity for longevity.
What Exactly Is Printable Vinyl and How Does It Work?
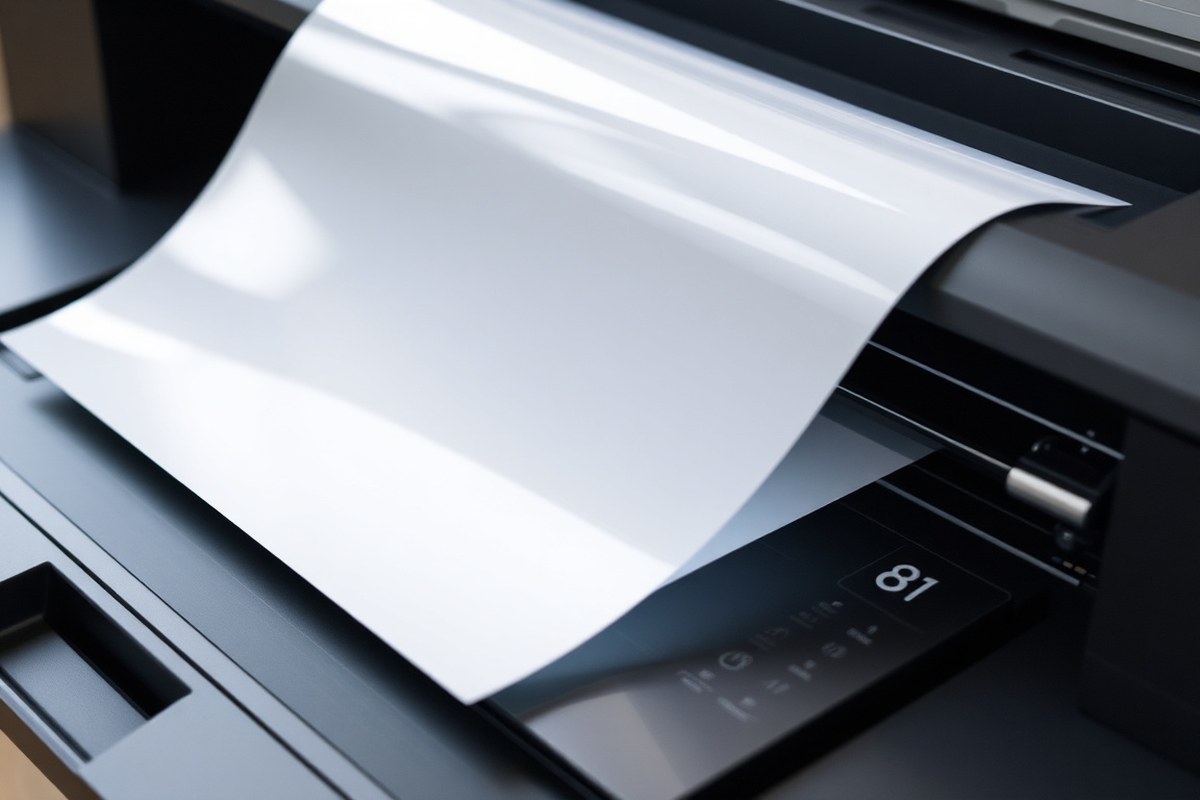
Printable vinyl is a synthetic, polymer-based material made to hold ink well for vibrant, water-resistant designs. Unlike regular vinyl sheets used for signage, printable vinyl has a special top coating that soaks up ink efficiently. This coating helps colors stay bright and prevents smudging, which is why it works great with inkjet printers.
Regular vinyl lacks this printable surface; it’s usually a solid color or has a plain adhesive layer. It’s durable but not designed to absorb ink, so feeding it through a printer won’t give you the sharp, colorful results you want.
Printable vinyl differs from sticker paper because it’s waterproof and tear-resistant. Sticker paper is made of actual paper with an adhesive backing, making it less flexible and prone to damage when wet.
The key to printable vinyl’s success is its polymer makeup and ink-absorbing coating. When you load printable vinyl sheets into your inkjet printer, the ink sticks well and dries quickly, producing long-lasting, detailed images. Sheets cost around 32 to 45 cents each, more than sticker paper, but the weather resistance and durability, lasting 3 to 5 years outdoors if applied right, make it worth the extra cost.
Keep in mind, printable vinyl is a bit thinner and more flexible than typical vinyl, making it easier to use on curved surfaces. Unlike sticker paper, it feeds smoothly in most printers without jamming. Problems arise if you try using regular vinyl or sticker paper in place of printable vinyl, leading to ink smudges, poor adhesion, or printer jams.
To get the best results, make sure to select printable vinyl designed for your printer type and use inks compatible with the vinyl’s coating. Since printable vinyl is water-resistant, it’s ideal for outdoor labels, custom decals, or craft projects that need a longer lifespan. The polymer base keeps your designs looking fresh even after rain or washing.
Types of Printable Vinyl and Their Best Uses

Printable vinyl comes in various types, each suited for specific craft projects and surfaces. The main varieties include glossy, matte, and clear printable vinyl, plus printable heat transfer vinyl (HTV). Knowing which to pick depends on how your design will look and where you plan to apply it.
Glossy and Matte Printable Vinyl
Glossy printable vinyl has a shiny finish that makes colors pop and photos look vibrant. It’s great for eye-catching stickers, labels, and decals that need a polished appearance. Matte printable vinyl offers a non-reflective, smooth finish, which reduces glare and gives prints a softer, more muted look.
Use glossy vinyl when you want a bright, vivid look, especially if your design includes photographic images or bold colors. Matte vinyl works better for signs or product labels where readability in different lighting matters. You can print on either type with an inkjet printer using photo paper or glossy photo modes for best colour accuracy.
Glossy and matte printable vinyl shares these useful qualities:
- Compatible with inkjet printers and cutting machines
- Printable with full color, gradients, and photographs
- Can be laminated for extra durability outdoors
- Moderate outdoor durability without lamination
- Available in sheets or rolls, often around $1-$3 per sheet
Clear and Transparent Options
Clear printable vinyl lets your design show through without a white background, ideal for window decals and glass surfaces. It creates a sleek, modern look and supports vibrant colors, especially with glossy finishes. Transparent vinyl is often used for layering effects or subtle branding on bottles and packaging.
Clear vinyl requires careful printing to avoid ink smudging and usually benefits from lamination for outdoor use. It costs slightly more than standard opaque vinyl but can improve product presentation significantly. Keep in mind that when printing on clear vinyl, darker inks work best for visibility.
Use clear vinyl only on clean, smooth surfaces, or the adhesive may fail to stick properly.
Printable Heat Transfer Vinyl Basics
Printable heat transfer vinyl (HTV) is designed for fabric projects and works differently than adhesive vinyl. You print your design on the HTV, then use a heat press to transfer it onto the garment or textile. It requires higher heat and pressure than regular HTV to ensure the print stays vibrant and durable.
Unlike peel-and-stick vinyl, printable HTV melts into the fibers of your fabric, giving a flexible and wearable finish. It’s perfect for personalized shirts, bags, and hats. Just make sure your heat press is set to the recommended temperature (usually around 305°F or 150°C) and pressure for about 15 seconds.
Key points to remember for printable heat transfer vinyl:
- Not the same as heat transfer paper, HTV is flexible vinyl
- Requires a heat press, not just an iron
- Can print full-color designs, including photos and gradients
- Suitable for cotton, polyester, and blends
- Durability increases with correct temperature and pressure settings
Choosing the Right Printer and Ink for Printable Vinyl
Inkjet printers work best with printable vinyl because they use dye-based or pigment-based inks that stick well on vinyl’s coated surface. Laser printers should be avoided since their heat can melt the vinyl. Professional types like eco-solvent and UV printers offer better durability and visuals, especially for larger or longer-lasting projects.
Inkjet Printers for Home Use
Most printable vinyl made for home use accepts dye-based ink from standard inkjet printers. Inkjet printers produce sharp details and vibrant colors, perfect for detailed stickers and small projects. Pigment-based inks last longer outdoors, while dye-based inks are fine for indoor use.
Check your vinyl packaging for ink compatibility. Stickers printed with inkjet ink dry quickly and hold bright colors well on vinyl’s special coating.
Wide-Format and Eco-Solvent Printers
Eco-solvent, solvent, UV, and latex printers print vinyl professionally and produce more durable and moisture-resistant results. They use inks that bond with vinyl, making prints last up to 5 years outdoors. These printers can handle larger rolls and deliver intense colors ideal for business signage.
Eco-solvent and UV inks are flexible, so they won’t crack on curved surfaces. If you have one of these printers, confirm your ink is suitable for vinyl before printing, especially with UV types.
Why Avoid Laser Printers
Laser printers heat up to around 400°F during printing, which can melt or warp printable vinyl. This heat risks damaging both your vinyl and the printer. Most printable vinyl is not designed to withstand this high temperature.
While some vinyl products are made for laser printers, they’re rare and must be specifically labelled. Using a laser printer without this vinyl can ruin your print and your machine, so stick with inkjet or professional printers instead. Here’s a quick comparison:
| Material | Printer Type |
|---|---|
| Printable Sticker Paper | Standard inkjet or laser printers |
| Printable Vinyl | Best with inkjet printers (pigment-based inks for durability) |
| Professional Vinyl | Eco-Solvent, Solvent, UV, Latex wide-format printers |
Use inkjet printers for home-scale projects, and print shops or professionals often use eco-solvent or UV printers for bigger or longer-lasting vinyl prints. Avoid laser printers unless you have vinyl made specifically for them, which is uncommon in crafting.
Step-by-Step Guide to Applying Printable Vinyl
Applying printable vinyl takes a few careful steps to make sure your design looks great and sticks well. You’ll prep your surface, print and cut your design, then apply and optionally protect it with laminate for durability. These steps help your vinyl last longer and keep the colors sharp and waterproof.
Preparing the Surface and Materials
Start with a clean, dry, and smooth surface. Dirt, dust, or moisture can cause the vinyl to peel or bubble. Use rubbing alcohol and a lint-free cloth to wipe your surface, whether it’s a laptop, mug, or notebook.
Choose the right type of printable vinyl based on your project. For smooth surfaces, regular printable vinyl works well. For rough or textured surfaces, high-tack vinyl sticks better but can be harder to reposition.
Cutting and Weeding the Designs
Let the ink dry fully after printing your design on the vinyl, which typically takes 15 to 30 minutes. Cut your design with a Cricut or Silhouette machine for accuracy, or use scissors for basic shapes. Adjust your cutter to a vinyl or comparable mode to prevent slicing through the backing paper.
Weeding means removing unwanted vinyl parts around your design. Use a weeding tool or a fine pin to pick out the negative space and keep only your printed image. Take your time to avoid peeling the design itself.
Applying Vinyl and Optional Lamination
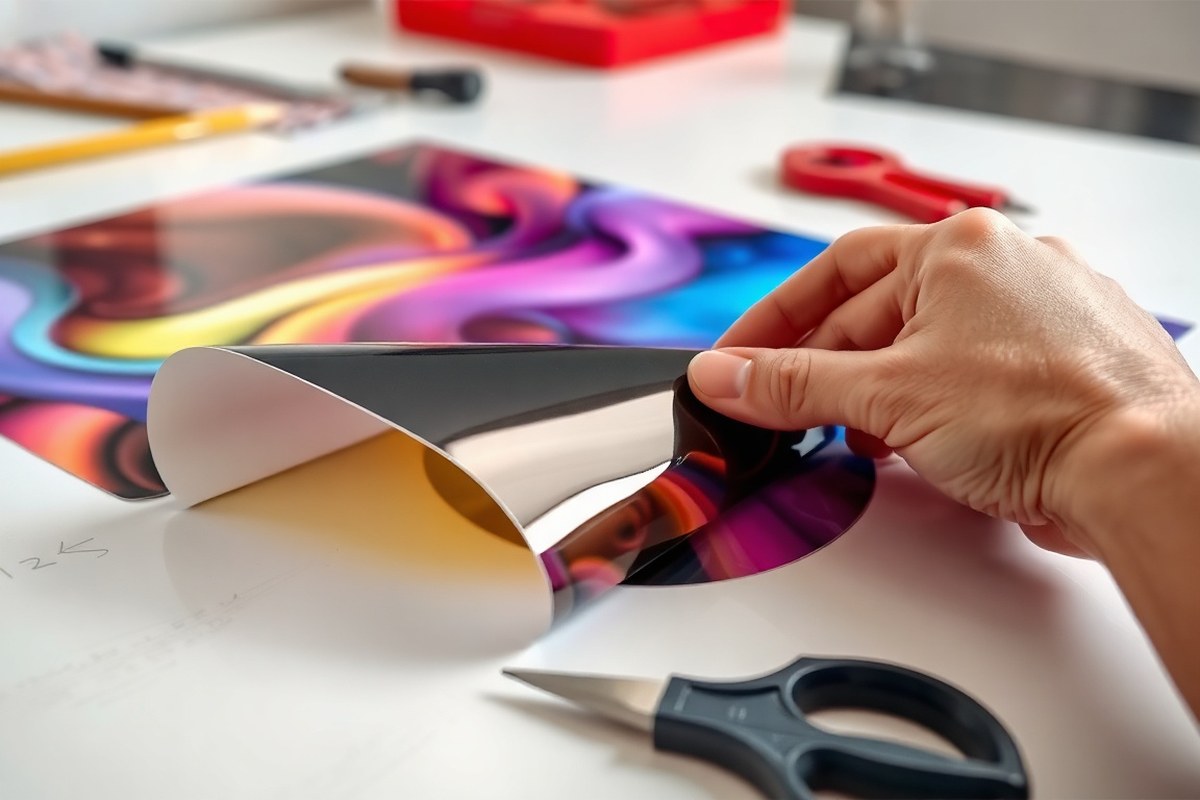
Start by placing the vinyl design on your prepared surface and gently press it down. Use a squeegee or credit card to firmly smooth the vinyl, pushing air bubbles out from the center. Peel the backing paper slowly at a sharp angle for best results.
Lamination isn’t always required but is necessary for any vinyl that faces water or heavy wear, like outdoor stickers or mugs used daily. Use a clear laminate sheet and apply it over your print before cutting for added protection. Apply it slowly and smooth out bubbles as you go.
Follow these steps to apply printable vinyl like a pro:
- Clean the surface with rubbing alcohol and a lint-free cloth.
- Print your design on printable vinyl and let the ink dry 15-30 minutes.
- Cut the design with a cutting machine or scissors, using vinyl settings.
- Weed the excess vinyl carefully with a tool or pin.
- Optionally apply clear laminate over the printed vinyl for waterproof protection.
- Place the vinyl on your surface and press down firmly with a squeegee.
- Slowly peel the backing paper at a sharp angle while smoothing out bubbles.
Waterproofing, Durability and Lifespan of Printable Vinyl
Printable vinyl designed for waterproof use can handle water exposure without damage. Some brands, like HTVRONT’s inkjet printable vinyl, offer waterproof properties right out of the package, so you don’t have to add extra coatings. However, if you want to make waterproof stickers, applying a laminate layer is essential to protect your design from moisture, scratches, and fading.
The lifespan of printable vinyl varies depending on where and how you use it. For indoor projects, vinyl can last several years without losing colour or adhesion.
Outdoors, vinyl stickers tend to last between three to five years, especially when protected from harsh sun and weather. Picking vinyl with UV resistance also helps maintain the design’s vibrancy over time.
After printing your design on vinyl, allow it to cure for at least 24 hours before any water contact. This waiting period ensures the inks fully set and waterproof qualities stabilize.
Washing your vinyl earlier could cause the colours to run or the vinyl to peel prematurely. If you use lamination, the cure time still applies to the ink, but the laminate adds a tough, moisture-resistant barrier that extends the overall lifespan.
Lamination improves durability by shielding printable vinyl from fading, scratching, and water damage. It can be a clear film or glossy cover and costs about $1 to $5 per square foot, depending on quality.
While lamination isn’t always needed for waterproof vinyl, it’s a good choice for items handled a lot or exposed to outdoor conditions. It also makes cleaning easier since you can wipe the surface without worrying about damage.
Always wait 24 hours after printing before exposing your vinyl to water or cleaning it to avoid ink damage.
Common Problems When Printing or Applying Vinyl (and How to Fix Them)
Ink smudging happens mostly because you printed on the wrong side of printable vinyl. The printable side has a special coating that holds ink, so loading vinyl with the coated side down causes wet ink to smear.
To stop this, always put the vinyl into your printer with the printable side facing up. Also, make sure your printer settings match the vinyl type to avoid too much ink laying on.
Peeling edges or white edges occur when the vinyl doesn’t cut cleanly or the adhesive doesn’t stick well. This can be because the blade in your cutting machine is dull or set too shallow.
Adjust your blade depth to cut through the vinyl, but not the backing. For peeling from surfaces, clean the surface thoroughly and apply firm pressure with a vinyl squeegee or credit card to seal edges well.
Cutting machine errors often come from incorrect blade settings or misaligned vinyl. When the blade is too deep, it can cut through the backing or skip parts. When the blade is too shallow, edges lift or peel.
Check that the vinyl is loaded straight and smooth. Machines usually need blade replacements every 8 to 10 hours of cutting for fresh results.
Flying or curling edges after application usually mean the surface was dirty or the vinyl not well-pressed down. Also, air bubbles trapped under vinyl can cause lifting.
Run a firm hand or squeegee from the center outward to push all air out. Try warming the vinyl slightly with a low-heat hairdryer to make it more flexible and help it lay flat on curves or texture.
- Load vinyl printable side up to avoid smudging.
- Set your printer to the right media type for vinyl.
- Use a fresh blade and adjust cutting depth properly.
- Clean surfaces before applying vinyl to improve sticking.
- Press edges firmly and use a squeegee to prevent lifting.
- Warm vinyl gently on curves to avoid curling.
- Use scissors or a craft knife for trimming if cutting machines act up.
Some printable vinyl users skip a cutting machine and trim by hand with scissors or knives. This works fine for simple shapes or small runs but might not give the clean edges that a good cutting machine provides.
Checking your printer’s print preview and doing test cuts on scraps can save time and material waste. Fixing issues early prevents ruined projects and frustration.
How to Store Printable Vinyl for Maximum Longevity
Keep printable vinyl in a room where temperatures stay between 65 and 72 degrees Fahrenheit (18 to 22 degrees Celsius). Humidity should be stable, around 40 to 60 percent, to prevent the vinyl’s adhesive from breaking down or becoming too sticky. Avoid storing vinyl near heaters, air conditioners, or windows where temperature and humidity can fluctuate.
Store unused vinyl sheets either flat or rolled loosely with the printable side facing inward. Rolling too tightly can cause creases or curling problems later.
When storing rolls, stand them upright rather than laying them flat to stop pressure marks or deformation. Keep them away from direct sunlight to avoid fading or adhesive damage.
Protect vinyl from dust and scratches by sealing sheets or rolls in plastic wrap or placing them inside a resealable plastic bag. For larger rolls, use a cardboard tube and cover it with plastic to block dirt and moisture. Handle vinyl carefully, avoiding sharp objects or rough surfaces that could damage the printable top layer.
Following these steps costs little beyond some storage space and standard plastic sleeves or bags. Results include ready-to-use vinyl that applies smoothly without lifting or adhesive failure.
Poor storage risks warped sheets, peeling print, or sticky rolls that ruin your project. Checking storage conditions often and keeping vinyl clean helps maintain quality over time.
Tips for Using Printable Vinyl on Curved or Difficult Surfaces
Applying printable vinyl on curved or complex surfaces can be tricky because the material must stretch without wrinkling or losing adhesion. Regular printable vinyl works well on flat or gently curved areas but tends to bubble or peel on tight bends, like around a tumbler or bottle. Cast vinyl is better for these jobs since it is thinner and more flexible, conforming closely to curves without lifting.
Choose cast vinyl for projects involving compound curves or long-lasting outdoor use. It costs more than regular vinyl but sticks well to those rounded edges.
When working on a curved surface, clean it thoroughly and warm the vinyl slightly with a heat gun or hairdryer. This softens the vinyl, making it easier to stretch and apply smoothly over the contours.
Begin your application at one point and slowly work around the curve, pressing down firmly with a soft squeegee or a microfiber cloth. Stop often to lift and reposition the vinyl if you see bubbles forming.
Small pinpricks with a needle help air escape from trapped pockets. Warming the vinyl during application also reduces wrinkles and improves adhesion.
Vinyl that has been on a surface for weeks or months sticks more strongly and can become harder to remove. For temporary projects or when you expect to reposition the graphic, plan your timing carefully. Using transfer tape suited for curved surfaces, which is more flexible than standard tape, also helps during placement and limits stretching stress.
Carefully warming the vinyl before applying it over curves cuts down wrinkles and bubbles, helping it cling tight.
For mugs or tumblers, remove any dust or oils with isopropyl alcohol and let it dry fully. Cut your vinyl slightly larger than the curved area. During application, hold tension and smooth the vinyl gradually to avoid sharp creases.
Avoid pulling too hard, or the vinyl can warp or tear. A steady hand and patience pay off in a clean finish.
Use permanent adhesive vinyl for surfaces exposed to moisture or handling, but know it will be tougher to peel off later. For beginner-friendly jobs, flat or simple curves are easier. Complex 3D shapes often benefit from smaller vinyl pieces applied in sections, reducing the risk of bubbling and stretching.
Step-by-Step Action Plan for Printable Vinyl Success
Follow these steps to get started with printable vinyl and avoid common pitfalls. Each step helps you check your progress and prepare for the next one.
- Before you start: Choose the right printable vinyl type for your project (matte, glossy, or clear). Confirm by testing a small print sample.
- Day 1: Select a compatible printer and use dye or pigment ink recommended for vinyl. Verify ink dries without smudging on a test print.
- Day 2: Print your design on a scrap piece of vinyl first. Check print quality and color accuracy before printing the final piece.
- Day 3: Apply laminate or a clear waterproof spray for durability. Test water resistance on the edge of the print after drying.
- Day 4: Practice applying vinyl on a clean, flat surface. Look for smooth adhesion without bubbles or wrinkles.
- Week 1: Try applying vinyl on a curved surface using a heat gun or finger smoothing. Confirm by checking for secure edges and no lifting.
- Ongoing storage: Store unused vinyl rolled and sealed in a cool, dry place. Monitor for curling or fading over time.
Frequently Asked Questions
What Is Printable Vinyl Used For?
Printable vinyl is used to create custom stickers, decals, and labels with full-color designs. You can apply it to various surfaces for crafts or small business products.
Can I Print Printable Vinyl with a Regular Inkjet Printer?
Yes, printable vinyl works with most standard inkjet printers designed for home or craft use. Make sure to use compatible ink for best results.
Does Printable Vinyl Need Lamination?
Lamination is recommended to protect printed designs and extend durability, especially outdoors. It helps prevent fading and damage from moisture.
How Long Does Printable Vinyl Last Outdoors?
Printable vinyl stickers last about 3 to 5 years outdoors when properly applied and maintained. Waterproofing and lamination improve lifespan.
Can Printable Vinyl Be Removed Without Residue?
Most printable vinyl can be removed, but some permanent types leave adhesive residue. Heat or rubbing with alcohol can help clean surfaces.
Is Printable Vinyl Safe for Clothing?
Printable vinyl is usually not designed for direct fabric application unless it is heat transfer vinyl (HTV). Use special heat transfer printable vinyl for textiles.
Before You Go
Printable vinyl offers an easy way to add custom designs to many surfaces with durable results. Start with small tests to build confidence and get your materials right. Next, pick a project and put your printable vinyl skills to use today.