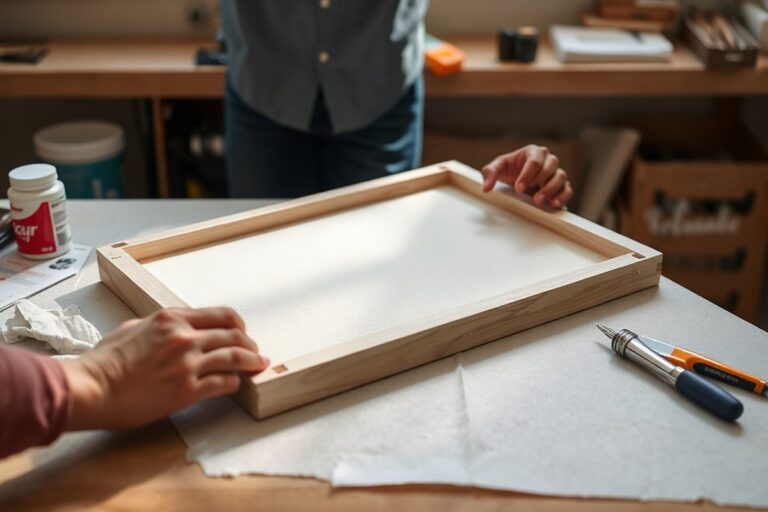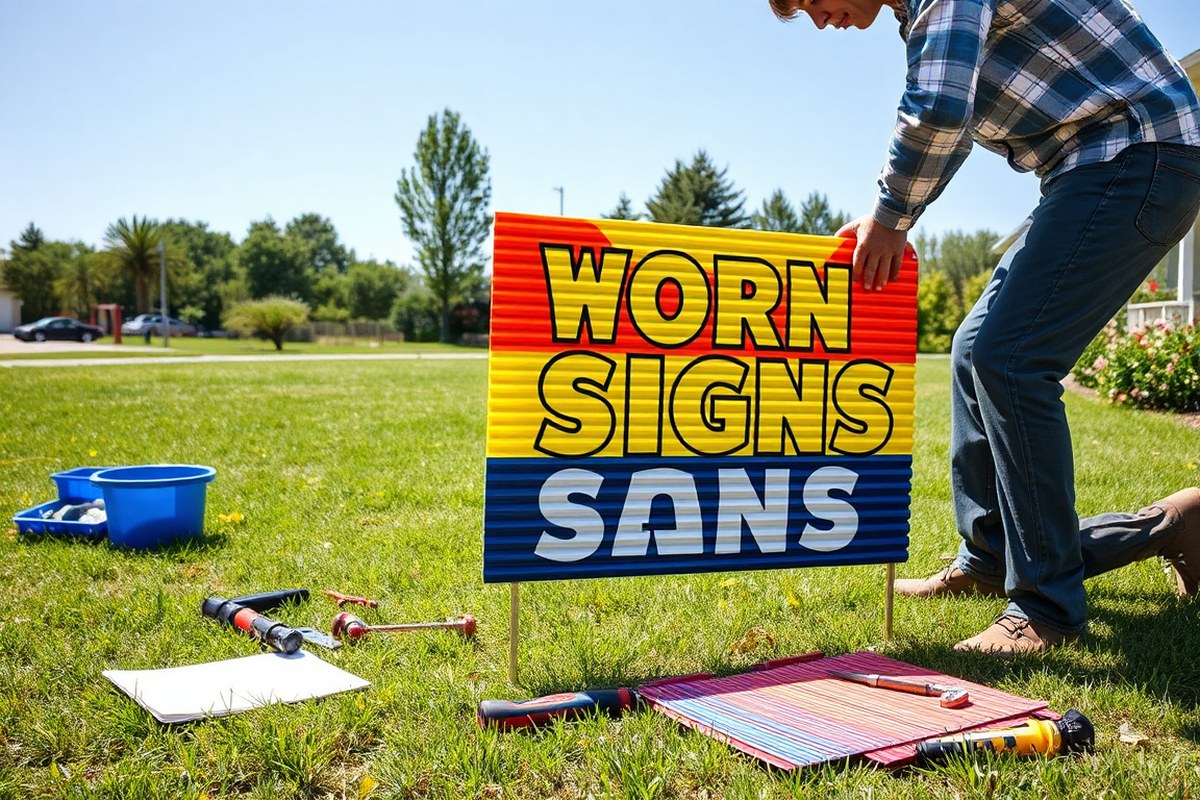
How to Make Yard Signs: Simple Steps and Expert Tips for DIY Success
How to make yard signs starts with choosing the right materials like corrugated plastic, aluminum, or wood. Design your sign with clear, bold letters and bright colors for easy reading from a distance. Use common tools like a cutting mat and paint or permanent markers to create durable signs suited for your purpose.
Begin by measuring your sign size, typically 18 by 24 inches, which balances visibility and ease of handling. This size fits well with affordable materials and standard stakes for installation.
Key Takeaways
- Use 4mm white Coroplast for affordable, weather-resistant temporary yard signs.
- Design letters at least 23.5 inches tall for visibility from 5 feet or more.
- Apply high-contrast colors to improve readability in daylight and shade.
- Choose 18 by 24 inches as the standard yard sign size for event or business use.
- Consider aluminum signs for longer-lasting outdoor needs or reflective safety markers.
- Proof your design online before printing to avoid costly mistakes.
What Materials and Tools Do You Need for Yard Signs?
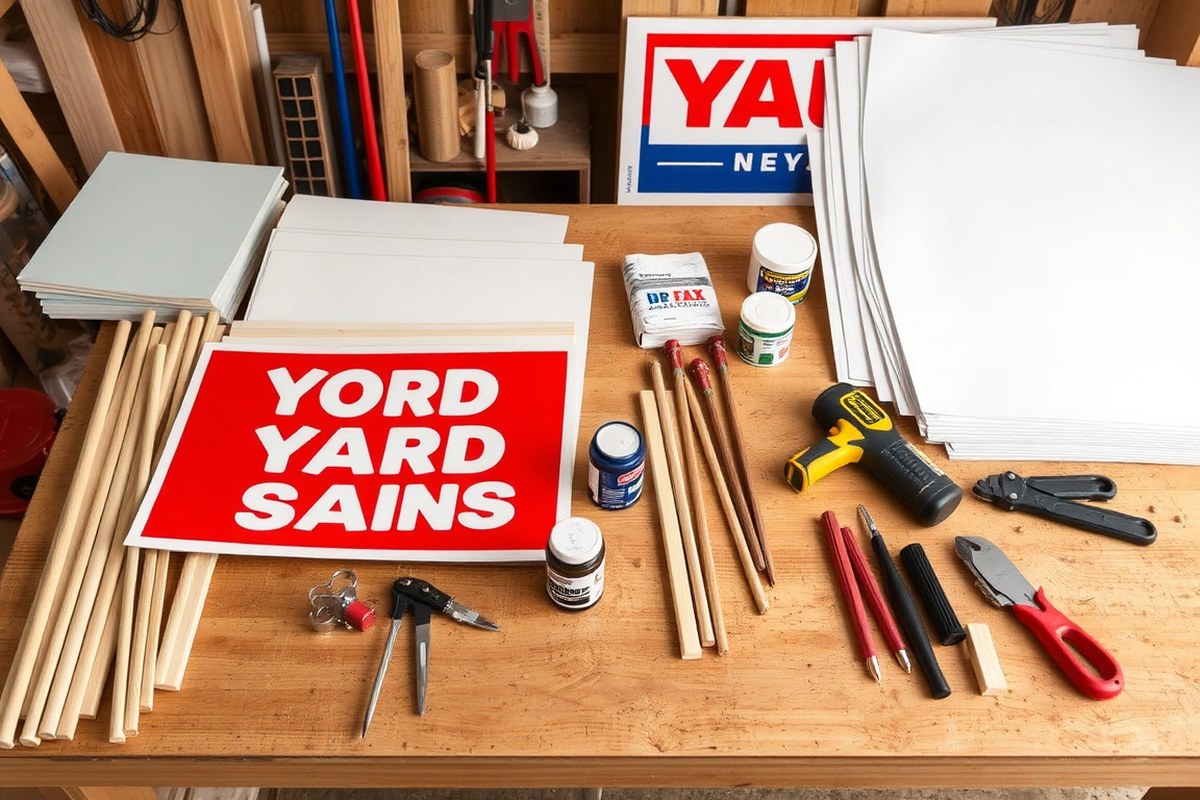
Choosing the right materials and tools for yard signs depends on your project’s purpose, budget, and how long you need the sign to last outdoors. Corrugated plastic, known as Coroplast, is the most popular material for temporary and event signs. It is lightweight, weather-resistant, and costs roughly $20 per single-sided 18 by 24-inch sign when professionally printed. The standard thickness is 4 mm, suitable for real estate signs, campaigns, or short-term use. Coroplast can crease if bent, so handle it carefully, and ensure you align the flute direction vertically to slide stakes in easily. Thicker corrugated plastic offers more wind resistance and durability but costs more and can be heavier to install.
For a more permanent solution, aluminum or plywood (MDO) signs are available. These materials are heavier and more expensive, requiring more tools for cutting and mounting, but they withstand harsh weather longer and provide a stable base for post-and-panel installations. Paper or poster board is a low-cost option limited to indoor or one-day use since it deteriorates quickly outdoors in sun or rain.
| Material | Best For | Watch Out For |
|---|---|---|
| Coroplast (4 mm) | Temporary outdoor signs, events, campaigns | Can crease if bent; flute direction matters for stakes |
| Thicker corrugated plastic | Long-term use, windy sites | Higher cost, heavier |
| Aluminum or plywood (MDO) | Permanent post-and-panel signs | Heavier, expensive, needs power tools |
| Paper or poster board | Indoor or short, one-day use | Not weather-resistant |
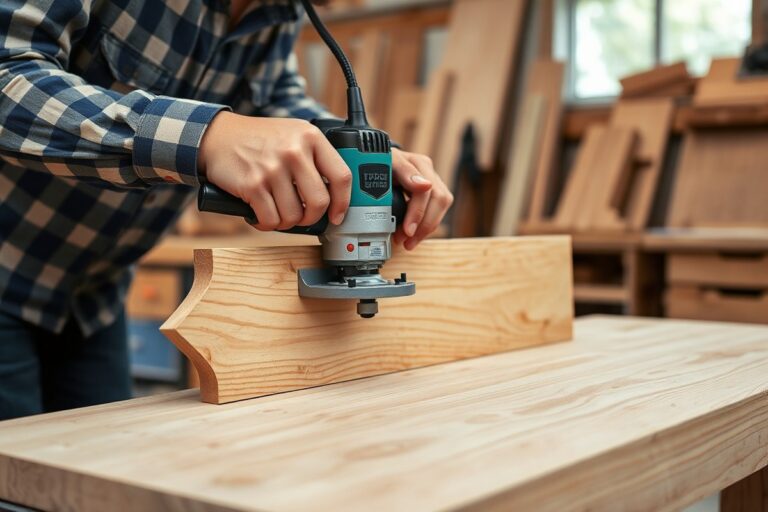
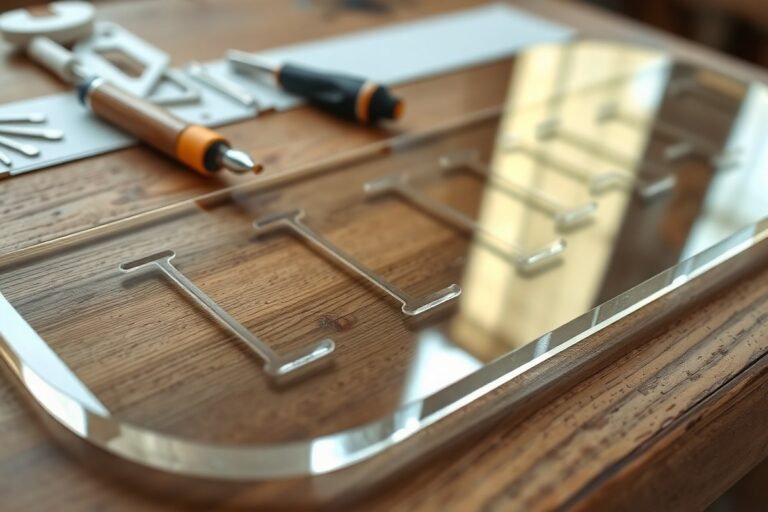
Essential tools for DIY yard signs include a sharp utility knife or a heavy-duty box cutter for cutting Coroplast or cardboard cleanly. A metal straight edge helps keep cuts straight and precise. If working with aluminum or plywood, a jigsaw or circular saw with appropriate blades is needed, plus drill bits for mounting holes. For mounting, U-shaped H-stakes made from durable 9-gauge metal slide easily into the Coroplast flutes and provide solid ground anchoring. These stakes measure about 10 by 24 inches, which suits yard signs nicely for visibility without exceeding local height limits like Seattle’s 36 inches or Marysville’s 6 feet under their recent ordinances.
- Use a metal ruler and sharp blade to avoid jagged edges when cutting
- Align Coroplast flutes vertically for easy stake insertion
- Choose H-stakes for simple ground mounting on soft soil
- For rocky or harder ground, metal shepherd hooks or frames can provide added stability
- Budget around $5, $10 per H-stake and $20+ per professionally printed sign
- Consider local regulations limiting size and placement to avoid fines
Carefully balancing your material choice with your budget and installation site conditions helps ensure a professional-looking, durable yard sign that suits your event or purpose. Less durable options save money but fail quickly outdoors, while stronger materials and mounting come with higher upfront effort and costs.
How to Design Your Yard Sign for Maximum Impact
Designing yard signs that catch attention and convey your message clearly is essential to their success. Size, readability, colors, and file setup all influence how well passersby can see and understand your sign. Creating a balanced layout with visible text and graphics helps ensure your yard sign stands out.
Choosing the Right Size and Shape
Common yard sign dimensions are 18 by 24 inches, which offer good visibility from a typical viewing distance of 10 to 20 feet. You can pick portrait (vertical) or landscape (horizontal) orientation based on the message format and available space. Larger signs increase visibility but can be harder to handle and may require sturdier stakes.
Dimension choice depends on your goal. For simple messages like a business name or event date, 18×24 inches in landscape suits better. For longer messages or vertical graphics, portrait orientation works well. If you need to be seen from farther away, around 50 feet or more, consider 24×36 inches. Decreasing size below 12×18 inches often reduces legibility at normal yard distances.
Optimizing Text Size and Fonts
Text height directly affects readability. Letter height of at least 2 to 3 inches works for signs meant to be read from 10 to 20 feet. For higher visibility, around 4 inches is better. A practical rule is one inch of letter height for every 10 feet of viewing distance you want to cover.
Choose clean, sans-serif fonts like Arial, Helvetica, or Futura to improve readability at a glance. Avoid script or overly decorative fonts that can blur or be hard to read quickly. Keep font weights bold enough to stand out, and limit your sign to two or three fonts max to avoid clutter.
Graphic elements should complement your message without overpowering the text. Limit intricate details that may blur when printed or viewed from a distance. For example, a logo or icon about 4 to 6 inches wide works well alongside the text on an 18×24-inch sign.
Selecting Colors for Visibility
High contrast color combinations increase legibility. Pair bright white or yellow text on solid black or dark blue backgrounds for maximum contrast. Avoid too many colors or shades close in tone, which reduce clarity.
Limit the palette to 2 or 3 key colors at most. Use vibrant colors, but ensure they don’t clash or strain the eyes. Consider colorblindness by avoiding confusing combinations, red and green, for example. Stick with CMYK color mode in your design software, as this matches commercial yard sign printing better than RGB.
- Define your sign size based on where it will be placed and how far viewers will be.
- Select a readable font like Arial or Helvetica with at least 3-inch letter height.
- Pick high contrast colors, such as white text on dark background, working in CMYK mode.
- Arrange your text and graphics so the main message is largest and centered.
- Use vector graphics or high-resolution images (300 DPI for small signs, 150 DPI minimum for large).
- Save your file as PDF, AI, JPEG, or PNG with proper resolution and color mode.
- Proofread and preview your design at actual size before finalizing.
Always check your design at actual print size to confirm text is big enough and colors stand out well in daylight conditions.
Step-by-Step Instructions to Make a Yard Sign at Home
Making a yard sign at home involves preparing a sturdy base, carefully cutting and painting your design, securely mounting the sign, and applying finishing touches to ensure it stands up to the weather. Following a clear sequence helps avoid common issues like paint peeling, unstable mounting, or warping from moisture.
Preparing Your Sign Base
Start by selecting a durable base material such as corrugated plastic, which resists water and is easy to cut. Make sure the base size fits your planned design, commonly ranging from 18 by 24 inches to 24 by 36 inches. Before cutting, decide the orientation of the flutes (the corrugated channels) to match your mounting method, vertical flutes work best for standard H-stakes.
Cut your sign base to size using a utility knife or fine-tooth saw, scoring first on one side then snapping it cleanly. Smooth rough edges with sandpaper or a utility blade to prevent chipping. Cleaning the surface with a damp cloth removes dust and oils that could interfere with paint adhesion. For additional rigidity, especially with thinner plastic, you can tape the edges or add a lightweight backing board.
Applying Design and Paint
Painting your yard sign properly impacts both appearance and durability. Use outdoor acrylic paints or spray paints designed for plastic surfaces. Apply a white or light base coat if your design includes bright or multiple colors, this helps paint colors stand out more vividly. Follow this sequence to paint your sign:
- Lay your base flat on a protected surface in a well-ventilated area.
- Apply the base coat evenly and allow it to dry fully, about 30 to 60 minutes depending on paint type and weather.
- Use stencils, painter’s tape, or freehand to apply your design in thin layers.
- Let each color layer dry before adding the next to avoid smudging.
- After completing the design, apply a clear outdoor sealant or a waterproof Mod Podge layer to protect the paint from moisture and UV damage.
Avoid painting in direct sunlight or temperatures below 50°F to reduce drying issues like bubbling or cracking.
Mounting the Sign Securely
Proper mounting ensures your yard sign stays upright through wind and weather. The most common option is to attach it to an H-stake, a metal wire frame designed to slip into the ground. Align the flutes of the corrugated plastic vertically to allow the stake’s horizontal bar to slide in smoothly without forcing.
Attach the sign to the stake by sliding it onto the stake’s horizontal bar or using plastic zip ties for extra security. For heavier signs or wooden bases, drill guide holes and fasten with weather-resistant screws or metal clips.
Before placing the sign outdoors, test the stake in the installation spot. If soil is hard, soften it with water or use a metal rod to create a guide hole to avoid bending the stake. Finish by positioning the sign at eye level and adding a layer of clear sealant over mounting points to protect against rust and water damage.
Comparing Materials for Longevity and Cost Effectiveness
Choosing the right material for your yard sign depends on how long you need it to last, your budget, and how much maintenance you’re willing to do. The most common materials include corrugated plastic, various woods, and marine-grade plywood. Corrugated plastic, or Coroplast, is popular for short-term uses because it’s lightweight and low cost, but it generally lasts only 6 to 12 months outdoors before fading or becoming brittle. In contrast, wood signs, especially those made from cedar, redwood, or white oak, can endure 10 to 20 years if properly sealed and maintained. Marine-grade plywood offers good stability and rot resistance when sealed, making it another option for longer-term signs.
| Material | Typical Lifespan Outdoors | Cost Range (Material Only) | Durability Notes | Maintenance |
|---|---|---|---|---|
| Corrugated Plastic (Coroplast) | 6, 12 months | $5, $25 per 18″x24″ sign | Fades in direct sun; best for short-term use | Minimal; avoid heavy winds and UV exposure |
| Cedar Wood | 10, 20 years | Moderate – approximately $15, $40 per board | Excellent rot resistance; lightweight, easy to work with | Seal annually with outdoor wood finish |
| Redwood | 10, 20 years | High – around $30, $60 per board | Excellent rot resistance; premium softwood | Annual sealing recommended |
| White Oak | 10, 20 years | High – $30, $70 per board | Very strong, durable hardwood; heavy | Seal regularly to prevent moisture damage |
| Marine-Grade Plywood | 10+ years (with proper sealing) | Moderate – $25, $50 per sheet | High stability; requires thorough sealing | Seal all surfaces; repair cracks promptly |
Corrugated plastic is the most cost-effective choice for temporary signs like political campaigns, events, or real estate sales. You can expect to spend $5 to $25 for a typical 18 by 24 inch sign. Signs made from wood or marine plywood cost more upfront but repay that investment by lasting many years with proper care. Maintenance for wood involves applying a water-resistant outdoor sealant once a year to prevent rot and warping. Marine-grade plywood needs all sides sealed thoroughly, as it is vulnerable to moisture if left untreated. Coroplast signs require little maintenance but should be replaced once signs show signs of fading or cracking to keep them looking fresh.
For your DIY yard signs, pick corrugated plastic when you want a quick, budget-friendly solution with easy installation and disposal. Choose wood or marine-grade plywood when the sign needs to remain intact over several seasons or years, and you can commit to a yearly sealing routine. The weight and handling also differ: Coroplast is lightweight and very easy to cut, while hardwoods are heavier and may require more effort and tools to shape. Proper material choice helps balance your budget with how long you need your yard sign to stay effective outdoors.
Best Methods to Install Yard Signs Safely and Securely
Installing yard signs firmly requires choosing the right stakes or frames based on your soil type, weather conditions, and sign weight. Proper depth and placement of stakes prevent the signs from tilting or blowing over. For rocky or soft soils, alternative mounting methods or heavier frames ensure stability and visibility.
Using H-Stakes for Lightweight Signs
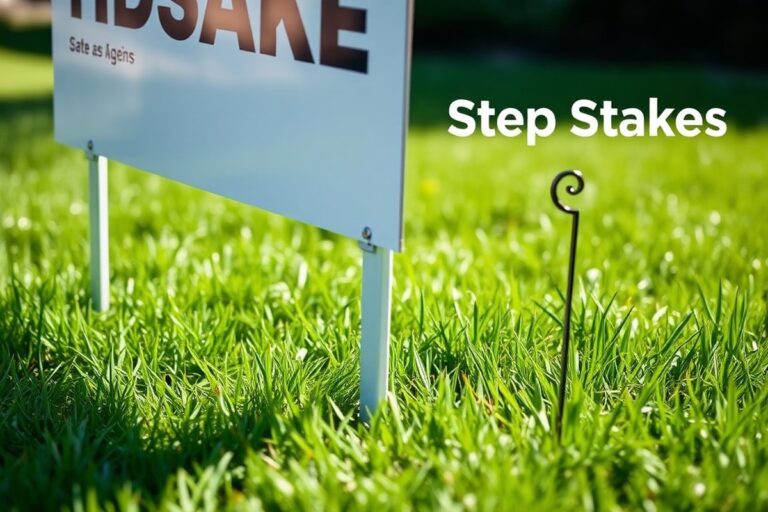
H-stakes are common metal stakes shaped like the letter “H,” designed specifically for lightweight corrugated plastic yard signs. They slide easily through the sign’s flutes, providing a simple and secure hold with minimal tools. To resist wind, drive the stakes deep enough, at least 12 inches into the soil, to create enough use against gusts up to 25 mph.
Stick to galvanized or steel H-stakes to avoid rust, especially if signs will stay outdoors for more than a few weeks. These stakes cost around $1 to $3 each and come in lengths from 12 to 24 inches. For windy or heavier signs, consider longer or double-staked installations.
- Locate the sign placement avoiding underground utilities by checking local utility maps.
- Align the yard sign upright with the front facing the street or foot traffic.
- Slide the H-stakes into the sign’s corrugated grooves along the bottom edge.
- Push the H-stakes firmly into the ground at least 12 inches deep using a mallet or your foot.
- Check for stability by gently shaking the sign to confirm it does not wobble.
- If the soil is loose, pack dirt tightly around the stakes or consider adding soil amendments to improve hold.
Drive stakes deeper in loose soils and use two stakes for signs wider than 24 inches to prevent tilting or blowing over.
Mounting on Wooden or Metal Frames
For larger, heavier signs or installations on uneven or rocky ground, wooden or metal frames provide durable support. Wood stakes or U-shaped metal frames can hold signs more firmly and allow repositioning without damaging the sign board. Frames also help if you need to place signs on hard surfaces where staking isn’t feasible.
Secure the sign to the frame using screws, zip ties, or brackets. For chain-link fences, heavy-duty UV-rated zip ties through reinforced grommets on the sign prevent slipping and protect the graphic. Frames cost vary from $5 for simple wood constructions to $20 or more for metal options designed for commercial use.
- Select a frame size that matches your sign’s dimensions, allowing for clearance around edges.
- Attach the sign onto the frame using screws or zip ties through pre-drilled holes or grommets.
- Place the frame where the sign will have maximum visibility and avoid crowded or shaded areas.
- Anchor the frame by driving wooden stakes into the ground or bolting metal frames for permanent setups.
- Use extra ties or braces for stability if wind on the site exceeds 20 mph.
- For sloped or uneven ground, adjust the frame angle so your sign faces viewers directly.
Metal frames resist weather better than wood but may require rust-proofing in wet climates.
Installing in Different Soil Types
Soft, sandy soils require longer stakes and soil compaction around the base to keep signs upright. Rocky soil makes driving stakes difficult and often unstable, so alternative mounting like heavy metal frames or weighted bases is necessary. For clay or compacted soil, use a pilot hole to ease stake insertion and reduce risk of damage.
Assess the site before installation: loosen hard soil with a garden trowel or stake driver and clear rocks or debris that could block stake insertion. In urban or paved areas, consider freestanding A-frame signs or weighted bases designed to anchor signs without ground penetration.
- Examine the soil type by digging a small test hole 6 to 12 inches deep.
- For soft soil, compact soil around the stake after insertion and use longer stakes where necessary.
- For rocky soil, use a metal frame or weighted base to secure signs instead of stakes.
- In hard clay soil, drill a pilot hole matching the stake width to ease insertion.
- Avoid placing stakes near tree roots or underground utilities to prevent damage.
- Periodically inspect signs in extreme weather for shifting or wear and adjust or reinforce as needed.
Always confirm underground utility locations before staking to avoid costly damage or hazards.
Adding Decorative and 3D Elements to Yard Signs
Adding decorative and 3D elements to your yard signs can lift a simple design into a memorable display. Using dimensional materials creates visual interest and helps your sign catch the eye of passersby. Common 3D materials include foam board cutouts, wooden shapes, plastic figures, or even lightweight metal accent pieces. Such layers add depth and can be painted or treated to fit the theme of your sign, like a basketball-shaped foam cutout painted for a sports event or a spooky skull for Halloween décor.
To attach these accents safely, employ weather-resistant adhesives such as outdoor-rated hot glue, construction adhesive, or sturdy zip ties for elements that can loop around the signframe. When attaching heavier items like wood cutouts, pre-drill small holes and use rust-resistant screws or nails to secure them firmly without cracking your sign material. Always check the weight of decorative pieces so your sign frame can support the extra load without bending or tipping over.
- Foam board and styrofoam shapes trimmed with a craft knife
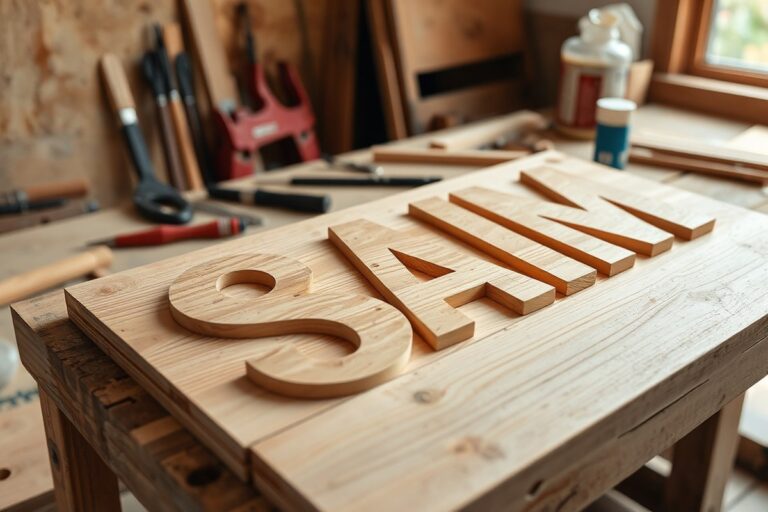
- Lightweight wooden cutouts, pre-sanded and sealed
- Outdoor stickers and vinyl decals with UV protection
- Glitter sealed under a clear weatherproof spray
- Paint effects using acrylic or enamel paints for durable finishes
- Plastic or metal embellishments attached with rust-resistant screws or adhesive
- Zip ties or cable ties for securing loose or irregularly shaped items
Using paint effects like stenciling, sponging, or layering multiple colors can add artistic flair and a tactile vibe to your sign. Opt for acrylic or enamel paints formulated for outdoor use as they resist fading and cracking in sun and rain. After painting, seal your work with a weatherproof clear coat to boost durability. When applying glitters, embed them in glue or paint and cover with a spray sealer to prevent loss in wet conditions.
Consider how these enhancements influence the sign’s overall durability and installation. Extra layers or heavy decorative items can increase wind resistance or the chance of damage during storms. Position your sign in a sheltered spot when possible, or build a sturdier frame to compensate. You might spend between $5 and $15 on adhesives and paints, and simple wooden or foam add-ons typically cost under $10, making decorative upgrades affordable for most DIY projects.
Common Mistakes When Making Yard Signs and How to Fix Them
Yard signs often tilt or fall due to unstable installation or using inadequate support materials. Soft soil, strong winds, or lightweight sign stakes can cause the sign to lean or topple easily. Secure your sign by using sturdy U-shaped metal stakes or thick wire frames driven firmly into the ground at least 6 to 8 inches deep. For softer soil, add extra support by placing landscape staples around the base or using weighted sandbags. Always check the stability after installation, especially before events.
Blurry or pixelated printing usually comes from designing the sign at too low a resolution or enlarging a small image without proper scaling. To fix this, start your design at the actual size of the finished sign, or larger, at 300 DPI (dots per inch) or higher. Avoid building your design on a letter-size document and then enlarging it, as this reduces clarity. Use vector graphics when possible for logos or text, and double-check image quality before printing.
- Tilting signs due to weak stakes or loose soil, use sturdy metal stakes and secure the base
- Blurry images from upscaling small designs, design at full size and 300 DPI for clear printing
- Premature fading from low-quality materials or insufficient UV protection
- Poor placement angle reducing visibility, position signs parallel to the road for maximum impact
- Design clutter making messages hard to read, simplify layout and use high-contrast colors
- Damage from weather exposure, choose weather-resistant materials and protect with clear coats
- Difficulty removing signs safely, loosen soil around stakes before pulling to avoid damage
Premature fading and damage often happen when cheap materials are used or protective coatings are skipped. For example, using corrugated plastic thinner than 4 mm can lead to quicker degradation, especially if UV printing is applied on materials below that thickness. Choose UV-resistant ink and materials designed for outdoor use. Applying a clear UV-protective spray or laminate will help extend the life of your sign from weeks to several months. Signs left exposed to harsh weather without protection tend to crack, peel, or fade within a few weeks.
Design layout problems happen when you overcrowd your sign or use fonts that are too small or fancy to read from a distance. Use simple, bold fonts with a minimum size of 2 inches tall for readability. Stick to 2-3 colors max and create a clear contrast between text and background. After printing, review your sign and test readability by holding it 10 feet away or photographing it to ensure clarity.
Removing and replacing yard signs requires care to avoid damaging the sign or lawn. Start by loosening the soil around the stake with a small gardening fork or trowel. Pull the stakes straight up, avoiding twisting motions that might bend or break the frame. If stakes bend during removal, straighten them gently or replace with new ones from a hardware store. Clean the sign surface with mild soap and water before storing or reusing. When reinstalling, mark the spot to ensure the sign stays upright and properly oriented.
When to Choose Professional Printing vs DIY Yard Signs
Choosing between professional printing and making your own yard signs hinges on your budget, time, design needs, and equipment access. Professional printing usually costs more upfront but gives a polished look, durable materials, and fast turnaround. DIY signs can save money but require more effort, some trial and error, and might not match the quality or lifespan of professionally printed products.
The time saved with professional printing is significant. You provide your design, and the printer handles cutting, weatherproofing, and sometimes installation hardware. This can reduce the entire process to a couple of days. DIY projects depend on your skill level and tools but typically take several hours to complete per sign, including drying times for paint or adhesives.
Design and quantity also influence the decision. DIY works well for small runs or when you want a unique, handcrafted look. However, if you need multiple identical signs or complex graphics with crisp text and color precision, professional printing excels. Professionals use wide-format digital printers that apply inks or vinyl accurately and weather-resistant materials like corrugated plastic with UV protection, which might not be available in a typical home setup.
| Criteria | DIY Yard Signs | Professional Printing |
|---|---|---|
| Cost per sign | Lower for 1-3 signs; materials $5-$15 each | Higher; usually $20-$50 per sign with volume discounts |
| Time investment | Hours per sign for cutting, painting, drying | 1-3 days turnaround including design review |
| Quality and durability | Varies with materials; less weatherproof | Consistent, UV-resistant, weatherproof finishes |
| Design complexity | Simple graphics; limited by home tools | Complex, full-color designs with precise detail |
| Quantity economy | Better for small numbers (1-5 signs) | Better for larger orders (10+ signs) |
| Equipment needed | Basic cutting tools, paints, stencils | Wide-format printers, weatherproof materials, cutting machines |
To decide which fits your needs, start by defining how many signs you need, your deadline, and the level of quality desired. For example, a single homemade sign for a local garage sale might be best DIY to keep costs low. For a business that needs 20 signs with consistent branding and durability, professional printing is likely worth the investment.
Budgeting tips: Calculate the cost of your materials (coroplast sheets, paint, stakes) and compare against quotes from print shops. Factor in your time as a cost, professional signs save hours you might want to spend elsewhere. Confirm pricing and options by contacting local print centers since sizes, turnaround, and costs vary.
Tip: Check local ordinances and homeowner’s association rules before making or ordering signs to avoid fines or required removals.
Understanding Yard Sign Regulations and Permits
Many cities and towns require you to check rules before placing yard signs. Permits are sometimes necessary, especially for commercial or event signs. Local governments set size and height limits to keep signs safe and readable while preventing clutter. For example, some might restrict signs to a maximum of 4 feet wide and 3 feet tall or limit height to around 5 feet above ground level.
Placement rules often include setbacks from sidewalks, streets, and driveways. Right-of-way restrictions commonly prevent signs from being on medians, within 10 feet of street corners, or blocking sightlines for drivers. Hampton, VA, enforces right-of-way sign rules even for private business signs, illustrating how seriously some areas treat public safety near roads. Violating these rules can lead to fines or the removal of your sign, so confirming compliance first saves time and money.
Start by visiting your city or county’s official website to find sign regulations and permit applications. Departments like public works, transportation, or zoning usually handle these rules. Some places, like Seattle, have dedicated informational pages on signs in the public right-of-way. Contacting local offices by phone or email can clarify unclear details. You should apply for a permit as early as possible when you qualify, because approval can take days or weeks and fees range from a few dollars to over a hundred depending on your location.
A quick checklist can help you verify compliance: confirm the maximum sign size and height, check if your sign’s location requires a permit, learn any setback distances needed from streets or sidewalks, and review duration limits on how long the sign can stay up. Follow mounting guidelines so your sign stays vertical and visible, as some local laws specify proper angles and secure installation for safety.
For residential areas, restrictions tend to be stricter or more focused on appearance, while commercial zones often allow larger or more numerous signs with permits. Events usually require temporary sign permits with specific time frames. Planning multiple signs means making sure they all meet the same standards to prevent any from being removed. Staying compliant means fewer headaches and keeps your message clearly seen without violating local codes.
Step-by-Step Action Plan for Making Durable Yard Signs
Follow this plan to create attractive and long-lasting yard signs, even if you’re new to DIY projects. Each step helps ensure your sign looks great and lasts outdoors.
- Before you start: Gather your materials and tools based on your budget and sign purpose. Check that your sign board is weather-resistant and the adhesive or paint matches your design needs.
- Day 1: Design your sign using simple fonts and high-contrast colors. Print a test copy on regular paper to verify readability at yard distance.
- Day 2: Transfer your design to the sign material using stencils, paint, or printed vinyl. Make sure the surface is clean and dry to prevent peeling or bleeding.
- Day 3: Add any decorative or 3D elements securely with weatherproof glue or screws. Let everything dry fully to avoid damage when placing outdoors.
- Day 4: Apply a clear protective coating to help resist UV rays and moisture. Confirm that the coating is compatible with your sign materials.
- Day 5: Prepare the installation site by checking for underground utilities and ensuring the ground is firm. Use stakes or frames rated for outdoor use to anchor your sign safely and straight.
- After 2 weeks: Inspect your sign for any wear or damage, especially after storms. Touch up paint or reapply protective finishes as needed to maintain durability.
Frequently Asked Questions
How to Make Yard Signs?
Start by designing your sign, choosing durable materials like 4mm Coroplast, then cut, print, and install it using appropriate stakes. Use weather-resistant ink and check local sign rules for compliance.
What Size Are Standard Yard Signs?
Standard yard signs are typically 18 by 24 inches, ideal for real estate or event markers and easily visible from a distance.
How Long Does It Take to Get Custom Yard Signs?
Custom yard signs usually take 1 to 3 business days to produce, with delivery in 1 to 5 days depending on your location.
Can I Reuse Yard Signs for Different Events?
Yes, reusable signs made from durable materials like aluminum or thicker corrugated plastic last through multiple uses, especially in mild weather.
What Is the Best Way to Protect Yard Signs from Wind?
Use sturdy metal H-stakes and thicker materials to prevent bending; placing signs in less windy areas can also help maintain stability.
Are Permits Required for Placing Yard Signs in Public Spaces?
Many cities limit sign size and placement; checking local regulations and obtaining permits when needed ensures legal display of yard signs.
Wrapping Up
Making your own yard signs gives you control over design and materials while saving money. Focus on using weather-resistant supplies and proper installation for best results. Start by designing and testing your sign today to see your ideas come to life in your yard.