How to Prevent Paint Bleed on Stencils: 8 Proven Techniques for Crisp Designs
How to prevent paint bleed on stencils starts with controlling the paint’s wetness and sealing the stencil edges properly. Using the right distance when spraying, applying the right amount of paint, and allowing adhesives to dry fully help keep paint inside the stencil lines. The first step is to ensure the stencil adhesive dries for 3-5 minutes before painting to create a solid barrier.
Key Takeaways
- Hold spray paint 10, 15 inches away and use short bursts to avoid overwhelming stencil edges.
- Apply adhesive mist to the back of the stencil from 6, 8 inches, then wait 3, 5 minutes to dry.
- Use a light paint coat, as using too much paint is the top cause of bleed under stencils.
- Keep the sprayer tip about 8 inches from the stencil front to prevent paint runs down the surface.
- Remove the stencil when paint is dry to the touch but not fully cured, usually 15, 30 minutes after spraying.
- Choose quality stencil materials that lay flat and seal sharply against the surface to minimize bleed.
How to Stop Paint from Bleeding Under Stencils
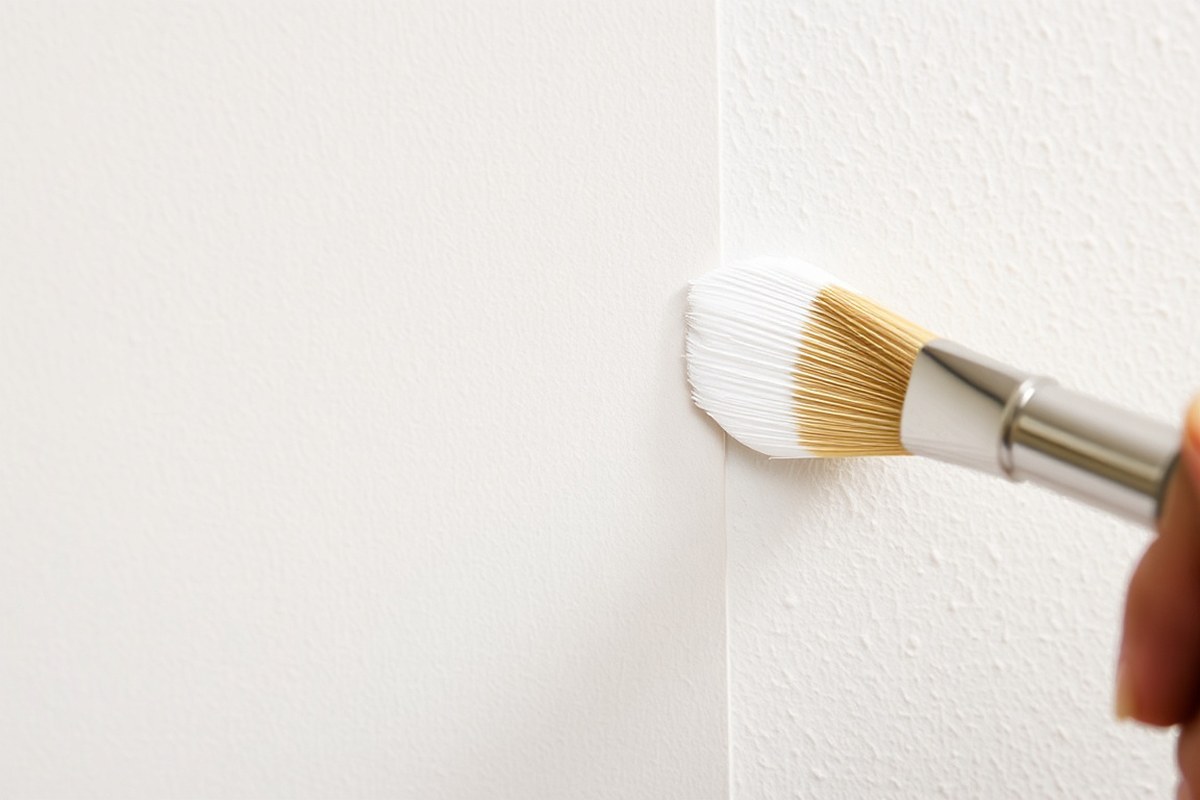
Preventing paint bleed under stencils depends on how you apply the paint and manage the stencil during the project. Paint tends to seep underneath the edges when too much paint hits the stencil, or when the stencil isn’t securely fixed to the surface. Applying paint in light layers with minimal volume and using proper distance with spray methods reduces the chance of bleeding. Removing the stencil at the right time also matters to avoid smudging or pulling off dried paint.
Secure the stencil tightly before starting. Apply paint lightly using the correct tools and methods. Spraying works best with the nozzle held 10 to 15 inches from the stencil to prevent paint pooling on the edges or excessive overspray beyond the design. Using a dry brush or sponge, apply paint sparingly by tapping gently to layer coverage. Remove the stencil when the paint feels dry but hasn’t fully hardened, usually between 15 and 30 minutes after painting.
- Clean the surface. Wipe down your working surface to remove any dust, grease, or debris. Anything trapped under the stencil creates gaps where paint can seep through.
- Secure the stencil. Use a low-tack spray adhesive or stencil tape to firmly hold the stencil in place. Adhesive-backed stencils work well to prevent shifting and paint bleed.
- Load your paint sparingly. Use a dry brush or sponge with a very small amount of paint. Dab off excess paint onto a paper towel before applying to your stencil.
- Apply paint using a stippling motion. Tap the brush or sponge straight up and down in the center of the design, then swirl outward gently to cover edges without pushing paint under the stencil.
- Maintain proper spray distance.Spray from a distance of 8 to 10 inches or ideally 10 to 15 inches to keep paint from accumulating heavily along stencil edges.
- Let each coat dry. Allow paint to dry fully before applying more layers. This reduces the chance of seeping and smudging.
- Remove the stencil at the right time. Pull the stencil off once the paint feels dry but hasn’t fully cured, usually 15 to 30 minutes after spraying, to prevent smearing or peeling paint.
Following these steps helps achieve crisp, clean stencil designs by controlling paint volume and keeping the stencil flush against your surface. The key is light applications and good stencil adhesion. Spray adhesives and adhesive-backed stencils add an extra layer of protection against paint bleed, especially on smooth surfaces like wood or plastic. Avoid heavy paint loads or brushing toward stencil edges, as that drives paint under the stencil. Good results look like sharp edges with no fuzzy paint spread around the design. Too much paint, improper distance, or premature removal can cause blotches, smears, or paint lifting.
Choosing the Best Stencil Materials to Minimize Bleed
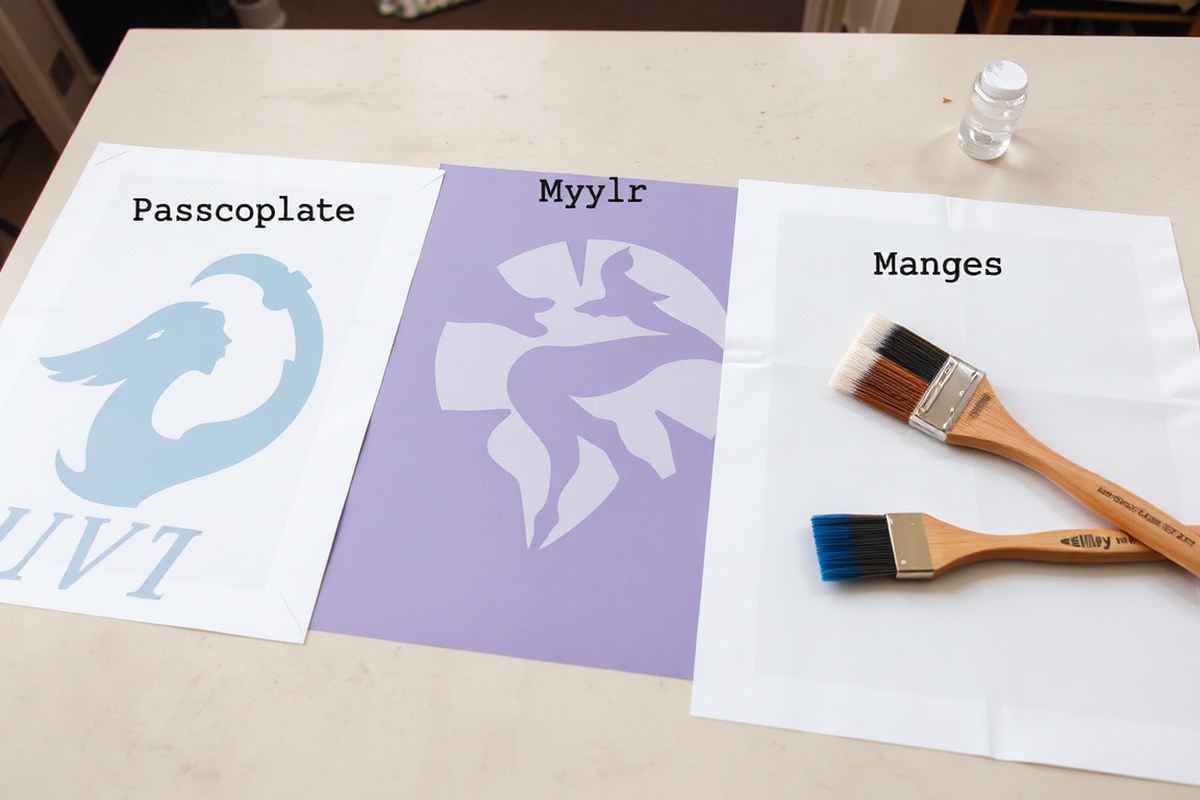
Choosing the right stencil material can greatly reduce paint bleed by ensuring the stencil sits flat and sticks well to the surface. Adhesive stencils and peel-and-stick options typically offer better edge sealing, while standard plastic stencils provide durability and reusability but may need additional methods to prevent bleed. Paper stencils are economical but less durable, lasting only a few uses before paint seeping worsens.
Adhesive Stencils: Benefits and Limitations
Adhesive stencils come with a sticky backing that helps them adhere directly to surfaces. This reduces gaps where paint can seep in, making them ideal for spray paint or textured surfaces like wood grain or stucco. Their stickiness keeps the edges tight against walls or furniture, preventing bleed better than non-adhesive plastic stencils.
However, adhesive stencils often work best as single-use items because the sticky layer can lose tackiness after one project. Using too much paint in one pass or failing to fully press down the stencil edges can still cause bleeding, even with adhesive backing. They also tend to cost more than standard plastic or paper stencils, which might not be practical for repeated use or large projects.
Durability and Reuse of Paper and Vinyl Stencils
Paper stencils are affordable and easy to make but usually hold up for only 1 to 3 uses. After repeated painting, their edges can warp or tear, causing uneven paint lines and increased bleed. Freezer paper stencils, which can be ironed onto fabric, also fall under single-use or very limited reuse and are best for one-off fabric projects.
Vinyl stencils with adhesive backing are generally single use but offer high precision for complex designs. On the other hand, standard plastic stencils made from mylar or acetate are durable and reusable many times. These stencils need to be held firmly against the surface using spray adhesive or careful taping, especially on rough or textured surfaces, to reduce paint seepage.
Material Choice by Project Type and Surface
The best stencil material depends on your project type and surface texture. For furniture and walls where repeated patterns are needed, sturdy mylar or acetate stencils perform well because you can reuse them many times without warping. On textured wood or vertical surfaces common in home décor, adhesive stencils or peel-and-stick types minimize gaps that cause bleed.
For testing designs or one-off crafts, paper or freezer paper stencils are cost-effective but less reliable for perfectly sharp edges. Surface roughness plays a big role: smooth surfaces allow non-adhesive plastic stencils to lie flat, but textured surfaces usually require an adhesive stencil or spray adhesive to stop paint leakage.
| Stencil Material | Reusable? | Best For | Cost |
|---|---|---|---|
| Mylar/Acetate | Yes, many uses | Repeated designs, walls, furniture | $ |
| Adhesive Vinyl | Single use | Precise, complex designs | $$ |
| Cardstock/Paper | Limited (1-3 uses) | One-off projects, testing designs | ¢ |
| Freezer Paper (Iron-on) | Single use | Fabric and canvas stenciling | ¢ |
In summary, choosing a stencil material involves balancing cost, durability, and bleed prevention. Adhesive stencils reduce bleed the most but are less reusable and pricier. Standard plastic stencils require additional steps to seal but work well for multiple uses. Paper stencils save money but sacrifice crisp edges after a few projects.
Do not apply heavy coats of paint in one pass with adhesive stencils; instead, use light, short bursts and make sure every stencil edge is fully pressed down to prevent bleeding.
How to Properly Use Adhesive to Seal Stencils
Using spray adhesive on the back of a stencil creates a strong seal that significantly reduces paint bleed by holding the stencil firmly against the surface. Apply the adhesive evenly, allow it to dry for 3 to 5 minutes so it becomes tacky, then proceed with painting. For multi-use stencils, reapply a light coat of adhesive before each use to maintain adhesion and prevent shifting.
Applying Spray Adhesive Evenly
Start by selecting a repositionable spray adhesive designed for stencils, such as Aleene’s Crystal Clear Tacky Spray. Shake the can well, then hold it about 6 to 8 inches from the stencil’s back to ensure even coverage. Spraying too close can cause pooling and gumminess, while spraying too far weakens the adhesive’s stickiness.
To apply, first spray in short bursts while moving the can side to side to cover the entire stencil backing evenly. Avoid heavy spots that feel wet or sticky to the touch, as excess adhesive can seep onto your project and cause problems. Instead, aim for a light, uniform layer that feels slightly tacky but not wet.
Drying Times and Tacky Window
Allow the adhesive to dry for 3 to 5 minutes after spraying. This drying time lets the adhesive shift from wet to tacky, creating the best seal without transferring glue to your surface. Painting onto a wet adhesive risks smudges, glue spots, and uneven paint edges.
The ideal “tacky window” occurs when the adhesive feels sticky but not damp. Use your finger to lightly touch the stencil backing, if it sticks slightly, it’s ready. If it transfers glue or feels wet, wait longer. Surface temperature and humidity can impact drying times, extending this window up to 7 minutes in cool, damp conditions.
Reusing Stencils with Adhesive
For stencils used multiple times, reapplying spray adhesive before each use ensures consistent adhesion and prevents paint seepage. Before reapplying, gently wipe away any dried adhesive residue or paint from the stencil edges to maintain a clean binding surface.
Apply a light coat with the same 6 to 8-inch spray distance, and allow it to dry 3 to 5 minutes before positioning the stencil again. Avoid building up multiple thick layers of adhesive, which can cause a gummy texture and reduce stencil flexibility. Instead, a thin, uniform layer preserves the stencil’s lifespan and keeps paint edges crisp. Repeated use may require replacing the stencil if adhesive buildup distorts edges or reduces tackiness despite cleaning and thinning.
- Clean and dry your stencil thoroughly before applying adhesive to remove dust and paint residue.
- Shake the spray adhesive can vigorously for 20 seconds to mix the contents well.
- Hold the can 6 to 8 inches away from the stencil’s back surface to spray evenly.
- Spray in short, overlapping bursts while sweeping the can side to side to cover all backing areas lightly.
- Let the adhesive dry for 3 to 5 minutes until it feels tacky but not wet to the touch.
- Press the stencil firmly onto your clean, dry project surface, making sure all edges adhere completely.
- Apply paint gently and evenly, avoiding heavy passes that might push paint under the stencil edges.
- When reusing, lightly clean off residue, then repeat the adhesive spray and drying steps before each use.
Selecting and Preparing Paints That Resist Bleeding
Thicker paints, like acrylics, generally provide better coverage for stenciling because they are less likely to run and bleed under the stencil edges. Using a thick acrylic paint helps keep the design crisp and clear, especially on smooth surfaces such as primed wood or canvas. Avoid watery, thin paints, as they easily seep beneath the stencil, causing smudges and blurry lines. Your paint feeling too runny can increase the chance of bleed, making the design look messy.
Adjusting your paint’s consistency is key to preventing bleed. Start with straight-from-the-bottle acrylic paint and apply it sparingly. To thin paint for a specific effect or tool, use minimal water, no more than 10% by volume, to prevent it from becoming too runny. Adding water beyond that can thin the paint excessively and increase bleed risk. Instead of water, some crafters add a few drops of acrylic medium or flow improver to maintain thickness while improving flow. This balances smooth application without sacrificing control.
Paint additives designed for adhesion and bleed resistance also help. A small amount of acrylic bonding medium mixed into your paint can improve how well it sticks to the surface and prevent it from spreading under the stencil edges. These products typically cost between $5 and $15 per bottle and last through many projects, making them a worthwhile investment. Use about 10% bonding medium to paint, mixing thoroughly before applying. This extra step improve the paint’s grip on both porous and non-porous surfaces, reducing bleed on fabrics or rough wood.
Before applying paint, load your brush or sponge lightly and remove excess paint on a paper towel. Overloading increases chances of bleed as excess paint pools and seeps under the stencil edges. Dab or stipple the paint gently onto the designated area in thin layers. Applying two or more thin coats with drying time in between not only builds up solid coverage but also minimizes bleed by preventing paint buildup along stencil edges.
Good results show sharp edges that match your stencil design exactly, with no fuzzy or blurred lines. Paint bleeding despite using thicker paint and additives usually means it was too wet or applied too heavily. Testing your paint mixture and application technique on a scrap surface before the final project can help you find the right balance between coverage and bleed control. Surfaces like untreated wood or rough fabric absorb more paint, requiring careful paint consistency and layering to avoid bleed.
Best Painting Tools and Techniques to Prevent Paint Bleed
Picking the right applicator depends on your project’s size, paint type, and stencil detail. Brushes work well for small or intricate stencils, offering control and precision. Rollers cover large areas quickly but can push paint under edges if not used correctly. Sprays provide an even coat on varied surfaces but take practice to avoid overspray and bleeding.
The amount of paint you load onto your tool greatly affects bleeding. Dabbing excess paint off a brush or roller onto a paper towel helps. For sprayers, maintain a distance of 8 to 12 inches from the surface and use short bursts. Using too much paint causes it to pool and seep under stencil edges, so less is more.
Painting motions also influence bleed. Use an up-and-down or gentle dabbing motion with brushes and sponges rather than stroking side to side. Sideways strokes push paint under the stencil edges and increase bleed. Rollers should be rolled lightly in one direction with minimal pressure. Always keep your strokes aligned with the stencil form, not against its edges.
| Applicator | Best Use | Loading Paint | Painting Motion | Cost Range (USD) |
|---|---|---|---|---|
| Stencil Brush | Small, detailed stencils | Dab excess on paper towel | Light, vertical or dabbing strokes | $5 to $15 |
| Dense Foam Roller | Large, flat areas and simple stencils | Roll lightly over paint tray; remove excess | Roll in one direction gently | $8 to $20 |
| Spray Paint | Textured surfaces or multicolor stencils | Hold 8, 12 inches; use short bursts | Even, steady passes avoiding pooling | $3 to $10 per can |
Using a dense foam roller or stencil brush correctly limits paint pooling under edges. Avoid fluffy rollers, they hold too much paint and cause excess bleed. Sponges also work but require careful dabbing to prevent oversaturation. Sprays suit rougher surfaces but need consistent distance and movement.
Don’t stroke sideways along stencil edges; it’s the second biggest cause of paint bleed after using too wet a brush.
Preparing Surfaces to Ensure Stencil Paint Sticks Cleanly
Start by thoroughly cleaning the surface to remove dirt, dust, and grease. Use a mild detergent with water and a soft cloth or sponge for smooth surfaces like painted wood or drywall. For outdoor or heavily soiled surfaces, consider a power wash or a stronger cleaning solution, then let the area dry completely. A clean surface helps the stencil adhere better and reduces the risk of paint bleed caused by trapped dirt or oils.
Sanding is essential for rough, uneven, or previously painted surfaces. Lightly sand with a medium-grit sandpaper (around 120-150 grit) to smooth out bumps and remove any loose paint flakes. This step creates a more uniform surface for the stencil to stick, limiting paint seepage under the edges. Wipe away sanding dust with a damp cloth and allow it to dry before proceeding.
On porous materials like raw wood, unprimed canvas, or textured plaster, apply a light sealing or priming coat before stenciling. A thin layer of clear acrylic sealer, wood primer, or gesso works well. This sealing coat prevents the surface from absorbing paint unevenly beneath the stencil edges. Let the sealing coat dry fully, usually at least 1-2 hours depending on the product and humidity levels.
- Clean the surface thoroughly with detergent and water, then dry
- Sand rough or uneven spots to smooth the surface and remove loose debris
- Wipe away sanding dust with a damp cloth and let dry
- Apply a thin sealing or priming coat on porous or unsealed surfaces
- Allow all coats to dry fully before placing the stencil
- Use adhesive stencils for especially rough or textured surfaces to improve stencil adhesion
Using adhesive stencils on surfaces like brick, textured concrete, or weathered wood improves stencil contact and reduces bleed. The right preparation, cleaning, sanding when necessary, and sealing porous surfaces, ensures the stencil sticks cleanly and the paint stays where it belongs. Expect crisp, sharp stencil lines with little to no paint seepage when the surface preparation is done well. Skipping these steps can result in uneven paint absorption or poor stencil adhesion, causing uneven edges or smudging around your design.
Timing Guidelines for Paint Drying and Stencil Removal
Allowing adhesive to dry fully before painting is essential to prevent stencil movement and paint bleed. Most low-tack stencil adhesives dry to the touch in about 1 to 2 minutes at room temperature. This brief wait ensures the adhesive forms a light tack that holds the stencil firmly without leaving residue or causing paint to seep underneath. Press the stencil gently into place and wait at least 2 minutes before applying paint to get the best seal.
Paint drying time between coats depends on the type of paint you use and the environment. Water-based acrylics typically feel dry to the touch in 15 to 30 minutes under normal indoor conditions (around 70°F and 50% humidity). Wait at least 30 minutes before adding a second layer to avoid lifting or blending layers, which can blur edges. For oil-based paints or heavy applications, drying can take 1 to 2 hours or longer, so plan accordingly. Efficient drying helps keep colors distinct and reduces the risk of smudging during stencil removal or layering.
The ideal moment to lift the stencil is just after the paint surface feels dry but before full curing, often within 15 to 30 minutes for fast-drying paints. This timing prevents the stencil from sticking and pulling wet paint, which causes smudges and bleed. Look for the paint to lose its glossy, wet appearance and become matte or just slightly tacky. If the stencil starts to look wet on top near the edges or has paint buildup, gently lift it and wipe it clean to prevent transfer before repositioning. Avoid long continuous sprays that saturate the stencil, as this increases drying time and the chance of bleed.
For multi-color or layered projects, use light, quick spray bursts instead of heavy coats. This approach reduces paint buildup on the stencil surface and speeds drying. After completing one pass, waiting about 20 to 30 minutes before the next coat allows each layer to set properly. This timeline may stretch if humidity is high or temperatures are low since cooler, moist environments slow paint drying. Using a fan or heater to maintain a warm, dry workspace can speed the process.
Following these timing guidelines helps maintain sharp stencil edges and protects your stencil from paint buildup that complicates clean removal. Poor timing, like lifting the stencil too soon or waiting too long, can cause paint to smudge or dry into the stencil, resulting in bleed and uneven lines. Planning about a half hour of drying per layer and a minute or two of adhesive drying after stencil placement creates a smooth workflow and cleaner stencil art, whether on walls, furniture, or signs.
Fixes and Touch-Ups for Minor Stencil Paint Bleeding
Minor paint bleed spots can be fixed carefully using craft knives and fine brushes without damaging the rest of your stencil design. After repairing these areas, applying a sealant can protect the artwork and reduce the risk of bleed in future uses. Knowing how to touch up properly and protect your surface ensures your stencil projects look clean and crisp every time.
Using Craft Knives and Fine Brushes for Correction
For small bleed lines on hard surfaces like wood or glass, a craft knife is one of the best tools. Holding the blade flat and angled away from the design lets you lift off thin lines of bleed paint cleanly. For softer surfaces or painted backgrounds, a fine brush dipped in matching paint helps cover bleed without disturbing the design. Follow these steps to correct minor paint bleeds:
- Wait for the paint to dry completely to avoid smudging the design.
- Use a sharp craft knife blade, holding it flat and angled away from the stencil line.
- Carefully lift or scrape off the paint bleed lines without touching the main painted area.
- Select a fine-tipped brush that matches your base paint color or stencil colors.
- Dab the brush in paint and wipe off excess on a paper towel.
- Gently paint over the bleed spot or edges to blend the irregularities.
- Allow the touch-up area to dry fully before handling or sealing.
Use a new or very sharp blade for best results; dull blades can gouge the surface or ruin the design.
Applying Sealants After Touch-Ups
Sealing your stencil work after drying and touch-ups helps protect the design and stops paint molecules from penetrating and bleeding later. Choose a clear, non-yellowing acrylic sealer compatible with your paints and surface. Applying a thin, even coat preserves details and makes cleanup easier on future projects.
Apply the sealant in a dust-free area and follow the manufacturer’s instructions for drying time and number of coats. Areas with paint touch-ups especially benefit from sealing to lock in the corrected paint and prevent lifting or peeling from repeated handling or moisture.
Preventing Future Bleed on Similar Surfaces
Fixing bleed is easier when you learn how to avoid it in future projects on the same surface type. Smooth, clean surfaces reduce bleed risk significantly. Before starting, wipe the surface with a mild cleaner to remove dust, grease, or textures that paint can seep into.
Practicing with stencil brushes can also help. Use short, stiff bristles and blot excess paint on a paper towel to avoid heavy paint buildup that causes bleed. Test new paints and sealants in a small corner to ensure compatibility with your project materials. Consistent surface preparation, careful adhesive use, and proper paint application will greatly reduce the chance of needing fixes again.
Step-by-Step Action Plan to Prevent Paint Bleed on Stencils
Follow these steps in order to achieve clean, crisp stencil designs with minimal paint bleeding.
- Before you start: Choose a stencil made of a non-porous material like mylar or acetate to reduce bleed. You’ll notice cleaner edges when you test the stencil on scrap material.
- Preparation phase: Apply a light coat of spray adhesive or repositionable glue to the back of your stencil. Check that the stencil adheres evenly without gaps or bubbles.
- Next step: Use thick, well-prepared paint with minimal water or additive dilution to avoid it seeping under edges. The paint should hold its shape on your brush or roller without dripping.
- Painting stage: Apply paint gently using a stiff, short-bristled brush or a foam roller with light, dabbing motions. No visible paint pooling or running means you’re using the right technique.
- Drying phase: Wait until the paint is dry to the touch but not fully cured before removing the stencil. If the edges stay sharp without smudging, timing is correct.
- Touch-up phase: Use a fine tip brush and matching paint to fix any minor bleeding after stencil removal. The corrected area should blend smoothly into your design.
Frequently Asked Questions
Can Using Different Types of Tape Help Prevent Paint Bleed on Stencils?
Painter’s tape is not ideal; it may lift paint and cause bleeding. Adhesive stencils stick better, sealing edges more effectively than tape does. Always prefer stencil-specific adhesives for best results.
Does the Ambient Temperature Affect Stencil Paint Bleed?
Yes, high temperatures can cause paint to dry too fast or drip, increasing bleed risk. Work in moderate temperatures to control drying and maintain clean lines.
How Does Humidity Impact Stencil Paint Bleeding?
High humidity slows paint drying, allowing it to seep under edges more easily. Work in dry conditions or use faster-drying paints to reduce bleed chances.
Can Brushing Paint on Stencils Instead of Sponging Reduce Bleed?
Brushing usually applies heavier paint, increasing bleed risk. Use stippling or dabbing motions with a sponge for lighter, controlled paint application.
Is It Better to Stencil on a Textured or Smooth Surface to Avoid Bleed?
Smooth surfaces help prevent bleed by allowing better stencil adhesion and even paint application. Textured surfaces create gaps that can allow paint seepage.
Should You Seal the Painted Surface Before Applying More Stencil Layers?
Sealing helps prevent smudging and bleed when layering stencils. A light clear coat between layers can keep edges crisp.
Final Thoughts
Clean, sharp stencil designs come from careful preparation, the right materials, and patient technique. Start by securing your stencil properly and controlling your paint’s consistency and application. Your next step is to try a small test stencil on a similar surface to check your materials and method before working on your main project.