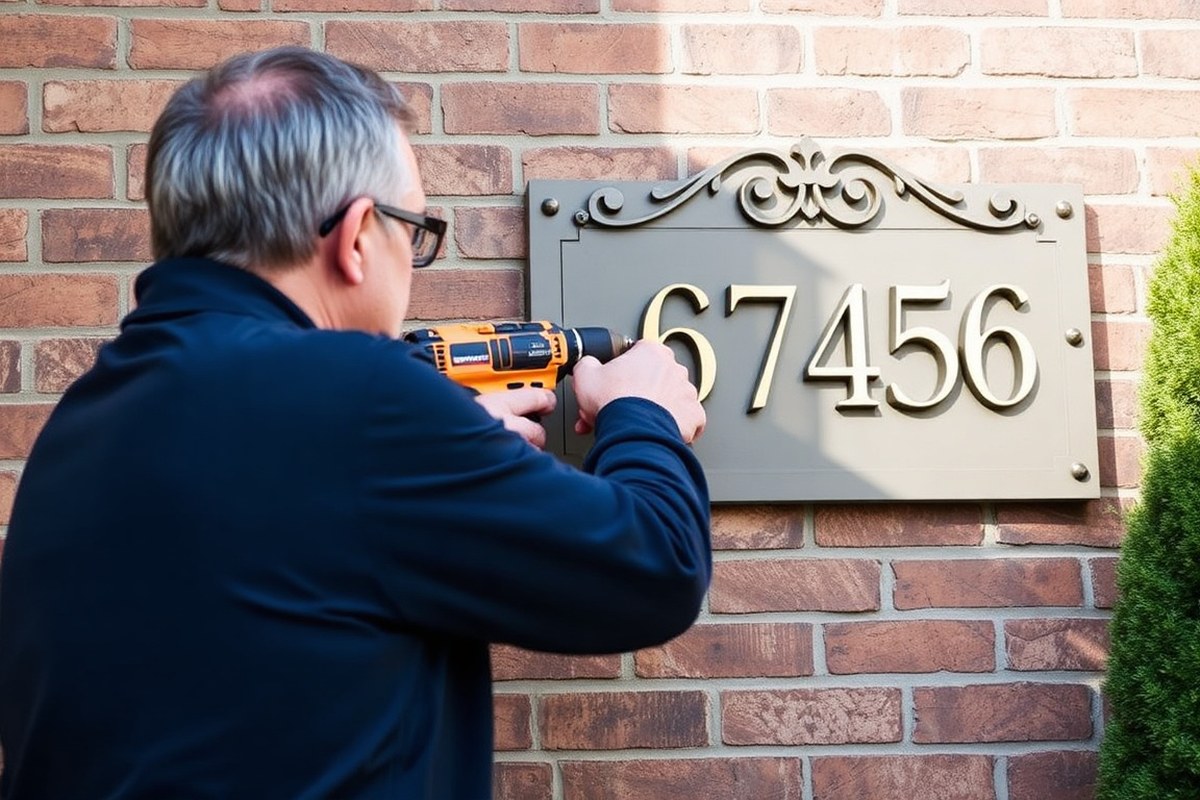
How to Install an Address Plaque: Simple Steps for a Professional Finish
How to install an address plaque involves picking the right spot, gathering proper tools, preparing the surface, and using the correct mounting method for the wall type. Position your plaque 4 to 6 feet above the ground for best visibility. Starting with a clean, dry surface ensures the plaque stays securely attached.
Key Takeaways
- Use a level and tape measure to position your plaque within 4 to 6 feet from the ground.
- Allow at least 0.5 inches spacing between address numbers for easy reading from a distance.
- Select carbide masonry drill bits when mounting on brick or concrete for cleaner holes.
- Prepare surfaces by cleaning and drying to improve sealant adherence and plaque stability.
- Drill holes aligned with plaque holes and insert appropriate wall anchors for secure mounting.
- Let silicone sealant skin over for 30 minutes before wiping excess to avoid damage.
What Tools and Materials Are Needed for Installation
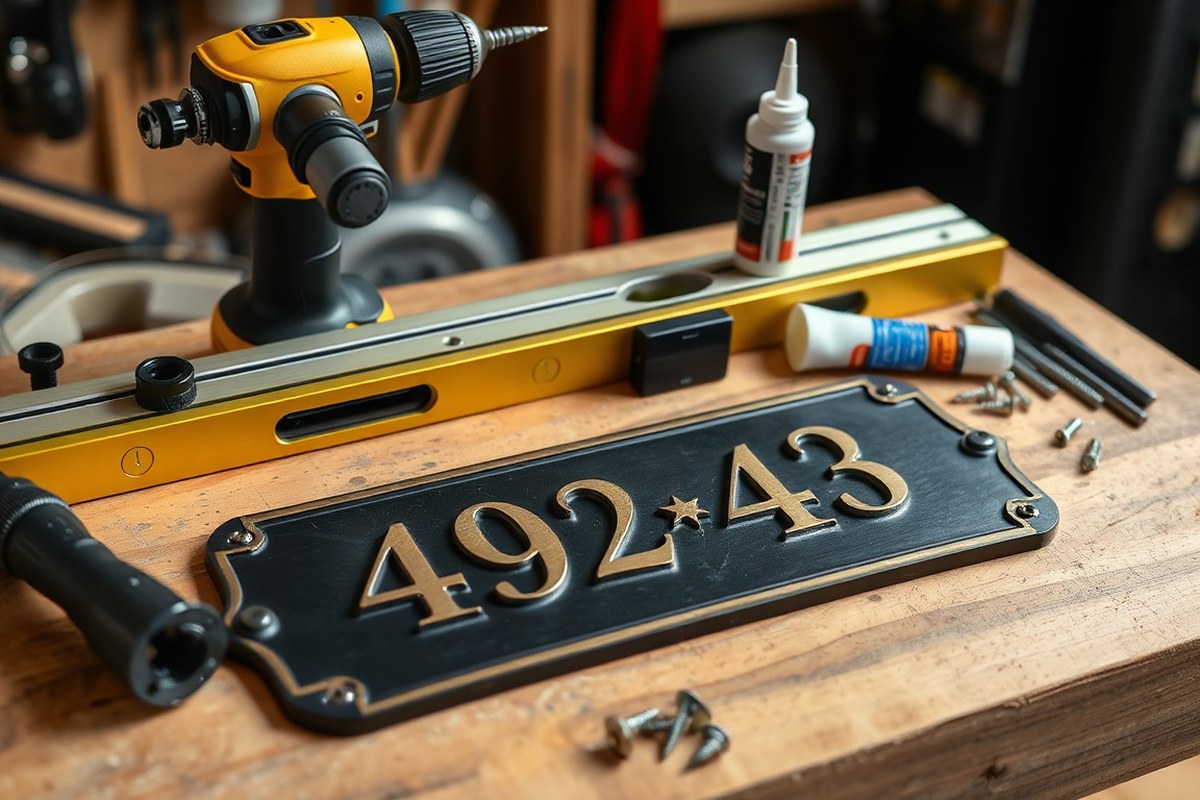
Installing an address plaque requires a specific set of tools and materials chosen based on your wall type to ensure a secure, level, and damage-free mount. For masonry walls like brick or stucco, a hammer drill equipped with tungsten carbide-tipped masonry bits meeting DIN 8034:2003 standards is essential. An 8mm diameter bit works well for standard M6 nylon sleeve anchors that hold lightweight plaques up to about 3kg safely. For vinyl siding, drill bits suited for wood or siding, such as high-speed steel (HSS) bits, avoid cracking the material. Select screws and anchors rated for the particular substrate, using plastic anchors for masonry and corrosion-resistant screws for exterior environments. Sealants are optional but can protect the mounting points from moisture intrusion, especially on porous surfaces.
Safety gear matters: protective eyewear guards against flying debris when drilling, gloves protect your hands, and a dust mask keeps you safe from fine particles. Ensuring a stable ladder or scaffolding when working at height reduces fall risks. Accurate measuring tools and a level are necessary to position the plaque horizontally and at the right height, avoiding angled or crooked installation that affects readability and aesthetics.
- Hammer drill with appropriate masonry or HSS drill bits (6mm, 8mm, or 10mm diameter)
- Measuring tape, pencil or chalk for marking placement
- Level with at least 24-inch length for accuracy
- Plastic or nylon sleeve anchors sized to match drill bits and plaque mounting hardware
- Exterior-rated screws or masonry screws compatible with anchors
- Sealant suitable for your wall surface to protect against moisture
- Safety glasses, gloves, dust mask, and stable ladder
Choosing the right tools and fasteners based on your wall’s material prevents damage, reduces repair costs, and ensures the plaque stays secure over time. For brick, place anchors 20mm away from mortar joints to avoid cracking. Applying approximately 2 to 4 Nm of torque on standoff posts provides enough grip without over-tightening. Maintaining consistent hole sizes using manufacturer recommendations helps prevent pull-out failures. Proper preparation and the correct installation torque contribute to a professional look and long-lasting function, with the plaque clearly visible for visitors and emergency responders.
How to Choose the Best Location and Height for Maximum Visibility
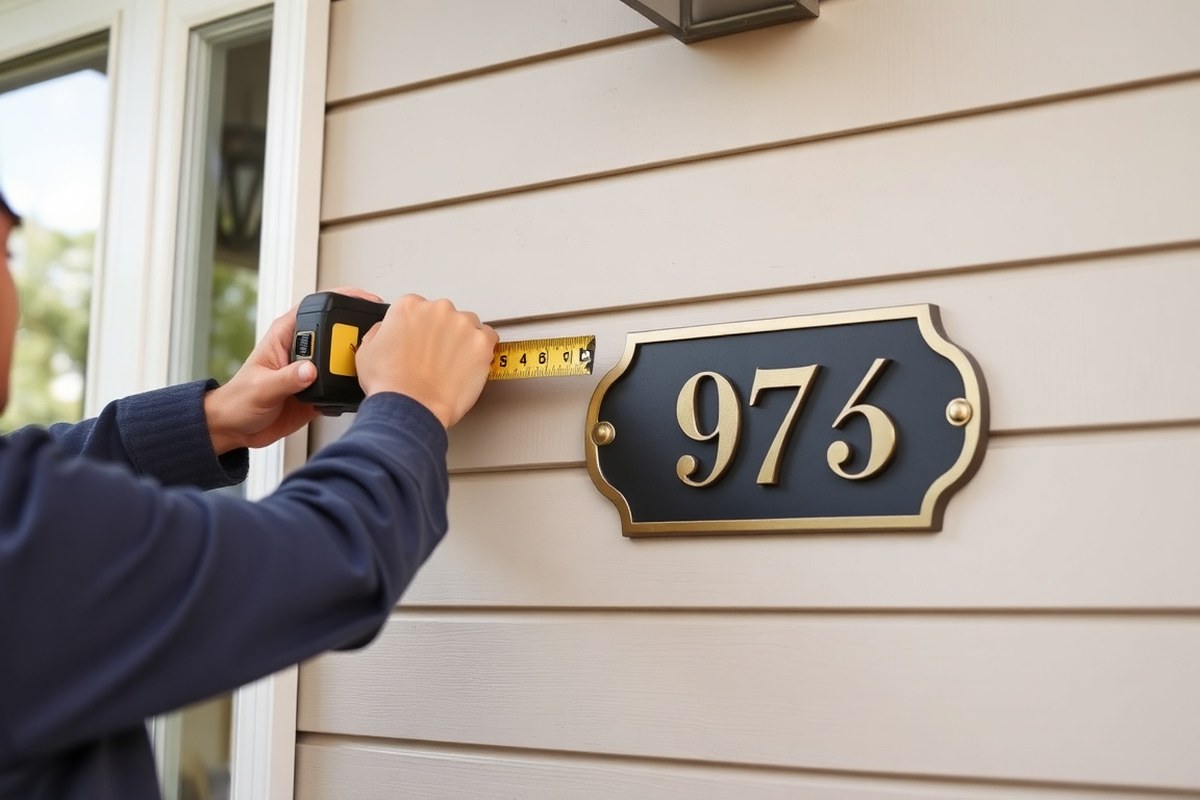
Placing your address plaque between 4 and 6 feet above the ground puts it right in the natural sight range for drivers and people walking. This height works well for visibility from typical vehicle windows and foot traffic eye levels. Mounting it lower might cause it to be hidden by plants or parked cars, while higher placement can make it harder to see. Take a precise measurement from the finished ground to the plaque’s midpoint and mark that spot before installing.
Spacing between numbers is equally important. Maintain at least a half-inch gap between each character to preserve readability, especially from a distance. Crowding numbers reduces clarity by up to 50% for viewers down the street. The clearer the letter spacing, the easier emergency responders and delivery personnel can identify your home quickly.
Choosing the right location depends partly on your lot’s layout. For houses close to the street, mounting the plaque on the front wall at eye level is often best. For larger front lawns, a post-mounted sign or a plaque near the curb helps make your address visible from a greater distance. Avoid placing plaques behind bushes, shrubs, or signs that block direct sightlines from vehicles or pedestrians on the street. Contrast also matters: pick a mounting spot where your plaque’s colors stand out sharply against the background surface, dark plaques with light numbers or vice versa.
Local regulations and fire codes frequently set requirements for address markers. The National Fire Protection Association (NFPA 1 Fire Code, Section 10.11) requires address numbers to be plainly legible and visible from the street for safety reasons. Some towns, such as Murrieta, California, go further by mandating illuminated numbers on newer constructions for improve nighttime visibility. It’s a good idea to check with your local building authority or HOA for specific height, size, illumination, or location mandates before installation.
Lighting and landscaping also influence the best mounting spot. Avoid locations prone to heavy shadows or where plants could grow to obscure the plaque over time. Adding a dedicated light source, like a solar-powered fixture, can improve visibility after dark without wiring costs. Areas with strong sunlight benefit from mounting the plaque under a small overhang or selecting UV-resistant materials to reduce fading and keep the address clear for longer.
Mark and measure your mounting height and center position before drilling or attaching hardware to avoid repositioning or misaligned mounting that reduces visibility.
How to Prepare Exterior Surfaces for Installing an Address Plaque
Identifying your exterior wall type and preparing its surface properly before installing an address plaque is key to a durable, damage-free installation. Different materials, brick, stucco, vinyl, and wood, require specific cleaning, priming, and drilling techniques. Proper preparation prevents moisture intrusion, cracking, or anchor failure over time.
Preparing Brick and Masonry Walls
Brick and masonry walls usually consist of clay or concrete bricks with mortar joints in between. Identify these walls by their solid, often rough and patterned exterior. For installing plaques, drill holes into the brick face or mortar joints depending on your anchors. Drilling into mortar joints avoids damaging the harder brick surface and reduces the risk of cracking.
Before drilling, clean the area by removing dirt, dust, or loose mortar with a wire brush or vacuum. Use a Bosch Blue Xtreme carbide masonry bit (priced around $22 to $35) for clean, precise holes through tough brick or block. The hole should be at least 50mm deep for brick or 60mm for concrete block to ensure strong anchor embedment.
After drilling, vacuum the holes to remove dust, which improves anchor grip. Use resin chemical anchors or solid nylon sleeves to fix your plaque securely. Seal around the anchor holes with exterior elastomeric sealant to prevent moisture from entering, which can cause freeze-thaw cracking and anchor corrosion over years.
Preparing Stucco Surfaces
Stucco is a textured, uniform surface layer made from Portland cement render, commonly applied over concrete block or brick. Identify stucco by its rough, sandy texture. Stucco over block requires at least 60mm anchor embedment into the block, while stucco over brick needs 50mm into the brick.
Clean the stucco with a stiff nylon brush to remove dust and dirt without damaging the surface. Avoid power washing as it may erode the cement layer. Drill holes carefully using a masonry bit matched to the anchor size, avoiding deep pressure near the edges to prevent cracking the brittle render. Clean the holes thoroughly before installing anchors.
Use chemical resin anchors in hollow block behind the stucco for the best hold. After installing anchors, apply an exterior sealant around all holes at the surface to block moisture entry that causes stucco to deteriorate and anchors to weaken over 2 to 5 years.
Preparing Vinyl Siding and Wood Siding
Vinyl siding is recognizable as smooth, lightweight panels usually around 0.045 inches thick (1.143mm minimum per ASTM D3679). Behind vinyl siding, you typically find OSB sheathing and wood framing studs. Wood siding is often thicker and heavier and varies in texture.
Identify your siding by its material and thickness. For vinyl, drill through the panel and into the timber stud by at least 38mm to ensure a secure anchoring point. Avoid overtightening fasteners to allow for thermal expansion of siding material and prevent cracking or warping.
Clean siding surfaces gently with soap and water before drilling. Check for any damaged or loose panels as they may need repair or replacement before mounting. Use sealant around fastener heads to keep water out, stopping mould growth or wood rot inside the sheathing or framing within 2 to 3 years.
General Damage Prevention Tips
Before drilling any exterior surface, inspect the area closely for cracks, softness, and existing damage. Mark and measure carefully, preparing spacers if needed to position characters with proper legibility. Follow this surface preparation checklist:
- Identify the wall type: brick, stucco, vinyl, or wood accurately by texture and structure.
- Clean the surface with appropriate methods, wire brush for masonry, nylon brush for stucco, mild soap for siding.
- Select drill bits matched to the wall and anchor type, such as carbide masonry bits for brick or block.
- Drill holes to the correct depth, generally 50mm or more for brick, 60mm into block, 38mm into wood studs behind siding.
- Vacuum holes thoroughly before inserting anchors to maximize grip strength.
- Install recommended anchors: resin or nylon sleeves for masonry; screws into studs for siding.
- Apply exterior-grade elastomeric sealant around anchor holes and fastener heads to prevent water infiltration.
Use a rubber or EPDM washer if the plaque is fragile, like thin acrylic or glass, to distribute pressure and avoid cracks. Avoid drilling near edges or fragile textured surfaces to prevent chipping or cracking. Taking these steps ensures your address plaque stays secure without damage to your home’s exterior.
Which Mounting Methods Work Best for Different Wall Types
Selecting the right mounting method depends heavily on your wall type and plaque style. Adhesives work well on smooth, non-porous surfaces with minimal mechanical stress but struggle on uneven or porous materials like brick or stucco. Mechanical fasteners provide a stronger, more durable hold, suitable for wood and masonry walls. Floating plaques, prized for their premium look, almost always require standoff mounts, which create a 15 to 25mm gap between the plaque and wall. This method is especially tricky on stucco but produces a clean, professional finish when done right.
Adhesive mounting uses high-strength, waterproof products such as Loctite PL Premium polyurethane construction adhesive, costing around $9 to $12 per 10 oz cartridge. Adhesives avoid wall damage but are limited by substrate porosity and weather exposure. Mechanical fasteners, including screws and anchors, provide a reliable solution for durable surfaces like wood-frame or brick walls, typically costing $5 to $15 for anchors plus screws. Standoff mounts require specific hardware, posts, spacers, and cap nuts, often supplied with the plaque, and installation follows ISO torque specifications to avoid over-tightening. If standoff holes don’t align with studs, a treated timber backer board of at least 12mm thickness must be installed behind the plaque to provide secure anchoring.
| Mounting Method | Best Wall Types | Cost Range | Durability and Weather Resistance | Pros | Cons |
|---|---|---|---|---|---|
| Adhesive | Smooth wood, metal, some siding | $9, $12 per 10 oz cartridge | Waterproof, UV resistant but weaker on porous surfaces | No drilling, less wall damage | Not reliable on brick, stucco, or vinyl; limited mechanical strength |
| Mechanical Fasteners | Wood, brick, masonry | $5, $15 for screws and anchors | Highly durable, withstands weather and UV exposure | Strong hold, long-lasting | Requires drilling, may damage wall surface |
| Standoff Mounts | Wood, brick, stucco (with backer board) | Varies; hardware often included | Durable and weatherproof when properly torqued | Creates premium floating look, easy to maintain | Complex on stucco; requires proper anchor points or backer board |
Vinyl siding is not a structural substrate, functioning only as a weather screen. Mechanical fasteners in vinyl don’t guarantee tensile pull-out resistance, so drilling directly into siding is not advised. Instead, locate studs behind vinyl or use a backer board to provide a secure mounting surface. Standoff mounts require anchors in solid material to meet torque specs; otherwise, the plaque may loosen or cause damage.
Weather and UV exposure influence adhesive choices significantly. Polyurethane adhesives rated for exterior use provide waterproof bonds but still risk failure under extreme temperature fluctuations or prolonged UV exposure. Mechanical fasteners and standoff mounts excel in exposed conditions, offering longevity and resistance to pull-out due to wind or gravity forces. For example, a half-kilogram plaque exerts about 1.2 newtons of pull per standoff due to gravity alone, so anchoring must match these forces plus safety margins.
Use adhesives for smooth, sheltered surfaces where drilling is unwanted or impossible and when the plaque weighs less than about one kilogram. Opt for mechanical fasteners for brick or wood walls when durability and long-term hold are priorities. Select standoff mounts for a sleek, floating aesthetic on sturdy substrates, ensuring at least four anchor points align with studs or a sturdy backer board is installed. Always tighten standoff fasteners following ISO 16047:2005 torque guidelines to achieve a safe clamp force without risking damage.
Step-by-Step Instructions for a Secure, Level Installation
To install your address plaque securely and level, follow a clear sequence from precise measurement and marking through to mounting, sealing, and final adjustments. Each step reduces the risk of misalignment or damage and ensures your plaque withstands weather and time.
Marking and Measuring for Accuracy
Accurate marking starts by measuring the distance between the predrilled holes on your plaque. Use a tape measure to find the exact spacing, then transfer those points onto the wall with a pencil by marking through the holes on the back of the plaque or standoff posts. Positioning the plaque where you want it guarantees a centered and visible display.
Check level at this stage by holding a level tool above or below the marks. Adjust them slightly to compensate for any warp or uneven surface before drilling. Taking the time to double-check now prevents uneven mounting.
Mounting on surfaces that lack studs calls for adding a treated timber backer board that spans two studs. This offers a secure base and stops screws from loosening, which is especially important for heavier plaques.
Safe Drilling and Installing Hardware
Careful drilling protects your wall’s surface from cracking or spalling. Start by choosing a drill bit size matching your wall anchors or screw diameter. For brick, masonry, or concrete, use a hammer drill with masonry bits. For wood or siding, a standard drill bit suffices.
Drill the holes at marked points slowly and steadily. Avoid forcing the drill to prevent damage. After drilling, clean dust away from holes to ensure smooth anchor insertion. Insert wall anchors or plugs as appropriate to your wall type.
Mount standoff posts by threading them into the anchors until snug but not fully tightened. Drop the plaque onto the posts, then adjust individual posts by turning them partially in or out to achieve levelness. Finally, tighten the cap nuts to secure the plaque firmly without overtightening, which can strip threads or crack materials.
- Measure the distance between predrilled holes on the plaque.
- Hold the plaque or standoff posts to the wall and mark holes with a pencil through the mounting points.
- Check and adjust marks for level using a carpenter’s level.
- Drill holes at the marked points, using the appropriate drill bit for your wall material.
- Insert wall anchors or plugs if mounting on masonry, brick, or drywall.
- Screw in standoff posts or mounting hardware until snug.
- Mount the plaque by sliding it onto the posts and adjust posts to level.
- Tighten cap nuts carefully to secure the plaque without overtightening.
Double-check leveling before tightening final nuts; a 30-second adjustment now saves correcting crooked plaque later.
Sealing and Final Leveling Checks
Weatherproofing your installation protects both the plaque and wall from moisture intrusion. Apply a bead of exterior-grade silicone caulk around each drilled hole before inserting anchors and after mounting around the post bases. This prevents water from seeping behind and causing damage or rust.
After sealing, wipe away excess caulk with a damp cloth for a clean finish. Let the sealant cure according to the manufacturer’s instructions, often 24 hours, to ensure full protection.
Perform a final level check by placing the level across the front face of the plaque. Make minor adjustments by loosening cap nuts slightly and turning posts as needed. Check that all hardware is tight, dust is cleaned from the surface, and your plaque sits flush with no wobble.
Common Installation Mistakes and How to Fix Them
One frequent mistake involves incorrect placement that decreases sign legibility. Placing your address plaque against a similarly colored background or in a shaded area makes it hard to read from the street. To fix this, choose a contrasting wall or add a backing panel in a contrasting shade. Ensure the plaque faces the primary direction visitors approach. Another common issue is crooked mounting, often caused by skipping a level check before drilling. Even a 2 to 3mm tilt appears noticeably crooked. Use a bubble level or a level app on your phone to mark perfectly horizontal lines before installation. Tighten screws just enough to hold the sign firmly; over-tightening can crack the plaque or damage masonry around fastener holes. Loose plaques usually mean under-tightening or incorrect anchors. Remove the plaque, insert appropriate wall anchors (plastic or metal) for masonry or stucco, then reinstall and hand-tighten screws carefully.
Incorrect hole placement happens when measurements are off or markings shift mid-installation. If holes end up in the wrong spot, avoid enlarging or forcing new holes near the old ones, as this weakens the wall and affects stability. Instead, fill the misplaced holes with outdoor-grade filler or epoxy for masonry, let it cure fully, then proceed to carefully mark and drill new holes following the level guide. Lastly, poor sealing or water intrusion can cause plaque or wall damage, especially on wooden or porous surfaces. Apply a bead of exterior-grade silicone sealant around screw heads and the plaque edges to block water. Check annually for cracks in the sealant and reapply to maintain a watertight installation.
- Measure twice and mark with a pencil before drilling
- Use a level on marks to ensure straight placement
- Use wall anchors matched to surface type for secure mounting
- Hand-tighten screws to prevent cracking or stripping
- Apply sealant around screws and edges to prevent moisture damage
- Keep tools organized to avoid mid-installation delays and mistakes
Skipping surface preparation or choosing incompatible materials also compromises long-term durability. Always clean the surface thoroughly and use corrosion-resistant hardware suited for your local weather conditions, especially in regions with extreme temperatures or high humidity. Taking these preventive steps keeps your address plaque secure, legible, and looking sharp for years.
How to Ensure Safety and Avoid Damage During Installation
Wear protective gear such as safety glasses to guard your eyes from dust and debris, gloves to protect your hands, and hearing protection if using loud power tools. These simple precautions reduce the risk of injury during drilling or handling sharp materials. Use sturdy footwear to avoid slipping or dropping heavy parts on your feet.
Before drilling into any surface, you must check for hidden utility lines to prevent hazardous or costly damage. Start by calling 811, a free service that notifies utility companies to mark underground phone, cable, gas, or electric lines near your home. This step prevents accidental punctures that can result in dangerous gas leaks or power outages. On the surface, visually inspect the installation area. Avoid spots near electrical outlets, meters, or utility boxes where wires or pipes are more likely to run.
Use a stud finder with a live wire detector before drilling to locate wall studs and electrical lines inside exterior walls. This device helps avoid drilling into wires or water pipes. Follow a simple script for utility checks: first call 811 and wait for markings, then inspect the wall visually, scan with a stud finder, and finally drill a small test hole if safe. Mark any hazards clearly and choose a different spot if utilities are too close.
Improper drilling or using the wrong fasteners can lead to cracked walls, unstable plaques, or water infiltration that damages your home’s exterior. For example, using metal screws on brick without anchors can cause the plaque to loosen or the brick to split. Overdrilling weakens the surface and compromises structural safety. Avoid these issues by matching anchors and screws to the wall type and drilling pilot holes of the correct diameter and depth.
If your installation involves high locations requiring ladders, uneven surfaces, or walls made from unfamiliar or fragile materials like stucco or plaster, consider hiring a licensed professional. A pro’s experience helps prevent damage from overzealous drilling and ensures secure mounting. Complex surfaces might require special fasteners or tools that a professional can provide, avoiding costly repairs later.
After confirming the site is safe and wearing your protective gear, protect surfaces by placing a drop cloth or cardboard under the work area to catch debris. Use painter’s tape around drill points on painted surfaces to stop paint from chipping. When handling tools, keep cords clear and secure your ladder on firm ground to prevent falls. These steps may take a bit more time but significantly lower the risk of injury and damage.
How to Maintain and Clean Your Address Plaque for Longevity
Maintaining your address plaque involves regular cleaning, weather protection, and periodic inspections to ensure it remains legible and in good condition. Proper care prevents damage like corrosion and fading, extending the plaque’s lifespan and preserving curb appeal.
Cleaning Brass and Metal Plaques
Use mild soap and water to clean brass or aluminum plaques without damaging the surface. Avoid abrasive cleaners or harsh chemicals that can scratch or discolor the metal. Gently scrub with a soft cloth or non-abrasive sponge, then rinse and dry completely to prevent moisture buildup.
For stubborn dirt or oxidation on brass, a specialized metal cleaner formulated for outdoor use can restore shine safely. Always test any cleaner on a small, hidden area first. After cleaning, remove any sealant residue carefully once it has skinned over, which generally takes about 30 minutes for silicone-based products.
Protecting Against Weather and UV Exposure
Aluminum plaques resist UV fading and weather damage better than plastic or painted options. However, applying a thin coat of clear outdoor sealant designed for metal can add a protective layer against rain and sun exposure. Avoid mounting metal plaques directly against damp masonry to reduce corrosion risks on the back side.
Weather conditions cause plaques to expand and contract; for example, a 400 mm metal plaque may expand 0.2 to 0.4 mm on hot days. Allow some spacing or flexible mounting to accommodate this movement without stress on attachment points.
- Apply a clear UV-resistant sealant annually to metal plaques
- Use non-abrasive cleaners designed for outdoor metals
- Keep plaque edges clear from plant growth and debris
- Avoid direct contact with moisture-trapping surfaces
- Inspect mounting hardware for rust or loosening each season
Trapped moisture behind a metal plaque speeds corrosion, so ensure there’s airflow or a drainage gap when mounting on walls.
Inspection and Repair Recommendations
Check your address plaque at least twice a year and after severe weather. Look for signs of fading, corrosion, loose mounting screws, or damage to sealant layers. Address any minor rust spots early with light sanding and touch-up paint to prevent spreading.
Non-metal signs showing UV fading typically need replacement every 3 to 5 years. For metal plaques, replacement is preferable if corrosion penetrates or if mounting failure compromises security. Repairs involving resealing or hardware tightening should happen whenever maintenance inspections reveal wear. Use this simple maintenance checklist during inspections:
- Clean plaque surface and remove debris
- Check for fading, discoloration, and oxidation
- Inspect mounting screws, anchors, and brackets
- Look for cracks or peeling in sealant or paint
- Ensure plaque remains level and aligned
Step-by-Step Action Plan for Installing Your Address Plaque
Follow these clear steps to install your address plaque securely and make sure it stays visible and in good condition.
- Before you start: Gather all required tools and materials. Confirm the plaque and mounting hardware fit the chosen wall type for a secure hold.
- Day 1: Choose the best location and height, typically 4 to 6 feet above ground, facing the street. Test visibility from different spots to ensure easy reading.
- Day 1, continued: Prepare the exterior surface by cleaning it thoroughly and drying it completely. A clean surface guarantees proper adhesion or secure anchoring.
- Day 2: Drill pilot holes or mark mounting points carefully with a level. Confirm holes line up to keep the plaque straight and balanced.
- Day 2, continued: Attach the plaque using appropriate screws, anchors, or adhesive based on your wall material. Check that the plaque sits flush and firmly.
- After installation: Inspect the plaque from the street to confirm visibility and levelness. Adjust if it looks crooked or too low/high.
- Weekly for the first month: Clean the plaque with mild soap and water to keep numbers clear and surface damage-free. Avoid abrasive cleaners that can harm finish.
- After 6 months: Recheck mounting tightness and surface condition. Tighten any loose screws and replace worn hardware to prevent plaque from falling.
Frequently Asked Questions
Can I Install an Address Plaque on Vinyl Siding Without Damage?
Use fasteners rated for vinyl siding per ASTM D3679-18 to prevent pull-out. Avoid over-tightening to protect the material and ensure durability.
What Is the Best Way to Level a Floating Address Plaque Accurately?
Use a spirit level and note that a 6mm deviation over 600mm equals about 0.57 degrees. Adjust until perfectly horizontal for a professional look.
How Do I Know If I Should Use a Backer Board Behind My Plaque?
Install a treated timber backer board when standoff holes don’t align with studs. It provides secure mounting and prevents wall damage.
Can I Reuse Old Mounting Holes When Installing a New Address Plaque?
Avoid reusing old holes as they may be misaligned or weakened. Drill fresh holes following the new plaque’s specifications for a secure fit.
How Long Should Sealant Cure Before Mounting a Floating Address Plaque?
Allow sealant to cure for at least 24 hours before mounting to ensure a weather-tight, lasting bond. Check product instructions for exact timing.
What Torque Is Recommended for Tightening Standoff Post Cap Nuts?
Tighten cap nuts to about 2 to 4 Nm torque to securely hold the plaque without stressing the fasteners or damaging the wall.
Key Points to Remember
Proper installation of your address plaque boosts curb appeal and ensures emergency responders can locate you easily. Focus on picking a visible spot, prepping the surface well, and using the right mounting method for your wall. Start by identifying the ideal location today and prepare the wall for a smooth, lasting installation.