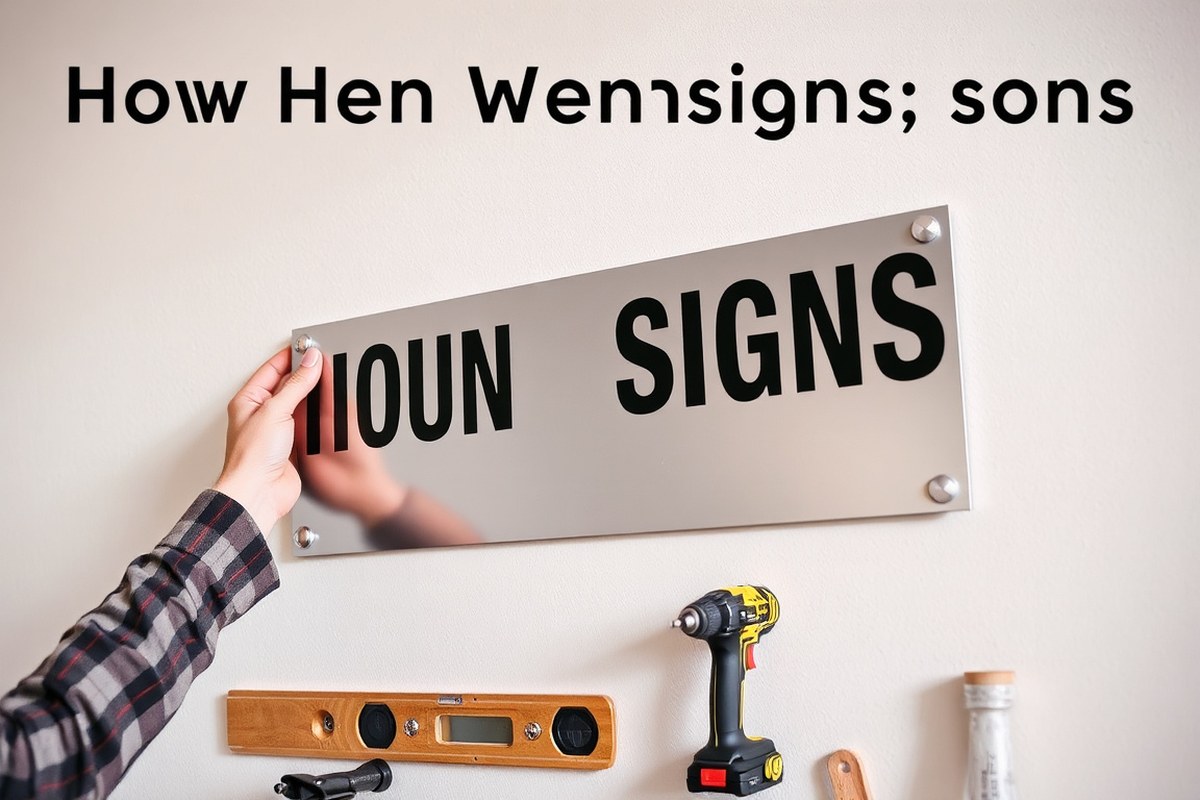
How to Hang Signs on a Wall: 8 Expert Steps for Perfect Placement
Knowing how to hang signs on a wall means choosing the right method for your wall type and the sign’s weight. Start by measuring and marking precise locations to ensure balanced, eye-level placement. Use appropriate hardware like anchors or studs for heavier signs to keep them secure and avoid damage.
Key Takeaways
- Hang signs between 57 and 60 inches from the floor for optimal eye-level visibility.
- Use studs or heavy-duty anchors for signs over 10 pounds to ensure safe support.
- Measure and mark wall points accurately by centering the sign, then marking drill holes evenly spaced.
- For lightweight signs under 5 pounds, basic anchors or command hooks may provide sufficient hanging strength.
- Clear cable clips spaced every 8 to 12 inches help manage and secure electrical cords for neon signs.
- Allow at least 24 hours for adhesive or anchors to fully set before placing full weight on the sign.
1. How to Hang Signs on Different Wall Types
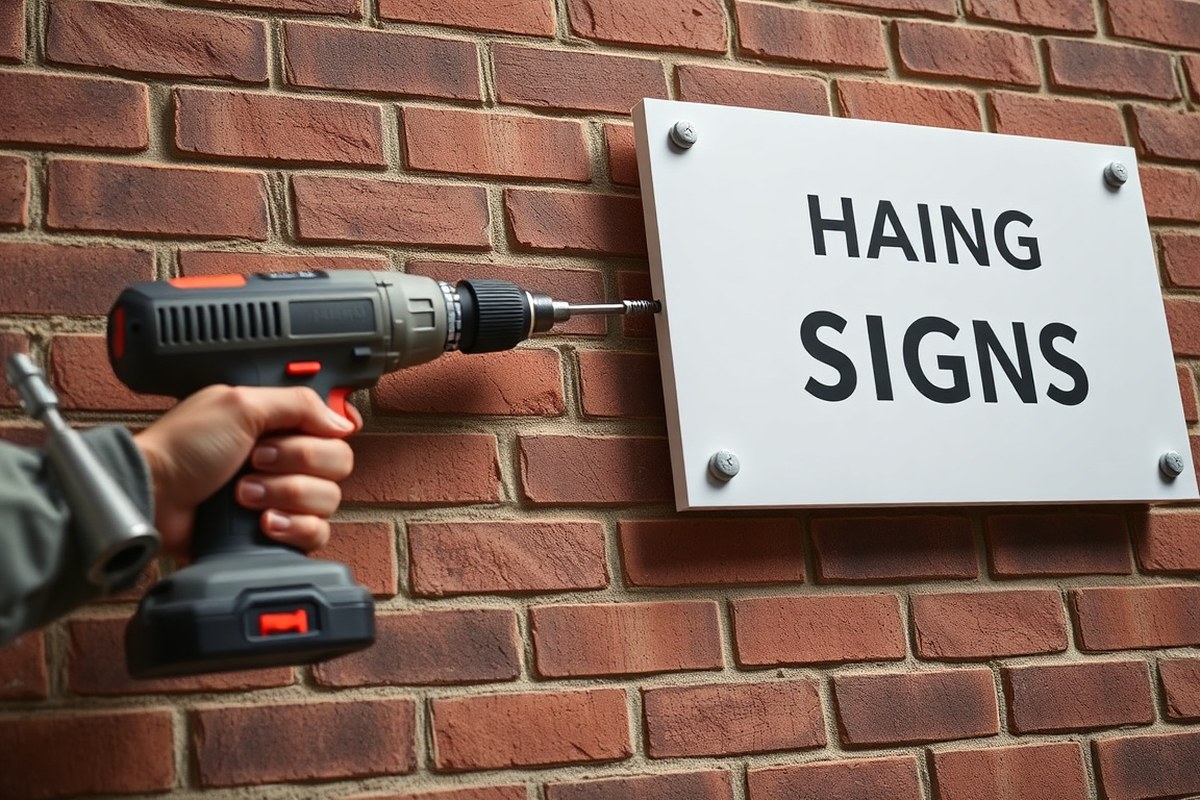
Choosing the right hardware to hang signs depends on the wall type and sign weight. For drywall, use wood screws directly into studs for heavy signs over 10 lbs. If you can’t hit a stud, plastic anchors suit light signs up to 10 lbs, and toggle bolts hold heavier loads. Brick or concrete require masonry screws with appropriate anchors, as adhesives don’t stick well on rough surfaces. Wood walls accept screws or nails easily. For delicate painted or textured drywall, use damage-free options like Command strips or adhesive hooks on smooth sections to protect the finish.
| Method | Best For | Weight Limit | Wall Damage | Skill Level | Cost |
|---|---|---|---|---|---|
| Screws & Wall Plugs | Permanent installations, heavy signs | Up to 25 kg (~55 lbs) | Yes (repairable) | Intermediate | £5, 15 |
| Command Strips | Rentals, light signs, temporary displays | Up to 3 kg (~6.5 lbs) | None | Easy | £5, 10 |
| Picture Hanging Wire | Medium signs, adjustable height | Up to 10 kg (~22 lbs) | Minimal | Easy | £5, 15 |
| Adhesive Hooks | Smooth surfaces, medium signs | Up to 5 kg (~11 lbs) | Minimal | Easy | £3, 8 |
For drywall installation without studs, start by marking the desired sign height, typically eye level at 4 to 6 feet. Drill a hole matching the size of your plastic anchor, insert it fully, then screw in the screw leaving a small gap to hang the sign. Toggle bolts require a larger hole; insert the clip, tighten the screw until snug against the wall, and then hang your sign. When hitting a stud, a wood screw alone gives the strongest support.
On brick or concrete, use a masonry drill bit for pilot holes about 1/8 inch larger than your wall plug. Insert the anchor fully, then drive a masonry screw into it, making sure the screw head stays slightly out so you can hang the sign. Avoid adhesives here since brick and mortar surfaces are uneven and porous, causing poor adhesion and possible sign failure.
Wood walls offer the easiest installation. Simply choose a screw or nail long enough to support your sign weight (at least 1.5 inches), drill a pilot hole if necessary to avoid splitting, and secure your hardware. Wood studs behind drywall also allow direct screw attachment for the toughest hold.
Delicate or textured painted surfaces require gentle methods. Select high-strength adhesive strips or hooks rated for your sign’s weight, applied only on smooth, clean spots. Avoid rough or crumbly textures, which reduce adhesive effectiveness. These options keep your wall intact, perfect for rentals or temporary displays.
- Check the sign’s weight before selecting hardware; heavier signs need anchors or stud mounting.
- Use a stud finder for drywall to locate solid support areas.
- Always choose drill bits and anchors sized correctly for your screws.
- Clean and dry wall surfaces before applying adhesives for best hold.
2. Tools and Materials Needed for Hanging Signs
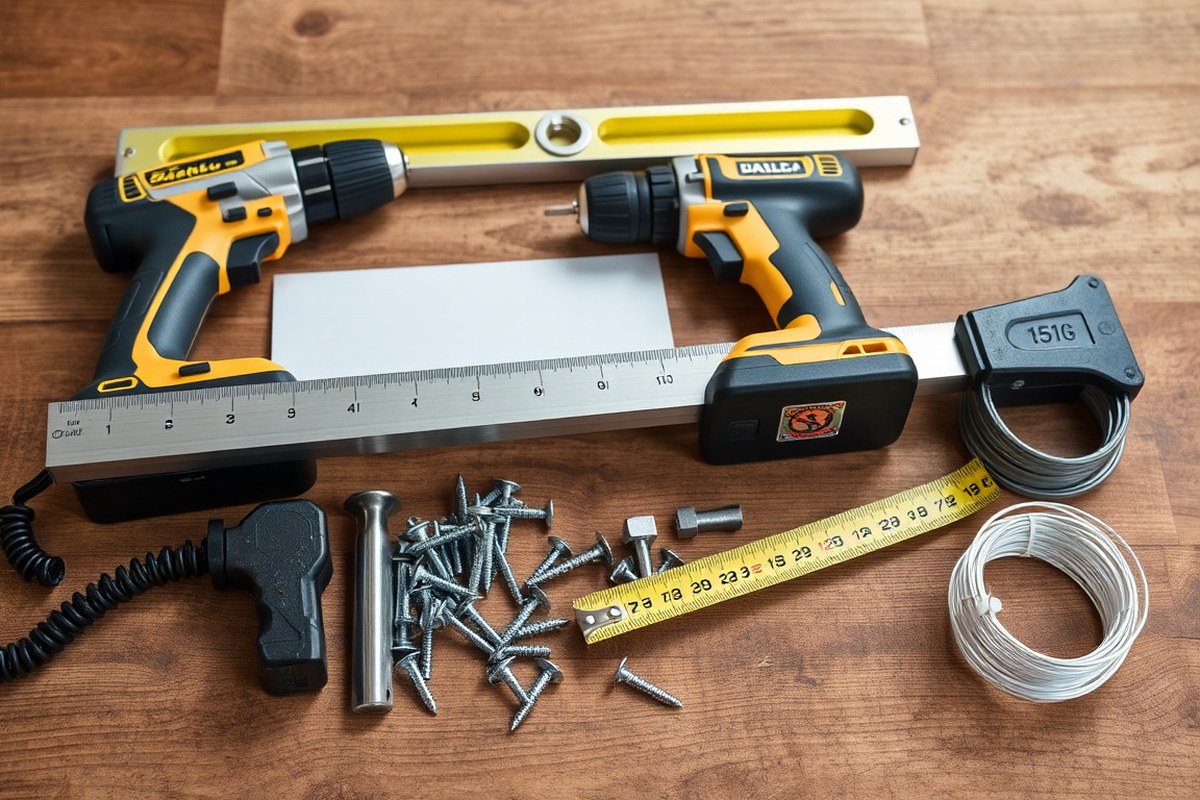
Gathering the right tools and materials is essential for hanging any sign securely and attractively. For metal signs, you’ll need a drill with appropriate drill bits, a stud finder, level, tape measure, pencil, and mounting hardware like screws, wall anchors, or picture hooks. A stud finder helps locate wall studs to ensure proper support, especially for heavy signs. Use a level to keep the sign perfectly horizontal, which improves appearance and prevents it from shifting over time.
Heavy signs call for more strong hardware. For signs under 10 pounds, standard picture hooks or nails may suffice. Signs between 10 and 25 pounds usually require wall anchors or toggle bolts. Above 25 pounds, mounting directly into studs with heavy-duty anchors or lag bolts provides the best stability. Select anchors rated for the weight of your sign and the wall type, whether drywall, brick, or concrete.
Neon signs demand specialized attention and tools. Because they have electrical components and delicate glass tubing, avoid hanging them by the LED tubing itself. Most neon signs come with mounting holes or rear cable exits for cable routing and support. Mount neon signs using wall brackets that come with the sign or brackets rated for electrical signs, securing them to studs or solid anchors. Also, ensure the power cord can reach an outlet safely without being pinched or strained.
- Drill (with masonry, wood, or metal bits depending on wall)
- Stud finder to locate framing behind drywall
- Level to ensure the sign sits straight
- Tape measure and pencil for marking exact spot
- Screws, wall anchors, toggle bolts sized to sign weight
- Wall brackets or mounting hardware for neon or metal signs
- Screwdriver or power driver for installation
Start by measuring the distance between the mounting points on the sign. Transfer those measurements to the wall using a pencil and tape measure. Use a stud finder to detect solid support if your sign is heavy. Drill pilot holes, insert wall anchors if needed, and attach screws or hooks, leaving screw heads protruding enough to hang your sign securely. For neon signs with brackets, first mount the brackets firmly, then gently hang the sign.
Never hang neon signs by their glass tubes; always use the mounting holes or brackets designed for support to avoid damage and electrical hazards.
3. Measuring and Marking Wall Placement Accurately
Measuring and marking your wall accurately before hanging a sign ensures it is visible at eye level and looks balanced. Using a tape measure and level, you can mark the center and height precisely, then space hooks evenly based on your sign’s dimensions. This process reduces errors, saves time, and results in a professional, straight installation every time.
Determine Optimal Height and Center Point
The ideal height for hanging a sign is typically at eye level, around 57 to 60 inches from the floor to the center of the sign. This height offers the best visibility for most people standing in a room or hallway. Measure the wall height in the area you want to place the sign, then decide this center point first.
To start, locate the desired spot on the wall’s horizontal plane by measuring the width of the wall section and dividing by two. This will be your center point. Mark this lightly with a pencil to serve as a reference. Always consider surrounding elements like furniture or door frames to avoid visual clutter and maintain good balance.
Marking Hanging Points Based on Sign Width
Hanging points need to match both the width of your sign and the specific hanging hardware it has. Many signs with D-rings or keyhole slots will indicate the correct distance between mounting points. For instance, when D-rings are spaced 18 inches apart, place hooks or screws 9 inches to the left and right of the wall’s center mark for exact alignment.
For signs that hang by wire or cable, set the wall screws or hooks based on the wire’s length and the amount of tension it holds. Always keep the wire shorter rather than longer to ensure the sign stays tight and close to the wall.
- Measure the overall width of the sign with a tape measure.
- Divide the width by two to find the center point of the sign.
- Note the distance between existing mounting points like D-rings or holes on the back of the sign.
- Transfer these measurements to the wall by marking points equally spaced left and right from the wall’s center mark.
- Double-check the measurements to avoid uneven placement.
Using a Level to Ensure Straight Placement
A bubble level is the key to making sure your sign hangs perfectly straight. After marking the height and center, place the level horizontally at your marked height and draw a faint line across the wall. This line guides the placement of mounting hardware, ensuring they are aligned rather than skewed.
Once the hooks or screws are installed based on your marks, hang the sign and place the level on top of the sign frame or edge. Adjust the hanging if needed before tightening the hardware completely.
- Place the bubble level parallel to the floor at the height you want your sign’s center.
- Draw a light, horizontal guideline across the wall using a pencil.
- Mark the exact spots for mounting holes or hooks along this line.
- After installing hooks or screws, hang the sign and place the level on it.
- Adjust the sign until the bubble centers fully before finalizing the fit.
Tips for Spacing Multiple Hanging Points
Signs with multiple hanging points require careful spacing to distribute weight evenly and maintain stability. Using two or more mounting points spaced wide apart helps prevent the sign from tilting or pulling away from the wall.
For example, a 24-inch wide sign with two hooks should have them spaced about 18 to 20 inches apart to provide firm support and balance. Avoid spacing hooks too narrowly, as this can cause the sign to swing or become uneven.
Keeping hanging wires or cords short reduces movement and keeps the sign sitting flush against the wall. Using adhesive hooks combined with a strong wire or fishing line works well for signs that feature top slots or holes, providing a gallery-style hang with less visible hardware.
4. Methods to Hang Signs Without Drilling
Hanging signs on walls without drilling is possible with adhesive hooks, foam tapes, and other no-drill methods, ideal for renters or delicate surfaces. Command strips and double-sided foam mounting tape work well on clean, smooth walls to support light metal signs without leaving holes. These options typically hold signs up to 5 pounds; heavier items like large neon signs require more secure methods.
To use adhesive hooks, first clean the wall thoroughly with rubbing alcohol to remove dust, oils, and residues that weaken adhesion. Let the surface dry fully before applying the hook. Follow the package instructions, usually pressing firmly for 30 seconds, and wait at least one hour before hanging your sign to maximize hold. Avoid textured or freshly painted walls, as they reduce bonding strength.
Double-sided foam mounting tape offers a strong, low-profile hold for smaller signs. Cut tape strips slightly shorter than the sign’s width and place them evenly along its back. Press the tape firmly against the prepared wall for 30 seconds to secure. Check the tape’s weight rating; many tapes support between 1 and 3 pounds per square inch of tape applied. For example, applying 4 inches of foam tape on a 2-inch-wide sign can support about 4 pounds evenly distributed.
For neon signs, hanging without drilling is trickier due to weight, size, and often attached cords. Lighter neon signs designed for indoor use can sometimes use heavy-duty command hooks rated for up to 7 pounds, positioned on a smooth wall with proper preparation. Alternatively, suction cup hooks fix neon signs to windows or glass surfaces without damaging walls. Avoid textured walls and inspect adhesive strength regularly to prevent falls.
Check your sign’s weight before choosing a method. For signs under 5 pounds, adhesive hooks or foam tapes can work well. Signs over 7 pounds typically need hardware for safety, especially metal or neon signs with cords and glass tubing. When the sign weighs over 10 pounds or has an uneven balance, drilling often provides a more secure hold.
For renters, no-drill methods avoid security deposits being withheld for wall damage. Always remove adhesive products by gently pulling the tab straight down, not away, to reduce paint damage. Take care to clean walls before installation and avoid overloading the adhesive with heavier signs. Choose adhesive hooks or tape that match your sign’s weight, clean and dry the wall before applying, follow the package directions carefully, and check the hold before mounting valuable or fragile signs this way.
5. Step-by-Step Process to Hang Heavy Signs Safely
Hanging heavy signs safely requires finding solid support like wall studs or using heavy-duty anchors, preparing the wall with pre-drilled holes, inserting secure anchors, and fastening the sign firmly. Signs over 10 pounds especially need studs or toggle bolts to prevent damage or accidents. Follow a detailed process to ensure your sign stays in place without harming your walls.
Locate Studs or Strong Anchors for Support
The most reliable support for heavy signs comes from wall studs, which are vertical framing members behind drywall. Use a stud finder to locate these studs, which are typically spaced 16 to 24 inches apart. If the sign weighs more than 10 pounds, securing it into studs will prevent the screws from pulling out of the drywall.
When studs are not available in the desired location, use heavy-duty wall anchors or toggle bolts rated for the sign’s weight. Toggle bolts expand behind the wall to distribute weight across a larger surface area, making them suited for drywall without studs. Anchors are essential for signs over 10 pounds, while signs under 5 pounds often can use basic anchors.
Pre-Drill Correctly Sized Holes
Pre-drilling holes the right size prevents wall damage and ensures anchors fit snugly. Select a drill bit that matches the diameter of your anchor or toggle bolt’s barrel. For example, if using a toggle bolt with a 1/4-inch diameter, drill a 1/2-inch hole to allow the toggle to fit through.
For brick or concrete walls, use a hammer drill with a masonry bit to avoid cracking. Drill slowly to keep holes clean and precise. Pre-drilling also guides screws straight and makes fastening easier.
Insert Appropriate Wall Anchors or Toggle Bolts
Insert anchors or toggle bolts into the drilled holes before mounting the sign to evenly distribute the sign’s weight and keep it secure. Expand toggle bolts fully by pushing the toggle through the hole, then tighten the bolt until the toggle rests flush against the wall’s interior. This creates strong resistance to pulling forces.
Plastic anchors are suitable for lighter signs but avoid them for heavy metal signs. Use metal anchors or heavy-duty plastic anchors rated for 50 pounds or more. Screws should be long enough to go through the sign backing, anchors, and wall studs or drywall without damaging the sign surface.
Align and Secure the Sign Firmly to the Wall
Hold the sign close to the wall and align mounting holes with the pre-drilled anchors or studs. Start by inserting screws through the sign’s mounting points. Tighten screws gradually and evenly, ensuring the sign sits flush and level. Avoid overtightening to prevent damage to the sign or wall.
For large signs, get help to lift and hold the sign in place. The mounting hardware should support at least three times the sign’s weight to ensure safety. Allow any adhesives or anchors requiring curing time to set fully, this can range from 1 to 24 hours depending on the product instructions, before hanging the sign completely.
- Use a stud finder to locate studs or identify appropriate anchor points.
- Mark drilling spots where the sign’s mounting holes will align.
- Pre-drill holes using a drill bit sized for your anchors or toggle bolts.
- Insert wall anchors or toggle bolts fully and secure them per product instructions.
- Hold the sign in position, aligning its holes with anchors or studs.
- Insert screws through the sign and into anchors or studs, tightening gradually.
- Check that the sign is level and firmly attached before releasing it.
- Allow anchors or adhesives to set if required before applying full weight.
Tip: Always choose mounting hardware with a weight rating at least three times greater than your sign for secure and damage-free installation.
6. Special Techniques for Hanging Neon and Metal Signs
Hanging neon and metal signs requires different techniques than wood or plastic signs because they involve delicate wiring, heavier materials, and potential wall damage. Neon signs need special care to protect the glass tubes and electrical components. Metal signs may require stronger supports and hardware suited to their weight and mounting style. Using the right methods and hardware ensures your signs stay secure and avoid damage.
Mounting Neon Signs with Backboard and Wiring
Neon signs almost always come mounted on a clear acrylic or metal backboard. This backboard distributes the weight and protects the fragile glass tubes. Avoid hanging the neon tubing itself, as the tubes can crack or break if stressed. Before installation, test the sign and make sure the power cable is long enough to reach the outlet without strain. Identify where the power source will be relative to the sign to avoid exposed or stretched wires.
Hang neon signs using at least two mounting points on the backboard. Hardware should be rated to hold more than the sign’s weight, typically 50% more for safety. Mounting holes usually come pre-drilled in the backboard. Use wall anchors designed for your wall type, such as toggle bolts for drywall or masonry anchors for brick.
Safe Hardware Choices for Metal Signs
Metal signs can be heavier and sometimes come without built-in hanging options. When your metal sign lacks mounting brackets, install a metal wire hanger, D-rings, or cleats rated for the weight of your sign. Choose screws or bolts that will support the load and fit the wall material securely.
Freestanding displays are a good option for large or very heavy metal signs to avoid wall damage or difficult mounting. Signs under 20 pounds often work well with two solid screws and wall anchors, while heavier signs (over 30 pounds) require heavy-duty anchors or mounting plates.
- Use at least two mounting points spaced evenly for balance
- Select hardware rated 50% above sign weight
- Use wall anchors suitable for drywall, plaster, or masonry
- Consider adding a mounting backboard if needed
- For very heavy signs, consider freestanding options
- Pre-drill holes to prevent metal warping
- Use rust-resistant hardware for outdoor signs
Metal signs installed outdoors should use stainless steel or galvanized screws to prevent corrosion. Avoid hanging metal signs by any thin edges or parts that can bend or deform under weight.
Avoiding Damage to Signs During Installation
Fragile neon tubes can break easily. Handle signs with care during mounting, holding the backboard firmly and avoiding pressure on the tubes. Never hang neon signs by the LED or glass tubing. Avoid dropping or knocking the signs, even slightly. Before drilling, clean the wall and mark holes carefully to prevent multiple mistakes or punctures.
Metal signs can scratch or dent if not handled properly. Place a soft cloth underneath while working and avoid metal-to-metal contact. Use washers with screws to protect the sign’s surface from damage. Wipe fingerprints and dust off the sign after installation using a soft, dry cloth to keep it looking new.
Electrical Safety and Power Considerations
Neon signs require a power source and careful cable management. Plan the installation so the cord runs neatly along the wall or is concealed inside trim. Avoid pinching or bending the power cable sharply. Use cable clips or adhesive tie mounts to secure wires against the wall or baseboards, preventing tripping hazards and wear.
Test the neon sign’s operation before hanging to confirm it works properly and check for flickers or loose connections. Never use extension cords rated below the neon sign’s power requirements. Follow the manufacturer’s instructions on wattage and power supply to avoid electrical hazards.
For outdoor neon signs, ensure all electrical components are rated for outdoor use and protected from rain. Use weatherproof outlets and covers when available. When uncertain about wiring or power installation, consult a licensed electrician to prevent serious electrical hazards.
7. Common Mistakes and How to Fix Them
One common mistake in hanging signs is placing them too high, which makes them hard to see and reduces their impact. Choose a height that is at eye level for most viewers, usually about 57 to 60 inches from the floor to the center of the sign, for the best visibility indoors. Another frequent error is using weak adhesives or hooks that can’t support the sign’s weight, causing it to fall and potentially damage your wall or the sign itself. Always check the sign’s weight and select anchors or adhesives rated for that load.
Signs that don’t stay flush or hang crooked usually suffer from poor anchor placement or lack of multiple mount points. Use a level when marking holes to ensure straight installation. If your sign has mounting holes, secure it with screws or zip ties in multiple places rather than relying on a single fastener. For signs without mounting holes, carefully drill holes at the recommended spots, then insert wall plugs so the screws sit flush with the wall surface. Tap the plugs gently with a hammer until they are even with the wall to avoid uneven mounting.
Fixing damage like unwanted holes or surface marks requires some patching and repainting. Use spackling compound to fill small holes; apply it with a putty knife, allow it to dry for about four hours, then sand smooth with fine-grit sandpaper. Match the paint color to your wall and apply a light coat over the patched area. This process typically costs under $10 for materials at a hardware store and only takes an hour or two. Avoid using oversized wall anchors that create bigger holes than necessary. When possible, test anchors in a hidden area to prevent visible damage.
Cleaning and maintaining signs varies depending on the material. For metal signs, wipe them down with a damp microfiber cloth every few weeks to remove dust and grime. Avoid abrasive cleaners or harsh chemicals that might scratch or fade paint. Plastic or acrylic signs can be cleaned with a mild soap and water solution, rinsed well, and dried thoroughly. In outdoor settings, check for weather damage periodically; reseal or repaint signs if paint peels or rust appears to prolong their life.
8. Safety Tips and When to Hire a Professional
Taking proper safety precautions is key when hanging signs to avoid injury and property damage. Always wear safety glasses to protect your eyes from dust and debris. Use gloves when handling sharp tools or metal edges. When using power tools like drills, make sure the cords are intact and use the correct bit size to match your anchors or screws. Secure your ladder on stable ground at the recommended angle of 75 degrees, usually with your feet one quarter of the ladder’s length away from the wall. Don’t overreach; move the ladder as needed to keep your balance.
Electrical neon signs require extra care because of the wires and power source. Plan your sign placement near an outlet to avoid running cords dangerously across floors or walls. Turn off power at the circuit breaker before handling wiring. If you’re not confident with electrical work, hiring a licensed electrician ensures safe installation. Use appropriate hardware rated for the weight and type of sign, especially for heavier or large neon models. Avoid relying on a single hook or anchor if the sign’s weight exceeds its limit; distribute the load evenly across multiple supports.
- Wear eye protection and gloves during all installation steps
- Check ladder stability and follow the 4-to-1 rule for placement
- Use power tools with proper bits and follow manufacturer instructions
- Turn off electricity before installing or handling neon wiring
- Choose anchors and hooks that match the sign weight and wall type
- Consider multiple anchors for signs heavier than 10 to 15 pounds
- Hire a professional for signs over 50 pounds or complicated electrical setups
Never attempt to install a heavy or electrically powered sign without first ensuring the installation plan meets safety requirements and local electrical codes.
Simple signs under 10 pounds, like small acrylic or wooden panels, can be hung safely by most homeowners with basic tools and care. Signs that exceed this weight, have an uneven shape, or require wiring call for professional installation to prevent falls or electrical hazards. The cost to hire a professional varies but expect to pay between $100 and $300 depending on the sign size, wall material, and wiring complexity. Professionals bring experience with wall studs, electrical codes, and heavy-duty anchors that reduce risk.
Good installation results in a sign that is firmly fixed with no wobble, properly wired with no exposed wires, and easy access to power switches or cords. Poor safety precautions lead to DIY injuries, damaged walls, or signs falling and breaking. Taking your time and using the proper safety steps protects you and your property.
Step-by-Step Action Plan for Hanging Your Sign
Follow these steps to hang your sign securely and accurately on any wall type.
- Before you start: Gather all tools and materials you need based on your wall type and sign weight; having everything ready prevents interruptions.
- Day 1: Measure your wall space and mark the desired spot for the sign using a level and pencil; the mark should be straight and centered for a balanced look.
- Day 1: Choose the appropriate hanging method, adhesive strips for light signs or anchors and screws for heavy signs; this ensures stability.
- Day 2: Prepare your wall by cleaning the surface and, if required, drilling pilot holes carefully; clean surfaces improve adhesive grip, and pilot holes prevent wall damage.
- Day 2: Attach mounting hardware or adhesive to the sign and wall as needed, following product instructions precisely; secure attachment prevents falls.
- Day 3: Hang the sign and check for level and firmness; a stable sign won’t wobble or tilt.
- After 1 week: Inspect the sign’s stability and re-tighten or adjust if it has shifted or loosened.
Frequently Asked Questions
What Is the Best Height to Hang a Sign for Maximum Visibility?
Hang signs at eye level, typically between 57 and 60 inches from the floor, to ensure easy viewing and aesthetic appeal. This range suits most spaces and locations in a home or business.
Can I Use Adhesive Hooks to Hang Medium-Sized Metal Signs Indoors?
Yes, adhesive hooks work well for medium metal signs up to about 5 kg on smooth walls, causing minimal wall damage. They are perfect for renters or temporary setups.
Should I Always Find a Stud for Hanging Heavy Signs, or Are Anchors Sufficient?
Finding a stud is safest for heavy signs over 10 lbs, but heavy-duty anchors can also support weight securely in drywall when studs aren’t available. Use a stud finder for the best support.
Are There Ways to Protect My Wall Paint When Hanging Signs Repeatedly?
Using removable adhesive strips or hooks can protect paint when signs are hung temporarily or changed often, avoiding holes and minimizing damage during removal.
How Do I Hang a Neon Sign Without Risking Damage to the LED Tubing?
Never hang neon signs by the LED tubing itself; instead, use backboard holes or wall brackets designed for the sign’s structure for safe support.
What Tool Helps Ensure Symmetrical Placement of Signs on a Wall?
A tape measure combined with a level helps mark symmetrical, precise positions by measuring equal distances from center points and ensuring the sign hangs straight.
Before You Go
Properly hanging a sign involves careful measurement, selecting the right tools, and using methods that fit walls and sign weights. Taking time to prepare and follow the steps helps prevent damage and keeps your sign looking great. Start today by measuring your wall and choosing the right hardware, that’s your key to success.