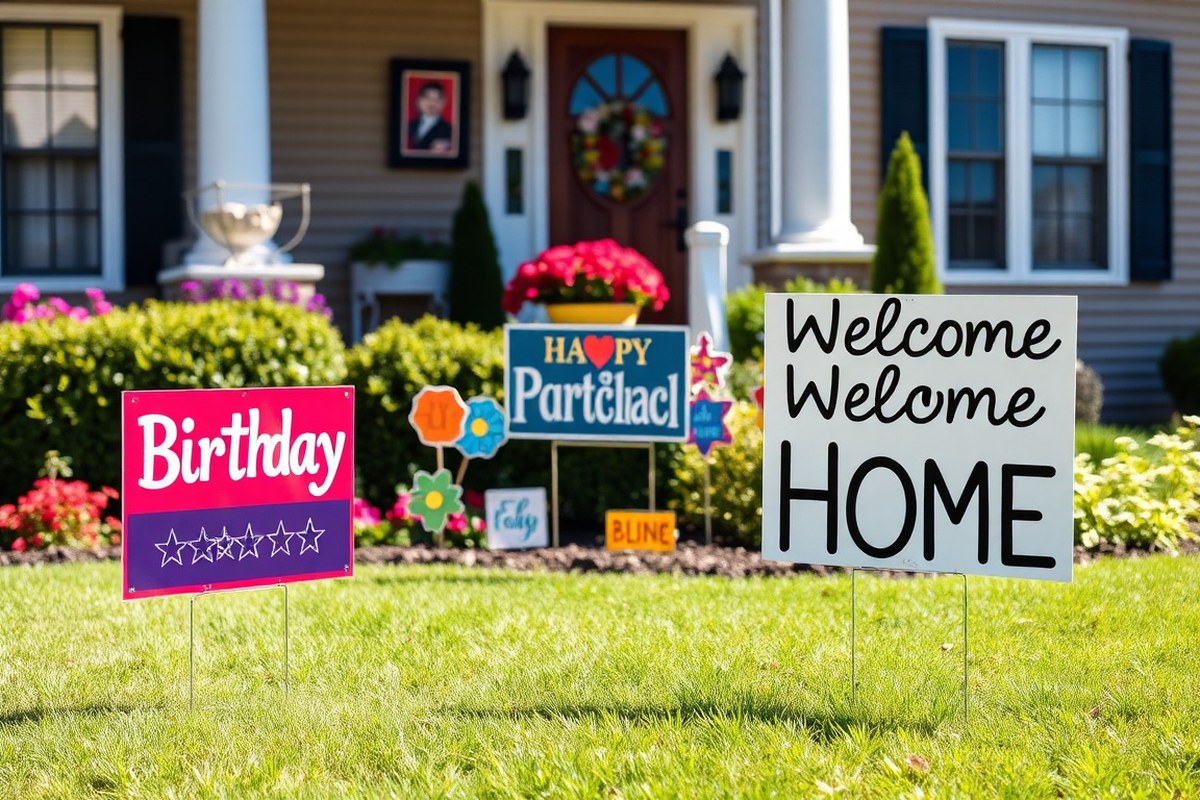
Yard Sign Ideas That Work: Creative, Durable, and Easy to Make
Yard sign ideas can help you create eye-catching, durable displays that communicate your message clearly and attract attention. Choosing the right type and material ensures your sign lasts through weather changes while standing out in your outdoor space. Start by picking a design that fits your occasion and use materials like UV-resistant corrugated plastic for weatherproof durability.
Key Takeaways
- Use smaller 12×18 inch signs for directions because they’re readable from cars and unobtrusive once inside.
- Personal milestone signs such as “We’re Engaged” or “25 Years” draw attention with their emotional appeal.
- UV-resistant corrugated plastic lasts about one year outdoors through rain and snow.
- A large 24×36 inch poster featuring photos over time creates a memorable graduation sign.
- For tall yard signs, install U-channel or wooden posts anchored firmly into the ground.
- Incorporate lighting like the Yardsy Sign, which provides up to 8 hours of dusk-to-night illumination automatically.
Popular Yard Sign Types and Their Best Uses
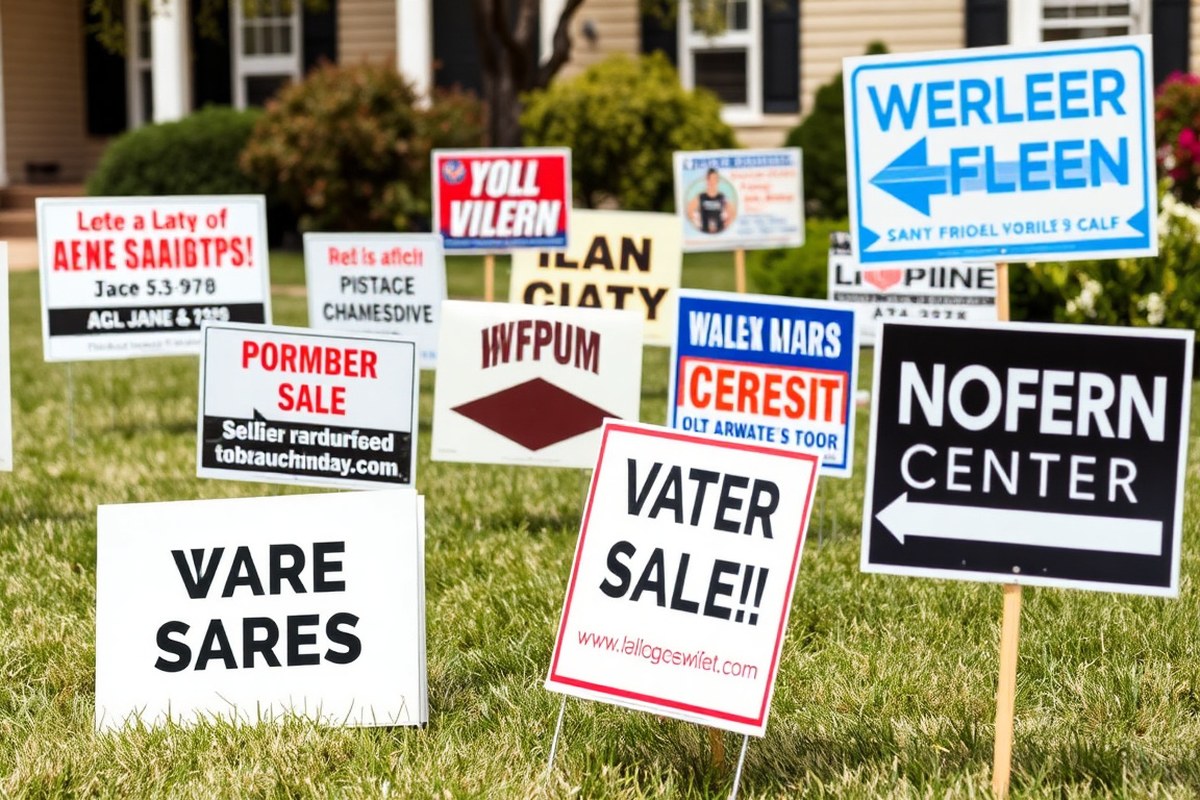
Yard signs fall into several popular categories, each suited to specific uses and occasions. The most common types include holiday-themed signs, event announcements, promotional or business signs, directional signs, and personalized milestone displays. Selecting the right type depends on your message, location, and the desired impact on visitors or passersby.
Holiday-themed yard signs work well when you want to mark festivities visibly. For example, Halloween signs often feature jack-o’-lanterns or haunted house messages, while Christmas signs show festive displays or family greetings. These signs usually thrive when placed prominently near walkways or driveways and timed to go up a few weeks before the holiday, staying up through the celebrations. Personalized family name banners or sports fan zones also fit this category and add a unique touch to celebrations.
Directional or informational yard signs are critical for events such as backyard parties, yard sales, or weddings. Their size and format must accommodate clear visibility without overwhelming the area. Signs sized 12 by 18 inches offer a good balance, large enough to be seen from a moving car but small enough to blend in once guests arrive. For larger events, sizes like 48 by 48 or 48 by 72 inches may be suitable and often require U-channel or wooden posts for stability. These signs frequently include arrows or short messages like “Parking This Way” or “Welcome.”
Milestone and event announcement signs, graduations, new babies, anniversaries, birthdays, are among the most effective for personal celebrations. For graduations in particular, signs are popular during late spring and early summer. These often feature the graduate’s name, photo, school colors, and congratulatory messages. Combining front-and-back designs can increase visibility from multiple directions.
- Holiday signs for seasonal decor (Halloween, Christmas, 4th of July)
- Directional signs sized 12″x18″ for parties or sales
- Business or promotional signs with company branding and offers
- Celebration signs for milestones like graduations or birthdays
- Personalized family name or sports-themed yard displays
- Large-format signs (48″x48″ and above) with sturdy posts for outdoor use
- Double-sided signs to maximize visibility
The effectiveness of your yard sign depends on both the design and placement. Using clear, bold fonts with high-contrast colors improves readability. Short, direct messages with simple graphics work best for directional signs to avoid confusion. Seasonal or event signs can afford to be more decorative but still benefit from concise wording. Costs vary widely depending on size and materials; small directional signs might cost $10 to $25 each, while larger personalized signs with posts can reach $50 or more. Planning when to install and remove signs ensures they stay relevant and in good condition.
Choosing shapes and multiple sizes allows you to tailor signs for different spaces. Arrows or house shapes help with wayfinding, while classic rectangular signs hold celebratory messages best. For larger or heavier signs, secure them properly with sturdy posts anchored into the ground. Signs left unsecured can fall or get damaged, ruining their effectiveness and appearance.
Choosing the Right Materials for Outdoor Yard Signs
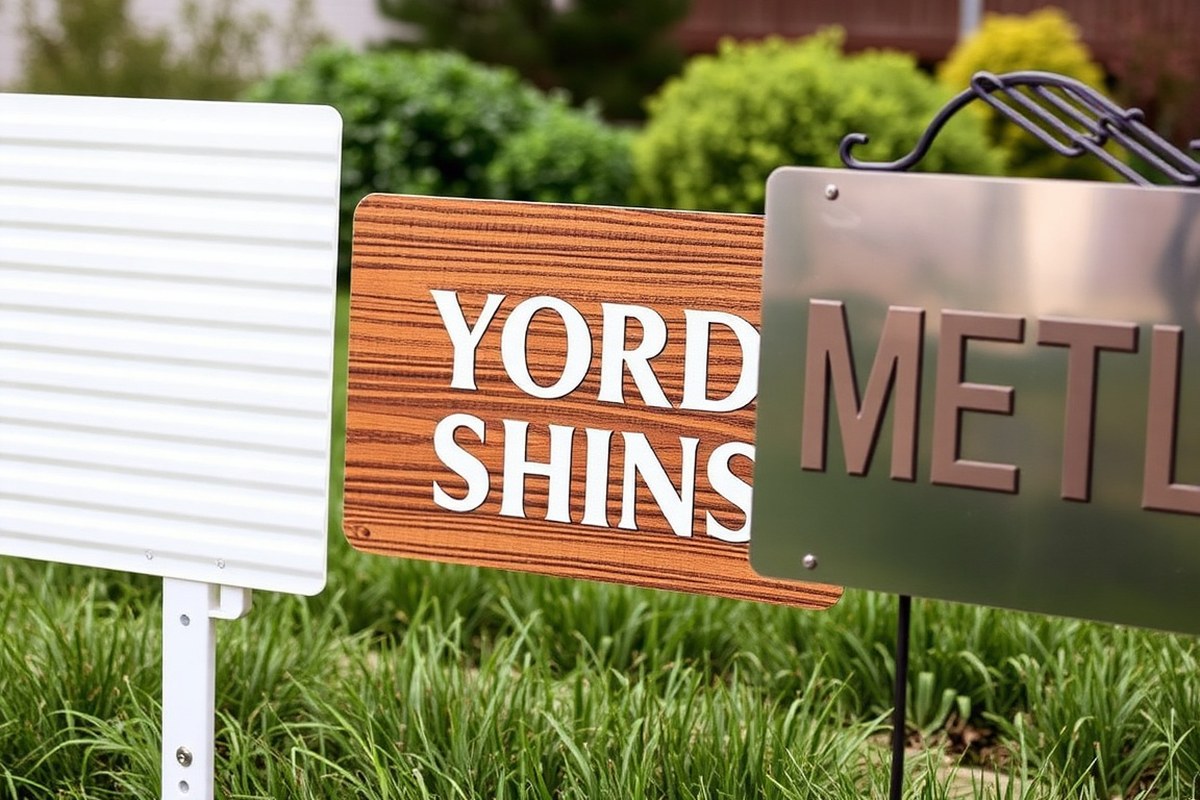
Choosing the right material for your yard sign impacts how long it lasts outdoors and how much you spend. For outdoor durability, 4 mm corrugated plastic is a popular choice because it resists UV rays, rain, and snow for about one year. Signs made from it usually come printed with weatherproof inks, ensuring that colors stay vivid even under harsh conditions. You want your yard sign to last several seasons or be reusable, so heavier metals like stainless steel can endure decades but cost more upfront.
Some materials are better for short-term use, such as wire stands paired with simple plastic signs, which are affordable and easy to install but won’t last more than a few months outdoors. For eco-friendly options, bamboo blanks can serve as garden signs and pair well with outdoor chalk markers for weatherproof messaging. Wood signs need special treatment; Baltic birch plywood is not suitable for exterior use, but marine plywood plus exterior polyurethane offers improved longevity if you prefer a natural look.
| Material | Durability Outdoors | Cost Range | Weather Resistance | Reusability | Eco-Friendliness |
|---|---|---|---|---|---|
| 4 mm Corrugated Plastic | ~1 year | $10 – $30 per sign | UV, rain, snow resistant | Limited (best for 1 season) | Moderate (recyclable plastic) |
| Stainless Steel | Decades | $50 – $150 per sign | Highly resistant | Great for multiple uses | Low (metal mining impact) |
| Bamboo Blanks | Months to 1 year | $15 – $40 per sign | Moderate (depends on sealant) | Reusable with chalk markers | High (renewable material) |
| Marine Plywood | 1-3 years with treatment | $20 – $60 per sign | Weather resistant with coatings | Reusable if maintained | Moderate (wood sourcing dependent) |
| Wire Yard Sign Stand + Plastic Sign | Weeks to months | $5 – $15 total | Low (short-term use) | Usually single use | Low (plastic waste) |
For best results, match your material choice to the sign’s purpose. Short-term party signs work well with inexpensive corrugated plastic and wire stakes you can set up in 90 seconds. Signs for long-term displays, like permanent house numbers, need premium stainless steel to withstand weather year after year. You want a sign that changes often; bamboo blanks paired with outdoor chalk markers offer an eco-friendly, reusable solution. Just remember to apply a sealant or maintain wooden signs regularly to prevent them from warping or cracking.
Use as few words as possible on your sign to reduce material costs and improve readability, and always check that your materials match the duration you want your sign to last outdoors.
Creative Design and Message Ideas by Occasion
Yard signs that match specific occasions grab attention and boost engagement. Tailoring your message and design to events like birthdays, holidays, milestones, and community gatherings helps your sign convey the right tone and purpose. Well-chosen words, seasonal colours, and durable materials make your yard sign more effective and memorable.
Birthday Yard Sign Ideas and Designs
Birthday signs benefit from bright colours, festive fonts, and a bold, cheerful message. Include the name, age, and a phrase like “Happy Birthday!” or “Celebrate [Name]’s [Age]!” Use balloons, confetti, cake graphics, or candles for design accents. For milestone birthdays, such as 1st, 16th, 30th, 50th, highlight the number prominently.
Hand-painted signs work well for a personal touch, while professionally printed plastic yard signs ensure durability, especially if the party lasts outdoors. Place signs about 3 feet high in front yards or near the street for visibility. Expect to spend $15 to $40 for a custom printed sign; DIY supplies cost less but take more time.
Holiday-Themed Yard Sign Messages That Stand Out
Seasonal yard signs capture holiday spirit and add curb appeal. Use warm reds and greens for Christmas, orange and black for Halloween, and pastels for Easter. Incorporate popular symbols: pumpkins, snowflakes, hearts, or fireworks based on the holiday.
Lighting helps holiday signs pop, especially in darker yards. Solar-powered LED frames automatically illuminate your sign at dusk, amplifying visibility and festive effect. Choose signs around 21″×27″ to balance size and impact without overcrowding your yard.
Creative Yard Signs for Life Milestones
Milestone signs celebrate achievements like graduations, anniversaries, new homes, or retirements. Include the person’s name, date, and congratulations or well wishes. For example: “Congrats, Sarah! Class of 2024” or “Happy 25th Anniversary, Mom and Dad.” Use serif fonts for formal milestones and playful styles for casual ones.
Consider interchangeable designs for repeated milestones. Some products offer swappable polycarbonate inserts, enabling different messages for various occasions without the need for new signs each time. This option costs more upfront but saves money long-term.
Community and Event Yard Sign Suggestions
Community signs promote causes, school spirit, or local events. Display pride flags, awareness ribbons, or messages supporting neighborhood meetings or fundraisers. Keep designs clear and concise, typically with one or two strong phrases.
Plastic yard sign stands provide a polished look suitable for community or professional events. Use bold fonts and contrasting colours for maximum readability from the street. Signs for yard sales or “No Soliciting” notices should be simple and straightforward with readable typefaces.
Tips for Selecting Message and Design by Occasion
Matching your message and design to the occasion improves your yard sign’s effectiveness. Start by following these key points:
- Choose wording that clearly relates to the event without clutter.
- Use colours and imagery that fit the theme or season.
- Pick materials and sizes suited for weather and expected display time.
- Ensure fonts are legible from 10 to 20 feet away for street visibility.
- Add lighting for evening or seasonal displays, like solar LED frames.
- Consider reusable components like swappable inserts for cost efficiency.
- Place signs at eye level, away from obstructions, to attract attention.
Applying these steps helps ensure your yard sign gets noticed and conveys your intended message clearly, creating a positive impression whether celebrating a personal event or engaging with your community.
How to Make DIY Yard Signs: Tools, Materials, and Steps
Making your own yard sign can be simple and rewarding with the right approach. A few basic tools and materials will get you started, and you can complete a project in a couple of hours depending on complexity. Whether for an event or a personal message, DIY signs let you customize your design and save money.
Basic Tools and Materials Needed
Start with essential supplies: corrugated plastic or plywood for the sign surface, weatherproof paint or permanent markers, and stakes to hold the sign upright. A ruler or measuring tape helps ensure your design fits well, and a pencil lets you sketch before applying paint. For cutting, use a handsaw or utility knife depending on your material. Having sandpaper on hand smooths edges if working with wood.
You’ll also want weather-resistant adhesive tape or staples if attaching printed paper elements. For protective finishing, consider a clear outdoor spray sealant to extend durability.
Step-by-Step Sign Making Process
Creating a yard sign involves clear steps from initial design to installation. Prepare your materials before starting to work smoothly through each stage. Here’s a straightforward approach:
- Plan your message and design. Choose a short, clear message and decide on colors and fonts. Sketch the layout on paper or digitally.
- Measure and cut your sign material. Cut your plastic or wood to the desired size, commonly 18 x 24 inches, which is a standard yard sign dimension.
- Sketch the design on the sign surface. Lightly draw your message and any graphics with pencil to guide your painting.
- Paint or apply marker ink. Use outdoor paint or permanent markers to fill in the design. Allow adequate drying time, usually 30 minutes to an hour.
- Add protective coating. Spray with a clear outdoor sealant once paint is dry to protect against weather.
- Attach stakes or frames. Secure stakes to the back using strong tape, staples, or screws depending on material and stake type.
- Install your sign. Push the stakes firmly into the ground at the desired location, making sure the sign is visible and stable.
The entire process typically takes 1 to 3 hours. Drying times and complexity of design may extend this slightly.
Budget-Friendly DIY Variations
For a low-cost option, repurpose old cardboard or foam board but note these materials handle weather poorly and suit mostly short-term use. Using hand-drawn messages with markers or stencils cuts material costs.
Another variation is a pallet wood sign, which adds rustic charm and uses scrap wood, nails, and paint you might already have. These signs can be heavier but last well outdoors when sealed properly. A simple hand-paint script saying “Welcome” or a seasonal greeting fits nicely on pallets.
Consider layering printed text on laminated paper glued to wood or plastic. This reduces painting time while keeping a durable finish if coated well. These creative approaches give you a personalized sign without splurging on specialty materials or professional services.
Best Practices for Yard Sign Installation and Placement
Installing a yard sign securely and in the right spot is key to getting your message noticed. First, choose a site where the sign won’t obstruct traffic or block sight lines. A common place is near the street edge of your yard, keeping it visible to passing cars without creating safety hazards for drivers or pedestrians.
Use sturdy metal sign stakes or garden sign hooks to secure the sign in the ground. Metal hooks offer a reliable way to hang signs and resist weather damage, making your display last longer. Push stakes at least 6 to 8 inches deep for stability, particularly in softer soil. In hard or rocky ground, you may need a hammer or a pre-drilled hole. If you’re using a frame or post, make sure it’s firm and won’t tip easily in wind.
Consider the height carefully. Position signs about 3 to 4 feet off the ground to catch the eye of drivers and passersby. Avoid placing signs too low, where grass or shrubs can hide them, or too high, where they become hard to read. Angle the sign slightly toward oncoming traffic to maximize readability from a distance.
Check local rules for yard sign placement to avoid fines or forced removal, especially near sidewalks and roads.
Text size and font impact how well your sign reads from afar. Choose clear, bold fonts and aim for letters at least 3 inches tall for signs viewed from up to 25 feet away. For signs meant to catch drivers’ eyes at 30 to 50 miles per hour, letters 6 inches or more tall work best, along with high-contrast colors. Simple wording and minimal details help drivers grasp the message quickly.
Different situations call for different placement strategies. For example, yard sale signs benefit from big, easy-to-read type and arrows directing buyers to your driveway. Seasonal displays like Halloween signs often stay up for 6 to 8 weeks. Personal or event signs may be best near walkways or gathering areas. Solar-powered signs can add visibility without electrical wiring, popular in residential areas.
- Place signs 3-4 feet above ground for optimal visibility
- Use metal stakes or hooks for secure and weather-resistant installation
- Keep signs near the street but clear of traffic and sidewalks
- Choose high-contrast, large fonts for easy reading from cars
- Adjust placement angle slightly toward oncoming traffic
- Follow local laws about sign placement and size
- Plan seasonal signs with enough lead time, such as 8 weeks for Halloween
Following these steps helps avoid common problems like signs tipping over or becoming unreadable. Secure installation and smart placement lead to higher impact and fewer headaches.
Lighting Options to improve Yard Sign Visibility
Adding lighting to your yard sign extends its visibility and impact well into the evening. Different lighting methods offer a range of brightness, installation complexity, and power requirements. Picking the right option depends on your budget, location, and how long the sign needs to stay illuminated.
Solar-Powered Lighted Signs
Solar-powered signs use small solar panels to capture sunlight during the day, powering LEDs that light the sign after dark. These are eco-friendly and don’t require wiring or electrical outlets, making them easy to install in most yards.
Look for signs that offer multiple color temperatures, such as warm white (3000K), cool white (6500K), and daylight white (4000K), to match the ambient lighting in your space. Solar lights tend to work best in areas with at least 6 hours of direct sunlight to fully charge. Cloudy weather or shaded yards may reduce their run time.
Solar signs often cost between $20 and $60 depending on size and features. The light usually runs for 6-10 hours after sunset. While they save on electricity, the brightness tends to be softer and less evenly spread than other powered options.
Battery-Operated LED Options
Battery-powered LED lights provide bright, consistent illumination for yard signs and come in small, portable packages. These often use AA or rechargeable lithium-ion batteries, which last from 10 hours to several days depending on the light’s intensity setting.
This option gives you control over when the sign lights come on through timed switches or remote controls. Installation requires attaching the light securely and replacing batteries regularly. Because LEDs can offer a focused, bright glow, they help the sign stay readable from a long distance, such as across a street.
The cost of battery LED setups ranges from about $15 for basic clip-on spotlights to $50 or more for waterproof, adjustable models. You’ll have to consider battery replacement or charging costs over time, but installation is simple without electric wiring.
Reflective and Glow Paint Techniques
Reflective paints and glow-in-the-dark paints provide passive lighting effects without electric power. Reflective paint shines back any light that hits it, such as car headlights, making the sign visible with existing light sources. Glow paint charges with sunlight and emits a soft light for up to several hours in darkness.
Combining reflective paint with bold, contrasting text, like bright white letters on a dark background, boosts readability for drivers and pedestrians after sunset. These paints work best when used in spots with some external lighting rather than complete darkness.
The upfront cost is relatively low and permanent, but results depend on external light availability. Glow paint often needs 15-30 minutes of sunlight exposure to fully charge and will glow for up to 2 hours after dark before needing a recharge.
| Lighting Method | Power Source | Typical Cost | Run Time | Installation | Brightness & Visibility |
|---|---|---|---|---|---|
| Solar-Powered Lighted Signs | Solar panel (self-charging) | $20, $60 | 6, 10 hours | Easy, no wiring | Soft, even glow |
| Battery-Operated LED Options | Replaceable or rechargeable batteries | $15, $50+ | 10+ hours (varies) | Simple, battery replacement needed | Bright, focused light |
| Reflective and Glow Paint Techniques | No power needed | Low | Glow paint glows 1, 2 hours | Paint application required | Visible with external light |
Choose solar lighting when you want a maintenance-free setup in sunny spots. Battery LEDs work well for temporary signs or shaded areas where brightness is a priority. Reflective or glow paints suit low-budget or permanent signs located near street lighting or where you want to avoid electric components.
When to Choose Professional Printing vs. DIY Yard Signs
Choosing between professional printing and DIY yard signs depends mainly on the event type, budget, and how long you need the sign to last outdoors. Professional signs generally cost more upfront, ranging from $10 to $30 each depending on size and whether they are single-sided or double-sided. DIY signs cost less initially, often under $10 for materials, but may require more time and effort. A good decision rule is to select professional printing if the sign needs to make a strong impression for business advertising, formal events, or if it must withstand the weather for several weeks. Opt for DIY if the sign is for a quick, short-term event or a casual message where budget is tight and durability is less critical.
Professional yard signs typically last outdoors between one to three months without significant fading or damage. This long lifespan results from UV-resistant inks and weatherproof materials used in professional printing. For example, a birth announcement sign professionally printed can remain vibrant for about one to two weeks, enough time to reach your neighborhood effectively. DIY signs, especially those made from paper or untreated cardboard, may only hold up for a few days outside before rain or sun causes wear. Lamination or using weatherproof paints can extend DIY sign life to a week or two, but these methods add complexity and cost.
Using single-sided printing saves money if your sign only faces one street or direction, commonly found in driveway or small yard setups. Double-sided printing doubles the visibility since it faces both directions of traffic, which is especially useful for event wayfinding or business advertising along busy roads. Although double-sided signs cost more, the broader reach can justify the expense for longer-term and commercial displays. Here’s a simple comparison to help decide:
| Factor | Professional Printing | DIY |
|---|---|---|
| Cost per Sign | $10, $30 | Under $10 in materials |
| Durability | 1, 3 months outdoor life | Few days to 2 weeks with protection |
| Time Investment | Minimal (order and pick up) | Hours for assembly and design |
| Appearance | High quality, vibrant colors | Varies by skill and materials |
| Best Use Cases | Business ads, formal events, long-term display | Short events, informal messages, tight budgets |
To decide, you can ask yourself: Is the sign for an important business message or a big event that lasts several weeks? Choose professional. Is it a quick reminder or casual invite just for a day or weekend? DIY will save money and fit the purpose. Keep budget, required lifespan, and the message’s importance in balance to make the right call.
Avoiding Common Yard Sign Mistakes and How to Fix Them
One common mistake when creating yard signs is neglecting to design for visibility on both sides. A sign that only looks good from one angle limits your message’s reach. To fix this, use double-sided printing or apply a weatherproof design on both front and back. This way, passersby see your message regardless of their approach angle, increasing its impact.
Using cheap materials can cause fading and damage from sun, wind, or rain. Consider rustproof, coated steel frames with military-grade protection that can withstand UV rays and temperatures from -40°F to 120°F without peeling or corrosion. Investing in durable materials may cost more upfront but extends your sign’s life and keeps it looking fresh for months.
Incorrect placement is another frequent issue. Signs placed too low risk getting covered by grass or obstructed by plants. Signs placed on unstable ground or in open areas without wind protection might fall over easily. Choose firm, level ground away from heavy foot traffic or mowing paths, and use sturdy stakes or frames designed for your sign size to hold it upright.
Permitting and local rules often restrict yard signs, especially for events or promotions. Check your municipality’s signage regulations or your homeowner association’s guidelines before installing. Obtain any necessary permits and respect size or message limitations to avoid fines or forced removal.
- Use double-sided, weatherproof prints for maximum visibility.
- Place signs at least 12 inches above ground for clear sight lines.
- Choose rustproof steel frames with UV-resistant coatings for longevity.
- Secure signs with sturdy stakes designed to resist wind and soil conditions.
- Verify local rules and get permits before installation.
- Test sign placement during different times of day to check sun glare and shadows.
- Avoid placing signs near driveways or obstructed views for safety and legality.
Always verify local permitting rules before installing a yard sign to avoid costly fines or removal.Signs that fade quickly often suffer from exposure to direct sun without UV protection or are printed on inferior materials. Using military-grade coated steel and inks tested for salt-spray corrosion can maintain brightness and prevent peeling. For renters or temporary events, using plastic signs with UV lamination offers a budget-friendly option that still resists fading for several weeks.
Finally, regularly inspecting your yard sign can help you spot issues like leaning posts, fading colors, or loose frames. Addressing these early with simple fixes like tightening stakes or covering signs at night will keep your message effective and your display looking professional throughout its intended duration.
Seasonal and Holiday Yard Sign Themes That Capture Attention
Seasonal and holiday yard signs can keep your yard lively and engaging throughout the year. Planning your display with seasonal themes not only captures attention but also helps create a welcoming atmosphere for neighbors and visitors. Starting to put up signs about two to four weeks before a holiday gives your message enough time to shine without overwhelming the yard.
Popular themes include holiday greetings, seasonal changes, and special events. For example, spring signs celebrating blooming flowers or Easter can go up in early March. Summer signs might highlight Independence Day or general outdoor fun, typically installed around mid-June to early July. Fall offers opportunities for harvest, Halloween, and Thanksgiving designs, best displayed by late September or early October. Winter signs for Christmas, New Year, or general winter motifs should be up by mid-November through December.
Reusability improve both convenience and cost-effectiveness. Using a solar-powered frame that stays in place year-round allows you to switch out inserts for different holidays or seasons quickly. This setup avoids the need to buy new signs continually. When planning your sign designs, choose styles and wording that can adapt easily. For instance, a “Welcome Friends” sign with removable seasonal graphics or interchangeable inserts can work for a variety of occasions.
- Start displaying holiday signs 2-4 weeks before the event
- Spring: March to April, flowers, Easter, and rain themes
- Summer: June to July, Independence Day, summer fun
- Fall: Late September to October, Halloween, harvest, Thanksgiving
- Winter: Mid-November to December, Christmas, New Year, winter greetings
- Use solar-powered frames to swap seasonal inserts easily
- Create versatile designs that can fit multiple seasons with minor changes
Starting your design early lets you secure the best templates and get creative with your messaging. Look for customizable templates tailored to holidays and seasons so you can personalize colors, fonts, and graphics. Timing your installations around typical climate patterns also helps. For instance, avoid putting up winter signs too early in warmer climates to prevent fading or damage. Finally, storing sign inserts properly during the off-season preserves them for future use, saving you money and effort in the long run.
Maintaining and Storing Yard Signs for Longevity
Cleaning and weatherproofing your yard signs before and after use significantly impacts their durability and appearance. Dirt, dust, and moisture can degrade many materials quickly if left unaddressed. To clean signs made of plastic, metal, or laminated surfaces, use a soft cloth or sponge with mild soapy water. Avoid harsh chemicals or abrasives that can scratch or erode protective coatings. After washing, dry signs thoroughly to prevent mold or rust, especially on metal parts.
Weatherproofing includes applying a clear UV-resistant spray or laminate film on printable surfaces to reduce fading from sun exposure. You can find these sprays at hardware stores for about $10 to $15 per can. Signs made with corrugated plastic or metal often hold up better outdoors, but adding extra sealing on edges can prevent water from seeping inside. For wooden signs, apply a water-repellent sealant or outdoor varnish yearly to protect them from rain and moisture, as untreated wood may warp or rot over time.
Between uses, proper storage preserves their shape and print quality. Avoid folding corrugated plastic signs, which can cause permanent creases. Rigid signs like aluminum sheets should be stored flat or hung to prevent bending. Wooden signs need to be kept in dry conditions to avoid swelling. Ideally, store signs inside a cool, dry place with moderate humidity to limit damage from extreme temperature changes.
- Clean signs with a soft cloth and mild soap, then dry completely
- Apply UV-resistant spray or laminate for sun protection
- Seal edges to block moisture infiltration, especially on corrugated plastic
- Use water-repellent sealant or varnish on wooden signs annually
- Store signs flat or hung indoors away from extreme temperatures and moisture
- Never fold plastic signs to avoid permanent creases
- Inspect signs seasonally and retouch weatherproofing as needed
Materials like corrugated plastic, aluminum, and wood require varying care. Corrugated plastic is durable but prone to edge damage; adding edge sealant stops water entry that can cause warping. Aluminum resists rust but benefits from cleaning to remove dirt that could cause discoloration. Wooden signs need the most attention, with regular waterproofing and storing in a climate-controlled space when not in use. Neglecting these steps risks faded colors, cracks, warping, and ultimately shorter sign life.
Step-by-Step Action Plan for Your Yard Sign Project
Follow these steps to create and display yard signs that grab attention and last through the seasons.
- Before you start: Choose your sign type and materials based on your location and weather conditions. Confirm your choice by checking if the material is weather-resistant and suitable for your sign’s lifespan.
- Day 1: Design the message and layout with clear, bold fonts and contrasting colors. Print a test version on paper to check readability from at least 10 feet away.
- Day 2: Gather all tools and materials for your DIY sign or confirm your order if going professional. Make sure nothing is missing by reviewing a checklist.
- Day 3 or Week 1: Create your sign following safe and precise instructions, or inspect your professionally printed sign for accuracy and quality. Ensure there are no smudges, misprints, or damage.
- Day 4: Install the sign in the chosen spot, considering visibility, lighting, and local regulations. Walk to your street or sidewalk to confirm the sign can be seen clearly.
- After one week: Check the sign’s condition and visibility during different times of the day. Adjust lighting or placement if the sign is hard to see.
- Monthly: Maintain your sign by cleaning and securing it against strong winds or rain. Replace or repair if damage or fading occurs.
Frequently Asked Questions
What Yard Sign Colors Attract the Most Attention?
Bright colors like red, yellow, and neon green attract attention quickly, especially from passing cars. Use contrasting colors for the text and background to make the sign easy to read at a glance.
Can Yard Signs Be Effective for Local Business Promotion?
Yes, yard signs close to high-traffic areas can boost local business visibility. Keep messages clear and include contact info or website for quick customer response.
How Do Weather Conditions Affect Yard Sign Durability?
Wind, rain, and sun can fade or damage signs over time, especially cheaper materials. Choose waterproof materials and secure signs firmly to withstand weather changes.
Are There Size Limits for Yard Signs in Residential Areas?
Many neighborhoods or cities have size restrictions, often around 24×24 inches. Check local regulations before placing signs to avoid fines or removal.
What Makes a Yard Sign Message Stand Out to Neighbors?
Personalization and humor catch neighbors’ eyes best, such as including names, dates, or witty phrases. Avoid overly long texts to keep it readable in seconds.
How Long Can Yard Signs Be Safely Displayed Outdoors?
Signs made with durable materials can last several months, but exposure will degrade them faster. Rotate signs seasonally or replace after significant weathering for a fresh look.
Wrapping Up
Having a practical plan helps ensure your yard sign stands out and withstands outdoor conditions. Start by selecting a design and material that suit your needs today. This focus lets your message reach neighbors and visitors clearly while protecting your investment.


