Address Plaque Ideas: 8 Stylish Ways to Enhance Your Home’s Curb Appeal
Address plaque ideas often focus on combining style with visibility to improve your home’s curb appeal. Choosing plaques with modern designs and clear, contrasting numbers helps guests and delivery people spot your house easily. Starting with durable materials paired with 3D or illuminated numbers often delivers the best long-term results.
Key Takeaways
- Select modern address plaques with clean lines and bold fonts for a contemporary look and easy reading.
- Use materials like weather-resistant steel or durable plastics to ensure plaque longevity in all seasons.
- 3D house numbers create visual depth, making your address stand out from the facade stylishly.
- Minimum number height of 2 inches improves readability from 15 feet or less, the ideal viewing distance.
- Add black or white contrast plates to your plaque for improve visibility at an $8 add-on cost.
- Solar-powered or LED illuminated plaques boost nighttime visibility up to 100 feet away effectively.
1. Popular Modern Address Plaque Styles Explained
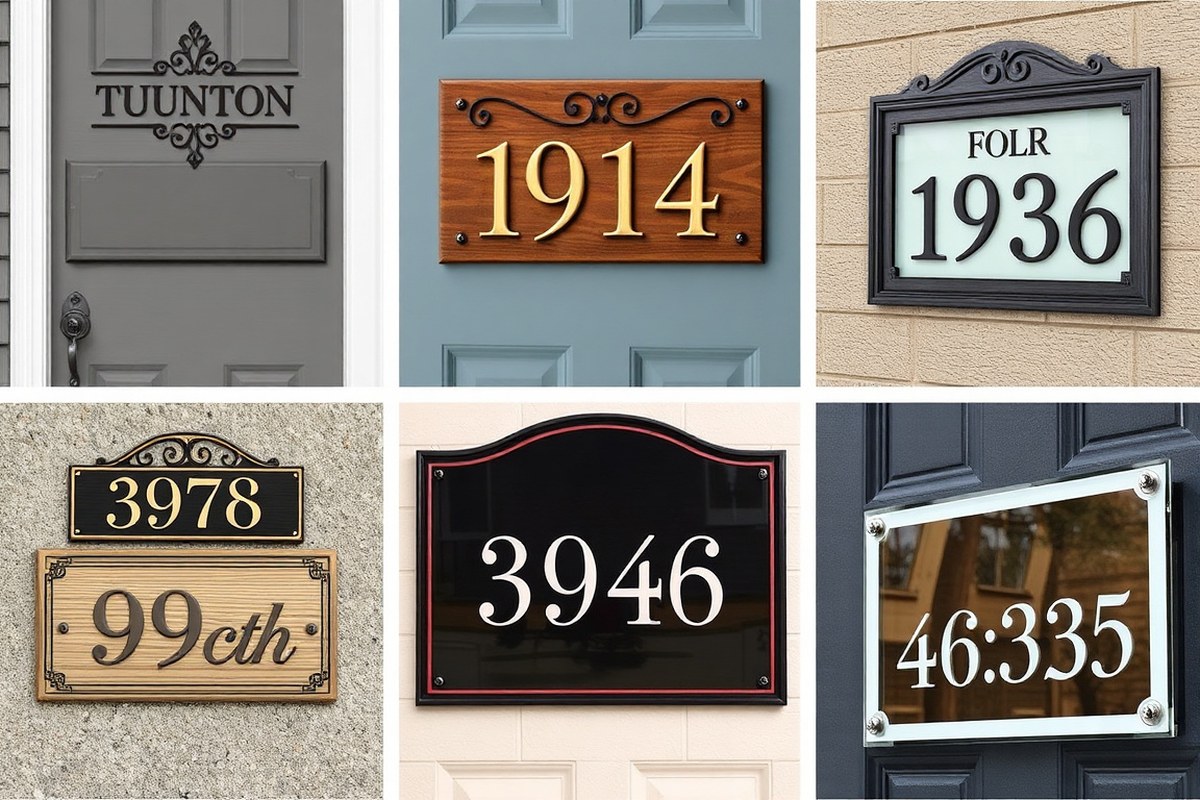
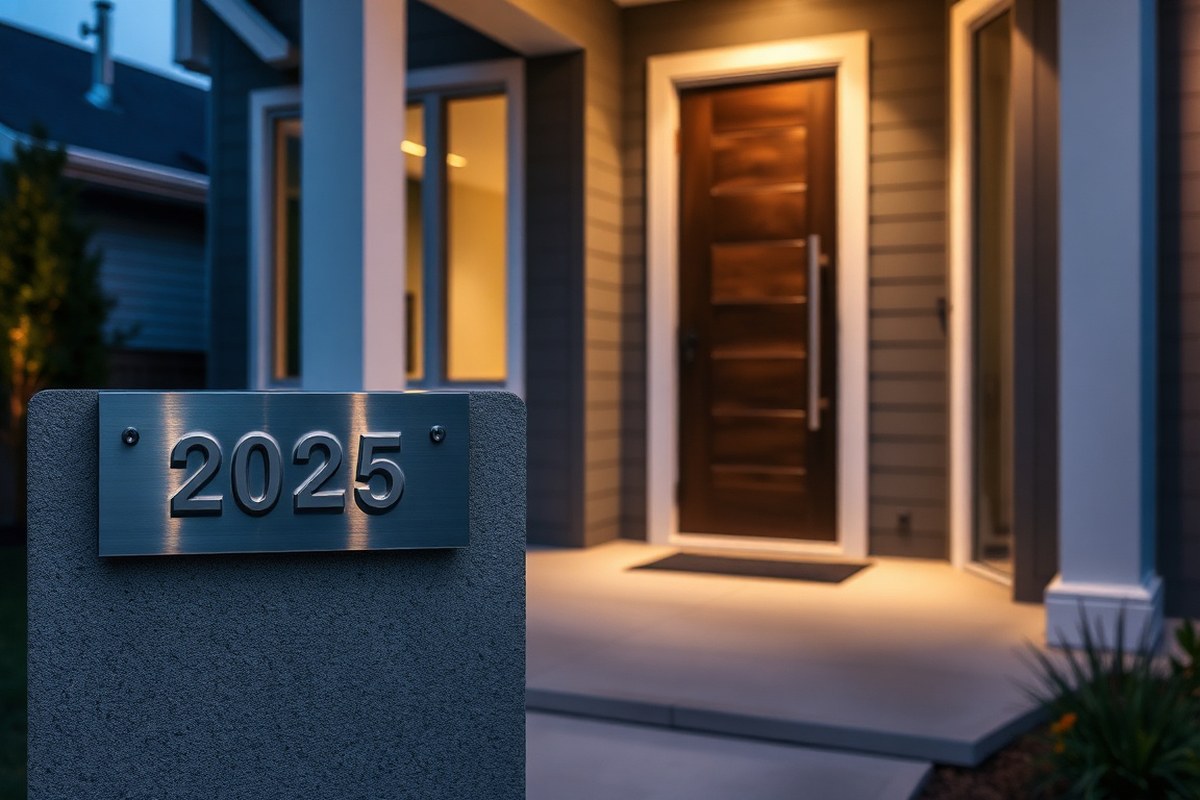
Modern address plaques come in several popular styles, each suited to different home designs and practical needs. A modern design wall mount plaque typically features clean lines and simple numbers on materials like metal or acrylic, making it ideal for contemporary houses. This style catches the eye with its minimalist look while offering good durability against outdoor elements. If your home has a sleek, modern facade, a black metal address plaque provides a sharp contrast that improve curb appeal without overwhelming the aesthetic. These plaques usually cost between $50 and $150 and resist rust and fading, ensuring long-lasting visibility.
For those who want both style and practicality, backlit address number plaques use LED lights to improve nighttime visibility. They work well with both modern and farmhouse-style homes, adding a subtle glow that highlights the numbers after dark. Installation requires a power source or solar option and can cost $100 to $200. While they cost more upfront, they reduce the chance of visitors missing your address in low light. Alternatively, a solar-powered address sign light offers an eco-friendly way to illuminate your plaque without wiring, fitting well on homes anywhere sunlight is sufficient.
The minimalist metal plaque style combines function and sleekness, usually made from steel, aluminum, or tinplate. These signs offer strong resistance to weather and a modern look that suits urban or suburban homes. Their simplicity means they blend for those who prefer understated design but want easy-to-read numbers up close, roughly 15 feet or less away. On the downside, minimalism may limit character if your house leans toward traditional or ornate decor.
Ornate vintage metal address plaques bring a timeless feel with decorative edges and classic fonts, often in bronze or aged copper finishes. This style pairs well with older homes or those styled with vintage charm. While they improve elegance, the more detailed designs may reduce nighttime visibility without added lighting.
Matching your address plaque style to your home architecture starts by considering the overall exterior design and materials. For example, modern plaques complement flat surfaces and metal accents, while vintage styles fit better with brick or wood siding. Visibility ties directly to size and font but also to contrast; a dark metal plaque with light numbers stands out more than a uniformly colored sign. Durability depends largely on material, aluminum and steel resist rust, while acrylic offers lightweight options but can scratch. Choose a style offering a good balance of aesthetics and resilience based on your climate and how noticeable you need your address to be.
2. How Material Choices Affect Address Plaques’ Durability and Look
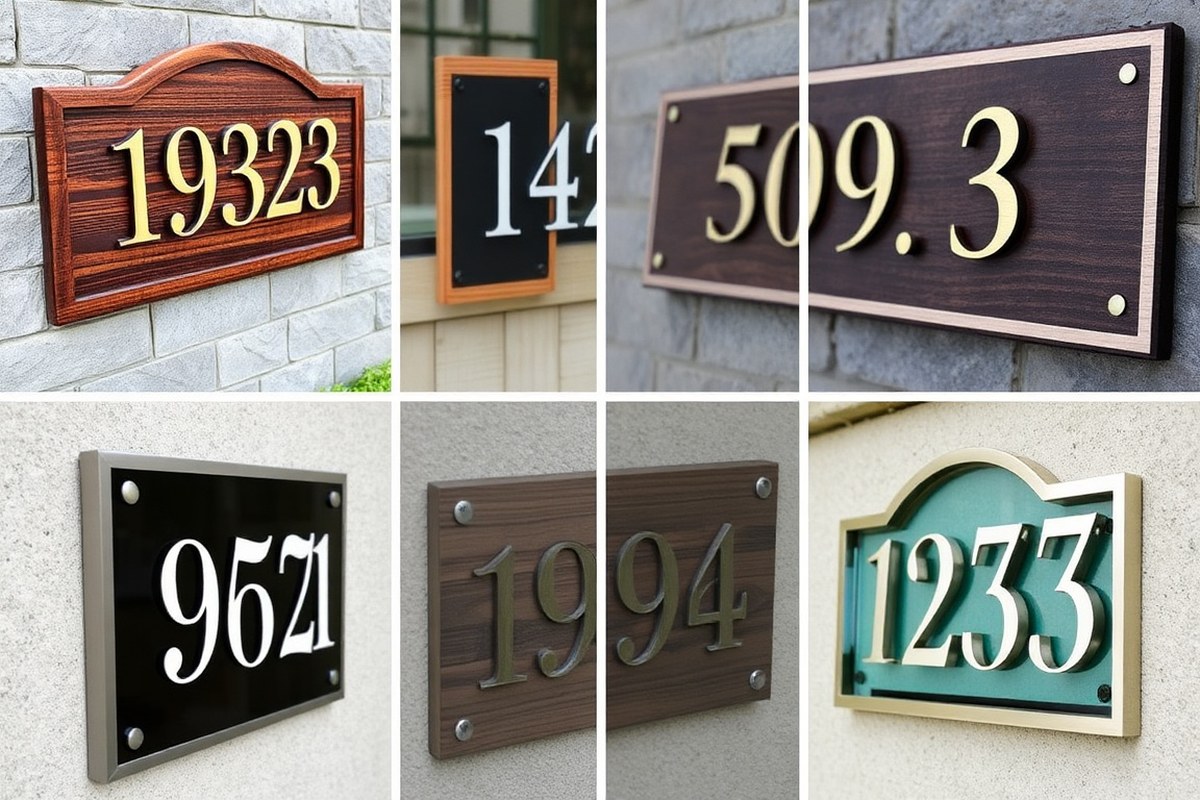
Choosing the right material for your address plaque affects how long it lasts outdoors, how much upkeep it needs, and what styles you can achieve. Metals like steel and aluminum offer excellent weather resistance and durability, often lasting for years without fading or warping. Steel plaques with a weather-resistant coating resist rust and maintain a clean, contemporary look with minimal care. Meanwhile, aluminum plaques stand out with classic finishes like brushed metal, complementing most exterior textures from brick to stucco.
Wood plaques provide a warm, natural appearance but require more maintenance. Weathered wood can last outdoors but needs regular sealing or staining to prevent rot and color fading. These materials suit rustic or farmhouse styles well and can be combined with metal or glass accents for a creative effect. Glass plaques add a modern, elegant touch but tend to be less durable and more fragile, often needing a sheltered spot if used outdoors.
| Material | Pros | Cons | Maintenance | Cost Range |
|---|---|---|---|---|
| Steel (weather-resistant) | Very durable, weather-resistant, minimal upkeep, suitable for precise crafting | Can rust without coating, heavier to install | Occasional cleaning and inspection for rust spots | $40 – $150 |
| Aluminum | Lightweight, classic brushed finish, rust-proof | Can dent or scratch more easily than steel | Periodic cleaning to maintain shine | $50 – $180 |
| Wood (weathered or stained) | Adds warmth and rustic charm, versatile | Susceptible to rot, fading, warping | Annual sealing/staining; protection from excessive moisture | $30 – $120 |
| Glass | Modern look, smooth surface, good for customization | Fragile, prone to cracking, less weather-tolerant | Gentle cleaning; best in protected locations | $60 – $200 |
| Composites (mixed materials) | Customizable styles, combines best features of materials | Varies widely in durability and maintenance | Depends on materials used; usually moderate | $50 – $150 |
Metal plaques, especially those crafted from solid, recycled aluminum or weather-resistant steel, provide long-term durability with little upkeep. They hold up well against heat, rain, and cold without warping. Wood elements add character but are best used in styles where occasional refinishing is acceptable. Glass works well as an accent or indoors but rarely stands alone outside without damage risk.
Check that metal plaques have a weather-resistant coating to prevent rust, especially in humid or rainy climates.
3. The Best Size, Font, and Color Combinations for Visibility
Selecting the right size, font, and color contrast for your address plaque makes a big difference in how easily your house numbers can be read from the street, day or night. Aim for a minimum text height of 2 inches for standard visibility. Choose simple, clear fonts without decorative elements, and prioritize high-contrast color combinations to improve legibility at a distance.
Recommended Minimum Text Heights
Text height on an address plaque directly affects how far away drivers and visitors can read your house number. A minimum height of 2 inches is generally advised for standard viewing distances up to 30 to 40 feet. Increasing the text size to 3 or 4 inches can push readability out to 50 to 70 feet, which is beneficial if your home’s setback is longer or your street is busy.
Adding a contrast plate behind the plaque often improve visibility by making the numbers stand out from the background. This upgrade typically costs around $8 and can extend the effective viewing distance without increasing the plaque’s overall size. If your plaque is in a shaded area or surrounded by visual clutter, a larger text size plus a contrast plate will help maintain clarity.
Best Fonts for Outdoor Signs
Fonts with clean lines and simple shapes are best for street visibility. Sans-serif fonts like Arial, Helvetica, or the popular Palm Springs font provide high legibility. Avoid fonts with thin strokes, decorative flourishes, or narrow spacing, as these reduce clarity at a distance. Characters should be wide enough to distinguish similar numbers like 3 and 8 or 1 and 7 easily.
Keep your text style consistent by using one font type and avoid mixing upper and lowercase in ways that complicate recognition. Centered alignment on a horizontal plaque helps maintain a balanced look and makes the numbers easier to scan quickly.
Color Contrast Tips for Visibility
Strong contrast between your address numbers and plaque background dramatically improves visibility, especially in varying light conditions. Dark numbers on a light background or bright numbers on a dark background provide the clearest viewing. For example, black numbers on a white or brushed aluminum plaque, or white numbers against a deep blue or black plate, work well. Adding a contrast plate in a complementary color increases the definition of your numbers. Here is a checklist for effective color contrast:
- Use high contrast colors like black on white, white on dark blue or dark green
- Avoid low contrast pairs such as dark gray on black or navy on dark green
- Consider a matte finish to reduce glare under sunlight
- Add a contrast plate behind your numbers if you want better distance visibility
- Reflective or illuminated plaques can boost nighttime readability
Proper contrast combined with adequate font size and a clear font style ensures your address plaque will be easily seen from the street during the day and recognized under low-light or night conditions.
4. Illuminated Address Plaques: Solar, LED, and Reflective Options
Illuminated address plaques come in solar-powered, LED, and reflective varieties, each offering distinct benefits and installation needs. Solar plaques offer energy-free lighting but depend on sunlight exposure. LED plaques provide strong, consistent illumination but require wiring or battery changes. Reflective plaques improve visibility by bouncing back headlights and require no power source.
Solar-Powered Plaques Pros and Cons
Solar address plaques use small solar panels to charge internal batteries during the day, lighting up your house number after dusk. They are cost-effective, often available around $8, and simple to install without wiring. However, their reliability depends on placing them where they receive at least 6 hours of direct sunlight daily. Shade or cloudy weather reduces brightness and runtime. Installation involves these steps:
- Select a plaque model with an integrated solar panel or add solar LED lights around an existing plaque.
- Mount the plaque facing south or where it gets maximum sun exposure in your yard.
- Ensure the solar panel is clean and not blocked by foliage or structures to maintain charging efficiency.
- Check the plaque each season to reposition or clean solar cells as needed to keep brightness steady.
For best results, choose solar plaques if your home’s address area is sunny and you want low upkeep. Avoid them in heavily shaded locations or where reliable, bright light is needed nightly.
LED and Backlit Plaques Features
LED illuminated plaques deliver bright, clear light that can be customized for color and intensity. They often come as kits where you place LED strips behind or above address numbers. This setup can make addresses visible from 100 feet or more at night, improving emergency and visitor access.
Electrical requirements include running a low-voltage power line or using battery packs that may need periodic replacement. Installing LED plaques involves mounting the sign and securing wiring discreetly along your home’s exterior. Some kits include waterproof casings that withstand temperatures from -20°F to 120°F, assuring year-round function.
LED lighting works well even in shaded or obstructed areas, where solar plaques would fail. Consider LED plaques if you want consistent, high-visibility lighting and don’t mind modest installation work or energy use.
Using Reflective Materials for Visibility
Reflective address plaques do not emit light but use special coatings to bounce car headlights or streetlights back to drivers. These plaques excel in low-maintenance situations and locations where running power or achieving full sun is challenging. Reflective numbers often come in customizable styles to match your home’s exterior.
To maximize visibility, place reflective plaques where headlights hit them directly from the street. Avoid locations blocked by shrubs or set too low near the ground. Reflective materials are best combined with ambient street lighting for optimal nighttime readability. They offer a budget-friendly improvement for homes on darker streets or those seeking a zero-energy solution.
- Solar plaques cost around $8 and need 6+ hours of sunlight
- LED kits ensure visibility up to 100 feet and need power or batteries
- Reflective plaques work without power, relying on external light
- Solar plaques require regular cleaning and sun exposure checks
- LED installations need safe wiring and waterproof fixtures
- Reflective plaques should be placed where headlights shine directly
- Consider local climate; solar can struggle in overcast or shaded areas
5. Creative DIY Address Plaque Ideas and How to Start
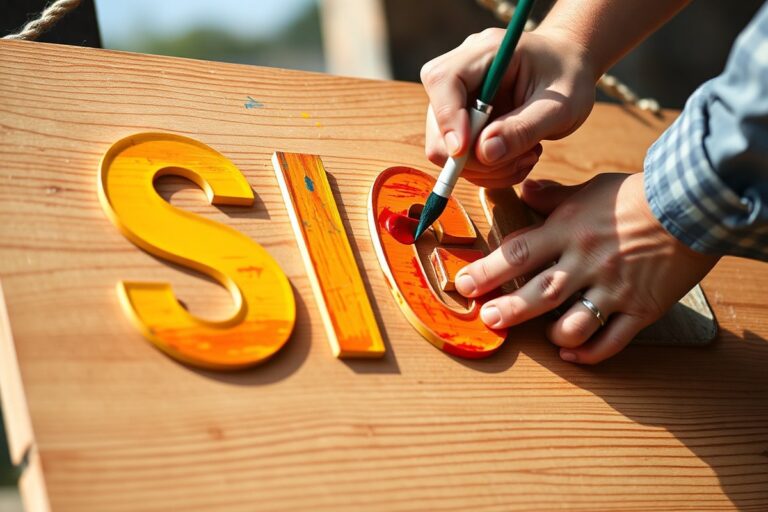
Creating your own address plaque lets you customize style and size while saving money. Basic tools and affordable materials like wood, paint, or tiles can be used to build a unique sign. Weatherproofing ensures your plaque withstands outdoor conditions and stays visible for years.
Choosing Your Base Material and Numbers
Start by selecting a base that fits your home’s style and outdoor exposure. Wood offers a rustic look and is beginner-friendly, especially reclaimed pallet wood, which costs around $10 to $30 depending on size. For a quick budget option, paint a wood serving tray black and add white numbers with acrylic paint for a striking contrast.
Other materials include landscape bricks (about $1 to $3 each) that you can write on with chalk or paint pens, or mosaic tile kits ranging from $15 to $40 for a colorful finish. Choose numbers made of metal, wood, or vinyl adhesive, typically between $5 and $15 per set. Easy designs use large stenciled numbers or peel-and-stick vinyl, while mosaic or floating number plaques require more skill.
Tools and Supplies Needed
Gather basic tools: measuring tape, sandpaper, paintbrushes, stencils or number templates, and outdoor-rated paint or sealant. For woodworking, a cordless drill and saw are helpful if shaping wood. Mosaic projects need tile adhesive and grout. The total tool cost can be under $50 if you already own some gear, or up to $150 if purchasing everything new.
Paint pens and brushes for touch-ups cost around $5 to $10 per item. Outdoor spray paint or urethane sealer suitable for all weather costs about $10 to $20 per can. Using stencils helps keep numbers neat and improves visibility.
Weatherproofing and Finishing Steps
Seal your plaque with at least two coats of weatherproof polyurethane or marine varnish after the paint dries. This protects against rain, sun damage, and temperature changes. For wood plaques, apply a wood primer before painting to boost durability.
Allow 24 hours for complete drying between coats. Consider mounting your plaque under a porch overhang or use a clear cover for extra protection. Regular checks every year can catch fading or cracking early.
- Cut your base material to size; sanding edges smooth if wood or brick.
- Apply primer or base coat paint and let dry thoroughly.
- Position stencils or attach numbers carefully to ensure correct placement.
- Paint numbers or decorate surface using your chosen method (paint, mosaic, etc.).
- Allow painted elements to dry completely before handling further.
- Seal the entire plaque with a weatherproof clear coat.
- Let the plaque cure for at least 24 hours before installation outside.
- Mount plaque securely to your chosen location, avoiding direct ground contact.
Tip: Avoid inexpensive indoor paints; use outdoor-grade paint or sealants to prevent fading and chipping under sun and moisture exposure.
6. How to Incorporate Natural Elements and Planters Creatively
Combining plants and natural materials with your address plaque adds charm and personality to your home’s exterior while improving curb appeal. Choose easy-care plants that withstand outdoor conditions and require minimal watering and pruning to avoid constant upkeep. Succulents, ornamental grasses, small ferns, and rosemary are all low-maintenance options that thrive in various climates and complement natural or rustic plaque styles.
When integrating planters directly beneath or around your plaque, measure the available space carefully to ensure everything fits without crowding or blocking the address numbers. Use wall-mounted or freestanding planters that provide proper drainage to prevent water from accumulating behind the plaque, which could cause damage over time. Attaching planters with rust-resistant hardware keeps the setup secure and reduces the risk of stains or corrosion on metal plaques.
- Succulents like aloe or hens-and-chicks for drought resistance
- Ornamental grasses that add texture and move with the breeze
- Small ferns suited to shaded outdoor spots
- Herbs such as rosemary or thyme for fragrance and greenery
- Wall-mounted ceramic or wooden planters with drainage holes
- Use brackets or hooks made of stainless steel or coated metal
- Allow at least 2 inches between the planter and plaque surface
Natural elements can affect the durability of some address plaques, especially those made of wood or softer metals. To protect them, select weather-resistant materials or add a clear sealant that repels moisture and UV rays. Planters placed too close or without adequate drainage can trap moisture behind the plaque, accelerating wear and potential fading. Regularly inspect the installation and clean soil or plant debris off the plaque to extend its life.
Maintenance for the combined display involves watering plants according to their needs, most low-maintenance types only require watering once or twice a week, and trimming them to prevent overgrowth that may obscure the address. Cleaning the plaque gently with a mild soap solution twice a year helps maintain visible numbers. The total cost for adding a planter and plants can be as low as $5 to $30, depending on your choice of container and plants, making it an affordable way to personalize your outdoor signage.
7. Mounting, Installation, and Avoiding Common Mistakes
Proper mounting and installation ensure your address plaque stays secure and visible for years. Using the right hardware depends largely on your mounting surface. For wood, use screws that are corrosion resistant and long enough to grip the wood firmly. Masonry surfaces such as brick or stucco require masonry anchors or expansion bolts paired with a drill and hammer drill bit. Vinyl siding calls for mounting strips or brackets that minimize damage while supporting plaque weight.
Concealed mounting hardware often includes 2-inch steel studs and ½-inch aluminum spacers, which provide a clean appearance by hiding screws behind the plaque. These allow the plaque to sit slightly off the wall, protecting it from moisture buildup and increasing durability. Most custom plaques arrive with a drilling template that simplifies marking screw locations precisely, ensuring level alignment.
To achieve level, secure placement, start by holding the drilling template against the installation surface. Use a level tool to confirm it’s perfectly horizontal. Mark the drill points through the template, then drill pilot holes. If you’re mounting on masonry, insert anchors before attaching studs. Attach plaque to studs or screws using the provided spacers to maintain proper distance from the wall. Check again for level after tightening.
- Use screws suitable for your mounting surface, wood screws for wood, masonry anchors for brick, and vinyl clips for siding.
- Always use a level to mark drill points before drilling holes.
- Follow the drilling template provided with your plaque for precise screw placement.
- Avoid over-tightening screws to prevent cracking or warping the plaque.
- Consider installing spacers to allow airflow and avoid moisture damage behind the plaque.
- Wear safety glasses and gloves during drilling, especially with masonry walls.
- Seal holes in masonry with silicone caulk after installation to prevent water intrusion.
Common mistakes include skipping the level check, which can cause the plaque to hang crooked, and using the wrong drill bits or screws, leading to insecure mounting or wall damage. Over-tightening screws can crack ceramic or metal plaques, while under-tightening makes the plaque prone to wobbling and loss. Not using spacers on exterior walls contributes to moisture getting trapped, which deteriorates both the plaque and mounting surface. A precise installation kit with a level, appropriate drill bits, screw types, spacers, and a drilling template usually costs between $15 and $40, a worthwhile investment for a secure setup.
Address plaques around 8” by 12” are manageable for one person to install but having a helper simplifies aligning the plaque and holding the template. Taking these precautions ensures your address plaque remains a clear, attractive feature on your home’s curb appeal while avoiding unnecessary repairs or replacements later.
8. Customization Options for Unique and Functional Address Plaques
Customization lets you create an address plaque that reflects your style and serves a practical purpose. Popular options include 3D numbers, which add depth and catch the eye better than flat designs. Numbers raised by about ¼ inch to ½ inch provide a clear shadow effect that improve visibility, especially under direct sunlight or porch lighting. Colors also play a important role. Choose contrasting colors for the background and digits, dark numbers on a light background or vice versa, to maintain readability while allowing room for personal flair. For example, navy blue numbers on a white plaque boost clarity and suit nautical-themed homes.
Shapes beyond the standard rectangle can give your plaque a unique look. Oval, circular, or shield shapes soften or sharpen curb appeal depending on your home’s style. Just ensure the shape doesn’t cut into the space needed for large numerals or letters. An oval plaque with 5-inch numbers usually keeps enough room, but very ornate or irregular shapes might reduce visibility if space is tight.
Adding technology can increase your plaque’s functionality. Some homeowners opt for motion-activated LED lighting around the numbers, which improves nighttime visibility without the need for constant power. Solar-powered illuminated plaques avoid wiring hassles but may cost $50 to $100 more upfront, with brightness varying by sun exposure. Smart features such as QR codes embedded subtly in the design connect visitors or deliveries to digital info. Use these sparingly to avoid distracting from the address numbers themselves.
Matching your address plaque to other outdoor décor elements brings cohesion to your home’s exterior. Coordinate with your mailbox, front door hardware, or porch lighting fixtures by choosing similar materials or color accents. For instance, a bronze plaque pairs well with black iron lanterns and a matching house number door knocker.
Balancing style and readability is essential. Avoid overly intricate fonts or very thin numbers which, while elegant, might reduce legibility at a distance of 20 to 30 feet. Keep the font size at least 4 inches tall for houses set back from the street to ensure swift recognition by guests or emergency personnel. Use matte finishes to reduce glare that obscures contrast under bright light.
For personalized but practical plaques, limit the number of colors to two or three. Combine a bold primary color for the background with white or black numbers. Offer enough negative space around digits to prevent visual clutter. Incorporate subtle textures or borders to add character without overpowering clarity. For example, an etched stone plaque with polished raised numbers achieves both durability and style.
Choose customization features that improve address visibility first; avoid complex shapes or colors that might confuse viewers at a quick glance.
Step-by-Step Action Plan for Your New Address Plaque
Follow these steps to create an address plaque that’s both stylish and practical, improving your home’s curb appeal while ensuring easy visibility.
- Day 1: Choose the material and style that suit your home’s exterior, such as metal for durability or wood for a warmer look; test by checking how each material handles local weather conditions.
- Day 3: Select a size, font, and color combination that maximizes visibility from the street; preview the design at different distances to confirm readability.
- Week 1: Decide if you want illumination, solar, LED, or reflective, and ensure the power source or sunlight exposure is adequate.
- Week 2: Plan your customization details such as house numbers, decorative motifs, or integrated planters; sketch the layout and get feedback from household members.
- Week 3: Prepare for installation by gathering mounting tools and hardware; check your mounting surface for stability and make adjustments if needed.
- Week 4: Mount your plaque securely, making sure it sits at the correct height and angle for street visibility; confirm by viewing from various points outside your home.
- After 1 Month: Inspect your address plaque for weather effects or damage and perform any necessary maintenance to keep it clear and attractive.
Frequently Asked Questions
What Are Some Unique Features to Include on an Address Plaque?
Adding elements like a family monogram, a custom logo, or decorative natural motifs makes your address plaque stand out while personalizing your home’s curb appeal. These features add character without sacrificing readability.
Can Address Plaques Be Both Decorative and Functional?
Yes, address plaques can combine aesthetic appeal with clear visibility by choosing durable materials and legible fonts that complement your home’s design. Functionality ensures the plaque serves its primary purpose effectively.
How Can I Ensure My Address Plaque Matches My Home’s Architectural Style?
Select materials and design elements that reflect your home’s style, such as sleek metal for modern houses or weathered wood for rustic looks. Matching finishes and colors will create a cohesive appearance.
Is There a Best Location on the House to Install an Address Plaque?
Installing the plaque near the main entrance or on a front porch wall ensures it’s visible to visitors and emergency services. Avoid shadows or glare to keep numbers readable.
What Maintenance Is Required to Keep Address Plaques Looking Good?
Regular cleaning and occasional touch-ups prevent wear from weather or dirt buildup. Using weather-resistant materials reduces maintenance frequency. Check mounting hardware periodically for security.
Are There Eco-Friendly Materials for Address Plaques Available?
Materials like reclaimed wood, recycled metals, or sustainably sourced bamboo offer eco-friendly options that also provide durability and aesthetic charm. These help reduce environmental impact without compromising style.
Final Thoughts
Your address plaque is more than just numbers on a sign, it’s a part of your home’s first impression and helps visitors and delivery services find you quickly. Start by selecting the design elements that fit your style and environment, then focus on practical installation for maximum effect. Once up, maintain it regularly to keep your curb appeal sharp. Taking these steps will ensure your address plaque remains visible and inviting for years to come.