4th of July Sign Ideas: Complete Guide with DIY Methods and Templates
4th of July sign ideas can transform your Independence Day celebration with personal, festive touches. Use simple materials like wood and paint or printable templates for quick, creative decoration. Starting with a classic patriotic phrase and bright red, white, and blue colors ensures your sign captures the holiday spirit.
Key Takeaways
- Choose durable wood for long-lasting 4th of July signs that can be weatherproofed for outdoor display.
- Use free printable templates to save time and add professional design elements to your decorations.
- Incorporate traditional motifs like flags, fireworks, and stars to keep your signs instantly recognizable as patriotic.
- Try layering banners and signs with other decorations for a vibrant, cohesive Independence Day setup.
- Add child-friendly projects like decorating 4th of July cookies to keep the whole family involved in holiday preparation.
- Mount outdoor signs securely and in shaded areas to prevent damage from wind and sun exposure.
Creative 4th of July Sign Ideas to Celebrate Independence Day
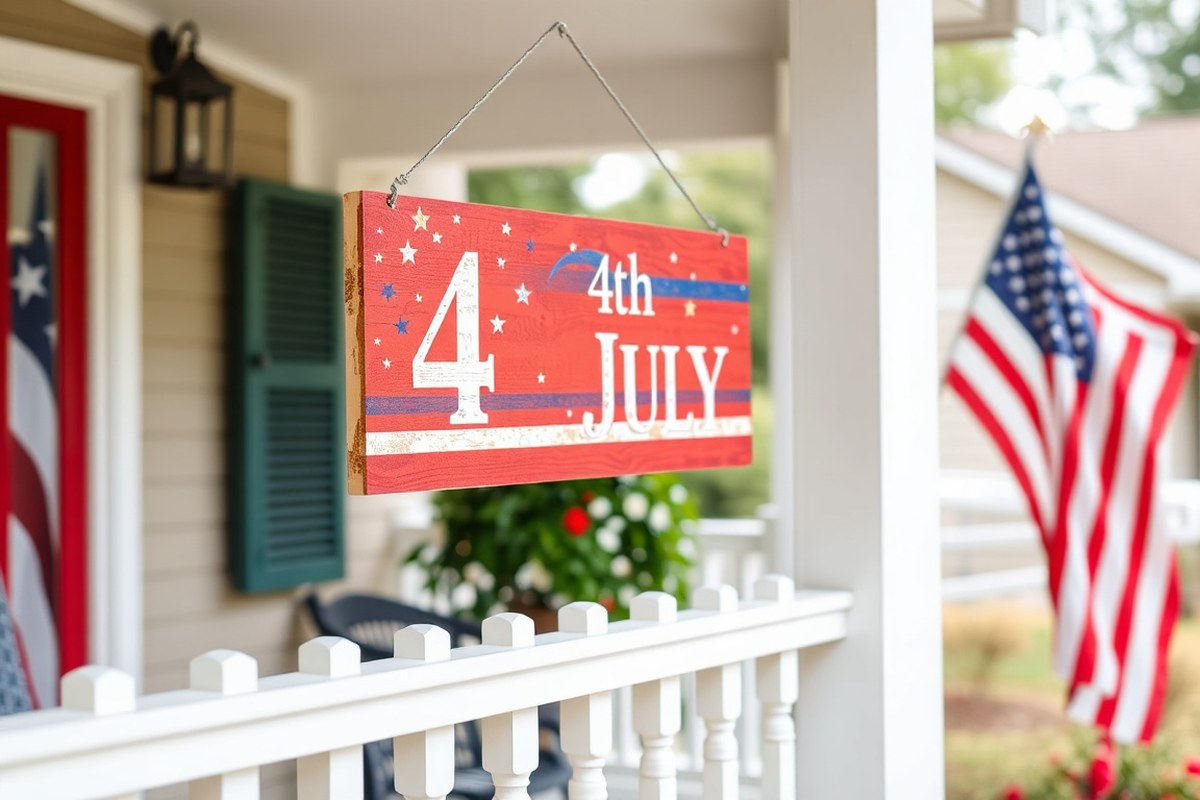
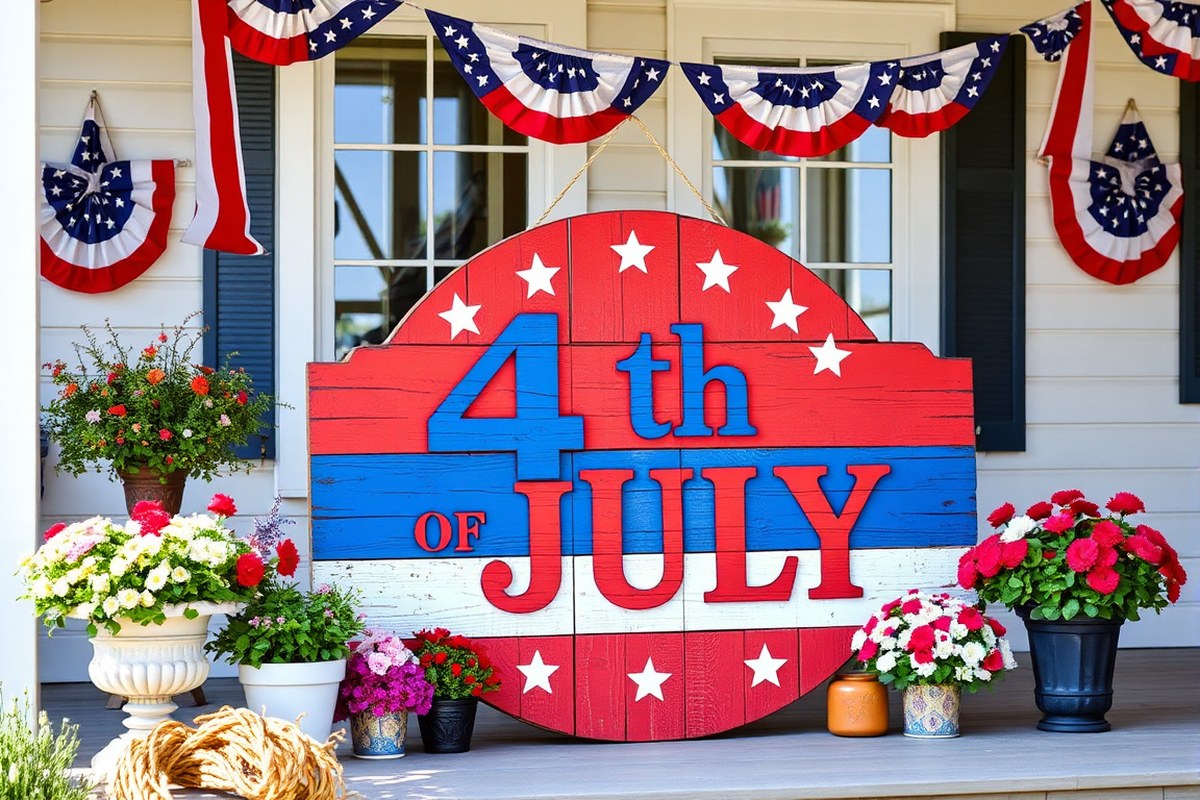
4th of July signs come in many styles, each adding a unique touch to your Independence Day decor. Popular types include wooden signs painted in bold red, white, and blue, bright banners featuring festive phrases, and star-shaped signs or pinwheels that bring a playful spirit to any space. You can find traditional handwritten or stenciled signs that display patriotic messages, as well as professionally printed and customizable templates that offer a polished look. Some signs showcase firework motifs or rustic elements like distressed wood, which add charm and appeal to indoor or outdoor settings.
Using classic American symbols such as stars, stripes, and the flag’s colors makes signs instantly recognizable and festive. Many signs also incorporate fireworks imagery or phrases like “Happy Independence Day” and “Fourth of July” to emphasize the celebration. Red, white, and blue are essential, but you can also mix in metallic accents like silver or gold for a bit of sparkle. Pairing bold colors with whimsical designs, like star-shaped pinwheels or wooden planters painted in patriotic themes, invites a warm, celebratory mood and compliments other holiday decorations.
Signs play a key role in creating an inviting atmosphere by visually expressing pride and enthusiasm for the holiday. Placing a vibrant 4th of July banner over an outdoor lounge area or near a front porch instantly sets a festive tone for gatherings. When hosting a backyard party, adding wooden firework-shaped signs or star planters near seating spaces sparks patriotic spirit and keeps guests engaged. For retailers, a well-timed “Happy Holiday” sign switched to “Closed on the 4th of July” during the holiday week reinforces the occasion and connects with customers.
To make your signs effective and long-lasting, choose weather-resistant materials for outdoor displays or refresh colors annually to keep them bright. Signs that celebrate the holiday should be easy to read from a distance and placed where they catch the eye, whether hanging above a mantel, on a front door, or throughout a party space. Adding a mix of sign styles, from rustic wooden pieces to vibrant printed banners, allows you to tailor your decor for different settings and audiences. This approach ensures every celebration reflects the joy and freedom of the 4th of July.
How to Make Wooden 4th of July Signs: Step-by-Step Tutorial
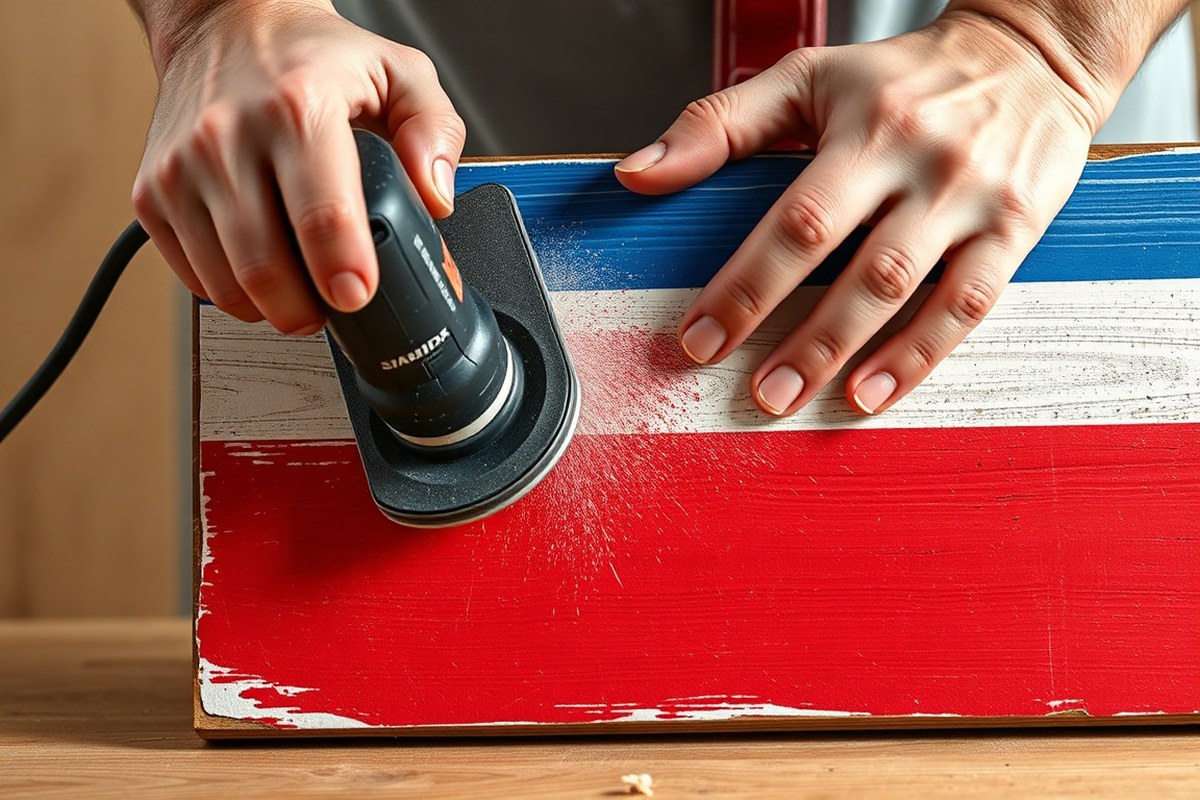
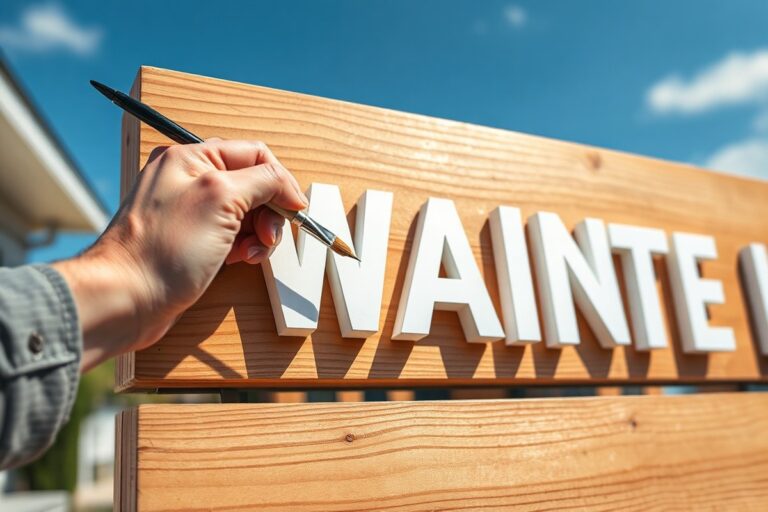
Creating a wooden 4th of July sign involves selecting suitable wood and tools, painting patriotic designs with stencils, and sealing your work for outdoor use. The whole project can take about 4 to 6 hours from start to finish, including drying times. This allows you to craft a festive sign that lasts through summer celebrations.
Choosing the Right Wood and Tools
Use smooth, untreated pine or cedar boards around 1/2 inch thick; these woods are affordable, easy to paint, and hold up well outdoors when sealed properly. A 12-inch by 18-inch board is a manageable size that fits most porch or yard displays. Essential tools include a hand or power sander with 120-grit sandpaper, a pencil for sketching, painter’s tape to mask areas, and a quality synthetic paintbrush or foam brush for paint application. Secure a few sheets of 6-inch wide painter’s stencils displaying stars, stripes, or patriotic phrases like “Land of the Free.” These help achieve sharp, professional-looking designs without advanced freehand skills.
Painting and Stenciling Your Design
Begin by sanding the wood thoroughly to remove splinters and create a smooth surface for paint adhesion. Apply a white or light-colored base coat with acrylic exterior paint. Let it dry for at least 1 hour at room temperature.
Position the stencil carefully on the board, securing edges with painter’s tape to prevent paint bleed. Use a small foam brush to dab red or blue paint onto the stencil, applying multiple thin coats instead of one thick layer. Allow each coat to dry for 15 to 20 minutes. Remove the stencil slowly to avoid tearing your design.
Sealing and Finishing for Durability
After your paint dries completely, typically 2 to 3 hours, apply two coats of clear outdoor polyurethane or a weather-resistant sealer. This step guards against fading, moisture, and peeling. Wait 24 hours between coats for the best finish. This protection extends the life of your 4th of July sign through wind, rain, and sun exposure, making it reusable for several summers. Attach a sawtooth hanger or drill small holes for wire on the back if you want to hang your sign easily.
- Sand the wooden board until smooth.
- Apply a white or light base coat and let dry one hour.
- Center and tape down your patriotic stencil.
- Paint design on stencil with red or blue acrylic paint in thin layers, drying between coats.
- Remove stencil carefully after the final dry.
- Apply two coats of clear outdoor sealer, waiting 24 hours between coats.
- Attach hangers or prepare your sign for display.
Choose thin paint layers over thick ones to prevent streaks and peeling, and always let each coat dry fully before adding another for the best result.
Free Printable 4th of July Sign Templates and How to Use Them
You can easily find free printable 4th of July signs online from reputable sources offering high-quality, ready-to-use templates. These printables range from classic patriotic themes to fun decorations like tags, table signs, and festive banners. Downloading and using these templates lets you create personalized decorations without special design skills or expensive materials, making them perfect for last-minute plans or party styling.
Top Websites Offering Free Printable Signs
Popular sites such as The 36th Avenue provide free 8×10 printable signs featuring red, white, and blue designs that you can download immediately. These templates include welcoming messages, festive phrases, and decorative elements that fit well in homes or event spaces. Some sites offer extras like printable tags designed to attach to sparklers, adding a unique touch to your table settings. Retailers and bloggers who focus on holiday crafts also share free printable collections that cater to various decoration styles, from rustic wooden looks to bright modern patterns. Most downloads come in PDF format, allowing easy printing at home or a local print shop.
Since these printables are digital, they cost nothing to download, though quality will depend on your printer and paper choice. Choose sites that display thumbnails of their designs and offer user reviews or comments to gauge how well the prints turn out before you commit to multiple pages.
Printing Techniques for Crisp Colors and Sizes
To get vibrant results from your printables, use a color inkjet printer with high resolution (at least 600 dpi). Glossy or semi-glossy cardstock between 65 to 110 lb weight gives signs a professional look and durability, which is especially useful for table decorations or signs you want to keep. For casual indoor use, standard white printer paper can suffice but may appear less vivid.
Adjust print settings to the best photo or graphic quality available. Make sure to select the correct paper type in your printer’s menu to avoid ink smudging. If you want larger signs beyond the standard 8×10, you can resize the document in your PDF viewer before printing. Some print shops offer poster printing services that enlarge your download with sharp detail on durable materials like foam board or vinyl, which works best for outdoor use or prominent displays.
Double-sided printing is rarely necessary for signs but can be useful for tag printables attached to items, reducing paper waste. Allow prints to dry completely before handling or placing in frames to avoid smears.
Creative Ways to Display Printable Signs
Printable signs can be adapted for many display styles. Frame them in wood or metal frames for a polished look suitable for mantels or entryways. You can also mount printouts on foam core or cardboard for lightweight, freestanding signs around your party space. Attaching small clothespins allows you to hang signs on twine or ribbon, creating a festive banner effect over buffet tables or patios.
For outdoor use, laminate your signs or cover them with clear adhesive contact paper to protect from moisture and wind. Attaching waterproof backing like corrugated plastic sheets adds durability. Print tags can be cut out and tied to party favors, drink stirrers, or sparklers to extend the patriotic theme throughout your celebration. Using colorful washi tape or magnets helps secure signs without damaging surfaces, especially on refrigerators or metal doors.
Adjust sign size and mounting style depending on location: smaller prints work well for table centers, while larger, weatherproofed signs highlight your lawn or porch. Incorporate printable signs with other decorations like candleholders, paper lanterns, or wreaths to create a cohesive look.
Weatherproofing and Outdoor 4th of July Sign Ideas
Outdoor 4th of July signs should withstand sun, rain, and wind to stay attractive and intact. Materials like weather-resistant plywood, marine-grade plywood, or PVC board handle moisture and sun exposure well. Metal signs coated with rust-resistant paint also last longer. These materials prevent warping, fading, or rotting, which can ruin your festive display quickly.
Sealing your signs is important for protection. Use an outdoor polyurethane or spar varnish, applying two to three coats with light sanding between each to create a waterproof barrier. Wait at least 24 hours for drying. Acrylic spray sealers offer quick drying and UV protection, but may require multiple coats for outdoor use. Adding a simple frame of treated or painted wood helps shield edges from moisture and gives your sign a finished look you can proudly display.
Mounting signs outdoors demands a method that keeps them secure without damage. For lawn or garden placement, use sturdy stakes attached to the sign back with rust-proof screws or zip ties. Anchoring them deep enough in the soil, 6 to 12 inches, prevents wind from toppling your decoration. For porch or wall mounting, opt for hooks, heavy-duty adhesive strips designed for outdoor use, or screw-in wall anchors. Avoid using tape alone, as heat and moisture cause it to fail quickly.
Consider your location when preparing signs. In windy spots, reinforce stakes with extra support like guy wires, or lean signs against solid surfaces. For areas exposed to heavy rain, raise signs off the ground on platforms or attach rubber feet to avoid water damage from pooling. When placing signs on painted surfaces, protect the area with painter’s tape or felt pads to prevent scrapes or staining.
A practical checklist before going outdoors includes: choosing weatherproof materials such as marine plywood or aluminum; sealing all sign faces and edges with outdoor varnish or acrylic spray; framing signs for edge protection; using rust-proof screws or zip ties for mounting; securing stakes deeply in soil; and assessing your site for wind, water exposure, and surface damage risk. Expect signs treated this way to last through the holiday and often several seasons with proper storage.
Common issues arise from ignoring these steps. Signs made from untreated wood can swell and peel paint. Poor sealing lets moisture seep in, causing bubbling or mold. Insufficient mounting leads to signs blowing away or falling, risking damage to the sign and nearby property. Using cheap materials may save money upfront but often results in replacing your decorations year after year, costing more over time.
Protecting outdoor 4th of July signs takes some effort but pays off with a beautiful, festive display that lasts through the summer weather. Well-sealed, sturdy signs mounted securely look inviting and can become a memorable part of your backyard celebration.
Quick and Easy 4th of July Sign Projects for Last-Minute Decorating
Creating last-minute 4th of July signs that look festive and intentional doesn’t have to take much time or money. Focus on materials like cardstock, wooden craft sticks, or plain white poster board, which you can often find around the house or buy cheaply at craft stores for under $5. These materials allow you to complete a project in 30 to 60 minutes without any special tools.
To save time and still get big visual appeal, use bold red, white, and blue markers, paint pens, or stickers instead of intricate painting or lettering. Large, simple phrases or patriotic symbols like stars or stripes grab attention when spaced clearly. Tape or glue miniature American flags directly onto the sign for a fast, 3D effect that uses ready-made decorations and doesn’t require drawing skills.
- Cut stars and stripes shapes from red and blue cardstock and glue them to a plain sign for quick graphic impact.
- Write “Happy 4th of July!” in thick marker or paint pen on poster board, then border with blue painter’s tape for a sharp outline.
- Use wooden craft sticks to build a small frame, then staple a bandana or fabric with patriotic colors stretched across for a rustic sign.
- Create a mini garland by attaching miniature American flags to a string or ribbon, then hang from a wall or table edge.
- Print a downloadable template of stars or patriotic phrases and color or customize it with favorite colors or messages.
For even faster decorating, gather purchased miniature American flags and combine them with red-white-and-blue plates or napkins to create an instant patriotic table setting. This doubles as signage and practical decor for any outdoor BBQ or family gathering. Remember to measure your display area before starting, so your sign or banner fits the space well and doesn’t look crowded.
Make sure to use weather-resistant tape or fasteners if placing signs outdoors, even temporarily, to avoid wind or rain damage.
Signs made from these quick, affordable supplies usually cost between $3 and $10 depending on what you already have at home. Prioritize simple designs to keep your craft time under one hour and avoid rushed or messy results. By choosing bold, straightforward visuals and mixing in ready-made decorations, you can achieve a festive, last-minute look with minimal effort and expense.
Common Mistakes in DIY 4th of July Signs and How to Fix Them
Common painting mistakes that reduce the quality of your 4th of July sign include uneven coats, visible brush strokes, and bleeding colors. These usually happen when paint is applied too thickly or on an unprepared surface. To fix this, start by sanding the wood smooth with fine-grit sandpaper to create an even base. Apply a primer or base coat designed for wood to prevent paint from soaking in unevenly. Use thin, even layers of paint and let each coat dry completely, usually 1 to 2 hours at 70°F, before adding the next to achieve a smooth finish. Lightly sanding between coats with 220-grit sandpaper helps achieve a polished look when brush marks still appear.
Misspelled or poorly spaced wording is a common issue for beginners. Instead of painting freehand right away, use stencils or print out templates for your sign’s letters. Position the template on your sign, then trace the letters with a pencil or chalk before painting. This step ensures spacing and spelling are correct. Mistakes in painting should be addressed after the paint dries fully, about 24 hours, by gently sanding the area with fine-grit sandpaper. Apply a matching base color over the error, let it dry, and repaint the lettering carefully. Using a fine-tipped brush or paint pen improves control for clear, crisp letters.
Signs may get damaged or appear uneven during or after painting due to warping, dents, or uneven surfaces. For warped wood signs, place the sign between two flat boards and clamp it for 24 hours to flatten it out before painting. Small dents or holes can be repaired with wood filler; apply it with a putty knife, allow it to dry according to the product instructions (usually 2 to 4 hours), then sand smooth. Applying a thicker primer base helps smooth minor imperfections on an uneven surface. You can also mask rough spots with strategically placed decorative accents like stars or ribbons painted in red, white, and blue. Avoid rushing between steps, taking time to prep and fix imperfections pays off with a more polished finished sign.
Sign Wording and Phrases Perfect for the 4th of July
Effective 4th of July sign wording depends on your audience and purpose. Use concise, clear phrases that evoke patriotism and fit the setting, whether it’s a lively family party or a sales-focused retail event. Choose text size and placement that improve readability from expected distances, and match the tone to the occasion by varying formality and warmth.
Classic Patriotic Phrases
Words that honor the nation’s history and values resonate strongly on 4th of July signs. Short scripts like “Land of the Free,” “Home of the Brave,” and “Stars & Stripes Forever” capture patriotic spirit in few words. Incorporate phrases such as “United We Stand” or “Celebrate Freedom” to broaden the emotional appeal while staying succinct.
For clarity, use a large, bold typeface sized proportionally to the viewing distance. A good rule of thumb is 1 inch of letter height for every 10 feet of distance. For example, if a sign will be read from 20 feet away, letters should be at least 2 inches tall. Position text centrally and leave margins to prevent crowding. Red, white, and blue color contrasts ensure visibility and thematic consistency, helping these phrases stand out.
Selling Point Wording for Retail Signs
Retail signs need wording that combines patriotism with a promotional message. Phrases like “Celebrate America with Savings,” “Red, White & Deals,” or “Freedom Sale, Today Only” work well. These scripts add urgency and a call to action while keeping a festive theme.
Text on retail signs should be in a clean, legible font, avoiding overly decorative styles that reduce readability. Size letters to accommodate both close-up shoppers and people passing by, aiming for 3 to 4 inches in height when placed near store entrances or on sidewalks. Use short, direct phrases arranged with the key words larger and on top, such as “SALE” or “FREEDOM,” then supporting text below in smaller letters to guide customer attention efficiently.
Friendly Messages for Family Gatherings
For informal events like barbecues or neighborhood parties, choose warm and welcoming wording. Messages such as “Happy 4th of July,” “Together We Celebrate,” or “Stars, Stripes & Good Times” create a friendly atmosphere. These phrases should feel inviting without being too formal or salesy.
Use moderate-sized text, typically 2 to 3 inches tall for backyard signs, so guests can read them up close but without dominating the space. Position the text along the top or center of the sign, leaving room for decorative elements like stars or fireworks graphics. Opt for playful fonts or handwritten styles to improve the casual vibe, but keep contrast high to avoid reduced legibility outdoors in daylight or at sunset.
Combining 4th of July Signs with Other Holiday Decorations
Coordinate your 4th of July signs with complementary decorations like patriotic bunting, string lights in red, white, and blue, and themed tableware to achieve a cohesive Independence Day look. Using similar materials, such as wood or metal, for other decoration pieces can unify your display. Incorporate elements like mason jars filled with fairy lights wrapped in stars-and-stripes ribbon or floral arrangements featuring red carnations, white baby’s breath, and blue delphiniums for added texture and color harmony.
Maintaining a balanced color scheme requires careful selection and limitation of hues. Stick mainly to three shades based on the American flag: red, white, and blue. To avoid a cluttered or overwhelming appearance, alternate dominant colors across decorations; for instance, if your sign is primarily blue with white lettering, pair it with red and white bunting or cushions. Use neutral tones, such as natural wood finishes or burlap, to soften bright colors and maintain balance. Keep an eye on proportion, too much red in one area can overpower subtler whites and blues, so spread colors evenly throughout your setup.
Creating photo-worthy holiday displays is easier by focusing on layering and height. Place your 4th of July sign at eye level or slightly above, backed by complementary elements like hanging garlands or framed star-shaped lights. Use sturdy stands or step stools to safely improve smaller signs or bouquet containers. Consider a backdrop with a neutral or lightly patterned surface to avoid visual noise in photos. Adding a few props, like vintage-style lanterns or patriotic flags on slender poles, near your sign helps add depth and context for pictures.
For different spaces, adjust your decoration scale and placement. On small porches, a wooden sign hung from the railing combined with a simple wreath featuring mini flags works well. In larger yards, multiple signs spaced evenly with tiered tables or hay bale seating decorated with themed pillows create a festive environment. Budget-friendly approaches include using free printables on cardstock that you frame or mount onto sticks, combining them with inexpensive store-bought flags or balloons, costing under $20 total.
Keep electrical safety in mind when using string lights outdoors; use only lights rated for outdoor use and connect them to ground-fault circuit interrupter (GFCI) outlets to prevent hazards.
Pay attention to weather conditions if your display is outside. Moisture can dull paint and warp materials, so place signs under eaves or use waterproof finishes. You can improve durability with sealants, but allow at least 24 hours drying time before installation. Well-coordinated, protected decorations not only boost curb appeal but also encourage family and neighbors to join in the holiday spirit.
Displaying and Mounting 4th of July Signs Safely and Effectively
Selecting the right mounting hardware depends on the surface where you plan to display your 4th of July signs. For wood surfaces, nails or screws provide sturdy support. Use galvanized or stainless steel screws to resist rust, especially outdoors. When mounting signs on brick, concrete, or stone, anchors paired with masonry screws work best. For smooth surfaces like glass or metal, heavy-duty adhesive hooks or suction cups avoid damage and remain secure if clean and dry. Drywall requires wall anchors or picture hanging strips rated for the sign’s weight to prevent accidental falls.
Safety is critical when mounting both indoor and outdoor signs. Make sure ladders or step stools are stable and never stand on chairs or unstable objects. Wear gloves to protect your hands from sharp edges on screws or nails. Check that your signs are securely fastened to keep them from falling in windy conditions, which can injure passersby or damage property. Indoors, avoid blocking exit paths or fire safety equipment with decorations. Outdoors, place signs away from high-traffic walkways or roads to avoid distractions or collisions.
Creative displays can boost the impact of your 4th of July signs and attract attention at parties or storefronts. Position signs near lighting, such as string lights or solar-powered stakes, to keep them visible after dark. Hanging signs from shepherd’s hooks, fences, or garden stakes lets you adjust height and angle for the best view. Mounting multiple signs at staggered heights adds dimension and draws the eye. Consider placing a sign on a rolling cart or vintage wagon for a mobile display that invites interaction. Using reusable mounting methods, like removable hooks or clips, lets you swap signs easily and keeps your decorations fresh from year to year.
Before you begin, create a simple checklist: verify the surface type, choose hardware rated for outdoor or indoor use, confirm the weight of your sign, gather tools such as a drill or hammer, and have safety gear ready. Plan where guests or customers will see the signs most clearly without causing obstructions. A good display will be stable in various weather, visible from several feet away both day and night, and easy to remove without damaging walls or plants. Poorly mounted signs may tilt, fall, or look messy, detracting from your patriotic decor.
Step-by-Step Action Plan for Your 4th of July Signs
Get started on your patriotic decorations with this easy-to-follow timeline. Each step helps you stay on track and ensures your signs look great and last through the holiday.
- Before You Start: Choose your sign style, wooden, printable, or quick craft, and gather all materials. Confirm your design fits the space where you plan to display it.
- Day 1: Create or print your sign design. If painting, apply the base coat and let it dry completely; you’ll know it’s ready when no paint transfers to your finger.
- Day 2: Add lettering and decorations. Check for even coverage and clear, readable text before moving on.
- Day 3: Apply a weatherproof sealant for outdoor signs. The surface should feel smooth and dry with no tackiness after sealing.
- Day 4: Plan your display by choosing secure mounting options like hooks, stakes, or stands. Test stability by gently shaking the sign to ensure it holds firm.
- The Day Before the 4th: Put your signs in place and do a final check for any touch-ups needed after mounting.
- After the 4th of July: Remove signs from outdoor elements promptly to extend their lifespan, storing them in a cool dry spot.
Frequently Asked Questions
What Are Some Kid-Friendly 4th of July Sign Activities?
Kids can help decorate 4th of July signs by painting or using stickers, making it a fun craft that also teaches them about Independence Day. This hands-on activity keeps them engaged and proud of their patriotic decorations.
Can 4th of July Signs Be Used for Small Retail Displays?
Yes, small retailers can use 4th of July signs by displaying a “Happy Holiday” sign before the event, then swapping to a “closed” message on the 4th to inform customers. This helps communicate store hours effectively while keeping a festive look.
How Do You Personalize a 4th of July Sign for an Event?
You can personalize a 4th of July sign by adding custom messages, incorporating event dates, or featuring family names or business logos. Customizable sign templates make this easier and add a unique touch to your celebration.
What Materials Work Best for Durable 4th of July Signs?
Durable signs usually use weather-resistant wood, metal, or high-quality plastic, sealed with a waterproof coating. These materials hold up well outdoors and keep colors vibrant despite sun or rain.
Can 4th of July Signs Double as Party Photo Backdrops?
Yes, pairing a 4th of July sign with patriotic decorations on your front porch creates an ideal photo backdrop. It sets a festive mood and encourages guests to capture memorable moments.
What Other Crafts Pair Well with 4th of July Signs?
4th of July signs go great with cookie decorating, firework centerpieces, or cake decorations in red, white, and blue. These add variety and complement the patriotic theme, making the overall party decor more festive.
Before You Go
Your 4th of July signs set the tone for festive and welcoming celebrations. Start by picking one design or method that fits your time and skill level, then take it one step at a time. Hang your finished signs where friends and family can see them while enjoying your spirited holiday setting.