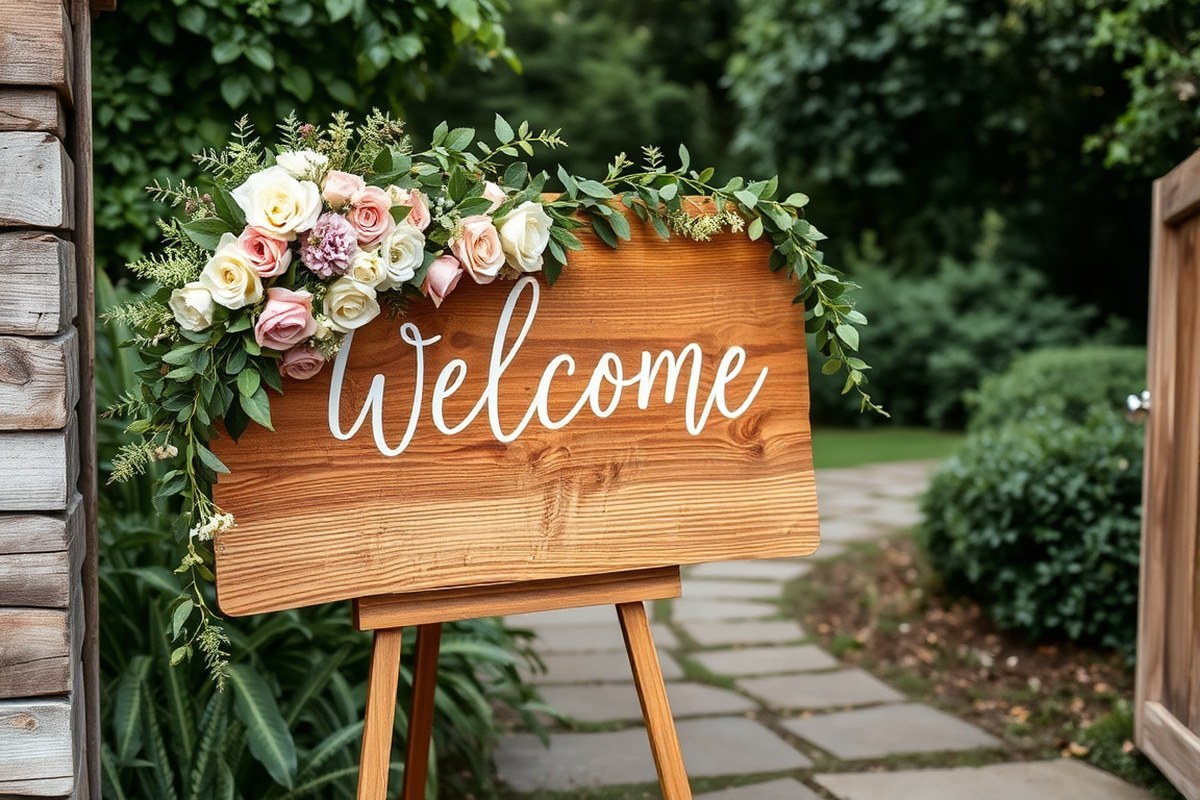
How to Make a Wedding Sign: Complete Steps, Materials & Tips That Work
How to make a wedding sign involves selecting the right materials, designing the layout, and applying clear lettering. Start by choosing a durable base like foam core or acrylic for easy handling and lasting quality. Use a simple layout with legible fonts to ensure your message stands out and reflects your wedding style.
Key Takeaways
- Choose foam core or acrylic boards sized up to 40 by 60 inches for versatile wedding sign bases.
- Incorporate a bleed area of 0.125 inches to avoid cutting off design edges during trimming.
- Use waterproof paint or vinyl lettering to protect signs displayed outdoors from weather damage.
- Consider digital cutting tools like the xTool P2 for precise acrylic sign engraving.
- Plan at least an hour to complete hand-made signs, allowing time to fix mistakes without pressure.
- Create directional yard signs in batches to reduce per-unit costs from suppliers like 4OVER4.COM.
How to Make a Wedding Sign: Step-by-Step Guide
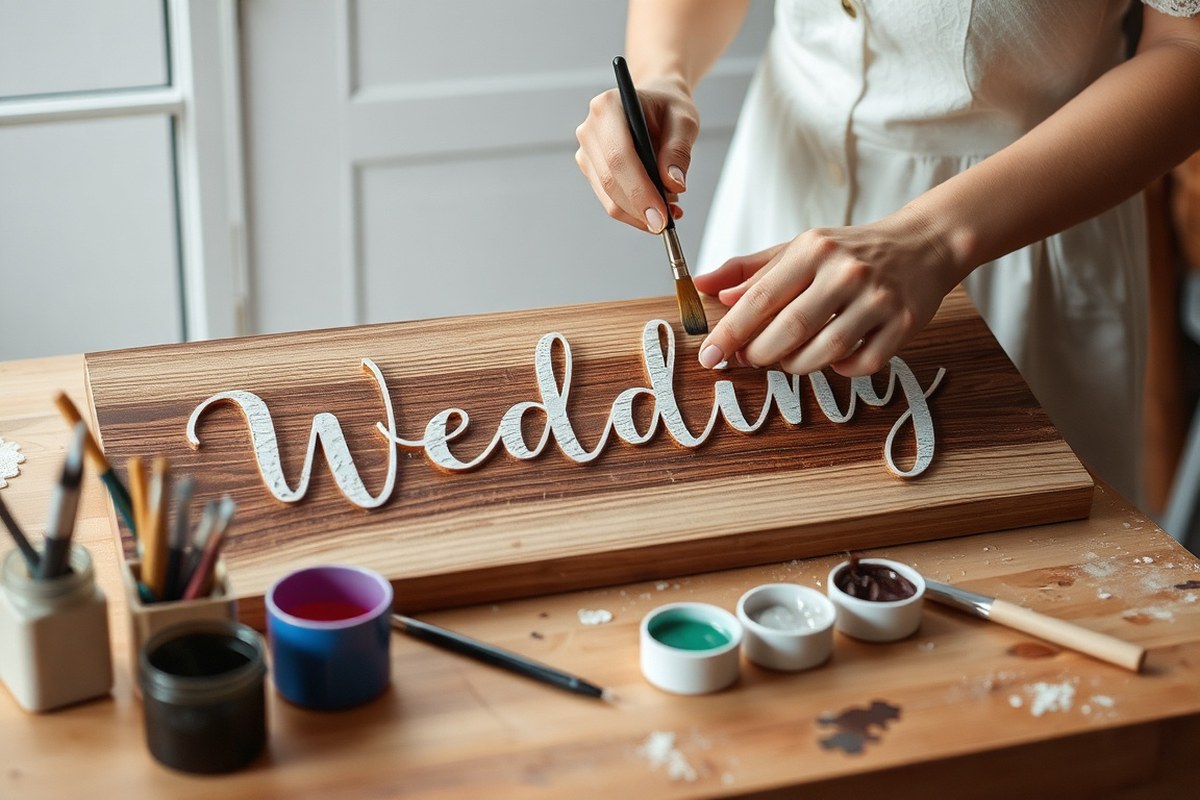
Making your own wedding sign requires careful preparation and patience for the best result. The process involves preparing the surface, transferring or painting your design, and sealing the finished piece. Taking your time at each step helps prevent common issues like uneven paint or smudging letters.
Here’s a step-by-step checklist to create a polished wedding sign, including approximate time frames to keep you on track. Plan on a few hours to a full day from start to finish to allow for proper drying and finishing.
- Choose and prepare your sign surface.
Start by selecting wood, acrylic, or another material that fits your wedding style. Clean the surface thoroughly with a damp cloth to remove dust and debris. Sand wood surfaces lightly with fine-grit sandpaper until smooth. This step typically takes 15 to 30 minutes but is important to ensure paint or vinyl adheres well.
- Prime the surface.
Apply a coat of primer designed for your material (e.g., wood primer for wood surfaces). This base coat improves paint durability and color vibrancy. Let it dry for about 1 hour in a well-ventilated area, following product instructions.
- Transfer or sketch your design.
Use stencils, decals, or lightly sketch your lettering and decorations with a pencil. Practice your design on scrap material before painting freehand. This step might take 30 minutes depending on design complexity.
- Apply paint or lettering.
Use acrylic paint and fine brushes for lettering or details. Apply thin, even layers to avoid drips or smudges. For vinyl lettering, carefully peel and position the letters, smoothing air bubbles with a scraper or credit card. Let each paint layer dry 20 to 30 minutes before applying a second coat.
- Add finishing touches.
Once the paint or lettering is fully dry (allow at least 1 to 2 hours), apply a clear sealant like a spray polyurethane for protection and longevity. This step helps guard your sign from weather if used outdoors. Allow sealant to cure for 24 hours before handling or installing the sign.
Good results look like clean, crisp text without smudges or uneven paint edges. Avoid rushing drying times to prevent tacky surfaces that attract dirt or cause lettering to lift. Gently sand mistakes and repaint only after the corrections are completely dry. Careful attention during each step will give you a charming, personalized wedding sign that lasts beyond your big day.
Choosing the Right Materials for Your Wedding Sign
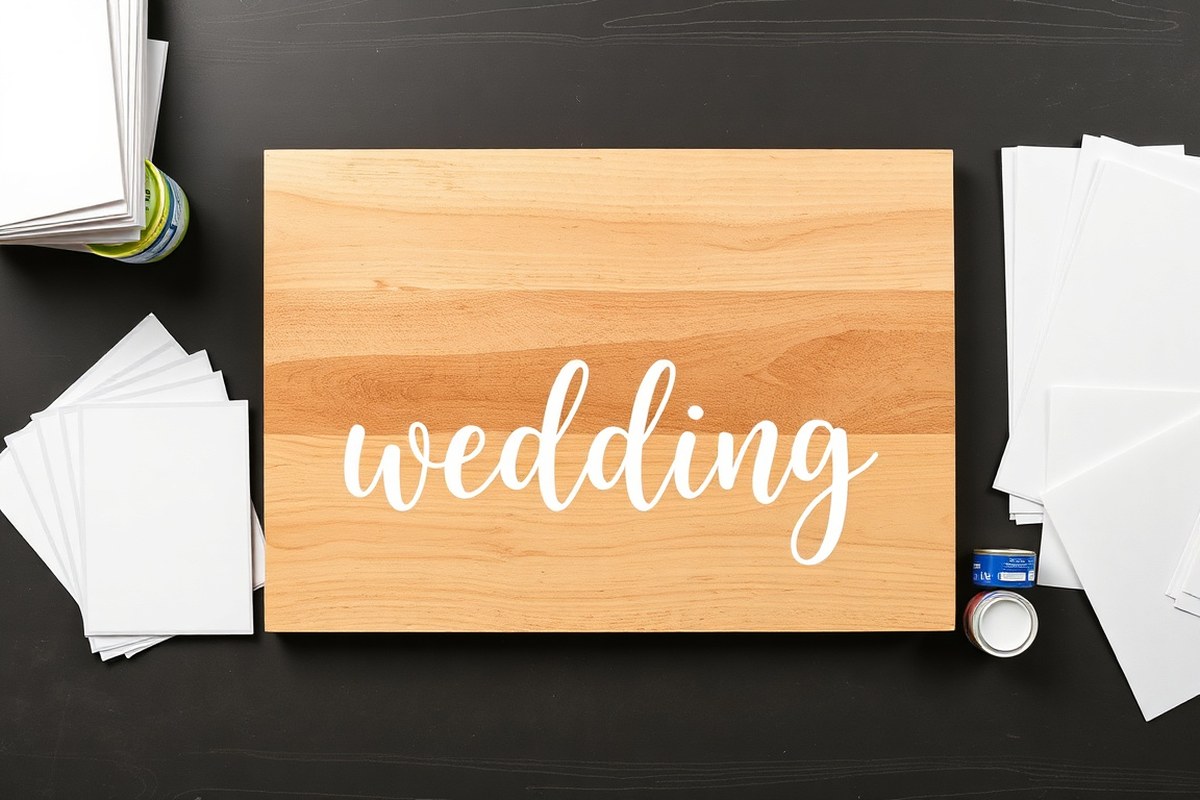
Choosing the right material for your wedding sign depends on its purpose, location, and style. For example, welcome signs usually benefit from sturdy, eye-catching materials like acrylic or wood to create a strong first impression at the venue entrance. Seating charts and table numbers might be smaller and require less durable but still elegant options like foam board or chalkboard, especially indoors. Considering where and how long your signs will be displayed helps avoid damage and keep costs reasonable.
| Material | Look | Best For | Durability | Approximate Cost | Suits Indoor/Outdoor | Style Fit |
|---|---|---|---|---|---|---|
| Wood | Rustic, natural | Welcome signs, directional signs | High; weather resistance depends on treatment | $$ (varies by type, $15, $50 for basic boards) | Both (with sealant for outdoors) | Rustic, vintage, farmhouse |
| Acrylic | Glossy, modern | Welcome signs, seating charts | High; water-resistant, won’t warp | $$$ (usually $50+ depending on size) | Both | Minimalist, luxe, modern |
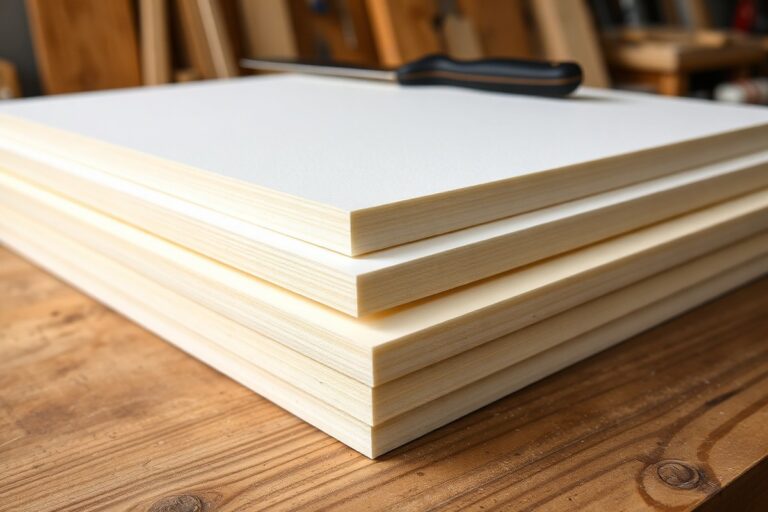
| Foam Board | Matte, clean | Indoor signs, seating charts, backdrops | Low; not ideal for moisture or wind | $ (approximately $10, $20 per sheet) | Indoor or temporary outdoor | DIY, budget-friendly, casual |
| Corrugated Plastic | Matte, lightweight | Directional yard signs, outdoor signs | High; weatherproof and sturdy | $ (around $15, $30 for medium size) | Outdoor | Casual, budget-sensitive outdoor |
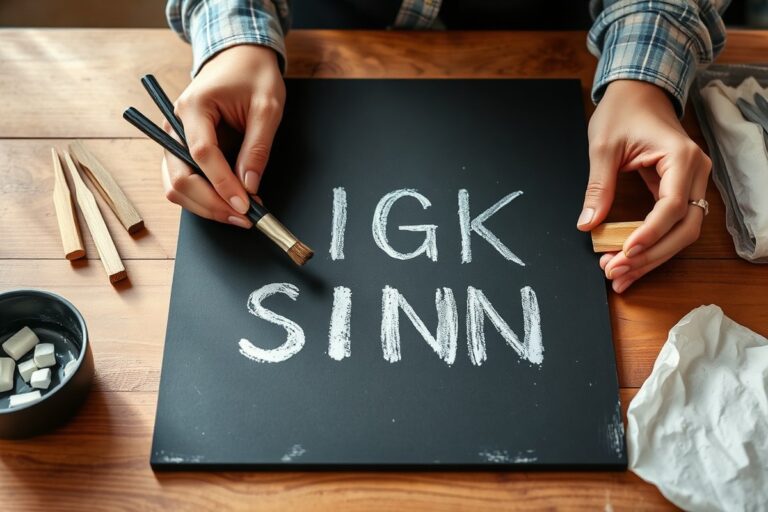
| Chalkboard | Matte, vintage | Seating charts, menu boards | Medium; indoor or covered outdoor preferred | $ (from $20 to $60 depending on size and frame) | Indoor or covered outdoor | Rustic, vintage, shabby chic |
| PVC or ACM | Professional, durable | High-end signage, reusable displays | Very high; weatherproof | $$$ to $$$$ (cost varies widely) | Outdoor and indoor | Formal, modern, commercial |
Wood offers a timeless, rustic feel perfect for outdoor or barn weddings. However, untreated wood might warp or fade if exposed to rain or sunlight, so apply a clear sealant if expecting outdoor use beyond a few hours. Acrylic signs look sleek and upscale, maintaining their shape and color in all weather. They’re pricier but ideal for minimalist or elegant wedding themes. Foam board works well indoors as it’s very affordable and lightweight, but avoid using it outside or where moisture can damage the surface.
Corrugated plastic is a smart choice for directional signs outside because it balances durability and cost while resisting wind and rain. Chalkboards lend a soft, vintage vibe but usually perform best indoors or in covered venues to avoid smudging or rain damage. PVC and ACM panels are professional-grade options for couples wanting to invest in signs that can be reused or kept as mementos, offering excellent durability and quality finish but at a higher cost.
For outdoor wedding signs, always choose weather-resistant materials like acrylic or corrugated plastic, and add protective layers like sealants or laminates if using wood or foam board to prevent damage from wind or rain.
Popular Wedding Sign Styles and Design Ideas
Wedding signs come in a variety of popular styles that reflect the overall theme and atmosphere of your celebration. Rustic wooden signs, sleek modern acrylic designs, romantic floral decorations, and colorful chalkboard boards are among the top choices. Matching the sign style to your wedding’s theme not only improve visual appeal but also makes your signage feel intentional and welcoming.
Rustic Wooden Signs
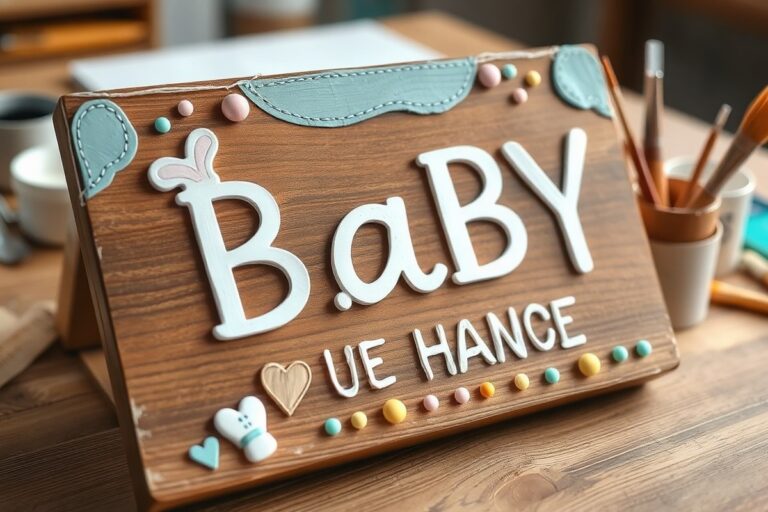
Rustic wooden signs bring a natural, warm, and charming touch to weddings, especially those held outdoors or in barn settings. They often use reclaimed wood or wooden pallets and feature hand-painted or stenciled lettering in simple or calligraphic fonts. These signs usually measure between 12 by 18 inches for tabletop or can be larger for directional signs placed on stands.
To create a rustic wooden sign, start with sanded wood blocks or planks. Paint the background with chalk paint or leave the wood natural for a raw look. Use white or black acrylic paint for lettering, applying it freehand or with stencils. Sealing the finished sign with a matte clear coat protects it from moisture and fading, which is essential for outdoor ceremonies. Pairing rustic wood textures with script fonts like Great Vibes conveys a laid-back yet elegant vibe. Rustic signs fit best with country, farmhouse, or woodland-themed weddings and cost around $15 to $50 depending on size and materials.
Modern Acrylic Signs
Modern acrylic signs offer a clean, sleek, and polished look that matches urban, minimalist, or contemporary weddings. These signs typically use clear or frosted acrylic sheets with white or black vinyl lettering or paint. Measuring around 11 by 14 inches or larger, acrylic signs stand out for their glossy finish and ability to blend into many settings without dominating the decor.
Making acrylic signs often involves laser-cut lettering or print-on-vinyl that adheres smoothly onto the acrylic surface. Framing the signs in thin black or metallic frames adds sophistication. Acrylic’s smooth surface allows you to create gradient or metallic foil effects that are harder to achieve on wood. These signs cost roughly $30 to $80 in DIY supplies, higher if you choose custom laser cutting or professional printing. Use fonts like Playfair Display or Montserrat to keep a modern style consistent with your wedding’s design. These signs marry well with monochrome or pastel colour palettes typical in modern and urban themes.
Romantic Floral Signs
Floral wedding signs emphasize romantic and garden-inspired themes. They feature hand-painted or pressed flowers, floral wreaths around the edges, or garlands affixed on top. Whites, pinks, and greenery dominate the palette, paired with elegant calligraphy fonts to underline softness and grace.
You can start with a wooden or foam board base painted in neutral tones like cream or blush. Attach silk or dried flowers with hot glue around the border or corners for 3D texture. Painting delicate leaf and blossom motifs improve the romantic feel. Floral signs are ideal for garden, vintage, or boho weddings and typically measure 18 by 24 inches for clear visibility. Although adding flowers and hand lettering takes more time, around 2 to 4 hours, the resulting sign creates a warm, personalised welcome. Keeping font colours soft and coordinating flower tones with bouquets and table centrepieces ensures a cohesive look.
Fun Colorful Chalkboard Signs
Chalkboard signs bring a playful, vibrant element to your wedding décor. These work well with eclectic or casual themes and can include bright hand-drawn illustrations, varied fonts, and colourful borders. Chalkboards are usually sized around 16 by 20 inches for tabletop seating charts or directions pointing guests to different areas.
Use good-quality chalk markers for bold colours that won’t smudge easily outdoors. Planning your design digitally before drawing helps reduce mistakes on the chalkboard. You can create multi-color borders, colourful arrows, or thematic doodles, like cocktail glasses for bar signs or floral motifs. Chalkboards are affordable, around $10 to $25, and simple to erase for reuse if you want different signs for ceremony and reception. They complement rustic and boho themes nicely but can also contrast well in urban weddings if designed with minimalist fonts. Colourful chalkboard signs let you add fun personality to your signage while staying budget-friendly and easy to update.
Designing and Personalizing Your Wedding Sign
Designing and personalizing your wedding sign is simple and enjoyable, even without graphic design experience. Using user-friendly online tools and editable templates lets you add your names, dates, and special messages quickly. Adding personal touches like colors, fonts, and thematic accents makes your sign uniquely yours with minimal effort.
Using Editable Sign Templates
Editable templates offer a straightforward way to design your wedding sign without learning complex software. Websites like Corjl provide free and paid templates that you can customize online from your computer. These templates allow you to update text, swap photos, and even add AI-generated graphics with just a few clicks. Because these templates are pre-designed, you avoid starting from scratch and can create a professional-looking sign in minutes.
Printable templates work well for DIY projects where you print the design at home or through a local print shop. Editing happens on the platform itself, so you don’t have to download or install anything complicated. Depending on the template’s license, the cost might range from free to around $15, which is affordable compared to hiring a designer. Opt for templates that specify they are editable so you keep full control of your wedding sign’s look.
Selecting Fonts and Colors
Fonts and colors strongly affect your sign’s style and should align with your wedding theme. Select simple, readable fonts like serif or sans-serif styles for main text such as names and dates. For headings or highlight words, you might choose a script font to add elegance. Most template tools let you switch fonts easily, so test a few to see what pairs well.
Choose colors that match your wedding palette to create harmony with the rest of your decor. Soft pastels work for romantic styles, while bold jewel tones add drama. Many online editors offer color pickers or predefined palettes so you won’t accidentally use colors that clash. For outdoor or dim lighting, pick high-contrast colors such as white text on dark backgrounds to maintain visibility.
Incorporating Personal Details
Adding personal elements like your names, wedding date, venue, or a special quote lends meaning to your wedding sign. Keep the text clear and concise, common welcome signs include “Welcome to the Wedding of [Name] & [Name]” and the date below. Personalized messages such as a thank you or directions to other areas of the venue work well, too.
Beyond text, consider integrating accents that reflect your personalities or wedding theme. Adding illustrations of flowers that match your bouquet, small icons like hearts or rings, or monograms creates a unique look. You can also add decorative touches after printing, such as ribbons, silk drapes, or fairy lights, to highlight the sign and improve your chosen style.
Printing and Scaling Your Design
After finalizing your design, ensure the file resolution is high enough for printing, usually at least 300 DPI (dots per inch). Many template tools generate print-ready PDFs or JPEGs scaled for standard sign sizes like 24 by 36 inches or smaller tabletop formats. Scaled files let you order printing professionally or print at home if you have a large-format printer.
Going to a professional print shop can result in crisp, weather-resistant signs with precise sizing. You provide the design file and specify the material and dimensions. Budget-wise, simple prints start around $20 to $50 depending on size and material, with elaborate options costing more. For smaller signs, at-home printing on sturdy cardstock or foam board is an affordable choice.
Tools and Supplies Needed to Make Wedding Signs
Making a wedding sign requires some basic craft tools that work for most materials. These include fine and medium paintbrushes, a pencil for sketching designs, painter’s tape to mask areas and keep lines clean, and a ruler or measuring tape to ensure proper sizing and alignment. A hot glue gun can help attach decorations like faux greenery or silk flowers. These essentials usually cost under $20 each at craft stores.
Specific tools depend on the sign material. For wooden signs, you’ll want sandpaper to smooth surfaces before painting and a wood sealer to protect the finish. Acrylic signs benefit from oil-based paint pens, such as Uni POSCA markers, which offer vibrant colors and good adhesion. Chalkboards call for chalk pencils or liquid chalk markers designed for easy erasing. If you opt for vinyl decals, a cutting machine like a Cricut or Silhouette helps cut precise letters, but you can also cut decals by hand or use the trace method for acrylic without a machine.
Home printers come in handy for transferring printed designs onto wood or paper layers by tracing or using carbon paper underneath. Inkjet or laser printers generally work for printing templates, though ink can smear on some surfaces. For exact lettering and sharp edges, cutting machines automate the process but add to the setup cost, ranging from $150 to $300. You can skip these machines by focusing on hand-painting or using paint pens and stencils.
Paint choice impacts the sign’s look and durability. Acrylic or latex craft paint works well on wood, applied with brushes. Oil-based paint pens provide neat, lasting lines on smooth surfaces like acrylic or finished wood. Flat or angled brushes help control strokes. Allow paint to dry fully, about 30 minutes between coats, then seal indoor wooden signs with a clear acrylic spray for protection. Outdoor signs may need weatherproofing varnish.
- Basic tools: paintbrushes (small and medium), pencil, painter’s tape, ruler, hot glue gun
- Wood signs: sandpaper, wood sealer, white or metallic paint pens
- Acrylic signs: oil-based paint pens (Uni POSCA recommended), optional vinyl decals, easel for display
- Chalkboards: chalk pencils or liquid chalk markers
- Extras: vinyl cutting machine (optional), home printer for templates
- Paint: acrylic or latex for wood, oil-based paint pens for smooth surfaces
Make sure to test paint pens on a scrap piece before applying your final design to avoid smudging or poor adhesion.
Getting the right tools and supplies ensures your wedding sign looks professional and lasts through the celebration. Prepare your workspace with good lighting and protect surfaces with craft paper or plastic sheets to keep your materials clean. The difference between smooth brush strokes and clumpy paint often comes down to proper preparation and quality brushes. Plan ahead to gather everything so you can focus on crafting your perfect sign without interruptions.
Tips for Displaying and Protecting Wedding Signs
Place your wedding welcome sign at the main entrance or along the path guests take to arrive at the venue. This helps create a warm first impression and directs guests where to go. Directional signs work best at decision points, such as forks in pathways or building entrances, guiding guests to specific areas like the ceremony, reception, or restrooms. For outdoor weddings, consider placing signs on sturdy stakes or upcycled artist easels if you want an artistic touch. Keep signs eye-level, around 4 to 5 feet high, to catch attention without obstructing views.
Protect signs from weather by selecting materials like laminated cardstock, acrylic, or metal for better durability. In case of rain, coating paper signs with a clear spray sealant adds water resistance. For large signs, use plexiglass covers or place them under covered areas. Secure signs against wind by anchoring them with weighted bases or tying them down with fishing line or zip ties to stable posts or structures. Keep in mind that sun exposure can fade colors; placing signs in shaded spots or applying UV-resistant spray extends their vibrancy, especially for signs that stay outdoors for several hours or days.
Decorative accents can improve your wedding signs and integrate them with your wedding theme. For rustic or garden weddings, add greenery garlands or fresh flowers around the frame or easel. String lights or fairy lights wrapped gently around signposts create a soft glow for evening receptions. Ribbons and fabric swatches matching your colour palette soften the edges and add texture. Avoid overloading signs with décor that could obscure the lettering or create tripping hazards. Use lightweight decorations and secure them well to withstand wind or guest interactions.
Wedding signs made with durable materials can be reused after the event for anniversaries, home décor, or future celebrations. Acrylic and metal signs clean easily and resist damage well, making storage simple. Paper signs that are laminated or stored away from moisture and sunlight stay in good condition. To preserve delicate signs, store them flat in acid-free tissue paper inside a waterproof box or portfolio. Avoid folding or rolling unless you use rigid tubes designed for artwork. Reusing or repurposing signs can save money and preserve cherished memories from your big day.
Common Mistakes to Avoid When Making Wedding Signs
Lettering and spacing errors are among the most common issues when making wedding signs. Letters that sit too close together or unevenly spaced can make your sign hard to read. Always measure and mark your sign surface lightly with a pencil before painting or applying vinyl. Use a ruler or a spacing guide to ensure uniform letter size and consistent gaps. Practicing your lettering or stenciling on scrap wood or paper beforehand helps you refine your technique and avoid costly mistakes.
Paint bleeding often results from applying too much paint or using stencils without securing them properly. Thin layers of paint that dry between coats reduce bleeding and create an even finish. To fix paint bleeding, gently sand the edges of the letters after drying and carefully repaint the edges with a fine brush. Using painter’s tape or stencil adhesive can also hold stencils firmly to the surface, limiting paint seepage.
Uneven paint coats leave your wedding sign looking amateurish. Apply lightweight, even layers with a small foam roller or a flat synthetic brush designed for smooth finishes. Allow at least 30 minutes for each coat to dry before applying the next, which usually takes two to three thin coats for good coverage. Avoid painting in direct sunlight or high humidity, which can cause paint to dry too fast or bubble.
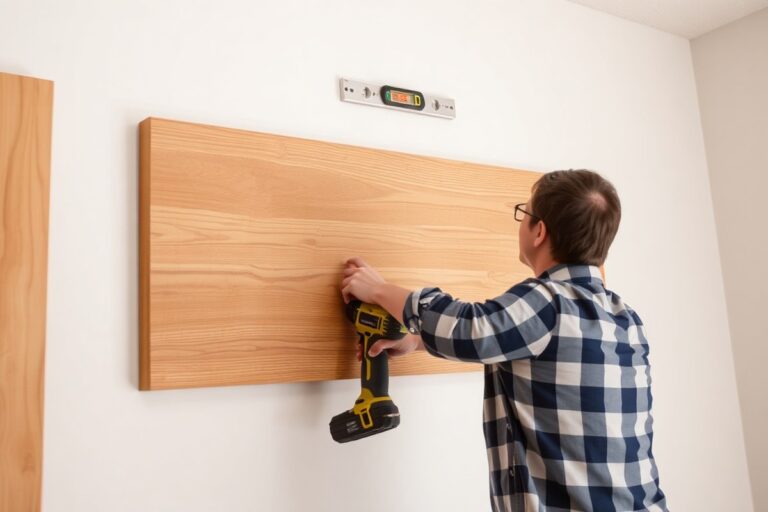
Signs look unprofessional when they have crooked text, smudges, inconsistent fonts, or unfinished edges. Using quality materials like smooth wood or acrylic surfaces helps your paint or vinyl stick better and appear sharper. Plan your design thoroughly by laying out all text and decorative elements digitally or on paper. A straight edge and level can keep your lines aligned during application. Finally, seal your finished sign with a clear polyurethane spray for weather protection and a polished look.
- Use a ruler to mark consistent letter spacing and baseline guides
- Practice lettering or stenciling on scrap material before your final sign
- Apply paint in thin layers, allowing proper drying time in between coats
- Secure stencils with painter’s tape or adhesive to prevent paint bleed
- Sand and touch up edges for sharp, clean letter outlines
- Work in a dust-free, shaded environment for smooth paint application
- Finish with a clear sealant to improve longevity and appearance
Budget extra time early for practice and drying phases, especially if you want a polished result. Signs with neat, clear text in balanced spacing communicate professionalism and care, making a strong impression on your wedding guests. Neglecting these basics risks smudged paint, uneven lettering, and a final product that distracts rather than complements your celebration.
Planning Your Wedding Sign Timeline for Best Results
Start your wedding sign projects at least two months before the big day to manage design, printing, drying, and assembly without rushing. Drying paint and adhesives can take several days, so build in extra time for these steps. A clear, phased timeline helps avoid last-minute stress and ensures your signs look polished and professional.
At Least 2 Months Before Wedding
Begin by brainstorming and finalizing your sign designs early, giving yourself room to make changes. Early planning lets you test different fonts, layouts, and materials to see what fits your wedding theme best. Ordering materials during this phase ensures you receive everything on time without shipping delays.
Try simple test runs on your chosen materials now. Practicing your lettering or painting techniques helps avoid mistakes on final signs that you can’t easily fix later. This early stage sets the foundation for smooth, confident crafting down the line.
4 To 6 Weeks: Design and Print
Finalize your sign artwork during this window and upload your design for printing, if you’re using a professional service like 4OVER4.COM. This timeline gives the printer enough time to produce high-quality signs on rigid stock with your chosen finish. Prepare for a few days each way if you order samples or proofs to review before the full print run.
Use design tools at home to tweak sizes and fonts and confirm that your text fits your sign’s dimensions well. This stage is also when you confirm your total number of signs, which impacts printing costs and delivery time.
2 To 3 Weeks: Painting or Assembly
This phase involves painting wooden or other DIY signs and assembling parts like mounting floral swags or attaching printed elements. Paint often requires 24 to 48 hours to fully dry between coats, so planning for multiple days of drying is critical. Assembly may involve using strong pins designed to secure flowers or lightweight adornments safely without damaging the sign.
Keep your workspace organized and perform final practice runs for hand-painting or lettering. Rushing assembly risks smudging paint or misaligned parts that are difficult to fix at this point.
- Allow 2 days for primer and paint to dry fully between coats.
- Reserve 1 day for glue or adhesive to set when attaching decorations.
- Practice hanging or mounting your sign to test stability.
- Check weather conditions if you plan to paint signs outdoors; humidity affects drying time.
- Use painter’s tape to create crisp paint edges and avoid smudges.
- Keep backup supplies on hand in case of mistakes or extra touch-ups.
Finishing assembly well ahead of the event avoids damage from rushed handling and leaves buffer for unforeseen delays.
Final Week: Touch-Ups and Setup
Reserve the last week for final touch-ups, like quick paint fixes, sealing with protective sprays, and attaching any last-minute decorations. This period also works well for cleaning, polishing, and wrapping signs carefully to prevent scuffs or scratches during transport.
Plan to transport your signs securely to the venue and do a trial setup if possible. Confirm placement with your venue staff so that signs get installed smoothly on the wedding day without hassle.
Allow extra drying time if you apply sealants or protective finishes during final touch-ups to maintain the sign’s appearance.
Step-by-Step Action Plan for Creating Your Wedding Sign
Follow these practical steps to make a wedding sign that fits your style, budget, and timeline.
- Before You Start: Choose your sign style and materials based on your wedding theme and where the sign will be displayed. A clear choice here ensures your sign matches the event perfectly.
- Day 1: Sketch your design or choose a template. Reviewing your design in advance helps prevent mistakes during crafting.
- Day 2: Gather all tools and supplies. Having everything ready saves time and avoids interruptions.
- Day 3: Prepare your work surface and materials, such as sanding wood or cutting vinyl. Smooth and clean surfaces help your design apply neatly.
- Day 4 to 5: Apply your design using paint, vinyl, or printing methods as planned. Check for clean lines and consistent coverage to ensure quality.
- Day 6: Allow the sign to dry and cure completely. Proper drying prevents smudging and damage.
- Day 7: Seal your sign with a protective finish matching your material. A good seal prolongs the sign’s life, especially for outdoor use.
- Wedding Day: Place your sign at its designated spot, secure it well, and check its stability. A well-positioned sign communicates smoothly with your guests and adds to the decor.
Frequently Asked Questions
How to Make a Wedding Sign?
Follow a simple step-by-step process using your chosen materials and design to create a beautiful personalized sign. Use tools like paint pens or vinyl cutters to apply your message clearly and attractively.
What Is the Best Size for a Wedding Welcome Sign?
Common sizes range from small tabletop 8″x10″ signs to larger 24″x36″ displays. Choose based on your venue space and visibility needs.
Can I Use Acrylic for a DIY Wedding Sign?
Yes, acrylic is popular for its sleek look and durability. It pairs well with paint or vinyl lettering for modern displays.
How Do I Protect My Wedding Sign Outdoors?
Use a weatherproof sealant suitable for your sign’s material to prevent damage from rain and sun. Protect the base from wind or tilting.
Is It Better to Paint or Use Vinyl for Lettering?
Vinyl offers cleaner lines and is easier to correct than paint, which gives a hand-crafted charm but requires steady hands.
How Early Should I Start Making My Wedding Signs?
Begin at least a month before the wedding to allow time for design, creation, and adjustments without stress.
Before You Go
Crafting your own wedding sign lets you give your celebration a unique, personalized feature. Begin by choosing the design and materials that fit your theme, ensuring enough time to refine your work. Then collect all the required supplies to enjoy a smooth crafting process that matches your wedding’s look.