How to Make Baby Announcement Signs: Easy Steps with Creative Ideas
How to make baby announcement signs starts with choosing the right materials and design that clearly share your joyful news. Use a sturdy board cut to about 19×15 inches for display, combined with paints or markers that dry well to ensure readability. Starting with a simple, clear message helps focus your creativity and makes the announcement memorable.
Key Takeaways
- Cut a 20×20 inch particle board down to 19×15 inches with a miter saw or jigsaw for a manageable sign size.
- Paint your sign in a well-ventilated area and let it dry for 24 hours before placing it in the baby’s room.
- Choose a design theme reflecting your baby’s personality or season, such as holiday or bedtime routine announcements.
- Use colors beyond traditional blue or pink to create a unique, modern baby announcement sign.
- Include essential information like baby name and birth stats for clear, meaningful communication.
- Create signs for multiple announcement stages, such as pregnancy milestones and birth announcements.
How to Make a Baby Announcement Sign Step-by-Step
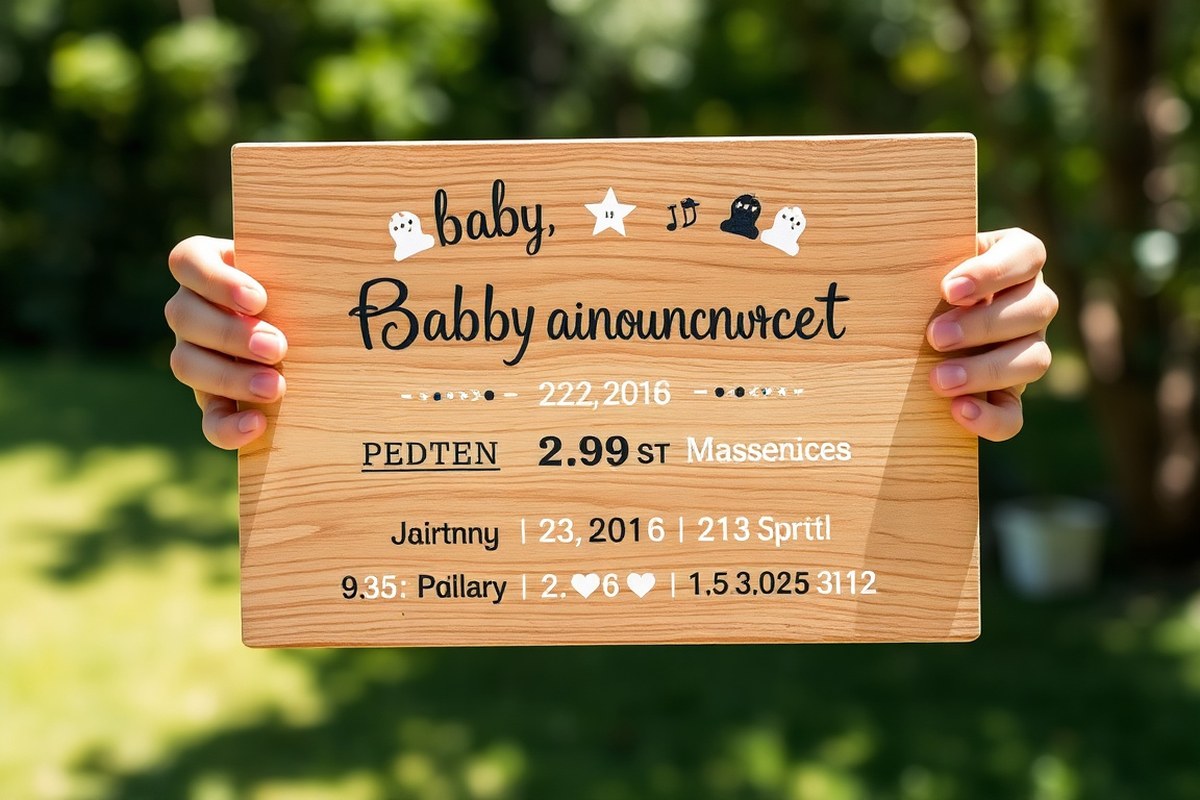
Creating a baby announcement sign combines both creativity and careful preparation to ensure a beautiful, personal keepsake. Start by selecting a sturdy base material like particle board or wood, ideally around 12 by 18 inches for easy display and handling. Preparing the base with a smooth finish allows your paint and decorations to adhere better and look more polished.
Painting the background is key to setting the tone of your sign. Use acrylic paint for quick drying and vibrant colors. Apply at least two coats, letting each dry fully (about 30 minutes per coat) to avoid streaks and to get an even, opaque background. This step improve readability and visual impact, especially for signs that will be photographed or displayed prominently.
Adding text and decorations takes your sign from basic to memorable. Choose clear, bold fonts if painting by hand or stencils for precision. For a DIY painted sign, use painter’s tape to mark straight lines and a fine brush for lettering. Alternatively, printable vinyl letters or stickers can offer a professional look with less effort. Decorations like small bows, ribbons, or thematic stickers should complement, not crowd, the text. Balance is essential to keep the announcement readable at a glance.
- Prepare the Base: Sand the surface lightly to smooth any rough spots. Wipe it clean with a damp cloth and let it dry completely before painting.
- Paint the Background: Apply a primer if using raw wood, then paint the background in your chosen color. Two coats usually provide a rich finish. Allow each coat to dry fully, 30 minutes to an hour depending on paint and room temperature.
- Plan Your Layout: Sketch your design lightly in pencil or use a printed template. Measure and mark where the text and decorations will go to ensure balance and spacing.
- Add Text: Use stencils, vinyl letters, or freehand painting with a steady hand and a small brush. For hand-painting, use painter’s tape to create straight lines and apply letters in thin layers to avoid smudging.
- Attach Decorations: Glue or tie on bows and ribbons carefully, placing them on corners or edges to frame the text. Avoid overcrowding the sign to keep your baby’s information clear.
- Seal the Sign: Once dry, apply a clear acrylic sealer spray to protect paint and decorations from moisture, especially if planning outdoor display or hospital visits.
- Add a Hanger: Attach a sturdy ribbon or twine on the back with a staple gun or screw-in hooks for easy display on doors or walls.
Materials and Tools Needed for DIY Baby Signs
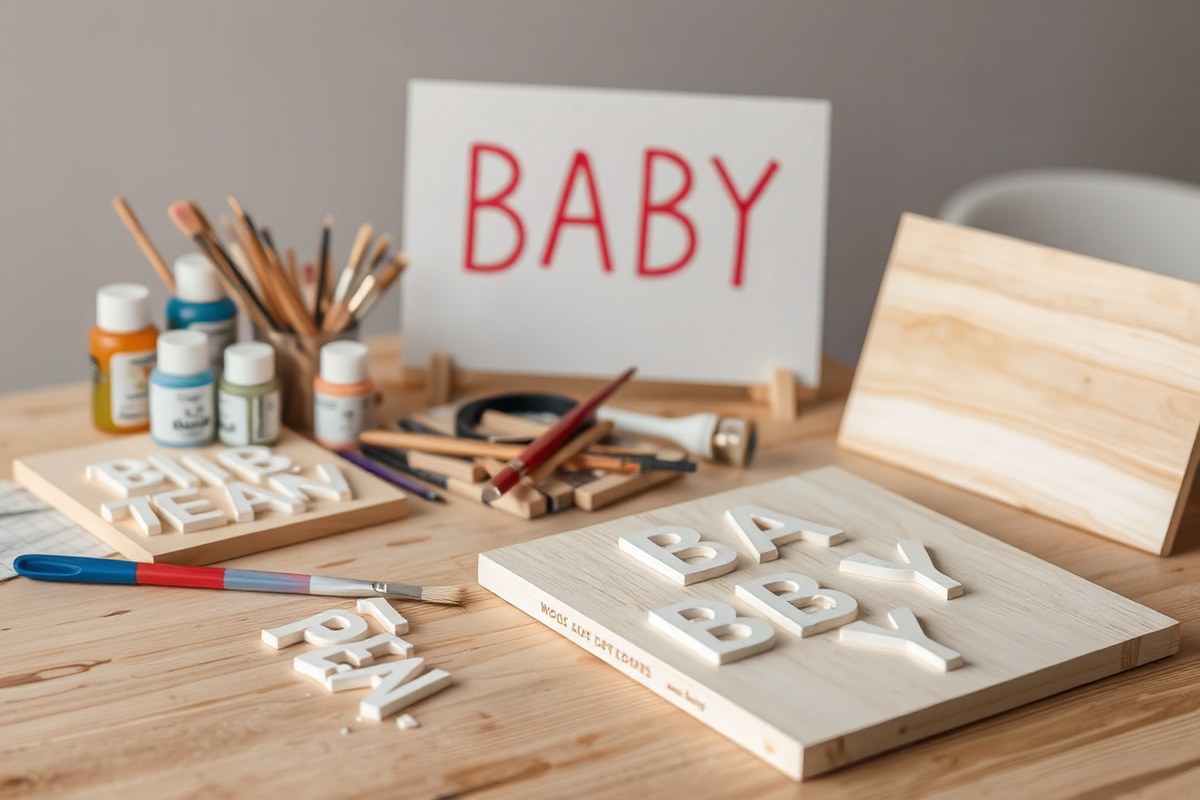
Choosing the right materials and tools for your baby announcement sign is key to making a memorable and beautiful keepsake. A solid base like painted particle board offers durability and a bold look, costing around $30 to $50. This makes it perfect for wall displays you want to keep for years. For something lighter and more casual, chalkboard handprint boards come in at $15 to $30 and provide a minimalist style, ideal for using chalk markers to customize easily.
Special paints and adhesives depend on the base material you pick. Acrylic paints work well on wood or particle board for vibrant colors and quick drying, usually in a few hours. Chalk markers or regular chalk are essential for chalkboards. Strong craft glues or double-sided tape help attach decorations or letters securely without damaging the surface. Avoid using regular house paint or glue not meant for craft projects because they can peel or smear over time.
Lettering and designs can be tricky without the right tools. Stencils, craft brushes of varying sizes, and paint pens simplify the process by giving sharp lines and neat lettering. For a clean, professional look, use fine-tip paint pens priced around $5 to $10 each. A ruler and pencil to sketch the layout beforehand prevent crooked letters and uneven spacing. When working on a board, securing the piece firmly on a flat surface avoids slips that ruin the design.
- Particle board or wood panel (cost: $30, $50) for durable base
- Acrylic paints or chalk markers ($5, $15) depending on the base
- Paint pens or fine brushes ($5, $10 per pen/brush) for precise lettering
- Strong adhesive like craft glue or double-sided tape ($3, $7)
- Stencils and a pencil for layout planning
- Ruler or straight edge for alignment
- Flat workspace to secure the sign during crafting
Make sure to allow enough drying time between paint layers, rushing this can smudge your design and ruin the sign’s appearance.
Cost-wise, expect to spend anywhere from $15 for simpler chalkboard signs to $50 or more for larger painted boards with detailed designs. The time investment varies, with chalkboard announcements taking 2 to 3 hours and painted particle boards needing 3 to 5 hours including drying. Store-bought letter boards offer instant setup around $20 to $30 but sacrifice customization. Picking your materials depends on how long you want the sign to last and how much time you can commit to crafting.
Choosing the Right Design, Size, and Theme
Choosing the right size, design, and theme for your baby announcement sign depends on your personal style and how you want to share your baby’s arrival. Aim for a size that’s easy to handle and fits well in photos, while the design should reflect your baby’s personality or your nursery setup. Matching colors and themes with the nursery decor, gender reveal, or seasonal vibes can make your announcement more meaningful and memorable.
Standard Sizes and Shape Options
The most common DIY size for a baby announcement sign is about 19 by 15 inches, usually made from a 20×20 inch board like particle board. This size offers enough space for text, photos, and decorative elements without being bulky or hard to hold. Boards come mostly in rectangular shapes, but you might consider custom shapes or cutouts to add a fun twist that stands out.
Choosing a standard size keeps printing and framing simple and affordable. Oversized or unusually shaped signs can be beautiful but may increase costs or complicate shipping and storage. For newborn photos, a sign in the 15 to 20 inch range generally fits well in the frame and looks balanced next to the baby.
Popular Themes and Color Palettes
Selecting a theme depends on your baby’s gender, the season, and the personality you want to convey. For a baby girl, soft pink tones with floral or heart graphics create a sweet vibe. Baby boys often suit light blue hues with playful or whimsical elements. Gender-neutral palettes use soft pastels, botanical greens, or simple black and white for a timeless look.
Current trends include minimalist backgrounds with lots of white space, nature-inspired themes using plant motifs, or playful designs with baby blocks and confetti dots. You can either continue a theme from your gender reveal invitation or pick something entirely new that reflects your personal taste.
| Theme | Color Palette | Common Graphics | Use Case |
|---|---|---|---|
| Baby Girl | Pink shades, soft pastels | Flowers, hearts, baby blocks | Birth and gender reveal announcements |
| Baby Boy | Light blue, soft pastels | Whimsical graphics, stars | Birth and milestone announcements |
| Gender-Neutral | Pastel greens, whites, neutrals | Botanical elements, confetti dots | Nursery reveal, adoption announcements |
| Minimalist | White backgrounds, black or soft colors | Ample white space, clean fonts | Modern, elegant baby announcements |
Mix and match colors and graphics to express your preferences. Many templates let you tweak background colors, fonts, and shapes to match what feels right for you and your baby.
Matching Signs to Nursery and Events
Coordinate your announcement sign with your nursery decor or event themes to create a cohesive look. For example, if your nursery features botanical patterns and neutral tones, use similar greens and natural designs on the sign for a harmonious effect. Keeping the color scheme consistent ties the announcement back to the baby’s space and your style.
If you held a baby shower with a specific theme or color palette, adapting that style to your announcement adds a personal touch and continuity in your celebrations. This is especially meaningful if you plan to share the announcement digitally with friends who joined you for the shower.
Creative Ways to Personalize Your Baby Announcement
Sharing your baby’s full name, birth date, exact time of birth, weight, and length on your announcement sign ensures everyone knows the special details that celebrate your new addition. Make these facts stand out by using a straightforward font and uncluttered design. For handwritten signs, a fine-tipped Sharpie or quality marker will deliver clear, lasting writing. Digital templates should let you easily customize each detail with a simple, inviting style.
Adding personal touches such as baby footprints or handprints can make your announcement feel more intimate and memorable. For a DIY project, ink pads and non-toxic paints are safe to use on special paper or fabric signs. Another option is to include ultrasound images, which you can print and frame alongside the sign. Siblings or pets can join the announcement by holding a coordinating sign, wearing a themed outfit like a “big sister” onesie, or posing with props related to the new baby. The inclusion of pets often brings a charming and playful vibe to photos. Plan these elements ahead of time to ensure everyone is comfortable and the overall look is balanced rather than cluttered.
Crafting a heartfelt custom message adds emotional value beyond the standard facts. Short, meaningful phrases, “Our greatest joy,” “Finally here,” or “A dream come true”, work well to capture your feelings. You might use a template that incorporates a thank-you note or an expression of gratitude to friends and family, connecting your announcement to a wider celebration. Tailor the message’s tone to match your style: light and humorous for casual greetings or more formal for keepsake cards. When writing, keep the message brief to avoid overshadowing the birth details, but meaningful enough to resonate.
For those planning ahead, designing the sign while still pregnant means most elements are ready to add details quickly when your baby arrives. Many online invitation or announcement makers let you save a template with placeholder text. Once you have birth details or photos, swapping them in takes just minutes. Choosing templates that allow photo uploads also enables you to add a newborn’s picture or a snapshot of siblings and pets right on the sign for a cohesive look. This strategy simplifies the process and reduces the chance of missing important data.
Costs vary based on materials and tools. Printable templates cost between $5 and $20 on popular platforms, while basic supplies like markers, glitter, and cardstock for a DIY sign may total $10 to $25 at craft stores. Adding photos might require printing at home or through a local service, usually under $1 per print for wallet-sized images. Special elements like handprints might involve buying safe inkpads at around $5. Time investment ranges from an hour or two for digital customization to a few hours for handcrafting and styling photo shoots.
Different Methods for Making Announcement Signs Compared
Painting baby announcement signs allows you to customize each detail by hand, creating a unique look. It usually involves water-based paints that dry quickly and provide vibrant color. To get good results, apply paint carefully with brushes or sponges and let each layer dry before adding details. Painted signs may take more time and patience, but they offer a tactile, artistic feel that vinyl lettering cannot match. Costs vary depending on paint type and surface, often around $5 to $15 per sign in materials. The main drawback is that mistakes are harder to fix, and the paint might chip over time without proper sealing.
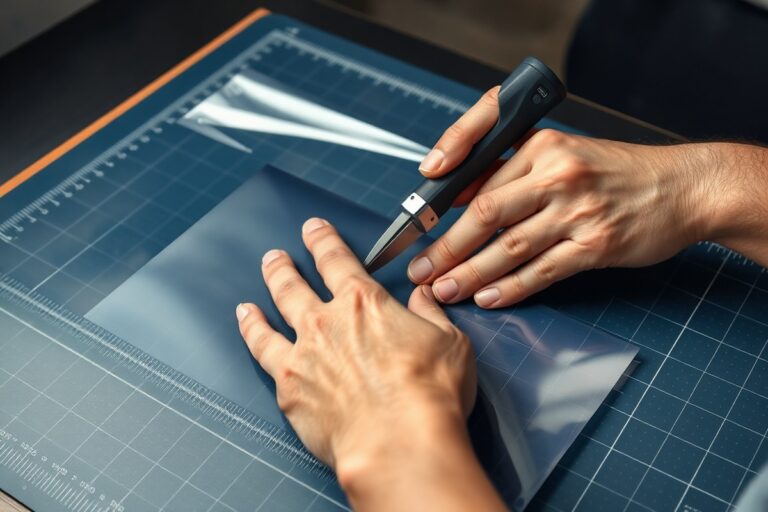
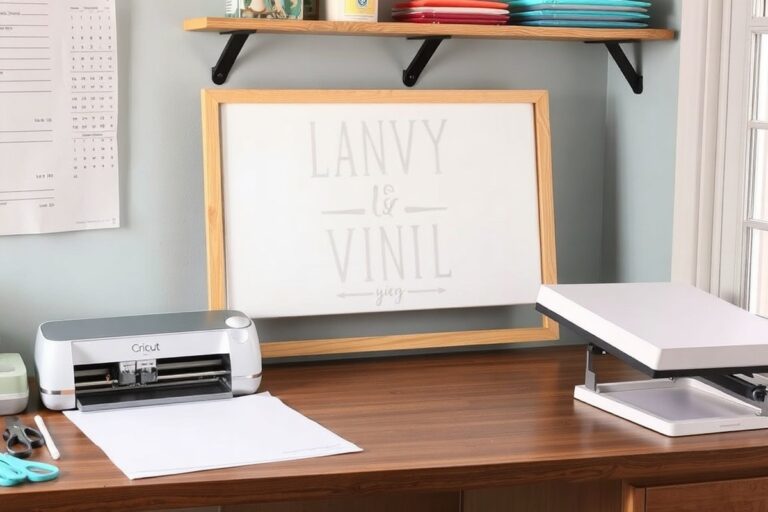
Vinyl lettering involves using adhesive vinyl cut into letters or shapes applied to a smooth sign surface. This method is faster and cleaner than painting and produces sharp lines and consistent letters. Vinyl costs roughly $1 to $3 per square foot, including transfer tape. You’ll need a cutting machine or pre-cut vinyl sheets designed for crafting. Vinyl signs look professional and last longer outside, but they lack the handmade charm that paint provides. Removing vinyl to reposition it usually damages the letters, so precise placement is essential.
Chalkboard signs offer a reusable and interactive option for baby announcements. You can handwrite or use baby’s handprints with water-based paint pressed on the chalkboard for a lasting impression. To do this, apply paint on the baby’s hand, press firmly for a full 10 seconds, then lift straight off to avoid smearing. Chalkboard signs allow easy updates with chalk or chalk markers, saving money on new materials. The downside is they require careful cleaning to avoid ghosting, and chalk or paint may smudge during handling.
Digital print methods involve designing your announcement on a computer and printing it directly onto cardstock or photo paper. This approach is cost-effective and eco-friendly, with instant downloads allowing quick sharing online or by email. You can combine printed signs with DIY elements like adding baby’s handprints or attaching ribbons for a personal touch. Digital prints cost as low as $0.10 to $1 per page depending on print quality and volume. While fast and precise, digital prints do not have the texture or depth of painted or vinyl signs and require access to a good printer. The table below compares key features to help you decide which method fits your needs and skills best:
| Method | Cost (Materials) | Time Required | Durability | Customization | Reusability |
|---|---|---|---|---|---|
| Paint | $5, $15 per sign | Moderate to High | Medium with sealing | High (hand-painted) | No |
| Vinyl Lettering | $1, $3 per sq. Ft. | Low to Moderate | High (weather resistant) | Medium (set fonts/design) | No |
| Chalkboard | Low (chalk + board) | Low | Low to Medium | Medium (handwritten/drawn) | Yes (rewritable) |
| Digital Print | $0.10, $1 per page | Very Low | Medium (paper quality matters) | High (editable templates) | No |
Press the baby’s hand firmly for a full 10 seconds when making handprint chalkboard signs to avoid smearing the print.
Both paint and vinyl offer durable options with visibly different finishes and require moderate supplies and skill. Chalkboard signs serve well for temporary or reusable announcements, especially if you want to update the message or include handprint art easily. Digital prints provide immediate results and easy distribution, but combining them with personal touches like hand-drawn highlights or paint can make announcements feel more intimate and crafted by you.
Taking Beautiful Photos with Your Announcement Sign
To get clear, beautiful photos of your baby announcement sign for social media or cards, focus on good lighting, a simple background, and thoughtful styling with your family or baby. A well-lit, uncluttered scene highlights the sign and creates a warm, inviting mood. You don’t need fancy equipment; natural light and easy setups work well.
Setting Up Lighting and Background
Natural light is ideal because it softens shadows and brings out true colors without harsh glare. Position your setup near a large window or door during the morning or late afternoon when the sunlight is gentle. Avoid direct sunlight that causes overexposure or sharp shadows.
Choose a background that complements your sign without competing for attention. Solid-colored walls, simple blankets, or a clean wooden floor work well. Neutral colors prevent distraction and keep the focus on your message. Remove clutter and anything that might draw the eye away.
Posing and Styling Your Sign Shot
Incorporate the baby and family naturally to add emotion and context. Hold the sign close to the baby or let your child or partner hold it while you capture their joyful reactions. Position the sign so the text faces the camera clearly, and avoid blocking important details with hands or props.
For newborns, place the sign near baby on a soft surface like a blanket, using gentle props such as stuffed animals or flowers to frame the shot. Older siblings or parents can hold the sign standing or sitting to add variety. Keep the clothing simple and coordinated with your sign’s colors for a polished look.
Editing and Sharing the Photo
Basic editing like adjusting brightness and contrast can make your photo pop while keeping it natural. Free apps like Snapseed or Lightroom offer straightforward tools you can use on your phone. Crop for better composition, ensuring the sign text remains legible and well-centered.
Save your final image in high resolution (at least 300 dpi) if you plan to print cards. For social media, aim for 1080 x 1080 pixels, which works well for Instagram and Facebook posts. Write a short, heartfelt caption or message to share along with the photo to engage family and friends.
- Find a bright spot near a window with indirect natural light.
- Select a simple, neutral background free of clutter.
- Position your baby or family with the announcement sign clearly facing the camera.
- Use props sparingly to improve but not distract from the sign.
- Take multiple photos from different angles and distances.
- Review and choose the sharpest, best-lit photo.
- Edit brightness and crop to emphasize the sign’s message.
- Save the image in the appropriate resolution for your sharing method.
Safety and Durability Tips for Long-Lasting Signs
Choose water-based, non-toxic acrylic paints for your baby announcement sign to keep it safe for your nursery. Brands like Folk Art are recommended because they do not release harmful fumes or chemicals once dry. Paint and seal the sign in a well-ventilated space to allow any residual fumes to dissipate, and make sure the sign cures for at least 24 hours before placing it in your baby’s room. This curing time reduces the chance of irritation to your infant from lingering paint or sealant vapors.
Seal your painted sign with a clear, non-toxic acrylic sealant to protect the colors from moisture, fading, and wear. Look for sealants labeled safe for children’s toys, which are usually water-based and free of solvents. Apply two thin coats about an hour apart in a well-ventilated area to avoid buildup that could crack or peel. Good sealing results in a durable finish that resists smudges and protects wood grain or paint details. Without proper sealing, your sign’s vibrant paint may fade quickly, and moisture can cause wood to warp.
Wood signs require special care to maintain their durability. Before painting, lightly sand the surface with fine-grit sandpaper to ensure paint adheres well. Avoid soaking the wood or using oil-based primers, as excess moisture or harsh chemicals may cause wood to swell or release substances unsafe for babies. After sealing, avoid placing wooden signs where direct sunlight hits them for long periods, as UV rays can fade colors over months. Wiping the sign periodically with a dry cloth helps keep dust and debris off without harming the finish.
Chalkboard signs offer a reusable and customizable option, but protecting them differs. Use non-toxic liquid chalk markers for vibrant, safe color that dries quickly without dusty residue. Since chalkboard paint itself can wear down, reseal the board every 6 to 12 months with a child-safe sealant designed for chalk surfaces to keep it smooth and moisture-resistant. Store chalkboard signs away from humidity sources like bathrooms or kitchens to prevent peeling or mold growth.
Check your materials’ labels to confirm their safety. Many art supplies now include certification from organizations like AP Non-toxic, which ensures products meet strict health standards. Expect to spend around $5 to $15 for a quality non-toxic paint bottle and $10 to $20 for a durable sealant, depending on brand and quantity. The extra cost is worth the peace of mind for your baby’s environment.
Follow this checklist: use water-based non-toxic acrylic paint, sand and prepare wood properly, paint and seal in a ventilated area, allow 24-hour curing, seal with child-safe acrylic sealant in two coats, avoid direct sunlight on finished wood signs, maintain chalkboard signs with resealing and dry storage. Paying attention to these details will preserve your baby announcement sign’s beauty and safety for years to come.
Budgeting and Timing Your Baby Announcement Project
Estimating costs, planning your crafting time, and selecting the right moment to announce your baby’s arrival help make the announcement memorable without stress. You can control expenses by deciding between a DIY sign or ordering a custom one, plan your schedule for drying and assembling, and choose a moment that suits your privacy and excitement level.
Typical Cost Breakdown
DIY baby announcement signs usually cost less upfront but require purchasing materials, while ordering a personalized sign might be pricier but saves time. Materials such as paint, wood panels, and decorative items can add up, especially if you want durable, lasting signs. Here is a comparison overview of typical costs involved:
| Cost Item | DIY Range | Preordered/Custom Range |
|---|---|---|
| Basic Materials (wood, paint, brushes) | $20 – $60 | N/A |
| Decorations (blocks, balloons, booties) | $10 – $30 | N/A |
| Custom Sign Order | N/A | $40 – $150+ |
| Shipping (if applicable) | Varies, usually $5 – $15 | $10 – $25 |
| Templates (digital/downloadable) | $5 – $20 | Often included with order |
Choosing DIY can save money but may require more supplies if you don’t already have them. Preordered signs come personalized and ready to use, which may appeal if you want a polished look without extra shopping.
Time Needed to Craft and Finish
Allocate about one to three days for a DIY baby announcement sign, depending on design complexity. Simple signs with purchased templates and minimal decoration might take a few hours, while hand-painted wooden signs with layered paint need several drying periods. Plan your timing as follows:
- Crafting and assembling: 2, 6 hours, possibly split over days
- Drying time for paint or glue: 12, 24 hours per coat
- Final touch-ups and photo setup: 1, 2 hours
Order signs generally arrive within 5 to 10 business days, including shipping. This requires scheduling ahead if you want the sign ready for a particular date.
Start your project early enough to accommodate drying times and unexpected delays, especially if this is your first time crafting a sign.
Best Timing for Announcements
Many parents choose to announce their pregnancy or birth at specific moments that feel right for privacy and excitement. Popular times to share an announcement sign include:
- After the first trimester when the pregnancy is more secure
- Shortly after birth once you’ve settled into your new routine
- During gender reveal events if the sign fits a theme
Using the same style of sign for multiple announcements creates a consistent and meaningful keepsake. You might design a template during pregnancy and customize it later to celebrate birth, helping share your journey over time.
Step-by-Step Action Plan for Your Baby Announcement Sign
Get started on your baby announcement sign with this easy plan that fits into your schedule and keeps your project on track.
- Before you start: Choose your design, size, and theme based on your baby’s personality or nursery colors. Confirm you have all materials ready to avoid interruptions.
- Day 1: Gather your tools and materials in your workspace. This ensures smooth progress and no last-minute runs to the store.
- Day 2: Create a draft or practice the layout on scrap material. If the draft looks balanced and clear, you’re ready for the real sign.
- Day 3: Start making your sign using the chosen method (paint, vinyl, chalkboard). The sign’s design should look like your initial draft and feel sturdy.
- Day 4: Personalize with creative touches like baby’s initials, birth date, or handprints. Ensure these updates reflect your style and information accurately.
- Day 5: Let the sign dry or cure fully to avoid smudging or damage. Confirm it’s solid and safe to handle before photos.
- Day 6: Plan and take photos with your announcement sign, ensuring good lighting and safe positioning for your baby. Check that the sign is fully visible and the picture quality is clear.
- Day 7: Review your completed photos and choose the best ones to share. Save digital copies and consider keeping the sign as a keepsake.
Frequently Asked Questions
How to Make Baby Announcement Signs?
Use sturdy materials like wood or thick cardstock, then add your baby’s name, birth stats, and decorations with paint or printed graphics for a personal touch. Consider simple designs with clear fonts for easy reading, and finish with a protective coat for durability.
How Can I Create a Pregnancy Announcement?
Design a graphic online with websites like Canva including your due date or a cute message, then share via social media or print as cards to send to family and friends. Adding a themed photo or props can increase the impact.
Is 7 Weeks Too Early to Announce a Pregnancy?
Most people wait until around 12-16 weeks to announce a pregnancy to reduce risk of early miscarriage, but it’s your decision based on comfort and health. Early announcements may require extra privacy as the pregnancy develops.
How to Create a Baby Shower Welcome Sign?
Use clean layouts and gentle colors with a warm welcome message customized for your theme, then print or paint on wood or poster board for display at your event entrance. Adding soft illustrations can improve the sign’s charm.
What Is a Good Announcement Message for a Newborn Baby?
Choose simple, heartfelt phrases like “Welcome to the world, [Baby’s Name]” or include birth stats for a personal touch in your sign or card. Neutral tones and minimal typography keep the message clear and stylish.
Can I Reuse Baby Announcement Signs for Other Occasions?
Yes, signs with neutral designs or removable details can be adapted for baby showers, birthdays, or nursery decor by swapping out text or decorations. This saves costs and keeps your creations versatile.
Before You Go
Creating your own baby announcement sign gives you a special way to share this important moment with family and friends. Start with a clear design idea, take your time adding personal touches, and capture beautiful photos to celebrate. Your next step is to pick a design that feels right to you and gather your materials today.