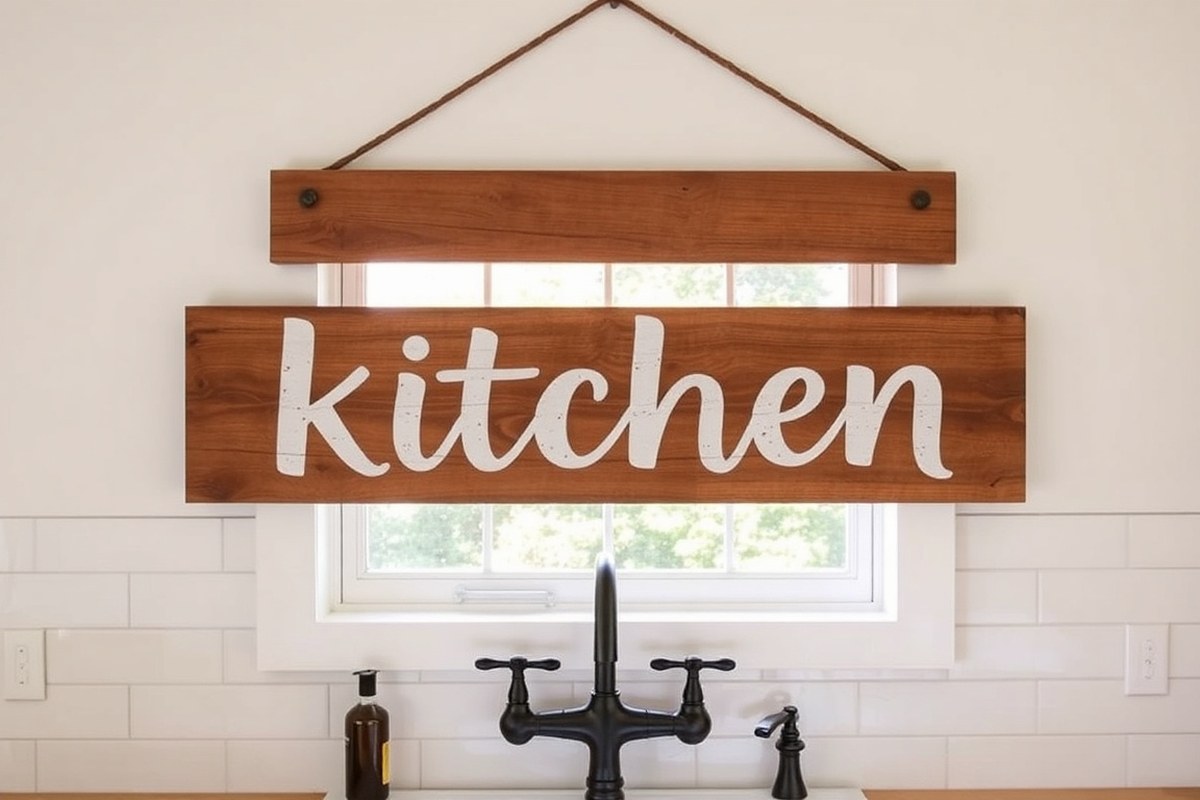
How to Make a Kitchen Sign: Step-by-Step DIY Guide with Tips & Tricks
How to make a kitchen sign starts by picking the right base material and size, usually about 11 by 14 inches for a framed look. Next, design your lettering or artwork and transfer it carefully onto the surface. Starting with a simple plan helps you create a personalized sign that fits your kitchen style perfectly.
Key Takeaways
- Choose a wood base like an old pallet for a rustic farmhouse look under 11 x 14 inches.
- Gather common tools: sandpaper, paintbrushes costing $5-$15, and weatherproof sealant.
- Design your sign lettering using free SVG files or hand-paint to add a personal touch.
- Allow paint to cure for 24 hours before distressing or sealing to prevent damage.
- Use light sanding to distress for a farmhouse appeal without harming the design.
- Seal the finished sign with outdoor clear coat for kitchen humidity protection.
What Materials and Tools Do I Need for a Kitchen Sign?
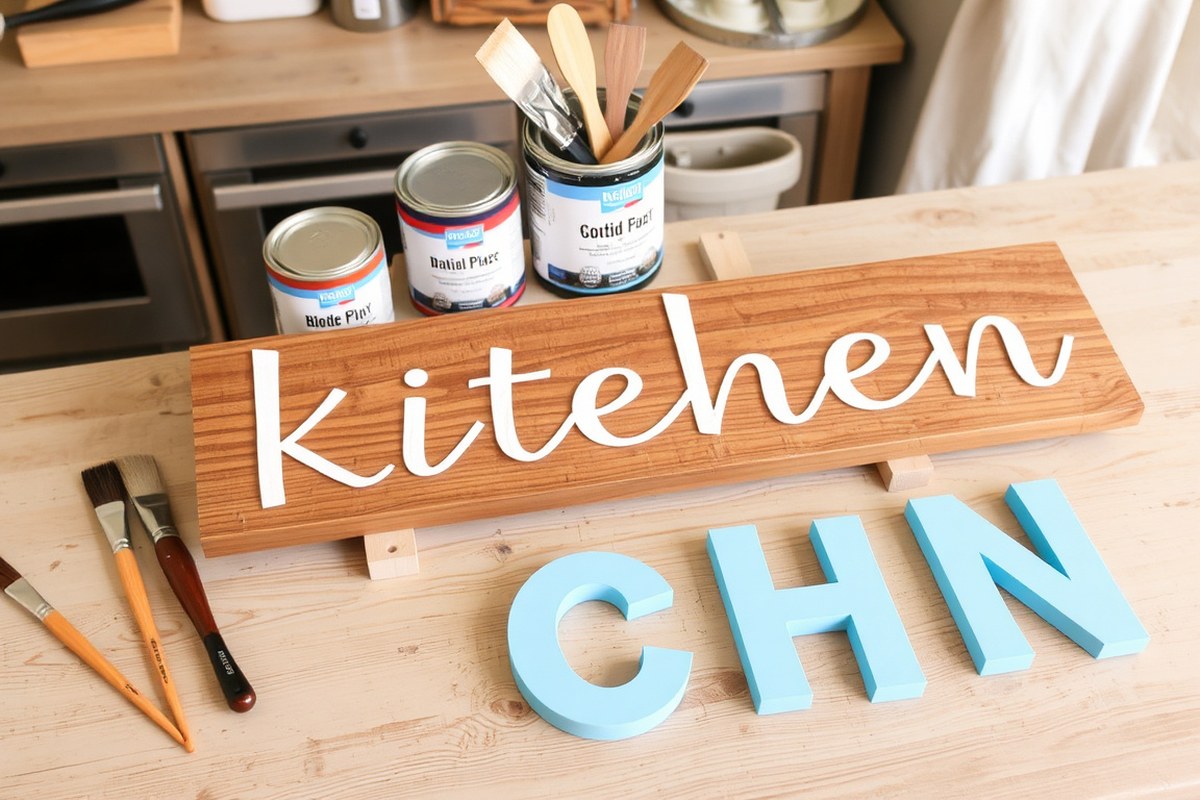
To make a kitchen sign, you’ll need materials and tools that match the style and durability you want, with options to keep costs down and reduce waste. Most DIY kitchen signs use wood as the base, typically around 11 x 14 inches, which is a manageable size for most kitchens. Plywood or reclaimed pallet wood are budget-friendly and sustainable choices. Pallet wood can give your sign a rustic, farmhouse charm while saving money and repurposing materials.
Besides wood, you’ll require paint to add your design. Acrylic paints work well for kitchen signs because they dry fast, have good coverage, and come in many colors. For a vintage or farmhouse look, consider muted or chalk-style paints. Budget options include craft paints priced around $1 to $3 per color. Sustainable paint choices include water-based or low-VOC paints that minimize chemical exposure and environmental impact.
To apply your design, basic brushes (a small detail brush plus a flat brush) are needed. These brushes cost around $2 to $5 each and can be reused for many projects. Alternatively, if you have access to a cutting machine such as a Cricut or Silhouette, you can create stencils from vinyl or paper, which helps achieve precise lettering with less trial and error.
- Wood base (reclaimed pallet wood or plywood, approx. $5, $15 depending on size and source)
- Acrylic paints or chalk paints (cost varies by brand, $1, $5 per color)
- Paintbrushes: detail and flat brushes, $2, $5 each
- Stencil material (vinyl sheets or printable cardstock) if using a cutting machine
- Acrylic sealer spray (matte or satin finish, $5, $10) for moisture protection
- Sandpaper (120, 220 grit) for smoothing wood surface, about $3 for a pack
The wood surface should be sanded lightly to remove splinters and create a clean painting surface. This step prevents paint peeling and helps get clean edges for your lettering. Select paint colors that suit your kitchen theme but keep in mind that darker paints may require more coats, increasing time and paint used. Hand-painting requires patience and multiple layers for good coverage, so plan accordingly.
Using sustainable materials like salvaged wood and non-toxic paints reduces environmental impact and often costs less than brand-new supplies. If you want to save money, look for leftover wood at hardware stores or free pallets from local businesses. Basic sanding and priming improve paint adhesion and durability, especially in kitchens where moisture is present. Sealing your finished sign with an acrylic sealer protects the paint and wood from humidity, extending the life of your kitchen décor.
How to Choose the Best Base Material and Sign Size
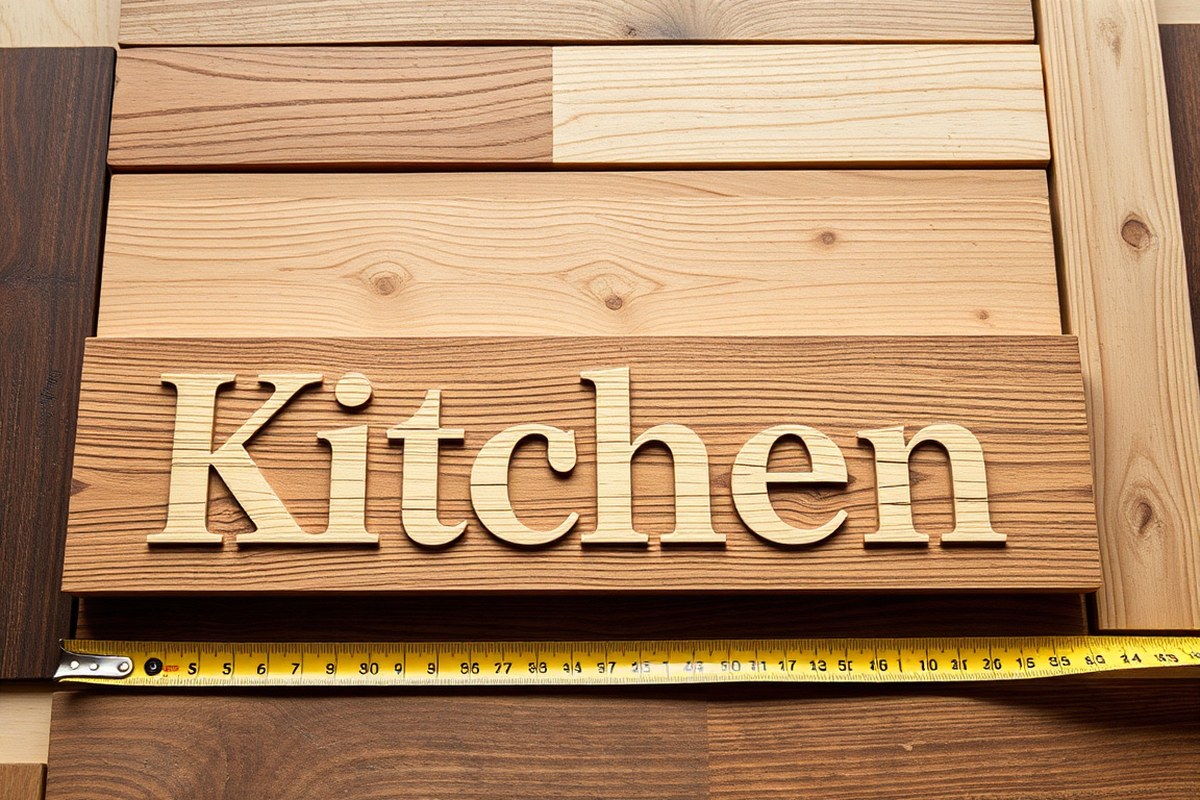
Choosing the right base material and size for your kitchen sign depends on your kitchen’s style, durability needs, and how the sign will be used. Wood is the most popular choice for its classic look, ease of painting, and versatility. It offers a smooth surface that takes paint well and can be left raw for a rustic feel or painted in crisp white or other colors to fit your kitchen decor. Alternatives like metal provide a sturdy option but require different tools and finishes. You can also repurpose reclaimed wood or old kitchen items as budget-friendly bases that add character.
The size and shape should complement the space where the sign will hang. Larger signs work well over a stove or above cabinets, while smaller plaques fit nicely near coffee stations or pantry doors. Rectangular and oval shapes are common, but irregular or multi-piece signs can add charm if you want something unique. Think about visibility and balance with other kitchen elements to avoid overcrowding.
| Material | Style | Durability | Cost Range | Best Use |
|---|---|---|---|---|
| Raw Wood (pine, oak) | Rustic, farmhouse | Moderate, needs sealing | $10-$30 for a large plaque | Rustic kitchens, vintage look |
| Painted Wood | Modern, bright or neutral tones | High when sealed properly | $15-$40, varies with paint | Any style, especially bright or minimalist kitchens |
| Metal | Industrial, modern | Very high | $20-$50 | Contemporary kitchens, outdoor use |
| Reclaimed Wood | Rustic, distressed | Moderate, may need treatment | Often free or under $20 | Farmhouse, vintage decor |
| Scrap Kitchen Items (cutting boards, trays) | Eclectic, personalized | Varies by item | Free to low cost | Small signs, personalized gifts |
Select dimensions that balance visibility and kitchen space. For example, a sign around 12 by 18 inches works well for wall displays and can be painted with clear, legible lettering. For narrower or cluttered walls, smaller signs 6 by 12 inches might be better. Choose a thickness that feels sturdy, between ½ to ¾ inches for wood, so it’s strong but not too heavy to hang. Shapes that fit your kitchen’s theme, like rectangles for neat spaces or irregular edges for rustic charm, help blend the sign naturally.
Choose a sealant designed for kitchen environments to protect your sign from humidity, spills, and heat without dulling your paint.
Budget-conscious crafters can use scrap wood or repurposed kitchen items, which deliver charm at almost no cost. These alternatives might require extra preparation like sanding or cleaning but let you create unique, personalized signs. Painted wood offers a brighter, cleaner finish that’s durable when sealed, while raw or reclaimed wood shows wood grain and texture for a homey feel. Match your choice to your kitchen’s style and how much maintenance you’re ready for.
How to Design and Transfer Lettering or Artwork
Creating your kitchen sign design and transferring it onto wood requires careful planning and choosing the right technique for your skill level and tools. You can design your sign digitally or by hand and transfer your lettering using paint, vinyl, stencils, or heat transfer vinyl (HTV). Each method has its own benefits and challenges that affect the final look and how much effort you need to put in.
Design Options: Digital vs Hand-Drawn
Designing digitally lets you experiment with fonts, layouts, and images on your computer before committing to the wood. Tools like Canva, Word, or Adobe Illustrator are popular for typing words such as “KITCHEN” or “Let’s Eat.” Digital design is especially useful if you want a precise, consistent look and plan to use stencils or vinyl for transfer. You can print out your designs for tracing or create vinyl decals with a cutting machine like a Cricut or Silhouette.
Hand-drawing your design is a good choice if you prefer a personal, rustic touch or have limited access to digital tools. Sketch your lettering or artwork directly onto paper or the wood with pencil to adjust size and placement. This method is more flexible for freehand painting but may require some practice for clean lines. You can also create your own stencils by cutting hand-drawn letters from cardstock.
Lettering Transfers: Paint, Vinyl, Stencils, HTV
Transferring your design onto wood can be done without special tools, depending on your preferred look and resources. Here is a comparison table summarizing common transfer methods:
| Method | How It Works | Pros | Cons | Cost & Tools |
|---|---|---|---|---|
| Paint freehand | Draw or trace then paint directly | Low cost, flexible design | Needs steady hand, can be uneven | $5-$20 for paint and brushes |
| Chalk/graphite transfer | Trace design on paper with chalk, flip and trace over to transfer | No special tools, good for detailed outlines | Transfer may be light, requires retracing | Minimal, chalk/graphite pencil |
| Vinyl decals | Cut vinyl letters or design, stick to wood, paint over or leave as is | Clean lines, reusable designs | Requires vinyl cutter or pre-made decals | $20-$300+ for cutter, decals ~$10+ |
| Stencils | Place stencil, paint over cutouts | Quick, professional look | Can bleed if paint is too watery | $5-$15 per stencil |
| Heat Transfer Vinyl (HTV) | Cut HTV, weed design, and press onto wood with heat | Precise, durable finish | Needs heat press or iron, limited to smooth wood | $20-$300+ for cutter, HTV $5-$15 |
Digital print transfers using specialized paper and ironing also work but are less common for wood signs because heat can damage some wood finishes.
Tips for Clean and Precise Lettering
Clear, neat lettering improve your kitchen sign’s look. Some tips include:
- Use painter’s tape or stencil adhesive spray to hold stencils in place and prevent paint bleed.
- Apply paint in thin, even layers; thick or watery paint can bleed under edges or cause jagged lines.
- Use detail brushes for small letters and edges, and steady your hand by resting your wrist on the table.
- If the paint doesn’t stick, sand and clean the wood surface before painting again.
- Retrace transferred chalk or graphite outlines with a fine brush before filling in larger areas.
Follow this step-by-step to transfer a design using the chalk/graphite method, good for beginners without fancy tools:
- Choose or create your design on paper, sized to fit your wood sign.
- Flip the paper and shade the back with chalk or graphite pencil, covering the letters completely.
- Position the paper chalk-side down on the wood, securing with tape to avoid movement.
- Trace over the front of the design with a pencil or pen, pressing firmly to transfer the chalk onto wood.
- Remove the paper carefully; your design outline should appear light but visible on the wood.
- Retrace the lines with a fine brush and acrylic paint to make letters crisp.
- Allow paint to dry fully before touching or sealing the wood.
Step-By-Step Process to Create Your Kitchen Sign
Creating a kitchen sign typically takes between 2 to 4 hours from start to finish, depending on the materials you use and the complexity of your design. This timeline includes preparing the wood, painting or staining, adding lettering, and applying protective finishes. Following clear steps helps you manage your time and get a professional look on your first try.
Cutting and Preparing the Wood
Start with selecting the right wood as your base. Plywood or reclaimed wood work well for rustic signs. Cut the wood to your preferred size, often around 12 by 18 inches for most kitchen signs. Sand smooth to avoid splinters and prep the surface for painting. If you want a rougher edge look, lightly distress the borders with sandpaper or a saw blade. This step usually takes 30 to 45 minutes, including cutting, sanding, and cleaning the wood surface to remove dust.
Painting or Staining the Base
Apply paint or stain evenly across your wood base. Use a brush or foam applicator for stain and a flat brush for paint. Light colors or white paints are common for kitchen signs to create a bright background. Let the first coat dry for at least 1 hour before adding a second for full coverage. Stain typically dries in 1 to 2 hours. Sand lightly between coats if you want a smoother finish.
Expect this step to take 1.5 to 2 hours including drying time. Painting indoors in well-ventilated areas reduces dust and speeds drying.
Adding the Lettering and Decorative Elements
Design your lettering on paper or use digital tools sized to your sign. Transfer the design using carbon paper or stencil. Paint over it carefully with a fine brush or use a paint pen. For a farmhouse style, simple block or script fonts work best. Add extra details like small painted icons, raffia ribbons, or hooks if you want your sign to hold kitchen towels or utensils. This phase usually takes 30 to 60 minutes, depending on the complexity of your design and your painting skill.
Sealing and Finishing Touches
Seal your sign with a clear polyurethane spray or brush-on finish to protect it from kitchen humidity and wear. Apply 2 to 3 thin coats, letting each dry for about 2 hours. Avoid thick layers that can yellow or drip. After sealing, attach hanging hardware or hooks if planned. Adding raffia or twine gives a soft finishing touch and boosts charm. Allow about 3 to 4 hours for sealing and hardware installation, factoring in drying time for a durable finish.
- Cut and sand the wood base to size, then clean off all dust.
- Paint or stain the base with your chosen color and let it dry fully.
- Select and transfer your lettering design onto the sign surface.
- Carefully paint the letters and any decoration details.
- Apply a clear sealer with multiple coats, allowing drying between coats.
- Attach hanging hardware or decorative hooks as desired.
- Add final touches like ribbons or twine for a personal look.
How to Achieve a Rustic or Farmhouse Kitchen Sign Style
Creating a rustic or farmhouse kitchen sign means giving your wood and paint an aged, worn look. Distressing and layering paint help you achieve this vintage style. The process adds character and charm, making your sign feel like a beloved kitchen staple.
Understanding Distressing and Its Appeal
Distressing is a technique used to make new wood and paint look old and weathered. It’s often done by sanding edges, scraping surfaces, or applying paint unevenly. This worn look fits farmhouse décor because it mimics natural wear from use and time. It creates a cozy, lived-in feel, which many kitchen enthusiasts prefer for warm, inviting spaces.
Distressing doesn’t require expensive tools or materials. Basic sandpaper, steel wool, or even a screwdriver can do the job well. What matters most is applying the techniques carefully to avoid overdoing the wear, which can look sloppy rather than charming.
Layering Paint for Depth and Interest
Layering paint is the next step after choosing your base coat. Start by painting your sign with a base color that will show through when you distress it. For example, a darker color like deep blue, gray, or brown creates a classic farmhouse look under a lighter top coat like white, cream, or pastel. After the base dries completely, usually 24 hours, add the top coat.
Once the top coat is dry, use sandpaper or a sanding block with medium grit (around 120 to 150) to gently rub away some areas, especially edges and raised lettering. This reveals the darker base layer, creating a vintage effect. Sand in the direction of wood grain for a more natural worn appearance. You can also add thin washes of paint or stain before the top coat to add color variation.
Step-by-Step Distressing Techniques
Start by painting your sign’s first coat, then wait 24 hours to let the paint cure. Use a wire brush or fine sandpaper to scuff edges, corners, and any raised details. For deeper distress marks, you can carefully chip off tiny paint flakes with a putty knife or even the edge of a metal spatula.
Another technique is dry brushing, where you dip your brush lightly in paint, wipe off most of it, and then brush over the surface with quick, uneven strokes. This creates streaky, layered looks. After distressing, wipe off dust with a tack cloth before sealing.
Creating a Vintage Finish with Stains
Applying a wood stain after base paint but before the top coat can add warmth and age. Dark walnut or weathered gray stain works well over lighter paint bases. Apply stain with a rag in long, even strokes, then wipe off excess within a few minutes to avoid blotchiness. Let dry for up to 4 hours.
Some DIY crafters like to use a stain-wash technique, diluting stain with water for a thin glaze. This emphasizes wood grain and imperfections, improving the vintage style. Seal with a matte or satin polyurethane for an authentic, less glossy finish.
Common Mistakes in Distressing and How to Avoid Them
Over-sanding or distressing too early before paint fully dries can cause paint peeling or uneven blotches. Resist the urge to distress heavily on flat surfaces, which can appear less authentic. Focus wear on edges, corners, and areas that would naturally see more use.
Wait at least 24 hours after painting before distressing to ensure clean, crisp edges without peeling.
Using too coarse sandpaper can leave visible scratch marks instead of smooth worn edges, so choose medium grit for the best results. Also, applying too much stain or working in poor lighting makes it harder to control the vintage effect, so work in bright, natural light and wipe away excess stain promptly.
When and How to Seal Your Kitchen Sign for Protection
Sealing your kitchen sign is important if you want it to last longer and resist damage, especially if moisture exposure is likely. Signs placed near sinks, stoves, or on walls that catch cooking splashes benefit from a waterproof sealer to prevent warping, fading, or peeling. When the sign is placed in a dry spot, sealing it isn’t required but does help protect the paint and wood from daily wear.
Choose a clear acrylic spray sealer or a polyurethane finish labeled for outdoor or moisture-resistant use for the best results near humidity. These sealers form a protective layer that blocks water and stains while keeping the colors bright. Avoid glossy finishes if you prefer a subtle, natural look; instead, opt for matte or satin styles. The sealer will usually cost between $8 and $15 per can and cover several signs.
Apply the sealer only after the paint or lettering is completely dry, which usually takes 24 hours, depending on temperature and humidity. The ideal temperature range is 50 to 85 degrees Fahrenheit for proper drying. Work in a well-ventilated area or outside to avoid inhaling fumes. Spray from about 8 to 12 inches away, applying thin, even coats. Wait at least 30 minutes between coats and apply 2 to 3 coats for durable protection.
- Clean dust and debris off the sign before sealing
- Hold the spray can steady and use smooth sweeping motions
- Avoid heavy buildup that causes drips or cloudy spots
- Allow each coat to dry fully before adding the next
- Let the final coat cure for at least 24 hours before hanging
- Seal only the front and edges to protect visible areas
- Use gloves and a mask for safety when spraying
Signs made from wood are more porous, so sealing them helps prevent moisture absorption that can lead to cracking or mold. Metal signs also benefit from a seal but are mainly protected from rust by paint primers. When your kitchen sign has a frame, sealing the back edges where moisture might enter improves its durability. Keep in mind that weather conditions like high humidity slow drying times and may require longer wait periods between coats.
Skipping sealers on a kitchen sign exposed to steam or spills can shorten its lifespan, causing colors to fade or paint to bubble within months. Conversely, too much sealer or applying it unevenly can leave a sticky surface or dull the artwork. Following the proper method balances protection with appearance, helping your sign stay vibrant and welcoming in your kitchen space.
Common Kitchen Sign Making Mistakes and How to Fix Them
Painting and finishing your kitchen sign can be tricky, especially if mistakes like paint bleeding or peeling show up. These issues not only ruin the look but also shorten the lifespan of your sign. Common problems include uneven paint coverage, letters smudging, or the paint peeling off quickly after drying. Fixing them requires attention to surface preparation, paint choices, and curing times.
Paint bleeding happens when the paint spreads outside the lines of your stencil or design. This usually occurs when the paint is too wet or applied thickly. Using a dry brush technique helps control this issue. Dip your brush lightly in paint, dab off excess on a paper towel, then apply with a tapping or stippling motion instead of brushing. This creates crisp edges. Applying three thin coats of chalk paint ensures good coverage without oversaturation, as seen when covering the base layer with white chalk paint.
Peeling paint often traces back to poor surface prep or not allowing enough drying time between steps. Cleaning the surface thoroughly, sanding lightly for better adhesion, and letting each coat dry for 1 to 2 hours before adding the next prevents peeling. Avoid exposing your sign to moisture right after painting, as water weakens the bond, causing flakes. Sealing the sign properly also provides extra protection against peeling.
| Issue | Cause | Fix | Expected Result |
|---|---|---|---|
| Paint Bleeding | Too much paint applied at once; wet brush strokes | Use dry brush technique; apply thin layers; multiple coats | Clean edges; no paint outside stencil lines |
| Uneven Paint Coverage | One thick coat; unprimed or rough base | Apply 2-3 thin coats; sand slightly beforehand | Even color with smooth finish |
| Paint Peeling | Poor surface prep; insufficient drying time; moisture exposure | Clean and sand surface; dry 1-2 hrs between coats; seal sign | Durable finish; paint firmly bonded to base |
| Smudged Lettering | Applying second coat too soon; moving stencil | Wait 1-2 hrs before next coat; secure stencil firmly | Sharp, legible letters |
| Glossy or Uneven Finish | Inconsistent sanding; skipping sealing | Sand between coats gently; seal with matte or satin finish | Smooth, uniform finish |
Take care to let paint dry fully before recoating or handling your sign. Chalk paint dries fast, usually within 30 minutes to an hour, but waiting longer for complete curing helps prevent damage during finishing. Use fine sandpaper (around 220 grit) between coats for a smooth surface. Your final step of sealing should match the style you want, matte or satin provides subtle protection without glossiness.
Tools like quality brushes and properly prepared stencils make a big difference. Avoid cheap paintbrushes that leave streaks or shed bristles. Holding the stencil tightly prevents paint from bleeding underneath. If bleeding occurs, sanding lightly and repainting those areas often fixes the problem.
How to Hang, Display, and Personalize Your Kitchen Sign
Hanging your kitchen sign safely and attractively starts with choosing the right hardware based on the sign’s weight and wall type. Lightweight signs can use adhesive hooks or Velcro strips rated for at least 5 pounds, making them easy to reposition without wall damage. Heavier or larger signs require wall anchors and screws to ensure stability; drywall anchors or toggle bolts help avoid holes turning into messes. Measure twice before marking spots for screws to keep the sign level and centered over your chosen space.
For an attractive display, consider the sign’s height, roughly eye level or 57 to 60 inches from the floor is widely recommended for art. In kitchens, placing the sign near dining or prep areas ensures visibility and adds personality. Adding a decorative frame or mounting your sign on a simple wooden backing can improve its look while protecting edges from wear. Hooks or brackets installed on the back can help the sign sit flush against the wall, avoiding gaps that collect dust or look uneven.
Personalizing a kitchen sign for gifting makes it special and memorable. Start by tailoring the message to the recipient’s taste or household style, for example, choose a classic phrase, a family name, or a lighthearted kitchen pun like “Mom’s Baking Hub” or “Gather Here with Grateful Hearts.” Adding small icons such as rolling pins, coffee cups, or herb illustrations brings themed charm without cluttering the design. Use colors from the recipient’s kitchen décor to ensure the sign blends well with their setting.
Another way to personalize is by integrating hand-painted accents or using a wood burning tool to add texture and detail. These methods provide unique touches that machine-printed signs can’t match. When gifting, seal the sign with a durable finish that matches the original seal used, protecting it during shipping and everyday use. Include hanging hardware with instructions for installation to help the recipient display the sign easy.
For renters or temporary displays, consider easel stands or leaning signs to avoid wall damage. These options do not require nails or adhesives and can be moved freely. You might also use command strips specifically marked as safe for painted walls and remove cleanly to maintain the space.
Always check the weight limit on your hanging hardware and test its hold before leaving the sign mounted to prevent damage or injury from falls.
Step-by-Step Action Plan
Follow these steps to create your kitchen sign from start to finish with confidence.
- Before you begin: Gather all materials and tools, including your chosen base material, paints, brushes, and sealant. Having everything ready ensures smooth progress.
- Day 1: Select your sign size and base, then prepare the surface by sanding it lightly. A smooth surface helps paint adhere better and avoids peeling.
- Day 2: Create or print your design, then transfer it carefully using a transfer paper or stencil. Clear, well-aligned lettering means your sign will look professional.
- Day 3: Paint your base colors and lettering, applying thin, even coats. Check for smooth coverage and adjust as needed before drying.
- Day 4: Add rustic or farmhouse details like distressing or layering paint. The sign should look intentionally worn without damage to the text.
- Day 5: Apply a protective sealant appropriate for the sign’s location and material. A sealed surface should feel dry and not tacky after curing.
- Day 6: Attach hanging hardware securely, such as sawtooth hangers or rope, and display your sign. It should hang straight and support its weight without damage.
- After 1 week: Inspect your sign for any touch-ups or sealant wear, especially in humid areas. Address issues promptly to extend your sign’s life.
Frequently Asked Questions
Can I Use Chalkboard Paint for a Kitchen Sign?
Chalkboard paint works well for kitchen signs and lets you change the message anytime. It’s best for casual or temporary signs but may need a clear sealer to protect it from moisture near sinks.
What Type of Paint Lasts Longest on a Kitchen Sign?
Acrylic paint is durable and water-resistant for kitchen signs. Using multiple coats and sealing with a matte or satin acrylic sealer helps protect it from kitchen humidity.
Can I Add Lights to My Kitchen Sign Safely?
Yes, you can add battery-operated LED lights to your sign safely. Avoid cords near water and make sure lights are rated for indoor use in kitchens to prevent hazards.
How Do I Fix Peeling Paint on a Finished Kitchen Sign?
Lightly sand the peeling area, clean it, and repaint before resealing. This prevents further damage and restores the sign’s smooth finish.
Are Stencils Necessary for Painting Kitchen Sign Lettering?
Stencils are helpful for clean, consistent letters but not required. You can freehand or print and transfer designs using carbon paper for a personal touch.
What’s the Best Way to Clean a Sealed Kitchen Sign?
Wipe gently with a damp cloth and mild soap if needed. Avoid abrasive cleaners to keep the sealer intact and maintain the sign’s appearance.
Final Thoughts
Making your own kitchen sign offers a satisfying way to add personal charm to your space. Taking the time to prepare, design, and finish your sign carefully helps avoid common pitfalls and ensures lasting beauty. Start by sketching a simple idea for your sign today, and enjoy the step-by-step process of bringing it to life.