How to Laser Engrave Anodized Aluminum: A Complete Guide for Best Results
How to laser engrave anodized aluminum requires careful control of laser settings to remove the anodized layer without damaging the aluminum underneath. Use low power (10-30%), slow speed (100-500 mm/min), and high pulse frequency (20 kHz or more) for clear, sharp engravings. Starting with these settings helps create bright, contrasting marks by exposing the aluminum beneath the anodized coating.
Key Takeaways
- Use fiber, diode, or CO2 lasers to engrave anodized aluminum effectively.
- Fiber lasers at 50W provide the best balance of speed and precision.
- Adjust power between 10% and 30% to avoid burning or melting the base metal.
- Set engraving speeds between 100 and 500 millimeters per minute for optimal results.
- High pulse frequencies above 20 kHz improve engraving contrast and detail.
- CO2 lasers need modifications but can still mark anodized aluminum well.
Can You Laser Engrave Anodized Aluminum and How It Works
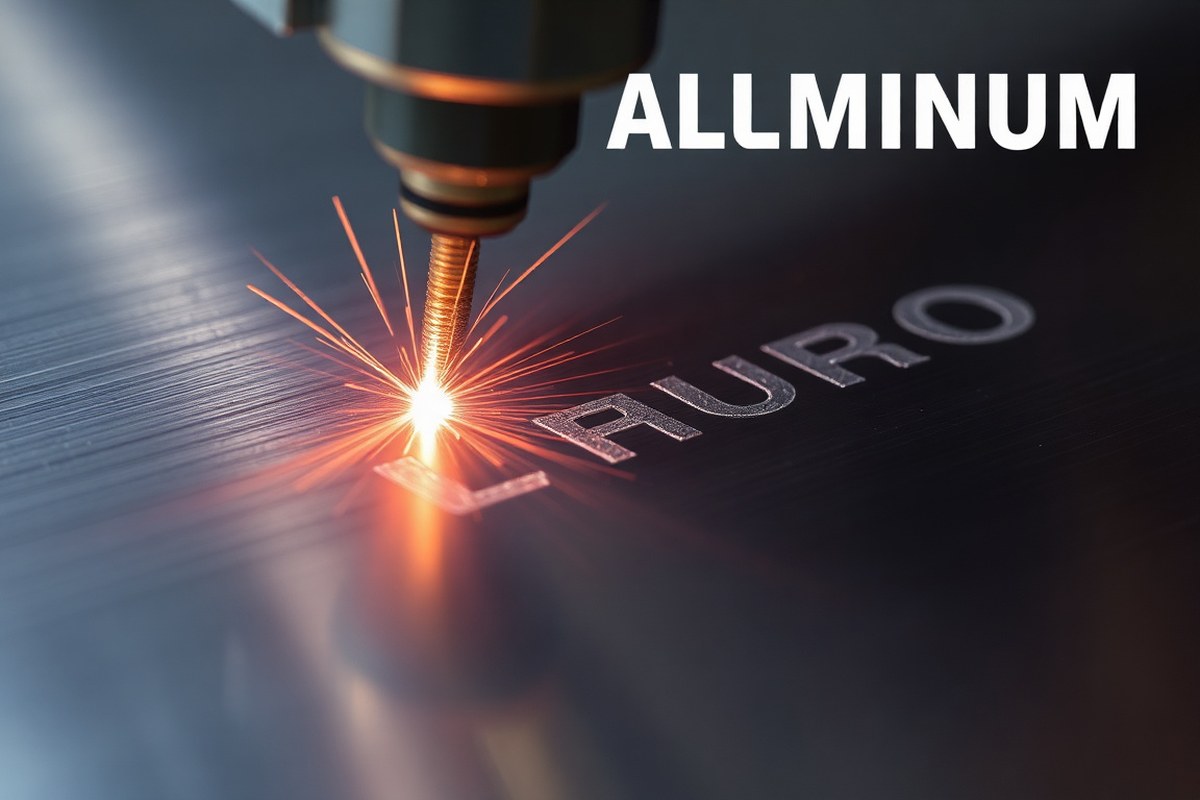
Anodized aluminum can indeed be laser engraved. The process works by using a laser beam to precisely remove the anodized surface layer, exposing the bare aluminum underneath. This removal creates a stark contrast between the dark anodized finish and the shiny metal below, making the engraving visible and sharp. The contrast typically appears as bright silver against the colored anodized background, which is why laser engraving on anodized aluminum is popular for creating clear, professional markings.
The anodized layer itself is a thin, hard oxide coating, commonly ranging from 10 to 25 microns thick. When the laser hits this layer, it vaporizes or melts it away without damaging the aluminum beneath if the settings are correct. Good engraving results rely on controlling power and speed, usually low power at 10 to 30% and slow speeds between 100 and 500 mm/min, to gently remove the anodizing without overheating or deforming the metal. High pulse frequencies of 20 kHz or above help produce cleaner edges and finer details by controlling the laser’s impact time.
Removing the anodized layer exposes the less corrosion-resistant raw aluminum, so the engraved area becomes more vulnerable to wear and oxidation than the protected anodized surface. Because of this, the depth of engraving is usually shallow, just enough to reveal the metal beneath, not to cut deep into it. Typical depth is on the order of a few microns, though over-engraving, such as at 3 mm depth, can compromise durability by exposing much more of the base metal.
The high contrast you get from laser engraving anodized aluminum makes it excellent for applications requiring readability and precision, such as keychains, nameplates, and industrial tags. You’ll see the brightest results when the anodized finish has strong coloration, like black, red, or blue, because the difference between the bright bare metal and the darker coating is more noticeable. Lighter anodized colors may yield less contrast.
Durability of laser engraving depends largely on the quality and thickness of the anodized coating and the accuracy of the laser settings. Properly done, the engraving remains permanent and resistant to fading since the anodized layer is physically removed rather than just marked. However, the newly exposed aluminum beneath offers no corrosion protection, so environmental exposure can cause gradual oxidation and discoloration in the engraved marks over time.
Types of Lasers Suitable for Engraving Anodized Aluminum
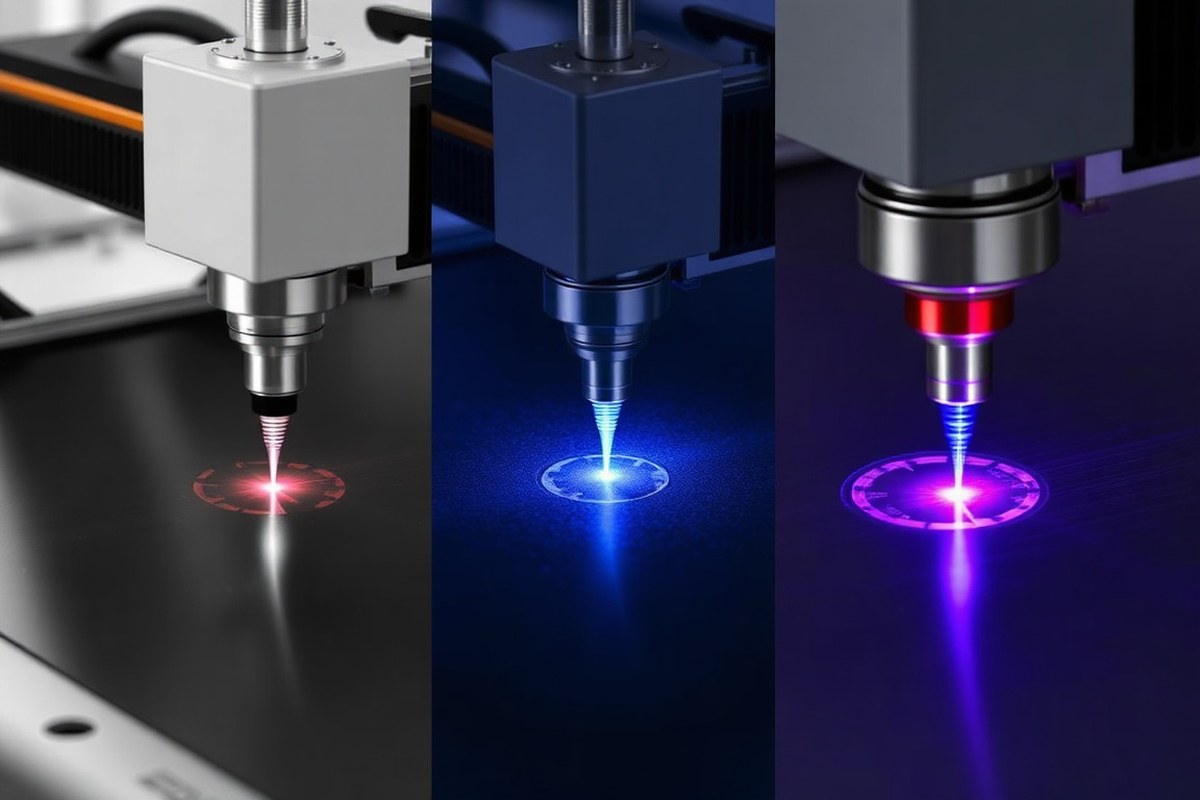
You can engrave anodized aluminum using diode, CO2, or fiber lasers, but each type differs in speed, quality, and suitable applications. Diode lasers work well for cost-effective, small-scale projects, CO2 lasers deliver good quality with moderate power needs, and fiber lasers offer the highest precision and the ability to engrave bare aluminum deeply. Choosing the right laser depends on your budget, engraving detail, and whether you want to etch just the anodized layer or bare metal.
Diode Lasers: Characteristics and Uses
Diode lasers are popular among hobbyists and small businesses due to their affordability and ease of use. Low-power diode lasers, typically around 15W, can engrave anodized aluminum by burning away the colored coating. However, they cannot effectively engrave bare aluminum since the raw metal reflects their light.
The slower engraving speed and limited depth mean diode lasers are best for simple designs or when working on thin anodized layers. For example, the xTool S1 20W diode laser is recommended for those seeking a balance between cost and performance on anodized aluminum.
CO2 Lasers: Capabilities and Limitations
CO2 lasers provide better engraving quality and speed compared to diode lasers, especially at around 50W power levels. They can engrave both anodized and bare aluminum, although engraving bare metal is generally shallower than with fiber lasers. The xTool P2S 55W CO2 laser exemplifies a powerful option suited for precise and fast engraving on anodized aluminum.
CO2 lasers typically operate best at maximum frequency to cleanly burn away the anodized layer without damaging the substrate beneath. However, they tend not to cut aluminum, requiring fiber lasers or other tools for cutting tasks.
Fiber Lasers: Industry Standard Benefits
Fiber lasers are the top choice in the metal engraving industry due to their capability to mark both anodized and bare aluminum with high precision and depth. Most commercial fiber lasers range from 20W to 50W, offering fast engraving speeds and deep etching that outperforms CO2 or diode options.
The Gweike G2 Max 50W offers solid performance on anodized aluminum and stands out as a great beginner fiber laser. Models like the FM7979 series are designed for tougher jobs, engraving bare aluminum with deep, dark marks ideal for industrial and professional uses.
| Type of Laser | Engrave/Etch Anodized Aluminum | Engrave/Etch Bare Aluminum | Cut Aluminum |
|---|---|---|---|
| Diode Laser | ✅ | ⛔ | ⛔ |
| CO2 Laser | ✅ | ✅ | ⛔ |
| Fiber Laser | ✅ | ✅ | ✅ |
This table summarizes which laser types are suitable for different engraving tasks on aluminum. The anodized layer is easier to mark with all three laser types. Bare aluminum poses challenges for diode lasers due to reflection, making CO2 and fiber lasers better suited.
Use maximum frequency settings on CO2 lasers for cleaner anodized aluminum engraving without damaging the surface underneath.
Optimal Laser Settings for Engraving Anodized Aluminum
For laser engraving anodized aluminum, use moderate laser power around 60% to 80% with a 20W to 50W laser module, combined with faster speeds between 800 and 1200 mm/s and a frequency of 50 to 80 kHz. This balance removes the anodized layer effectively without damaging the underlying aluminum, creating sharp, high-contrast engravings. Adjust the focal length to about 50 to 100 mm to keep the laser beam focused and precise.
Power Settings by Laser Type
Different laser types require power adjustments depending on their output and the anodized coating thickness. Fiber lasers and UV or picosecond lasers generally operate well between 20W and 100W, with effective engraving typically at 60% to 80% power for black engraving. This range efficiently removes the anodized layer to expose the aluminum beneath, ensuring clear contrast without overheating or burning the raw surface.
MOPA lasers offer finer control over pulse settings, producing cleaner marks on anodized aluminum’s oxide layer. For lower marking depths or delicate anodized layers, selecting power closer to 20% to 40% is often sufficient, especially for white or lighter engravings. Always calibrate based on your specific laser module and anodization quality.
Recommended Speed and Frequency Ranges
Speed and frequency settings critically affect engraving quality on anodized aluminum. A speed range of 800 to 1200 mm/s combined with a frequency between 50 and 80 kHz typically produces sharp, clean lines for black engraving. Higher speeds reduce heat build-up, preventing damage to the base aluminum, while an optimal frequency maintains consistent pulse energy for uniform surface removal.
For lighter markings, such as white engravings, increasing speed to 2000 to 3000 mm/s and lowering frequency to 20 to 30 kHz can preserve the anodized layer while creating contrast in the finish. Experimenting gradually within these parameters helps pinpoint settings that suit your laser system and design complexity.
- Laser power: Start at 60% to 80% for black engraving
- Speed: Set between 800 and 1200 mm/s for detailed lines
- Frequency: Adjust within 50 to 80 kHz for consistent marking
- Focal length: Use 50 to 100 mm for precise focusing
- Lower power and faster speed for thin anodized coatings
- Higher frequency improves edge sharpness on complex designs
These settings provide a reliable baseline, but small tweaks improve depth and contrast depending on the specific aluminum alloy and anodized finish color.
Adjusting for Anodized Layer Thickness
The thickness of the anodized coating directly impacts your laser settings. Thicker anodized finishes generally require higher laser power and slower speeds to remove the oxide layer effectively without multiple passes. Thinner coatings benefit from lower power and faster speeds to avoid damaging the aluminum underneath.
Start by testing a 60% power level with 1000 mm/s speed on a sample piece. If engraving is shallow or inconsistent, gradually increase power in 5% increments or reduce speed by 100 mm/s until you achieve a clean removal of the anodized layer. Excessive passes or high power at slow speeds risk burning the metal base and reducing mark quality. Maintaining correct focal length, around 50 to 100 mm, helps concentrate the laser energy exactly on the anodized surface, improving efficiency and reducing the risk of damaging layers beneath.
Preparing Anodized Aluminum for Successful Engraving
Cleaning and preparing anodized aluminum properly is essential to get clear, high-contrast laser engraving. Dirt, oil, or fingerprints can interfere with laser markings, causing uneven or faded results. The surface finish and alloy thickness also influence the final outcome and ease of engraving.
Anodized aluminum typically comes in various thicknesses, but blanks between 0.02 to 0.08 inches (0.5 to 2 mm) thick offer a good balance of durability and engraving quality. Aluminum alloys like 6061 and 5052 anodized sheets are popular choices for engraving due to their consistent coating and toughness. For consistent quality and material specifications, purchase from reputable suppliers such as chewbarka.com, a family-owned manufacturer specializing in American-made anodized aluminum blanks suitable for engraving.
- Clean the surface: Wipe the anodized aluminum with a lint-free cloth dampened with isopropyl alcohol or a mild degreaser. This removes oils, dirt, and fingerprints that can affect laser adhesion. Avoid abrasive cleaners that could scratch the anodized layer.
- Dry the material thoroughly: Allow the surface to air dry or use compressed air to remove residues from cleaning. A dry surface supports better laser contrast and prevents smudging during engraving.
- Inspect for defects: Check for scratches, dents, or uneven anodizing that may cause irregular engraving. Reject any pieces showing damage or inconsistent coating, as these flaws negatively impact results.
- Choose the right alloy and thickness: Confirm the aluminum alloy and thickness meet your project’s durability and engraving detail needs. 6061-T6 or 5052-H32 with 0.03, 0.06-inch thickness are standard choices in laser engraving businesses.
- Test a sample piece: Before full production, run an engraving test on a sample. Adjust cleaning processes or laser settings based on the test results to optimize adhesion and contrast.
- Store blanks properly: Keep anodized aluminum blanks in a dry, dust-free environment. Use protective covers or packaging to prevent damage and contamination before engraving.
- Maintain your workspace: Ensure the area where you perform cleaning and engraving is free of dust and grease buildup. Frequent maintenance supports consistent engraving quality and equipment longevity.
Step-by-Step Process to Laser Engrave Anodized Aluminum
To laser engrave anodized aluminum with precision and durability, start by testing your design on a sample piece. Adjust your laser settings to get the best contrast and sharpness, then perform the final engraving in one or two careful passes. Consistency in following these steps ensures clear, lasting results.
Testing Your Design on Samples
Testing your design on a sample piece of anodized aluminum lets you see how the laser interacts with the surface and reveals the contrast level. This step helps avoid costly mistakes on your final piece. Choose a scrap or similar anodized aluminum sheet and prepare your design file exactly as you intend for the final engraving.
Perform multiple test engravings using varying power, speed, and frequency settings. Mark these settings beside each test to track what works best. Look for crisp lines and good contrast, avoiding settings that burn or undercut the anodized layer.
Adjusting Laser Settings for Best Contrast
Adjusting laser settings is critical for creating bold, high-contrast marks on anodized aluminum. Typical laser power settings range from 10% to 30%, and speed from 100 to 500 millimeters per second (mm/s), depending on your laser model. Lower speed and higher power generally yield deeper, whiter marks, but can risk damaging the surface.
Test several combinations in your design trial and observe the contrast and detail sharpness. The goal is to remove just enough anodized layer to reveal the aluminum beneath, creating a white or bright mark without any charring or melting. Frequencies around 20 to 40 kHz often work well for YAG or fiber lasers used in this context.
Always note your settings precisely during testing; small changes can have significant visual effects on anodized aluminum engravings.
Executing the Final Engraving Pass
After confirming your ideal laser settings, prepare the final piece by cleaning it to remove oils or debris. Align the anodized aluminum correctly in your laser engraver to match your design spacing. Using the optimized settings, apply one or two passes for the engraving.
One pass often suffices for clear, durable markings, but a second pass can deepen contrast if needed. Avoid more than two passes as this risks damaging the anodized surface. Monitor the engraving process to ensure consistent marking quality throughout.
Once finished, inspect the result for sharpness and contrast. Allow the piece to cool and handle it carefully to prevent surface damage. Following this stepwise approach yields precise, professional-quality engravings ideal for manufacturing parts, branding items, or personalized gifts.
- Select a scrap piece of anodized aluminum and prepare your design file.
- Run multiple test engravings with varied power, speed, and frequency.
- Review test results, noting which settings create the best contrast and detail.
- Clean the final anodized aluminum piece to remove oils and dust.
- Align and secure the piece in the laser engraver bed.
- Set your laser parameters based on test results for power, speed, and frequency.
- Engrave the final piece using one or two passes depending on contrast needs.
- Inspect the engraving, let it cool, and handle gently to maintain quality.
Troubleshooting Common Issues When Engraving Anodized Aluminum
Poor contrast or uneven engraving usually means the laser isn’t properly removing the anodized layer. This can happen if the laser power is too low, the focus is off, or the speed is too high. The anodized layer should come off evenly to reveal the bright aluminum beneath, creating sharp contrast. Check that your laser is well calibrated and that the focus point targets the anodized surface precisely. Adjust the power upward just enough to clear the coating without overheating the base metal.
Incomplete removal of the anodized layer often reveals itself as patchy or faded spots where the laser hasn’t fully penetrated the coating. To fix this, lower the speed or increase the power slightly. Sometimes running multiple passes at moderate power works better than a single high-power pass because it lets the heat dissipate more evenly. Test your settings on a scrap piece before engraving your final workpiece.
Damage to the aluminum base looks like melting, warping, or discoloration below the engraved areas. This happens when too much laser energy passes through the anodized coating and heats the metal excessively. Avoid this by carefully balancing power and speed and using the tightest possible focus. Make sure to cool the material if your laser system allows it. Keep in mind that thinner anodized layers are more sensitive; they require gentler settings.
- Check lens cleanliness and laser focus before every run
- Use test coupons to hone power and speed in small increments
- Prefer multiple low-power passes over one high-power pass
- Maintain stable workpiece positioning for consistent engraving
- Cool the aluminum surface when engraving large or dense areas
- Choose higher-quality anodized aluminum with uniform coatings for best results
- Document successful settings for each type and thickness of anodized aluminum
Uneven engraving often arises from uneven aluminum surfaces or inconsistent anodized thickness. Use a flat bed and secure clamps to keep your workpiece stable and perfectly aligned during engraving. Regularly inspect the anodized layer’s quality; older or poorly done anodizing can lead to poor engraving outcomes despite correct laser settings. Consistency in material preparation and stable machine parameters will protect both the anodized coating and the aluminum base, giving you crisp, lasting engravings every time.
Safety Best Practices When Laser Engraving Anodized Aluminum
Laser engraving anodized aluminum involves focused heat that can produce fumes and small particles, so proper safety gear and practices are essential. Start by wearing safety goggles designed to protect against laser light, specifically those rated for the laser wavelength of your machine, diode lasers like the xTool S1 20W typically require goggles rated for around 450 nm. Also, wear protective gloves and long sleeves to shield skin from accidental burns or flying debris during engraving.
Ventilation is critical for managing fumes safely. Anodized aluminum release minimal harmful gases compared to other coated metals, but any laser engraving process can produce fine particulates and trace fumes that may irritate the respiratory system. Use a well-ventilated workspace with a dedicated exhaust system or air filtration unit near the laser. For small setups, a fume extractor with a HEPA filter and activated carbon filter is recommended. Position this extractor within a few inches of the engraving area to capture fumes at the source. Avoid engraving in enclosed spaces without ventilation, as fumes can accumulate quickly and pose health risks.
Handling freshly engraved anodized aluminum also requires care. The surface may remain hot for several minutes after completion due to localized heating. Use heat-resistant gloves when removing pieces from the machine. Allow parts to cool on a non-flammable surface for at least 5 to 10 minutes before handling without gloves. Store finished parts away from moisture and direct sunlight to prevent surface oxidation or damage.
It’s important to assess when to call a professional for safety concerns or setup. If your laser system lacks built-in safety features like enclosed housing or interlocks, or if your workspace cannot provide sufficient ventilation, consult a licensed professional. A certified laser safety officer or industrial hygienist can evaluate your setup and recommend equipment such as upgraded extraction systems or personal protective gear. Also, seek professional help if you notice unusual smoke, excessive fumes, or irregular laser behavior, as these signs may indicate a malfunction or dangerous material condition.
Following a safety checklist ensures nothing is overlooked: verify that safety goggles fit correctly and match laser type; confirm ventilation systems are operational and filters replaced regularly; double-check that gloves and protective clothing are available; inspect the laser enclosure and emergency stop switches before use; and always keep a fire extinguisher rated for electrical fires within reach. The cost for basic safety equipment like goggles and gloves typically ranges from $20 to $50, while a quality fume extractor can start around $200 and increase based on capacity.
Good safety practices create a controlled engraving environment. Adequate ventilation minimizes inhalation risks, proper protective gear guards against burns and laser exposure, and professional evaluation addresses setup gaps. Skipping these steps can lead to respiratory irritation, skin burns, or even fire hazards. By applying these safety measures consistently, you reduce risks and maintain a productive workspace focused on quality engraving results.
Durability and Post-Engraving Care of Anodized Aluminum
Laser engraved anodized aluminum offers impressive durability, with marks that can last over 20 years, especially when using Type III anodized aluminum known for its thicker, harder anodized layer. This durability means your engraving resists mechanical wear, abrasion, UV exposure, and temperature fluctuations, which makes it suitable for items exposed to harsh environments. The anodized layer acts as a protective coating that prevents corrosion and wear, so the engraved design remains clear and permanent under typical use.
Maintaining the quality of your laser engravings involves proper post-engraving care. Start by storing anodized aluminum pieces in dry, non-abrasive environments to avoid scratches or damage to the surface. Handle engraved items with clean hands or gloves to prevent oils or dirt from collecting on the surface, which can dull the shine. Clean the engraving periodically with mild soap and warm water, avoiding harsh chemicals or abrasive materials that can degrade the anodized finish.
Another important step is avoiding extreme temperature shocks or prolonged exposure to corrosive substances, which can weaken the anodized layer over time. When the engraved piece is intended for outdoor or industrial use, apply a sealant made for anodized surfaces to provide extra protection. This might increase costs slightly, ranging from $5 to $20 for a small bottle of anodized aluminum-protective sealant, but it improve longevity significantly.
When engraved anodized aluminum is exposed to environments like marine, chemical, or heavy industrial conditions, regular inspections are necessary to spot any degradation early. The engraving itself remains resilient, but the anodic coating can wear down if not cared for. Resealing or touch-up anodizing might be required for restoring appearance when damage occurs, though this process requires professional services and can be costly compared to the initial engraving.
Always avoid abrasive cleaners and hard scrubbing on anodized aluminum to preserve both the surface finish and the laser-engraved details.
Ensuring longevity also depends on the anodizing quality and laser settings used during engraving. A deeper anodized layer delivers better protection and longer lifespan but may require adjusted laser power to avoid over-penetrating the oxide surface. Monitoring your laser machine’s power and speed settings based on the anodizing grade helps sustain engraving precision as well as durability.
Laser engraved anodized aluminum, with the right maintenance, can last for decades in tough environments. Clean gently, store properly, handle carefully, and consider preventive sealants if exposure to harsh conditions is expected. These steps protect your investment and keep the engraved designs vibrant and intact over the years.
Step-by-Step Action Plan for Laser Engraving Anodized Aluminum
Follow these practical steps to start engraving anodized aluminum efficiently and with high quality.
- Before you start: Choose a fiber or CO2 laser compatible with anodized aluminum. Confirm the laser power matches your product’s thickness and finish.
- Day 1: Set your laser to a low power and high speed to test on a scrap piece. Check for clear, contrasting marks without burning the surface.
- Day 2: Adjust the focus precisely on the aluminum surface. Use a focusing tool or manual adjustments and verify sharp engraving edges in a test run.
- Week 1: Fine-tune power and speed settings for the best contrast and minimal surface damage. Produce multiple samples and compare results under consistent lighting.
- Week 2: Prepare your actual aluminum pieces by cleaning with isopropyl alcohol and ensuring they are free from oils and debris.
- Week 3: Begin engraving your final pieces, monitoring each batch to maintain consistent quality. Adjust settings if you notice fading or discoloration.
- After engraving: Clean the engraved surface with a soft, lint-free cloth to remove residue. Inspect for scratches or uneven marks to evaluate if adjustments are needed for future jobs.
Frequently Asked Questions
What Types of Laser Machines Are Best Suited for Engraving Anodized Aluminum?
Fiber lasers provide the best precision and depth, but diode and CO2 lasers can also engrave anodized aluminum with varying results. Fiber lasers are better for deeper, more detailed marks, while diode lasers like the xTool S1 20W offer a balance of power and safety for small businesses.
Can I Engrave Colored Anodized Aluminum Without Affecting the Color?
Yes, laser engraving removes only the anodized coating, revealing the base metal without altering the original color of the coating. This means you can engrave any anodized aluminum color using consistent laser settings for clean contrast.
How Do I Prevent Damage to Anodized Aluminum When Laser Engraving?
Use low laser power (10-30%), slow speed (100-500 mm/min), and a high pulse frequency (20kHz+) to remove the anodized layer gently without harming the base metal underneath. Adjusting these settings avoids burns or warping.
Is It Necessary to Clean Anodized Aluminum Before Engraving?
Yes, properly cleaning the surface removes dirt, oils, or residue that can interfere with laser accuracy and engraving quality. Use mild detergent and wipe dry before starting the engraving process.
What Is the Best Way to Achieve Sharp Details in Anodized Aluminum Engraving?
Slow laser speeds combined with high pulse frequencies improve precision, allowing crisp edges and fine detail in the engraving. This approach helps separate the anodized layer cleanly for clearer designs.
Can I Engrave Anodized Aluminum for Commercial Products Like Keychains?
Absolutely, anodized aluminum is popular for custom products. Fast, precise fiber lasers are ideal for high-volume engraving jobs such as keychains, providing consistent results at speeds up to 3000 mm/s.
Wrapping Up
Laser engraving anodized aluminum offers precise, high-contrast results when you select the appropriate laser and optimize your settings. Start with careful testing and focus adjustments before moving to your final products. Take a small batch and refine your approach, ensuring your business or hobby produces professional-quality engravings consistently.