How to Iron on Vinyl to Wood: Simple Steps for Perfect Results
How to iron on vinyl to wood depends on proper surface preparation and heat settings. You can successfully apply iron-on vinyl to smooth, sealed wood using a household iron or a heat press set to around 300°F (150°C). Preparing the wood surface by sanding and sealing ensures better vinyl adhesion and longer-lasting results.
Key Takeaways
- Sand wood surfaces smooth before applying vinyl to remove roughness that impedes adhesion.
- Seal wood with acrylic paint, polycrylic, or stain, then let it cure for 24, 48 hours to improve vinyl bonding.
- Set your iron or heat press temperature to about 300°F (150°C) for effective vinyl transfer on wood.
- Place the vinyl design carefully on the wood before pressing to avoid misalignment during application.
- Let the vinyl decal rest on the wood for 10 to 20 minutes before peeling off the transfer tape to ensure a smooth release.
- Wipe wood with rubbing alcohol after sealing and before vinyl application to remove dust and oils.
Can You Iron Vinyl Onto Wood? What Works Best?
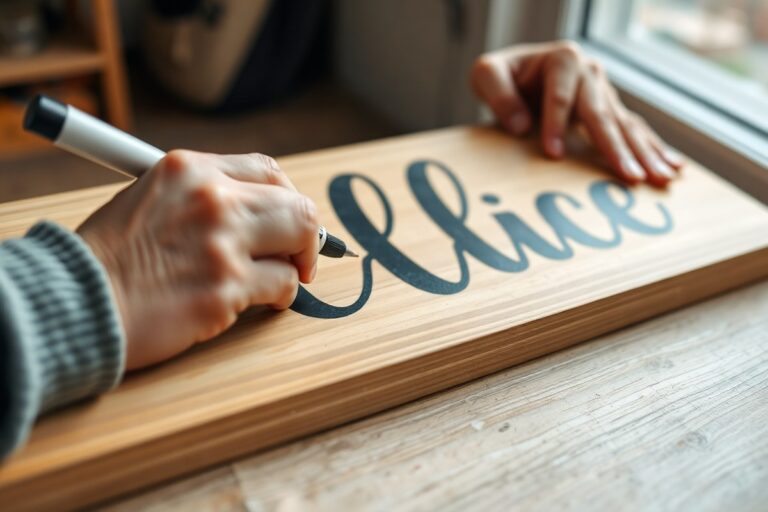
You can use heat transfer vinyl (HTV), also called iron-on vinyl, on wood surfaces, but it tends to perform differently compared to adhesive vinyl. HTV requires heat, usually from an iron or heat press, to melt its adhesive backing so it sticks to the wood. This makes HTV especially useful for rough or porous wood, as it bonds more effectively than adhesive vinyl in these cases. Adhesive vinyl, on the other hand, sticks without heat and often looks like a sticker or decal on wood.
Adhesive vinyl is easier for beginners to apply on wood since you just peel and stick the design, using transfer tape and a squeegee to smooth it down. It works best on smooth, well-prepared wood surfaces, typically ones that have been sanded and painted or sealed. This creates a flat, clean surface for the vinyl’s permanent adhesive to grip. Adhesive vinyl can last 3 to 5 years indoors when applied properly, making it a good choice for signs, furniture, or décor meant to have a decal-like finish.
HTV often looks like painted wood after application because the vinyl melts and fuses slightly with the surface. It’s ideal for smaller designs, detailed graphics, or text, where a subtle, natural finish is preferred. Using an iron or heat press at medium pressure for 10 to 15 seconds usually activates the HTV’s adhesive. HTV tolerates slightly rougher wood better than adhesive vinyl, making it a strong option for unfinished or porous surfaces. However, getting the right temperature and pressure is trickier with HTV, it requires practice to avoid overheating, burning, or failing to adhere.
Using adhesive vinyl on rough wood can lead to poor adhesion or early peeling because the tape’s adhesive competes with the wood’s uneven texture. HTV’s heat-activated backing forms a stronger bond in those cases. In contrast, adhesive vinyl often requires a sealant to improve durability over time, especially on less smooth wood. HTV sometimes doesn’t need a sealant, though applying one can help if you want extra protection.
Cost-wise, both vinyl types are comparable, ranging from about $1 to $3 per square foot depending on brand and finish. Adhesive vinyl often needs transfer tape, adding some expense and prep time, while HTV skips the tape but requires investment in a quality iron or heat press. For beginners focusing on simple wood crafts or decals on smooth painted wood, adhesive vinyl is generally faster and easier. More experienced crafters working with rougher or natural wood may prefer HTV for a more integrated look and stronger adhesion.
In summary, choose adhesive vinyl if you want an easy-to-use, decal-like finish on smooth or painted wood. Choose HTV for small designs on rougher wood when you want a painted effect and are comfortable managing heat application. Both types can work well on wood with the right preparation and techniques.
Wood Surface Preparation Checklist Before Applying Vinyl
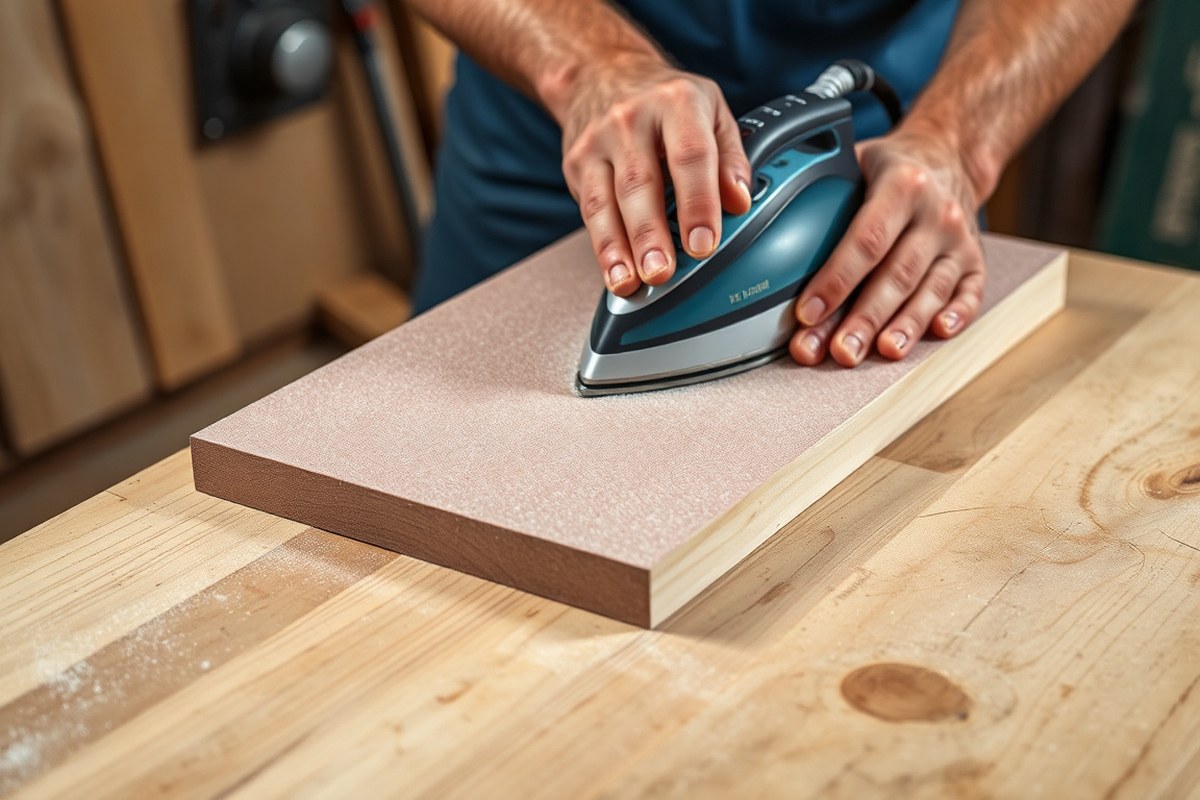
Preparing wood properly before applying iron-on vinyl is essential for good adhesion and a smooth finish. Start by sanding the wood surface with fine-grit sandpaper (220 grit works well) to remove any rough spots and create an even texture. This helps the vinyl stick better by eliminating bumps and loose fibers. After sanding, clean the wood with a lint-free cloth dampened with rubbing alcohol or mild soap and water to remove dust, oils, or dirt. Any residue can weaken the vinyl’s adhesive and cause lifting or bubbling later.
Applying paint or stain isn’t just for looks, it seals the wood and provides a surface the vinyl can grip. Use acrylic paint, semi-gloss paint, or a standard wood stain to coat the surface smoothly. Then, wait at least 24 to 48 hours for the paint or stain to fully cure before placing the vinyl. This curing time lets the finish harden and off-gas, preventing moisture or softness that could cause the vinyl to fail.
Different wood types and finishes require slightly different treatments. Raw wood usually needs sanding plus a coat of paint, stain, or polycrylic to seal the grain and smooth out pores. Painted or stained wood should be checked for surface texture and cleanliness. Avoid surfaces with stain-resistant formulas, as their repellents block vinyl adhesion. If the wood feels rough after sanding, applying an additional layer of clear polycrylic or varnish can fill in grain grooves and create a smooth base.
- Sand wood evenly with 220 grit sandpaper for about 2-3 minutes per square foot until smooth
- Clean surface with rubbing alcohol or mild soap and water, then let dry completely
- Apply acrylic paint, semi-gloss paint, or wood stain in a thin, even coat
- Let paint or stain cure for 24 to 48 hours before vinyl application
- For raw wood, seal grain with polycrylic if needed for smoothness
- Avoid surfaces with stain-resistant or glossy finishes that repel vinyl
Using a damp cloth after sanding and before painting removes leftover dust and oils, which is key for vinyl to bond well.
Fully cured paint or stain provides the best bonding surface for vinyl, helping prevent peeling, bubbling, or wrinkling after heat application. Taking the time to prepare the surface correctly keeps your project looking clean and professional long after the vinyl is pressed down.
Setting Heat and Time for Ironing Vinyl on Wood
The best temperature for ironing heat transfer vinyl (HTV) onto wood is around 300°F. You should press the vinyl with firm, even pressure for about 20 to 40 seconds, depending on the wood’s texture and vinyl brand. Keep the heat steady but avoid holding the iron or heat press in one spot for too long to prevent scorching the wood or burning the vinyl.
Ideal Temperature Range for HTV on Wood
Set your heat press or household iron to about 300°F (150°C) for applying HTV to wood. This temperature balances effective vinyl activation without risking damage to the wood surface. Some vinyl brands, like Siser Easy Weed or Cricut brand iron-on, perform best at this moderate heat. Higher temperatures may scorch unfinished wood or warp the vinyl, so avoid exceeding 320°F.
Wood type and surface finish influence heat settings. Unfinished wood can handle about 300°F for 20 to 40 seconds, while painted or sealed wood may require slightly cooler temperatures or shorter pressing times to prevent surface damage. Test on a scrap piece if possible.
Pressing Time and Pressure Guidelines
The key to good adhesion is firm and even pressure paired with the correct pressing time. Press the vinyl onto wood for about 20 to 40 seconds using steady medium to firm pressure. Applying less pressure or rushing the pressing time often results in poor vinyl adhesion or areas that peel off later.
Slow, controlled peeling based on your vinyl type also matters. Some HTV calls for a hot peel (removing the carrier sheet while hot), while others need a cool peel (letting it cool completely before peeling). For example, Siser Easy Weed usually works well with a warm or cool peel on wood, but always check your vinyl’s instructions.
Choosing Between Heat Press and Household Iron
A heat press offers consistent temperature and pressure, which typically creates better adhesion on wood compared to a household iron. Heat presses maintain steady 300°F heat and firm pressure all over the design. Portable t-shirt presses with real-time pressure display help you control pressure precisely.
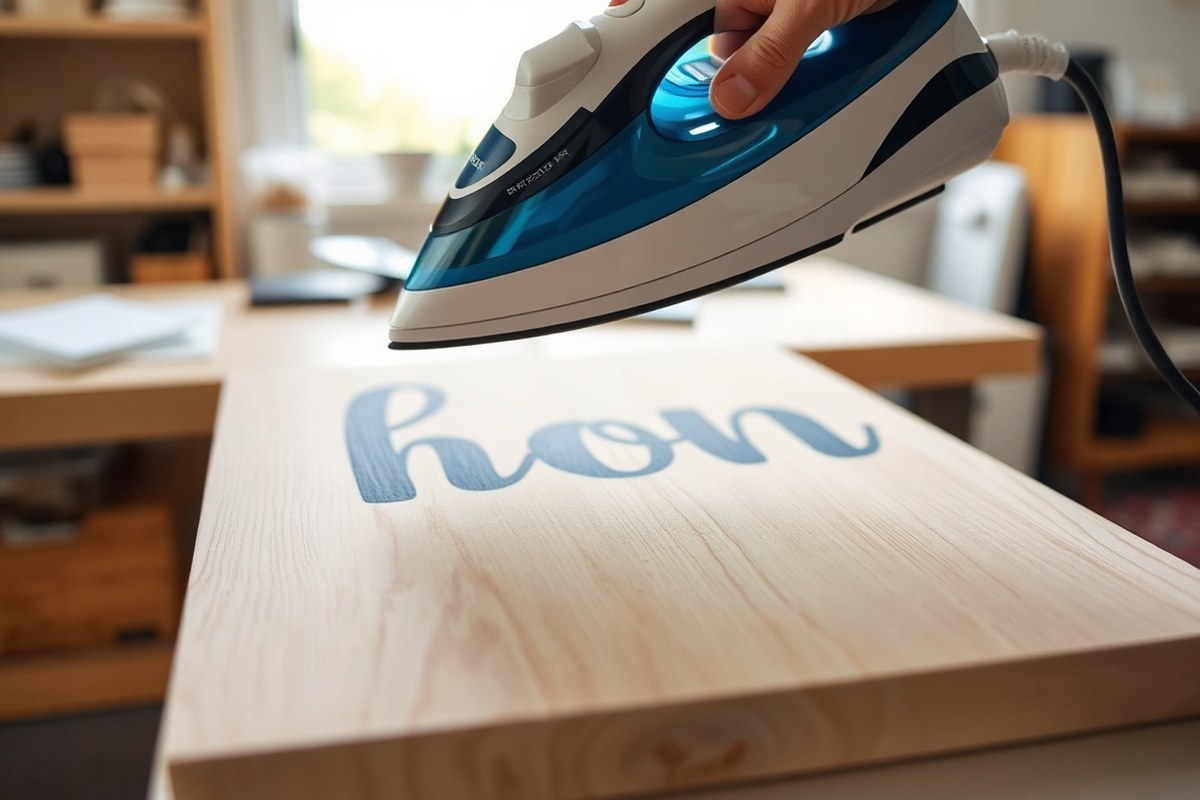
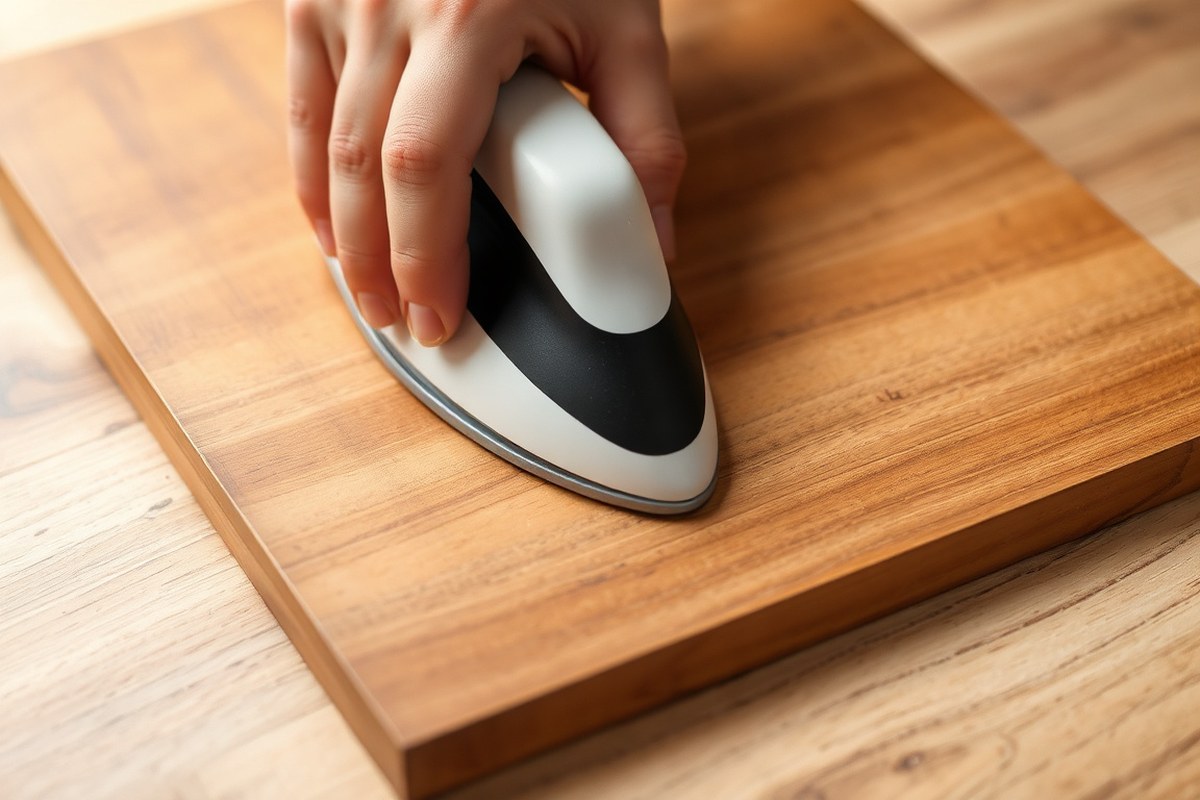
If you only have a household iron, set it to the cotton or linen setting, which usually reaches around 300°F, and press firmly. Use a piece of parchment paper or a Teflon sheet over the vinyl to protect it. Press one section at a time if the design is larger than your iron. Avoid moving or sliding the iron around, which can cause uneven adhesion or wrinkles.
Heat presses cost between $100 and $300 depending on features. Irons are an inexpensive option if you use careful technique and patience. Follow these steps to apply HTV on wood with proper heat and time:
- Set your heat press or iron to about 300°F (150°C).
- Preheat the wood surface for 5 seconds to remove moisture.
- Place your vinyl design on the wood exactly where you want it.
- Cover the vinyl with parchment paper or a heat-resistant sheet.
- Apply firm, even pressure with the heat press or iron for 20 to 40 seconds.
- Lift heat source gently and peel the carrier sheet according to vinyl instructions (warm, hot, or cool peel).
- Repeat pressing only if you notice incomplete adhesion or lifting edges.
Cutting, Weeding, and Placing Iron-On Vinyl for Wood Projects
Cutting iron-on vinyl (HTV) correctly ensures clean edges and precise designs on wood projects. Proper weeding removes excess vinyl for a sharp look. Positioning your design carefully on wood before heating prevents misalignment and bubbling. Here’s how to cut, weed, and place HTV for wood craft projects.
Cutting Vinyl Backward for HTV
HTV must be cut in reverse because you’re applying the design upside down onto the wood. The backing side with the clear carrier sheet should face down on your cutting mat, and the vinyl side faces up. Mirroring the image before cutting means the design will appear correctly after transfer.
Use a vinyl cutting machine like a Cricut or Silhouette. Regular iron-on vinyl has a matte finish ideal for smooth, crisp wood signs. Set your machine to the proper settings for HTV: medium blade pressure and vinyl-specific settings often work best. After cutting, the image will be precisely trimmed but still attached to the clear carrier sheet.
Weeding Excess Vinyl Safely
Weeding is removing all unwanted vinyl around your design so only the image remains on the carrier sheet. Use a pointed weeding tool or tweezers to lift small details carefully. This step reveals the design’s fine lines and helps the vinyl adhere cleanly to wood with no stray bits.
Work slowly and under good light to avoid accidentally removing parts of the design. Remove the background vinyl first, followed by any small inner bits within letters or patterns. Clean weeding results in a professional look with no unwanted vinyl showing after transfer. Strong-grip tapes, especially for glitter vinyl, may be too aggressive for wood projects, so avoid using them here.
Aligning and Securing Vinyl on Wood
Place your wooden surface on a heat-resistant mat to protect your workspace. Leave the HTV backing on and flip the design over so the plastic carrier sheet is on top, which helps position the vinyl accurately. Center and align the design on the wood surface before applying heat. This also prevents shifting during pressing.
A Teflon sheet between the iron-on vinyl and a heat press (or iron) avoids scorching and helps distribute even pressure. Apply firm but moderate pressure to bond the vinyl properly without causing it to shrink or leave glossy outlines on wood. Some crafters choose to tape down edges with low-tack tape if needed for extra stability, but be cautious to avoid damaging the wood or vinyl.
- Mirror your design in your cutting software and place HTV vinyl shiny side down on the cutting mat.
- Cut your design using medium blade pressure on your vinyl cutter.
- Use a weeding tool to remove background vinyl and small excess pieces carefully.
- Set your wooden piece on a heat-resistant mat and position the vinyl with the clear plastic carrier on top.
- Cover the vinyl with a Teflon sheet to protect from direct heat and distribute pressure.
- Press firmly with a heat press or iron following temperature and time guidelines for wood.
- Let the vinyl cool slightly before peeling away the plastic carrier slowly to keep the design intact.
Peeling and Finishing Techniques for Vinyl on Wood
For vinyl applied to wood, cold peeling usually gives the best results because it reduces the risk of lifting or wrinkling the design. Allow the vinyl to cure on wood for at least 24 hours before sealing or handling the project. Apply a clear sealant only after the vinyl is fully cured to protect it from wear and moisture, ensuring your craft lasts longer.
Hot Peel vs Cold Peel on Wood
Cold peel means you wait for the vinyl to cool completely before removing the carrier sheet. This method suits wood well because wood absorbs heat unevenly, which can cause hot peeling to lift vinyl edges or distort the design. Hot peel works better on smooth, non-porous materials but is often risky on wood, especially with textured or rough surfaces.
Cold peeling helps the vinyl to adhere more securely by letting it set and bond as it cools. Start peeling slowly at one corner after the vinyl sheet feels cool to the touch. When the vinyl starts to lift, press it back down and wait longer before trying again.
Peeling the vinyl while it’s still hot can cause wrinkles or peeling, so be patient and wait for the material to cool completely.
Recommended Curing Times Before Sealing
Letting the vinyl cure for at least 24 hours before sealing is important to ensure it properly bonds with the wood surface. This waiting period allows residual heat or moisture to dissipate and stabilizes the vinyl’s adhesion. Using oil-based or solvent-based paints on your wood before applying vinyl requires a curing time of 2 to 3 weeks since these finishes need more time to fully harden and release chemicals that could affect the vinyl.
Heavy or frequent use requires longer curing times. For example, if sealing a wood sign exposed to outdoor elements, waiting a full 30 days before applying multiple sealant coats will improve durability and protection.
Best Sealants for Protecting Vinyl on Wood
Clear acrylic sealants are popular because they dry quickly, don’t yellow over time, and provide a protective layer without affecting the vinyl’s color or flexibility. Look for water-based polyurethane or acrylic sprays designed for crafts and wood.
Apply the sealant in 2 to 3 thin coats, allowing each coat to dry completely, usually 1 to 2 hours between coats. Spray sealants are easier to apply evenly and reduce the risk of disturbing the vinyl design compared to brush-on finishes.
Keep in mind that some glossy surfaces may cause peeling issues; a matte finish sealant can sometimes improve adhesion. Avoid harsh solvents or polyurethane products with strong odors indoors or without ventilation.
- Wait at least 24 hours after ironing the vinyl to wood before peeling the carrier sheet.
- Peel the vinyl slowly and carefully once the wood and vinyl have cooled completely (cold peel).
- Allow the vinyl to cure undisturbed for 24 to 72 hours depending on paint type and usage.
- Select a compatible clear acrylic sealant for wood and vinyl crafts.
- Apply 2 to 3 thin coats of sealant with light sanding in between if recommended.
- Let the sealant cure fully for up to 30 days for maximum durability, especially for outdoor projects.
- Handle the finished project gently during the curing and sealing phase to avoid lifting or damage.
Troubleshooting Vinyl Adhesion Problems on Wood
Peeling vinyl along wood edges often happens because of insufficient pressure or missed sealing on the sides. To prevent this, apply firm, even pressure with your iron or heat press, making sure to cover the edges fully. Hold the heat for 10 to 15 seconds per section, then press the edges again separately if needed. Use a heat-resistant tape to keep the vinyl in place while applying heat, which also helps the adhesive bond around curved or rough edges. Vinyl might peel later; try brushing a thin layer of clear craft or decoupage glue on the edges before ironing to add extra hold without changing the appearance.
Bubbling usually indicates trapped air or moisture under the vinyl. It’s important to smooth the vinyl carefully during placement, pressing from the center outwards to push air out. Bubbling during or after heating happens; gently lift the vinyl and reapply heat with light pressure to smooth out the bubbles. Avoid overheating, as too much heat can shrink the vinyl or damage the wood finish, promoting bubbles. Make sure the wood surface is completely dry and free from any residue before starting, since moisture causes bubbling as the heat activates the glue.
Common ironing mistakes include using the wrong heat setting or applying uneven heat. Most iron-on vinyls require about 305°F to 320°F, held for 10 to 15 seconds per area, so check the vinyl packaging for its recommended temperature. An iron set too low won’t activate the adhesive fully, leading to weak sticks, while too high can scorch the wood or warp vinyl. Also, avoid moving the iron back and forth, which can shift vinyl and cause wrinkles or lifting. Instead, press firmly and hold steady, then move slowly to the next section.
Another frequent issue is using vinyl incompatible with the wood’s finish. Finished or sealed woods may resist bonding, causing poor adhesion or peeling. Test a small vinyl scrap first on your wood piece and carefully remove the backing after heating. Poor sticking calls for switching to vinyl designed for wood or lightly roughening the surface with fine sandpaper before cleaning and applying the vinyl.
Vinyl lifting or not peeling off the backing paper likely means the adhesive didn’t activate enough due to low heat, pressure, or insufficient time. Adjust your iron’s temperature, increase pressing time slightly, and verify that your iron’s soleplate covers all vinyl parts evenly. Use a pressing cloth or parchment paper between the iron and vinyl to protect the vinyl and wood from direct heat damage. These steps ensure the glue bonds solidly without warping or losing stickiness.
Tools and Supplies Needed to Iron Vinyl on Wood
To successfully iron vinyl onto wood, gather the right tools, supplies, and materials. You’ll need tools to prepare the wood surface and apply heat transfer vinyl (HTV) properly. Cleaning the wood well removes dust and oils that interfere with adhesion, so use rubbing alcohol to wipe the surface before placing the vinyl. Wait 24 to 48 hours after painting or staining the wood before cleaning and applying vinyl to ensure the finish is dry and won’t lift.
Start with sanding to create a smooth base. Sand the wood with fine-grit sandpaper, such as 220-grit, until the surface is even and free of rough patches. This step helps the vinyl stick better and reduces the risk of wrinkles or bubbling. After sanding, wipe off all dust with a lint-free cloth soaked in rubbing alcohol, allowing the alcohol to evaporate completely before applying vinyl.
- Fine-grit sandpaper (220-grit) for smoothing wood surfaces
- Lint-free cloth or paper towels for cleaning
- Rubbing alcohol (isopropyl alcohol) to remove oils and dirt
- Heat transfer vinyl (HTV) or permanent adhesive vinyl
- Iron or heat press capable of reaching 300, 320°F (150, 160°C)
- Parchment paper or Teflon sheet to protect wood and vinyl during heating
- Weeding tools such as a weeding hook or tweezers for vinyl excess removal
Selecting the right vinyl makes a difference. HTV gives a painted-on look but needs proper heat and pressure to stick, while permanent adhesive vinyl can sometimes be applied more easily as a peel-and-stick option. For HTV, controlling temperature between 300 and 320 degrees Fahrenheit and applying steady pressure for about 30 seconds ensures good adhesion without burning the wood or shrinking the vinyl excessively.
Protect the vinyl and wood surface during ironing by covering the vinyl with parchment paper or a Teflon sheet. This prevents scorching and helps distribute heat evenly. Use slow, even presses rather than sliding the iron around. Good results show transfer vinyl that lies flat with no bubbling or peeling edges, and the wood surface remains undamaged and clean. Avoid skipping cleaning or sanding steps, which often results in poor vinyl adhesion and peeling after time.
Advanced Tips and Variations for Iron-On Vinyl Projects on Wood
Glitter and specialty heat transfer vinyl (HTV) can work on wood surfaces, but they need a careful approach. Glitter HTV often has a thicker or textured finish, so it takes longer pressing times and more pressure to keep it stuck. To apply, set your iron or heat press at 305°F (150°C) and hold firm pressure for at least 20 seconds. Use a cover sheet like parchment paper to protect both the vinyl and wood while heating. Avoid moving the iron around to prevent the design from shifting. Use moderate pressure, so you do not damage the wood surface, especially if it has a delicate finish. You may find that multiple short presses work better than one long press to avoid scorching the wood or vinyl.
Textured or curved wood surfaces add complexity to vinyl application. Textured wood can reduce the vinyl’s ability to fully adhere because the surface isn’t flat. To improve adhesion, you can lightly sand the wood to smooth rough areas, but avoid removing too much finish if it is decorative. When working on a curved surface, apply the vinyl piece by piece, pressing firmly with an iron or heat press tool designed for contours, like a mini heat press or a cap press. Stretching the vinyl is not recommended as it may distort the design. Instead, carefully position small sections one at a time, ensuring the vinyl makes full contact without wrinkles or air pockets.
Outdoor projects demand extra durability for vinyl on wood. Without proper sealing, heat transfer vinyl will fade, crack, or peel under sunlight and moisture. After you finish applying and cooling the vinyl design completely, seal the entire wood surface with a clear outdoor-rated acrylic sealer or polyurethane finish. Spray or brush on thin coats and let each dry fully, following the product instructions, usually 2 to 4 hours between coats. At least two coats are recommended for effective protection. This sealant layer shields the vinyl edges and maintains adhesion when exposed to weather. Expect to reseal every 1 to 2 years depending on local climate conditions.
Avoid pressing vinyl on wood surfaces hotter than 320°F, as this can burn the wood and ruin your design.
To extend the life of your vinyl on wood projects, start by choosing a smooth, well-prepped surface. Always allow the vinyl to cool naturally under light pressure before peeling the carrier sheet to prevent lifting. Store finished wood projects indoors when possible and keep out of direct sunlight to reduce fading. For especially rough or porous wood, consider coating the entire surface with a base layer of paint or primer to create a better grip for the vinyl. Clear sealants add a protective layer, but if you plan to handle or clean the item frequently, extra care and occasional touch-ups will keep the vinyl looking fresher longer. Remember, the smoother and cleaner the wood, the stronger and longer your HTV bond will last.
Step-by-Step Action Plan
Follow these steps to correctly iron on vinyl to your wood project and get lasting results.
- Before you start: Choose smooth, untreated wood and lightly sand the surface to remove rough spots. This helps the vinyl stick better and look cleaner.
- Preparation phase: Cut and weed your iron-on vinyl design carefully. Place it on the wood with the clear carrier sheet facing up to avoid mistakes.
- Heat setting: Preheat your iron or heat press to the recommended temperature (around 300°F to 320°F) for vinyl on wood. Test on a scrap piece to ensure proper heat without damage.
- Application time: Press the vinyl onto the wood for 15 to 30 seconds with firm, even pressure. Let the wood cool briefly before peeling the carrier sheet off slowly at a 45-degree angle.
- Check adhesion: Press edges with the iron again for 5 to 10 seconds if needed. The vinyl should feel firmly bonded with no lifting when touched.
- After application: Allow the vinyl to cure undisturbed for at least 24 hours before handling or using the project. This improves durability.
- Maintenance: Clean the wood gently with a damp cloth to avoid loosening the vinyl. Avoid harsh chemicals or abrasive scrubbing.
Frequently Asked Questions
Can You Use Regular Iron Settings for HTV on Wood?
Use a low to medium heat setting around 300°F to avoid damaging wood or vinyl. Test on a scrap piece first.
How Long Should I Press the Iron-On Vinyl on Wood?
Press vinyl for about 10 to 20 seconds with firm pressure to ensure adhesion. Avoid over-heating wood.
Is It Necessary to Seal Vinyl on Wood After Application?
Sealing helps protect vinyl on wood, especially for outdoor or frequently handled items. Use a clear acrylic sealant.
Can I Apply Iron-On Vinyl to Unfinished Wood?
Unfinished wood may absorb heat and damage vinyl. Sand and seal the wood for better results.
What Is the Best Method to Remove Iron-On Vinyl from Wood?
Gently peel the vinyl slowly; use a heat gun to soften adhesive if needed. Avoid scraping to protect wood.
Can Wood Color Affect Vinyl Adhesion?
Dark or glossy wood might require extra surface prep or different vinyl types for better adhesion.
Key Points to Remember
Ironing vinyl to wood works well when you use smooth surfaces and control heat carefully. Taking your time to prepare and follow exact steps prevents common problems like bubbling or peeling. Try your project on a small scrap piece first to gain confidence. Now, grab your materials and start with a simple design to see how well your wood craft can turn out using iron-on vinyl.