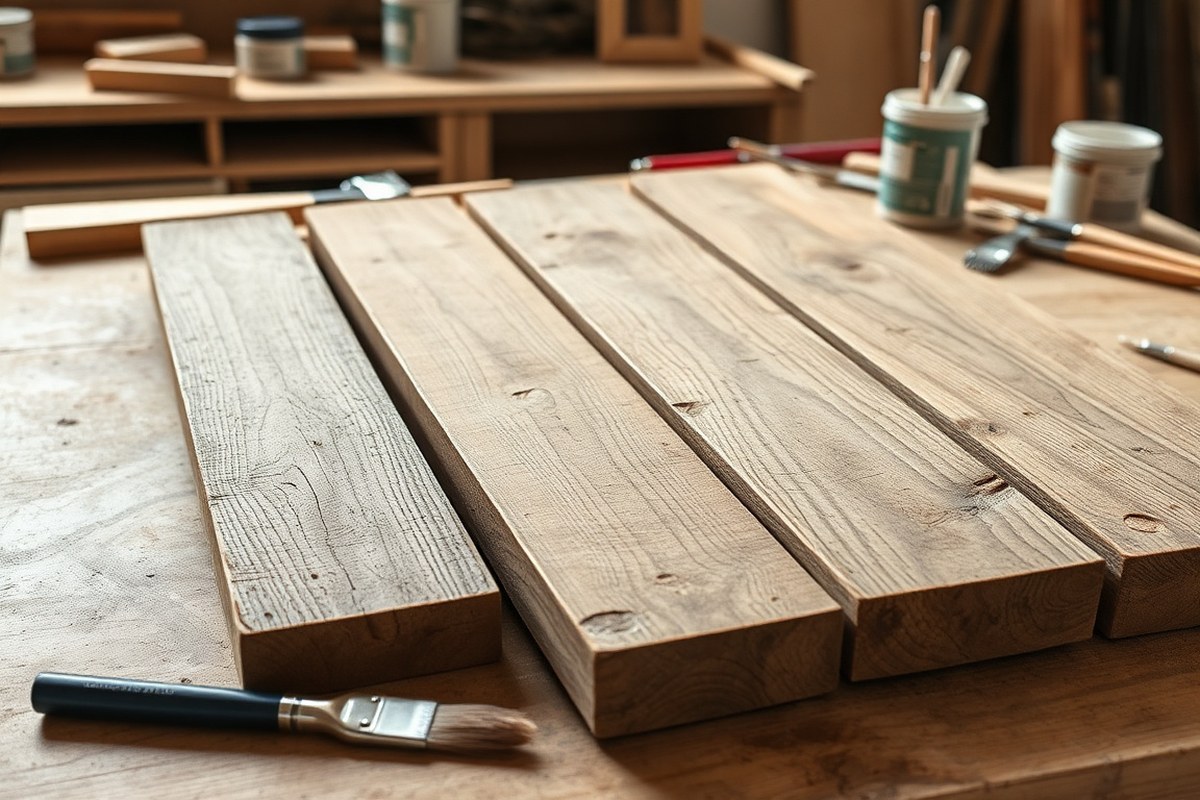
Diy Wood Pallet Sign 11 Expert Steps to a Stunning Rustic Decor
Creating a diy wood pallet sign gives you a low-cost way to add rustic charm and personal style to your decor. Using reclaimed pallet wood allows you to build a unique piece that looks handmade and inviting. Start by choosing the right pallet wood with minimal damage and roughness to ensure your sign lasts and looks great.
Key Takeaways
- Select pallet wood that is untreated and free of harmful chemicals for safer indoor use.
- Look for pallet wood with tight grains and few knots for a smoother painting surface.
- Prepare pallet wood by sanding thoroughly to remove splinters and uneven textures.
- Use basic tools like a hammer, pry bar, and screwdriver to safely disassemble pallets.
- Design your sign layout on paper before cutting or assembling to avoid mistakes.
- Apply paint or stain in thin, even layers to highlight the wood’s natural grain.
1. What Is a DIY Wood Pallet Sign and Why Make One?
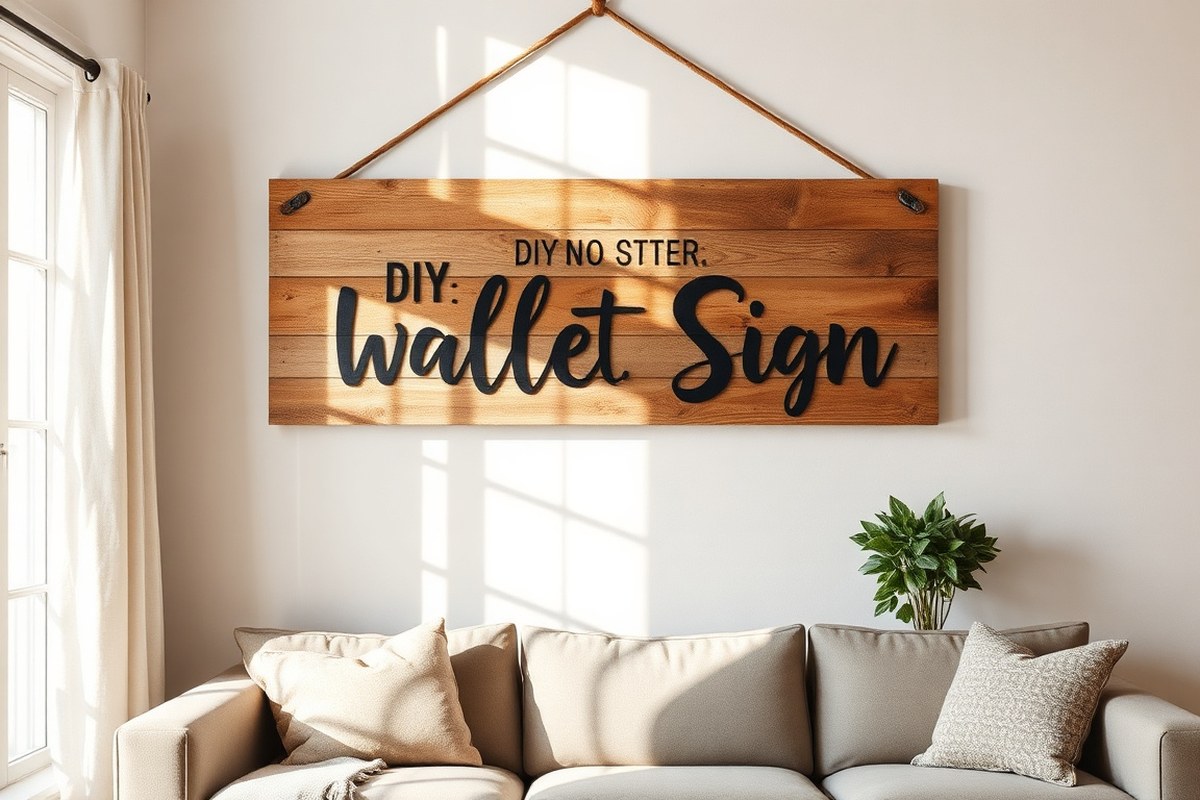
A DIY wood pallet sign is a handcrafted piece of decor made by repurposing wood from shipping pallets into a personalized sign. These signs often feature painted or stained lettering and designs that add a cozy, rustic touch to any space. The appeal comes from its blend of practicality and creativity: you transform scrap wood into an attractive statement piece that reflects your style or message.
Choosing pallet wood for signs makes sense for several reasons. Pallets are widely available, often free or very low cost, which keeps your project budget-friendly. The wood already has a weathered, rustic look that fits popular farmhouse and vintage decor styles without needing extra treatment. Plus, working with pallet wood lets you customize size and shape easily since you break the pallets down into the pieces you need. For around $10 or less if you buy leftover pallets or wood strips, you can create a sign that looks far more expensive.
Making your own pallet sign offers creative benefits that store-bought items cannot match. You have complete control over the design, lettering, color, and finish. That means you can craft signs for personal events like weddings or gifts for loved ones with meaningful messages. You decide whether the text is a favorite quote, family name, or holiday greeting. Practical advantages include producing a durable wood sign suited for indoor or outdoor display by selecting appropriate sealants and wood treatments.
Getting started requires a few simple steps. First, gather the pallet wood and dismantle it carefully to obtain usable planks. Next, plan your design, such as stenciled letters or hand-painted graphics. Pine boards around 1×4 inches are common choices for smooth painting surfaces. After cutting and sanding the wood, apply paint or stain and finish with a clear sealant to protect against weather. Allow drying times of several hours between coats. A well-made sign looks cohesive, with crisp lettering and an even finish. Signs made without sanding or sealing risk splinters, fading, or cracking over time.
Whether you want a larger piece for a family room wall or a smaller sign as a gift, pallet wood allows flexibility in size and style. You can add decorative elements like leather straps or 3D embellishments later for a unique effect. By working carefully, you create a personal, rustic piece that costs a fraction of similar decor found in stores. Wood pallet signs provide a visible way to showcase craftsmanship and add character to your home or outdoor space.
2. How to Choose the Perfect Pallet Wood for Your Sign
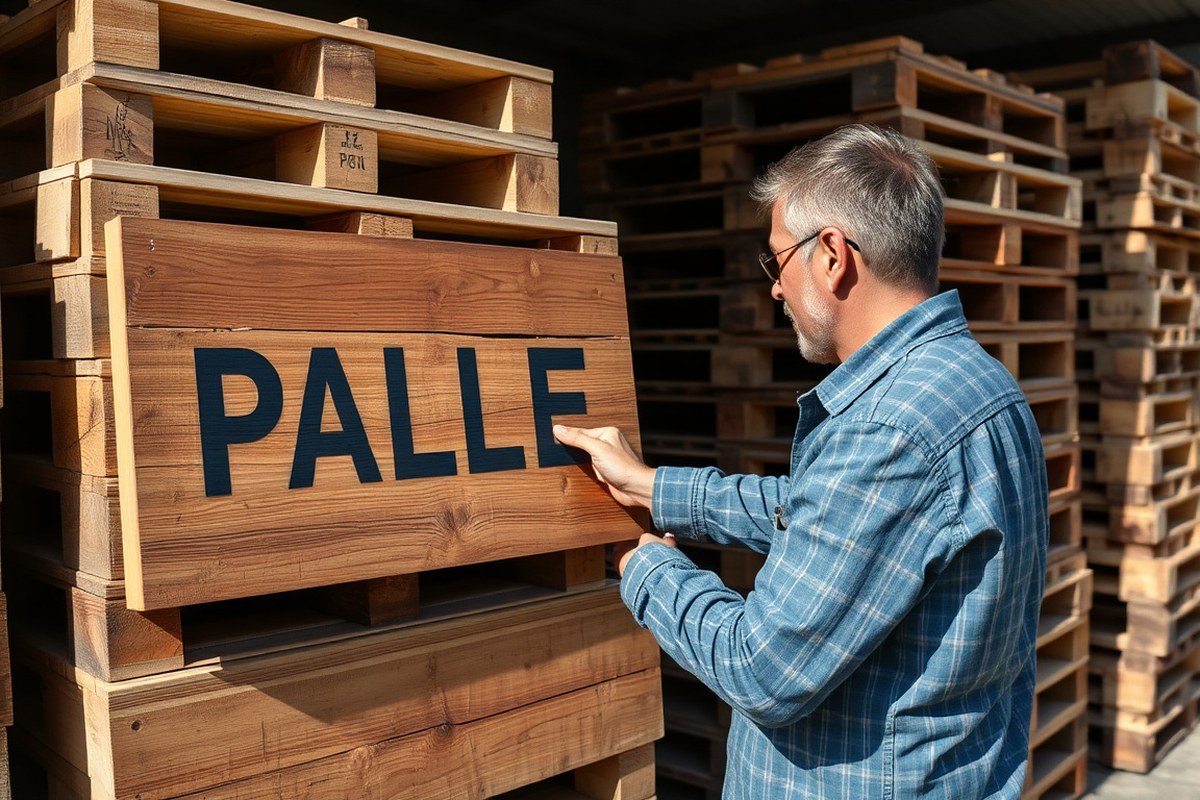
Choosing the right pallet wood for your DIY sign starts with knowing the types of pallets safe for crafting, checking the wood’s condition, and making sure the material suits your decorative goals. Avoid pallets treated with harmful chemicals or those that show extensive damage. Selecting clean, sturdy wood improve both your project’s appearance and longevity.
Identifying Safe Pallets: What to Look For
Focus on pallets stamped with “HT” (heat treated) rather than “MB” (methyl bromide), since heat-treated pallets are free from toxic chemical fumigants. These stamps often appear on the pallet’s side or end boards. Pallets from local stores that handle food or consumer goods tend to be safer than ones from industrial or chemical plants. It’s also wise to steer clear of pallets that smell of chemicals, oil, or paint.
Before use, inspect the pallet for nails, splinters, and signs of mold or pests. Use gloves when handling and thoroughly sand the wood before painting or staining. Pallet wood that looks weathered but solid is often ideal for rustic signs, while warped or cracked boards could weaken your project.
Best Wood Types for Pallet Signs
Pallets are commonly made from softwoods like pine, spruce, or fir, which are easy to work with and paint. These woods are smooth and lightweight. Hardwood pallets (oak, maple) may be available but are less common and harder to cut. Pine pallets cost little to no money if sourced locally and suit most decorative signs thanks to their affordability and paint adherence.
Look for pallets with uniformly flat boards that allow easy alignment for your sign’s letters or graphics. The thickness typically ranges between 3/4 inch and 1 inch, enough to support painting and mounting but light enough to hang on a wall.
What to Avoid in Pallet Wood
Skip pallets that:
- Show signs of rot, decay, or insect damage, which can cause your sign to crumble over time.
- Are painted with lead-based paints or hazardous chemicals, especially older pallets.
- Smell strongly of chemicals, fuel, or pesticides, indicating possible contamination.
- Have large splits or deep gouges that compromise structural integrity.
- Are stamped with “MB” or unmarked pallets of unknown origin.
Using compromised wood not only risks the durability of your DIY sign but can also be unsafe indoors.
Checklist for Selecting Pallet Wood
To ensure you choose the perfect wood, follow this checklist:
- Check for “HT” heat treatment stamp on the pallet.
- Inspect the wood for mold, rot, and pest damage.
- Confirm the boards are straight, uniform, and at least 3/4 inch thick.
- Smell test to avoid chemical or fuel odors.
- Avoid pallets with paint flakes or unknown paint types.
- Wear gloves when handling to prevent splinters.
- Sand rough or uneven surfaces before painting or staining.
This rigorous selection reduces risk and guarantees a sturdy, attractive base for your wood pallet sign.
Never use pallets carrying potential chemical exposure or visible mold, since these risks are tough to remove and can harm your health.
3. Essential Tools and Materials for a DIY Pallet Wood Sign
To build a DIY wood pallet sign, start by gathering a few essential tools and materials to ensure the process goes smoothly. You’ll need both items for handling the wood safely and products for decorating and finishing your sign. The right tools help you disassemble the pallet without damaging the wood, while paints and sealants will give your sign a polished look and protection.
Disassembling pallet wood usually requires a pry bar or crowbar to separate boards carefully, and a hammer to remove nails. A handsaw or circular saw can cut boards to size, and sandpaper or a power sander will smooth rough edges. You also need wood glue or nails to assemble the boards into your intended sign shape. When working, always wear safety gear like gloves and safety glasses to protect from splinters, nails, and dust.
- Pry bar or crowbar for dismantling the pallet
- Hammer and nails or screwdriver with wood screws
- Handsaw or circular saw for cutting wood pieces
- Sandpaper (80- to 120-grit) or electric sander
- Wood glue for secure joins
- Acrylic paint or wood stain for decorating
- Clear sealant or polyurethane to protect the finish
- Safety gloves and protective eyewear
For painting your pallet sign, acrylic paint works well because it dries quickly between coats, usually within 15 to 30 minutes. Acrylics also offer vibrant colors and clean-up with water. Alternatively, a wood stain brings out natural grain and tones the wood evenly. Choose a sealant compatible with your paint type, such as a water-based polyurethane for indoor signs or an outdoor-grade sealant if the sign will be outside. Application is generally done with a brush or foam applicator, applying two coats spaced 2 to 4 hours apart for full coverage.
Investing in basic safety equipment reduces risk significantly. Wear gloves when prying boards to avoid splinters or nails, and always use safety glasses when cutting or sanding to protect your eyes from flying debris. Dust masks help keep sawdust out of your lungs, which is a good precaution especially if you sand indoors. These safety measures make your DIY project safer and more comfortable.
4. Step-by-Step Guide to Disassembling Pallet Wood Safely
Removing boards from a pallet requires some care to keep the wood intact and avoid injury. Pallets often have rusty nails and rough edges that can cause splinters or cuts. Using the right tools and a methodical approach can help you safely dismantle the pallet and preserve usable wood pieces for your sign.
Start with safety: wear thick work gloves to protect against nails and splinters, and eye protection to guard from flying debris. Use a sturdy work surface and have tools like a pry bar, hammer, and reciprocating saw handy. Rusty nails can be a hazard, so handle them with care and remove each slowly to prevent damage to the wood or injury.
- Identify and place the pallet on a flat, stable surface. This prevents the pallet from shifting and reduces your risk of injury while you work.
- Use a hammer or pry bar to gently loosen the deck boards. Slide the pry bar between the board and the pallet frame, working it slowly along the length of the board to reduce splitting or cracking.
- Cut through stubborn nails with a reciprocating saw. This tool can slice through nails hidden between boards without prying apart the wood aggressively, minimizing damage.
- Lift the loosened boards off carefully. Avoid bending or twisting the boards as you remove them, since this can cause breakage or cracking.
- Remove any remaining nails from the boards with pliers or a nail puller. Grip each nail close to the wood’s surface and pull straight out to avoid gouging the wood.
- Inspect the boards for splinters and use sandpaper to smooth rough edges. Use 80 to 120 grit sandpaper for rough spots, which helps make the wood safe to handle and paint.
- Store your reclaimed boards flat in a dry area. This prevents warping and keeps your wood ready for your sign project.
This approach requires about 30 to 60 minutes per pallet, depending on its size and condition. Expect some boards to crack or break, especially if the wood is old or weathered. That’s normal, so have extra pallets as a backup. Better results come from patience during prying and cutting rather than force.
Handling rusty nails requires extra caution. Keep your tetanus shots current to reduce infection risk in case of a puncture. Dispose of removed nails in a secure container to avoid stepping on them later.
5. Planning and Designing Your Wood Pallet Sign Layout
Before putting paint to wood, it’s essential to plan your pallet sign’s message, fonts, and layout carefully. This helps ensure the final product looks polished and fits the space where you’ll display it. Using a simple design worksheet and templates makes this process easier and can save you time and frustration during painting.
Choosing Your Sign Message
Pick a message that reflects your style or theme, family names, inspirational quotes, dates, or seasonal greetings work well on wood pallet signs. Consider where the sign will hang and who will see it. A short message with a clear meaning tends to stand out better on rustic wood surfaces. Write your ideas on a design worksheet that includes space to sketch and list options. This visual plan can help you decide what fits your pallet’s size and shape best.
Decide whether you want the sign to be decorative or functional. For example, a welcoming phrase on your porch sign adds curb appeal, while a map or address offers practical use. Keep your message concise; longer texts risk looking crowded and harder to paint accurately. Checking sample template designs online or printable stencil sets will give you a good sense of how your message flows visually.
Selecting Fonts and Styles
Fonts that complement rough pallet wood usually fall into rustic or bold categories. Choose block letters, serif fonts with clear edges, or handwritten styles that mimic chalk or brush strokes. Avoid very thin or script fonts since these won’t show well on uneven, textured wood surfaces. Larger fonts painted thickly create better visibility and durability outdoors.
Fonts designed for crafting often come in digital libraries or stencil sets and cost around $10 to $20 if purchased. Free font download sites also offer rustic styles, but test-print your chosen font on paper first to check legibility. Write or print your message using font size and spacing similar to your pallet’s dimensions before transferring. This step ensures the style fits your wood and maintains visual balance.
Using Stencils and Transfers
Stencils and vinyl decals are helpful tools for applying neat, consistent lettering, especially if you’re new to painting signs. Cut vinyl letters or printed transfers made from adhesive shelf paper stick firmly to the pallet, preventing paint bleed. You can buy alphabet stencils for as little as $5 to $15, or use a digital cutter to make custom stencil designs if you have the tools.
Lay your stencil or transfer carefully, smoothing air bubbles and aligning it with your drawn layout. Secure with painter’s tape to keep it steady during painting. After painting, wait about 10 to 15 minutes for the paint to become tacky but not fully dry, then peel off the stencil slowly to avoid smearing. Practice on scrap wood before your final sign to refine your technique.
Use painter’s tape and a level to keep stencils straight and prevent paint bleeding, ensuring crisp, clean lines on your pallet sign.
6. Best Techniques to Paint or Stain Your Pallet Sign
Painting or staining a wood pallet sign changes its look and longevity. Your choice affects how the wood feels, reacts to moisture, and fits your décor style. Applying these finishes correctly ensures your sign lasts and shows off your creative vision.
Choosing Paint or Stain
Paint covers wood with an opaque layer, hiding the grain and imperfections, while stain soaks into the wood, improving its natural texture and color. Paint suits a modern, clean look; stain works best when you want to highlight the wood’s rustic charm. For durability, stains penetrate and protect against moisture, but high-quality exterior paint offers better long-term resistance to wear and weather if you plan to display your sign outdoors.
Cost varies with quality and type: a quart of latex paint costs around $15 to $25 and covers 100 to 150 square feet, while a quart of wood stain runs $10 to $30, covering similar area. Choose an exterior-grade stain or paint if the sign is outside. Use water-based products for easier cleanup and lower fumes. Proper surface prep matters more than product cost. Sand the wood lightly to remove rough spots and dirt before applying. This step improves finish adhesion and ultimately affects durability.
Applying Paint Correctly
Select a natural bristle brush for oil-based paint or a synthetic brush for water-based types. Brushes 2 to 3 inches wide balance control and coverage on pallet wood slats. Use long, even strokes along the wood grain or board length to avoid streaks and drips. Thin coats work better than one thick layer. Let each coat dry completely, usually 4 to 6 hours depending on temperature and humidity, before applying the next.
For a clean graphic sign, use painter’s tape to mask off letters or shapes, applying paint with a small angled brush inside the lines. Avoid heavy paint amounts to prevent bleeding under the tape. Two to three coats usually deliver full coverage and durability, especially for outdoor use. Wipe the sign with a tack cloth between coats to remove dust for a smooth surface.
Techniques for Rustic Effects
To achieve a rustic finish, start with a dry brush technique: dip the brush lightly into paint or stain, then remove most of it on a rag before brushing lightly over the wood. This leaves some wood grain visible and creates a weathered look. For paint, use muted colors like whites, grays, or faded blues to mimic aged wood. Stain can be applied with a cloth rubbed on in circular motions to emphasize texture and knots.
Another method involves sanding painted wood after it dries to distress edges and surfaces gently. Use fine- to medium-grit sandpaper and focus on corners or areas that would naturally wear over time. Avoid heavy sanding that exposes raw wood, which may absorb moisture and damage the sign. Lighter, layered paint coats combined with sanding let you layer colors for dimension.
7. How to Seal and Protect a Pallet Sign for Indoor and Outdoor Use
Sealing a wood pallet sign is key to protecting it from moisture, UV rays, and wear, especially outdoors. For indoor signs, a simple clear polyurethane or water-based sealant often works well to protect against dust and minor spills. Outdoor signs, however, need a sturdier finish like spar urethane or an exterior-grade marine varnish that resists moisture and sun damage.
Clear acrylic sealers are a budget-friendly option for indoor use, costing around $10 to $15 per quart and provide decent protection while keeping the wood’s natural look. For outdoor protection, a gloss or satin spar urethane costs roughly $20 to $30 per quart and can keep the sign safe for about 2 to 3 years. After this period, the sealant may crack or peel, signaling that it’s time to reapply.
Applying sealant evenly starts with preparing the wood surface by sanding it smooth with 120 to 220 grit sandpaper. Remove dust with a tack cloth or dry brush before sealing. Use a high-quality synthetic brush for water-based sealers or a natural-bristle brush for oil-based products. Apply thin, even coats along the wood grain to avoid drips and bubbles. Work in a well-ventilated area and allow 4 to 6 hours drying time between coats. Two to three coats usually provide good protection, with you sanding lightly between coats with 220 grit sandpaper for the smoothest finish.
For outdoor signs, consider applying a UV-protective additive to your sealant or choose a product labeled with UV resistance. This extra step minimizes fading and sun damage over time. Avoid heavy sealant buildup, as thick layers may peel off due to wood expansion and contraction with changing weather. If you notice peeling, cracking, or water not beading on the surface, sanding off the damaged area and reapplying is necessary.
Signs exposed to rain, snow, or direct sun generally require resealing every 2 to 3 years, depending on local climate severity. In humid or high-UV areas, plan on resealing closer to every 1 to 2 years. Indoor signs face a much less harsh environment and can go 5 or more years before needing another coat.
Avoid sealing your pallet sign when temperatures are below 50°F (10°C) or above 90°F (32°C) because it can affect drying and finish durability. Also, avoid sealing in direct sunlight or high humidity over 85%, which can cause bubbles or cloudiness. Properly sealed, your pallet sign will maintain its color and structural integrity much longer, making it worth the effort and cost.
8. Assembling and Mounting Your DIY Wood Pallet Sign Securely
To create a sturdy DIY wood pallet sign, join your pallet slats securely and choose the right mounting method based on where you’ll hang or display it. Proper assembly ensures the sign stays flat and strong, preventing warping or falling apart over time. Selecting durable mounting hardware protects your sign and wall from damage, whether the sign hangs indoors, outdoors, or stands freely.
For assembling multiple pallet slats into one piece, a common and solid method involves attaching horizontal support boards across the back of your vertical or horizontal slats. These supports hold everything together firmly. You can do this with leftover wood pieces or buy inexpensive furring strips for $2 to $5 each. Use wood screws, which offer better grip than nails, to fasten the boards. Length should be chosen to extend slightly beyond the total width of your slats to give full edge support.
Mounting choices vary: use sawtooth hangers or D-ring hooks with picture wire for lightweight signs indoors. For heavier or outdoor signs, consider keyhole brackets, heavy-duty wall anchors, or mounting cleats. Freestanding options include attaching legs or a fold-out back support with hinges, allowing you to place the sign on flat surfaces without wall installation.
- Arrange your pallet slats side by side, flush against each other, to form the front of your sign. Check for alignment and adjust to avoid gaps.
- Cut two or three horizontal support boards from leftover pallet wood or furring strips, matching or exceeding the width of your assembled slats.
- Position the support boards evenly across the back of the slats, typically near the top, middle, and bottom areas for large signs.
- Secure the slats to the support boards using 1½ inch wood screws. Pre-drill holes to prevent splitting, placing screws about every 6 to 8 inches along each support.
- Sand any rough edges or surfaces on the back, especially near mounting points, to avoid splinters and ensure a flat surface against your wall.
- Attach your mounting hardware: use sawtooth hangers or D-rings for signs up to 15 pounds indoors; for heavier signs or outdoor placement, use keyhole hangers with wall anchors suitable for the wall material (drywall, masonry, wood).
- Install anchors or hooks in the wall roughly matching the hanger positions on your sign. Use a level to keep the sign straight during mounting.
- Optionally add freestanding legs by screwing hinged boards to the bottom back of the sign to create an easel-like support that folds for storage.
Choose mounting hardware rated to hold at least twice the weight of your sign to prevent unexpected falls or damage over time.
9. Creative Ways to Add 3D and Decorative Elements to Signs
Adding 3D and decorative elements to your wood pallet sign makes it stand out and adds a personal touch. Safe 3D objects include small wooden shapes like hearts, stars, or letters, lightweight metal accents, and thick twine or rope for texture. Use wood glue or small finishing nails to attach these pieces; wood glue works well for flat objects, while nails secure heavier items. Make sure the sign’s surface is sanded and clean before attaching anything to ensure strong adhesion.
Wrapping twine in straight or swirling patterns adds a rustic, tactile feature. To attach twine securely, use a hot glue gun on the back side or staple it in discreet spots. This technique works well for making words or framing the sign edges. For a cozy look, try adding twinkly lights by weaving a string of battery-powered LED fairy lights around the sign’s slats. Fix the lights with small clear adhesive clips or lightweight twist ties, keeping the battery pack on the back for easy access. Lights add warm ambiance and let your sign work as a soft nightlight or festive accent.
Seasonal updates give your sign fresh appeal throughout the year. Use removable hooks or velcro strips on the edges or corners to hang seasonal decor like miniature wreaths, carved pumpkins, or faux flowers. For example, a snowman figure attached to a mini pallet board offers charming winter appeal. In spring, clip on colorful faux blossoms or Easter eggs. Avoid heavy decor that could damage the wood or cause warping over time. Swapping out accessories only takes minutes, so your sign stays relevant for birthdays, holidays, or events.
Balancing aesthetics and durability is key. Avoid bulky embellishments that strain the pallet or fall off easily. Prioritize lightweight materials and secure attachments to ensure long-lasting results. Overloading the sign can cause nails to loosen or paint to chip faster. Test your materials on scrap wood if unsure how they interact. A well-executed 3D wood pallet sign combines texture, light, and seasonal charm without sacrificing its structure or design clarity.
10. Timeline and Expected Duration for a Pallet Wood Sign Project
The timeline for completing a DIY wood pallet sign typically ranges from 6 to 12 hours, spread over one or two days depending on your pace and the complexity of the design. Preparation, which includes selecting, disassembling, and sanding the pallet wood, usually takes about 2 to 3 hours. This step matters because smooth, clean wood provides a better surface for painting or staining, reducing the risk of paint peeling or uneven color.
Painting or staining the wood is the next stage and generally requires 1 to 2 hours of work, plus additional drying time. Depending on the paint or stain brand, drying can take anywhere from 2 to 6 hours at room temperature. Thicker coats, high humidity, or cooler temperatures may extend drying times. Applying more than one coat for richer color or protection will add 1 to 2 hours plus extra drying time for each additional layer.
After the paint or stain fully dries, assembling and mounting the sign, including arranging decorative elements or lettering, takes around 1 to 2 hours. This step requires careful alignment and secure fastening to ensure the sign remains sturdy and looks professional. Adding 3D decorations like stars or cutouts might extend assembly time by 30 minutes to an hour, depending on how detailed the additions are.
You can complete a simple pallet wood sign in a single weekend if you manage your time and plan for drying intervals overnight. For example, spend Saturday on prep and painting, then leave your project to dry overnight. Use Sunday for additional coats, assembly, and sealing the sign. This schedule avoids rushing the drying process, which is critical to preserve the paint’s finish and prevent smudging.
Several factors influence how long the project takes. Weather and indoor conditions affect drying speeds: warm, dry environments speed up drying, while cold or humid areas slow it down. Your experience level also impacts timing; beginners should allocate extra time for sanding and painting to achieve clean results. The complexity of your design, especially if it includes detailed stencils or three-dimensional elements, naturally lengthens the total project time.
Following this rough timeline ensures you don’t skip key steps like allowing adequate drying between coats, which can lead to paint that chips or looks blotchy after the sign is complete. Investing a little extra time upfront in sanding and prepping the wood pays off in a sign that lasts longer and looks polished. Setting your work area to a comfortable temperature around 70°F (21°C) with good ventilation will help optimize drying times without creating dust or debris on the wet paint.
11. Common DIY Pallet Sign Mistakes and How to Avoid Them
Common errors in making wood pallet signs often stem from rushing over wood preparation, improper painting, and faulty assembly. These mistakes can lead to a sign that looks unfinished or falls apart quickly. To avoid weak or unattractive results, focus first on thorough sanding and cleaning. This removes splinters, dirt, and residues that prevent paint from adhering well. Use medium-grit sandpaper (around 120-grit) for smoothing and then finish with fine-grit (220-grit) to create a consistent surface. Skipping this step often causes paint bleeding and peeling.
Paint bleeding occurs when paint seeps under stencils or runs on the wood’s grain. Applying painter’s tape carefully along edges and using multiple thin coats of paint rather than one thick coat helps keep lines crisp and colors vibrant. Allow each layer to dry completely, about 1 to 2 hours depending on paint type and room temperature (ideal is 65 to 75°F). Cover the dry paint with a clear sealer to protect your work without smudging.
Wood cracks and splits usually appear if you use pallet wood with existing damage or fail to treat the wood for moisture changes. To fix minor cracks, gently fill them with wood filler or putty compatible with your paint or stain. After drying for at least 24 hours, sand the patched area smooth before painting. Avoid signs made from wet wood. Let your pallet wood dry for several days in a dry, ventilated space to reduce warping and splitting after assembly.
Assembly troubles are common when sign boards are uneven, loosely connected, or the backing support is weak. Use clamps to hold boards firmly in place and drill pilot holes before screwing pieces together. Choose screws designed for wood with corrosion-resistant coatings if your sign will hang outside. For the clearest stability, add a cross brace or horizontal support on the back using 1×2 lumber. This keeps the sign square and prevents bowing.
- Properly sand and clean wood before painting
- Apply painter’s tape and use thin paint coats
- Dry paint fully between coats to avoid smudges
- Fill small cracks with wood putty and sand smooth
- Use dry, well-seasoned wood to prevent splitting
- Clamp boards before screwing and drill pilot holes
- Reinforce assembly with cross braces for strength
Check your wood’s moisture with a simple meter before you start; wood over 15% moisture often leads to cracks and warping.
Weak assemblies can cause signs to feel flimsy or even fall apart on the wall. Screws should be tightened firmly but not so much that they strip the wood. Make sure your mounting hardware matches the weight of your finished sign, heavy pallets need stronger hooks or anchors. Inspect your sign fully assembled and test its stability on a tabletop before hanging.
Step-by-Step Action Plan
Follow this plan to start and complete your wood pallet sign project with confidence.
- Day 1: Select your pallet wood based on size and condition, ensuring it’s free of nails and damage. Confirm it’s suitable by checking for smooth surfaces and good color.
- Day 2: Gather all essential tools and materials like a hammer, sandpaper, paint, and sealant. Lay them out neatly so you can access everything easily during the project.
- Day 3: Disassemble the pallet carefully using a pry bar and hammer without splitting the wood. Test success by having intact boards without cracks.
- Week 1: Plan and design your sign, sketching the layout either on paper or digitally. Verify clarity by ensuring your text and graphics are simple and readable.
- Week 2: Paint or stain your boards, applying light, even coats and letting each dry fully. Check your progress by making sure colors are consistent and smooth.
- Week 3: Seal your sign with an appropriate sealer for indoor or outdoor use. Confirm protection by seeing a clear, matte, or glossy finish without stickiness.
- Week 4: Assemble the boards securely and mount your sign using wall hooks or brackets, ensuring it hangs straight and stable by testing with gentle pressure.
- After 1 month: Add any 3D or decorative elements like small wood shapes or metal accents for a personal touch. Make sure decorations are firmly attached and visually balanced.
Frequently Asked Questions
Can I Use Recycled Pallet Wood for My DIY Sign?
Yes, recycled pallet wood works well but check for damage and chemicals. Sand and clean thoroughly before use for safety and best appearance.
What Type of Paint Withstands Outdoor Weather on Wood Pallet Signs?
Exterior acrylic latex paint holds up best outdoors, resisting moisture and fading. It maintains color longer than regular indoor paints for signs exposed to weather.
How Do I Prevent My Wood Pallet Sign from Warping over Time?
Proper sealing with outdoor-grade sealant keeps moisture out and wood flat. Store signs away from direct sun and heavy rain to avoid warping.
Can I Personalize a Pallet Wood Sign with Vinyl Lettering?
Yes, vinyl is a great way to add crisp, custom text or designs. Apply it after painting and sealing for a smooth, long-lasting finish.
Is It Better to Use Nails or Screws for Assembling Pallet Signs?
Screws provide stronger, more secure joints and are easier to adjust. Nails are quicker but less durable, especially for heavier or outdoor signs.
How Do I Safely Remove Nails from Pallet Wood Without Splitting It?
Use a claw hammer or pry bar gently to avoid splitting. Work slowly and support the wood near the nail for safer removal.
Key Points to Remember
Your personalized wood pallet sign is a rewarding project that blends creativity with hands-on skills. Taking one step at a time helps avoid common errors and keeps the process manageable. Start by choosing your wood and tools today, and you’ll have a custom piece ready to display in just a few weeks.