How to Weld Letters in Cricut Design Space: A Complete Guide with Tips and Troubleshooting
How to weld letters in Cricut Design Space means merging individual letter shapes into one connected image, so your machine cuts them as a single piece. You do this by selecting the letters and clicking the Weld tool, which combines overlapping parts and removes cut lines between them. Start with letters positioned to slightly overlap for the best welding results.
Key Takeaways
- Welding in Design Space converts separate letter shapes into one continuous cut path.
- The Weld tool permanently joins shapes; there is no undo option once applied.
- Overlap letters enough to create connected shapes before welding for cleaner results.
- Cursive fonts usually weld easily, while block fonts may need manual adjustments to overlap properly.
- Weld differs from Attach, which only holds shapes in place without merging cut lines.
- Use Slice to cut overlapping shapes apart, which is the opposite of welding.
How to Weld Letters Together in Cricut Design Space Step-By-Step
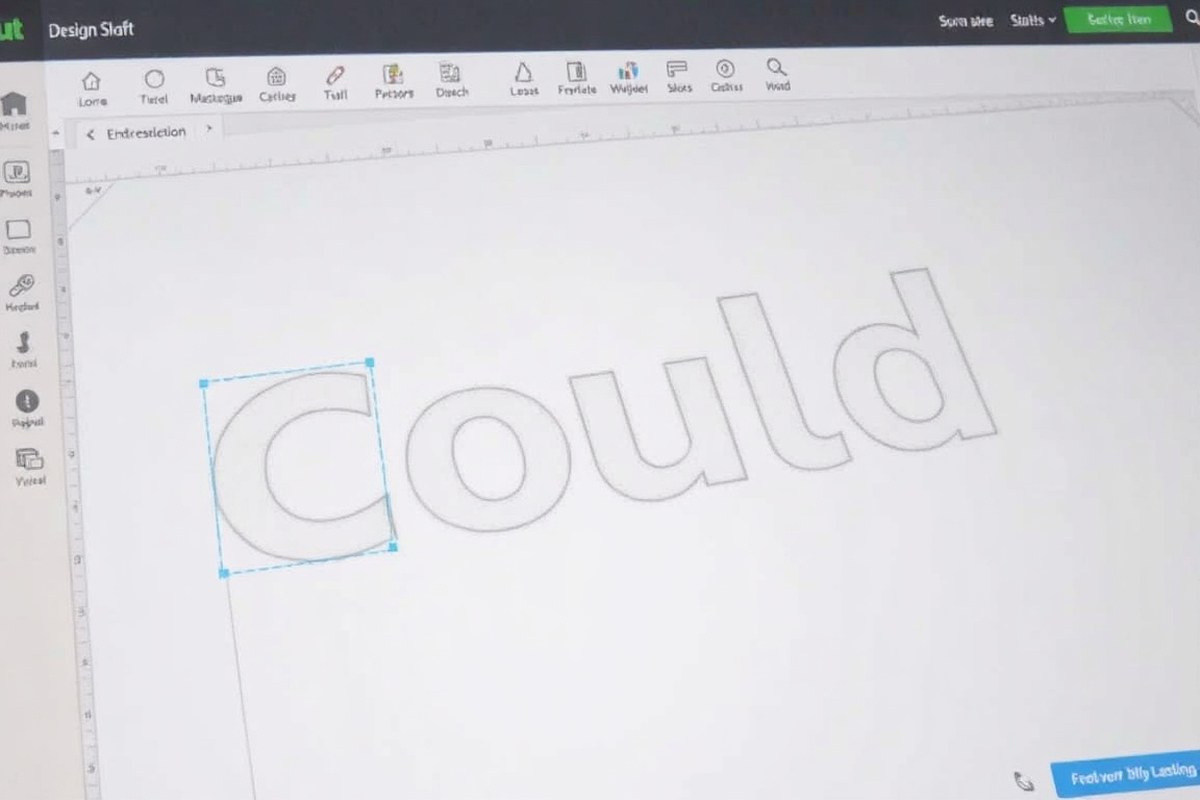
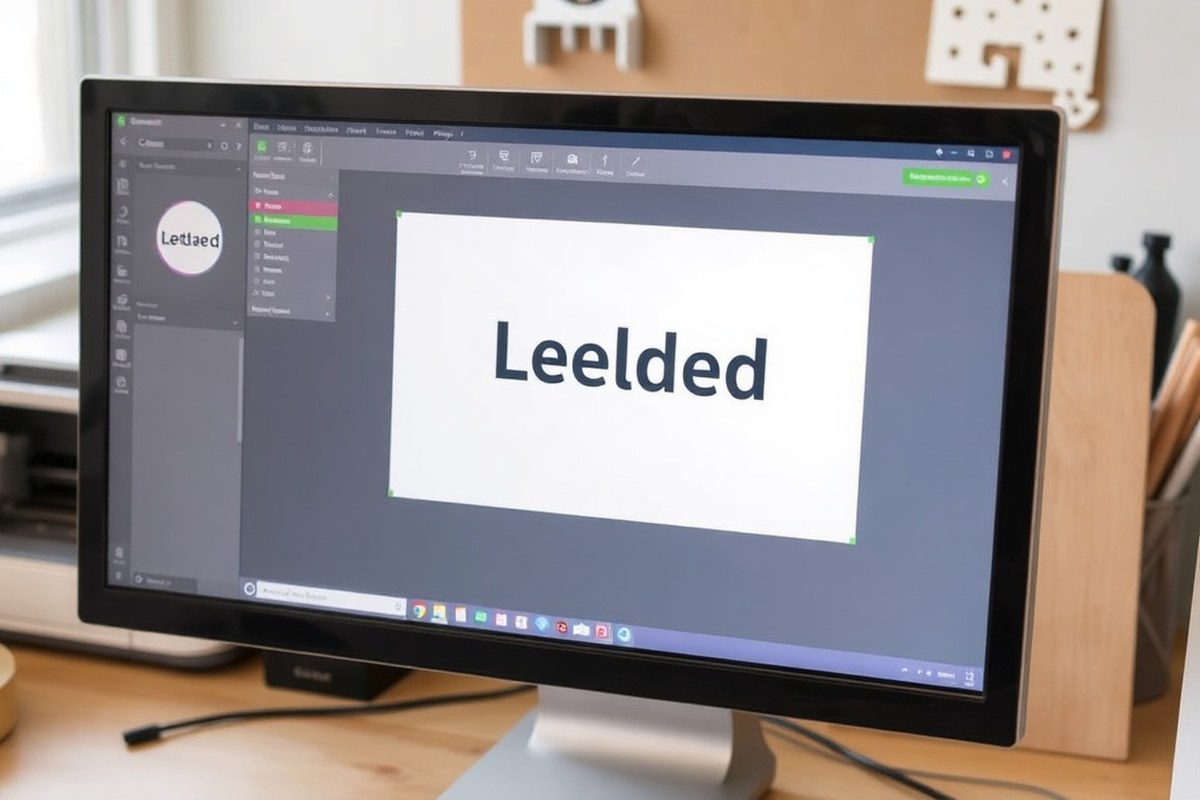
To merge letters in Cricut Design Space, first position and overlap them as desired. Then, select the group and click the Weld button to fuse the layers into a single shape. This process converts multiple letter layers into one continuous cut path that your Cricut machine processes as a single piece. The Weld option is located at the bottom of the Layers panel on both the desktop and mobile versions.
Position and Overlap Letters Properly
Start by deciding how closely you want your letters to connect. Properly overlapping letters is key to a smooth weld. When letters overlap, the parts where they intersect will join together, removing any internal cut lines. For block fonts, you’ll usually need to drag the letters closer to each other so they touch slightly. For cursive or script fonts, letters often connect naturally, but you might still want to adjust spacing for better shape merging.
Use the letter spacing feature or manually drag each letter to control overlap. Avoid too much overlap that distorts legibility, and not enough overlap that leaves gaps. Zoom in to place letters precisely, and consider adjusting letter height or angle if you want a unique style. Keep in mind that welding changes how letters cut, so minor spacing tweaks can have a big difference.
Select Letters and Access the Weld Tool
To use the Weld function, start by selecting all the letters or objects to combine. You can click and drag a box around them or click each one while holding the Shift key to select multiple items. After selecting, the Weld option will activate and appear at the lower right corner of the Layers panel on the right side of Design Space.
Click the Weld button to join the selected letters into one cuttable shape. Welding is permanent and cannot be undone unless you immediately use the Undo button or shortcut (Ctrl+Z or Cmd+Z). Duplicate your text before welding to keep an untouched original version safe for reference or future edits.
- Create or import your text in Cricut Design Space.
- Arrange the letters with appropriate overlap for welding.
- Select all the letters by dragging a selection box or Shift-clicking.
- Locate the Weld button in the Layers panel at the bottom right.
- Click Weld to merge letters into one shape.
- Undo immediately if the weld doesn’t look right or affects letter centers.
Finalize Welding and Check Results
After welding, the text becomes a single layered object. Visually, you won’t see internal cut lines where letters overlapped before. Check the Layers panel to confirm the letters combined into one layer, indicated by a single object name without individual letter listings. The outline of the word should now be continuous, with no breaks between letters.
Watch for any unexpected filled-in areas inside letters like “o” or “e” that mean the weld joined parts that should stay separate. This often happens if letters overlap too much or unusual font shapes are used. Undo and adjust spacing if needed to fix these issues before cutting. Good welding results in joined letters that cut as one piece with clear letter shapes.
What Welding Text Means in Cricut Design Space and Why to Use It
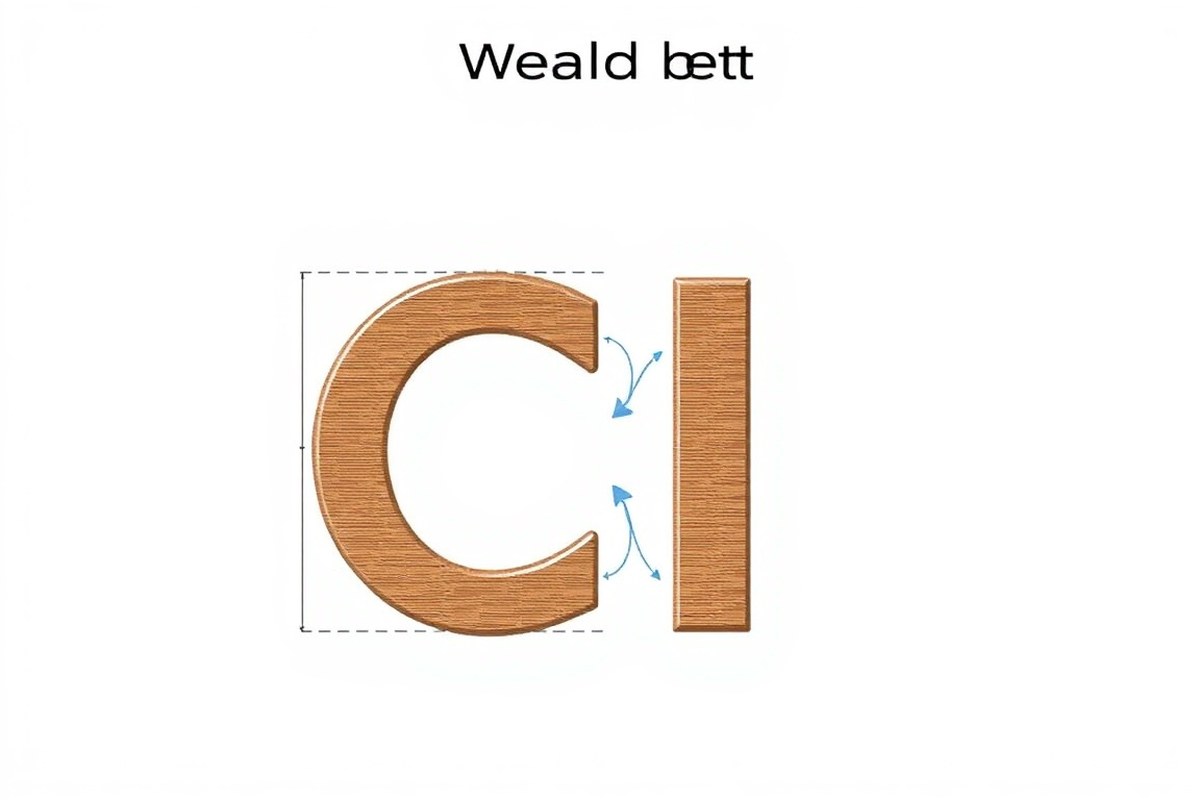
Welding text in Cricut Design Space means permanently joining individual letters or shapes into one continuous image. When you type text, even script fonts appear as separated letters by default, causing spaces between letters. Using the Weld tool removes those gaps and merges overlapping parts, so each letter connects smoothly. This process converts separate letter layers into a single, uneditable shape, which then cuts as one piece on your Cricut machine.
You should weld letters before cutting because it ensures clean, professional results where letters don’t overlap or cut as separate pieces. Without welding, Cricut treats each letter independently, which can lead to unwanted cuts where letters touch or gaps that disrupt cursive flows. Welding also simplifies your project by reducing the number of individual pieces, making it easier to weed and assemble. It’s especially important for script or cursive fonts where connected letterforms are essential to preserve design integrity.
To weld, select the letters or shapes you want to join in your Canvas. Then click the Weld button at the bottom right of the Layers panel or right-click and select Weld. The letters will bind into a single shape with no interior overlapping cut lines. Keep in mind welding is a one-way function; you can’t undo it later or separate the letters again. Because of this, confirm your text styling, spacing, and spelling before welding to avoid starting over.
Welding can be used not only on letters but also to merge text with images or other shapes in your design. This technique creates customized logos or detailed layered projects. You’ll want to adjust letter spacing closely before welding, especially with block fonts that don’t overlap naturally. When letters don’t touch, welding won’t join them effectively, so manually kern letters to bring them closer if you want them to appear connected.
Expect welded text to appear as a single, smooth shape with no cut lines between letters. A successful weld means your Cricut will cut out the text cleanly, reducing material waste and making your project easier to assemble. Problems arise if letters aren’t properly spaced or if you try to weld non-overlapping shapes, resulting in no actual weld. That’s why visual inspection after welding is important.
Remember to double-check your spelling and letter placement before welding since there’s no option to undo welds in Cricut Design Space.
How to Weld Cursive Versus Block Fonts: Techniques and Tips
Welding cursive fonts and block fonts requires different approaches to achieve smooth, clean cuts in Cricut Design Space. Cursive fonts often need minimal adjustment since their letters usually connect naturally, while block fonts require careful overlapping and spacing to avoid gaps or merged shapes. Knowing how to prepare each font type before welding ensures your final design looks professional.
Welding Cursive Letters Smoothly
Cursive or script fonts are designed with flowing connections between letters, making them easier to weld. The key is to check that letters are properly touching to create a single continuous shape. If they are spaced apart, welding won’t blend them, which can cause multiple separate cuts instead of one smooth cut.
Best practices include adjusting letter spacing or “kern” to bring letters closer together if needed. You can also use the letter spacing slider to slightly overlap letters, ensuring the weld tool fuses them smooth. Avoid excessive overlap, which can distort delicate script details.
- Insert your chosen cursive text into Design Space.
- Select the text and reduce letter spacing slightly to close any gaps.
- Ungroup letters if fine-tuning individual letter placement is necessary.
- Drag letters gently to overlap connecting strokes.
- Select all letters and click the “Weld” tool to fuse them into one shape.
Preparing Block Fonts for Welding
Block fonts typically have clearly separated letters, so welding requires deliberate overlapping. Unlike cursive, block letters don’t connect naturally, so you’ll need to manually position letters to touch each other where you want to merge shapes.
Start by decreasing the letter spacing and then move letters individually to overlap their edges by a small margin, usually 1 to 2 millimeters. This overlap is critical to ensure the weld tool merges the letters fully without leaving gaps or cutting them as separate shapes.
- Add your block-font text to the canvas.
- Use the letter spacing adjustment to bring letters close together.
- Ungroup letters to move each letter individually.
- Slide letters to overlap edges just enough to touch (around 1, 2 mm).
- Select all letters after adjustment and apply the “Weld” tool.
Fixing Issues with Overlapping and Gaps
Common problems when welding include unwanted gaps between letters or overly merged details that lose definition. Inspect your welded design before cutting to spot any missing joins or awkward overlaps.
To fix gaps, zoom in and slightly nudge letters closer or increase overlap. For letters that lose shape due to too much merging, reduce overlap and adjust spacing until the design maintains its intended look. Use “Undo” to test different spacings without losing progress.
- Zoom in on the welded text preview.
- Identify areas where gaps or odd mergers appear.
- Ungroup the text to adjust spacing on problem letters.
- Move letters to close gaps or reduce overlap for clarity.
- Reapply the weld until the shape looks smooth and consistent.
Differences Between Weld, Attach, and Slice Tools in Cricut Design Space
Weld, Attach, and Slice are essential functions in Cricut Design Space, each designed for specific tasks with letters and shapes. Choosing the right one affects the final cut and appearance of your design. You can find these tools below the layers panel on the right side of the desktop app. Knowing how each tool works allows you to permanently join letters, keep elements grouped, or make cutout shapes.
| Tool | Purpose | Effect on Design | When to Use | Cost in Design |
|---|---|---|---|---|
| Weld | Permanently merges letters or shapes into one single piece | Removes overlapping cut lines; two or more objects cut as one | Joining letters in cursive fonts or overlapping block letters to avoid cut lines between characters | Cannot edit individual letters after welding; irreversible unless undone immediately |
| Attach | Keeps letters or shapes grouped without merging paths | Preserves original cut lines; parts cut in same relative position | Maintaining letter spacing and positioning for cuts without changing shapes | Objects remain separate; easy to ungroup or move after attaching |
| Slice | Cut one shape out of another, creating new shapes from overlap | Generates new cut layers based on intersecting areas | Creating cutouts, layering effects, or complex designs from multiple shapes | Results in multiple new shapes; original shapes split into parts |
Welding is ideal when you want joined letters to appear as a smooth, single cut piece. For example, when crafting a script font phrase, welding avoids double cuts in overlapping letter connections. Attach is better when you want letters to stay spaced exactly but cut separately, like block fonts arranged in a line. Slice is useful when turning overlapped letters or shapes into new composite designs by cutting out sections.
You can combine these tools for complex projects. Start by attaching letters to lock their positions, then use slice on images layered over your text for cutouts. Or weld cursive letters first and then attach the phrase to other elements. Remember, weld permanently changes your design, so keep a duplicate layer if you want to edit letters later. Attach and slice are non-destructive, allowing more flexibility after grouping or cutting shapes.
How to Weld Letters with Images and Shapes for Complex Designs
You can weld letters with images or shapes in Cricut Design Space to create a single, unified design. This technique helps you combine multiple elements, text and shapes alike, into one cohesive cut, which simplifies the cutting process and avoids overlapping cuts. Welding is especially helpful for crafting projects like cake toppers, where connected text and decorative shapes are merged smooth.
Arrange Letters and Shapes on Canvas
Start by positioning your letters and shapes so they slightly overlap or touch where you want them welded. Overlapping is key because weld merges only the visible portions where layers intersect. Carefully adjust the spacing between text and shapes to avoid gaps that would prevent a smooth weld. You can use either simple shapes from the Shapes panel or images from the Cricut Access Library. Arrange them on your canvas exactly as you want the final cut to appear.
Aligning elements side by side with proper overlap will produce a clean merged edge. For example, when creating a cake topper, make sure the word and any decorative shapes like stars or vines connect at points where you want a single cut line. You don’t have to weld everything if some parts should remain separate cuts; choose only the layers you want combined.
Selecting Multiple Layers for Welding
Selecting the right layers before welding saves time. You can select adjacent letters, images, and shapes by holding down the Shift key and clicking each layer in the Layers panel, or drag a selection box around them on the canvas. Keep in mind that welding only affects visible layers, so hidden layers won’t interfere with your design. Group elements beforehand if it helps keep your project organized, but remember groups do not weld together unless you select all members.
Make sure you are 100% committed to welding, as this action cannot be undone once you save your project. Planning your layers in order will prevent accidental merges and simplify your workflow.
Only weld layers that should become a single cut; welding permanently merges layers into one and cannot be separated later.
- Click each letter, shape, or image while holding Shift to select them all.
- Ensure all selected layers are visible and positioned as desired.
- Check the Layers panel to confirm the correct selection of multiple objects.
Executing Weld and Verifying the Merged Design
After arranging and selecting your elements, press the Weld button found at the base of the Layers panel. This action combines all chosen layers into one Weld Result layer, eliminating cut lines inside and any overlapping areas. The canvas preview changes to display the new connected shape, and the Layers panel simplifies by merging those layers into a single item, making your design cleaner.
After welding, zoom in and inspect the edges carefully to ensure everything is joined smoothly. Checking for unwanted gaps or overlaps before cutting saves materials and effort. Remember that welding treats shapes as a single cut, so the material will be cut continuously along the outer shape. Some parts may not weld properly; use undo to reverse the weld, adjust where the elements overlap, then weld them again to correct the issue.
Verify the Weld Result layer to confirm all elements merged correctly; stray gaps or missing connections can cause cutting errors.
- Press the Weld button in the Layers panel after selecting layers.
- Review the canvas preview for smooth outlines and connected parts.
- Check the Layers panel to confirm the creation of one Weld Result layer.
Common Welding Issues and How to Troubleshoot Them Effectively
Missing parts of letters after welding usually happen when strokes or overlapping areas are too thin or positioned at very tight angles. Cricut Design Space merges all intersecting areas, so narrow gaps can cause letter sections to disappear as they blend into other parts. You can reduce this by increasing the letter spacing slightly before welding or choosing fonts with bolder strokes for better stability. Adjust letter placement so overlaps are more substantial rather than touching at slim points.
The Weld button may be greyed out if you haven’t selected the elements properly or if the items are grouped. Make sure you highlight only the text or shapes you want to weld, and ungroup any grouped layers first. Also, welding is only available for vector shapes or text layers, so if you’re working with a flattened image or raster design, the option won’t activate. Double-check you’re working on editable fonts or layers.
Unexpected fills or letters appearing solid black instead of outlined shapes often occur when welding fonts with built-in fills or shadows, or when combining letters that include holes and negative spaces, like “A” or “O.” To avoid this, convert text to outlines by using Flatten to make a print-then-cut image or detach fills by ungrouping letters before welding. Alternatively, use block fonts without internal fills for cleaner welds.
- Check for overlapping points that are too thin and increase spacing or font weight.
- Ungroup all layers and select only the individual letters to weld.
- Confirm text layers are editable and not flattened images.
- Use block fonts instead of decorative or script fonts with fills.
- Adjust letter placement to ensure substantial overlap for a smooth weld.
- Try detaching or flattening layers if unexpected fills appear after welding.
When welding, preview the result closely to spot any missing letter parts before cutting. Zoom in on intersections and thin areas to ensure letters blend as intended without losing detail. This extra step helps avoid wasting materials on cuts that won’t look right. Taking the time to tweak spacing and font choices saves troubleshooting after the project is underway.
Best Fonts and Letter Spacing Tips for Welding Success
Fonts with connected or flowing characters work best for welding because their shapes naturally overlap, creating clean joins when you merge letters. Script fonts, cursive styles, and some rounded sans-serifs are top choices. Block or stencil fonts often require additional spacing adjustment or manual letter alignment since their letters don’t overlap by default, making welding less effective or messy.
Spacing letters properly before welding is important to prevent gaps or unwanted cut lines in your final design. Use the letter spacing tool in Cricut Design Space to bring letters close enough that they overlap slightly, about 1 to 2 points closer than default spacing usually does the trick. Overlapping edges by a small margin creates those welded joints without distorting the letterforms. Avoid making letters too tight because that can cause distorted shapes or welding errors. Approach styling your text in these steps:
- Pick fonts with natural connections or rounded edges for smoother welds.
- Set letter spacing to slightly negative values (e.g., -0.5 to -1.5) to force overlap.
- Preview cross over areas carefully on screen to check where welding occurs.
- Manually nudge individual letters if automatic spacing doesn’t create clean overlaps.
- Use zoom to inspect weld points and adjust spacing as needed before final welding.
Good results have welded letters merging smooth with no visible cut lines or gaps, ensuring your Cricut machine cuts a continuous shape. Failed welds may show breaks between letters or unintended holes if spacing is incorrect. Adjust spacing gradually and preview often. Scripts generally need less letter spacing adjustment since letters already touch, while block fonts often need more careful tweaking.
Spacing also affects how well the machine can handle the cut. Letters overlapped enough to weld tend to cut as one piece, reducing weeding time and making the design easier to handle. If letters sit just barely touching without overlap, the weld may not process correctly, and you might get separate cuts instead of a unified shape. Proper overlap prevents this and creates smooth, professional-looking text projects.
How Welding Affects Cricut Cutting and Project Outcomes
Welding in Cricut Design Space changes cutting lines by joining overlapping parts of letters or shapes into a single, continuous outline. When you weld letters, the tool removes overlapping cut lines where they intersect, so the machine doesn’t cut those areas twice. This reduces the total number of individual pieces you end up with, making your project cleaner and faster to assemble.
For example, if you type the word “CRAFT” in a thick block font and space the letters close together, welding will merge the touching edges. Instead of cutting each letter separately with duplicate cut lines between them, the welded output will have one smooth path. This means fewer cuts, less material waste, and easier weeding since there are no tiny cut pieces sticking between letters.
After welding, your cut preview will show a simplified design. Instead of multiple overlapping shapes, the letters appear as a single connected design with no shared interior borders. This can affect how layers behave, too. Letters that were once separate objects now behave like one grouped piece, so you can move or resize the entire word without breaking its structure.
Welding is especially helpful in cursive fonts or script styles, where letters naturally overlap. It ensures the interior overlaps are not cut away, preventing small, fragile components from being removed during cutting. However, be aware that welding completely fuses letter shapes, so you cannot adjust spacing between individual letters afterward unless you undo or ungroup the weld.
One tradeoff is that once letters are welded, the design loses some editability. You won’t be able to change individual letters or apply different colors and effects separately. The cut path becomes one solid shape representing the whole welded text. If you need to customize letters individually, keep a copy of the original text before welding.
To get the best results, make sure letters overlap at least slightly before welding. Without overlap, letters remain separate cut pieces, and the weld won’t combine them. Also, consider your material thickness and the precision of your cutting machine. Strongly welded designs often cut cleaner, but very fine overlaps on thin materials might create fragile cut edges.
Check your cut preview after welding to confirm overlapping cut lines are gone; this ensures a single, smooth cut path and reduces material waste.
Step-by-Step Action Plan for Welding Letters in Cricut Design Space
Follow these clear steps to weld your letters successfully and improve your Cricut project results.
- Before you start: Choose your font and type your text in Cricut Design Space. Make sure you select a font that welds well, like a cursive or script style.
- Step 1: Adjust the letter spacing to overlap slightly if you’re using a block font. Check visually that letters touch but don’t fully merge yet.
- Step 2: Select all the letters you want to weld by clicking and dragging or holding Shift and clicking each one.
- Step 3: Select the Weld button located at the bottom of the Layers panel. Your letters should combine into a single shape, with no visible cut lines separating them.
- Step 4: Preview your design in the cut preview mode to confirm the weld worked. You should see a continuous cut line without breaks.
- Step 5: If welding with images or shapes, position them overlapping the text before selecting all and welding.
- After your first weld: Try resizing your welded text to check if it still cuts cleanly without gaps or overlaps.
Frequently Asked Questions
Can I Weld Letters in Cricut Design Space Without Flattening the Design?
Yes, welding joins letters as a single shape without flattening, which preserves cut layers. This lets you cut connected text while keeping individual colors in multi-layer designs.
How Do I Fix a Letter’s Inner Parts Disappearing After Welding?
That happens when weld merges inner holes with outer shapes. Adjust letter spacing before welding or use fonts with large interior spaces to avoid losing details.
Can Welded Text in Cricut Design Space Be Resized Without Distortion?
Yes, welded text can be resized like any other shape. Keep proportions locked to avoid stretching letters unevenly after welding for clear, clean cuts.
Is It Possible to Weld Letters on Multiple Lines in Cricut Design Space?
You can weld letters on different lines but need to weld each line separately. Lines must be spaced properly before welding to prevent unwanted overlaps.
Can I Weld Customized Text with Uploaded Images in Cricut Design Space?
Yes, weld works perfectly to merge text with standard images in the design space. Ensure your images don’t overlap text too much, or the weld might fill in unintended areas.
How Can I Undo a Weld If I Make a Mistake?
Welding is permanent in Cricut Design Space; there is no undo weld option. Save a duplicate of your original text before welding for backup to avoid irreversible changes.
Before You Go
Welding letters in Cricut Design Space lets you create smooth, connected designs that improve your projects. Taking the time to adjust letter spacing and preview cuts helps avoid common issues. Start by testing welding on a simple word to see the difference before working on complex designs.