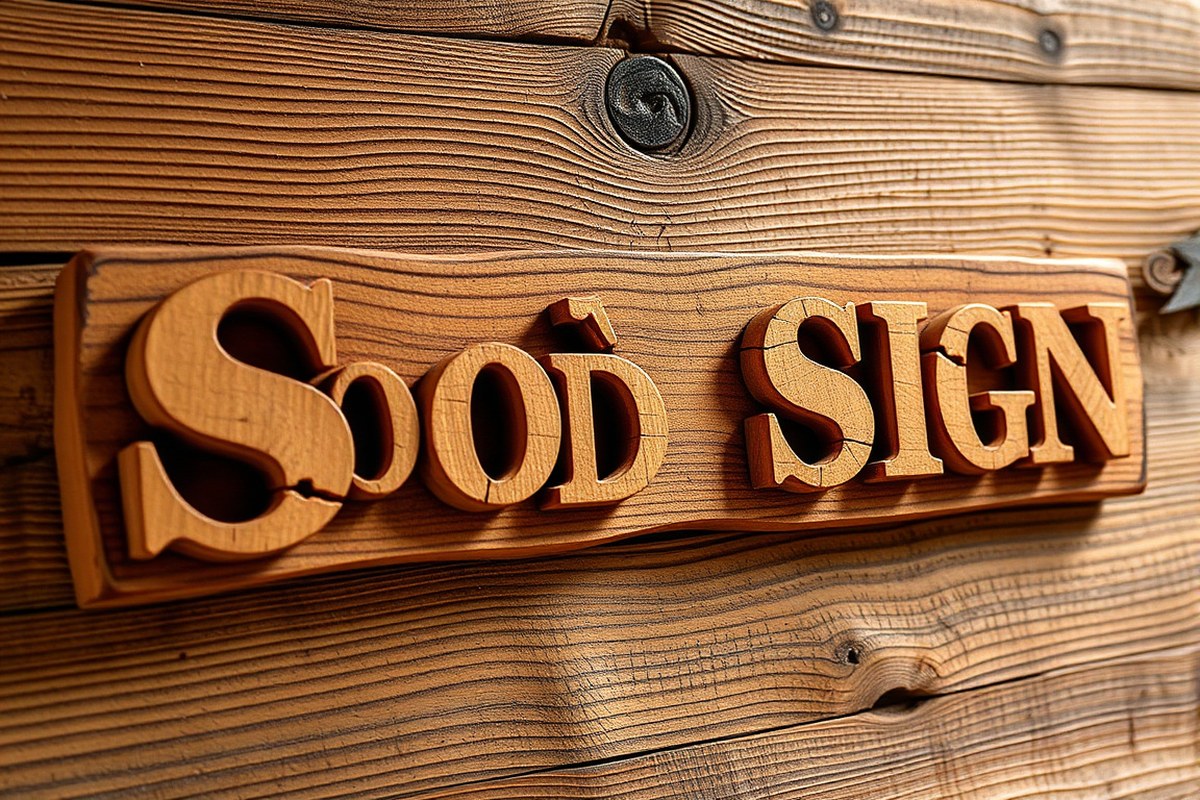
3d Wood Sign Ideas: Creative Designs, Tools & Finishing Tips That Work
3d wood sign ideas bring depth and texture that flat signs lack, making your message stand out visually and physically. Using methods like carving, layering, or inlays creates a lifelike, shadow-improve effect that catches the eye. Start by selecting a wood type that balances durability with the look you want for your sign.
Key Takeaways
- Use 60° V-bits for fine engraved lettering and 90° V-bits for bolder characters on your signs.
- Choose plywood and 1×2 boards for a cost-effective and sturdy base for 3D wood signs.
- Layer wood pieces to create dimensions easily without complex tools or skills.
- Apply wood stain and Mod Podge to protect and highlight your sign’s textures and colors.
- Free or low-cost software like Cricut Design Space helps design precise layouts for engraving and cutting.
- Baking a wood sign at 250° on an upside-down cookie sheet can help set stains and finishes evenly.
What Makes a Wood Sign 3D and Different?
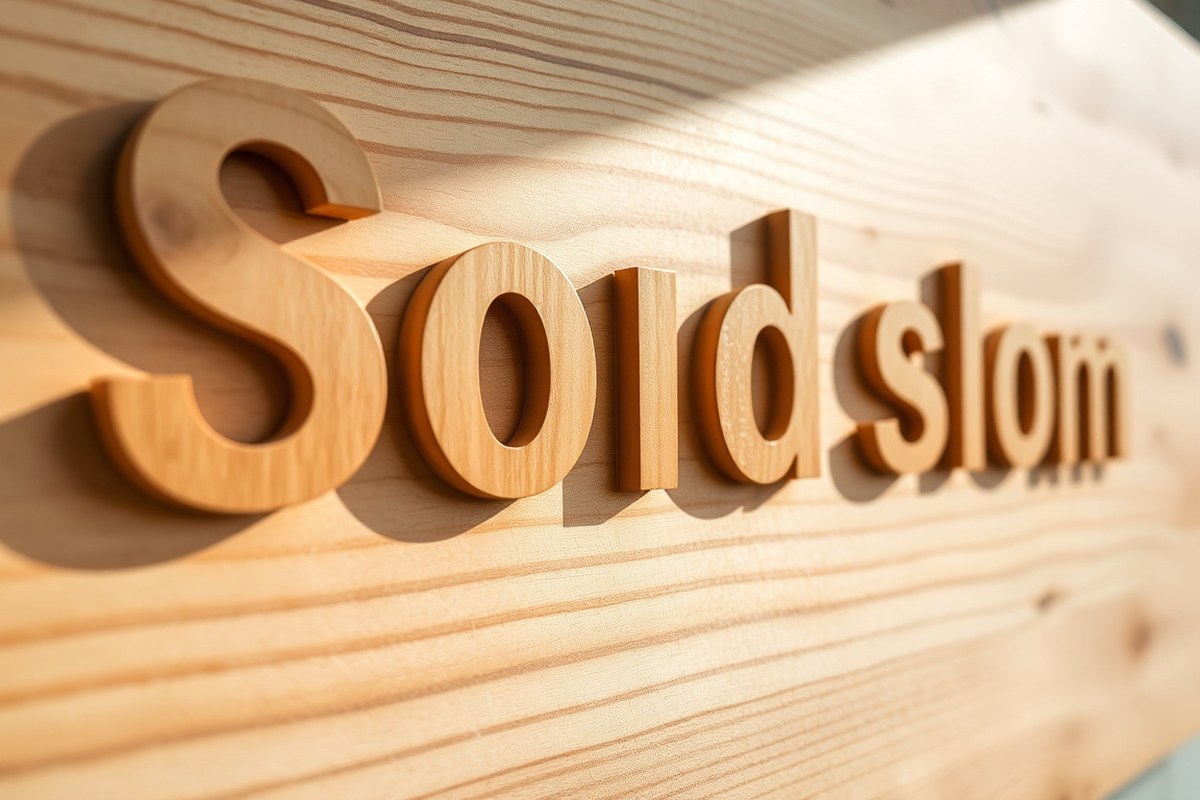
A 3D wood sign features elements that either stand out from or are carved into the wood surface, creating physical depth and texture. Unlike flat or 2D wood signs, which display designs printed, painted, or etched on a single, smooth plane, 3D signs have raised letters, shapes, or bas-relief carvings. This three-dimensional quality makes the design visually and tactilely engaging, often casting shadows that add to the sign’s impact and uniqueness.
The difference between 3D and 2D wood signs lies in their construction and appearance. A typical 2D wood sign might have painted text or routed grooves that remain level with the wood surface. In contrast, 3D signs involve carving designs into the wood to various depths or layering separate wood pieces on top of the base. For example, a farmhouse-style wood sign might have letters cut from 1/2-inch thick pine and glued to a plywood backing. This technique creates raised lettering that literally stands out from the background, adding depth and character.
Several 3D effects are common in wood sign making. The most popular method is bas-relief carving, where images or words are carefully routed or hand-carved into the wood to different depths. Another approach is layering, which involves cutting multiple pieces and stacking them to create dimensional shapes or letters. Inlays offer a subtler 3D effect by embedding contrasting woods, metals, or resin into carved recesses. Each technique requires distinct tools and skills, for example, using a CNC router for precise carving or layering cutouts with wood glue for raised elements.
Creating a 3D wood sign typically requires planning the depth and layering to maximize the visual effect. The raised parts can range from 1/8 inch to over 1/2 inch above the surface, depending on the wood thickness and design. Costs are generally affordable; the basic materials, plywood, 1×2 lumber, wood stain, and adhesives, often total around $4 per sign. Time investment varies with complexity, but simple raised-letter signs can be completed in a few hours, while intricate bas-relief carving with detailed shading takes longer and may require more expensive equipment.
Good results showcase clear depth differences that draw eyes and invite touch. Sharp edges on carved lines and smooth transitions between layers create professional-looking signs. Improper depth choices or sloppy layering can cause readability issues or a cluttered look, so precision in cutting and assembly matters. Also, the wood type affects how well details show up and how durable the sign is outdoors, with hardwoods offering finer detail but costing more.
Designing Your 3D Wood Sign: Styles and Software Options
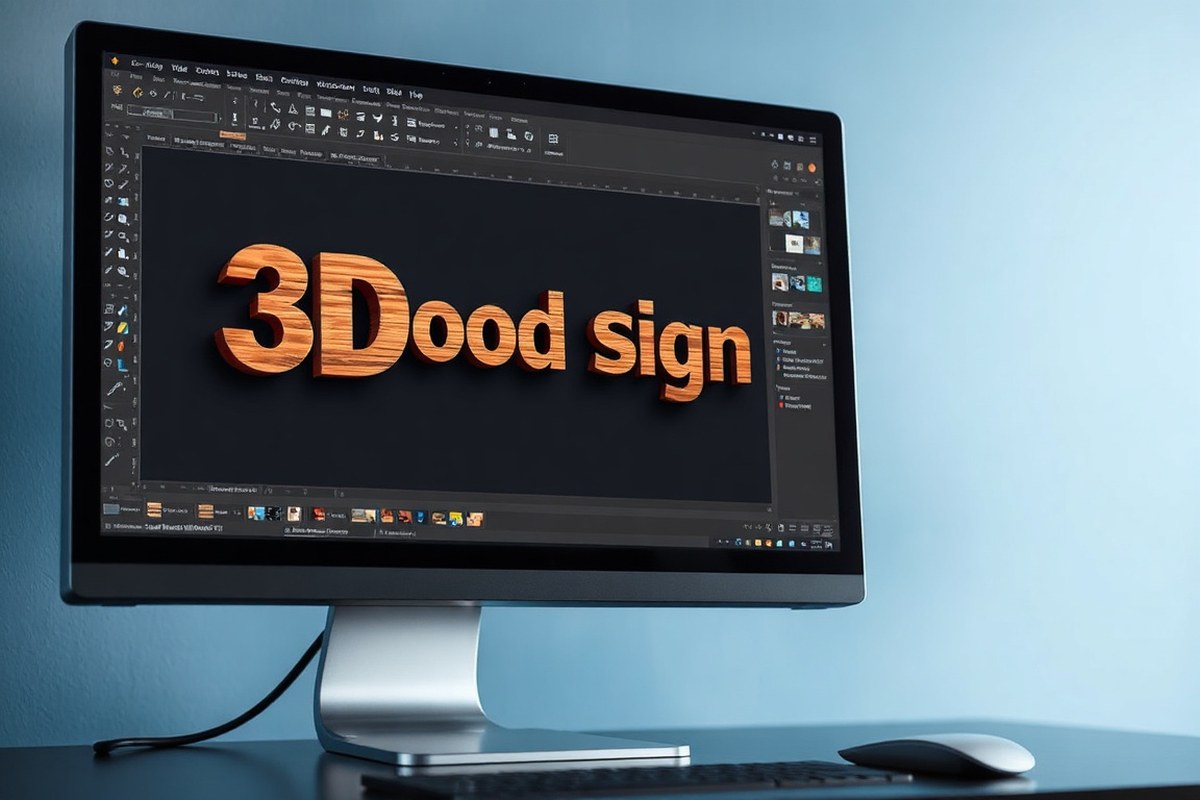
Designing your 3D wood sign requires choosing a style that fits your space, arranging the text and images for clarity, and selecting tools to create accurate patterns. Each step affects how the finished sign looks and how easy it is to carve or assemble. Using the right software can save time and improve precision, especially for intricate designs or layered effects.
Popular 3D Wood Sign Styles
Popular styles range from rustic pallet wood signs with bold block letters to elegant script fonts layered for depth. Farmhouse style uses simple serif or sans-serif text combined with natural wood grains. Coastal designs often feature nautical fonts and painted accents that contrast the wood’s natural color. Layered signs add dimension by stacking cut letters or shapes, while carved signs use engraving bits for detailed borders and fine serifs.
Selecting a style depends on the setting and visual impact you want. For example, a large outdoors sign might benefit from high-contrast colors and big, thick letters for visibility. Indoor decorative signs can use thinner, more intricate lettering or whimsical fonts that highlight the wood’s texture.
Layout Tips for Dimensional Lettering
Effective 3D lettering needs clear spacing and balance between components to maintain readability from a distance. Keep letters at least 1 to 1.5 inches tall for smaller signs and at least 3 inches tall for larger signage. Use a minimum of 1/4 inch depth for carved elements or layers to create noticeable shadows and definition. Align letters horizontally or curve them gently to follow the sign’s shape but avoid overly tight spacing that complicates carving or layering. Here is a checklist to design a clear 3D wood sign layout:
- Choose a font with clean lines suitable for carving or cutting tools.
- Increase letter spacing (tracking) to prevent overlap of raised elements.
- Include at least 3/4 inch of margin around the text to frame the design.
- Test readability by viewing your layout scaled to the actual sign size.
- Plan the layering order if using stacked wood pieces for a dimensional effect.
- Use contrasting paint or stain colors to improve edges and shadows.
Always check your design’s scale before cutting; too small or cramped letters reduce legibility and make the carving process harder.
Best Software and Apps for Design
For DIY wood sign design, software that can handle vector graphics and CNC-compatible files works best. Free options like Inkscape allow you to create and edit scalable designs, ideal for engraving or cutting. Paid options such as Adobe Illustrator offer advanced features, but may have a steeper learning curve and subscription costs. Specialized programs like Easel by Inventables are beginner-friendly and integrate with CNC machines, providing templates and simple controls for 3D carving. Other useful tools include:
- Cricut Design Space: excellent for generating cut files if you use machines like Cricut Explore Air 2.
- Fusion 360: powerful for complex 3D modeling, though it requires some design skills.
- Vectric Aspire or VCarve: professional-grade software for detailed signmaking and layered carving.
Choose software based on your project size, budget, and your experience level, prioritizing formats compatible with your cutting or carving tools.
Choosing Wood and Materials for Durability and Look
Choosing the right wood for your 3D sign affects how it looks, how easy it is to carve, and how long it lasts. Smooth plywood and solid pine are common choices because they are easy to carve and hold paint well. For outdoor signs, hardwoods like cedar or redwood resist moisture and decay better, keeping your sign looking good longer. Softer woods like pine allow more detailed carving but can dent easily, so consider the level of detail you want and where the sign will hang.
Preparing your raw wood properly is essential. Start by sanding the surface with medium-grit sandpaper (around 120 grit) to smooth rough patches, then finish with fine-grit (220 grit) for a paint-ready surface. This ensures your paint or stain adheres evenly and the carved details stand out. Before carving, make sure the wood is dry and clean. For outdoor signs, seal the wood with a weather-resistant primer to protect it from the elements.
Beyond wood, materials like metal or acrylic can frame your sign or serve as accents, boosting durability and creating contrast. Metal frames add strength and a modern touch, while acrylic pieces can bring color without adding much weight. Choose materials that suit the style and location of your sign, keeping installation needs in mind.
Use the checklist below to gather your essentials for a 3D wood sign project. Having these ready will guide your process smoothly from start to finish.
| Wood Type | Best For | Durability | Carving Detail | Cost Estimate |
|---|---|---|---|---|
| Solid Pine | Indoor Signs, Smooth Finish | Moderate | High Detail | $15-$25 per 12×12 inch board |
| Plywood (Smooth) | Indoor/Outdoor, Easy Painting | Moderate | Medium Detail | $10-$20 per 12×12 inch sheet |
| Cedar | Outdoor Signs | High (Weather Resistant) | Medium Detail | $20-$30 per 12×12 inch board |
| Redwood | Outdoor Signs | High (Decay Resistant) | Medium Detail | $25-$35 per 12×12 inch board |
| Scrap Wood (Various) | Rustic Style | Varies | Low to Medium Detail | Often Free or Low Cost |
Before carving, make sure you have the right tools like a sharp carving knife, rotary tool, or chisels depending on your design complexity. Also gather sandpaper, wood glue (if layering pieces), paint or stain, sealant, and brushes. For outdoor signs, a marine or exterior-grade polyurethane provides good protection against moisture. Working with dry wood that’s smooth and sealed helps prevent splitting and ensures your carving details remain sharp and visible over time.
Methods to Create 3D Effects: Carving, Layering, and Inlays
Creating 3D wood signs involves techniques like CNC carving, hand carving, layering wood pieces, and adding epoxy or wood inlays. Each method gives your sign depth and character by building or removing material strategically. Choosing the right one depends on your tools, skill level, budget, and desired finish.
CNC Carving Process Overview
CNC carving uses a computer-controlled router to cut precise 3D patterns into wood. It allows for intricate designs and consistent results, making it ideal for professional-looking signs. The machine removes wood based on a digital design, cutting to various depths to create relief effects. Here’s how to make a 3D wood sign with CNC carving:
- Create a digital design using CAD or sign design software, including the depth settings for 3D relief.
- Prepare the wood piece, typically a flat hardwood or plywood panel, ensuring it’s smooth and clean.
- Secure the wood on the CNC bed to prevent movement during cutting.
- Load the design into the CNC software and set cutting parameters like bit type, speed, and depth.
- Run the machine to carve the design. Expect the process to last from 30 minutes to several hours based on size and detail.
- Remove the carved sign, clean off dust, and sand any rough areas.
- Apply finishes like paint, stain, or clear coat to highlight the carving and protect the wood.
CNC carving costs include the design software, machine time, and bits. Outsourcing carving can cost $50 to $200 per sign depending on complexity. Good results have crisp edges and clean depth variation. Errors usually come from incorrect bits, improper wood hold, or design file issues causing tear-out or uneven cutting.
Techniques for Hand Carving 3D Signs
Hand carving is an accessible way to create 3D wood signs with traditional tools like chisels, gouges, and mallets. It provides a personal touch and allows for artistic variation but needs patience and practice. Hand carving works well for smaller signs and simple relief designs. To hand carve your own 3D sign, follow these steps:
- Sketch your design onto the wood surface using a pencil or carbon paper transfer.
- Select carving tools suitable for the wood type and design detail.
- Start by removing background wood around letters or shapes to create raised elements.
- Use V-shaped and U-shaped gouges to refine edges and add depth.
- Smooth carved surfaces with rasps and sandpaper.
- Finish by staining or painting to emphasize the 3D effect and protect the wood.
Hand carving often costs less upfront, relying on tool investment ($30, $100 for a basic set) and your time. Good craftsmanship shows clean contours and balanced depth. Watch for wood splitting or uneven cuts, which happen when using dull tools or applying excess force.
Adding Layers and Epoxy Inlays
Layering involves gluing cut wood pieces on top of one another to build dimensional letters or shapes. Epoxy or wood inlays add color and texture by filling carved recesses with resin or contrasting wood. These techniques improve depth without complex carving. To layer and inlay your 3D wood sign effectively:
- Cut your base sign and separate pieces for raised layers from plywood or hardwood about 1/4 to 1/2 inch thick.
- Sand edges smooth for flush fits and clean lines.
- Glue layers using wood glue, clamping while drying for 30 minutes to an hour.
- Carve shallow recesses or routed channels for inlays if desired.
- Mix epoxy resin with tint/color as needed; pour into recesses carefully.
- Let epoxy cure 24 to 48 hours, then sand to level the surface.
- Finish the entire sign with sealant or paint to protect and highlight layers and inlays.
Layering is simple and affordable, using scrap wood pieces and basic glue. Epoxy resin costs around $20 to $40 per quart, enough for several inlays, but requires proper ventilation and safety precautions. Effective layering looks clean with tight joints, while poor glue coverage or uneven layers can cause gaps and weak spots. Epoxy inlays should be bubble-free and flush to avoid rough spots.
Finishing Techniques to Highlight and Protect 3D Signs
Finishing your 3D wood sign properly highlights its depth and protects the wood, especially if your sign will be outdoors. A clear sealer is the best way to safeguard the wood and any paint you apply. For outdoor use, choose a durable, weather-resistant polyurethane or spar varnish. Apply two to three thin coats with a high-quality brush, allowing each coat to dry for at least four hours in a dust-free environment. This protects against moisture, UV rays, and temperature changes, which can cause warping or fading.
Painting adds vibrant color to your sign and accentuates 3D details like carved lettering or raised layers. Use acrylic or latex paint designed for wood; these dry quickly and offer good adhesion. Before painting, lightly sand the surface to smooth rough patches but avoid sanding away fine details. Using painter’s tape can help create clean edges, especially when combining painted elements with natural wood textures. For a natural look, stain the wood before painting; this lets the grain show through the transparent color, adding richness without masking the wood’s character.
Staining emphasizes wood grain and gives your sign a warm, inviting appearance. Choose a gel stain if your 3D details include deep carvings or layers, as it sits nicely on the surface without pooling. Apply stain with a lint-free cloth or brush, wiping off excess within 5 to 10 minutes to prevent blotchiness. A single coat usually suffices, with drying times ranging from 2 to 6 hours depending on humidity. Sealing the stained wood is necessary to preserve the finish, especially for signs exposed to sunlight or moisture.
Combining painted and natural wood textures can create a striking contrast on your 3D sign. For example, paint raised letters while leaving the background stained or varnished to showcase the wood’s grain. This approach adds visual interest and depth without overwhelming the design. Keep in mind that over-layering finishes might cause peeling or cracking over time; allow adequate drying between layers and don’t apply excessive coats.
For indoor signs, finishing might be simpler. A clear satin or matte polyurethane sealer protects the wood and paint against dust and minor scratches without adding shine. It usually costs $10 to $20 per quart and covers about 200 to 400 square feet per coat. Budget 1 to 3 hours for sanding and multiple sealer coats. Outdoor-grade finishes cost more but are essential for longevity. Avoid oil-based finishes in enclosed spaces due to strong fumes; water-based products are safer.
Prevent common issues by thoroughly cleaning your sign before finishing. Dust and oily fingerprints can cause uneven finishes or poor paint adhesion. Use a tack cloth or slightly damp rag, then let the wood dry completely. Always test your chosen finish on a scrap piece or an inconspicuous area to make sure it behaves as expected on your wood type and paint.
Always thin polyurethane or varnish slightly with the recommended solvent to avoid bubbles that obscure 3D detail on intricate wood signs.
Time and Cost Expectations for 3D Wood Sign Projects
The time it takes to complete a 3D wood sign project usually ranges from a few hours to several days. Simple designs that use layering or basic carving can often be finished within 4 to 8 hours, including drying time for paint or finish. More complex signs involving detailed carving, inlays, or multiple wood types might stretch the timeline to a few days, especially if multiple coats of finish need to cure. Planning your timeline ahead helps you avoid rushing and ensures every step is done well.
The cost of a 3D wood sign depends on several factors: the type of wood, tools used, project size, and design complexity. Hardwood like oak or walnut generally costs more than pine or plywood, pushing the budget up by $10 to $30 or more per board foot. Using power tools such as a CNC router or scroll saw can reduce your labor time but requires investing $100 or more if you don’t already own one. Hand tools are cheaper but slow you down, increasing labor effort. Larger signs consume more materials and can cost $50 to $200 or more for supplies alone, while smaller projects may stay under $50.
To keep costs down without sacrificing quality, start by selecting affordable yet suitable wood types like pine or poplar. Buy wood from local suppliers or home improvement stores to avoid shipping fees. Limit the sign size and complexity to what your tools and skill level can handle efficiently. For cutting vinyl or applying overlays, you can work with sheets up to 12 feet long without extra mats and waste to stay cost-effective. Reuse scrap wood for framing instead of buying new pieces. Choosing water-based paints and finishes also reduces cost and cleanup time.
Creating a checklist before you begin can help control both timing and expenses. Include these steps: decide on the sign size and design, select wood and materials, gather all tools and safety gear, prep the wood (sanding and cutting), carve or layer the design elements, paint or stain, apply finishes, and add any framing if desired. Allocate specific time blocks for drying and curing to avoid rush jobs that could ruin your work.
Good time management results in a clean, detailed 3D sign with smooth surfaces and sharp design features. Rushing or skipping steps often leads to uneven paint coats, rough edges, or weak joints. You can avoid these issues by setting a realistic schedule and using the right tools suited to your project scale. Assess your skill level honestly and choose projects that match your pacing to prevent frustration and wasted materials.
Common Mistakes and How to Fix Them Quickly
Carving mistakes often happen when the depth is uneven or the tools slip, leaving rough or shallow areas. These flaws stand out in 3D wood signs because shadows and highlights reveal texture. To fix shallow spots, gently recarve with a sharp chisel following the original design. For slips, sand smooth and repaint or restain that section to blend it in. Use a light touch to avoid widening errors.
Layering errors can cause misalignment or uneven stacking, which affects both appearance and stability. Before gluing pieces, double-check dry fits and mark positions clearly. When layers are misaligned after glue dries, sanding edges or trimming thin areas helps improve the fit. Applying clamps evenly during drying helps prevent shifting. Letters that seem crowded or off-center benefit from rearranging the layout on scrap pieces to test spacing before final assembly.
Paint bleed and uneven finishes are common problems after carving or layering. Acrylic paint tends to dry fast and is forgiving, but bleed shows when paint seeps outside lines. A quick fix is using a small artist’s brush dipped in matching background color to touch up edges. For uneven coverage, apply a second thin coat with smooth, even strokes. Allow each layer to dry for at least 30 minutes to prevent peeling or smudging. Sealing the sign with a clear, water-resistant sealer protects paint and wood, adding longevity to the finish.
- Check carving depth regularly and sharpen tools often
- Dry-fit all layers before gluing and mark alignment points
- Use painter’s tape to mask edges before painting detailed areas
- Correct paint bleed with a fine brush and matching background color
- Let paint dry 30+ minutes between coats for smooth finish
- Apply a clear sealer after finishing to protect the sign
- Sand edges lightly to fix small misalignments or rough spots
Hard-to-read lettering typically signals layout or finish issues. Increase contrast by repainting letters with bright or darker tones against the background. Avoid fonts that are too thin or intricate for carving tools, which lead to unclear letters. When designing, opt for bold, simple fonts. Use a ruler and pencil to sketch guidelines before cutting or painting to ensure letters are aligned. Fix spacing by adjusting individual letters on thin wood pieces before attaching.
Safety and When to Get Professional Help
Safety is a key part of making 3D wood signs, as woodworking and carving involve sharp tools, dust, and sometimes power equipment. Using proper safety gear and following careful steps helps prevent injuries and ensures your project goes smoothly. Knowing when a project is beyond your skills and requires a professional can save you time and avoid costly mistakes.
Essential Safety Gear for Woodworking
At a minimum, wear safety glasses or goggles to protect your eyes from wood chips and dust. A dust mask or respirator rated N95 or higher prevents inhaling fine dust particles, which can irritate lungs and cause long-term issues. Hearing protection like earplugs or earmuffs is important when using loud power tools such as routers or sanders to protect your hearing.
Gloves offer hand protection but should be used carefully because they can catch in power tools with rotating parts. Using snug, cut-resistant gloves while handling sharp carving knives or chisels is safer than bulky gloves. Also, wear close-fitting clothing and tie back long hair to avoid getting caught in machinery.
Critical Safety Procedures During Carving
Sharp tools require concentration and steady hands. Always carve away from yourself and keep your non-dominant hand behind the cutting edge to reduce the risk of accidental cuts. Secure your wood piece firmly using clamps or a vise so it doesn’t slip mid-cut. A stable work surface also helps maintain control during intricate carving.
Power tools like rotary carving tools or CNC routers demand extra caution. Follow all manufacturer instructions, check cords and blades before each use, and never bypass safety features. Work in a well-ventilated space to avoid buildup of dust and fumes from finishes or adhesives.
Take breaks to avoid fatigue, which can reduce coordination and increase accident risk. Clean your work area regularly to keep it free of debris and potential tripping hazards.
Keep carving tools sharp; dull blades require more force and increase the chance of slips and injuries.
Signs You Need Professional Assistance
Consider hiring a professional when your project involves complex carving patterns, delicate inlays, or large-scale signs requiring heavy equipment or precise finishing. Without experience using power carving tools or CNC machines, you risk damaging the wood or causing injury by improper use. Professionals have specialized training and tools that can handle these tasks safely.
Also, when the sign will be exposed to weather or is intended for commercial use where durability and compliance with safety standards matter, experts can recommend the best materials and finishes. When your work space doesn’t have proper ventilation or safety equipment, it may be smarter to outsource parts of the project.
Costs for professional sign makers vary widely, typically starting around $100 for simple custom work and increasing with size and detail. Compare this to potential costs of replacing tools, materials, or treating injuries if attempting complex steps alone.
Step-by-Step Action Plan for Your First 3D Wood Sign
Follow these steps to create your first 3D wood sign with confidence and clear progress checkpoints.
- Before you start: Choose your design style and software. Confirm your idea looks good in 3D preview to avoid redesign later.
- Day 1: Select and prepare your wood and materials. Check for quality and consistency to ensure durability and finish quality.
- Day 2: Outline your 3D cutting or layering plan. Test on scrap wood to verify your technique and machine settings work well.
- Day 3-4: Begin carving, layering, or inlay work. Monitor your progress and fix mistakes immediately for a clean 3D effect.
- Day 5: Sand and clean your sign to prepare for finishing. Your surface should be smooth to the touch and free of debris.
- Day 6: Apply your chosen finish carefully, focusing on areas that highlight 3D features. Confirm even coverage and color consistency.
- Day 7: Inspect your completed sign under various lighting. Good depth and clarity in 3D details means your project succeeded.
Frequently Asked Questions
What Are Some Creative Themes for 3D Wood Signs?
Creative themes include farmhouse style, motivational quotes, family names, and seasonal décor. You can personalize these signs to reflect your home’s style or a special hobby, making them unique conversation pieces.
How Can Layering improve My 3D Wood Sign?
Layering adds depth and texture by stacking cut wood pieces of different shapes or sizes. This technique lets you highlight specific design elements, making your sign more visually appealing and tactile.
What Tools Are Best for Carving Detailed 3D Wood Signs?
Rotary tools like Dremels or CNC routers work well for detailed carving. They offer precision, which helps bring intricate designs and finer textures to life.
How Do I Prevent Warping in Multi-Layered Wood Signs?
Use kiln-dried wood and seal all layers with a quality finish to reduce moisture absorption. Proper sealing and choosing stable wood types help keep your sign flat and durable.
Can I Add Lighting to My 3D Wood Sign?
Yes, integrating LED strips or small spotlight fixtures can highlight your sign’s 3D features. This adds visual interest and makes your sign stand out, especially in dim light.
What Finishing Methods Best Preserve the 3D Effect?
Clear epoxy resin or polyurethane coatings maintain depth while protecting wood from wear. These finishes improve the three-dimensional look without dulling details.
Wrapping Up
Creating a 3D wood sign blends your creativity with hands-on skills in woodworking and finishing. Each step shapes your design into a dimensional piece that stands out visually and lasts longer. Start now by selecting your first project and gathering materials, then move confidently through carving and finishing to bring your unique sign to life.