Cardboard Sign Ideas: 8 Creative Methods with Practical Tips
Cardboard sign ideas offer an affordable and versatile way to create eye-catching messages for events, sales, or décor. You can design and craft these signs yourself using simple materials and tools, saving money compared to buying custom signs. Starting with sturdy cardboard and clear lettering ensures your message stands out and your sign lasts longer.
Key Takeaways
- Select corrugated cardboard for durability and easy cutting on large signs.
- Use painters tape or masking tape to define edges and reinforce glued areas.
- Paint signs with acrylic or chalkboard paint for vibrant or reusable designs.
- Cut ½ cm slits 2 inches apart around letters to attach decorations or lights securely.
- Slide sticks into unglued bottom edges for easy mounting and carrying.
- Shape poles’ tips at 45 degrees and cover with duct tape to fit sliding slots smoothly.
1. Creative Cardboard Sign Ideas for Various Uses
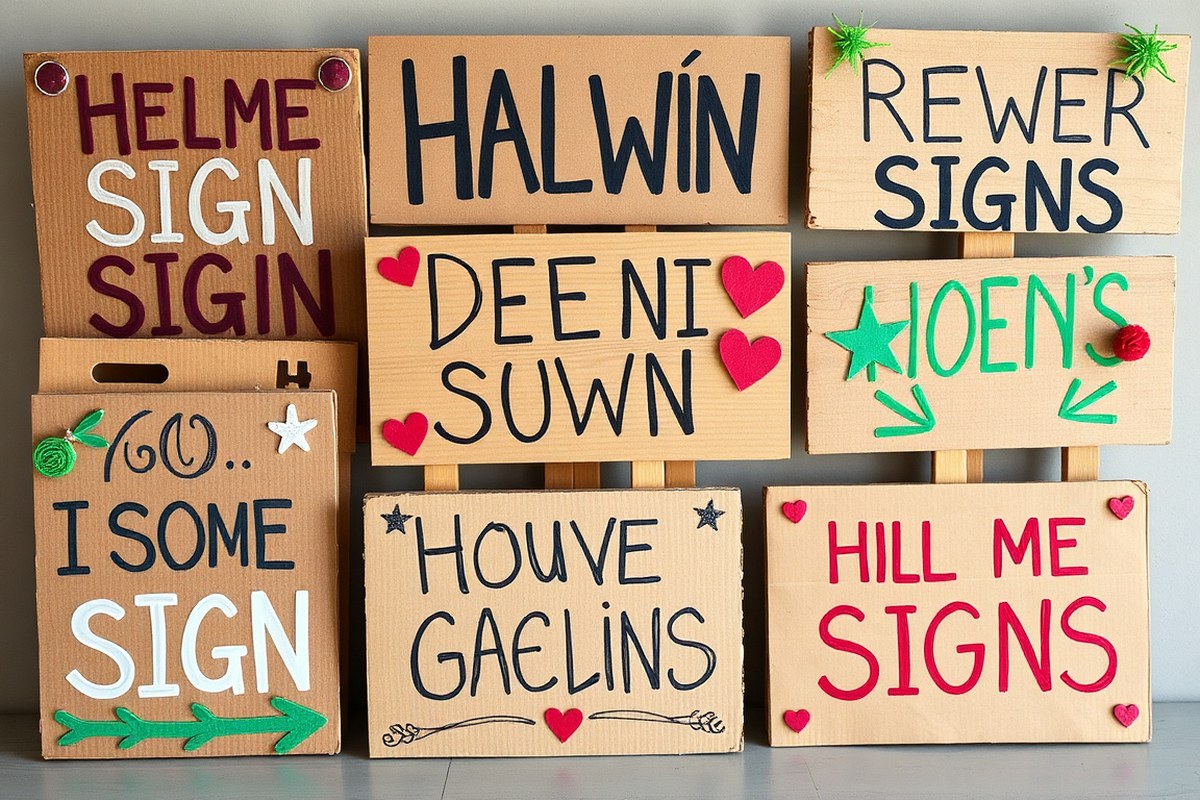
Cardboard signs work well for a variety of events and purposes because they are affordable, customizable, and easy to create. Popular ideas range from simple directional signs for events like weddings or yard sales to eye-catching promotional displays for small businesses or craft fairs. Painting or stenciling with acrylic or latex paint provides vibrant, durable designs that grab attention and withstand some handling. You can also transform cardboard into chalkboard signs by applying chalkboard paint, allowing for reusable messages ideal for dynamic indoor settings like cafés or classrooms.
For seasonal or event-specific uses, consider themed shapes and decorations. For instance, cut cardboard into pumpkins for fall festivals or sunflowers for summer events, using the mounting pole as a stem and adding leaves for a 3D effect. Holiday signs can include easy-to-make lettering or icons such as stars or snowflakes to amplify the festive atmosphere. Simple, single-sided signs are quicker to produce and lighter to handle, especially when used outdoors where wind or weather might be less predictable.
- Directional signs with arrows for weddings, festivals, or open houses
- Promotional signs for craft fairs or small business sales, featuring bold slogans and bright colors
- Chalkboard-style signs for menus or changing information, painted with chalkboard paint and usable multiple times
- Seasonal decorations like pumpkin-shaped signs for autumn or sunflowers with poles acting as stems
- Event welcome signs or photo booth backdrops, decorated with stenciling or painted lettering
- Protest or rally signs with quick, clear, hand-painted messages on sturdier cardboard
- Indoor informational signs, mounted on walls with Command Strips to avoid damage and allow easy removal
Decorating methods differ notably for indoor versus outdoor use. Inside, you have more flexibility with delicate materials such as chalk or lighter paint layers since weather exposure is not a concern. Outside signs should use durable acrylic or latex paint to resist fading and moisture. Mounting poles from 3 to 8 feet help raise the sign’s visibility, and adding duct tape around pole tips makes sliding signs onto poles easier and more secure. When reusing signs, chalkboard paint offers budget-friendly versatility, as you can erase and repaint messages instead of creating a new sign for every occasion.
2. Choosing the Right Cardboard and Essential Materials
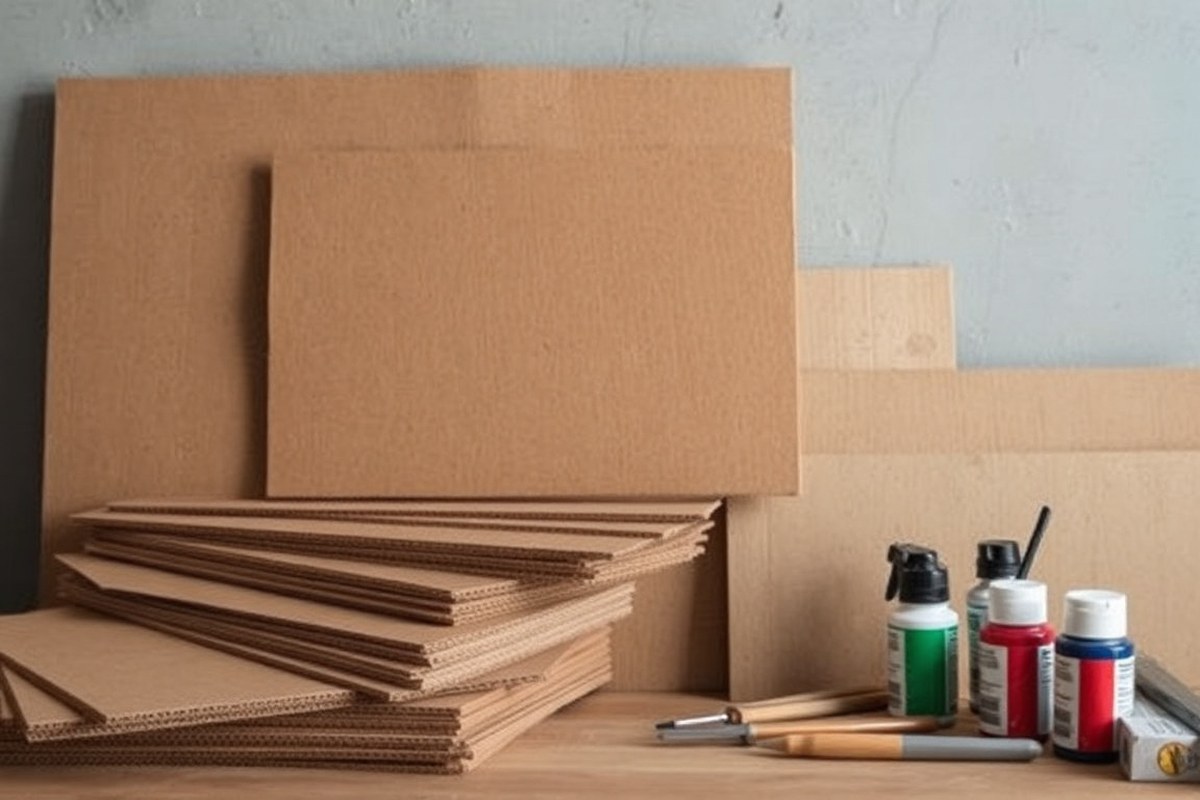
Start with sturdy, corrugated cardboard when making signs that need to last or look polished. Corrugated cardboard has a fluted layer between two flat sheets, which adds strength and helps the sign hold its shape. For simple, temporary signs, single-layer cardboard or cardboard from shipping boxes can work well, but they may bend or tear more easily. Outdoors, choose thicker corrugated cardboard and treat it with waterproof paint or sealant to protect it from moisture.
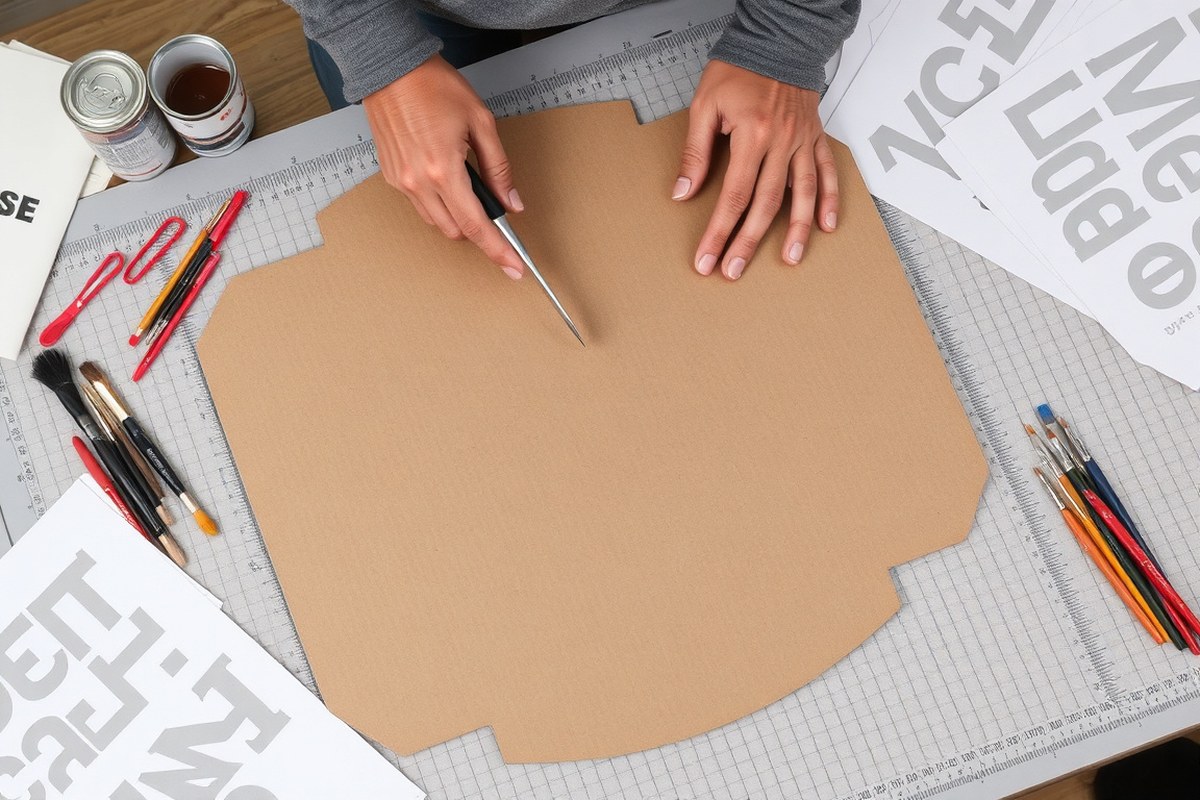
Use a sharp utility knife and a cutting mat for clean edges, especially when cutting multiple signs for consistency. Heavy-duty scissors can also work but may not be as precise. Wider rolls of masking tape are essential for assembly and securing handles or poles. Avoid cheap tapes, as these may peel off and weaken the sign’s structure. Here’s a comparison table of common cardboard types to help you select the right one for your project:
| Cardboard Type | Strength | Best Use | Outdoor Suitability | Typical Cost |
|---|---|---|---|---|
| Single-layer (shipping box) | Low | Temporary indoor signs | Poor (warps easily when wet) | Often free or under $1 (scrap) |
| Corrugated (double wall) | High | Durable signs, outdoor with treatment | Good if sealed or painted | $1 – $3 per sheet (varies by size) |
| White corrugated | High | Clean look, visible graphics | Good with waterproofing | $2 – $4 per sheet |
| Chipboard (pressed pulp) | Medium | Indoor signs, craft projects | Poor (absorbs water) | $1 – $2 per sheet |
A basic checklist improve your sign-making process:
- Cardboard: Corrugated for sturdiness, size matched to your sign
- Cutting tools: Sharp utility knife and cutting mat or heavy-duty scissors
- Tapes: Wide masking tape with strong adhesive
- Paints: Acrylic or chalkboard paint for outdoor durability; avoid tempera as it washes away
- Markers: Chalk markers for semi-permanent indoor signs
- Pole or handle: Optional, sturdy flat or round pole for holding or mounting
- Sealant: Waterproof spray or acrylic sealer for weatherproofing outdoor signs
Make sure to cut your cardboard on a protected surface to avoid dulling your blades and to achieve smooth edges for a clean, professional look.
Buying larger sheets of corrugated cardboard allows you to cut multiple signs to the exact same size quickly. For repeating messages, create a stencil from cardstock or plastic to trace the design, speeding up your process. This approach not only saves time but ensures uniformity if you plan to display several signs at an event or in a store.
3. Step-By-Step Guide to Creating Painted and Chalkboard Signs
Creating painted or chalkboard cardboard signs takes preparation, careful painting, and clean lettering steps to ensure durability and a sharp appearance. Using the right paint and technique helps your sign stand out, whether for events, sales, or home décor. Drying times and surface care matter for the best results.
Preparing the Cardboard Surface
Start by selecting sturdy cardboard with a smooth surface. Remove any loose fibers or dirt by lightly sanding with fine-grit sandpaper. Slightly rough surfaces can cause paint to peel or appear uneven, so smoothness improves the finished look.
Cut the cardboard to your desired size and shape, using a jigsaw or utility knife for precision. Once cut, wipe the surface with a dry cloth to remove dust before painting. To get a dark chalkboard background, prime the surface with a layer of black acrylic or latex paint. This will cover the cardboard’s brown tone and help prevent warping.
Applying Chalkboard or Acrylic Paint
Choose either chalkboard paint for erasable signs or acrylic paint for a permanent look. Use a foam roller or angled brush to evenly apply the paint. Avoid thick coats, as they dry slower and can crack. Painting steps:
- Lay the cardboard flat on a protected surface.
- Apply a thin first coat of chalkboard or acrylic paint evenly across the cardboard.
- Allow the paint to dry for 30 to 60 minutes in a warm, dry space.
- Apply a second coat for full coverage and durability.
- Let the final coat dry completely, usually 2 to 4 hours depending on humidity and paint brand.
Painting the background before adding lettering helps text stand out. Chalkboard paint has a matte finish, while acrylic paint can be glossy or matte based on the type. Acrylic dries faster than latex but both offer solid coverage.
Adding and Fixing Lettering Details
Design your lettering on a computer first to choose font style and size that suits your sign dimensions. Print the letters on standard 8.5×11 inch paper if you want to transfer the design easily. Cut small slits about 1/2 centimeter wide and 2 inches apart around each letter on the printout to create a stencil effect. To get clean letters on the cardboard:
- Place the stencil on the dry paint surface and secure it with low-tack tape.
- Use a small foam brush or acrylic paint in a contrasting color to dab paint gently inside the stencil.
- Remove the stencil carefully to avoid smudging.
- Touch up edges with a fine brush for crisp outlines.
- Let letter paint dry for 15 to 30 minutes.
When you have clear handwriting, use chalk or chalk markers directly on the chalkboard paint. To fix lettering mistakes, wipe away with a damp cloth before it dries fully. For acrylic paint errors, wait until dry and gently scrape with a craft knife or repaint over the spot once cured.
Seasoning and Maintaining Chalkboard Finish
Before writing on a freshly painted chalkboard surface, season it by rubbing a piece of chalk all over the board and then wiping it off. This prevents the first writings from leaving permanent marks. Seasoning typically takes 5 to 10 minutes.
Maintain chalkboard signs by wiping with a damp cloth weekly to remove dust buildup. Avoid harsh cleaning chemicals that can damage the paint finish. For extra longevity, keep painted cardboard signs indoors or sheltered from rain and sun.
4. Ways to Add Lettering and Designs to Cardboard Signs
Lettering and designs on cardboard signs can be created using various methods, each differing in ease of use, durability, and visual effect. Common approaches include hand painting, using markers, stenciling, printing stickers or decals, and cutting out letters from paper or vinyl to glue onto the cardboard. Choosing the right technique depends on your skill level, the sign’s intended lifespan, and the environment where the sign will be displayed.
Hand painting with acrylic paints offers vibrant color and moderate durability, especially when sealed. Markers, such as permanent or paint markers, are quick and straightforward for beginners but may fade faster outdoors. Stencils provide clean, consistent lettering and work well for repeating designs or block letters. Printing stickers or decals is ideal for precision and can withstand weather if you use outdoor-rated materials. Cut-out letters stuck on the sign add texture and dimension but require careful alignment and secure adhesives to prevent peeling.
Below is a comparison table summarizing these methods by durability, difficulty, cost, and visual impact:
| Lettering Method | Durability | Ease for Beginners | Cost Estimate | Visual Style |
|---|---|---|---|---|
| Hand Painting (Acrylic) | Moderate (lasting weeks to months outdoors if sealed) | Moderate (requires steady hand, brushes) | $5, $15 for basic paints & brushes | Customizable, vibrant, textured |
| Permanent/Paint Markers | Low to Moderate (fade under sun, water exposure) | High (easy to use, no cleanup) | $3, $10 per marker | Flat, precise, good for lines or small text |
| Stencils with Spray/Brush Paint | Moderate | Moderate (needs stencil prep and careful application) | $10, $20 for stencils and paint | Clean edges, uniform fonts |
| Printed Stickers/Decals | High (weather-resistant options available) | High (design on computer, print, and apply) | $0.50, $5 per letter or decal | Professional, sharp, varies by print quality |
| Cut-Out Letters (Paper/Vinyl glued) | Moderate (depends on adhesive, exposure) | Moderate to Low (requires cutting tools, precision) | $5, $15 for materials/tools | Layered, dimensional, eye-catching |
To create neat, consistent lettering by hand, consider tracing pre-printed letters. Print your text in a large font, place the cardboard over it, and lightly trace the outlines with a pencil before painting or filling. For stencils, select fonts with simple shapes and spaces that won’t collapse, block or sans-serif fonts usually work well.
Cutting letters from colored paper or vinyl involves using a craft knife or scissors. Aim for bold, thick letters for visibility. Apply a strong glue or double-sided tape designed for paper to ensure adherence to the cardboard. Allow sufficient drying time to prevent peeling or curling.
Design ideas include mixing styles, such as hand-painted titles with marker details or combining printed lettering with painted accents. Using contrasting colors for letters and background improves readability. For example, large white letters over a dark-painted cardboard catch attention at a distance.
Good results depend on clean surfaces, steady application, and proper drying or curing times, paint usually needs at least an hour to dry, while adhesives vary by brand. Avoid overloading cardboard with moisture or weight, which can warp or weaken the sign. Depending on the display duration and weather, protect your work with a clear sealant or laminate for longer life.
5. How to Reinforce and Weatherproof Cardboard Signs
Making cardboard signs last longer and withstand weather involves sealing, reinforcing, and choosing the right protective materials. Protection from moisture and wind is key to keeping your sign readable and intact, especially outdoors. Simple materials like clear tape, sprays, and edge guards can improve durability with minimal effort and cost.
Materials to Weatherproof Cardboard Signs
Clear packing tape or wide masking tape is an easy way to shield your sign’s surface from rain and humidity. Applying tape across the edges and over the face of the sign prevents moisture penetration. Waterproof spray sealants designed for paper or cardboard add another layer of protection. These sprays dry clear and usually cost between $5 and $15, depending on the size.
Plastic laminating sheets or adhesive films also waterproof the sign, but require cutting to size and smoothing out bubbles. Using a spray sealant combined with edge taping often provides good resistance for short-term outdoor use, such as events lasting a few days.
Reinforcing Edges and Preventing Bends
Cardboard edges are vulnerable to tearing and bending, which weakens the overall sign. Wrapping edges with 2-inch (5 cm) wide masking tape or packing tape reinforces these areas and keeps the cardboard layers from separating. For extra strength, double-sided signs made by gluing two pieces of cardboard back-to-back create sturdier boards that resist bending better.
Adding a lightweight cardboard or plastic backing can help stabilize the sign without adding much bulk. Reinforcing the corners and edges early prevents rips, which are harder to fix once they appear.
Step-by-Step Weatherproofing Process
- Print or paint your message on the cardboard and let it dry completely.
- To make a double-sided sign, glue two pieces of cardboard together using adhesive, making sure to align the edges carefully.
- Apply masking tape around all glued edges, except the section reserved for mounting poles or handles.
- Cover the sign’s face lightly with clear packing tape strips or apply a thin, even layer of waterproof sealing spray.
- Allow spray sealants to dry fully, usually 15 to 30 minutes, before use.
This structured approach prevents moisture damage and improves wind resistance, keeping your cardboard sign functional and readable outdoors.
Quick Fixes for Torn or Bent Signs
Tears along the edges can be patched with clear tape applied on both the front and back for better hold. Small bends or creases straighten out better if you place the sign under a heavy flat object, like a book or board, for 24 hours.
For signs already showing wear, reinforcing with extra layers of tape and sealing sprays can extend life by several weeks or months depending on exposure. Avoid using standard duct tape for face protection as it can leave residue or peel paint.
Preventive Care Tips for Longer Lasting Signs
Store unused cardboard signs flat in a dry, cool area away from direct sunlight to avoid warping and fading. When the sign needs to be reused indoors, wipe off dust with a dry cloth and inspect for loose tape or peeling edges before setting it up again.
Consider changing from chalk to permanent paint or markers if you do not need to alter the message often. This reduces smudging and keeps the sign clearer through handling and weather fluctuations.
- Use clear packing tape over edges for moisture protection
- Glue two cardboard pieces for durability and double-sided readability
- Apply waterproof spray sealant evenly and allow drying time
- Patch tears immediately with double-sided tape patches
- Store signs flat in a dry place to prevent warping
- Use heavy flat objects to flatten bent cardboard signs
- Replace chalk with permanent paint for long-term display
Regularly inspect your cardboard sign for damage and fix tears or loose tape right away to prevent further deterioration from weather or handling.
6. Attaching Poles, Handles, and Mounting Options Safely
Attaching poles, handles, or mounts to cardboard signs requires careful handling to keep the sign stable and undamaged. Choosing the right method depends on whether you plan to carry the sign, hang it indoors or outdoors, or display it on a wall. Using the correct tools and techniques will prevent tearing, bending, or wobbling.
Sliding Poles Safely into Cardboard Layers
One of the most common ways to add support to a cardboard sign is by sliding poles through the cardboard layers. You want to avoid ripping the cardboard, so creating a controlled slot instead of punching random holes is essential. Thicker double-wall cardboard handles poles better; single-wall cardboard may need extra reinforcement around the slot. Follow these steps to insert poles safely:
- Measure and mark the pole location about 1 to 2 inches from the sign’s edge to prevent tearing.
- Use a utility knife to cut a narrow slit through the outer layer, about as wide as the pole’s diameter.
- Carefully widen the slit in the corrugated layer by separating the flutes without tearing them.
- Slide the pole gently into the slit, avoiding forcing it to prevent bending or tearing the layers.
- Reinforce around the pole insertion point with duct tape or packaging tape on both front and back sides.
Using wooden dowels or PVC pipes between 3/4 and 1 inch in diameter works well as poles. Painting poles can make them look more polished and match your sign’s theme.
Using Tape and Glue for Secure Attachments
Tape and glue are key to stabilizing lightweight handles and smaller mounts. For large or heavy signs, tape alone might not hold well outdoors, but indoors, strong double-sided tape works effectively. Stapling leaves or cardboard cutouts to the poles also boosts security. Here is how to apply these adhesives properly:
- Clean and dry all surfaces where tape or glue will be applied.
- Use strong double-sided tape like 3M’s Command strips or heavy-duty packing tape for main joints.
- Apply tacky craft glue on edges of handles or lightweight mounts for extra hold.
- Press tape or glued elements firmly and let glue dry fully, usually 1 to 2 hours depending on product.
- For outdoor use, prefer waterproof tapes and glues designed for exterior conditions.
Combining glue and staples, especially on leaves or decorations attached to poles, ensures attachments won’t fall apart during use.
Wall Mounting Methods with Adhesive Strips and Screws
Different wall types dictate mounting choices. For smooth, painted drywall, removable wall-safe double-sided tapes allow damage-free display. For longer-term or outdoor displays on wood or masonry, screws offer secure mounting by passing directly through the sign and into the wall. Follow these mounting suggestions:
- Pick mounting spots that avoid studs or uneven surfaces if using adhesive strips.
- Apply wall-safe double-sided tape strips vertically near sign edges, pressing firmly for 30 seconds to maximize grip.
- Consider using multiple strips spaced evenly to distribute weight if the sign is large.
- For screw mounting, drill pilot holes slightly smaller than your screws through the cardboard at desired points.
- Secure screws by hand or a drill directly into wall anchors or studs behind drywall.
Screws provide the best stability outdoors or for heavier signs but leave small holes. Adhesive strips minimize wall damage but might fail under moisture or heat.
Handheld and Wearable Handle Options
Adding handles makes signs easier to carry, especially during events. Handles can be simple grips glued or taped on the back or wearable straps attached for hands-free use. Lightweight cardboard handles can be reinforced with tape and glued edges to improve durability. Use these steps for creating and attaching handles:
- Cut strips of cardboard about 1 to 2 inches wide and 6 to 12 inches long for hand grips.
- Fold the strips lengthwise to form a sturdy loop or flat handle.
- Apply strong craft glue and cover with heavy-duty tape to reinforce the handle.
- Attach handles by taping or gluing them securely to the back of the sign at midpoint edges.
- Allow glue to dry fully before use to avoid weak attachment.
Wearable handles using fabric straps or ribbon can be stapled or glued onto the sign’s back, allowing hands-free carrying. Stapling and gluing leaves or decorations on poles also strengthens grips.
7. Creative Decoration Tips and Illuminated Sign Ideas
Illuminated cardboard signs can boost visibility and add a creative flair to your project. Adding lighting, like LED or fairy lights, makes your sign stand out in dim environments or evening events. Fairy lights with at least 100 LED bulbs are ideal for even illumination. To do this, carefully cut slits or small holes around the letter edges where you want light to appear. Insert individual LEDs through these slits, securing them on the backside with tape or glue to keep the lights positioned and hidden. Choose battery-operated lights for portability and ease of use, typically costing between $10 and $25 depending on length and brand.
Decoration options that suit specific events can match the theme, color scheme, and texture preferences. For example, use metallic paint or glitter for a festive holiday sign or natural materials like twine and dried flowers for a rustic wedding sign. Layering several textures adds depth, so consider glued-on fabrics, ribbons, foam shapes, or cut-out paper elements. Attaching 3D pieces increases interest but requires securely fastening them with hot glue or strong craft adhesive to prevent them from falling off during display.
- Add battery-powered fairy lights by cutting slits along sign lettering and inserting LED bulbs
- Use hot glue to attach 3D elements like foam letters, paper flowers, or small ornaments
- Apply glitter or metallic spray paint to catch light and add sparkle
- Wrap edges with colorful washi tape or ribbon for a finished look
- Layer different materials like burlap or felt for texture contrast
- Mount signs on thin wooden sticks or dowels to display upright at events
- Seal decorations with clear spray sealer to protect against weather when used outside
Integrating fairy lights or other lights requires care to avoid damage or unsafe wiring. Use low-heat LED lights and keep batteries and wiring dry. Test the lights before final assembly to confirm they work and position well on the sign. Lights should be evenly spaced for balanced brightness but not so tight they create hotspots. For 3D additions, avoid heavy items that may bend or break the cardboard. A good result looks balanced, neatly finished, and secure, drawing attention without overwhelming the message or structure. Inadequate fastening or uneven lighting can make the sign look messy or reduce readability, so take time during decoration and allow glues and paints full drying time, at least 24 hours, before use.
8. Common Mistakes and Fixes for DIY Cardboard Signs
One common mistake when making cardboard signs is using cardboard that is too thin or fragile for the intended use. Thin cardboard bends or tears easily, especially if the sign needs to stand up or be handled frequently. Quickly fix bent cardboard by placing it under a heavy, flat surface for 24 to 48 hours to flatten it out. For tears, use clear packing tape on the back side to reinforce the area. Tape adds strength and prevents further ripping without showing on the front.
Paint smudging happens when the paint layer is too thick or not allowed to dry properly before handling. Avoid this by applying thin coats of paint and letting each layer dry for at least 30 minutes in dry conditions. When smudging happens, wait for the paint to dry fully, then gently scrape off the smudge with a plastic card or lightly buff the area with 220-grit sandpaper before repainting. For chalkboard paint, avoid smudges by seasoning the surface properly before first use, rub chalk over the whole area, then wipe clean.
Tape failure often results from using low-quality tape or applying it to dirty or uneven cardboard surfaces. Clean the cardboard with a dry cloth before taping, and choose duct tape or reinforced gaffer tape for a stronger hold. When tape peels off, use a wider strip and press firmly along the entire length for better adhesion. Double-sided tape can lose stickiness quickly on cardboard, so avoid it on outdoor or high-touch signs.
- Use heavier, corrugated cardboard for durable signs that need support.
- Apply paint in thin layers and allow full drying before handling.
- Reinforce rips with clear packing tape on the back.
- Flatten bends by pressing under a heavy board for up to two days.
- Clean surfaces before taping or gluing for better adhesion.
- Use duct tape for stronger, lasting bonds instead of standard tape.
- Season chalkboards by rubbing and wiping chalk before use.
Fragile cardboard needs gentle handling to avoid damage. Carry the sign by supporting several points, not just one corner, which can cause bending or tearing. When painting or decorating, secure the sign on a flat surface with painter’s tape to keep it steady and prevent warping. To display cardboard signs outdoors, you must weatherproof them to prevent the materials from becoming soggy and weak.
Always test tape and paint on a small cardboard scrap before applying to your main sign to avoid frustrating failures later.
Step-by-Step Action Plan for Your Cardboard Sign
Follow these steps to create a clear, durable, and eye-catching cardboard sign that fits your needs.
- Before you start: Choose sturdy corrugated cardboard and gather materials like paints, brushes, or chalk markers. Check your workspace for ventilation and protection against mess.
- Day 1: Cut the cardboard to your desired size and shape. Test the cardboard’s sturdiness by gently flexing it; it should hold firm without bending excessively.
- Day 2: Apply a base coat of white paint or chalkboard paint and let it dry completely. Confirm coverage is even and no cardboard fibers show through.
- Day 3: Sketch your lettering or designs lightly with pencil. Ensure spacing looks balanced and readable from a distance before finalizing.
- Day 4: Add your lettering and decorative elements using paint, markers, or stickers. Check for smudges or uneven spots and correct them while still wet.
- Day 5: Reinforce edges with clear tape or cardboard strips and apply a waterproof sealant if the sign will be outdoors. Wait until fully dry to test water resistance by dabbing gently with a wet cloth.
- Day 6: Attach handles, poles, or mounting hardware securely using strong tape, glue, or fasteners. Tug gently to ensure attachments won’t loosen.
- Day 7: Add any additional decorations like battery-operated lights or garlands. Verify all elements are fastened safely and display your sign to check visibility and durability.
Frequently Asked Questions
What Are Some Easy Ways to Update Old Cardboard Signs?
You can refresh old signs by repainting or adding new decals for a fresh look. Using chalkboard paint lets you change messages frequently without making a new sign each time.
Can I Make Cardboard Signs Durable Enough for Outdoor Use?
Yes, apply weatherproof sprays or laminate the surface to protect signs from rain and sun damage. Reinforce edges with tape to prevent tearing in wet conditions.
What Tools Help Create Clean Lettering on Cardboard Signs?
Use stencils, letter stickers, or paint pens for crisp and even letters. These tools help keep your message clear and professional-looking on the cardboard surface.
How Do I Attach Cardboard Signs Safely to Different Surfaces?
Use removable adhesive strips like Command Strips for walls or zip ties for fences. Avoid nails or screws that might damage or tear the cardboard.
Can I Recycle or Reuse Cardboard Signs After an Event?
Cardboard signs can be recycled if free of non-paper attachments. Save signs for reuse by updating messages with chalk or removable paint to reduce waste.
What Is the Best Way to Transport Large Cardboard Signs for Events?
Carry signs flat or rolled gently to avoid creases and bends. Use straps or a large portfolio folder to keep your signs protected during transport.
Final Thoughts
Creating a cardboard sign that stands out and holds up well is achievable with careful material choice, clear design, and proper reinforcement. Start by cutting and prepping your cardboard today to bring your ideas to life. Each step builds on the last, ensuring your sign meets your specific needs for events, business, or crafts.