What Is Calendered Vinyl: A Complete Guide to Uses, Costs & Benefits
Calendered vinyl is created by forcing melted vinyl through a series of rollers, forming a consistent and flexible sheet. This method results in vinyl that’s thicker and less adaptable than cast vinyl, making it ideal for flat or slightly curved surfaces. Choose calendered vinyl for sign or decal projects that require durability and affordability without heavy stretching.
Key Takeaways
- Calendered vinyl stretches only 30 to 50 percent, so it’s unsuitable for deep recesses or complex curves.
- High-quality calendered vinyl like Oracal 651 offers up to six years of outdoor durability on flat surfaces.
- Removable calendered vinyl such as Oracal 631 is ideal for indoor wall decals.
- The thickness of calendered vinyl sheets usually varies between 0.1 mm and 1.5 mm, providing a balance of flexibility suitable for many applications.
- Use a heat gun on tight curves, but cast vinyl conforms better at lower temperatures (60, 90°F).
- Economy grades like Oracal 641 are not recommended for vehicle graphics despite frequent use.
What Is Calendered Vinyl and How Is It Made?

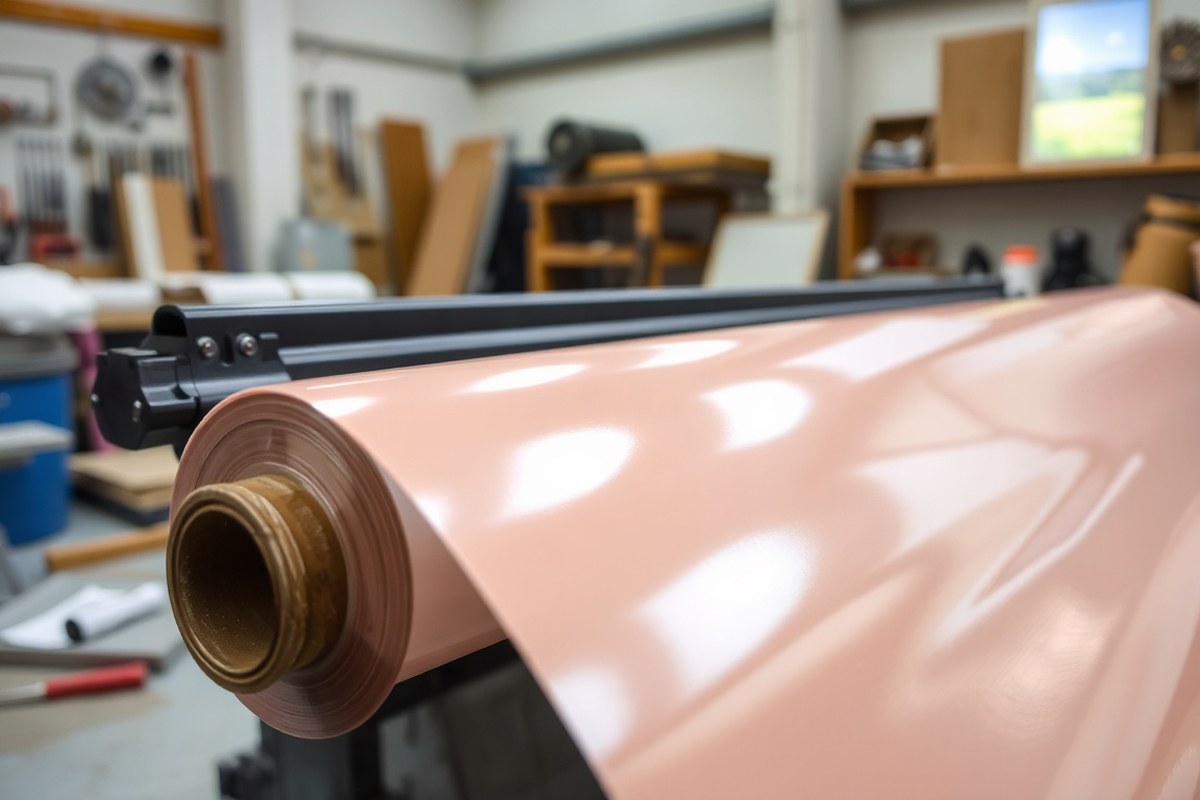
Calendered vinyl is a kind of polyvinyl chloride (PVC) film produced by rolling heated vinyl through several rollers to press it into thin sheets. This method, known as calendering, arranges the plastic molecules uniformly in one direction. The final product is a durable, thicker, and heavier vinyl sheet than cast vinyl, suited mostly for short and medium-term use on flat or slightly curved surfaces.
The manufacturing begins by heating PVC resin mixed with plasticizers and other additives until it becomes pliable. It is then fed into calendering machines where multiple heated rollers compress and stretch the material into uniform sheets. These rollers control the thickness, typically resulting in a film that can stretch only 30 to 50 percent before tearing, limiting calendered vinyl’s ability to conform to complex curves or deep recesses.
This roller process does not allow the thickness to be as precise or consistent as the cast process, leading to calendered vinyl sheets that are slightly thicker and less uniform. However, calendering is faster and less complex, making calendered vinyl more economical and widely used for indoor or outdoor graphics that don’t require long-term durability. For example, permanent calendered films like Oracal 651 offer up to six years of outdoor life on flat surfaces, while removable versions like Oracal 631 are popular for indoor decals.
The calendering method heats the vinyl to a temperature that allows it to be compressed but not fully liquefied, unlike cast vinyl which is poured liquid PVC cured on a casting sheet. Because of this, calendered vinyl is less flexible at lower temperatures and may need additional heat, about 60 to 90 degrees Fahrenheit, to help conform on tight curves. It costs less than cast vinyl because the process is quicker and uses fewer materials. Calendered vinyl sheets are often sold by the roll and priced competitively to fit budget-sensitive projects.
Good results with calendered vinyl depend on applying it to smooth or gently curved surfaces where stretching requirements are minimal. Troubles arise when installers try to wrap complicated shapes or apply it on textured surfaces, leading to lifting or tearing. Understanding its production method explains why calendered vinyl performs best in certain applications and why it remains a cost-effective choice for many sign makers and vehicle wrap installers targeting moderate durability demands.
Key Properties and Characteristics of Calendered Vinyl
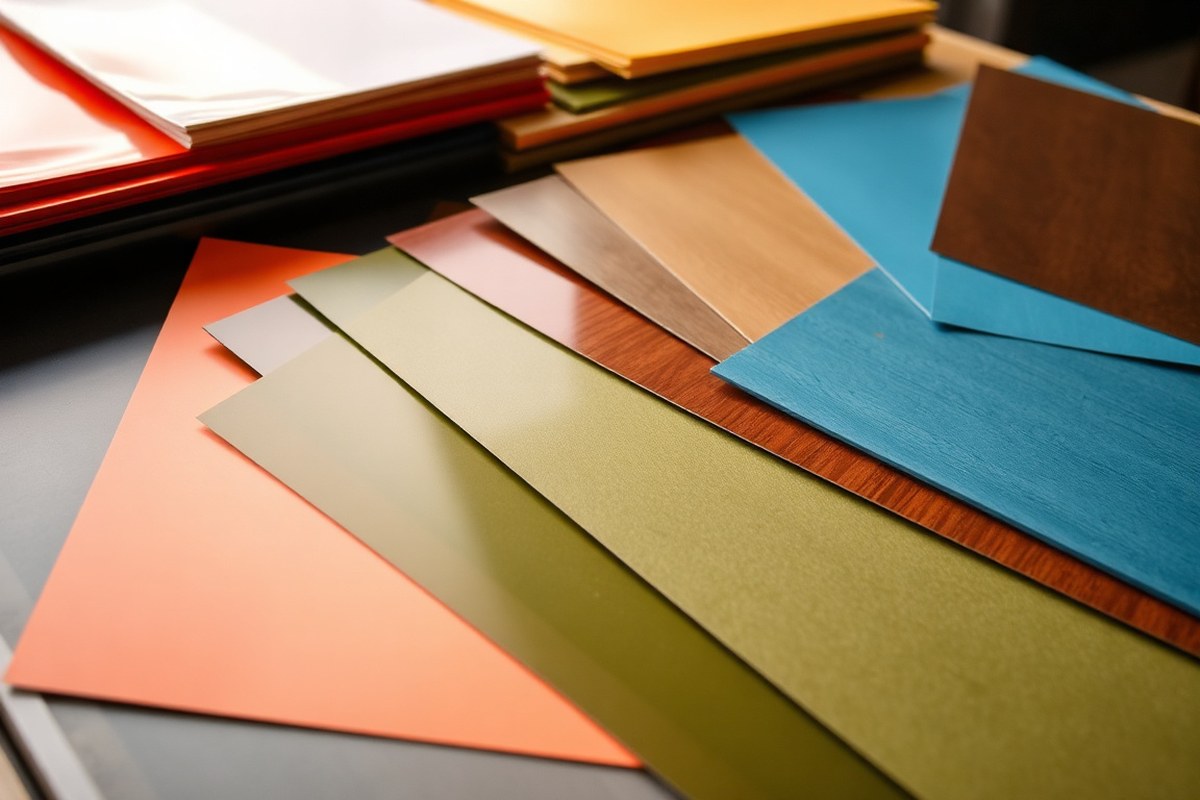
Calendered vinyl typically ranges in thickness from about 0.1 mm to 1.5 mm (3 to 4 mils), which places it thicker than cast vinyl. This thickness offers durability and robustness suitable for short- to medium-term outdoor use, making it ideal for flat or gently curved surfaces rather than complex curves or deep recesses. The vinyl film exhibits moderate flexibility and stretch capacity, about 30 to 50 percent before tearing, less than cast vinyl’s stretch but enough to conform to simple shapes without excessive distortion. Because calendered vinyl has a higher tendency to shrink back or pull towards a flat state after installation, allowances must be made during application to prevent wrinkles or lifting over time.
Surface finishes on calendered vinyl come primarily in smooth, glossy types, although some variants offer matte finishes suited for specific aesthetic or printing needs. The smooth texture improve print quality and lends itself well to lamination for added protection. The finish choice depends largely on the project’s visual goals and environmental exposure, with glossy finishes often preferred for vibrant colors and sharper detail.
Adhesive types used on calendered vinyl include both permanent-style aggressive adhesives and repositionable options. Permanent adhesives provide strong bonding on flat, smooth surfaces such as metal panels or glass. Repositionable adhesive versions let you lift and realign during installation, a helpful feature for less experienced installers or complex layouts. Selecting the right adhesive depends on how long you need the graphic to last and the surface type. For temporary signage, a removable adhesive reduces damage risk upon removal, while permanent adhesives suit longer-term marketing or branding efforts.
| Property | Calendered Vinyl | Typical Range/Description |
|---|---|---|
| Thickness | 0.1 mm, 1.5 mm | Thin to moderately thick sheets; thicker than cast vinyl |
| Flexibility | High | Good for flat or gently curved surfaces; less conformable than cast vinyl |
| Stretch Before Tearing | 30-50% | Moderate stretch, requires careful handling |
| Durability | Moderate | Suitable for 1 to 3 years outdoor use |
| Surface Finish | Glossy, Smooth, sometimes Matte | Supports high-quality printing and lamination |
| Adhesive Types | Permanant and Repositionable | Aggressive bonding or lift-and-realign options depending on project |
| Cost | Lower | More economical for large volume or short-term graphics |
Allow 24 to 48 hours for calendered vinyl to relax and stabilize after unrolling before installation to reduce shrinkage and distortion during application.
Common Applications and Ideal Surfaces for Calendered Vinyl
Calendered vinyl works best on flat or gently curved surfaces where a budget-friendly solution is needed for short- to medium-term applications. It shines in indoor wall graphics, window decals, flat signage, and simple vehicle wraps. Avoid using it on complex curves, rivets, or textured surfaces, as it lacks the flexibility and durability needed for those challenges.
Indoor Wall and Window Graphics
Indoor applications suit calendered vinyl well because it can adhere smoothly to flat walls and windows without needing to stretch. The vinyl holds printed images sharply and resists minor abrasion indoors. This makes it ideal for temporary or seasonal promotional displays in retail environments and office spaces.
Installation is straightforward on clean, flat glass or smooth painted drywall. Use a mild detergent and water to clean surfaces before applying the vinyl. Since calendered vinyl isn’t as flexible as cast vinyl, avoid corners with sharp edges to minimize peeling. Indoor uses typically see lifespan between one and three years, depending on exposure to sunlight and abrasion.
Flat Signage and Promotional Decals
Calendered vinyl is often the go-to choice for flat signs, banners, and promotional decals due to its cost-effectiveness and ease of printing. Businesses use it for storefront signs, event banners, and short-term decals applied to flat surfaces like metal or plastic panels. It performs well on smooth, non-porous materials but needs firm pressure during installation to avoid bubbles.
- Storefront window decals
- Flat panel signage
- Trade show booth graphics
- Temporary floor graphics
- Promotional event banners
- Wall murals on smooth surfaces
Ensure surfaces are clean, dry, and free from oils or dust before application. Calendered vinyl can resist heat and sunlight moderately but is less durable for long-term outdoor signage compared to cast vinyl. Plan for replacement every 3 to 5 years if used outdoors.
Vehicle Wraps and Limitations
Calendered vinyl can cover vehicles effectively when the design is limited to flat or mildly curved areas like doors, hoods, or rear panels. It’s a budget-conscious option for short- to medium-term fleet graphics, vehicle lettering, and partial wraps. However, it doesn’t stretch well over complex contours such as bumpers or side mirrors, increasing the risk of lifting or damage.
Installation requires careful surface preparation, including washing and degreasing. Use a squeegee to firmly adhere the film without trapping air bubbles. Expect the vinyl to last 3 to 4 years outdoors but plan for earlier replacement if the vehicle experiences intense sunlight or frequent washing. Calendered vinyl’s thicker profile means it’s more prone to shrinking and edge lifting on curves.
Unsuitable Surfaces and Complex Curves
Avoid using calendered vinyl on surfaces with deep curves, rivets, corrugations, or significant texture. The material cannot stretch or conform adequately, leading to wrinkles, peeling, or early failure. Examples include vehicle bumpers, boat hulls with compound curves, corrugated metal, and textured walls.
Also steer clear of surfaces exposed to extreme heat or prolonged direct sunlight if long-term durability is a priority. Calendered vinyl tends to pull back and fade faster under these conditions. Instead, choose cast vinyl for applications requiring conformability over intricate shapes or demanding longevity beyond six years.
Calendered Vinyl Compared to Cast Vinyl: Key Differences
Calendered vinyl and cast vinyl differ mainly in how they’re made, which affects their thickness, durability, and application flexibility. Calendered vinyl is produced by heating and rolling vinyl into sheets, making it thicker and less conformable than cast vinyl, which is created by casting liquid vinyl onto a backing sheet and curing it. This process results in a thinner, more flexible film ideal for complex curves and long-term applications.
Choose calendered vinyl if your project involves flat or gently curved surfaces, budget constraints, or shorter-term signage. It offers good printability and is easier on the wallet, often costing significantly less than cast vinyl. Cast vinyl suits vehicle wraps or signage requiring extended outdoor durability and conformability around irregular shapes.
| Feature | Calendered Vinyl | Cast Vinyl |
|---|---|---|
| Manufacturing Process | Heated and rolled into sheets | Liquid vinyl cast and cured onto backing |
| Thickness | Thicker, about 3, 4 mil | Thinner, about 2 mil |
| Flexibility | Less flexible, stiffens when cooled | Highly flexible and conforms well |
| Durability | Good for short to medium term | Longer-lasting, high performance |
| Heat Application | Requires more heat to apply | Use heat gun between 60, 90°F for best results |
| Removal | Peels off cleanly but may be rigid | Peels off in one piece smoothly |
| Price | Lower cost, budget-friendly | Higher cost, premium priced |
The decision to use calendered vinyl is practical for many commercial signs, indoor graphics, and short-term promotional displays. It performs optimally on flat or slightly curved surfaces and demands more heat during installation to avoid stiffness once cooled. Use a felt-edge squeegee with either vinyl type, pressing from the center outward to ensure bubble-free application.
Cast vinyl is preferable when durability over multiple years or conformability to complex surfaces is required. It remains pliable with minimal heat and maintains a smooth finish ideal for vehicle wraps or outdoor marketing materials exposed to harsh environments. Budget considerations often make calendered vinyl the first choice for beginner installers and DIY projects, with cost savings balanced against shorter lifespan and less stretchability.
Step-by-Step Installation Guide for Calendered Vinyl
Installing calendered vinyl requires careful surface preparation, the right tools, precise application, and finishing steps to avoid wrinkles or bubbles, especially on flat or gently curved surfaces. Maintaining proper temperature and following detailed techniques will help you achieve a smooth, durable finish. The process takes patience, but the results are cost-effective and can be easily removed or updated when needed.
Preparing the Surface
Clean the application surface thoroughly to remove all dirt, oils, and debris. Use a lint-free cloth and isopropyl alcohol for best results, avoiding wax or silicone-based cleaners. The surface must be completely dry before applying the vinyl. Calendered vinyl adheres best to smooth, flat or mildly curved surfaces like walls, windows, or vehicles with minimal contour.
Check the temperature of your work area; ideal conditions range between 60°F and 80°F (16°C to 27°C). Cooler temperatures may cause the vinyl to lose flexibility, while excessive heat can overstretch or deform the film. Planning your installation under controlled temperature conditions helps prevent common problems such as shrinking or bubbling later.
Tools and Materials Needed
Gather the essential tools before you start. You will need a squeegee with a felt edge to avoid scratching, a sharp utility knife for trimming, a measuring tape or ruler, and application fluid (optional for wet application). A heat gun or infrared heater is useful for warming the vinyl gently during installation on surfaces with slight curves.
Use lint-free microfiber cloths for cleaning and wear cotton gloves to prevent fingerprints on the adhesive side. Calendered vinyl requires careful handling to preserve its stored tension and avoid stretching beyond its limits. Avoid sharp instruments near the vinyl surface during handling to prevent cuts or damage.
Applying and Heating Techniques
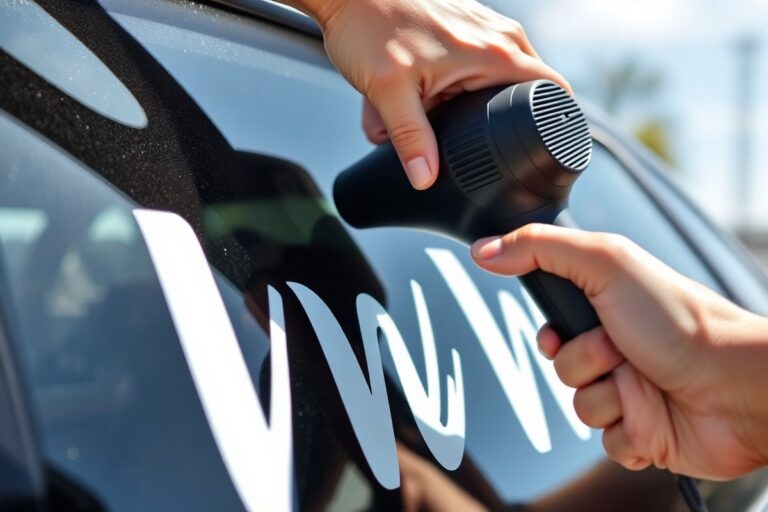
Starting at one edge, align the vinyl carefully without stretching. For flat surfaces, a dry application with a squeegee works well to push out air bubbles. For mild curves or relief areas, slightly warming the vinyl with a heat gun softens it and improves conformability. Avoid overheating, which can cause distortion or loss of adhesion.
Make slow, steady strokes with the squeegee from the center outward to eliminate air pockets. Overlap passes slightly to avoid gaps. Reheat and re-squeegee any stubborn bubbles, pressing firmly but carefully. Stretching calendered vinyl too much can cause permanent distortion; work progressively and check tension throughout the process.
Avoid applying calendered vinyl below 60°F as low temperatures reduce flexibility and can cause wrinkles during installation.
- Clean and dry the surface thoroughly using isopropyl alcohol and lint-free cloths.
- Measure and cut the vinyl, leaving extra material to trim after application.
- Position the vinyl, securing one edge or corner with tape if needed to hold placement.
- Use a felt-edged squeegee to press the vinyl from the center out, working slowly to push out air bubbles.
- Warm mild curves with a heat gun as needed to increase flexibility, applying gentle tension without overstretching.
- Trim excess vinyl carefully with a sharp utility knife once fully applied.
- Reinspect for bubbles; reheating and squeegeeing stubborn spots can improve adhesion and appearance.
Finishing and Trimming
After application, carefully trim any excess vinyl around edges using a sharp blade and straightedge for precise cuts. Leave a small overlap on edges that will face weather or heavy wear to improve durability. Press the edges firmly with a squeegee or your fingers to secure adhesion.
Remove any application tape slowly, pulling back at a 180-degree angle. This reduces the risk of lifting the vinyl film. Avoid touching the adhesive side once applied and keep the surface clean to maximize longevity. Proper finishing ensures a neat appearance and helps protect your investment in vinyl graphics.
Durability, Lifespan, and Maintenance of Calendered Vinyl
Calendered vinyl typically lasts between 3 to 6 years in outdoor applications, depending on the specific product grade and environmental exposure. For example, popular calendered products like ORACAL 631 have an outdoor life of about 3 years, while ORACAL 651 can last up to 6 years with medium-term exposure. This lifespan is shorter than cast vinyl, which can endure up to a decade outdoors, but calendered vinyl remains a cost-effective choice for many signage and graphics jobs that don’t require extreme longevity.
Fading and degradation occur gradually with calendered vinyl, especially under heavy sun exposure and harsh weather. Colors may lose vibrancy after 2 to 3 years, and the material can become brittle over time, increasing the risk of cracking or peeling. The fading speed depends on factors like UV intensity, temperature fluctuations, and upkeep. For projects requiring graphics to remain vibrant beyond 5 years, cast vinyl or specialized outdoor films might be better options.
Maintenance plays a key role in extending the life of calendered vinyl. Regular cleaning with mild soap and water removes dirt, oils, and pollutants that accelerate wear. Avoid abrasive tools or harsh chemicals, which can damage the film surface. For vehicle wraps or outdoor signs, washing off contaminants every 2 to 4 weeks is a practical maintenance rhythm. If the vinyl is placed in a high-traffic or industrial area, increase cleaning frequency to prevent buildup that harms adhesion.
Applying a protective overlaminate film can improve durability by shielding the calendered vinyl from UV rays and physical abrasion. This adds a layer of defense against fading and extends the effective lifespan, particularly for graphic-intensive installations. However, overlaminates add to material and installation costs, typically ranging from $0.50 to $1.50 per square foot depending on the type. For budget-sensitive projects, prioritizing cleaning and careful handling offers reasonable protection without extra expense.
In humid or marine environments, calendered vinyl is less suitable because moisture and salt accelerate breakdown. Products designed for boat graphics usually require cast vinyl for reliable durability. When using calendered vinyl on flat or gently curved surfaces away from intense environmental stress, you can expect solid performance with minimal maintenance for 3 to 5 years.
To maximize longevity, install calendered vinyl on clean, smooth surfaces free of contamination to ensure strong adhesion. Avoid areas with extreme temperature cycling or direct, intense sunlight for extended periods. Store unused sheets in a cool, dry place away from UV exposure until installation. These steps reduce shrinkage, cracking, and premature fading. Taking such precautions improves appearance and saves on frequent replacements.
Common Problems and Mistakes When Using Calendered Vinyl
One frequent problem with calendered vinyl is premature failure caused mainly by using it on surfaces or projects that require more flexibility than the material offers. This vinyl type isn’t designed for detailed curves or stretched installations. Applying calendered vinyl over deep contours or complex shapes can lead to cracking or peeling much faster than expected. Picking this vinyl when a cast vinyl would fit better is a material choice mistake rather than an installation error, often costing time and money with early removals and reapplications.
Installation errors like poor surface preparation also cause adhesion problems. Dirt, dust, wax, or moisture on the application surface can reduce how well the vinyl sticks, causing bubbles or lifting edges. Calendered vinyl also responds differently to temperature changes during installation. Applying it in very cold conditions (below 50°F) makes it less pliable, increasing the chance of cracks, while very hot conditions (above 90°F) can cause rapid bubble formation under the vinyl.
- Always clean and dry the surface thoroughly with isopropyl alcohol before applying vinyl.
- Apply vinyl in temperatures between 60°F and 80°F for best flexibility and adhesion.
- Use a heat gun gently to warm, but not overheat, the vinyl for easing application over gentle curves.
- Work slowly to avoid trapping air bubbles, using a squeegee at a 45-degree angle.
- Avoid stretch applications or wrapping sharp edges with calendered vinyl.
- Remove air bubbles immediately by pricking them with a pin and smoothing them out.
- Allow the vinyl to cure for 24 to 48 hours before exposing it to heavy use or extreme weather.
Removing calendered vinyl safely requires patience and the right technique to avoid surface damage. Start by warming the vinyl with a heat gun or hairdryer set to a medium heat for about 2 to 5 minutes to soften the adhesive. Slowly peel back a corner, pulling the vinyl back on itself at a sharp angle of about 180 degrees. Use steady, even force rather than quick yanks to prevent tearing or leaving residue. For stubborn adhesive left on the surface, apply a commercial adhesive remover or isopropyl alcohol with a soft cloth. Avoid abrasive tools or harsh chemicals that could harm the substrate, especially on painted or delicate surfaces.
In some cases, paint or underlying materials may lift if the vinyl has been in place for several years or if it was applied improperly. Test a small section first to gauge the removal process and impact. Professional installers sometimes recommend using specialized vinyl removal products priced around $10 to $20 per bottle for extensive projects. Using the right tools and the correct temperature range minimizes damage and cleanup time, helping your project stay cost-effective and maintain a polished appearance.
Popular Brands and Types of Calendered Vinyl Explained
Calendered vinyl comes in several quality levels, mainly categorized as monomeric or polymeric. Each type has different durability, flexibility, and price points tailored to specific signage and wrapping needs. Selecting the right kind depends on your project’s lifespan, surface, and budget.
Monomeric Versus Polymeric Calendered Vinyl
Monomeric calendered vinyl consists of small vinyl monomers that are fused together. It tends to be less flexible and can shrink or crack over time, making it suitable for short- to medium-term indoor or flat outdoor signage where budget is a concern. These films typically last up to 3 years.
Polymeric calendered vinyl uses larger polymer molecules combined with plasticizers, resulting in better flexibility and durability. It handles mild curves and contours better than monomeric films and can generally last between 4 to 6 years outdoors. Polymeric types resist cracking and fading better under sunlight and weather exposure.
Choosing between the two comes down to the type of surface you’re applying to and how long you expect the graphics to last. Polymeric vinyl offers a longer lifespan and is a middle ground between monomeric calendered and the more expensive cast vinyl.
Notable Brands and Their Uses
Oracal is one of the most recognized brands offering both monomeric and polymeric calendered vinyl options. Oracal 651 is a permanent polymeric vinyl favored for vehicle decals, outdoor signage, and crafts, with an outdoor durability of around 6 years. Oracal 631, on the other hand, is a removable monomeric vinyl with a life span closer to 2 years, ideal for temporary signage and indoor uses.
Other quality brands include Avery Dennison and 3M, which produce polymeric calendered films known for good color retention and ease of application on smooth surfaces. Prices for these calendered vinyl rolls typically range between $0.75 and $2.50 per square foot depending on the grade and brand. Brands often offer optional finishes such as gloss, matte, or textured varnishes, further customizing the vinyl for different looks or levels of UV protection.
Choosing the Right Grade for Your Project
Monomeric vinyl works well if you need cost-effective signs with a shorter service life, such as event graphics or seasonal promotions. It’s also easier to cut and weed for simple shapes on flat surfaces. Avoid using it for vehicle wraps or on curved surfaces, as it can crack and peel prematurely.
For longer-lasting exterior signage or vehicle decals requiring moderate curves, polymeric calendered vinyl is the better choice. Its flexibility reduces peeling and shrinkage, maintaining a neater appearance over several years. Make sure to consider your local climate, high UV and heat exposure accelerate degradation, pushing toward polymeric or cast options.
Always test your vinyl on a small area to check adhesion and flexibility before committing to a large application, particularly on textured or uneven surfaces.
Your First Steps: A Quick-Start Plan for Using Calendered Vinyl
Follow this plan to prepare, apply, and maintain calendered vinyl effectively, ensuring durable results and clean finishes.
- Before You Start: Clean the surface thoroughly with isopropyl alcohol to remove dust and oils. Proper cleaning ensures strong adhesion.
- Day 1: Measure and cut your vinyl slightly larger than the target area. This allows room for alignment and trimming.
- Day 1: Lay out the calendered vinyl and use a squeegee to apply it slowly from one edge, smoothing out air bubbles as you go. Successful application leaves a smooth, bubble-free finish.
- Day 2: Trim excess material carefully with a sharp blade, avoiding damage to the surface underneath. Edges should be flush and clean.
- Week 1: Avoid washing or exposing the vinyl to harsh environments to allow full adhesion and curing. The vinyl should feel firmly attached without lifting edges.
- After 2 weeks: Inspect the vinyl for any peeling or edge lifting; if found, apply edge sealer to extend the lifespan.
- Monthly: Clean the vinyl with mild soap and water using a soft cloth to maintain its appearance and flexibility.
Frequently Asked Questions
Is Calendered Vinyl Suitable for Full Vehicle Wraps?
Calendered vinyl is not ideal for full vehicle wraps due to its limited stretch of 30-50%, risking lifting on deep curves and recesses. Cast vinyl performs better for complex shapes and tighter bends without heat damage.
Can Calendered Vinyl Be Used Indoors Near Heat Sources?
Calendered vinyl can warp or discolor near strong heat sources indoors, so avoid placing it too close to heaters or direct sunlight to maintain appearance and adhesion.
Does Calendered Vinyl Require a Primer for Better Adhesion?
Using a primer can improve adhesion on low-energy surfaces, but it’s not usually necessary for common smooth and clean surfaces like glass or painted metal. Always test a small area first.
What Is the Environmental Impact of Calendered Vinyl Disposal?
Calendered vinyl is not biodegradable and can emit harmful chemicals if burned; recycling options are limited, so dispose of it following local regulations for vinyl materials.
How Does Calendered Vinyl Handle Humidity and Moisture?
Calendered vinyl resists humidity well, but prolonged exposure to water or high moisture can weaken adhesives and cause edge lifting over time.
Can Calendered Vinyl Be Printed with Solvent-Based Inks?
Yes, calendered vinyl accepts solvent, eco-solvent, and latex inks well, offering vibrant graphics and good print adhesion for indoor and outdoor signage.
Final Thoughts
Calendered vinyl offers a cost-effective and versatile option for many signage and graphic applications, especially on flat or gently curved surfaces. Proper surface preparation, careful application, and regular maintenance can maximize its lifespan and visual appeal. Start by selecting a well-reviewed calendered vinyl product suited for your project, and commit to a thorough cleaning routine to keep your graphics looking sharp longer.