School Sign Ideas: Creative, Practical Solutions and Digital Options
School sign ideas can transform your facility’s appearance and functionality quickly and effectively. Clear, well-designed signs improve navigation, boost school spirit, and motivate students. Starting with visible, standard sizes like 12 × 18 inches ensures your messages reach everyone clearly.
Key Takeaways
- Use school sign sizes of 12 × 18 or 18 × 24 inches to guarantee good visibility across hallways and outdoor spaces.
- Incorporate vibrant, positive posters to engage the 65% of visual learners and improve classroom enthusiasm.
- Design motivational signs featuring short quotes from famous figures to inspire academic achievement.
- Create DIY first and last day photo signs using grade and school year details as clear anchors.
- Implement wayfinding signs to cut search time on campus by up to 50%, improving safety and efficiency.
- Refresh school signage with humorous or interactive messages to revive community morale during tough times.
Creative and Practical School Sign Ideas for Every Purpose
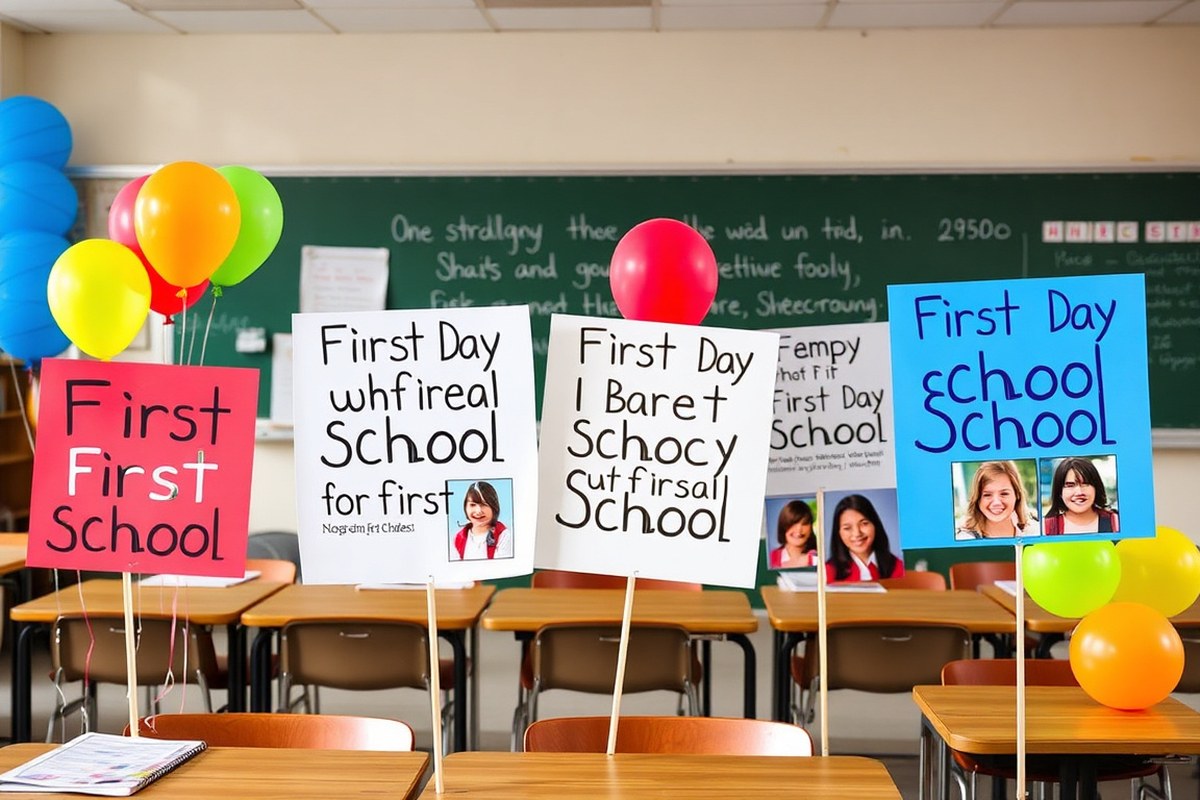
School signs serve many purposes beyond simple decoration. They can motivate students, mark special occasions, guide visitors, and celebrate school values. Creative school sign ideas include decorative elements combined with functionality, such as signs that brighten hallways while directing traffic or promoting school spirit with bold, readable messages. Using durable materials sized around 12 × 18 inches or 18 × 24 inches ensures signs are visible without overwhelming spaces.
Practical signs often feature motivational quotes or affirmations, reinforcing positive behavior and academic achievement. These signs can use colorful graphics or school colors for engagement. Seasonal updates keep signs fresh, for example, changing back-to-school greetings in late summer, holiday messages in winter, and wellness reminders during flu season. Rotating themes maintain interest and relevance year-round.
- Welcome signs for first and last school days, customizable for each grade from pre-K to 12th.
- Wayfinding signs placed strategically in gyms or hallways to improve navigation and safety.
- School spirit signs featuring mascots and slogans in sports and trophy areas.
- Inspirational quote signs updated monthly to encourage a positive school climate.
- Seasonal welcome and holiday-themed signs that mark events and community celebrations.
- Digital signs for real-time updates about events, announcements, and emergency alerts.
- Humorous signs or interactive message boards to boost community morale during challenging times.
These ideas work well because they combine aesthetic appeal with purpose. Using templates from providers like Template.net, you can quickly create consistent, branded signage. Digital tools allow fast editing, which is ideal for updating messages through the school year. Good results show in improved student engagement, clearer visitor directions, and a stronger sense of community. Pitfalls include cluttering spaces with too many signs or using fonts that are hard to read. Selecting well-sized signs and consistent branding helps avoid that.
Some schools balance creative themes with functional needs by introducing signage projects that blend art and messaging. For example, a motivational wall that doubles as a bulletin board for student achievements keeps signage dynamic. Applying these ideas with affordable materials and simple production steps usually costs between $20 and $100 per sign depending on size and print quality. This investment supports safety, spirit, and smooth daily operations in any school environment.
Design Essentials for Effective School Signs

Effective school signs need a balanced combination of size, typography, colors, materials, and 3D effects to ensure visibility and clarity. Choose the size based on where the sign will be displayed. Outdoor signs generally require larger dimensions, commonly around 24 x 36 inches or more, so they are readable from a distance of 20 to 30 feet. Indoor signs can be smaller, roughly 11 x 17 inches, focusing on close-range readability. Templates with scalable layout blocks make it easy to adjust size while keeping design proportions intact.
Typography greatly influences readability. Use sans-serif fonts like Arial or Helvetica in 18 to 36-point size for clear reading. Select fonts with consistent stroke thickness to avoid confusion. Avoid script or highly decorative fonts for main text, reserving those for headlines or accents. Placing type over contrasting backgrounds increases legibility; for example, dark text on a light background or vice versa works best. Editable text areas in templates let you customize font styles and sizes to fit specific school needs.
Colors should support visibility and fit the school’s branding and architecture style. For bright and colorful backgrounds, use neutral tones such as beige, white, or light gray for text to prevent visual noise and focus attention. Dark or muted backgrounds benefit from bright or light-colored fonts that create a sharp silhouette and increase contrast. Pastel shades gain prominence against deep green or textured backgrounds, adding a natural, sophisticated feel. Matching school colors consistently across signs also builds familiarity and a cohesive look.
Materials affect durability and appearance. Lightweight cardstock is great for temporary, indoor signs and can be improve by layering foam tape behind elements to build depth. Adding textures using glitter, matte, or foil paper provides visual interest and a touch of luxury, ideal for event signs or celebratory messages. Die-cut shapes and stickers bring flexibility to swap out details when plans change quickly. For a polished finish, run decorative edge scissors along cardstock for a framed effect without extra framing costs. Outdoor signs benefit from weather-resistant vinyl or acrylic for long-lasting quality.
3D effects capture attention and add dimension to flat signs. Layer foam tape beneath cutout letters or shapes to create lifted elements. Stencils can provide clean, professional script or graphics if freehand work is difficult. Combining materials with different textures like glitter paper for letters and matte backgrounds intensifies the layered look. Interactive elements such as balloons clustered near signs add movement for photo backdrops or open house displays.
Check the viewing distance before choosing fonts and sizes; a well-sized sign ensures nobody squints or misses key information.
DIY School Sign Projects for First and Last Day Photos
Making your own first and last day of school signs at home can be simple, affordable, and fun. You can use basic materials like wood, poster board, or printable paper combined with easy-to-follow templates. These signs add a personal touch to milestone photos and help capture memories of each school year’s beginning and end.
Materials Needed for DIY Signs
Starting with a few basic supplies allows you to create attractive and reusable signs. Common materials include wooden boards, poster boards, cardstock, chalkboard paint, and dry-erase surfaces. Choosing between permanent paint, chalk markers, or dry-erase markers affects whether your sign can be reused.
Consider using vinyl decals or printable paper for added customization. A sturdy sign should measure around 11 x 14 inches or larger to be easily visible in photos. If you want a heavier sign, wood is best, but poster board works well and costs less, usually under $5 per sheet.
Step-by-Step Painting and Assembly Guide
To create a durable and visually appealing sign, following clear steps makes the project manageable. Painting wooden signs with chalkboard or whiteboard paint lets you update dates and grade levels without starting from scratch. Poster board signs work well with printed templates and markers.
- Choose your base material: wood, poster board, or thick cardstock.
- Sand the wood surface lightly for better paint adhesion if using wood.
- Apply 2 coats of chalkboard or whiteboard paint; let dry between coats (about 1 hour each).
- Print or draw your design using pencil guidelines for accuracy.
- Trace your sign text and borders with permanent paint markers or chalk pens.
- Seal painted wood with a clear coat for added durability if desired.
- Attach a stand or hangers for easy positioning in photos.
This process typically takes a few hours including drying time. Craft stores sell chalkboard paint for $5 to $10 per small can, enough for several signs. Avoid using water-based paint on non-porous surfaces without a sealant, as it may chip off.
Top Free Printable Templates and Customizable Designs
Many websites offer free printable templates that simplify sign creation. For example, Yellow Bliss Road provides free “first day of school” signs with space for grade, date, and a student interview. These templates often come as PDF files sized for standard 8.5 x 11 inch paper.
Some templates are designed to be printed, laminated, and written on with dry-erase markers for reuse. The Silhouette Design Store has multiple customizable designs suited for cutting machines or printing at home. Canadian educators can find grade-specific free printables reflecting Canadian terminology.
Downloading templates from reliable sites means you only need a printer and laminating sheets, which cost around $10 for 100 sheets, making this a very quick and affordable option. Using digital templates also reduces the risk of smudges that can ruin hand-painted signs.
Tips for Photographing with Your Sign
Take photos early on the first day of school when children are freshly dressed and excited. Position the sign at eye level so it is clearly visible in the shot. Good lighting makes a big difference; natural daylight outdoors or near a bright window works best.
To avoid glare or reflections, especially on laminated or glossy signs, tilt the sign slightly or move your camera until you find the best angle. Including a neutral background prevents distractions, keeping the focus on the child and the sign.
For last day of school photos, use the same position and settings to easily compare growth. Adding prompts like “I learned” and “I enjoyed” on the back of the sign lets you record memories kids can read later, making the photo session both meaningful and consistent across years.
Motivational and Academic Achievement Signs to Inspire Students
Motivational quotes can have a strong impact on student engagement when chosen thoughtfully. Quotes that emphasize growth mindset, perseverance, and community resonate well in schools. Examples include “Mistakes are proof that you are trying,” or “Alone we can do so little; together we can do so much.” These messages encourage effort and teamwork, which are essential for academic achievement and personal development.
Academic milestone signs help celebrate progress and inspire students to reach new goals. You can create signs displaying achievements like “100% Attendance Month,” “Top Readers of the Quarter,” or “Science Fair Winners.” These signs not only recognize individual or group effort but also motivate others by making success visible. Placing milestone signs in common areas like hallways or cafeterias ensures maximum visibility and impact.
Sustained motivation works best when supported by sturdy signage positioned where students and staff see it regularly throughout the school year. Durable options like high-quality vinyl banners, laminated posters, or digital LED displays can stay in good condition for months or even years. For instance, installing an Alpha LED sign at the main entrance allows you to show motivational messages and school accomplishments on a rotating basis, providing continuous encouragement. While programmable LED boards are more costly upfront, typically between $2,000 and $10,000 based on size and capabilities, they allow frequent updates and visually appealing content. Printed signs cost significantly less, anywhere from $20 to $100 apiece, but need replacing each time you want to change the message.
Sign formats vary by school size and location. Small schools might prefer classic wall-mounted signs or classroom posters. Larger campuses with higher budgets benefit from digital displays or large banners. It’s essential to match format and content to student age and school culture. Elementary students often respond well to colorful, playful fonts, while older students prefer sleek, concise designs.
| Sign Type | Examples | Benefits | Approximate Cost | Ideal Placement |
|---|---|---|---|---|
| Printed Posters | “Keep Going,” “You Matter,” “Math Champions” | Affordable, easy to update, visual boost | $20, $50 each | Classrooms, hallways, libraries |
| Laminated Achievement Signs | “Perfect Attendance,” “Honor Roll Hall of Fame” | Long-lasting, celebrates milestones, professional look | $50, $100 | Entrances, trophy cases, cafeterias |
| LED Display Boards | Rotating quotes, event reminders, achievement updates | Dynamic, highly visible, programmable | $2,000, $10,000+ | Main entrance, gymnasiums, auditoriums |
Using motivational and achievement signs also offers opportunities to involve students by letting them suggest quotes or nominate peers for recognition. This inclusion fosters a sense of belonging and ownership. Avoid signs with vague or negative messages, as these can discourage rather than inspire.
Regularly rotate or update signs to maintain interest and ensure messages stay fresh and relevant. For example, weekly motivational quotes paired with monthly milestone celebrations keep the school environment lively and supportive. Maintenance is important; faded or damaged signs lose effectiveness and can reflect poorly on school pride and morale.
Wayfinding and Safety Signage That improve School Navigation
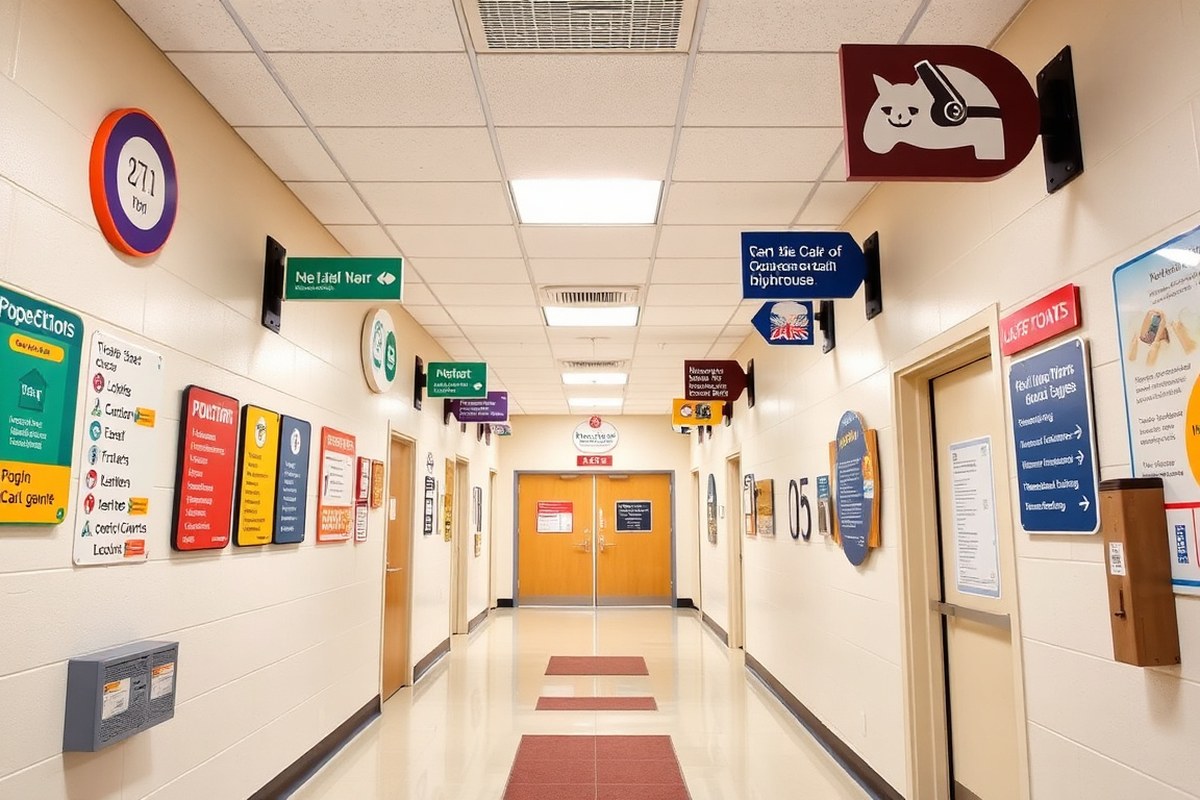
Signs improve school navigation by clearly marking paths, rooms, and key areas, so students, visitors, and staff don’t waste time asking for directions. Well-placed wayfinding signs reduce confusion and congestion in crowded hallways and entrances, promoting smoother movement throughout the school. Safety signage is required by law to identify exits, stairwells, and emergency routes to protect occupants and keep schools compliant with fire and building codes.
Choosing the right format depends on the location and audience. Digital LED signs work best at entry points and main hallways because they are bright, programmable, and easy to update with events or alerts. Classroom and office doors require tactile plaques with braille to meet ADA guidelines, ensuring accessibility for all students and visitors. Illuminated exit signs and posted emergency route maps are critical near stairwells and assembly areas, providing clear guidance during emergencies even in low light conditions.
Implementing a coordinated signage system requires planning each type’s placement, format, and message purpose. Outdoor entrance signs set the campus tone while indoor directional signs guide people step-by-step to their destinations. Safety signs positioned at exits and evacuation points protect everyone in urgent situations and avoid costly code violations. Adding tactile braille and high-contrast visuals on room identification signs improves accessibility and compliance. The following table summarizes key signage types, their ideal locations, purposes, and recommended formats:
| Sign Type | Location | Purpose | Best Format |
|---|---|---|---|
| Entrance and Wayfinding | Front entrance, parking lot, main hallways | Direct visitors, set first impression | Digital LED, monument sign |
| Room Identification | Classroom doors, office doors, restrooms | Identify spaces, ADA compliance | Tactile plaque with braille |
| Safety and Emergency | Exits, stairwells, hallways, assembly areas | Protect occupants, meet code | Illuminated exit, posted route map |
| Library and Cafeteria | Shelves, genre area | Help find books, food zones | Static or digital |
Good signage aligns with the school’s specific layout and user needs. For example, digital signs at the main entrance can display daily schedules, weather alerts, and wayfinding directions all on one screen, adapting easily throughout the day. Room signs with tactile braille require professional fabrication but are essential to meet ADA rules and help visually impaired users navigate independently. Safety signs must be illuminated and consistently maintained to stay visible in emergencies.
Costs vary depending on size, materials, and technology. Digital LED signs range from around $1,000 for small indoor boards to $10,000 or more for large outdoor or multi-screen installations. Tactile plaques typically run $50 to $150 each, depending on customization and quantity. Illuminated exit and emergency signs usually cost $50 to $100 and require wiring by licensed electricians. Budgeting should also include installation and regular maintenance to keep all signage in working order.
Ensure room identification signs comply with ADA standards by including tactile text and braille placed 48 to 60 inches above the floor for maximum accessibility.
Seasonal and School Spirit Sign Ideas to Boost Community Feeling
Seasonal signs offer a way to keep the school environment fresh and engaging throughout the year. They can highlight holidays, seasonal changes, or special school events, helping students and staff connect with the rhythm of the school calendar. Popular seasonal themes include back-to-school welcomes, fall harvest or Halloween, winter holidays, spring blooms, and end-of-year celebrations. These signs foster a sense of belonging by visibly marking the passage of time and shared experiences in the community.
Designing spirit signs that engage students requires incorporating the school’s colors, mascot, and values. Use bold, simple graphics and clear fonts that students of all ages can recognize quickly. Incorporating interactive elements like voting on new school colors or themes for upcoming events can boost enthusiasm and make students feel invested. Displaying student artwork or messages can also personalize the signs, turning them into a platform for student expression and pride.
Durable materials are critical for outdoor seasonal signs since they face weather conditions such as rain, snow, and UV exposure. Options like weather-resistant vinyl banners, aluminum composite panels, or high-density polyethylene (HDPE) provide long-lasting quality. Look for materials that resist fading in temperatures ranging from below freezing to over 90°F to keep colors vivid. Mount signs securely to withstand wind and vandalism if placed near busy entrances or playgrounds.
- Use coroplast or corrugated plastic for temporary seasonal signs costing around $20 to $50 each, suitable for short-term outdoor use.
- For multi-seasonal signs, consider powder-coated aluminum panels priced between $150 and $300 per panel for durability and reusable branding.
- Printable vinyl wraps can cover existing signboards and cost about $30 to $70 per square foot, combining flexibility with strong weather resistance.
- LED programmable signs handle ongoing messaging changes, roughly $5,000 to $15,000, allowing dynamic updates like event alerts and countdowns.
- Include input from students and staff on themes to ensure signs reflect the school’s diversity and culture effectively.
Signs that reflect the heart and identity of the school help sustain morale, especially during challenging parts of the school year. Engaging visuals and messages that celebrate diversity, upcoming events, or student achievements provide encouragement. Maintaining a clear brand identity with age-appropriate content keeps communication effective, with signs doubling as motivational tools. Neglecting seasonal updates or using poorly visible signs can weaken community feeling and miss opportunities to support student well-being and pride.
Digital Signage Solutions: Tools and Tips for Modern Schools
Digital signage offers schools a dynamic way to communicate important information, promote events, and engage students. Its flexibility in content delivery makes it an effective tool for improving transparency and school spirit. Schools can benefit from digital platforms that allow easy scheduling, real-time updates, and content diversity without heavy IT involvement.
Top Digital Signage Platforms Compared
Several digital signage platforms stand out for school use due to their ease of use and feature sets. Platforms like Signagelive, Enplug, and ScreenCloud offer intuitive interfaces that support playlists, split-screen content, and widgets which can display lunch menus, social media feeds, and announcements simultaneously. Signagelive supports integration with YouTube, making it simple to showcase school event videos directly from your school’s YouTube channel. ScreenCloud requires minimal hardware and no extensive IT skills, lowering setup barriers. Prices vary, typically ranging from $20 to $50 per display per month, depending on the provider and features, making ongoing costs manageable for most school budgets.
Choosing a platform comes down to balancing features with ease of management and total costs, including hardware, subscriptions, and setup time. Schools with existing tech teams might handle more complex platforms, while smaller schools generally benefit from user-friendly options that include customer support. Testing free trials can help find the right fit before committing.
Step-by-Step Digital Signage Setup
Begin setting up digital signage by defining your goals, whether it’s sharing announcements, promoting events, or improving safety communication. Next, choose your hardware, such as commercial-grade displays or repurposed tablets configured for continuous use. Connect your displays to the internet securely, ensuring reliable Wi-Fi or Ethernet access. Signage software installation is typically cloud-based, accessed via web browsers or dedicated apps.
After signing up for your chosen platform, create your initial playlists. Organize content by priority and scheduling needs. For example, place daily announcements in morning slots and event promotions in afternoons. Use built-in scheduling tools to automate content changes based on the school day or week. Regularly update and review content to maintain relevance and accuracy.
Best Practices for Content Scheduling and Management
Effective content management depends on maintaining a clear content calendar and assigning responsibilities. Use the platform’s playlist interface to arrange content in a logical flow that matches the school’s daily rhythm. Testing playlists before going live prevents display errors or gaps. The ability to schedule content in advance is important, allowing automatic updates on significant days without manual intervention.
Backup all content files and templates outside the signage system as a safeguard against data loss or technical failures. Using templates and pre-approved designs speeds up the content creation process and keeps messaging consistent. Avoid content clutter by limiting the amount of information displayed simultaneously and using split screens judiciously to highlight key messages.
Student Involvement and Role Assignments
Many schools successfully involve students in digital signage content creation and scheduling, creating learning opportunities while lightening staff workloads. Student media teams or leadership groups can manage content calendars, design graphics, and produce video clips, guided by established guidelines to ensure professional and appropriate output. Assign smaller teams to rotate responsibilities for scheduling content playlists and troubleshooting daily issues.
Training is essential so students understand platform features, timing needs, and content standards. Regular check-ins with staff help maintain quality control and correct any errors promptly. This involvement can build valuable skills in communication, technology, and teamwork while keeping content fresh and relevant from a student perspective.
Best Practices and Common Mistakes in School Sign Creation
To create school signs that truly work, avoid common design mistakes and know when to update or get professional help. Clear visuals, timely updates, and proper craftsmanship boost a sign’s ability to guide and inform your school community effectively.
Top Design and Placement Mistakes to Avoid
One major error is overcrowding the sign with too much text or graphics, making it hard to read at a glance. Use simple fonts, limit words to essential information, and choose high-contrast colors for better visibility. Avoid placing signs where shadows, glare, or obstructions reduce legibility. For example, signs near busy entrances should be large enough to read from several feet away and free of visual clutter around them.
Another common mistake is ignoring consistent branding and style across all school signage. Signs that look like they came from different sources cause confusion and reduce trust in the information provided. Use your school’s colors and logo while maintaining uniform font styles and sizes. This consistency helps users quickly identify official messaging and directions.
Updating Frequency Recommendations
School signs need regular review and refresh to stay relevant. Update signs featuring schedules, events, or directions at least once per semester or more frequently during busy seasons like back-to-school and testing weeks. Permanent wayfinding signs should be inspected yearly for wear or damage and replaced if faded or broken, which might affect safety and clarity.
Seasonal and spirit signs should change at least four times per year to reflect the school calendar. However, banners used to launch or promote new extracurriculars may require updating as often as monthly during active club recruitment periods. Keeping signs current maintains engagement and accurate communication.
Decision Rule: DIY vs Professional Signage Creation
Choose DIY signage for temporary or small-scale projects like classroom door signs, event announcements, or photo backdrops. This approach saves money and adds personal touch but requires basic design tools, time, and access to a quality printer. Expect costs under $50 for materials, plus your time.
Professional signage is the better option for permanent outdoor signs, wayfinding systems, and safety notices where durability and compliance matter. Professionals ensure materials withstand weather, use long-lasting inks or vinyl, and meet any local codes. Costs vary widely but expect $200 or more for high-quality signs, which lasts longer without fading or damage.
Warning: Avoid placing signs in locations exposed to direct sunlight without UV protection; fading and cracking can make important information unreadable within months.
Step-by-Step Action Plan to Create Effective School Signs
Follow these steps to design and implement school signs that serve your community well and meet various school needs.
- Before you start: Identify the purpose of your signs, such as navigation, motivation, or event promotion. Confirm the goal by listing the main message each sign should convey.
- Day 1: Choose appropriate materials and sizes for both indoor and outdoor use, considering durability and visibility. Test readability by viewing samples from the intended distance.
- Week 1: Draft your sign designs based on best practices for clarity and style. Get feedback from a small group of staff or parents to ensure the message is easy to understand.
- Week 2: Produce signs using your chosen method, whether professionally printed or DIY. Verify quality by checking colors, font legibility, and sturdiness after production.
- Week 3: Install signs at key locations using proper hardware and secure mounting. Confirm effectiveness by observing if students and visitors use the signs to navigate or engage.
- After 1 month: Gather feedback from the school community about the signs’ usefulness and appearance. Use this input to plan updates or additional signs as needed.
Frequently Asked Questions
What Sizes Are Standard for School Signs?
Standard school signs typically come in sizes like 12 × 18 inches or 18 × 24 inches, which makes sure the messages are easy to see from far away. Picking these dimensions helps deliver important information clearly to everyone around the school.
Can School Signs Help Improve School Morale?
Yes, school signs can boost morale by using humor, open dialogue, and engaging games. These signs help re-engage the community during tough times and create a more positive and inclusive atmosphere for students and staff.
How Can Digital Signs Update School Communications?
Digital signs allow schools to change messages in real time, making communication faster and more flexible. They are especially useful for quickly sharing announcements, event updates, or emergency information across campus.
Are DIY School Signs Effective for Special School Events?
DIY signs work well for events like the first and last day of school because they add a personal touch. Creating signs with your own designs also saves money and allows customization for your specific school community.
What Materials Are Best for Printing School Signs?
Vinyl and cardstock are popular materials for school signs due to durability and ease of printing. Vinyl signs withstand outdoor elements while cardstock is great for indoor use and simple projects like photo props.
How Many Sign Ideas Are Recommended to Keep a School Environment Vibrant?
Using around 50 different sign ideas throughout the year can keep the school environment fun and purposeful. Variety helps maintain student interest and addresses multiple needs like wayfinding, motivation, and seasonal celebrations.
The Bottom Line
Good school signs make a tangible difference by improving communication, safety, and school spirit. Start by selecting one key area, like navigation or motivation, and create a sign that fits your school’s culture. That small step can improve daily experiences and help foster a stronger school community.