What Is a Window Sign? A Complete Guide to Types, Costs, and Benefits
What is a window sign? It’s a graphic or lettering applied directly to a business’s storefront glass to attract attention and communicate key information. Window signs work by combining visibility with design, helping your business stand out and share messages like your name, hours, or promotions. To start, consider what message or branding you want your sign to deliver to foot traffic passing by.
Key Takeaways
- Choose window signs that fit your storefront size and comply with local coverage limits, like Boca Raton’s 20% glass rule.
- Frosted window film is a popular material offering privacy and style without blocking light.
- 3D sign lettering adds depth and catches eyes but costs more than flat vinyl graphics.
- Exterior window signs should leave a 0.25 inch clean border for professional appearance and durability.
- Regularly updating window graphics maintains a fresh look and keeps your brand visible and relevant.
- Investing in lit window signs can boost night visibility but expect higher upfront costs, such as $12,000 for a quality install.
What Is a Window Sign and How Does It Work?
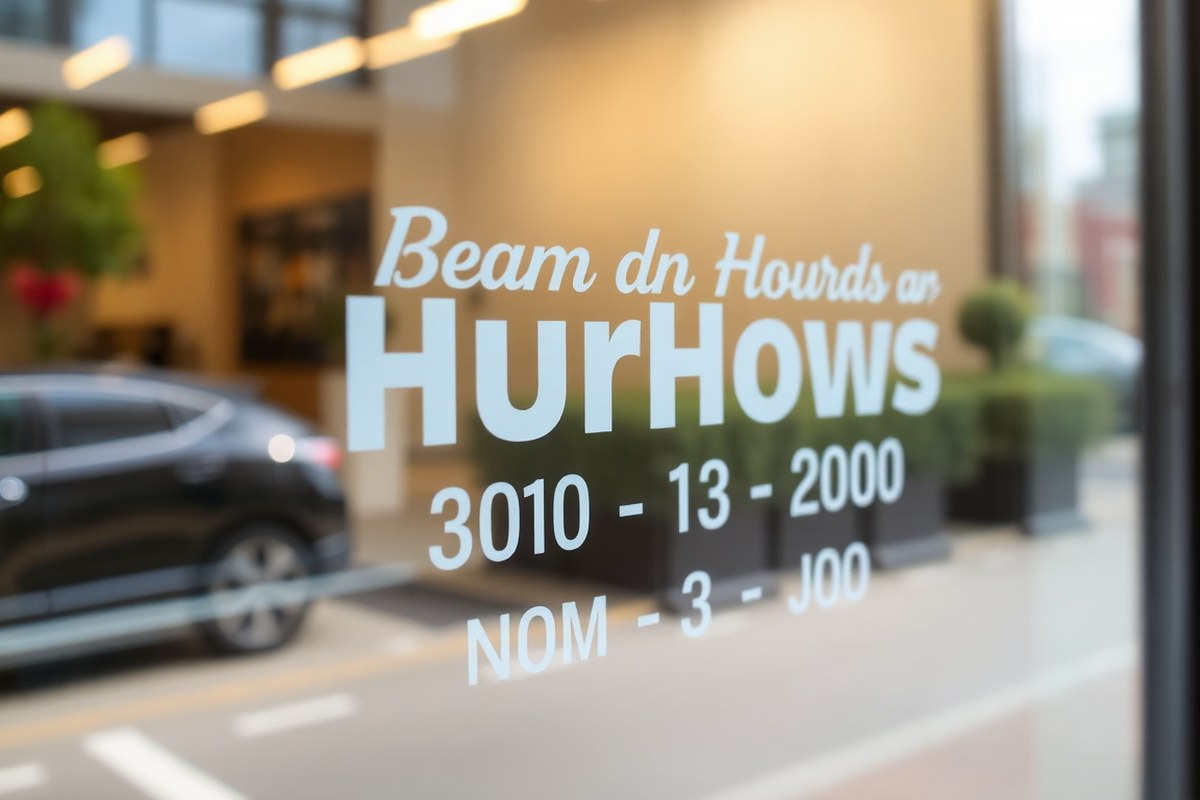
A window sign is a graphic or text display applied directly to a business’s window to attract attention, convey information, and boost visibility. These signs work by combining visual elements like logos, messages, or business hours with materials that adhere securely to glass surfaces, such as vinyl decals or window films. The design usually prints on one side of the vinyl, allowing it to showcase the business information clearly while sometimes limiting visibility into the interior from outside, offering an added layer of privacy.
The main purpose of window signs is to improve a business’s curb appeal and communication efforts. Such signs supplement primary signage by providing extra details including hours of operation, contact info, or promotional offers. For example, a retail shop can use a window sign to announce a seasonal sale or highlight new arrivals, grabbing the attention of passing pedestrians and drivers. The practical function also covers branding, helping establish a recognizable storefront through logos and consistent graphic styles.
Window signs operate most effectively when designed to fit the business’s unique needs and comply with local rules. Exterior window signage may have limits on how much of the window can be covered, some places only allow up to 20% coverage, like Boca Raton, making it important to plan the design size accordingly. The installation process involves cleaning the glass, precisely applying the decal or film without bubbles, and ensuring durability against weather and wear.
In terms of costs and durability, window graphics usually last 3 to 5 years with proper care, costing anywhere from $500 to $3,500 depending on size, design complexity, and material quality. The investment delivers good returns by making your business stand out and encouraging customer engagement. Vinyl decals are favored for permanent branding because they hold up well and maintain high-quality appearance, though they require some effort for removal and cannot be reused.
Success with window signs depends on thoughtful design, professional installation, and the right choice of materials for your specific business location and marketing goals. Businesses with front windows, whether a small candy shop or a large rental office, can benefit from these signs by clearly identifying the brand and communicating essential messages directly at the point of contact with customers. Installing window signs thoughtfully helps you balance visibility, privacy, and compliance, making your business windows powerful marketing tools.
Types of Window Signs and Graphics
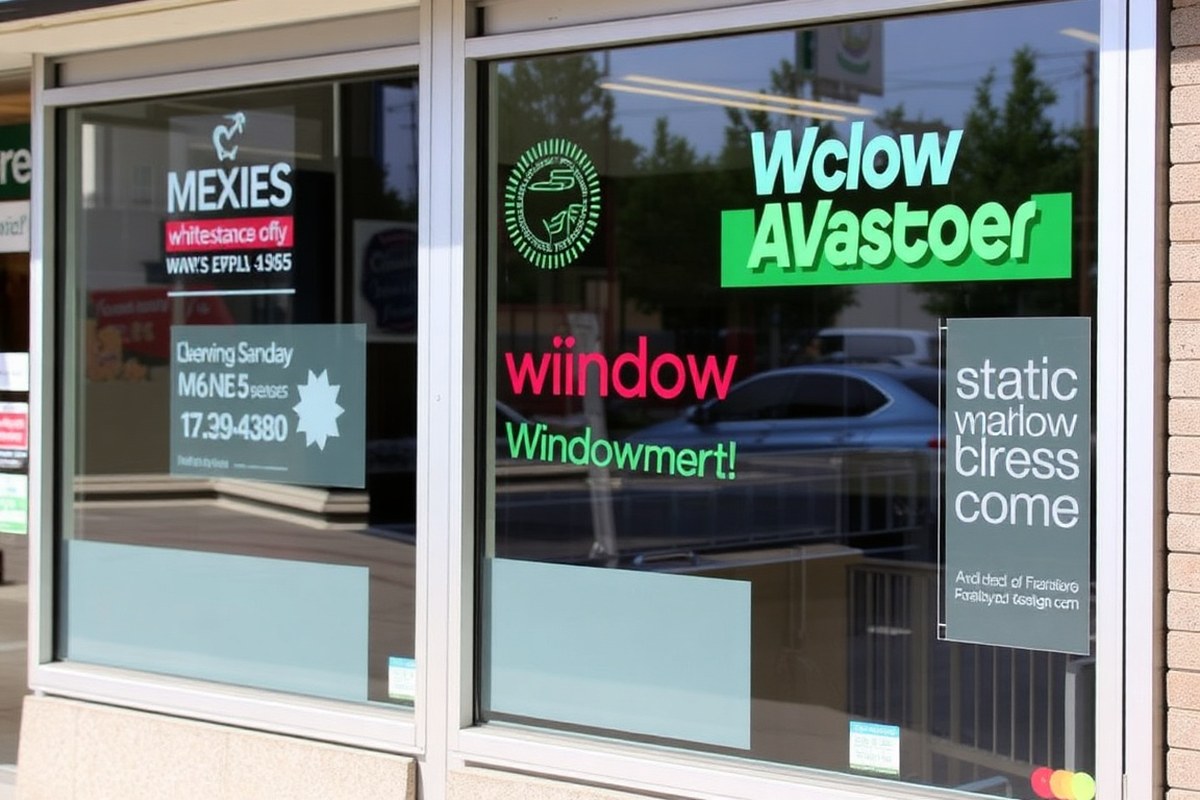
Window signage comes in several types, each designed to serve specific branding and visibility needs. The main varieties include vinyl decals and letters, perforated window graphics, static clings with window films, and temporary posters or banners. Understanding the features and applications of each helps you choose the right option for your store’s marketing goals and window conditions.
Vinyl Decals and Letters
Vinyl decals are adhesive-backed graphics made from vinyl film that sticks directly to glass surfaces. They can be fully opaque, clear, or partially transparent, allowing you to display bold logos, lettering, or artwork on your storefront windows. Cut vinyl letters are especially popular for creating professional, clean-looking text and simple shapes. They adhere well and usually last several years with minimal maintenance, making them cost-effective for long-term branding and promotion.
This type of signage is highly versatile; you can place it on the outside or inside of the window. Applying decals inside protects them from weather and vandalism but can reduce their size options and require mirror-imaging the design. Costs vary depending on size and complexity, but vinyl is generally affordable compared to large-scale signage or billboards. Decals work best in environments where you want to maintain visibility from inside while projecting a strong brand image outside.
Tip: Clean the window thoroughly before applying vinyl decals to ensure strong adhesion and avoid bubbles or peeling.
Perforated Window Graphics
Perforated window graphics, also known as “see-through” decals, feature tiny holes across the vinyl surface that allow light and visibility from the inside while displaying a bold image on the exterior. This type suits businesses that want effective advertising without sacrificing daylight or the view from indoors. Because of their dual-visibility function, these graphics drive foot traffic with eye-catching messaging while maintaining customer comfort inside the store.
Perforated films tend to cost more than solid vinyl decals due to their specialized design and printing requirements. Installation is similar to other vinyl types but requires precise alignment to maximize the effect of smooth images. Some reduction in image sharpness may occur due to the perforations, so high-contrast, simple designs usually deliver the best results. These are especially useful on large glass surfaces such as entire storefront windows and glass doors.
Warning: Avoid placing perforated graphics on windows that require full transparency or emergency exit views, as they reduce vision clarity.
Static Clings and Window Films
Static clings are non-adhesive vinyl sheets that attach to glass using static electricity rather than glue. They come in clear or opaque versions and can be reused, repositioned, or easily removed without damaging the window surface. Static clings are ideal for temporary promotions, seasonal messages, or events where you need flexibility and minimal installation effort.
Window films, including tinted or frosted variations, offer additional privacy and branding by modifying how light passes through storefront glass. Printed window films combine aesthetic appeal with functional benefits, such as reducing glare and UV exposure. Static clings and films tend to have a shorter lifespan and are sensitive to weather if placed outdoors. For interior use, they provide an attractive option that protects the glass and improve brand presence without permanent alteration.
Tip: Use static clings for short-term campaigns or changing messages, they’re easy to swap out and don’t require installation tools.
Temporary Posters and Banners
Temporary posters and banners can be placed inside windows using suction cups, clips, or tape. Printed on paper or lightweight vinyl, they are the least permanent form of window signage and usually cost the least upfront. This option fits businesses aiming to advertise limited-time offers, sales events, or new product launches without committing to long-term installation.
These signs typically don’t maintain appearance as well as vinyl graphics and require replacement more frequently, especially in high-traffic or sun-exposed locations. Posters may fade or wrinkle over time and might obstruct natural light or visibility. Banners add a larger promotional format but come with similar drawbacks. Use temporary signage strategically for specific campaigns, and remove them promptly when the promotion ends to avoid a worn look.
Materials Used and Their Durability
Window signs use several common materials that vary in durability, weather resistance, and maintenance needs. Selecting the right material depends on whether your sign will be placed indoors or outdoors, how long it needs to last, and the kind of exposure it will face. Understanding these factors helps keep your sign effective and looking fresh.
Vinyl Films
Vinyl is a popular material for window signs because it’s flexible, lightweight, and generally affordable. Adhesive vinyl decals stick directly to glass and can last anywhere from one to five years, depending mostly on exposure to sunlight and weather. These decals are weather resistant enough to handle rain, wind, and temperature changes but may fade or peel in extreme conditions over time.
Maintenance involves gentle cleaning with mild soap and water to avoid damaging the vinyl surface or loosening the adhesive. Avoid using abrasive scrubbers or strong solvents. Vinyl films often have UV protection to slow color fading. Replacing worn vinyl signs every few years keeps your display sharp and professional.
Perforated Materials
Perforated window films are vinyl decals with tiny holes that allow visibility from the inside while showing a graphic on the outside. They are weather resistant and durable, suitable for outdoor use and can last up to four years. These signs block glare and provide privacy without completely covering the window, making them common for retail and vehicle windows.
Cleaning requires the same care as vinyl films. Dirt and grime should be removed with mild soap and water to prevent buildup in the perforations, which can obscure the graphic or reduce visibility. These films are slightly more delicate because the perforations can tear if roughly handled.
Static Cling Materials
Static clings are made from thin plastic without adhesive, relying on static for attachment to smooth surfaces like glass. They are best suited for short-term use, typically lasting six months or less. Since they don’t have adhesive, they are easy to reposition and remove without leaving residue, but they don’t hold up well outdoors as weather can quickly degrade them.
Static clings need minimal maintenance, simply wipe the window and the cling surface with a lint-free cloth to keep it clean and sticking well. Avoid using strong cleaners or scrubbing, which can reduce cling effectiveness. They are ideal for temporary promotions or seasonal signage indoors or protected entryways.
Traditional Poster Materials
Posters made of paper or cardstock are common for indoor window signs, especially for limited-time marketing. They are inexpensive but have very low durability if exposed to moisture or direct sunlight. These materials often last only a few weeks before fading, wrinkling, or tearing.
To protect posters, place them behind glass or use laminated versions. Replace them frequently to maintain a polished appearance. Paper signs require no special maintenance but must be monitored closely in environments where humidity or temperature fluctuates. The table below summarizes the key materials used for window signs, their expected lifespan, cost estimates, weather resistance, and typical maintenance tips.
| Material | Lifespan | Approximate Cost | Weather Resistance | Maintenance Tips |
|---|---|---|---|---|
| Vinyl Film | 1, 5 years | $$ | Good (resists rain, sun, wind) | Clean with mild soap, avoid abrasives |
| Perforated Film | Up to 4 years | $$ | Good (blocks glare, withstands weather) | Wash gently, avoid tearing holes |
| Static Cling | Up to 6 months | $ | Poor (not ideal for outdoor use) | Wipe clean, avoid harsh cleaners |
| Paper Poster | Few weeks indoors | $ | Very poor (damaged by moisture, sun) | Use behind glass, replace often |
Choosing the right window sign material balances cost, lifespan, and weather exposure. Vinyl and perforated films are best for longer-term outdoor displays. Static clings suit short-term indoor promotions, and paper posters work for temporary messages or events. Regular cleaning and timely replacements keep your window signs effective and attractive.
Cost Factors and Lifespan of Window Signs
Window signs offer a cost-effective way to promote your business or provide essential information without breaking the bank. The price varies depending on the material, size, and complexity, but you can expect typical costs ranging from as low as $50 for simple see-through decals to several hundred dollars for larger, full glass graphics. Investing upfront in higher-quality signs often means longer lifespan and better visibility, which translates into sustained marketing impact and less frequent replacement.
Durability is a key factor when comparing costs. See-through window decals generally last between 3 to 5 years, depending on exposure to sunlight and weather conditions. Vinyl graphics can handle moderate outdoor conditions, while laminated or UV-protected options can extend longevity further. Budget signs made from thin films might last only 1 to 2 years and fade quickly, which can reduce their effectiveness. Selecting a product with a slightly higher upfront cost but a longer lifespan lowers your average yearly expense and maintains brand visibility. Here is a comparison table outlining estimated costs, typical lifespans, and visibility effectiveness of common window sign types:
| Sign Type | Typical Cost | Lifespan (Years) | Visibility Effectiveness |
|---|---|---|---|
| See-through Vinyl Decals | $50 to $150 | 3 to 5 | 60% to 80% |
| Full Glass Graphics | $200 to $500 | 4 to 6 | 80% |
| Laminated UV-Protected Signs | $300 to $600 | 5 to 7 | 85%+ |
| Basic Printed Film Signs | $30 to $80 | 1 to 2 | 40% to 60% |
Budgeting for window signage starts with defining your goals, whether you want maximum exposure or a simple informational sign. Investing in see-through decals captures most of the visibility of more expensive graphics but at a fraction of the cost, offering a balance suitable for most small businesses. For the best return, plan for signage updates every 3 to 5 years to maintain clarity and freshness as graphics fade or damage from UV exposure occurs.
Neglecting durability may save money upfront but results in frequent replacements, higher long-term costs, and a worn brand image. Conversely, high-end laminated signs with UV protection require larger up-front investment but reduce reprinting and installation fees over time. Always consider your location’s conditions, as intense sun exposure or harsh weather lowers lifespan, making more durable options worthwhile. Regular inspection and maintenance will extend usability and keep your window sign looking professional longer.
Installation Methods and Tips for Window Signage
Window signs can be installed by yourself or a professional, depending on your comfort level with tools and the type of sign. Ensuring the surface is clean, applying film carefully, and managing bubbles or alignment issues solidify a crisp, professional look that improve your store’s appearance.
Preparing the Window Surface
Proper surface preparation is key to a successful window sign installation. Clean the glass with a non-abrasive cleaner and lint-free cloth, removing all dust, grease, or residues. Dirt and grime cause bubbles or poor adhesion, shortening the sign’s lifespan.
Make sure the glass has no cracks or flakes that could interfere with the decal sticking smoothly. Allow the surface to dry completely, ideally installing signs when the temperature is between 50°F and 85°F to ensure optimal adhesive performance.
Applying Vinyl and Decals
Applying window signs is a step-by-step process that requires patience and precision. Using tools like a squeegee or credit card helps to smooth the decal during installation, preventing bubbles and misalignment. Here’s a reliable method to install vinyl window signs:
- Measure and mark the placement on the window using painter’s tape for alignment.
- Peel the backing off the vinyl slowly, exposing the adhesive side.
- Position the top edge of the decal on the window and press down lightly.
- Use a squeegee to press outward from the center towards the edges, removing air bubbles and wrinkles.
- Work your way down the sign, peeling the backing as you smooth the vinyl onto the glass.
- Remove the transfer tape carefully at a sharp angle, leaving the decal on the window.
- Check for bubbles; puncture small bubbles with a pin and smooth them out gently.
Tip: Keep a spray bottle filled with a mix of water and a few drops of dish soap handy to lightly mist the glass before applying decals. This helps with repositioning before the adhesive sets.
Handling Errors During Installation
Minor installation errors such as bubbles or wrinkles can be fixed immediately with simple techniques, but waiting too long reduces this chance. Use a pin to prick small air bubbles, then smooth them out with a squeegee. Wrinkles may require gently peeling back the vinyl and reapplying slowly.
For larger mistakes, like significant misalignment, removing the decal and starting over might be necessary. Some types of vinyl allow for removal without damage within a few hours after application. Avoid using sharp tools or excessive force that can scratch the glass or damage the sign.
When to Hire a Professional
Consider professional installation for large window signs, complex graphics, or when requiring precise alignment on multiple panes. Professionals have specialized tools, experience, and often offer warranty coverage for installation quality. Hiring a pro typically costs between $100 and $300, depending on sign size and complexity.
If your sign is small and you have a steady hand, installing it yourself can save money and time. However, if your surface is textured, curved, or hard to reach, professional help minimizes risk of damage and ensures a polished result.
Legal Limits and Regulations for Window Signs
Legal restrictions on window signs vary widely depending on your city or county, but most local governments set limits on the size, placement, and content of signs to ensure safety, visibility, and neighborhood character. Typical rules might restrict window signs to cover no more than 25% to 40% of the glass area. This prevents signs from blocking views or natural light excessively while still allowing businesses to advertise effectively. Restrictions can also include bans on flashing or illuminated signs inside windows and rules about sign durability and materials for safety reasons.
To avoid compliance issues, start by measuring your window’s total glass surface area. Local codes that limit signs covering more than 30% means your sign size should stay at or below that limit. Some areas distinguish between permanent and temporary signs, with temporary window signs often facing fewer restrictions but limited display durations, such as 30 or 60 days. Other rules can specify minimum distances from entrances, sidewalks, or intersections to prevent driver distraction.
Researching local sign regulations begins with your city or county government’s website. Look for zoning or planning department pages, which often post sign ordinances and application forms. When online information lacks clarity, a call to the local building or planning office can save you time. You can ask if there are special permits for window signs or design review boards that approve signage content and size. Some municipalities require an application and fee for sign installation, so plan accordingly.
To decide if your window sign complies, follow a simple decision tree: confirm your exact window dimensions; review your local code’s coverage limit; check whether your planned sign meets that percentage; verify restrictions on materials, illumination, and message content; and then identify if a permit or approval is needed. Any step that causes questions means you should reach out to the local authority before placing your sign order.
Costs tied to meeting these legal limits include possible permit fees, which typically range from $50 to $200 depending on your location. Noncompliance risks fines or mandatory removal, which can cost more than upfront compliance. Note that sign companies often help customers navigate local rules because improper signage installation can lead to business interruptions. For example, a retail store in a historic district might face stricter design guidelines than one in an industrial park.
Pay attention to variations like historic preservation districts, where window sign sizes or styles might be further limited to preserve architectural character. Some cities exclude certain businesses or zones from strict rules or allow additional signage for special promotions on a limited basis. Always verify which rules apply specifically to your neighborhood and type of business.
Maximizing Visibility and Privacy with Window Signs
Window signs can attract customers and maintain privacy by using materials that balance visibility and light transmission. See-through window decals, also known as one-way vision films, allow natural light inside while displaying your message to passersby. These films have tiny perforations that let people inside see out clearly, but obscure the view from outside, which works well for retail stores wanting to advertise without blocking indoor light.
Frosted window films offer a different approach by diffusing light softly while providing privacy. These films resemble etched glass and can cover full or partial window areas. They’re ideal for creating a secure, professional look without turning your windows into opaque surfaces. Businesses often use frosted films on meeting room windows or sensitive product displays to keep them out of direct view but still well-lit.
Choosing between see-through perforated films and frosted films depends on your priorities. Perforated films maximize daylight and outside advertising but offer privacy mainly when the interior is brighter than the outside. Frosted films create more consistent privacy by obscuring the glass surface from both sides but reduce visibility and slightly dim the natural light. Tinted films add heat reduction along with privacy by blocking UV rays, which protects interiors and keeps spaces cooler, lessening air conditioning costs.
Design tips for maintaining visibility and privacy include using lighter colors and minimal graphics on perforated films to maximize clarity and brightness indoors. Avoid covering the entire window if you want window shoppers to peek inside easily. Apply frosted or opaque films only on sections needing privacy, such as lower halves or small window panels, to keep some openness. Measuring your light levels before installation helps decide how much coverage works best.
The installation process for these films often costs between $5 and $10 per square foot, depending on the material’s quality and surface preparation. Professional installation ensures smooth application without bubbles or wrinkles, critical to maintaining a clean look and optimal clarity. Window films have a life expectancy of 5 to 10 years but may degrade faster if exposed to harsh sun or temperature swings regularly.
Good results occur when a window sign design balances your brand’s visibility without sacrificing daylight or creating a closed-off atmosphere. Poor choices like fully opaque signs on all windows can make a storefront feel uninviting, while overly transparent signs might fail at privacy and security. By selecting appropriate film types and coverage areas, you attract customers effectively while preserving comfort and confidentiality inside your business.
Common Mistakes and How to Avoid Them
Poorly designed window signs often suffer from low readability and weak brand impact. Using too many fonts, colors that clash, or text that’s too small can turn potential customers away. Choose bold, simple fonts and keep text size readable from at least 10 feet away. Avoid overcrowding the sign with excessive information to maintain visual clarity.
Incorrect installation can lead to warped, peeling, or bubbling window signs that look unprofessional and shorten the sign’s lifespan. Signs fastened unevenly or with the wrong adhesives may detach in wind or extreme weather, costing you more for repairs or replacements. Hiring experienced local professionals like those at TM Signs & Graphics or Lucent Graphic Solutions ensures your sign is mounted properly and county permits are managed.
Neglecting regular maintenance can cause stains, fading, or damage from moisture. Signs on windows exposed to harsh sun require cleaning with non-abrasive, mild soap solutions every 4 to 6 weeks to prevent grime buildup and material degradation. Inspect the window film or vinyl for scratches or lifting annually and address small repairs promptly to avoid larger issues.
- Design signs with high contrast colors and simple fonts for better visibility
- Use professional installation services to ensure even, secure mounting
- Choose weather-resistant materials suitable for your local climate
- Clean signs regularly with gentle soap and water, avoiding harsh chemicals
- Inspect signs seasonally for peeling, bubbles, or fading and fix minor issues early
- Follow local regulations on size and placement to avoid fines or forced removal
- Consider window films for privacy and sun protection without reducing sign clarity
Always check that adhesives and materials are rated for outdoor use in your area to prevent early failure and discoloration.
Poor installation can also block visibility if signs cover too much of the window, negatively affecting both aesthetics and customer comfort. Balance coverage by leaving at least 25% of the glass clear unless privacy is a priority. For businesses in high-traffic areas or with large windows, consider modular signs that can be replaced or updated easily to refresh your brand presence without full removal.
Proper upkeep prevents costly replacements and keeps your sign looking sharp for 3 to 5 years or more, depending on material and exposure. Investing a few hours annually in cleaning and inspection can save hundreds in premature sign replacement and protect your business image effectively.
Your First Steps to Effective Window Signage
Get your window sign project started right with this simple action plan. These steps guide you from planning to installation while making sure your sign delivers results.
- Day 1: Measure your window and note sunlight exposure to choose the right materials. Success looks like getting accurate dimensions and understanding lighting conditions.
- Day 3: Select the type of window sign that matches your brand and goals, such as vinyl decals for promotion or perforated films for privacy. You’ll know this worked when you pick a style that fits your space and purpose.
- Week 1: Request quotes from at least three local or online sign providers, considering durability and installation methods. Getting multiple bids helps you compare costs and options effectively.
- Week 2: Check local sign regulations and secure any necessary permits before placing your order to avoid fines or removal. Confirm approval or clearance from municipal authorities.
- Week 3: Schedule professional installation or plan your DIY approach with the right tools and instructions. Proper installation shows in a clean, bubble-free application aligned with your design.
- After 1 month: Monitor your sign’s visibility and wear regularly. If your message is clear to passersby and the sign shows no damage, your project succeeded.
Frequently Asked Questions
What Is a Window Sign?
A window sign is a graphic or decal placed on a window to promote a business or convey information. It helps attract attention and can improve your storefront’s visibility and curb appeal.
What Is a Window a Metaphor For?
A window often symbolizes opportunity or insight, representing a way to see or explore new possibilities. In business, it can imply transparency or a fresh perspective for customers.
How Do You Sign “Window” in American Sign Language?
To sign “window,” hold your non-dominant hand flat and move the dominant hand in a square shape above it, mimicking a window frame. This visual gesture directly represents the shape of a window.
What Are the Standard Dimensions for a Sign?
Standard sign sizes vary, but typical window signs range from 12×18 inches to 24×36 inches, depending on window space and visibility needs. Choose a size that balances impact without overwhelming the window surface.
What Is a Window Decal?
A window decal is a sticker or graphic applied to glass, often used for branding or advertising. These can be clear, frosted, or opaque and sometimes are designed to be viewed from either inside or outside the window.
Can Window Signs Damage Glass?
Window signs generally do not damage glass if installed and removed properly. Use decals designed for glass and avoid adhesives or methods that leave residue or require scraping.
Before You Go
Window signs combine visual appeal and practical benefits that can boost your business visibility and control privacy. Choosing the right type, material, and installation method ensures your sign performs well in your location. Start by measuring your window and researching local rules today, then plan your sign around your specific needs to get the best value.