How to Make a Reflective Sign: Simple Steps for Durable, Bright Results
Knowing how to make a reflective sign starts with choosing the right materials and applying reflective paint correctly. Use high-quality reflective films or reflective paint mixed with glass beads to ensure brightness and durability. Preparing a clean, smooth surface and curing the paint at room temperature helps your sign last outdoors for years.
Key Takeaways
- Select reflective materials rated for outdoor use up to 10-12 years for long-lasting visibility.
- Mix reflective paint with approximately 20% glass beads by volume for optimal reflectivity.
- Prepare sign surfaces by cleaning and smoothing to maximize paint adhesion and brightness.
- Apply reflective paint under dry conditions below 50% humidity to prevent defects.
- Allow paint to cure fully for 24-48 hours at about 70°F (21°C) to achieve durable results.
- Test your sign’s reflectivity by measuring light reflection in cd/lux/m² for quality control.
How to Make a Reflective Sign Step by Step
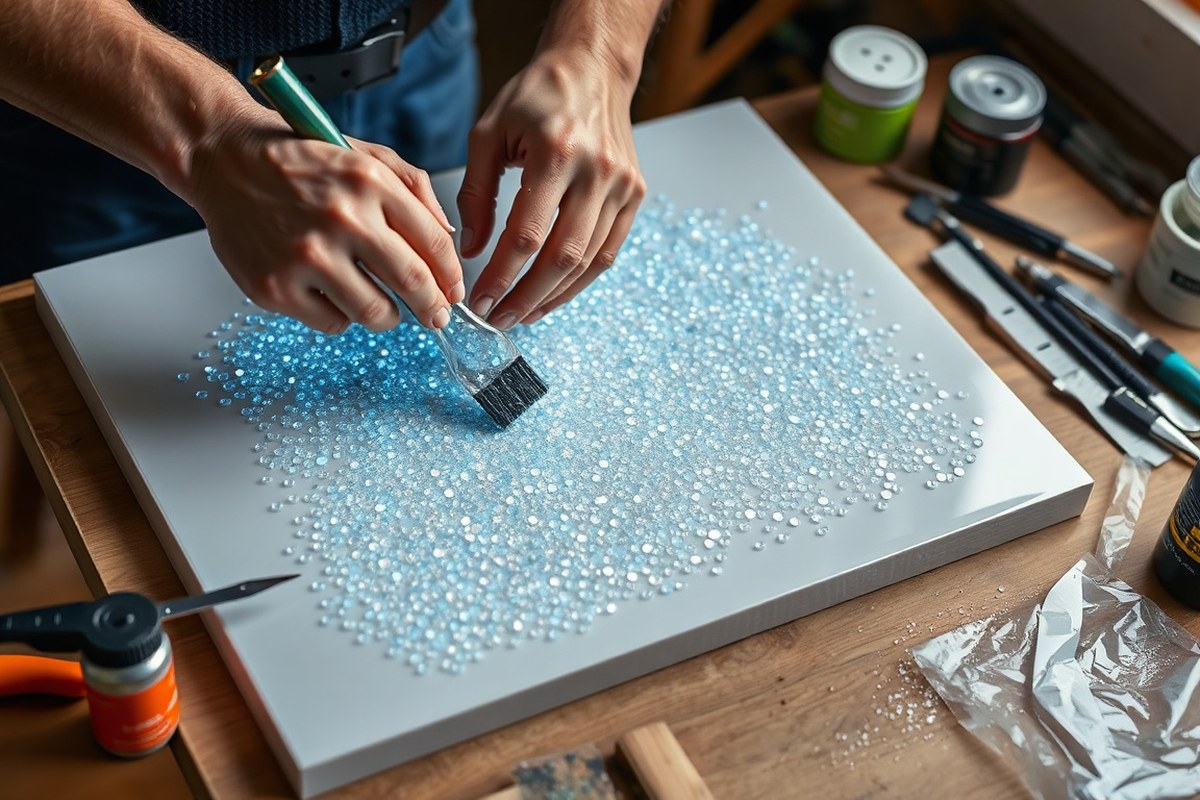
Making a high-visibility reflective sign involves selecting the right materials, carefully preparing your surface, mixing reflective paint properly, and protecting your work with a sealant. The process helps ensure the sign reflects light efficiently and lasts outdoors. Follow these exact steps to produce a durable, bright sign.
Gathering Materials and Tools
You’ll need specific materials and tools to create a reflective sign that stands out. Start with a base paint compatible with your sign’s surface, usually an outdoor acrylic or enamel paint works well. Reflective glass beads or microprisms are essential additives that give the paint its reflective quality.
Tools include measuring cups for precise mixing, a stir stick or drill mixer for blending, and application tools like brushes or spray guns depending on your method. A clean cloth and mild detergent help prepare the surface. For sealing, a clear outdoor-rated polyurethane or varnish is needed.
- Base paint (outdoor acrylic or enamel)
- Reflective glass beads or microprisms
- Measuring cups or spoons
- Mixing container and stir stick or drill mixer
- Brushes, rollers, or spray equipment
- Clean cloth and detergent
- Clear outdoor sealant (polyurethane or varnish)
- Protective gloves and mask (for safety)
Preparing and Cleaning the Surface
Proper surface preparation maximizes paint adhesion and reflectivity. Begin by cleaning the sign substrate thoroughly with a mild detergent and water to remove dirt, grease, and oils. Rinse and allow it to dry completely. Smooth rough areas lightly with fine sandpaper, then wipe away any dust with a damp cloth.
The surface must be dry and free of contaminants to prevent paint peeling or uneven reflectivity. Avoid greasy or oily residues, which block reflective beads from shining. For metal or plastic bases, consider a suitable primer to improve paint bonding.
Mixing and Applying Reflective Paint
Mixing reflective paint requires accuracy to balance reflectivity and durability. Use a clean container to combine your base paint with reflective glass beads. A typical starting ratio is one part glass beads to two parts paint by volume. Adjust this ratio for more or less shine but avoid overloading the mix, which can reduce coating strength.
Mix thoroughly using a stir stick or a low-speed drill mixer until the beads are evenly distributed. Apply the paint using brushes, rollers, or a spray gun, aiming for even, thin coats. Avoid thick paint layers that cover the beads, reducing light reflection.
Apply at least two coats, allowing each to dry according to the paint manufacturer’s instructions, usually 2 to 4 hours between coats at room temperature. Test reflectivity in low light by directing a light source like a flashlight at your sign to check for brightness and uniformity before applying the next coat.
- Clean and dry the substrate surface thoroughly.
- Lightly sand and remove dust.
- Mix base paint with reflective beads at roughly 1:2 volume ratio.
- Stir the mixture evenly with a mixer or drill at low speed.
- Apply a thin, even coat with a brush, roller, or sprayer.
- Allow the first coat to dry for 2 to 4 hours.
- Apply a second coat evenly and let it dry completely.
- Check reflectivity with a light source before sealing.
Sealing and Finalizing Your Sign
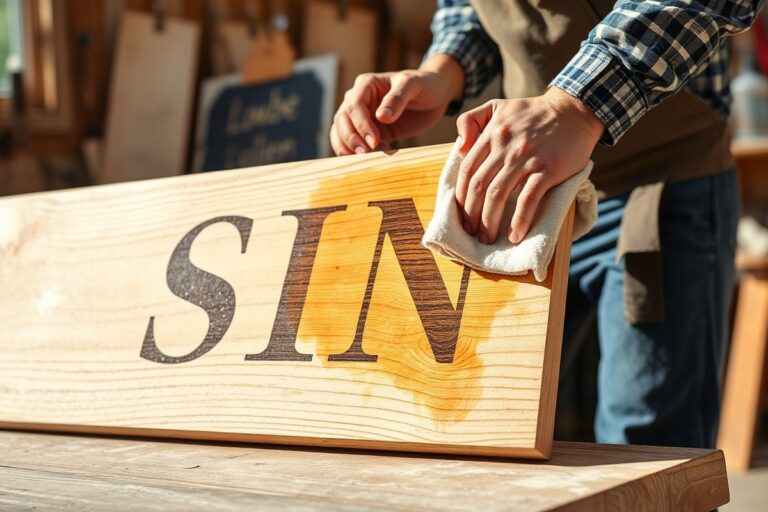
Sealing protects the reflective surface from weather, abrasion, and UV damage. Use a clear, outdoor-rated polyurethane or varnish applied with a brush or spray. Choose a non-yellowing formula to maintain color fidelity.
Apply the sealant in thin, even layers after the final paint coat is fully cured, typically 24 to 48 hours. One or two coats of sealant can extend the life and brightness of your sign significantly. Allow at least 12 hours of drying time between sealant coats.
Keep the finished sign in a dust-free, shaded area while curing fully, which can take up to a week for optimal durability. Inspect for cracks or peeling after curing; if present, lightly sand and reapply sealant.
How Reflective Signs Work and Why They Matter
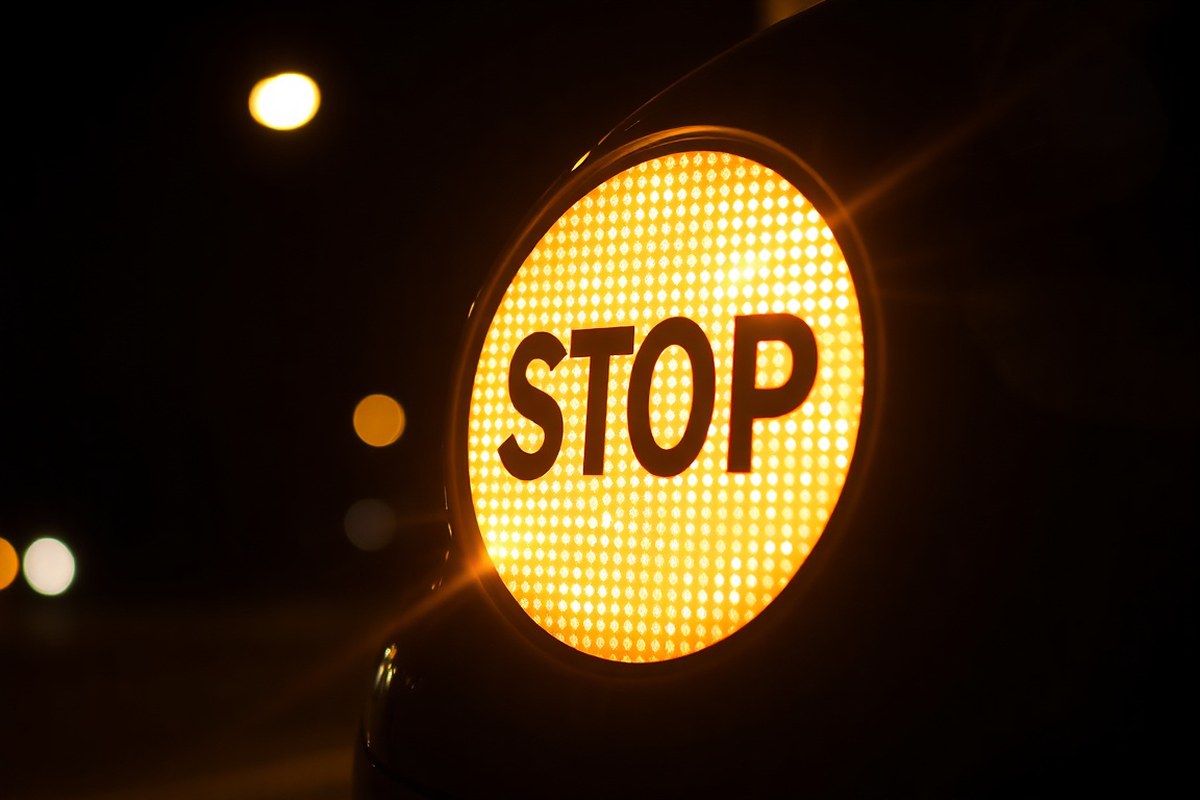
Reflective signs improve visibility by bouncing light back toward its source through a process called retroreflection. This effect is different from ordinary reflection, where light scatters in multiple directions. Retroreflective materials, often made with tiny glass beads or specialized microprisms, capture incoming light, such as car headlights, and direct it back toward the driver. This produces a bright, focused glow that can be seen clearly from a distance, especially in darkness, fog, or rain.
Glass beads are the most common material creating this reflection effect. These beads act like tiny lenses that refract light through their spherical shape, then reflect it off a mirrored backing or inner surface toward the original light source. Microprisms, used in some higher-quality reflective materials, achieve a similar result by using an array of prism-shaped surfaces. Both materials significantly increase sign visibility by reflecting up to 90% of incoming light back toward the observer, making these signs effective at all hours.
Reflective signs matter because they improve safety by making important information visible when natural light is absent or obscured. In road safety, these signs give drivers important time to react to stop signs, speed warnings, and hazard alerts. Proper use of reflective signs helps reduce accidents by ensuring drivers notice warnings early, even at night or during inclement weather. Beyond roads, reflective signs mark emergency exits, fire equipment, and safety zones, proving essential for workplace safety and public protection.
The science behind retroreflection supports these safety benefits. Unlike a mirror that reflects light at the same angle it hits, retroreflection sends light straight back to the source. For this to work well, the reflective surface must be smooth and contain the right density of reflective particles. Applying a proper concentration of glass beads or microprisms within a paint or film layer on the sign surface is key; a second coat can often help by increasing particle density and improving reflectivity.
Materials for DIY reflective signs vary in cost and effectiveness. Glass bead reflective paint is typically affordable and easy to apply, making it ideal for small projects such as bike decals or mailbox markers. High-grade microprismatic sheeting offers the best retroreflective performance but can cost significantly more and may require professional installation. Choosing the right material depends on your budget, visibility needs, and environmental exposure. For outdoor signs, weather resistance and UV stability of the reflective layer also matter.
For best results, apply reflective paint in thin, even layers and allow sufficient drying time between coats to maintain optimal retroreflective performance.
Choosing the Right Reflective Materials for Your Sign
You have several options for reflective materials when making your own sign: glass beads, reflective powders, and vinyl sheeting. Each type differs in how reflective it is, how much it costs, and how you apply it. Understanding these differences helps you pick the right material for your surface, budget, and visibility needs.
Glass Beads: Versatility and Cost
Glass beads are tiny spherical particles that reflect light back toward its source. They are commonly used in reflective paint, mixed directly into a clear base, usually at about 20% glass beads to paint volume or roughly 100 grams of beads per 500 ml of paint. This method is cost-effective and works well on flat, painted surfaces.
Glass beads provide good reflectivity but can make your workspace messy during application. They generally last between three to seven years outdoors. You must use specifically made reflective glass beads rather than ordinary glitter because only the proper beads provide true reflectivity.
Reflective Powders and Pigments
Reflective powders or pigments often consist of metallic or finely ground reflective particles designed to improve shine and light return. However, these powders don’t offer the same level of true reflectivity as glass beads or microprismatic materials. They might be easier to apply in paint mixes but don’t perform well as standalone reflective surfaces.
Using these powders requires extra caution because of their fine particle size and potential health risks if inhaled. Unlike glass beads, powders generally create a reflective effect that varies with viewing angle and lighting but won’t reflect light back precisely to the source.
Reflective Vinyl Films and Sheeting
Reflective vinyl or sheeting uses microprismatic elements embedded in a substrate to bounce light directly back toward drivers or observers. This creates a higher level of reflectivity than glass beads, improving sign visibility under various conditions including wet or angled lighting.
Vinyl sheeting typically costs more upfront but lasts longer, about 7 to 12 years depending on the type. Advanced “super engineer” grade films rated by standards like ASTM D4956 provide premium durability and reflectivity, making them suitable for outdoor and commercial signs. You apply these films by peeling the adhesive backing and carefully smoothing the sheet onto a clean, flat surface. They work best on rigid bases and require no mixing.
| Material | Cost | Reflectivity | Application Method | Durability (outdoor) |
|---|---|---|---|---|
| Glass Beads | Low to moderate | Good, with true retroreflective effect | Mixed into clear paint or varnish | 3 to 7 years |
| Reflective Powders | Low | Low to moderate, mostly shine, not true retroreflection | Added to paint or coatings | Varies, generally less durable |
| Reflective Vinyl Sheeting | Moderate to high | High, superior retroreflectivity | Peel-and-stick adhesive sheets | 7 to 12 years |
Choosing between materials depends on your budget, the sign surface, and how long the sign needs to last. For painted surfaces and lower costs, glass beads mixed in paint work well. Reflective powders suit simpler DIY projects where some sparkle is enough but are less effective under headlights. Vinyl films offer the best reflectivity and longevity but cost more and require a smooth, prepared surface for application.
Preparing Surfaces for Maximum Reflectivity
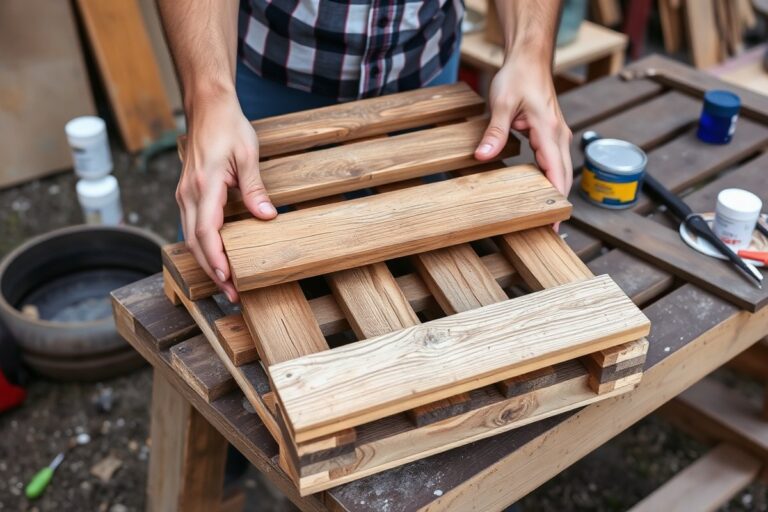
Reflective paint sticks strongest to smooth surfaces like metal, glass, or plastic since these materials keep the reflective particles spread out and able to reflect light effectively. Applying the paint on wood or concrete requires sealing and smoothing the surface beforehand to avoid absorption or uneven patches that can dull the shine.
Surface cleanliness is critical. Dirt, oil, rust, and moisture act as barriers, stopping paint from properly bonding to the surface. Proper cleaning ensures strong adhesion, which boosts durability and keeps your sign reflective for longer. Also, priming improves paint’s grip and creates an even base that improve reflectivity. Here’s a checklist to prepare different surfaces:
- Metal: Remove rust and old paint with sandpaper or a wire brush; clean with a degreaser or rubbing alcohol; apply a rust-inhibiting metal primer.
- Wood: Sand smooth to remove splinters and rough patches; clean dust with a damp cloth and let dry; apply a wood primer or sealer to prevent paint absorption.
- Plastic: Wash with soapy water to remove grease; rinse thoroughly and dry; lightly sand with fine-grit sandpaper; apply a plastic-specific primer.
- Concrete: Sweep or vacuum loose debris; clean with a mild detergent; allow to dry thoroughly; use a masonry primer to seal pores.
- Previously Painted Surfaces: Clean surface and sand existing paint lightly; apply primer compatible with old paint type if needed.
Applying primer suited to your substrate typically costs $8 to $20 per quart and dries in 1 to 3 hours depending on brand and conditions. Applying a thin, even coat with a brush or roller creates a uniform base that binds the reflective paint well. Skipping primer can result in patchy coverage, peeling, or early wear.
Good preparation lets the reflective paint layer form a smooth, solid sheet with reflective particles well positioned near the surface for optimal light return. Poor prep leads to dull spots and faster fading. Testing on a small patch before painting your full sign can help confirm your surface prep is effective.
Mixing Reflective Paint: Ratios and Techniques
To get the best reflectivity from your reflective sign, the key is mixing the right amount of reflective glass beads with your paint. A commonly recommended ratio is about 100 grams of glass beads per 500 ml of clear acrylic paint. This roughly translates to 1 part beads for every 5 parts paint by volume, which balances brightness and smooth application. Using too few beads reduces reflectivity, while too many can make the paint lumpy and hard to apply evenly.
Start by measuring your paint and beads precisely. For instance, if you need to mix 1 liter of paint, you should add about 200 grams of reflective beads. Weigh the beads using a kitchen scale, and pour your paint into a clean container. Gradually add the beads, stirring slowly but thoroughly to avoid clumps. Mixing should continue until the beads are evenly distributed throughout the paint, ensuring consistent reflectivity over the entire surface.
You want the paint to maintain a slightly thicker consistency than standard wall paint but still flow easily enough for brush or spray application. This allows you to apply a uniform coat without the beads settling too fast or creating rough textures. If the mixture feels too thick, thin it with a small amount of water or acrylic thinner, but only in small increments to avoid washing out the reflective properties.
Adjusting the bead-to-paint ratio lets you tailor visibility based on the sign’s purpose. For signs needing high visibility in low light, like driveway markers or warning signs, lean toward the higher bead content, up to 120 grams per 500 ml. For decorative or indoor signs where some reflectivity is helpful but not critical, 70 to 80 grams per 500 ml can suffice. Testing sample patches before committing to full application helps find the perfect balance for your specific project.
A worked example: if you buy 0.75 liters of clear acrylic paint for your sign, multiply 0.75 by 100 grams ÷ 0.5 liters to get 150 grams of beads needed (0.75 L × (100 g / 0.5 L) = 150 g). Weigh 150 grams of glass beads, add slowly to your paint container, and stir for at least 2 to 3 minutes until fully blended. Use a clean stir stick or paint mixer attachment for best results.
Always mix your reflective beads slowly and thoroughly; rushing can trap air bubbles or leave uneven patches that reduce reflectivity.
Application Techniques for Durable Reflective Signs
Applying reflective paint or vinyl properly ensures the sign reflects bright and uniform light for years. Choosing the right tool, applying multiple thin coats, working in suitable conditions, and preventing surface imperfections all improve durability and visual impact.
Brush, Roller, or Spray Gun: Pros and Cons
Brushes and rollers work well for small to medium-sized projects, especially on flat surfaces. Brushes give you more control but can leave brush marks and uneven coverage if not used carefully. Rollers help cover larger areas faster and provide smoother finishes than brushes but might not reach tight corners well. Foam rollers often perform better with reflective paint since they reduce texture and help apply thin layers.
Spray guns or aerosol spray cans typically deliver the most even and glossy coat, ideal for complex or uneven surfaces. Spray application atomizes paint for consistent coverage and reduces streaking. However, spray guns require gear like compressors and masks, costing about $50 to $200 for equipment rental or purchase, while spray cans cost around $5 to $10 each. Overspray and ventilation need attention, especially indoors or near sensitive plants. Spray application tends to dry faster, speeding up workflow on large signs.
Applying Thin, Even Coats
Using multiple thin coats rather than a single thick one minimizes drips, brush marks, and uneven reflectivity. Start by wetting your brush or roller lightly with paint. Spread a thin layer evenly, maintaining a consistent direction with each stroke to avoid texture buildup. Two to three coats are recommended, with a drying time of about 1 to 2 hours between coats, depending on paint brand and temperature.
Thin coats ensure better adhesion and longer service life by preventing cracking or peeling. Too thick a layer can trap solvents or air, causing cloudiness and reducing reflectivity. Let each coat dry fully before applying the next. Testing a small sample area helps verify uniform brightness and texture before full application.
Ideal Environmental Conditions During Application
Apply reflective paint in temperatures between 50°F and 85°F for optimal drying and curing. Humidity should be below 70 percent to avoid trapping moisture, which can cause bubbling or dull spots. Avoid windy, rainy, or freezing conditions as they interfere with paint adhesion and drying.
Direct sunlight on the painted surface during application can cause the paint to dry too quickly, leading to cracking or uneven reflectivity. Applying the paint in shaded or indoor environments with good airflow helps maintain an even finish. Weather factors can vary by region, so check local forecast and plan accordingly.
Troubleshooting Bubbles and Uneven Textures
Bubbles often result from painting on a dirty or damp surface or applying paint too thickly. Before painting, clean the surface thoroughly of dust, grease, or old paint flakes. Avoid shaking paint cans aggressively, as this can introduce air bubbles. Instead, stir paint gently before use.
Applying paint in thin layers helps reduce bubbles and surface texture problems. If bubbles appear during drying, they may pop and flatten out, but persistent bubbles call for sanding the area lightly once dry and repainting with thinner coats. Using the right brush or foam roller for reflective paint can also minimize uneven marks.
Drying, Curing, and Testing Reflective Signs
Drying and curing reflective signs typically take between 24 and 72 hours, depending on the materials used and the environment. The ideal temperature for curing is between 65°F and 80°F with low humidity to ensure proper adhesion and optimal reflectivity. High humidity or low temperatures can extend curing time and reduce the effectiveness of the reflective paint or tape. Allowing the sign to fully cure is critical, as premature handling or exposure to harsh conditions can damage the surface and reduce its durability.
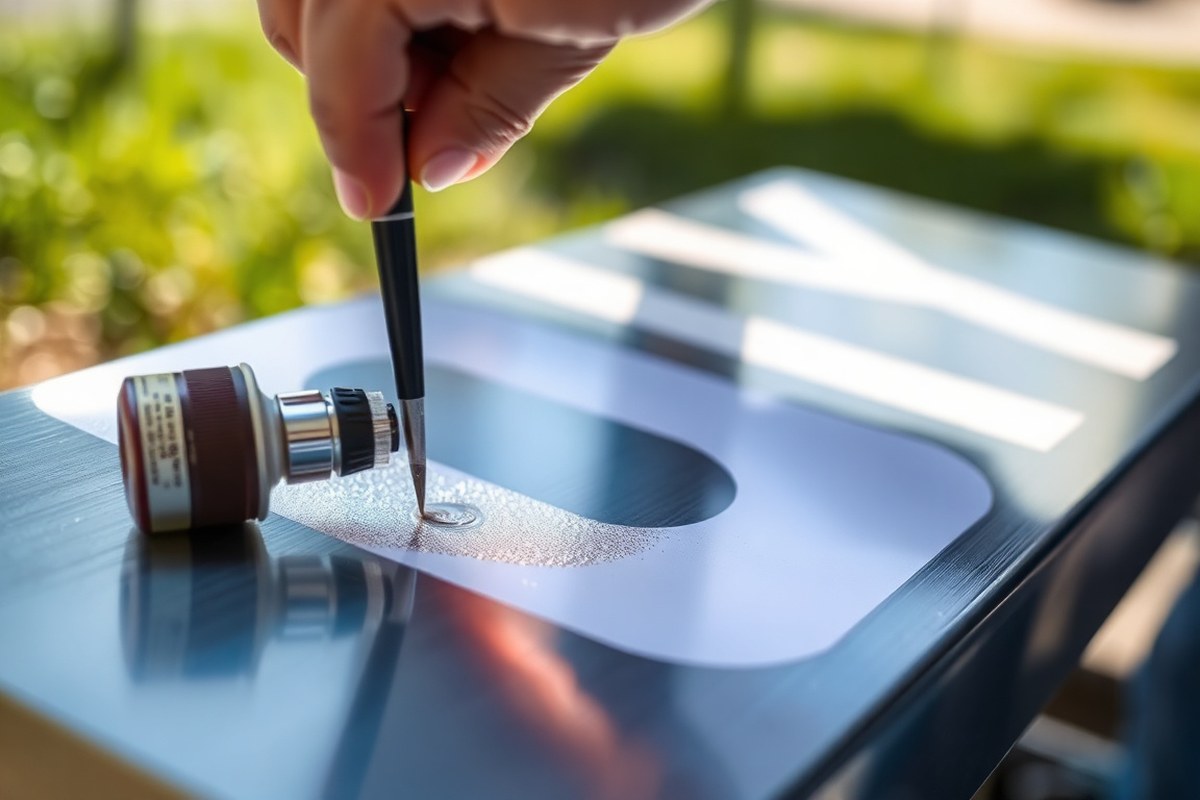
Once curing is complete, testing reflectivity before installation confirms your work meets visibility needs. A simple test involves shining a flashlight or car headlights at the sign from a distance of about 10 to 15 feet in a dim or dark environment. A well-cured reflective sign will bounce back a clear, bright light to the source, making the sign easy to spot. If the reflection is weak or uneven, additional reflective material or another coat of reflective paint may be necessary.
- Keep the sign in a dry, shaded area with consistent room temperature during curing
- Wait at least 24 hours before any handling; up to 72 hours if humidity is high
- Use a strong flashlight or vehicle headlights to test in low light conditions
- Check the sign’s surface for uniform brightness and clear reflection
- Reapply reflective paint if patches appear dull or non-reflective
After passing the reflectivity test, the sign is ready for final installation. Choose a location where ambient lighting and viewing angles match your test conditions for greatest visibility. Keep in mind that signs exposed to rain or dirt may require periodic cleaning to maintain reflectiveness over time. Testing at home costs nothing but a flashlight or headlights and takes only a few minutes, making it a practical way to ensure safety and effectiveness before committing to installation.
Common Mistakes and How to Fix Them
Uneven reflection on your sign usually results from inconsistent application of reflective paint or poor surface preparation. Surfaces that remain rough or dirty prevent proper adhesion and create dull patches. To fix this, thoroughly clean and sand the surface until smooth and dry before painting. Use tape or stencils to keep edges sharp and apply paint evenly with a steady brush or roller.
Premature fading or peeling mainly happens when the sign’s material or paint is exposed to harsh weather without proper protection. PVC plastic panels might warp if placed in direct sun without ventilation. Use weather-resistant reflective paint designed for outdoor use and seal the finished sign with a clear protective coat. Allow each layer to fully dry and cure as recommended, usually 24 to 48 hours at temperatures above 60°F, for maximum durability.
Color shifts or dull spots often appear when mixing reflective beads into paint incorrectly or using incompatible pigments. Follow the precise paint-to-bead ratios, such as 5:1 by volume, and mix just before use. Avoid using oil-based paints indoors or near flames, since these may release harmful vapors and affect pigment stability. Use water-based reflective paints in well-ventilated areas to protect your health and keep colors true.
Wear gloves and a respirator mask when handling reflective beads and aerosol sealers to avoid inhaling particles and skin irritation.
During any step of making a reflective sign, safety matters greatly. Handling chemicals and solvents requires good ventilation and proper protective gear. Avoid open flames near flammable paints or solvents. Place the sign in a shaded, dust-free area for drying, and don’t rush the curing process or spray sealants too close to the surface.
- Clean and sand surface thoroughly to promote paint adhesion
- Apply reflective paint evenly using consistent strokes or a sprayer
- Let paint layers dry fully between applications, ideally 24 to 48 hours
- Use weatherproof paints and sealants for outdoor durability
- Avoid excessive heat or direct sunlight during curing to prevent warping
- Follow manufacturer ratios for mixing reflective beads to paint
- Wear gloves, goggles, and respirators when handling chemicals
Neglecting these details leads to signs that don’t reflect well, lose visibility quickly, or even become hazardous if misread. Taking time to address each potential mistake ensures your sign stays bright and effective over time, improving safety and guidance in your space.
Step-by-Step Action Plan for Your Reflective Sign
Follow these essential steps to create a reflective sign that stands out and lasts. Taking each phase carefully helps you ensure the best visibility and durability.
- Before you start: Select your reflective material based on the sign’s intended location and lighting. Confirm its reflectivity rating by testing a small piece with a flashlight.
- Day 1: Prepare the sign surface by cleaning and sanding it to remove debris and create an even base. Check that the surface feels smooth and dust-free.
- Day 2: Mix reflective paint by following the recommended ratio on the product label, stirring thoroughly. Confirm a consistent texture without lumps.
- Day 3: Apply the reflective paint using a brush or roller in thin, even layers. Inspect the coating for full coverage with no streaks or bare spots.
- Day 4, 5: Allow the paint to dry and cure in a dust-free environment, avoiding humidity. Test reflectivity at night with direct light; the sign should clearly reflect light back.
- Week 2: Check the sign for durability by gently scratching the surface. When the paint resists scuffing, the sign is ready for use. When it does not, apply a protective clear coat and cure again.
- Ongoing: Inspect the sign at regular intervals, especially in harsh weather. Clean gently if dirt reduces reflectivity but avoid abrasive methods that could damage the surface.
Frequently Asked Questions
Can I Use Reflective Metal Signs for Outdoor Business Advertising?
Yes, reflective metal signs are excellent for outdoor business advertising. They catch headlights and draw attention from passing drivers, making them ideal on busy streets or highways to help your business stand out and attract customers.
Do I Need a Minimum Order Quantity for Custom Reflective Signs?
No, you can order just one custom reflective sign. Many companies, including those specializing in reflective signage, offer single sign orders to accommodate small businesses or occasional projects without requiring bulk purchases.
Are Reflective PVC Plastic Signs Suitable for Outdoor Use?
Reflective PVC plastic signs are generally not recommended for outdoor use. They tend to degrade faster under weather conditions compared to metal signs or high-grade reflective sheeting, which last longer and maintain reflectivity better outdoors.
Can I Print Full-Color Designs on Reflective Metal Sign Panels?
Yes, full-color photos and custom shapes can be digitally printed directly onto reflective metal sign panels. This allows for vibrant, attention-grabbing signs that retain the reflectivity needed for nighttime visibility.
How Long Do Reflective Films Typically Last Outdoors?
Reflective films usually last between three to seven years outdoors. Newer Type II “super engineer” grade reflective films extend durability to 10-12 years, making them a reliable choice for long-term signage needs.
Does the Company Offer Pre-Cut Reflective Letters for Easy Sign Creation?
Yes, pre-cut, transfer-taped reflective letters are available, making it easy to create reflective signs using your own substrates. This simplifies the sign-making process and ensures consistent reflectivity.
Before You Go
Making your own reflective sign lets you control exactly how it looks and performs. Using the right materials and techniques preserves visibility and durability, keeping your sign effective over time. Start by choosing a reflective material that best fits your needs, and test it today to see how well it reflects light for your project.