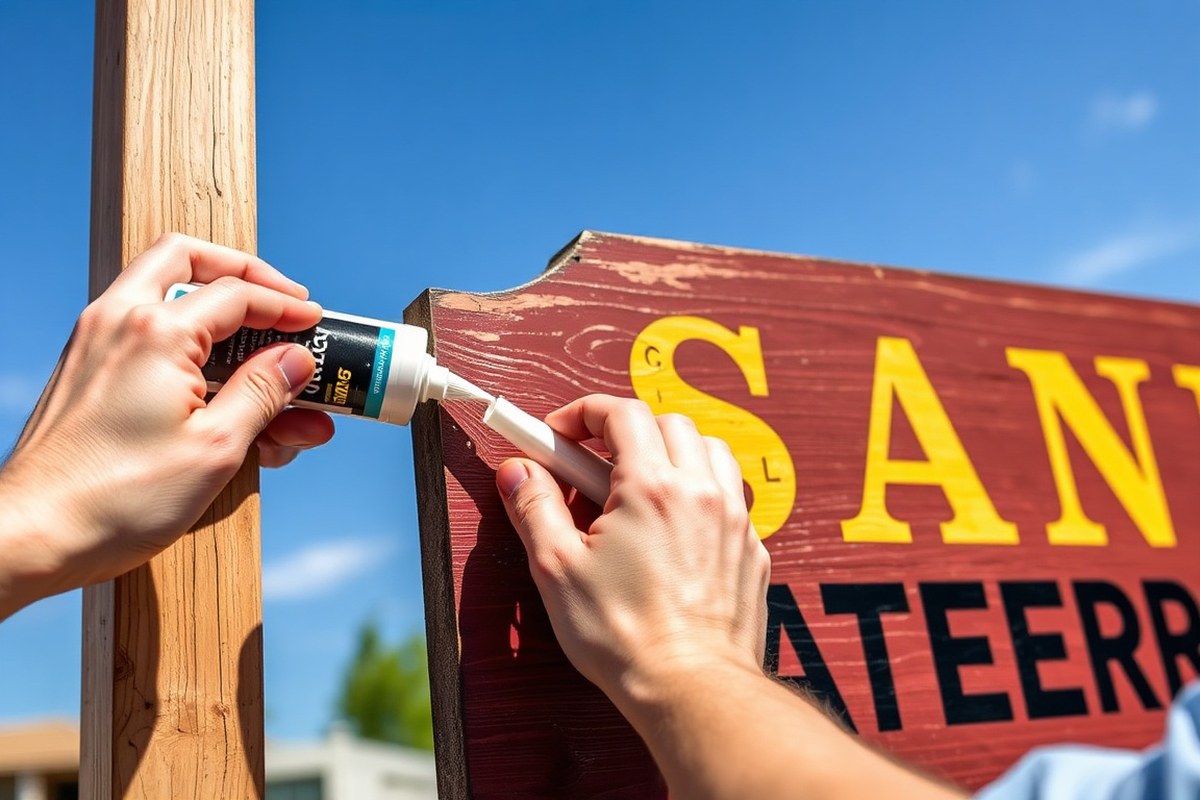
How to Make a Sign Waterproof: 8 Proven Methods for Long-Lasting Protection
How to make a sign waterproof starts with choosing the right sealant and applying multiple coats to create a strong barrier against moisture. Allow your sign to dry and cure fully before exposing it to weather. Proper preparation, including cleaning and priming the surface, improves how well waterproofing materials adhere and protect your sign’s lifespan.
Key Takeaways
- Clean and sand your sign’s surface thoroughly before waterproofing to ensure better adhesion of sealants.
- Apply a primer coat to raw wood signs to block moisture and help the topcoat last longer.
- Use multiple coats of waterproof sealant, allowing 24 to 48 hours drying time between layers for best protection.
- Choose sealants suited to your sign’s material, such as teak oil for wood or clear sprays for cardboard.
- Protect edges and mounting points by sealing gaps to prevent water seepage and damage.
- Allow your sign to cure for at least 24 hours after the final coat before outdoor use to maximize durability.
1. How to Make a Sign Waterproof: Step-by-Step Overview
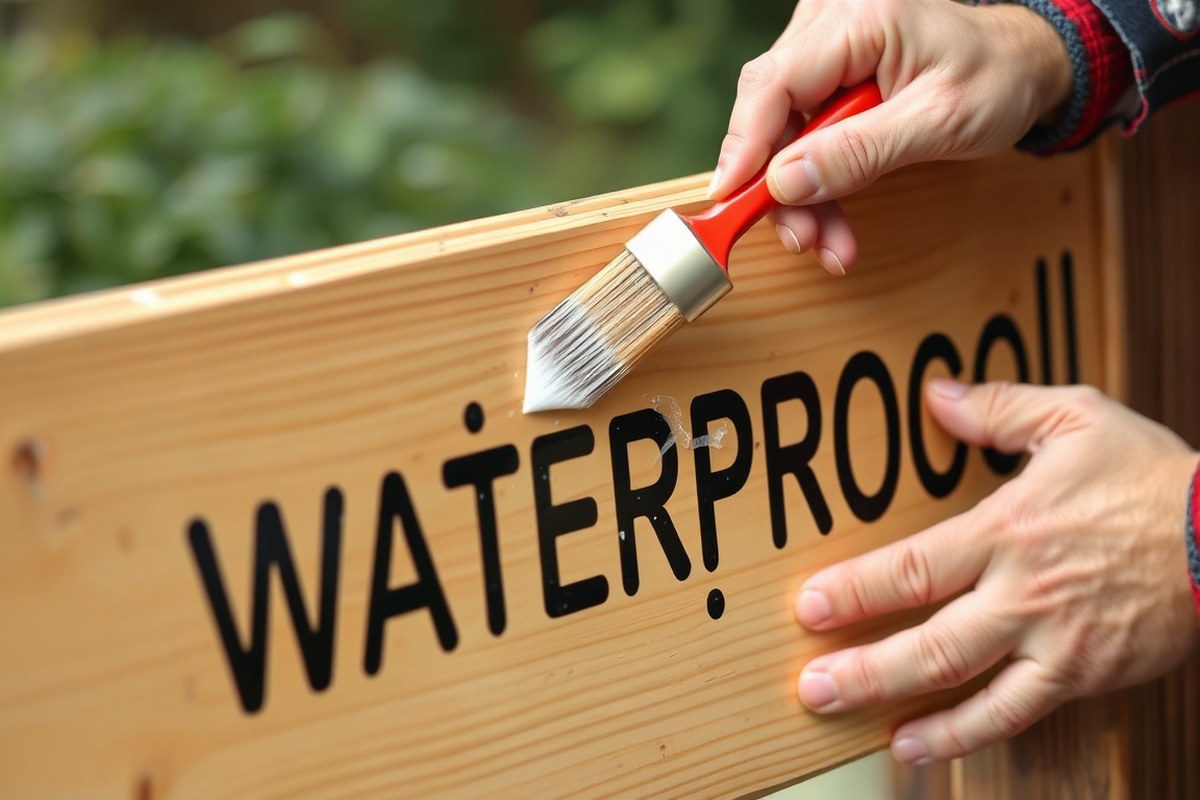
Waterproofing your outdoor sign protects it from rain, sun, humidity, and temperature changes that can cause fading, warping, and damage. Applying a waterproof sealant creates a barrier that keeps moisture out and preserves the sign’s appearance and durability. The process involves cleaning and preparing the surface, selecting the right sealant for the material, applying multiple coats, and allowing proper drying time between applications. Depending on the sign’s material and exposure level, adding at least two coats of a quality outdoor sealant ensures reliable protection.
- Clean the sign surface thoroughly. Remove all dirt, dust, grease, or loose paint using a mild detergent and water or a recommended cleaner for the material. Allow it to dry completely before starting to seal to ensure proper adhesion.
- Select the appropriate waterproof sealant. Choose a clear outdoor sealant compatible with your sign’s material such as polyurethane for wood, clear coat spray for metal, or marine-grade varnish for plastics. The right sealer prevents water penetration and resists UV damage.
- Apply the first coat of sealant evenly. Use a brush, roller, or spray according to product instructions. Apply a thin, even layer across the entire surface including edges to seal all exposed areas. Avoid drips or pooling, which can cause uneven drying or spots.
- Allow the first coat to dry fully. Most waterproof sealants require 4 to 24 hours to dry, but some oils like teak or Danish oil need 24 to 48 hours between coats. Check the manufacturer’s guidelines to know exact drying times and dry your sign in a dust-free, shaded area for best results.
- Apply at least one additional coat of sealant. Adding a second coat strengthens the waterproof barrier and smooths the finish. For signs exposed to harsher climates or porous materials like wood, applying three coats may be necessary. Each coat must dry completely before applying the next.
- Inspect and touch up any missed spots, edges, or joints. These areas are common points of water entry. Use a small brush to carefully seal them and allow drying as specified for the product. Cover mounting holes or hardware with marine-grade sealant if needed.
- Let the final coat cure thoroughly. Full curing can take up to 72 hours depending on the sealant used. During this time avoid handling or installing the sign to ensure maximum waterproof protection once in use.
Following these steps with patience and attention to drying times guarantees your sign stays protected through all seasons. Waterproofing before installation also prevents costly damage and preserves your sign’s look and function without frequent repairs or replacement.
2. Best Materials for Waterproof Signs by Type
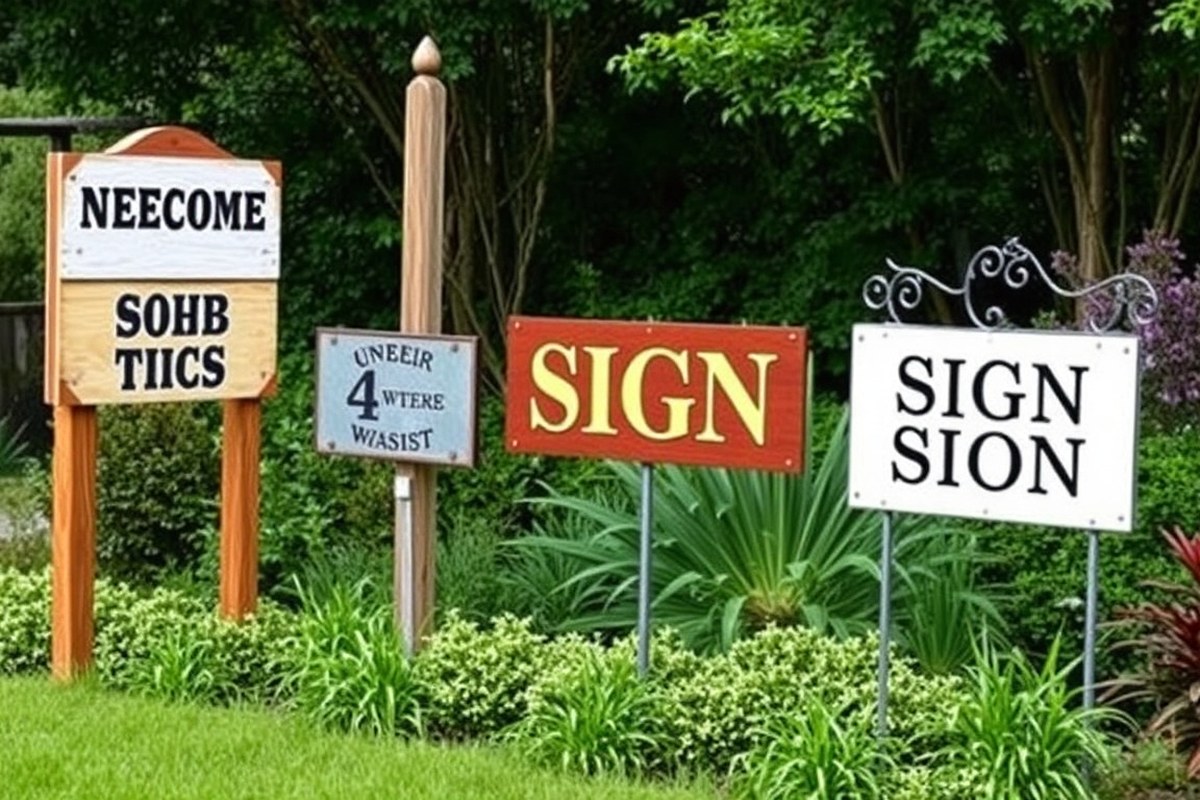
Signs made from plastic, such as PVC or corrugated plastic, typically perform best outdoors when it comes to waterproofing. These materials are inherently waterproof because plastic does not absorb water. However, plastic signs still benefit from UV-resistant clear coat sealants to prevent sun damage and fading. Wood signs require more attention since wood absorbs moisture, which can cause warping and rot. Applying an oil-based sealant or epoxy coating helps block moisture and prolongs the wood’s life outdoors. Metal signs, especially aluminum, resist water well but need protective coatings like silicone-based sealants to avoid rust and corrosion, particularly in humid or salty environments. Cardboard signs are the least weather-resistant and require waterproof paint or waterproof sealant coatings to withstand rain and humidity.
The choice of sign material greatly influences the waterproofing method. For instance, plastic signs mostly need UV protection rather than water sealing, while porous materials like wood or cardboard need multiple layers of sealant. Epoxy is versatile, offering a durable waterproof bond suitable for wood, metal, and concrete surfaces. Using sealants designed for your sign’s material ensures adhesion and longevity of the protective coating. In humid or rainy climates, extra layers or additional edge sealing prevent water ingress into vulnerable points like joints or overlaps.
| Material | Natural Water Resistance | Recommended Waterproofing | Sealant Types | Key Considerations |
|---|---|---|---|---|
| Plastic (PVC, Corrugated Plastic) | Highly waterproof | UV-resistant clear coat | UV-resistant clear sealants | Protect from sun damage, minimal water sealing needed |
| Wood (Plywood, Hardwood) | Porous, absorbs moisture | Oil-based sealant, epoxy coating | Epoxy, wood oil, polyurethane | Requires thorough sealing; vulnerable to warping and rot |
| Metal (Aluminum, Steel) | Water-resistant but prone to rust | Silicone-based sealant or epoxy | Silicone, epoxy | Seal edges; protect from corrosion, especially in humid environments |
| Cardboard | Poor water resistance | Waterproof paint, multiple sealant coats | Waterproof polymer sealants, spray sealants | Needs frequent inspection; not suitable for long-term outdoor use |
Plastic signs are often used by printing companies that default to corrugated plastic for yard signs, providing you with a waterproof base right away. Wood requires more preparation: sanding edges and applying at least two coats of your sealant, allowing 24 hours or more drying time for each layer to ensure full moisture resistance. Metal signs should be cleaned of any rust or oxidation before sealant application, which typically costs $10 to $30 per can of sealant covering about 100 square feet. Cardboard signs need a careful layering of waterproof polymer sealant or a similar spray, but expect these signs to last only a season outdoors. Reapplying the sealant annually can extend their lifespan slightly.
Tip: Use a UV-resistant sealant on plastic signs even though they repel water; this prevents color fading and surface brittleness caused by sunlight exposure.
3. Preparing Your Sign Surface for Waterproofing
Preparing your sign surface carefully is essential to make sure waterproof coatings stick well and create a strong barrier against moisture. Cleaning removes dirt and grease that block adhesion. Sanding smooths the surface and rough patches to help sealants bond. Filling cracks and gaps stops water from seeping through weak points. Proper prep extends the life of your sign and prevents peeling or bubbling of coatings.
Cleaning and Removing Old Paint
Start by cleaning the sign surface thoroughly. Use warm water with mild detergent and a stiff brush or sponge to scrub away dirt, grease, mildew, or loose paint. Rinse well and let it dry completely before moving on. For metal signs, a solvent like mineral spirits can remove grease and oil better, but use gloves and work in a ventilated area. Make sure no dirt or dust remains because any particles will reduce sealant adhesion.
Old, flaking paint should be scraped off using a putty knife or paint scraper. For stubborn paint, a chemical paint remover can be applied carefully following the product instructions. Avoid damaging the sign material underneath. After scraping, wipe the area with a damp cloth and let dry. This step ensures the waterproof coating will stick to a clean, solid surface instead of peeling off with loose paint.
Sanding and Smoothing Rough Spots
Sanding creates an even surface and removes any remaining rough spots or splinters on wood signs. Use medium-grit sandpaper (around 120 grit) to sand the whole surface lightly, focusing on rough edges, old paint edges, or raised wood grain. For metal, fine-grade sandpaper or steel wool can remove rust and smooth imperfections. Always sand along the grain on wood, never against it, to avoid scratches that show through the finish.
After sanding, wipe the sign with a damp cloth or tack cloth to remove dust particles. Dust left on the surface can interfere with sealant adhesion and cause bumps or peeling. Let the surface dry fully after wiping. Proper sanding improves the bond between your sign and the waterproof coating, increasing durability and preventing peeling or cracking.
Filling Cracks and Gaps
Using putty or filler on cracks and holes before sealing is critical to maintain your sign’s waterproof integrity. Water can seep through unfilled gaps and cause damage underneath the surface. Select a filler compatible with your sign’s material: wood filler for wooden signs, epoxy putty for metal, or waterproof acrylic caulk for other materials.
Apply the filler with a putty knife, pressing it firmly into gaps and smoothing it level with the surface. Let it cure or dry as instructed (usually a few hours to overnight). After drying, sand the filled areas lightly to blend with the surrounding surface. For very small cracks, silicone sealant can work well; apply with a caulking gun and smooth with a wet finger or spatula. Filling all imperfections creates a stable, sealed base that won’t allow moisture penetration.
- Clean surface with water and detergent, or mineral spirits for metal grease
- Remove loose or flaking paint with a scraper or chemical stripper
- Sand wood with 120-grit sandpaper; use fine sandpaper or steel wool on metal
- Wipe away dust thoroughly after sanding
- Fill cracks and holes with appropriate filler or silicone sealant
- Allow filler to dry fully, then sand smooth
- Keep work area well ventilated and use gloves with chemicals or fillers
Masking and Protecting Non-Waterproof Areas
Before applying waterproof coatings, protect any parts of the sign that should not be sealed, such as mounting hardware, wiring, or display surfaces where adhesive graphics go. Use painter’s tape or masking tape to cover edges or sections you want to keep dry. This prevents unwanted build-up of sealant that can be hard to remove later or reduce the effectiveness of adhesives.
Pay special attention to corners, joint lines, and fasteners. Cover them well to maintain structural integrity and ease of mounting. Remove masking tape before the sealant fully dries to avoid peeling the new coating. Proper masking helps you achieve clean, professional-looking results without waste or mess.
4. Choosing and Applying the Right Waterproof Sealants
Using the right waterproof sealant is key to protecting your outdoor sign from rain, sun, and temperature changes. Common options include polyurethane, varnish, shellac, and spray sealants, each with distinct properties and application methods. Understanding these differences will help you choose the best sealant and apply it properly to extend your sign’s life.
Polyurethane Sealants: Durability and Application
Polyurethane is known for its strong waterproofing and excellent durability on outdoor signs, especially those made of wood. It forms a tough, hard finish that resists moisture, UV rays, and abrasion. You’ll find two main varieties: oil-based and water-based, with oil-based versions generally offering longer-lasting protection but taking longer to dry.
Before applying, stir the polyurethane thoroughly to avoid bubbles. Brush it on in thin, even coats, covering both the front and back of your sign as well as the edges. Allow each coat to dry completely, typically 4 to 6 hours for water-based and up to 24 hours for oil-based, before applying the next. For best results, apply 2 to 3 coats and let the final layer cure for at least 24 hours before exposure to weather.
Varnish and Shellac Options
Varnish offers a glossy finish that protects well against moisture and UV rays but tends to be less flexible than polyurethane. It’s a good choice for wooden signs when you want a clear, durable coating. Shellac is an alternative that provides moisture resistance and UV protection, though it’s generally less durable outdoors than polyurethane or varnish. It’s best suited for signs in mild climates or covered locations.
Apply varnish or shellac with a clean brush in thin coats, allowing about 12 to 24 hours drying time between coats. Like polyurethane, sealing all sides and edges is important to prevent moisture intrusion. Use 2 to 4 coats for solid protection, and avoid applying on very humid days to reduce drying issues.
Spray Sealants and Clear Coats
Spray sealants offer a quick, even application and work well on signs with intricate details or textures. They often use acrylic or polyurethane formulations in an aerosol can, making them user-friendly for hobbyists. Spray sealants dry faster than brush-on products, often within an hour, though curing times can still be around 24 hours before outdoor use.
Hold the can about 8 to 12 inches from the surface and spray in smooth, light passes to avoid drips. Multiple light coats are better than one heavy coat to prevent runs. Spray sealants usually cost between $8 to $20 per can, depending on size and brand. They provide moderate durability but may require reapplication every year, especially in harsh weather.
Oils and Specialty Waterproofing Products
Oils like tung or linseed oil penetrate wood to provide water resistance without forming a hard surface. These oils improve the natural look but do not create a full waterproof barrier, so they’re best if combined with another sealant or used on signs under partial cover. Specialty products like waterproof putty can seal small cracks and joints on signs but are not substitutes for overall sealing.
Apply oils with a rag or brush in thin layers, allowing each coat to soak in and dry fully (usually 24 hours). Multiple coats improve water repellency. Specialty putty should be pressed firmly into gaps and allowed to cure according to product instructions before sealing the sign.
| Sealant Type | Drying / Cure Time | Best For | Pros | Cons |
|---|---|---|---|---|
| Polyurethane (Oil-Based) | Dries 6-24 hours; cures 24+ hours | Wood signs needing strong protection | Durable, UV resistant, waterproof | Longer drying, strong odor, more expensive |
| Polyurethane (Water-Based) | Dries 2-6 hours; cures 24 hours | Wood and composite signs | Less odor, faster drying, easy cleanup | Lighter durability than oil-based |
| Varnish | Dries 12-24 hours; cures 24+ hours | Wood signs desiring glossy finish | Good moisture and UV protection | Less flexible, longer drying |
| Shellac | Dries 1-2 hours; cures 24 hours | Signs in mild climates or indoors | Good moisture and UV resistance | Less durable outdoors, sensitive to alcohol |
| Spray Sealants (Acrylic/Polyurethane) | Dries ~1 hour; cures 24 hours | Signs with complex textures or quick jobs | Fast, easy, even coat | Moderate durability, needs yearly reapplication |
| Oils (Tung, Linseed) | 24 hours per coat; multiple coats recommended | Natural wood look, covered signs | Improve wood grain, penetrates deeply | Not fully waterproof alone, slower cure |
This comparison shows typical drying times, best uses, and the main advantages and drawbacks of each waterproof sealant for outdoor signs. Choose the sealant to fit your material, climate, and desired finish.
5. Protecting Edges, Joints, and Mounting Points from Water
Sealing edges and joints is essential to block water from sneaking into your sign and causing damage like warping or peeling. Start by using waterproof sealants designed for outdoor use, such as silicone caulk, polyurethane sealant, or marine-grade epoxy. These create a flexible, durable barrier that holds against rain, humidity, and temperature swings. Apply the sealant carefully along every edge, corner, and joint, use a caulking gun if needed to get smooth, continuous coverage. Allow about 24 hours for full curing, depending on product instructions, before exposing the sign to weather.
Tapes can reinforce edges and seams for extra waterproofing. Weatherproof tapes like butyl rubber tape and outdoor-grade sealing tape are sticky, stretchable, and water-resistant, making them ideal for quick repairs or layered protection over sealant lines. Apply tape to dry surfaces, pressing firmly to avoid bubbles or gaps. For cardboard or lightweight signs, avoid heavy tapes that may add stress or peel off.
Mounting points and hardware often get overlooked yet offer easy water entry spots. Protect holes and fasteners by using marine-grade stainless steel screws or galvanized bolts that resist rust. Before mounting, apply a small bead of waterproof sealant around each hole to fill gaps between hardware and the sign material. For hanging signs with chains or hooks, check for rust periodically and replace any corroded parts promptly. Consider adding rubber washers beneath bolt heads to block water intrusion and reduce metal fatigue.
- Apply silicone caulk or polyurethane sealant along all edges and seams in a smooth bead
- Use waterproof butyl rubber tape over joints for extra protection where needed
- Choose marine-grade or galvanized fasteners for durability against rust and water
- Seal mounting holes with a bead of waterproof sealant before inserting screws or bolts
- Inspect mounting hardware regularly and replace corroded components immediately
- Add rubber washers under bolt heads to block water and ease wear
Regular inspection is key, spot any cracked sealant or rusted hardware early and repair promptly to keep water out.
The right protection prevents water from seeping in and saves you from costly repairs. Sealing edges and joints adds only minutes to your project but boosts your sign’s lifespan significantly. Costs for sealants vary widely; a 10-ounce cartridge of silicone caulk typically runs $5 to $10, while marine epoxies are pricier, around $15 to $25 per small tub. Waterproof tapes cost about $8 to $15 per roll depending on width and length. The investment keeps your sign crisp and stable instead of warped, stained, or loose.
6. Waterproofing Signs with Vinyl and Digital Graphics Safely
Sealing signs with vinyl or printed graphics requires clear, water-resistant coatings that won’t damage the visuals or cause peeling and bubbling. Using compatible sealants like water-based polyurethane or spar urethane preserves the integrity of the print while providing effective waterproofing. Careful surface preparation, proper application, and controlled drying prevent common issues and ensure long-lasting protection.
Preparing Vinyl or Printed Signs
Keep the sign surface clean and free of dust, grease, or moisture before applying any sealant. Avoid using solvents or oils near vinyl letters since they can cause the adhesive to lift and result in peeling. Allow the ink on a freshly printed sign to fully cure for at least 24 to 48 hours in a dry environment to minimize smudging or running. Using a tack cloth can help remove fine particles without damaging delicate graphics.
Applying Compatible Clear Coats
Choose water-based polyurethane or spar urethane clear coats designed for outdoor use with UV resistance to protect both the print and sign material from moisture and sun damage. These sealants typically cost between $15 and $30 per quart and cover about 100 square feet per coat. Avoid oil-based or solvent-based sealants, which can soften vinyl and cause clouding or bubbling. Follow these steps to seal your sign without harming the visuals:
- Lay the sign flat on a clean, level surface lined with a drop cloth.
- Shake or stir the clear coat well before use, avoiding bubbles.
- Apply a thin, even coat using a high-quality synthetic bristle brush or foam roller, brushing in the same direction as the graphics.
- Avoid heavy application near edges of vinyl or printed areas to reduce risk of lifting.
- Let the first coat dry for 4 to 6 hours at temperatures between 65°F and 75°F.
- Lightly sand the surface with 400-grit sandpaper if recommended by the product to improve adhesion.
- Apply a second thin coat following the same method for improved waterproofing.
- Allow full curing per manufacturer instructions, typically 24 to 48 hours before outdoor exposure.
Drying and Curing Without Damage
Dry the sign in a dust-free, shaded area with good air circulation to avoid dust settling or direct sunlight that can cause yellowing or warping. Maintain moderate temperatures around 70°F to ensure the sealants cure effectively without softening the vinyl or printed images. Avoid touching or moving the sign during drying to prevent imprinting or smudging.
Humidity levels under 60% help the clear coat form a smooth, durable finish. High humidity can extend drying times and create tacky surfaces prone to attracting dirt or debris.
Testing Adhesion and Recoating If Needed
After curing, check the sign for signs of bubbling, peeling, or visual changes around the vinyl or printed areas by gently tapping or flexing corners. Lightly sand any imperfections in the clear coat with 400 to 600 grit sandpaper before applying an additional thin layer to restore waterproofing. Avoid heavy sanding to prevent damage to the graphics.
Routine inspection after placing the sign outdoors helps spot early wear. Reapplying clear coats every 1 to 2 years supports long-term durability and protects against cracking or fading from sun and moisture exposure.
7. Maintaining and Reapplying Waterproof Coatings over Time
Maintaining your sign’s waterproof coating is key to keeping it vibrant and functional over time. Inspect your sign at least every three to six months, paying close attention to any fading, cracking, chipping paint, or signs of water damage. Early detection helps prevent small problems from turning into costly repairs or replacements. Regular cleaning also plays a important role in extending the life of your waterproofing.
Use a soft, damp cloth with mild soap and water to gently remove dirt, dust, and grime. Avoid harsh chemicals or abrasive scrubbers that can wear down the protective layers. After cleaning, dry the sign thoroughly to prevent moisture from sitting on the surface. Signs displayed in harsher environments, such as near the ocean or in heavy rain areas, may require more frequent cleaning every 1 to 2 months.
Reapplying your waterproof coating typically depends on the product used but plan to refresh it once every 1 to 2 years for most sealants. Watch for signs like dullness, peeling, or water beading less effectively as an indicator for recoating. When it’s time to reapply, first remove the old coating gently. Use fine-grit sandpaper to lightly sand the surface, then wipe away all dust with a dry, lint-free cloth or paper towel. For wooden signs, a mineral spirits wipe can clean the surface deeply, but test this on a small area first since it can remove paint or stain.
Before recoating, ensure the surface is perfectly clean and dry. Apply a new primer layer if recommended for your sealant type, then follow with the waterproof coating. Use smooth, even strokes to avoid bubbles or uneven coverage. Allow each layer to dry fully under recommended temperatures, usually around 60 to 80°F, before applying additional coats or handling the sign. Proper drying ensures maximum waterproof protection and longevity.
- Inspect signs every 3, 6 months for damage and wear
- Clean gently with mild soap, water, and a soft cloth
- Dry thoroughly to prevent moisture buildup
- Remove old coatings by lightly sanding and dusting
- Use mineral spirits carefully for wooden signs only
- Apply primer before new waterproof coating if needed
- Follow recommended drying times and temperatures
Metal signs demand special care to prevent rust and corrosion. Regular maintenance helps maintain their appearance and water resistance by addressing early signs of oxidation. Wooden and painted signs especially benefit from timely reapplication of sealants to avoid moisture penetration that can crack or warp the material. Sticking to a consistent cleaning and inspection routine protects your investment and keeps your DIY sign looking professional for years.
8. Common Waterproofing Mistakes and How to Fix Them
Many waterproofing failures come from skipping essential surface preparation or choosing the wrong sealant. Peel or crack occurs when dirt, oils, or moisture remains on the base surface, preventing proper sealant adherence. Signs exposed to alternating wet and sunny conditions can expand and contract, causing thin or inflexible seal coats to crack or flake. Discoloration or bubbling usually follows when trapped moisture or air pockets exist beneath the coating, often resulting from applying sealants too thickly or without allowing proper drying time between layers.
Leaks and water damage often appear around edges, joints, or mounting holes where sealants wear off faster. Neglecting regular maintenance or ignoring early signs of failure accelerates deterioration. Fixing these problems requires a methodical approach to cleaning, repair, and reapplication matched to your sign’s material and environmental exposure.
| Problem | Symptom | How to Fix |
|---|---|---|
| Poor Surface Preparation | Peeling, cracking of sealant | Clean sign with mild soap and water, dry fully before sealing. Remove old peeling sealant. Use isopropyl alcohol to remove oils. |
| Incorrect Sealant Application | Discoloration, bubbling, uneven finish | Apply thin, even coats. Allow each coat to dry 2, 4 hours or per label instructions. Use sealants suited to outdoor use. |
| Exposure to Harsh Weather | Cracks, worn edges, water ingress | Add edge sealing strips or caulk mounting points. Choose UV-resistant sealants. Schedule maintenance after storms. |
| Lack of Maintenance | Water damage, mold, fading | Inspect and clean signs regularly. Reapply sealant every 1, 2 years or as wear appears. Use protective covers during heavy storms if possible. |
| Trapped Moisture During Sealing | Bubbling or peeling | Seal signs only when dry, avoid sealing in humid or rainy conditions. Use fans or heaters to speed up drying if needed. |
Always ensure your sign surface is completely clean and dry before sealing to prevent peeling and bubbling.
For fixing existing water damage, start by removing any compromised sealant and drying the sign completely. Sand or scrape away any softened or flaking areas. After thoroughly cleaning the repaired spots, apply a high-quality waterproof sealant designed for outdoor signs. Focus on edges and mounting holes with additional waterproof caulk or edge protectors. Expect to spend about $15, $40 on sealants and supplies, with time requirements ranging from a few hours to multiple days depending on drying phases.
Signs near frequent rain or water sources need superior protection and more frequent upkeep. Adding layers can increase durability but always allow proper drying between coats to avoid trapping moisture. Use sealants rated for UV and water resistance to withstand sun and rain. Monitoring your sign for early signs of damage helps you catch problems before costly repairs become necessary.
Step-by-Step Action Plan to Waterproof Your Sign
Follow this plan to create and maintain a waterproof sign suited to outdoor conditions. Each step ensures your sign stays protected and lasts longer.
- Before you start: Clean the sign surface thoroughly to remove dirt, dust, and grease. A clean surface guarantees proper sealant adhesion.
- Day 1: Apply your chosen waterproof sealant evenly over the sign’s surface according to the product instructions. Check that the coating looks smooth and bubbles-free.
- Day 2: Inspect edges, joints, and mounting points and apply extra waterproofing tape or sealant to prevent water intrusion. Confirm no gaps remain in vulnerable areas.
- Week 1: Allow the sealant to cure fully in dry conditions. Touch the surface lightly; it should feel hard and dry with no tackiness.
- After 2 weeks: Mount your sign outdoors and monitor for any signs of water damage or sealant failure. Look for peeling, bubbling, or discoloration.
- Monthly: Wipe off dirt and check the sealant’s condition. Minor wear can be fixed with a light recoat of sealant on problem spots.
- Annually: Reapply a full waterproof coating over your sign to maintain protection. This prevents long-term water damage and extends your sign’s life.
Frequently Asked Questions
Can I Waterproof a Cardboard Sign for Outdoor Use?
Yes, applying a waterproof sealant specifically designed for cardboard can protect it from moisture, but cardboard remains less durable than plastic or wood outdoors. Consider using a protective coating like acrylic spray for short-term use.
Is It Necessary to Waterproof the Back of the Sign as Well as the Front?
Yes, sealing both sides prevents moisture from entering and warping the sign from behind. Sealing edges is equally important for full protection.
Can I Use a Clear Spray Paint to Waterproof My Sign?
Clear spray paint can add some water resistance but is not as durable as specialized waterproof sealants or coatings meant for outdoor use. Look for products labeled as waterproof or water-resistant.
Does Waterproofing Damage Vinyl Lettering on Signs?
Properly chosen waterproof sealants shouldn’t harm vinyl lettering and can actually protect it from fading and peeling. Avoid harsh chemicals that might degrade vinyl.
How Often Should I Reapply Waterproof Coatings on Outdoor Signs?
Reapplication depends on weather exposure but typically every 1-2 years maintains optimal protection. Signs in harsh climates may need more frequent attention.
Are Wood Oils Effective for Waterproofing Outdoor Wooden Signs?
Wood oils offer moderate water resistance and a rustic look but usually require multiple coats and periodic reapplication for best performance outdoors.
Key Points to Remember
Waterproofing your sign is a straightforward process that dramatically extends its outdoor durability. By focusing on clean surfaces, proper sealant application, and regular maintenance, you protect your investment from water damage. Start now by choosing the right sealant for your sign material and applying it carefully in a dry setting.