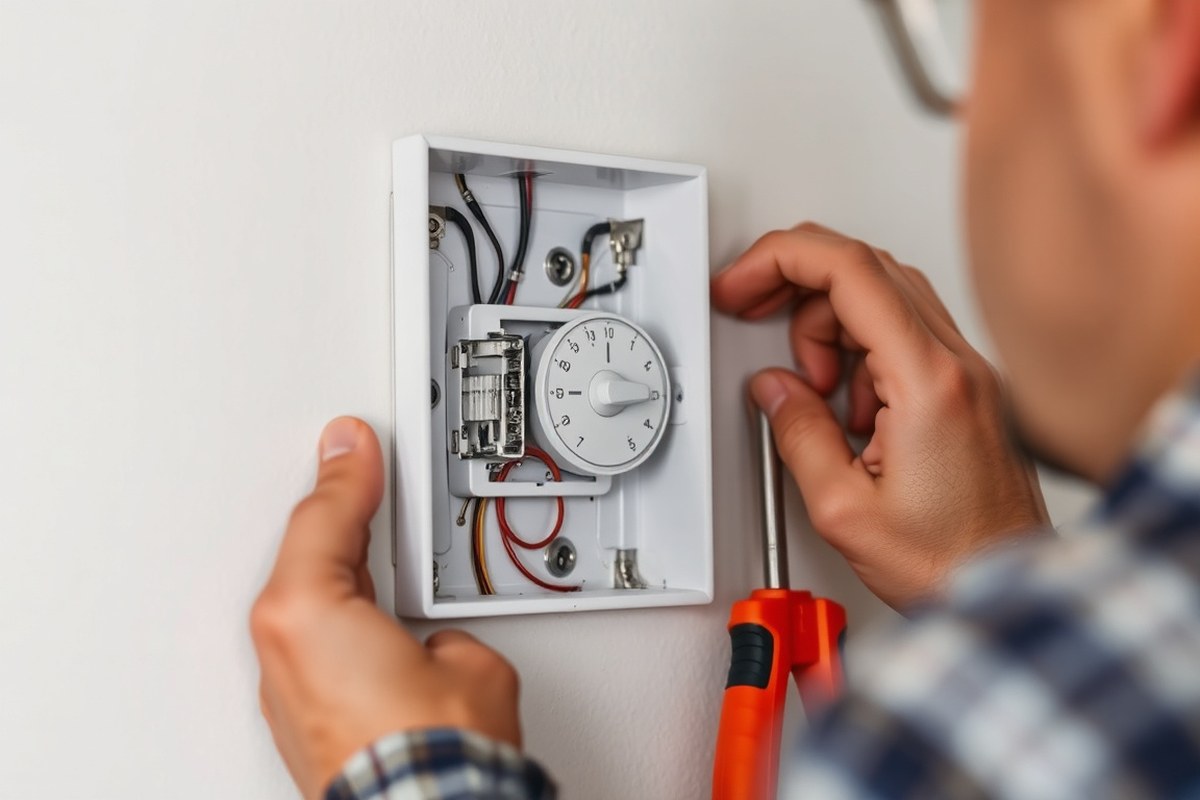
How to Install a Sign Timer Switch: Step-by-Step Guide with Tips and Comparisons
Knowing how to install a sign timer helps automate your signage lighting efficiently and safely. Start by selecting a timer switch rated for at least 125% of your sign’s electrical load to avoid overloads. Next, identify your existing wiring setup to choose a compatible timer model before installation.
Key Takeaways
- Choose a timer switch with a minimum of 125% load capacity relative to your sign’s electrical demand.
- Identify your wiring type, single-phase, two-wire, or three-wire, to match the timer’s connection requirements.
- Mechanical pin timers usually offer 15-20 years of reliable service with minimal maintenance needed.
- Digital timers allow precise programming, including 7-day schedules, ideal for variable lighting needs.
- Confirm local electrical codes and obtain permits if required before installation to ensure compliance.
- Maintain timer accuracy by cleaning vents annually and syncing clocks quarterly to prevent time drift.
Step-By-Step Process to Install a Sign Timer Switch
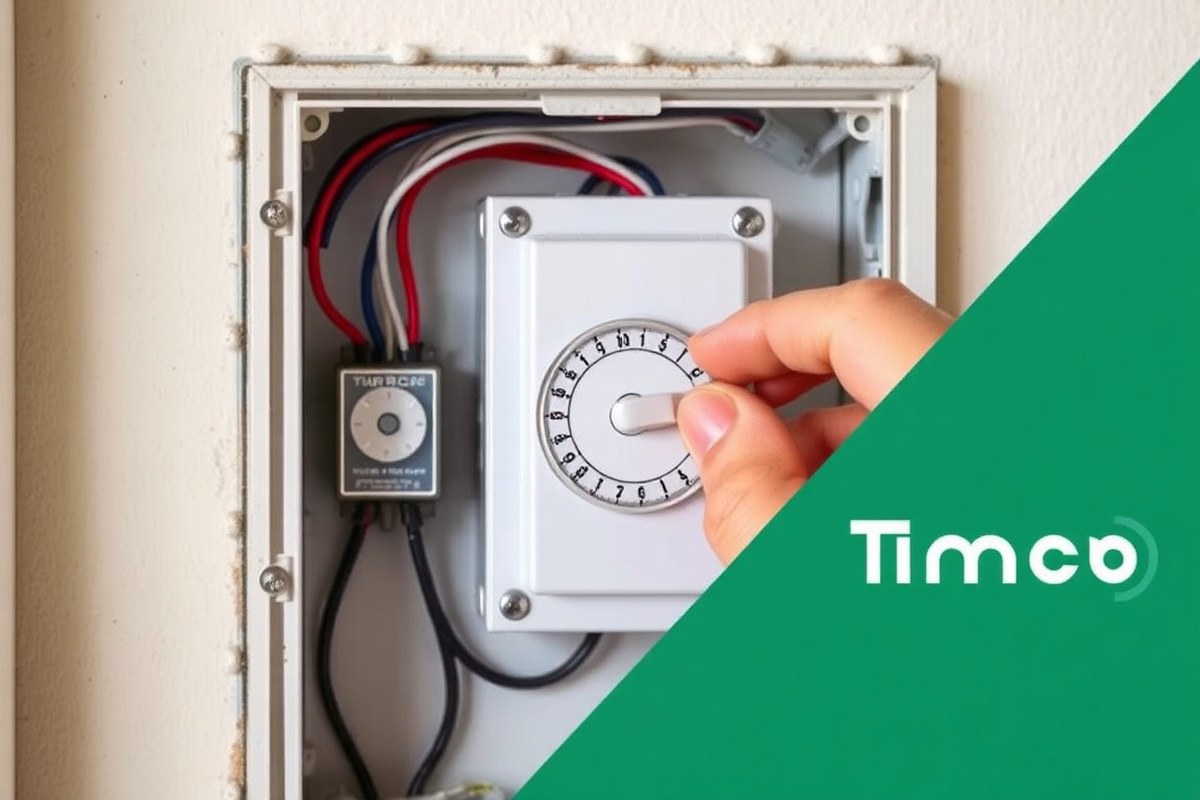
Before starting any electrical work, ensure the power to the sign’s circuit is completely turned off at the breaker panel. Use a non-contact voltage tester to confirm no electrical current flows in the wires where you’ll work. Gathering a screwdriver, wire stripper, wire nuts, electrical tape, and the timer switch with its instruction manual will prepare you to proceed safely and efficiently.
Carefully removing the old switch without disconnecting all wires at once helps avoid confusion later. Only disconnect one wire at a time, starting with the ground wire, then connect it to the timer switch. Understanding the wire roles is essential: the Hot (line) wire, usually black or red, supplies power; the Load wire powers the sign; the Neutral wire, if required by your timer model, is white; and the Ground wire, green or bare copper, ensures safety. Connect each corresponding wire to the timer terminals following this wiring table for reference:
| Timer Terminal | Wire to Connect | Wire Color (Typical) |
|---|---|---|
| Line (L) | Incoming power (hot) | Black or Red |
| Load (T or Load) | Output to sign lighting circuit | Usually Black |
| Neutral (N) | Neutral conductor | White |
| Ground (G or ⏚) | Ground wire | Green or Bare Copper |
After wiring, mount the timer switch securely back into the electrical box with the supplied screws. Restore power at the breaker and carefully test your new timer by manually switching it on and off and observing the connected sign lights respond. Confirm proper operation over a full program cycle, especially if your timer includes multiple settings or digital programming.
- Turn off power at the breaker panel and verify with a voltage tester to ensure no electricity flows to the existing switch.
- Gather tools including a screwdriver, wire stripper, wire nuts, electrical tape, and your timer switch with manual.
- Remove the old switch by unscrewing the mounting screws and pulling it out carefully without disconnecting all wires at once.
- Disconnect the wires one at a time, starting with the ground wire, then attach each to the corresponding timer terminal using wire nuts or terminal screws as per your timer’s instructions.
- Secure the timer switch in the electrical box with screws, ensuring no wires are pinched and everything fits flush.
- Restore power at the circuit breaker.
- Test the timer switch by toggling it on and off manually, checking that the sign lighting follows the control commands.
Types of Timer Switches for Signage and Their Differences
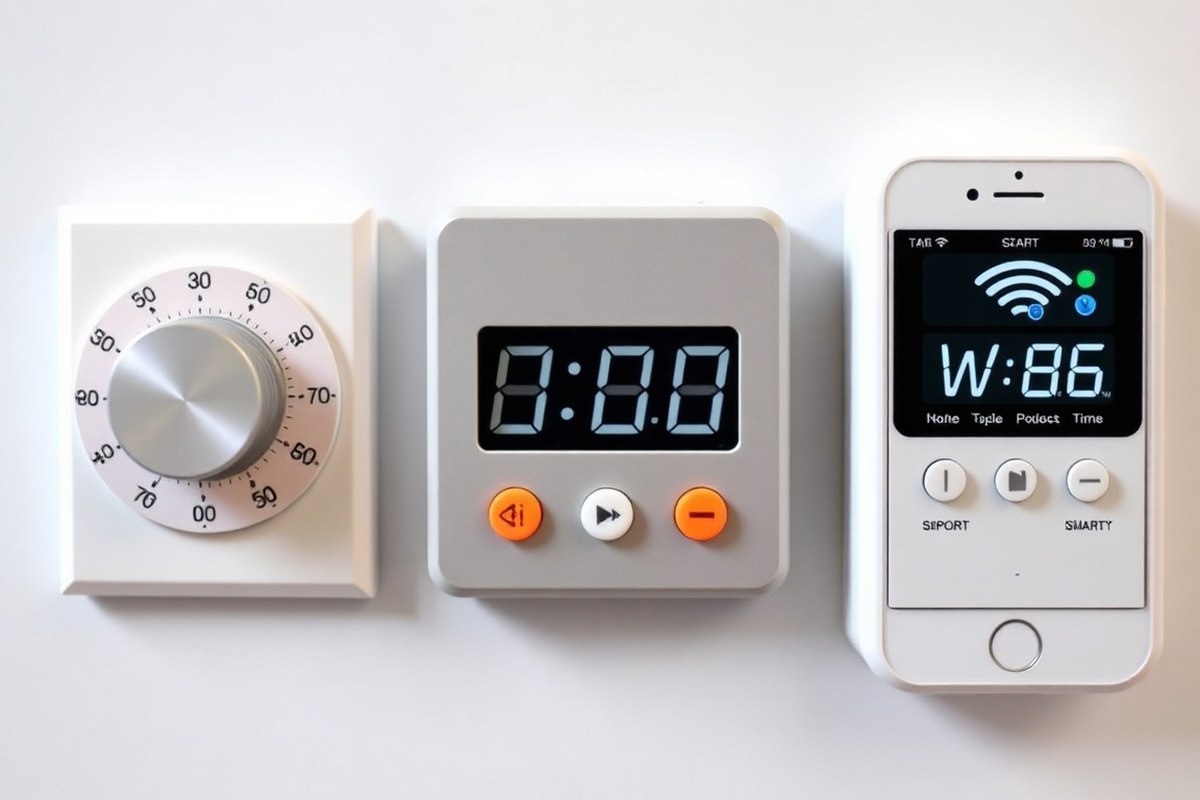
Mechanical, digital, and smart timers each serve different needs when controlling signage lighting. Mechanical timers offer simple fixed schedules at the lowest cost and longest lifespan. Digital timers provide weekly programmable flexibility and clear feedback without complex setup. Smart timers add remote access and diagnostics but come at a higher price and shorter expected life.
Mechanical Pin Timer Features and Best Use Cases
Mechanical pin timers use physical pins around a 24-hour dial to switch power on and off. They are highly reliable and immune to voltage spikes, requiring no external power for operation. This robustness suits single-location signs with fixed daily hours, such as storefront displays without schedule changes.
Typical prices range from £5.99 to £14.25, with lifespans of 5 to 8 years due to pin wear and contact oxidation. Quality pin timers, however, can last 15 to 20 years if well maintained. Scheduling is fixed by placing pins at desired on/off times; this approach means no programming or electronic setup, which simplifies installation and troubleshooting.
Mechanical timers maintain accuracy within 1-2 minutes per day, sufficient for signage needs. They resist environmental effects and remain operational even during power interruptions.
Digital Programmable Timer Advantages and Limits
Digital 7-day timers allow detailed weekly on/off schedules via an LCD interface, great for signs with changing or seasonal hours. Backup capacitors maintain timekeeping during power loss, improving reliability. Prices often range from £8.90 to £27.99, with typical lifespans of 7 to 12 years before capacitor degradation and display issues arise.
Users appreciate clear scheduling displays and the ability to customize settings for each day. These timers fit small to midsize businesses managing multiple signage sites or seasonal programming. Installation requires wiring with screw terminals and understanding the timer’s interface.
While setup is more complex than mechanical timers, digital models offer better adaptability. They provide consistent timing and reduce manual intervention if you adjust schedules seasonally or monthly.
Smart Timer Capabilities and Suitable Scenarios
Smart timers connect via Wi-Fi to allow remote control, monitoring, and diagnostics through mobile apps. This can streamline management of multiple signs or locations without physical access. Cloud services support flexible scheduling but introduce dependency on firmware updates and network reliability.
Costlier than other options, smart timers typically cost £32.99 to £92.03 and last between 4 and 6 years, limited by firmware obsolescence and cloud service continuity. They fit businesses needing real-time control, automated alerts, or integration into wider building automation systems.
Despite advanced features, smart timers require ongoing security updates and stable internet access. Their complexity might overcomplicate simple or single-location signage setups. Below is a comparison to help choose a timer based on your signage needs:
| Type | Typical Price Range | Real-World Lifespan | Key Consideration | Best For |
|---|---|---|---|---|
| Mechanical Rotary (24h) | £5.99, £14.25 | 5, 8 years (up to 20 with maintenance) | Zero setup complexity; fixed daily cycle | Single-location, fixed-hours signage |
| Digital 7-Day (LCD) | £8.90, £27.99 | 7, 12 years (capacitor life) | Flexible weekly scheduling; capacitor backup | Small to midsize businesses; seasonal changes |
| Smart Wi-Fi (single-unit) | £32.99, £92.03 | 4, 6 years (firmware, cloud reliance) | Remote control; remote diagnostics | Multi-site; remote management needs |
Choose mechanical timers for their durability when your sign’s schedule rarely changes. Digital timers strike a balance between cost, usability, and scheduling flexibility for most commercial signage. Opt for smart timers when remote access and integration justify their higher cost and shorter lifespan.
Tip: Mechanical pin timers should be checked regularly for worn pins and clean contacts to maintain precise timing over many years.
How to Identify Your Wiring Setup and Select the Right Timer
Identifying your wiring setup is key to picking the right timer switch for your sign. Different wiring types need specific timer models to work correctly and safely. You’ll need to check for a neutral wire, understand your wiring system, and select a timer built to fit that setup.
Two-Wire vs. Three-Wire Systems Explained
Two-wire systems include a hot wire and a load wire. The hot wire carries current from the power source to the timer’s LINE terminal, and the load wire runs from the timer’s LOAD terminal to the sign. These systems usually lack a neutral wire inside the switch box. Three-wire systems add a neutral wire and sometimes a ground wire. The neutral wire completes the electrical circuit, making these setups more flexible for modern timer switches. A three-wire setup often allows for a timer with better features and reliability.
Checking the wires in your switch box can confirm your setup. Two-wire systems have fewer wires, typically just black (hot) and black or red (load). Three-wire systems include additional white (neutral) and green or bare copper (ground) wires. Knowing this helps you avoid compatibility issues and the need for expensive rewiring.
Importance and Function of Neutral Wire
The neutral wire provides a return path for current and is important for powering timers that have electronic components or displays without relying on batteries. Most modern electronic timers require a neutral wire to operate correctly. Without it, the timer may flicker or fail to function. You can usually find the neutral wire as a bundle of white wires connected with a wire nut inside the switch box. Not seeing a white wire usually means your switch box does not have a neutral wire.
Using a timer designed to work without a neutral wire is possible but comes with compromises, like reduced reliability or limited features. The neutral wire ensures the timer can draw enough power continuously and helps prevent issues with flickering or erratic switching.
Timer Switch Options for Switch Loop Wiring
Switch loop wiring is a specific two-wire setup where the power source runs to the sign first and then loops back to the switch. This setup commonly has only hot and switched hot wires present at the switch box, with no neutral wire. Timers for switch loops must either be battery-powered or require adding a neutral wire at the switch location. Here is a checklist to identify if you have switch loop wiring and determine the correct timer:
- Look for only two wires in the switch box, both black or one black and one red, no white wire.
- Confirm if the circuit powers the sign first, the switch interrupts power on the return side.
- Check that the timer instructions specify switch loop compatibility or battery operation.
- Use a voltage tester carefully to identify which wire is always hot versus switched hot.
- Consider professional help to add a neutral wire for improved timer options.
Most timers not designed for switch loops will not work properly or may cause electrical issues if installed improperly. Using a timer rated for three-wire setups or one with switch loop capability is your best option if you identify this wiring.
Neutral Wire Alternatives and Workarounds
Without a neutral wire in your switch box, you can avoid rewiring by using two-wire timers made to work without neutral or timers powered by batteries. Two-wire timers often rely on passing a small amount of current through the load wire to power the timer electronics. This design can cause flickering in some types of LED or fluorescent sign lighting.
You can also hire an electrician to run a neutral wire to your switch box if you want a wider range of timer options and improved performance. The cost and difficulty of this vary based on your building’s wiring configuration. In commercial or building-managed settings, adding a neutral usually requires a permit and professional work.
Timers for three-way switch circuits require special three-way timer switches. These timers have connections to accommodate the extra traveler wires present in three-way setups. Installing a standard timer in a three-way circuit without these features can cause the timer to malfunction or create safety hazards.
Programming Mechanical and Digital Timers for Sign Automation
Programming your sign timer involves setting clear ON/OFF schedules to ensure your sign lights operate when needed, saving energy and extending the lifespan of your equipment. Mechanical timers use pins on a 24-hour dial to schedule on/off times, while digital timers rely on buttons and screens to configure daily or weekly cycles. Adjustments throughout the year help sync your sign operation with changing daylight hours for maximum efficiency.
Mechanical Timer Pin Setting Process
A mechanical timer switch features a 24-hour dial with segments representing intervals from 15 to 30 minutes depending on the model. Pins or tabs are inserted around this dial to control when your sign turns on or off. Properly placing these pins sets your daily schedule and requires minimal ongoing adjustment if your sign runs consistent hours every day. Follow these steps to set your mechanical timer pins correctly:
- Locate the 24-hour dial on your timer, noting that it represents a full day with AM and PM times clearly marked.
- Turn the dial clockwise until the current time aligns with the reference marker or arrow on the timer.
- Identify the pins or tabs that can be pushed inward or outward; these control the ON and OFF periods.
- For your sign, insert the pins according to needed ON times. For example, for signage lighting from 6 PM to 11 PM, insert pins covering that range on the dial.
- Set the OFF pins outside the operating time frame, such as pushing them outward where the sign should remain off.
- Double-check that all pins are securely in place and that none overlap incorrect times.
- Connect power to your sign and test operation at the next scheduled ON time.
Mechanical timers handle the same daily hours well but usually lack customized weekly or holiday programming.
Digital Timer Button and Screen Programming
Digital timers offer flexibility to program daily or weekly schedules through an interface of buttons and an LCD screen. This is especially useful if your sign needs different ON/OFF times on weekdays versus weekends or for holiday settings. These timers store your schedules in memory and can continue to operate during power outages if equipped with battery backup. To program a typical digital sign timer:
- Press the “Clock” button to set the current time and day by using arrow buttons to adjust values.
- Enter the programming mode by pressing the “Program” or “Set” button, indicated on the screen.
- Set the first ON time by selecting the day(s) (single, weekdays, weekend, or all days), then adjust hours and minutes using the arrow keys.
- Set the corresponding OFF time for that day or days using the same method.
- Add additional ON/OFF periods if your sign has split operating hours during the day.
- Review all programmed times before exiting programming mode by pressing the “Clock” or “Run” button.
- Test the timer by manually overriding ON and OFF using dedicated buttons to verify sign response.
Most digital timers allow easy modification by repeating these steps to reset schedules or add holiday exceptions.
Adjusting Timers Seasonally for Sunrise/sunset Shifts
Seasonal adjustment of your sign timer ensures it turns on and off in sync with changing daylight times, which can shift 15 minutes or more each week during spring and fall transitions. Mechanical timers may require manual moving of pins every few weeks to match new dusk and dawn times, while some digital timers have built-in astronomic features that adjust automatically. To manually adjust your timer with seasonal changes:
- Determine local sunrise and sunset times for your area from a reliable source such as a weather website or smartphone app.
- For mechanical timers, remove and reposition pins to match the updated ON period, for example, shifting from 6 PM, 11 PM to 6:15 PM, 11:15 PM as sunset delays.
- For digital timers without automatic features, access the programming menu and adjust ON/OFF times accordingly based on new daylight hours.
- Schedule these checks monthly during spring and fall to maintain accurate sign timing.
- Consider using timers with astronomical programming if regular adjustment becomes too time-consuming or imprecise.
Optimizing your sign timer schedule prevents unnecessary energy use during daylight while ensuring your sign remains visible during peak hours, balancing energy savings with effective advertisement.
Safety Precautions and Local Regulations for Timer Installation
Always use insulated gloves and safety glasses when installing a sign timer to protect yourself from electrical shock and debris. Shut off power at the circuit breaker before handling any wiring. Verify power is off using a non-contact voltage tester. Avoid working in wet or damp conditions, especially for outdoor installations, to reduce shock risk.
Local electrical codes vary but generally require timers to match the circuit’s voltage and load specifications. Most commercial signage circuits run on either 120V or 277V and demand timers rated for at least 125% of the sign’s electrical load. For example, a sign drawing 20 amps should use a timer rated for about 25 amps or higher. Consult your local electrical code or authority having jurisdiction (AHJ) to confirm requirements. Some areas mandate weatherproof timer enclosures for outdoor signage. Failure to comply can lead to fines or failing city inspections.
Fire safety is critical. Overloading a timer beyond its rated amperage increases fire risk. Installing a timer inside an electrical box with limited ventilation can cause heat buildup. Using a timer with appropriate capacity and ensuring it is properly mounted with clearance minimizes this hazard. Maintain compliance with National Electrical Code (NEC) sections concerning branch circuit protection and device ratings relevant to your sign installation location.
Professional installation is typically required if your setup involves updating circuit breakers, working inside complex or sealed switchgear, or local laws demand licensed electricians for any electrical work beyond simple switch replacement. Hiring an electrician can cost $50 to $100 per hour but reduces risk of code violations and safety hazards. If your switch box lacks grounding or required wiring setups, call a professional. In simple cases where you’re replacing a standard light switch with a timer of matching amperage, DIY is generally acceptable.
Before starting, use a safety checklist: confirm power is off, wear protective gear, identify circuit voltage and amperage, select a timer rated above 125% of load, verify enclosure type matches indoor or outdoor use, and know local code mandates. Follow wiring diagrams exactly. Tighten connections securely to avoid loose wires that cause arcing. Align the timer’s flanges flush with the wall and fasten screws evenly.
Never install a timer rated below your sign’s load; undersized timers can overheat and cause electrical fires.
Troubleshooting Common Sign Timer Installation Issues
When the timer fails to power the sign, the first step is confirming the timer itself receives power. A functioning timer usually shows movement in a mechanical dial or a digital display that powers on. If the clock doesn’t start, check the circuit breaker and fuse feeding the timer switch. Use a multimeter to test for voltage at the timer terminals labeled A1 and A2; you should see about 120 volts AC for standard North American circuits. No voltage indicates a wiring or breaker issue.
Signs flickering or operating erratically often point to loose or incorrect wiring connections. Verify all terminal screws, especially on load terminals marked NC (Normally Closed), Common, and NO (Normally Open), are tightened and properly assigned. Flickering can also be caused by voltage drop from undersized wiring or a timer switch incompatible with LED modules. Confirm the timer supports your sign’s power supply and load characteristics.
To check wiring for mistakes, turn off power at the breaker. Remove the timer cover and inspect that hot (black) and neutral (white) wires match the timer’s labeled terminals. Use a continuity tester to ensure wires aren’t broken and no unintended shorts occur between hot and neutral or ground wires. Refer to timer instructions showing how to identify A1, A2, P1, P2, and load connections.
Timer programming errors, such as the sign turning on or off at wrong times, often result from improper programming or a reset after a power outage. Digital timers may require re-entering current day and time, then programming on/off schedule. Verify AM/PM settings and weekday/weekend configurations. Mechanical timers need the dial correctly aligned with current time and trippers firmly set. Consult the timer’s user manual for exact programming sequences.
- The timer clock does not move: test breaker and measure voltage at A1 and A2
- Sign flickers: check all terminal screws and verify timer compatibility with LED load
- Incorrect on/off schedule: reprogram timer and confirm AM/PM and day settings
- Loose or incorrect wiring: inspect and tighten wires, test with continuity meter
- Timer fails to switch load: check load terminal connections for NC, Common, and NO positions
- Sign stays on or off continuously: replace timer if programming errors persist or no response
Replacing the timer switch becomes necessary when electrical tests show proper power and wiring, but the timer mechanism or electronics fail to operate correctly or hold programmed schedules. Timers generally cost between $20 and $70, depending on features and load capacity. Choose a replacement compatible with your sign’s voltage and amperage to prevent future issues. Professional help may be needed if unsure about wiring or when local codes require licensed electricians for sign electrical work.
Choosing the Right Timer Amperage and Load Capacity for Your Sign
Calculating your sign’s electrical load accurately ensures you pick a timer with enough capacity to handle the power demands without damage or failure. Start by determining your sign’s current draw using the formula: Current (A) = Power (W) ÷ Voltage (V) For example, a 300-watt sign operating on a 120-volt circuit has a current draw of 2.5 amps (300 ÷ 120 = 2.5 A). This value represents the continuous running current but does not always account for the startup surge, especially with LED and neon signs. LED drivers can draw 2 to 3 times their rated current momentarily, so choosing a timer with extra capacity is essential to handle this inrush without tripping or damage.
| Sign Type | Typical Load (Watts) | Approximate Current (Amps) @ 120V | Recommended Timer Amperage |
|---|---|---|---|
| Small LED Signs | 50-150 | 0.4 – 1.25 | 15 A |
| Medium Neon Signs | 200-400 | 1.7 – 3.3 | 20 A |
| Large Fluorescent or Mixed Signs | 500-800 | 4.2 – 6.7 | 30 A |
Timers come with amperage ratings, such as 15A, 20A, or 30A, which must exceed your sign’s calculated current. It’s common practice to select a timer rated for 125% of your load to handle startup surges and reduce stress on the timer contacts. In the previous example, multiplying 2.5 A by 1.25 gives 3.125 A, suggesting a 15 A timer is more than sufficient for that sign.
Most standard sign timers are designed for 120V or 240V circuits and include specifications for resistive loads (like LEDs) and inductive loads (like neon transformers). Neon and fluorescent signs create inductive loads, so make sure to select a timer rated for inductive contact loads to ensure reliability.
- Calculate continuous current using power and voltage ratings.
- Multiply by 125% to accommodate startup surges.
- Use inductive-rated timers for neon and fluorescent signs.
- Select 15A timers for small LED signs under 200 watts.
- Use 20A or 30A timers for larger or mixed lighting types.
- When your load goes beyond standard timer ratings, use multiple timers or switch to a commercial-grade timer.
- Check local electrical codes for any additional requirements.
When your sign’s load exceeds typical timer capacities, install multiple timers to divide the load or upgrade to a commercial-rated timer switch. These heavy-duty options can handle higher current and inductive loads safely. Always ensure your timer matches your circuit voltage and local code requirements. Choosing the right timer with the proper amperage and load capacity protects your sign’s electrical components and extends the lifespan of your timer switch.
Maintenance and Lifespan Expectations for Sign Timer Switches
Mechanical timers in sign installations generally need cleaning and adjustments every 6 to 12 months for best performance. Dust, debris, and wear on moving parts can affect the timer’s accuracy and switching ability. Use a dry cloth or compressed air to remove dust, and lightly oil moving components with a machine-grade lubricant if applicable. Check gears and contact points for signs of wear or corrosion and tighten any loose screws. Intermatic mechanical timers, like the EJ351, require special attention to bulb type, as they only work with incandescent bulbs and can fail prematurely if used otherwise.
Digital timers require less maintenance but should be inspected annually. Digital units depend on internal electronics and often have backup batteries that can degrade over time. Check the battery according to manufacturer instructions, usually replacing every 3 to 5 years. Verify programming and connectivity for any error messages or inconsistent timing. Digital timers designed for signage can handle multiple daily cycles and long operating hours but may need firmware updates or resets as part of routine service.
Mechanical timers typically last between 3 and 5 years in demanding signage environments due to mechanical wear and exposure to fluctuating temperatures. Digital timers have a longer service life, often 7 to 10 years, because they lack moving parts. However, improper installation, voltage spikes, or exposure to high humidity can shorten their lifespan. Signs your timer needs replacement include failure to switch on or off correctly, visible corrosion, a burning smell, erratic timing, or physical damage.
- Schedule mechanical timer cleaning and adjustment every 6 to 12 months
- Inspect digital timers annually and replace backup batteries every 3 to 5 years
- Look for signs of wear like loose contacts, grinding noises, or inconsistent switching
- Replace timers showing physical damage or burning odors immediately
- Upgrade from mechanical to digital timers if your sign runs multiple daily cycles or uses LED drivers
Upgrading to digital timer technology is advisable when signs require precise scheduling, more frequent cycles, or integration with LED driver loads. Digital timers offer improved accuracy and durability, reducing manual programming errors and physical wear. Mechanical models still serve well in simple on/off daily schedules with incandescent lighting but can struggle under extended duty cycles or complex load demands. Planning maintenance and replacement around manufacturer recommendations helps avoid unexpected sign outages and costly repairs.
Always disconnect power before servicing your timer to avoid electrical shock and potential damage to the device.
Step-by-Step Action Plan to Install Your Sign Timer
Follow these steps to install and program your sign timer safely and ensure your sign operates automatically as planned.
- Before you start: Confirm the sign’s electrical specifications and existing wiring setup to select a compatible timer. Verify the timer’s amperage matches or exceeds your sign’s load.
- Day 1: Turn off the main power circuit to the sign at your breaker panel for safe installation. Use a voltage tester to confirm power is off.
- Day 1: Remove the existing switch or cover plate and connect the timer wires following the manufacturer’s wiring diagram, matching line, load, neutral, and ground wires properly.
- Day 1: Secure the timer in the electrical box, restore power, and test the manual override switch to see the sign turn on and off by hand.
- Day 2: Program the mechanical or digital timer according to your required on/off schedule. Check that the sign switches on and off at the programmed times over a 24-hour period.
- Week 1: Monitor the timer function daily to catch any irregularities like flickering or failure to switch. Adjust programming if needed.
- After 2 weeks: Inspect the timer for signs of overheating or wear. Clean any dust or debris and tighten wire connections if necessary.
Frequently Asked Questions
Can I Install a Sign Timer Myself or Should I Hire an Electrician?
You can install a basic sign timer yourself if you have experience with electrical wiring. However, hiring a licensed electrician is safer and recommended, especially when working with commercial signage or new circuits, to meet local codes and avoid risks.
What’s the Best Location to Install a Sign Timer Switch?
Install the timer switch near the sign’s power source for easy access. Usually, this is where the sign’s circuit breaker or electrical panel is located to simplify wiring and maintenance.
How Do I Know If My Sign Timer Needs a Backup Power Source?
A backup power source is necessary if the sign must operate during power outages. For typical retail signs, it’s usually unnecessary, but for safety or advertising-critical signs, consider a connected UPS or battery backup.
Can a Sign Timer Be Controlled Remotely or via an App?
Some advanced digital timers offer remote control via apps or Wi-Fi. This adds convenience for adjusting schedules but usually costs more and requires reliable internet at the sign location.
What Should I Do If My Sign Flickers After Installing a Timer?
Flickering often indicates loose wiring or an incompatible timer. Double-check connections and ensure the timer matches your sign’s voltage and load capacity to prevent flicker and damage.
Is There a Difference Between Timers for Indoor vs. Outdoor Signs?
Yes, outdoor timers need to be weatherproof or installed inside a protected enclosure. Indoor timers are not sealed for moisture and could fail quickly if exposed to elements.
Wrapping Up
Installing and programming a sign timer lets you automate your illuminated sign while saving energy and reducing manual effort. Start by safely turning off power and carefully following wiring and programming instructions. Once installed, regular monitoring and maintenance will keep your sign running smoothly for years. Try setting your timer schedule today to see immediate benefits in convenience and energy use.