How to Install a Window Decal: Simple Steps for Perfect Results
Knowing how to install a window decal correctly ensures a smooth, bubble-free finish that looks professional. The best way to achieve this is by cleaning the glass thoroughly, aligning the decal carefully, and applying it with steady pressure. Start by preparing the surface to help the decal adhere firmly and prevent peeling.
Key Takeaways
- Clean the window with a solution of 70% isopropyl alcohol and 30% water before starting installation.
- Apply decals in temperatures between 40, 90°F for optimal adhesion and lasting results.
- Use the dry method for simple designs; consider the wet application method for larger or complex decals.
- Peel about 3, 5 inches of the decal backing at a time during application to maintain control and accuracy.
- Leave the decal with transfer tape attached on the window for 24 hours to allow proper bonding.
- Squeegee from the center outwards to press out air bubbles and smooth the decal surface gently.
How to Install a Window Decal Step-by-Step
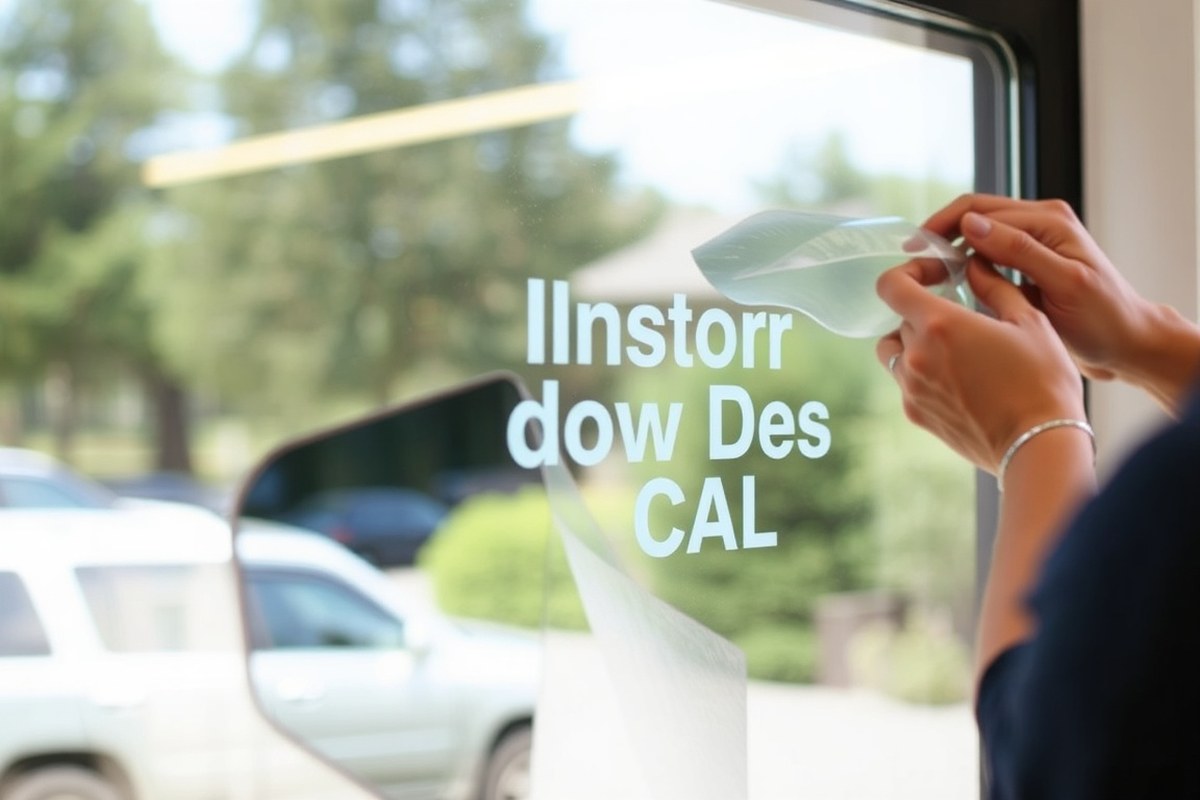
Installing a window decal requires careful steps to ensure it adheres cleanly and looks professional. Taking your time during alignment, smoothing out air bubbles, and peeling off transfer layers without damaging the decal are key. The following process covers all the essential actions to apply your decal on glass successfully.
Preparing and Cleaning the Window
Start by thoroughly cleaning the glass surface where the decal will go. Avoid window cleaning sprays because they can leave residues that prevent proper adhesion.
Use rubbing alcohol with a clean cloth to remove dust, oils, and grime from the window. Then let the glass air dry completely before moving on. Proper cleaning ensures the decal sticks properly without peeling or bubbling later.
Positioning and Applying the Decal
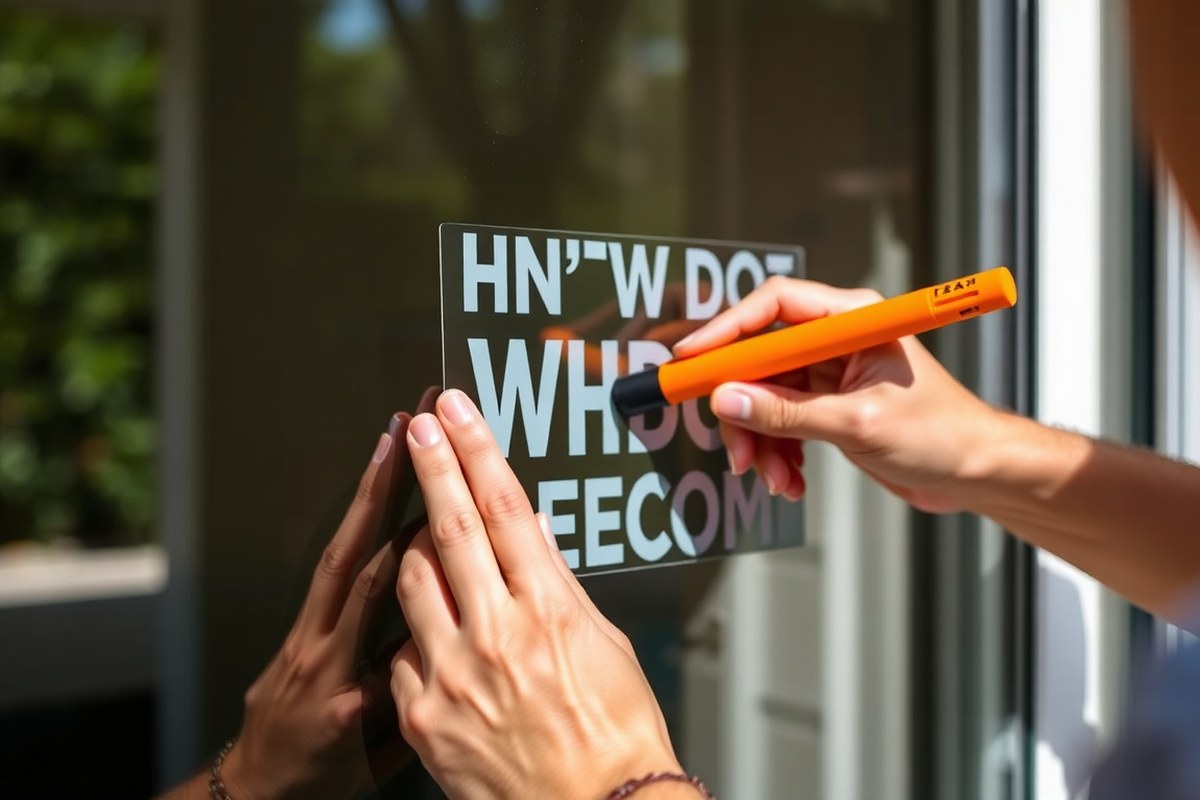
Carefully peel back the paper liner from your decal, exposing the sticky side. Align the decal on the window, using tape marks or measurements if necessary to get exact positioning. When the decal is large, use extra tape pieces to keep it steady before applying.
Choose a flat, stable surface and work slowly to avoid wrinkles or folds. Start pressing the decal against the glass from one edge, gradually laying it down while smoothing it out to prevent air pockets.
Removing Air Bubbles and Transfer Tape
After placing the decal, smooth it thoroughly using a credit card, plastic squeegee, or a flat piece of hard plastic. Apply firm pressure and work from the center outward to push out trapped air. This step removes air bubbles that can cause a poor appearance and adhesion issues.
Once the decal is firmly stuck, begin peeling off the transfer tape slowly from one corner. Pull the tape back against itself at a sharp angle. Watch closely to ensure the vinyl decal stays attached to the glass and doesn’t lift. Should you notice too many bubbles after peeling the transfer tape, gently lift the decal and smooth it again with the squeegee or card, then peel the tape once more. Follow these steps to install your window decal:
- Clean the window with rubbing alcohol and let it dry completely.
- Peel back the decal liner to expose the adhesive side.
- Align the decal on the window using guides or tape marks for exact placement.
- Press and smooth the decal from one edge across the surface to minimize wrinkles.
- Use a credit card or plastic squeegee to push out air bubbles, moving from the center outward.
- Slowly peel off the transfer tape at a sharp angle, ensuring the decal stays stuck to the glass.
- When bubbles remain, carefully lift the decal edges, smooth again, and try removing the tape again.
- Leave the decal undisturbed with transfer tape on for about 24 hours to improve adhesion.
Essential Tools and Materials for Window Decal Installation
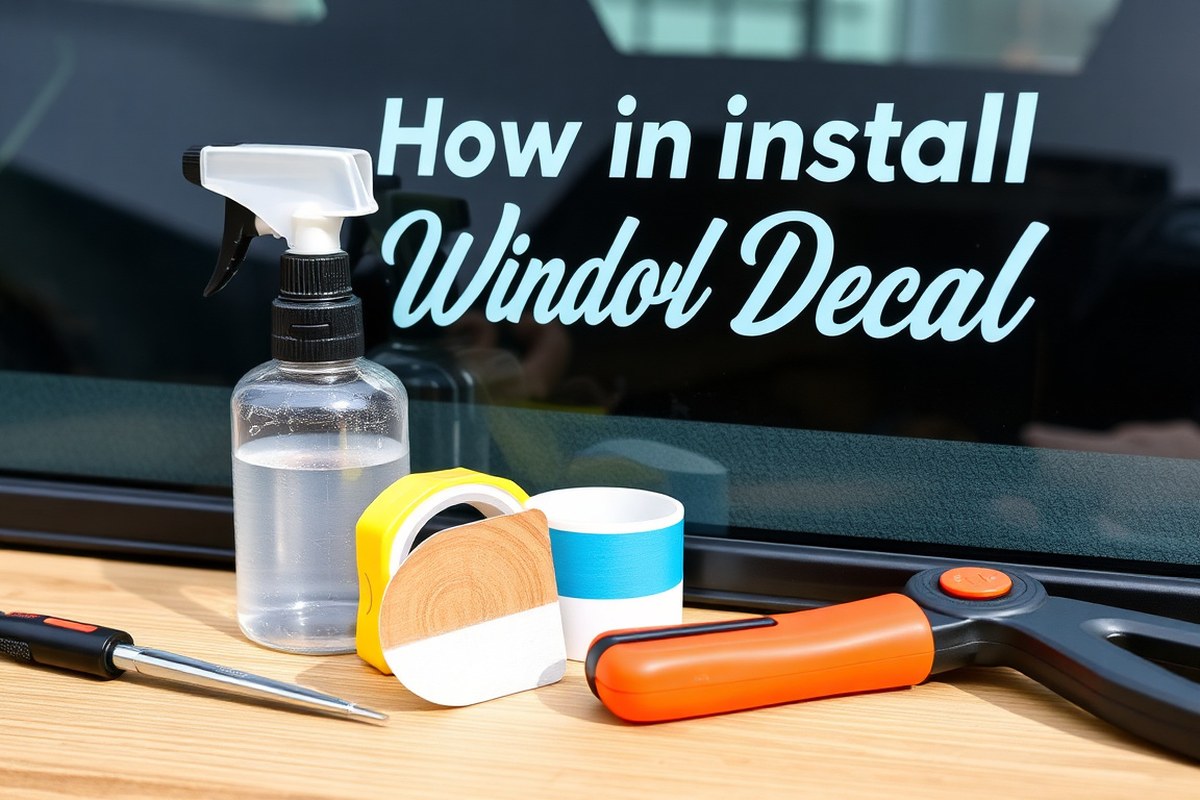
Start your window decal installation with a clean, smooth surface. You need a cleaning spray designed for glass. An effective and budget-friendly option is a homemade solution made from 70% isopropyl alcohol and 30% water in a spray bottle. This mixture cleans thoroughly without leaving residues that can cause bubbles or poor adhesion.
For application, keep a spray bottle handy to mist the adhesive side of the decal lightly. The moisture allows you to reposition the decal during installation, especially useful for larger graphics. After placing the decal, use a firm, flat tool to smooth out bubbles and secure adhesion.
Essential tools include items that help you clean, place, and press down the decal evenly. A credit card or plastic squeegee works well for removing air bubbles and smoothing edges without scratching the decal. Measuring tape and painter’s tape help align the decal precisely, while a sharp utility knife lets you trim the decal neatly if needed.
- Spray bottle filled with 70% isopropyl alcohol and 30% water for cleaning and application
- Lint-free microfiber cloth (optional) to dry edges without leaving fibers
- Credit card or plastic squeegee for removing air bubbles
- Measuring tape for precise placement
- Painter’s tape to hold and mark decal position before final application
- Utility knife or scissors for trimming excess decal material
Applying the cleaning solution evenly on both the window and the decal’s adhesive side improves slide-and-set placement and reduces bubbles. After placing and smoothing the decal, avoid peeling off the protective transfer tape too soon. Leaving it on at least 24 hours helps the decal adhere fully without shifting or peeling away.
Use a plastic card rather than a metal one to avoid scratching your decal during bubble removal and smoothing.
Different decals and window sizes might require slight tool variations. Larger decals benefit greatly from painter’s tape guides and an extra set of hands to hold and position. Smaller decals often only need a spray bottle and credit card. Proper cleaning, accurate measurement, and bubble removal tools ensure your decal looks professional and lasts longer.
How to Prepare the Window Surface Properly
To maximize decal adhesion and avoid bubbles, start by cleaning the window surface thoroughly. Use a window cleaning spray or a multi-purpose cleaner with a clean microfiber cloth to remove dust, dirt, grease, and any other debris that could interfere with how the decal sticks. Focus your cleaning on the exact area where the decal will be applied rather than the entire window. This targeted cleaning saves time while ensuring the adhesive gets a clear, smooth surface. Avoid cleaning products that leave a residue, such as oil-based cleaners or paper towels, which can leave behind fibers or film that prevent strong adhesion.
After cleaning, allow the window to dry completely before applying your decal. Moisture on the surface can trap air bubbles or reduce the strength of the adhesive bond. Under normal room temperature conditions, drying typically takes around 5 to 10 minutes, but warmer, drier air speeds this process up. Applying the decal to a damp surface increases the chance of bubbles forming and may cause the decal to peel sooner than expected. There is no need to dampen or wet the window before application unless you are using a wet application method specifically recommended for your decal type.
Decal application on tinted or coated windows requires extra attention. While some decals will adhere well to factory tint films, others may not stick properly or could damage the tint during removal. To guarantee a strong bond or if the decal should last a long time, remove any aftermarket tint or coating from the spot where you plan to place the decal. This may involve carefully peeling off film or consulting a professional if you are unsure. Leaving old tint or coatings can trap air or debris beneath the decal, causing bubbles and lifting over time.
Clean the glass thoroughly to eliminate dirt and grease, which can create bumps and shorten the decal’s lifespan. After it dries, carefully place the decal, then press it down firmly with a plastic card or thin board to push out air and ensure full adhesion for a smooth finish without bubbles.
When to Use Wet vs Dry Decal Application Methods
Use the dry decal application method for small decals under 12 inches (30 cm) in size to get a quick, straightforward installation. Choose the wet application for large decals over 12 inches or those with complex designs, as it allows for repositioning and smoother adhesion. Temperature and weather impact which method works best, with ideal conditions between 50, 70 °F (10, 21 °C) and calm, dry settings.
Dry Application Method Details
The dry method works best for small window decals, typically those smaller than 12 inches (30 cm). This technique involves peeling the backing off and pressing the decal directly onto a dry, clean surface. It’s quick and requires fewer materials, which makes it a practical choice for simple, flat decals that don’t need repositioning once placed.
The surface must be perfectly clean and dry, without dust or moisture, to ensure good adhesion. Temperatures should be between 50, 70 °F (10, 21 °C) because in colder conditions, the adhesive can become less sticky and harder to apply. Dry application isn’t recommended for large decals because it’s hard to align them precisely and air bubbles may become trapped.
Wet Application Method Benefits
The wet application method involves spraying a soapy water solution on the window before placing the decal. This is especially beneficial for large decals over 12 inches (30 cm) or complex designs. The water layer allows you to slide and reposition the decal multiple times to achieve perfect alignment, reducing mistakes and wasted material.
This method also makes it easier to remove air bubbles during installation by squeegeeing out the water underneath. It works best in mild temperatures from 50, 70 °F (10, 21 °C), and you should avoid windy or rainy conditions to prevent the water solution from drying unevenly. Applying large decals dry can cause wrinkles or trapped bubbles that are hard to fix later.
Choosing the Right Method
Decide on the application method by considering decal size, installation surface, weather, and your experience level. Use this comparison table to see the key differences:
| Factor | Dry Method | Wet Method |
|---|---|---|
| Decal Size | Best under 12 inches (30 cm) | Best over 12 inches (30 cm) |
| Repositioning Ability | Limited or none | Easy to reposition |
| Surface Condition | Must be perfectly dry and clean | Clean but wet with soapy water |
| Temperature Range | 50, 70 °F (10, 21 °C) | 50, 70 °F (10, 21 °C) |
| Ease of Air Bubble Removal | Hard after application | Easy during installation |
| Recommended for Beginners | Yes, for small decals | Yes, but more preparation needed |
Follow this rule: if your decal is smaller than 12 inches and straightforward, use the dry method. For anything larger or if you need to adjust the decal during placement, use the wet method. For decals larger than 18 by 24 inches, and especially if the design is complex or overlaps other decals, consider hiring a professional installer for best results.
Tips for Accurate Positioning and Alignment
Accurate positioning and alignment are essential for a professional-looking window decal installation. Begin by cleaning the window thoroughly to avoid dirt or oils interfering with adhesion or alignment. Use a measuring tape to find the exact center of the window area where you want to place the decal. Then, identify the center point on the backing paper of the decal by folding it lightly or measuring its width and height. Matching these two center points ensures your decal will be perfectly centered.
Identify the middle points, then put small strips of masking tape on the center of both the window and the decal backing. Stick one strip horizontally and another vertically on the glass to form crosshairs at the spot you want the decal. Next, place masking tape pieces on either side of the decal’s center along the backing paper to help manage and align the decal without moving it accidentally.
For the best control, use the “hinge method”: tape one side of the decal firmly to the window with a long strip of masking tape, creating a hinge that allows you to lift and lower the decal. This helps maintain alignment while peeling off the backing. Apply a credit card or a similar flat tool to press the decal firmly against the glass, smoothing out bubbles and wrinkles from the center outward. This step ensures secure adhesion and a sleek finish.
- Measure the window width and height; mark the center with small masking tape pieces
- Measure the decal dimensions, mark and tape its center on the backing paper
- Create crosshairs on the window to guide vertical and horizontal alignment
- Use 3 strips of masking tape: one long strip as a hinge and two small strips to temporarily hold sides
- After positioning, press firmly with a credit card to ensure full contact
- Peel off backing carefully while keeping decal aligned with tape hinge
- Adjust quickly if off-center before final rubbing down
Measuring twice and marking centers before sticking the decal prevents costly repositioning or damage during application.
Careful measuring and using masking tape for alignment may take 10 to 15 minutes but reduces errors significantly. Without these steps, decals often end up crooked, off-center, or wrinkled, requiring time-consuming corrections or replacement decals. Choose a well-lit workspace to see your marks clearly, and avoid windy or dusty conditions that could shake the decal during placement. Applying the decal slowly and methodically is key to achieving a clean, professional look on any size window.
How to Remove Air Bubbles and Smooth the Decal
Removing air bubbles and smoothing the decal immediately after application ensures a clean, professional look. Use a squeegee to press the decal firmly from the center outward, which pushes out trapped air and excess water. Persistent bubbles can be handled by carefully lifting and repositioning the decal without stretching or tearing it.
Using a Squeegee Correctly
A firm, steady pressure applied with a squeegee pulls bubbles and water to the edges and helps the decal stick evenly without wrinkles. Always start smoothing from the center of the decal and move outward in straight, overlapping strokes to avoid creases or tears.
A rubber squeegee is the best tool for this task. The rubber edge conforms to the glass surface and applies even pressure without damaging the decal. Avoid using sharp or hard objects that might scratch the decal or glass.
- Hold the squeegee firmly at a slight angle.
- Place the squeegee at the center of the decal.
- Press firmly and drag the squeegee outward toward the edges.
- Overlap each stroke slightly to avoid missing spots.
- Repeat until you feel the decal is flat, with no bubbles or wrinkles visible.
Fixing Persistent Bubbles
Some bubbles can remain even after smoothing. Gently lifting the affected decal section and repositioning it allows trapped air or water to escape. Work slowly to prevent stretching the decal or causing new wrinkles.
If bubbles are small, puncturing them with a fine pin and smoothing out the air can help, but this may not be suitable for all decals or visible areas. Always test a small hidden area first to check for effects on decal material.
- Identify areas with persistent bubbles.
- Carefully lift the decal edge near the bubble using your fingernail or a plastic flat tool.
- Slightly peel back until the bubble is released.
- Reapply the decal while smoothing again with the squeegee from the center outward.
- For small bubbles, gently puncture with a pin and press out the air.
Final Cleaning and Residue Removal
After smoothing and bubble removal, some adhesive or soapy water residue may remain on the glass. This can be cleaned with a damp cloth without disturbing the decal. Avoid harsh chemicals, as they could damage the decal’s finish or weaken the adhesive.
Allow the decal to air dry completely, usually 24 to 48 hours, before cleaning the window fully. This drying period ensures the adhesive sets firmly, reducing the risk of peeling or bubbling later.
Optimal Conditions and Timing for Decal Installation
Applying window decals works best when temperatures stay between 50°F and 85°F. This range allows the adhesive to activate properly without becoming too tacky or too hard to bond. Installing decals in colder weather can cause the adhesive to stick poorly, which often results in peeling or bubbling. High heat above 85°F can cause the adhesive to become too soft and may stretch the decal or cause wrinkles. Waiting for a mild day within this temperature window will produce cleaner, longer-lasting results.
Humidity should be moderate, ideally between 40% and 60%. Excess moisture in the air can interfere with the decal’s adhesive, especially if you are using a wet application method. High humidity or damp surfaces can trap moisture under the decal, risking bubbles or lifting. Avoid applying decals when rain or heavy dew is expected. Light rain or wind can disrupt the placement and encourage dirt or dust to settle on the window, increasing the chances of adhesion failure.
Secure the decal on a dry day with calm wind conditions. Strong winds can cause the often thin transfer tape to flap or shift, making precise alignment difficult. Rain or moisture during installation can also prevent the decal from setting properly. Choosing a day with minimal wind and no precipitation gives you better control during the application process and helps the decal bond cleanly.
Once the decal is placed, the transfer tape should remain on for 24 hours. During this period, the adhesive fully bonds to the glass surface. Removing transfer tape too soon can lift parts of the decal or create bubbles because the adhesive hasn’t cured. Mark your calendar to avoid handling the window or exposing it to harsh weather during this time.
For outdoor decals, allowing 24 hours of curing in stable weather is a reliable rule. When temperatures fall sharply during the installation period, the adhesive might cure more slowly. Apply the decal when a full day of good weather is predicted. Avoid touching or cleaning the decal until that 24-hour period has passed, even if the window seems dry.
Applying decals indoors or in a controlled environment can speed up the curing process because you can regulate temperature and humidity. In these settings, you might wait 12 to 18 hours before removing the transfer tape. However, outdoor installations benefit from the full 24-hour period to accommodate variable conditions.
Schedule your decal application for a calm, dry day with temperatures from 50°F to 85°F and humidity levels near 40% to 60%. Keep the transfer tape on the decal for a full 24 hours without disturbance to ensure the adhesive fully sets and your decal stays smooth and securely attached.
When to Hire a Professional Installer for Window Decals
Large or complex window decals often require hiring a professional installer to achieve the best results. Decals exceeding 24 by 36 inches, multi-layered designs, or those with intricate patterns can be difficult to align and apply without bubbles or wrinkles. Professionals have experience handling these challenges, which reduces the risk of damaging the decal or the window surface during installation.
Attempting to install a large or multi-layer decal yourself comes with several risks. The decal may not adhere evenly, leading to peeling edges or trapped air pockets that can cause premature failure. Misalignment is another common issue, especially when decals include precise graphics or text. These problems will impact the decal’s appearance and durability, sometimes requiring a full replacement that costs at least $50 to $150 or more depending on size and complexity.
Professionals use specialized tools such as application squeegees, heat guns, and cutting blades to handle difficult decals safely. They also work in controlled environments where temperature and humidity are kept optimal, typically between 60°F and 80°F, preventing premature adhesive curing or moisture troubles. Their techniques include carefully staging the decal in sections, using transfer tape properly, and applying even pressure to completely eliminate air bubbles.
To decide if you should hire a pro, first measure the decal and the window area precisely. Decals larger than 2 feet on any side or with multiple layers are best installed by a professional. Also consider how complex the design is; detailed text or patterns that must align perfectly benefit from expert attention. For windows in hard-to-reach places or direct sunlight outdoors, professional installation helps prevent mistakes from environmental conditions.
Costs for professional window decal installation usually range from $75 to $200 or more, depending on decal size and location difficulty. This price includes surface preparation, proper alignment, application, and cleanup. The investment is often worthwhile to get a smooth, wrinkle-free look that lasts many years. A properly installed large decal can stay adhered for up to 10 years under normal conditions, compared to a DIY job that might fail within months.
Check the decal size and complexity, then weigh the cost and risks of DIY against professional installation to avoid costly mistakes and preserve the look of your window graphics.
Step-by-Step Action Plan for Installing Your Window Decal
Follow these clear steps to install your window decal successfully and avoid common pitfalls. Each phase guides you to a clean, professional-looking result.
- Before you start: Gather all necessary tools like a squeegee, spray bottle, cleaning solution, and the decal. Make sure the window is clean, dry, and free of dust or grease for the decal to stick well.
- Right before installation: Decide if you will use the wet or dry method based on your decal size and window temperature. A wet method works better for large decals or hot surfaces, ensuring easier adjustments.
- During positioning: Hold the decal against the window using painter’s tape to mark its corners. Check alignment with a level or a straight edge for accurate placement.
- While applying the decal: Start at one edge and use a squeegee to smooth the decal outward, removing air bubbles as you go. This prevents wrinkles and ensures firm adhesion.
- Immediately after application: Inspect for any remaining air bubbles. Use a pin to gently release trapped air, then smooth the area again with the squeegee to secure the decal.
- Within the first 24 hours: Avoid touching or cleaning the decal to let the adhesive fully set and guarantee durability.
- If problems arise: If the decal wrinkles, peels, or won’t stick properly, consider hiring a professional to ensure the job is done correctly without damaging the window or decal.
Frequently Asked Questions
Can I Install a Window Decal on a Curved Glass Surface?
No, window decals work best on flat surfaces for proper adhesion and smooth application. Curved surfaces may cause bubbles and peeling, making the decal look uneven and less durable.
How Long Should I Wait Before Cleaning the Window After Installing a Decal?
Wait at least 24 hours before cleaning the window to ensure the decal has fully adhered. Cleaning too soon can lift the decal and reduce its lifespan.
Can I Reuse a Window Decal If I Remove It?
Usually, window decals are not reusable because removing them damages the adhesive layer. Plan to install the decal once in the desired position for best results.
What Is the Best Way to Protect a Window Decal from Fading?
Avoid direct sunlight exposure for long periods and clean gently with water only. Avoid harsh chemicals that can break down the decal’s colors and adhesive.
Are There Any Special Tools Needed Besides a Credit Card for Installation?
No, besides a credit card or squeegee, you only need a spray bottle for wet application and a clean cloth for prepping the window.
Can Temperature Affect the Stickiness of a Window Decal?
Yes, installing decals in temperatures between 40 and 90°F helps ensure optimal adhesion. Too cold or hot weather can weaken the glue and cause peeling or bubbles.
Key Points to Remember
Installing a window decal successfully requires attention to detail and the right conditions. Taking time to clean the surface, position the decal accurately, and apply it carefully will help achieve a smooth, lasting finish. Start by preparing your workspace today and gather your materials to begin the process confidently.