How to Make a Sign Weatherproof: Simple Steps for Long-Lasting Outdoor Signs
How to make a sign weatherproof hinges on selecting durable materials, applying protective coatings, and sealing all edges carefully. Use multiple coats of sealant or oil and allow proper drying time to create a long-lasting barrier against moisture and sun damage. Starting with weather-resistant wood or metal can significantly increase the sign’s lifespan outdoors.
Key Takeaways
- Apply at least two coats of protective finish, letting the sign cure for 24 hours between coats before outdoor use.
- Choose sturdy materials like treated wood or metal designed to withstand rain and UV exposure for your sign.
- Seal edges, joints, and mounting points fully to prevent water intrusion and wood swelling.
- Space signs a minimum of 18 to 24 inches above the ground to reduce moisture contact and decay risk.
- Inspect your outdoor signs every 3 to 6 months and after storms to catch damage early.
- Use 3M mounting strips for securely attaching light objects up to 10 pounds without drilling holes.
How to Make Your Outdoor Sign Weatherproof Effectively
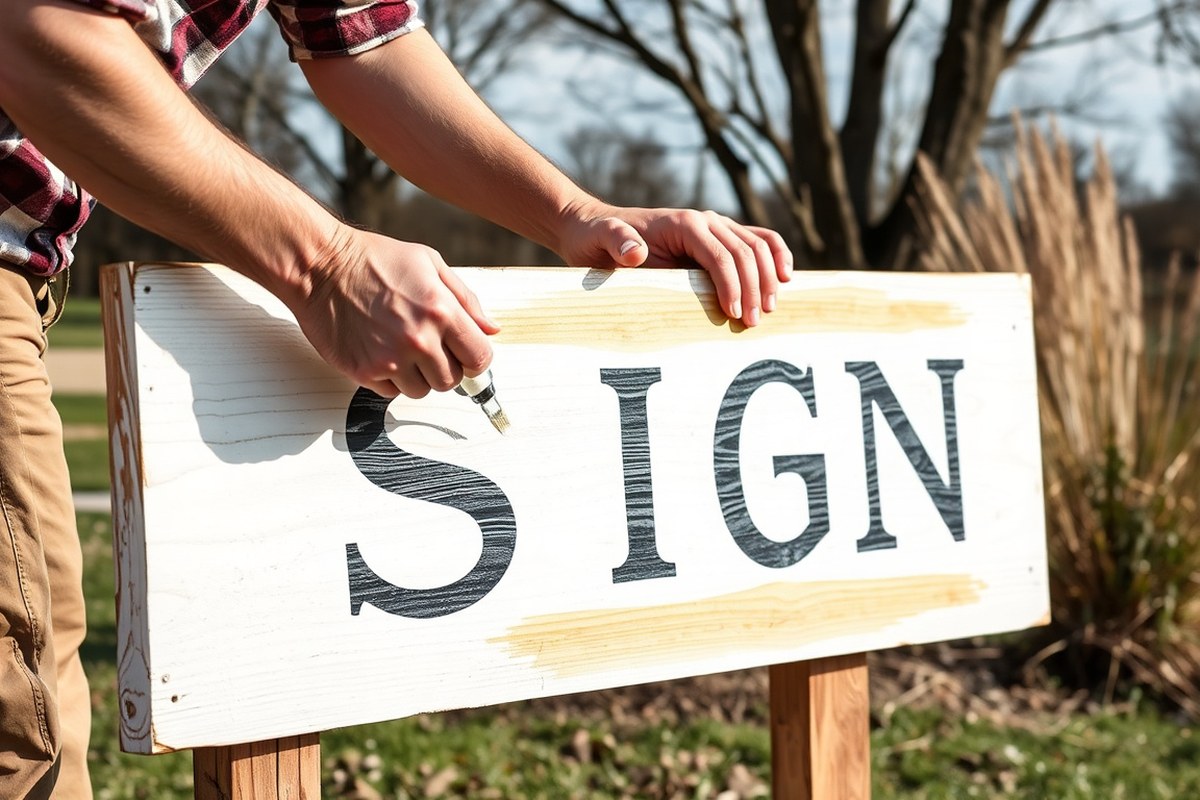
Making an outdoor sign weatherproof requires careful surface preparation and multiple layers of protective coatings. Proper preparation removes dirt and roughs the surface to ensure sealants and paints adhere tightly. Using weatherproof sealants or polyurethane paint prevents water from seeping into the sign material, while additional layers boost durability. Applying at least two coats of sealant or paint gives the best protection and helps fill in minor imperfections. Each coat typically needs 24 hours to dry properly, but some products may require curing times of up to 28 days for full waterproofing. Follow these steps to waterproof your outdoor sign effectively:
- Clean the surface thoroughly using soap and water, removing all dirt, grease, and loose paint. Let the sign dry completely before continuing. A clean, dry surface improves adhesion and prevents trapped moisture.
- Sand the surface lightly with fine-grit sandpaper to create a slightly rough texture. This helps the sealant or paint bond firmly to the material and minimizes peeling later.
- Apply a primer if recommended by your sealant or paint manufacturer. Primers increase durability by sealing porous surfaces and creating a stable base coat.
- Brush on the first coat of a weatherproof sealant or polyurethane paint using a high-quality paintbrush. Make sure to cover all areas evenly, paying special attention to edges, joints, and mounting points where water can penetrate.
- Let the first coat dry for 24 hours in a dust-free environment at temperatures between 65°F and 85°F. Avoid exposing the sign to moisture during this curing period.
- Apply a second coat in the same way, ensuring full coverage. Multiple coats are necessary to strengthen waterproofing by sealing every tiny crevice and improving UV resistance.
- Allow the sign to cure fully for at least 24 hours after the final coat before installing it outdoors. Some sealants require up to 28 days for complete curing; follow product instructions carefully for best results.
- Optional: Seal edges and mounting points with waterproof silicone or weatherproof tape for extra protection against water infiltration, especially in areas prone to rain exposure.
Good weatherproofing results in a smooth, chip-free surface with no bubbling or peeling. Expect to invest $15 to $50 in quality sealants or paints for a typical small to medium-sized sign. Avoid rushing the drying and curing times, as moisture trapped under wet coatings will cause damage. Take local climate into account; signs exposed to heavy rain or direct sun may need more frequent maintenance or additional protective layers.
Choosing the Right Materials for Long-Lasting Signs
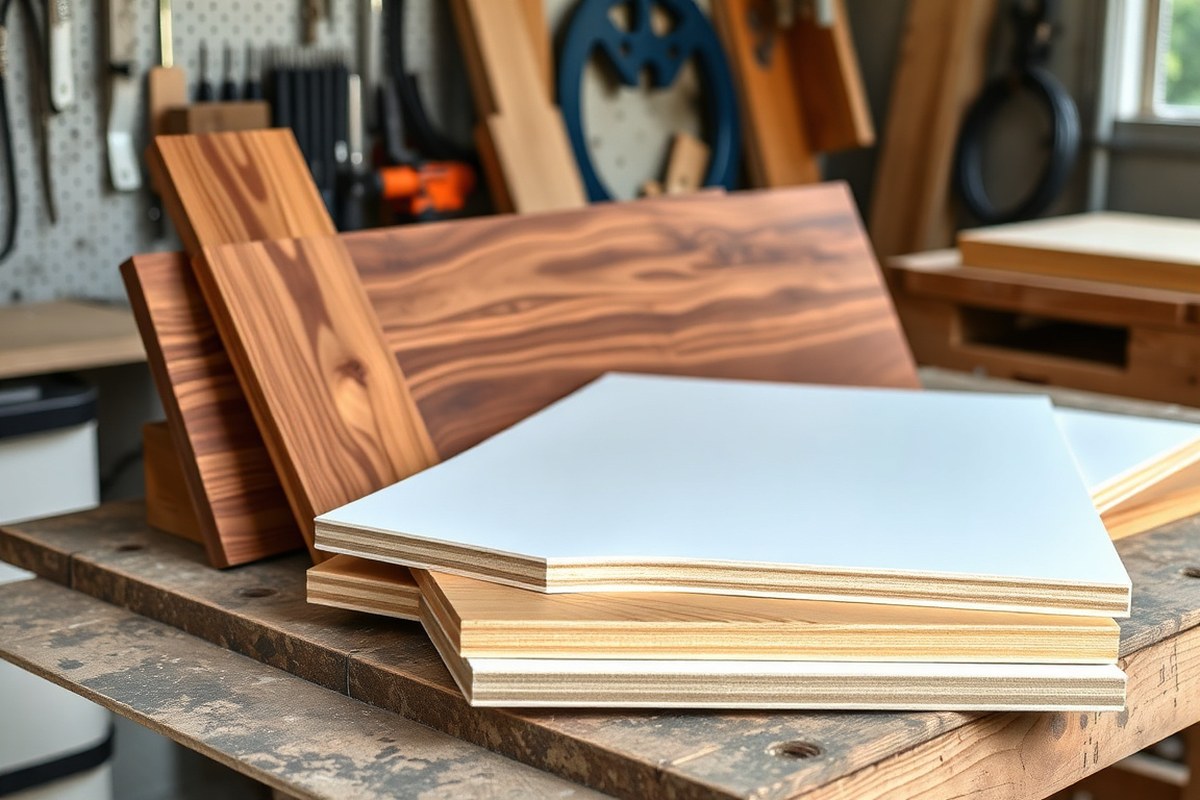
Choosing the right materials determines how long your outdoor sign will last against sun, wind, and moisture. Materials like acrylic, aluminum, and PVC offer strong resistance to weather, making them ideal for signs exposed to harsh conditions. Wood options such as cedar or redwood resist rot and insects but require careful sealing, especially plywood, whose edges must be fully covered to prevent moisture damage. Vinyl and PVC stand out for their durability and waterproof qualities, often needing less maintenance than wood.
Sealing plywood edges is critical because exposed edges soak up water, causing swelling and decay. To protect plywood, apply a quality exterior primer along the edges before painting. Next, use weatherproof tape over the seams to form a tight moisture barrier. This practice helps plywood signs maintain stability and prevents breakdown from freeze-thaw cycles or persistent rain.
For those seeking eco-friendly or recyclable options, aluminum ranks well since it is recyclable and resists corrosion without needing harsh chemical treatments. Certain vinyls with low-VOC manufacturing offer a better environmental profile, but always check the product specifics. Wood from sustainably harvested cedar or redwood is another option, provided you use eco-conscious sealants and paints to minimize toxic runoff.
| Material/Tool | Why It Works | Notes |
|---|---|---|
| Cedar or Redwood Board | Resists rot and insects | Buy straight grain; avoid big knots |
| Exterior-Grade Plywood | Stable and flat | Seal edges thoroughly to prevent moisture damage |
| Pressure-Treated Stake | Durable for ground contact | Pre-drill when cutting; wear gloves |
| Acrylic/Latex Exterior Paint | Flexible and colorfast | Use satin or semi-gloss for easier cleaning |
| Vinyl | Highly weatherproof and durable | Seal edges for longer life |
| Aluminum | Corrosion-resistant and recyclable | Good for eco-friendly, long-lasting signs |
Moisture causes wood to rot and metal to corrode over time, so materials with natural water resistance or protective coatings will perform better. Acrylic paint and spar urethane finishes protect colors from UV fading and moisture penetration. Signs in intense sun require UV-resistant coatings to keep text clear and vibrant for years. In windy locations, the sign’s material must be rigid enough to avoid warping but flexible enough to tolerate movement without cracking.
Always prioritize sealing the edges and joints of wood signs right after cutting; neglecting this step guarantees faster weather damage.
Protective Coatings and Paints for Outdoor Signs
Protective coatings and paints are essential for shielding outdoor signs from moisture, sun damage, and temperature changes. Selecting the right sealant or paint depends on the material of the sign and its exposure conditions. Applying the correct coating improve durability and maintains the sign’s appearance over time.
Types of Weatherproof Sealants
Oil-based and water-based polyurethane sealants provide strong moisture resistance, with oil-based options offering a harder, more durable finish but requiring longer drying times and stronger ventilation during application. Water-based polyurethane dries faster and has less odor, making it easier for DIY projects, though it may require additional coats for the same durability.
Spar urethane is a top choice for outdoor signs because it’s designed to expand and contract with the wood in changing weather, reducing cracking and peeling. It creates a clear, waterproof layer that typically lasts several years before needing reapplication. Varnishes made specifically for outdoor use add another option, these protect well against moisture but might yellow the sign surface slightly over time.
Applying any of these sealants involves cleaning the sign thoroughly and allowing it to dry. Use a brush or spray for even coverage, apply two to three coats with light sanding between coats for smoothness, and allow at least 24 hours of drying time per coat. Costs range from $15 to $30 per quart for quality spar urethane, which covers about 200 square feet per quart.
Outdoor Paint Options
Acrylic paints designed for exterior use are popular because they offer vibrant colors and resist fading and cracking under sunlight. Unlike standard acrylic paint, outdoor acrylics have additives to improve weather resistance. Always apply outdoor paint to a clean, dry surface, and prime wooden signs if needed to improve adhesion and longevity.
Latex exterior paints also work well, providing flexibility that accommodates surface movement without cracking. They tend to be less glossy, which can reduce glare but still protect against water. Two-part outdoor aluminum paints are available for metal signs; these create a protective layer that handles harsh weather and lasts longer than typical spray paints.
Although acrylic paint itself offers some weatherproofing, it’s best to seal the painted sign with a clear protective coating like spar urethane. This process prevents the paint from peeling and fading rapidly, extending the sign’s life. Expect to spend $20 to $40 per gallon on high-quality outdoor paint, with coverage around 350 square feet per gallon.
UV-Protective Finishes
UV protection is important because sunlight breaks down paint pigments and damages sign materials, leading to fading, cracking, and weakening. Applying coatings with UV blockers helps maintain the color’s intensity and the physical integrity of the sign for longer, especially in areas with strong sun exposure.
Clear coats such as spar urethane often include UV inhibitors, making them ideal for layered application over paint. These finishes not only add waterproofing but also prevent sun damage. For best results, reapply UV-protective coatings every two to three years depending on the sign’s location and exposure.
Signs without UV protection might show visible fading within one season in direct sunlight and suffer increased cracking and peeling. Using spray-on UV sealants provides an easy maintenance option to refresh older signs. Expect to pay around $10 to $20 for UV-protective sprays sufficient for a few small signs.
Sealing Edges, Joints, and Mounting Points Correctly
Preventing water ingress through the edges, joints, and mounting points of your outdoor sign requires careful sealing and hardware choice. Water often enters through these vulnerable areas, causing damage such as warping, peeling, or corrosion. Applying a waterproof sealant along all edges and any joints creates a barrier that stops moisture from seeping in. This step is essential for both wooden and composite signs, especially if you use vinyl lettering that can peel when exposed to moisture.
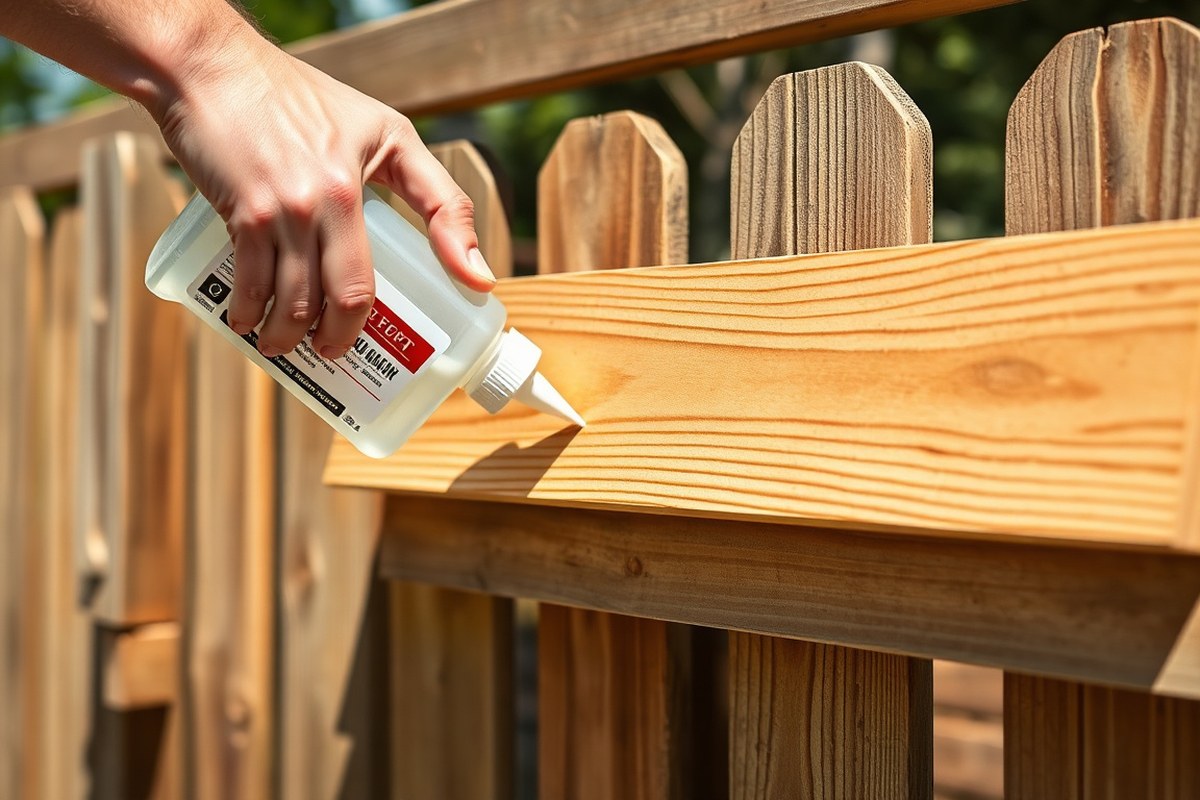
Use weatherproof adhesives or sealants rated for outdoor use to secure edges and joints. Silicone-based or polyurethane sealants are common choices because they remain flexible in changing temperatures and resist UV damage. Apply the sealant smoothly using a caulking gun or a putty knife, covering the entire perimeter and any seams fully. Allow 24 to 48 hours for the sealant to cure in dry conditions. Avoid sealing when rain or freezing temperatures are expected within 12 hours, as moisture can interfere with adhesion and curing.
Choosing the right mounting hardware also helps reduce water entry. Stainless steel screws and washers resist rust and corrosion in wet conditions, unlike standard steel hardware that may fail over time. Mount your sign so its face is parallel to the predominant wind direction. This reduces lateral stress on mounts, preventing loosening that lets water enter. Check and tighten hardware monthly to keep the sign stable and weather-tight.
- Apply a continuous bead of waterproof sealant along all edges and joints
- Use marine-grade sealants or adhesives suitable for your sign’s materials
- Allow sufficient curing time, 24 to 48 hours, in dry weather before exposure
- Choose stainless steel or corrosion-resistant mounting hardware
- Position the sign facing away from prevailing wind direction to reduce stress
- Securely fasten with screws and washers to keep tight fit and prevent gaps
- Establish a drainage system or slope to prevent pooling around mounting points
When sealing, make sure every corner and joint is covered thoroughly, as these spots commonly trap water and cause early damage. If you have a wooden sign, treat or seal the end grain as well, since it absorbs moisture more readily. For metal or glass signs, a strong weatherproof adhesive, such as a polyurethane-based glue, works best to seal smooth surfaces where sealants may not bond well. Overlapping edges and recessed joints help shed water effectively. Signs with overlapping or interlocking joints often last longer because less moisture can get inside.
Installation techniques also influence weather resistance. Drilling holes slightly larger than screws can allow water to pool inside; always apply sealant around mounts and under washers to create a watertight fit. Using rubber or silicone washers prevents water from seeping through small gaps around mounting hardware. Finally, inspect your sign regularly to catch any failures in sealants or loose hardware early. Prompt resealing or hardware replacement can save you from costly repairs later, preserving your sign’s appearance and function for years to come.
Installation Techniques to improve Weather Resistance
Mounting your outdoor sign properly is key to reducing moisture damage and wind stress. Aim to install the sign at least 18 to 24 inches above ground level. This clearance minimizes exposure to splash-back from rain and dew, keeping the bottom edge dry. Supporting the sign off the ground also slows corrosion and rot. Use sturdy brackets or posts that can resist bending or twisting in high winds, securing all fasteners tightly. Loose fittings can let moisture seep in and increase the risk of damage during storms.
Signs made of wood need careful placement to maintain their protective coatings. Avoid placing wooden signs directly against porous surfaces like brick or untreated wood, which can wick moisture and defeat waterproofing efforts. Instead, mount wooden signs on treated posts or brackets with at least a half-inch gap to allow airflow behind. This constant ventilation helps evaporate any moisture trapped under the sign.
Consider the wind direction and prevailing weather in your area. Position the sign so the back faces away from prevailing winds, using barriers like fences or landscaping to shield it from wind-driven rain. For extremely windy spots, adding angled mounts or wind-permeable structures reduces the force hitting the sign.
- Choose corrosion-resistant fasteners like stainless steel or galvanized screws
- Use rubber or silicone washers under mounting points to prevent water seepage
- Apply a bead of acrylic sealant between the sign and mounting surface for extra moisture protection
- Ensure at least 18 to 24 inches of ground clearance to avoid dampness
- Allow air gaps of at least 0.5 inches behind wooden signs to prevent trapped moisture
- Secure all fasteners firmly to withstand wind gusts over 30 mph
- Regularly inspect mounting hardware for rust, looseness, or damage
Even the best installation can fail if signs stay in contact with wet surfaces or experience persistent water pooling. During heavy rain or snow, check that water drains away and doesn’t collect around mounting points. Elevating the sign above ground and maintaining airflow reduces moisture’s ability to penetrate paint or sealants, preserving your investment longer.
Always tighten mounting hardware after severe weather to stop loosened fasteners from inviting moisture or increasing wind damage risk.
Maintaining and Inspecting Your Weatherproof Sign Regularly
Maintain your outdoor sign at least once every three months to catch early signs of wear and weather damage. Frequent checks help you spot cracks, peeling paint, or water stains, which can let moisture seep in and degrade the materials. Regular inspections keep the waterproofing intact and extend the sign’s lifespan, saving you money on costly replacements.
Start your maintenance routine by cleaning the sign with mild soap and water, then dry it thoroughly. After cleaning, closely examine the surface for any damage such as cracks, chipped paint, rust spots, or loose mounting hardware. Address small cracks or gaps immediately by applying a waterproof sealant designed for outdoor use. Delaying repairs allows water to penetrate and worsen the damage. Signs of failure that need immediate attention include:
- Visible cracks or splits in the sign material or protective coatings
- Peeling or bubbling paint that exposes the substrate
- Rusted mounting hardware or loosened screws
- Water pooling or discoloration on or around the sign
- Mildew or mold growth on the surface
After identifying any issues, repair promptly. Use a high-quality waterproof sealant to fill cracks and gaps; a typical tube costs $5 to $10 and can cover multiple small repairs. Tighten or replace rusty hardware to maintain a secure installation preventing water intrusion. In cold climates below 32°F, perform these maintenance tasks during warmer days to ensure sealants cure properly. Hot weather above 90°F can cause some sealants to dry too quickly and crack, so aim for mild temperatures around 50°F to 80°F.
Using a maintenance checklist can help you keep track. Mark the date of inspection, note repairs made, and schedule the next check in 3 months. A simple checklist might include cleaning, drying, inspecting for damage, sealing cracks, checking mounts, and looking for signs of moisture buildup. Following a timeline ensures no steps are missed and your sign performs well year-round, despite harsh sun, rain, or snow exposure.
Repairing and Re-Waterproofing Damaged Signs
You can re-waterproof an old or damaged sign by first repairing any physical damage like peeling or cracks, then applying suitable waterproof coatings. Proper cleaning and preparation of the surface is important before reapplying sealants, which should be done in layers with adequate drying time. Following these steps will restore the sign’s waterproof barrier and extend its outdoor life.
Assessing Damage Extent
Start by examining your sign carefully for any visible damage such as cracks, peeling edges, water stains, or warped areas. These issues weaken the waterproof barrier and allow moisture to penetrate, causing further deterioration. Identifying all the problem spots ensures a thorough repair and helps you plan the materials needed to fix the sign.
Pay special attention to corners, edges, and mounting points, as these areas tend to suffer from the most wear. Signs made from metal like stainless steel or aluminum may still have surface damage even if the base material is resistant to water. Damaged paint or coatings often appear blistered or discolored, which are key indicators for re-waterproofing.
Cleaning and Surface Prep for Repairs
Cleaning must remove dirt, old flaky coatings, and oils that interfere with adhesive sealants and paints. Start by using a mild detergent mixed with water and a soft brush to scrub the entire sign gently. Avoid harsh chemicals that might damage your sign further.
After washing, dry the sign completely with lint-free cloths. Any moisture left under sealants can trap water and worsen damage. Scrape away loose paint or sealant residues carefully using a plastic putty knife or sandpaper to create a smooth surface for new materials to bond. For cracks and gaps, remove any loose debris inside to prepare for filling or sealing.
Reapplying Sealants and Paints
Use a latex rubber sealant for filling cracks and sealing the sign surface. This type stretches to block water while allowing breathability, which helps prevent moisture accumulation under the coating. Apply putty or filler into gaps before sealing.
After sealing, apply waterproof paints or coatings designed for outdoor signs. Multiple thin coats generally provide better protection than one thick coat. Follow product instructions for recommended drying times, which often range from several hours to a full day between coats. This layered approach not only restores waterproofing but also helps prevent fading and sun damage, preserving your sign’s appearance through varied weather conditions.
- Identify all cracks, peeling areas, and water stains on your sign.
- Clean the sign with a mild soap and water solution using a soft brush to remove dirt and grime.
- Dry the sign thoroughly with lint-free cloths to avoid trapping moisture.
- Scrape off loose paint or sealant flakes, sanding rough edges as needed.
- Fill gaps and cracks using putty or an appropriate filler and let it dry fully.
- Apply a latex rubber sealant evenly over damaged and repaired areas to block out water.
- Once sealant dries, paint or coat with a waterproof coating, applying multiple thin layers if recommended.
- Allow sufficient drying time between coats and before reinstalling the sign outdoors.
When to Hire a Professional Weatherproofing Service
Hiring a professional weatherproofing service makes sense when your sign is large, complex, or shows severe damage, especially if it includes electrical parts. Professionals offer specialized materials and techniques that provide stronger protection, helping your sign withstand harsh weather for years.
Signs You Need a Professional
Large outdoor signs or those with multiple panels typically require expert handling to ensure thorough weatherproofing. Signs with built-in lighting or electronic features need specialists who understand electrical safety and can apply weatherproofing without damaging components. When peeling vinyl, rust streaks, warped panels, or faded text appear, this usually signals advanced wear that needs professional repair and re-waterproofing to prevent further deterioration.
Attempting to weatherproof extensive damage yourself may lead to incomplete protection or worsen the problem. Professionals assess damage depth and provide targeted fixes that extend a sign’s lifespan. For complex mounting points or irregular shapes, custom solutions from experts guarantee better sealing and stability during storms or snow.
Professional Techniques and Materials
Specialist weatherproofers use industrial-grade coatings that offer higher durability than consumer products, including advanced UV inhibitors that reduce fading from intense sunlight. They can apply multiple layers of superior clear coats that resist cracking and peeling, protecting vinyl and plastic signs effectively.
Professionals often employ custom mounting systems tailored to the site’s environment, securing signs against high winds or heavy snowfall. These mounts also include sealed fittings and gaskets that block water infiltration. For signs needing electrical weatherproofing, experts use specialized waterproof casings and connectors that comply with safety codes.
Precautions in Extreme Weather
Extreme weather calls for additional measures beyond standard weatherproofing. Professional services recommend and install weather shields or awnings that physically block rain and snow from hitting the sign directly. They use sealants formulated for wide temperature ranges to prevent cracks in freezing or hot conditions.
After harsh weather, checking the sign for loose fittings or damage is essential. Pros can quickly reinforce mounts and reapply sealants where needed, ensuring no gaps allow water or debris inside. Vinyl or plastic signs particularly benefit from these enhancements to prevent peeling and fading over time.
Regular inspections and timely professional maintenance can prevent costly replacements by catching weather damage early.
Step-by-Step Action Plan to Weatherproof Your Outdoor Sign
Follow these steps to make your outdoor sign weatherproof and maintain its durability throughout the seasons.
- Before you start: Choose durable materials like high-quality wood, metal, or weather-resistant plastic as your sign base. Signs made from these last longer under harsh weather.
- Day 1: Apply a protective coating such as marine-grade varnish or an outdoor polyurethane paint. Check for even coverage and a smooth finish to confirm proper application.
- Day 2: Seal all edges, joints, and mounting points with a clear waterproof sealant or silicone caulk. Run your finger carefully to ensure an unbroken seal with no gaps or bubbles.
- Day 3: Install the sign using rust-resistant screws and secure mounting hardware. Confirm stability by gently shaking the sign to avoid loose fittings that let moisture in.
- After 1 month: Inspect the sign for any signs of wear like peeling paint or cracked sealant. Address small damages immediately by sanding lightly and reapplying coatings or sealant.
- Every 6 months: Clean the sign with mild soap and water to remove dirt and mildew. Waterproof signs that remain clean tend to last longer.
- Annually: Reapply protective coatings and sealants to maintain maximum weather resistance. Look for fading or peeling coatings as a sign it’s time for reapplication.
Frequently Asked Questions
What Materials Should I Avoid When Making a Weatherproof Sign?
Avoid materials that absorb water or degrade in sunlight, like untreated wood or paper. Choose weather-resistant options to prevent warping, fading, or mold over time.
How Many Coats of Sealant Are Recommended for Outdoor Signs?
Apply at least two coats of weatherproof sealant for adequate protection. Multiple layers help create a stronger barrier against moisture and UV damage.
Is It Necessary to Let the Sign Cure Before Exposure?
Yes, letting your sign cure for 24 hours before outdoor use ensures the coatings fully dry and bond. This prevents early peeling or damage from weather exposure.
Can Weatherproof Tape Replace Sealants on Signs?
Weatherproof tape supplements sealants but shouldn’t replace them entirely. It seals edges and joints to stop water from entering weak points.
How Does Fading Affect the Weatherproofing of Signs?
Fading does not directly affect water resistance but reduces sign visibility and longevity. Use UV-resistant paints to maintain color and effectiveness.
Does Recycling Weatherproof Sign Materials Affect Durability?
Recycled materials can still be durable if properly treated and coated. Many sustainable options provide similar weather resistance as new materials.
Wrapping Up
Your outdoor sign will stand up to weather conditions better when you start with the right materials, proper sealing, and routine maintenance. Begin by examining your current sign or design your new one with durable, weatherproof components. Taking that first step today can save you from frequent repairs and keep your sign looking great longer.