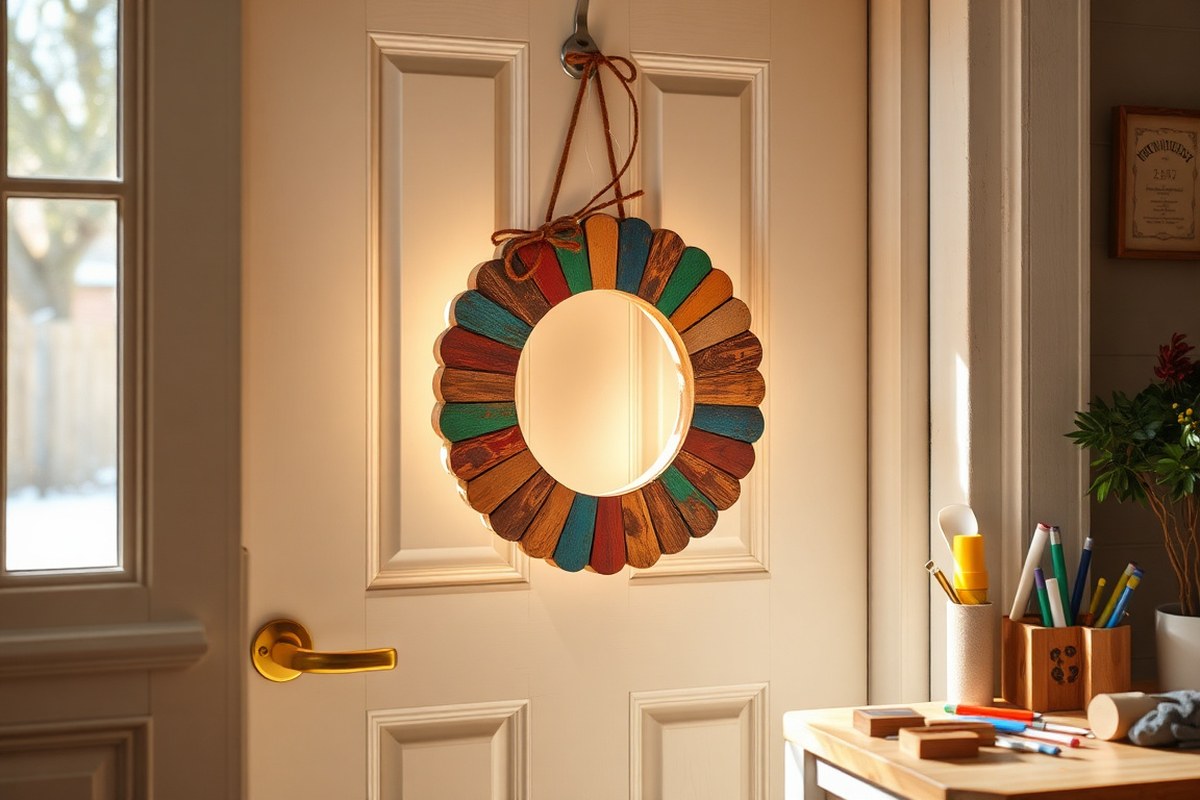
How to Make a Door Hanger: 8 Simple Steps with Materials and Tips
How to make a door hanger starts with choosing the right materials and design to fit your door and style. Use a wood piece or sturdy board about 4 x 9 inches, and cut a two-inch hole at the top to fit over your doorknob. Starting with a clear plan ensures the door hanger fits smoothly and looks polished when hung.
Key Takeaways
- Select a door hanger size around 4 x 9 inches, adjusting as needed for your specific door and style.
- Cut a hole about 2 inches wide at the top to fit snugly over the doorknob without slipping.
- Choose materials like basswood, burlap, ribbon, or twine based on finish and durability preferences.
- Use a Cricut Knife Blade for precise cuts on basswood no wider than 11 inches.
- Allow paint or glue to dry 2-3 hours between coats for a clean, lasting finish.
- Plan designs that match your door’s style and season to make a strong visual impact.
1. What Is a Door Hanger and Its Uses?
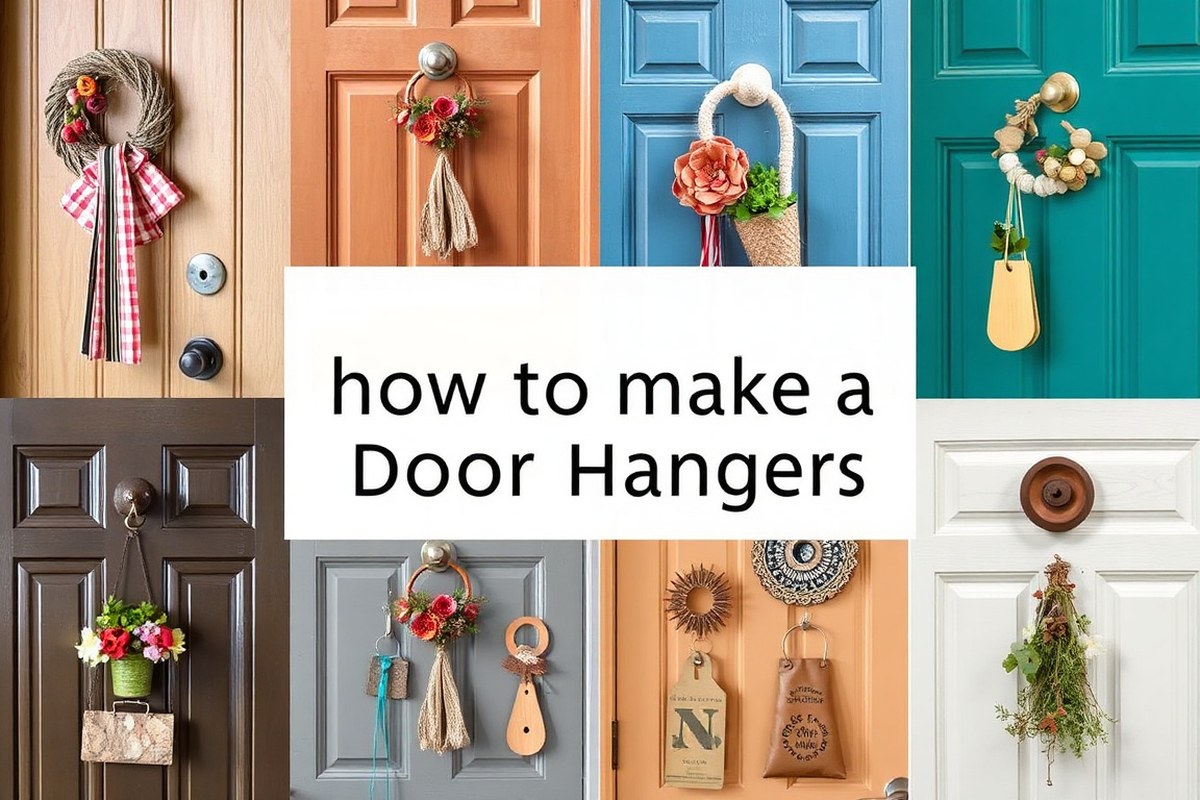
A door hanger is a flat or slightly curved sign designed to hang on a doorknob or door handle. It usually has a hole at the top, sized to fit most standard doorknobs or handles, allowing it to swing freely when placed. Common sizes vary, but a popular choice is about 3.5 by 8.5 inches for bedroom or office use, while larger sizes like 5 by 11 inches work well for events or larger doors. The material can range from wood and thick cardboard to plastic, depending on its purpose and desired durability.
Door hangers serve several practical and creative uses. Most often, they communicate messages such as “Do Not Disturb” in hotels or offices, reminders about appointments, or promotional offers for marketing campaigns. These messages need to be clear and easy to read at a glance. Because door hangers hang directly on the door, they grab attention more effectively than flyers or posters placed elsewhere, with some marketing studies showing response rates as high as 4% to 5%, compared to about 1% for flyers. Beyond messaging, many people create decorative door hangers that add personal style to a home. For example, seasonal or holiday-themed door hangers can welcome guests and add charm to the entryway.
To use a door hanger effectively, consider the type of door and handle it will hang on. For standard round doorknobs, the typical 3.5 by 8.5-inch size fits best, while larger doors with vertical handles might need bigger or custom-sized hangers for better visibility. How you position the hanger matters too: place it where it won’t swing wildly or get caught when opening the door. Decorative hangers can be hung temporarily for special occasions and stored for future use. In home or office settings, door hangers can also mark private spaces or signal when someone is busy or available.
Crafting a door hanger usually requires materials costing between $10 and $20 if you buy the supplies yourself. Pre-made kits, which may include plain shapes ready for decorating, can cost $30 or more depending on size and complexity. The project is straightforward enough for beginners, but planning the size and message carefully will improve the final result. Signs that are too busy or poorly sized will fail to catch attention or convey their message clearly. Durable materials and simple, bold graphics increase the hanger’s lifespan and effectiveness.
2. Selecting the Best Materials for Your Door Hanger

Choosing the right material for your door hanger shapes how long it lasts, how it looks, and how easy it is to work with. Durability matters if your door hanger faces outdoor weather or heavy use, while cost influences how many you can make. Some materials resist water, which keeps your door hanger looking good through rain or spills. Consider your budget, where you’ll hang it, and if you want environmentally friendly options. Here’s a clear comparison of popular materials, focusing on durability, cost, ease of use, and waterproof qualities:
| Material | Durability | Cost | Ease of Use | Waterproof |
|---|---|---|---|---|
| Cardstock | Medium | Low | Easy | No |
| Plastic Sheets | High | Medium | Medium | Yes |
| Foam Sheets | Medium | Low | Easy | No |
| Corrugated Cardboard | High | Low | Hard | No |
| Magnetic Sheets | High | High | Medium | Yes |
Cardstock and foam sheets are easy to cut and decorate, making them great starter materials, especially when cost is a concern. These work well indoors but won’t last outdoors or in damp areas. Plastic sheets and magnetic sheets cost more but stand up well to rain and humidity, so they’re better for outdoor or frequently touched doors. Corrugated cardboard offers high durability but can be tricky to cut and won’t resist water unless sealed with a waterproof coating.
If you want an eco-friendly option, repurposing natural or scrap materials like leftover cardboard or fabric helps reduce waste. For instance, painting or decorating old cardboard boxes can create a durable and unique hanger with minimal extra cost. Choosing natural fibers or recycled paper also lowers environmental impact.
Keep your workspace clear and materials organized before starting to avoid accidents and get cleaner cuts and paint lines on your door hanger.
Consider where the door hanger will be used. For lightly used doors inside your home, try cardstock or foam sheets for quick, simple projects. For outside doors or places exposed to moisture, pick plastic or magnetic sheets to prevent damage from rain. Balancing cost, ease, and weather resistance helps you pick the best materials for a door hanger that fits your style and needs.
3. Planning Your Door Hanger Design for Success
Start your door hanger project by planning its size, shape, colors, message, and theme carefully. A clear design plan ensures your creation is eye-catching and suits your space and purpose.
Choosing Size and Shape
Deciding the right size depends on your door type and where you’ll hang the door hanger. Most door hangers are oblong or rectangular, roughly 4 to 6 inches wide and 10 to 12 inches tall, fitting easily over a standard door handle without blocking locks or peepholes. Smaller shapes work well for apartment doors, while larger ones show off more details on front doors of houses. Shapes can vary, from classic rectangles to circles, hearts, or themed silhouettes like pumpkins or animals to match holidays or seasons.
Check your door’s handle width and clearance first. The hanger’s cutout hole should be about 2 to 3 inches in diameter or wide enough to slide smoothly over. Choose a shape that matches your message or theme to make your hanger stand out and complement your front door style.
Picking Colors and Fonts
Colors set the mood and affect how visible your door hanger is from a distance. Use contrasting colors for background and text to improve readability. Bright shades like red, yellow, or turquoise catch attention, while pastels or earthy tones suit more subtle, cozy home styles. Consider your door color, dark hangers pop on light doors, and vice versa.
Font style affects the message tone. Simple, bold fonts are easier to read, especially if seen quickly outdoors. Script fonts add elegance but should be used sparingly or for short words. Avoid overly intricate or thin fonts that won’t show up well from several feet away.
- Choose 2 to 3 main colors that work together harmoniously
- Use high contrast between background and lettering
- Pick fonts that fit your style and are easy to read
- Limit fonts to two to keep your design clean
- Test color visibility by holding printed samples at arm’s length
These simple guidelines help keep your design readable and visually appealing.
Defining Your Message and Theme
Clear messaging is key for a decorative door hanger. Decide if you want a welcoming statement, seasonal greeting, or a fun quote that reflects your personality. Short, friendly phrases like “Welcome,” “Hello Sunshine,” or holiday greetings work well and fit nicely on the hanger without overcrowding.
The theme can match seasons, holidays, or personal interests. Typical themes include summer flowers, fall pumpkins, Christmas motifs, or farmhouse style. The message should align with this theme to create a cohesive look. For example, a sunflower design could feature “Hello Summer” in warm colors.
Consider your audience or household, kids might prefer playful themes, while adults may want classic or elegant styles. Decide if you plan to update your door hanger frequently with seasonal themes or want one that works all year.
Using Sketches or Templates
Sketching your design on paper before cutting or painting prevents mistakes and saves materials. Rough sketches let you try different layouts, fonts, and shapes without commitment. You can annotate the sketch with color choices and messages to visualize the final product.
Templates are helpful if you want consistency, especially when making multiple door hangers. Many craft suppliers offer downloadable templates, or you can create your own by tracing shapes onto cardstock or thin wood. Using a template ensures the size and shape are just right when cutting materials. Work through these steps:
- Draft a few rough sketches focusing on layout and size
- Choose your favorite sketch to refine details
- Print or make a cardboard template for the base shape
- Test fit the template on your door to confirm size and hole placement
- Label colors, fonts, and messages directly on the template for reference
Taking time to plan with sketches or templates reduces surprises and helps achieve a polished final look.
4. Step-by-Step Guide to Making a Door Hanger
Making a door hanger involves a clear sequence of steps to prepare your base, cut and shape the design elements, paint, decorate, and assemble the final piece. Timing each phase carefully helps you avoid smudges or weak attachments, ensuring a polished look that lasts.
Prepare Your Base
Start by choosing a wooden base or pre-cut shape that fits the doorway standard size, usually about 10 to 12 inches wide and 24 to 30 inches tall. Sand the surface lightly to smooth any rough edges or splinters, which helps the paint adhere better. Wiping the dust off with a damp cloth ensures a clean canvas. This step generally takes 10 to 15 minutes, depending on the base condition.
Cut and Shape Design Elements
Use a Cricut machine or a small jigsaw to cut additional shapes, letters, or motifs from lightweight wood or sturdy cardstock that you want on your hanger. Keep shapes proportional to the base, roughly 2 to 4 inches each, for balance. Take care to cut slowly if doing it by hand to maintain neat edges, which can take 20 to 30 minutes depending on detail. Sand the edges of these pieces for a smooth finish before assembly.
Paint and Decorate
Apply a base coat of glossy acrylic paint to both the base and cut pieces using a foam brush or roller for an even finish. Two coats spaced about 30 minutes apart work well. Once dry, add details with markers, stickers, or stencils. Use Mod Podge or a water-based sealer on edges or over stickers to protect your work. Each layer of paint should dry 30 to 60 minutes; total painting time can reach 1.5 to 2 hours.
Attach Ribbons and Messages
Attach ribbons, decorative bows, or printed messages last to avoid damage during painting. Use hot glue or a strong craft adhesive to secure these elements firmly onto the base or design pieces. Position ribbons at the top hole for hanging or add layered ribbons for extra flair. This step usually takes 10 to 15 minutes, and the glue should set for 15 to 20 minutes before moving on.
Finish and Let Dry
Apply a final coat of clear glossy sealer or polyurethane to protect your entire door hanger. Make sure to cover edges and layered pieces to prevent peeling. Allow the door hanger to dry flat in a dust-free area for at least 2 hours, or longer if humidity is high. Fully dried paint and sealer mean your hanger will hold up to handling and outdoor exposure better.
- Sand and clean the base piece.
- Cut and sand additional design elements.
- Paint base and design parts with at least two coats.
- Add decorative details with markers or stickers.
- Seal edges and decorated areas with Mod Podge.
- Glue ribbons and attach messages securely.
- Apply final clear coat sealer.
- Let the door hanger dry completely before hanging.
5. How to Decorate and Personalize Your Door Hanger
Decorating and personalizing your door hanger lets you create a unique look that matches your style and the season. You can add messages, use paints and glitters, attach ribbons or twine, and include accessories for creative effects. The key to success is choosing decoration materials that suit the door hanger’s material and the weather conditions where you live.
Adding Text and Quotes
Adding messages or quotes is a great way to personalize your door hanger. Use stencils or vinyl lettering for clean, professional-looking words. Write your message first with a pencil on wood or fabric, then fill it in with paint or permanent markers. Choose phrases that fit the mood, like “Welcome,” “Home Sweet Home,” or seasonal greetings such as “Spring Blessings.”
When applying text on fabric, fabric paint works best because it won’t crack or peel. On wood, acrylic paint or paint pens give bold color and dry quickly. Plan your lettering size by measuring your door hanger surface area and spacing your text evenly. For example, a 10-inch door hanger can fit messages of 3 to 5 words comfortably in a large, clear font.
Using Paints, Glitters, and Stencils
Paints are the most common decoration for door hangers, especially acrylics. They dry fast and hold up well outdoors if sealed. Apply thin layers with foam brushes or small paintbrushes to avoid drips. Use stencils to add shapes, patterns, or repeated designs. For extra sparkle, sprinkle fine glitter over wet paint or mix it in before painting.
Adding a top coat of clear outdoor sealant protects your painted door hanger from rain and sun damage. Choose sealants labeled for outdoor use and apply two to three coats with 1- to 2-hour drying times in between. Avoid heavy layering of glitter because it can flake off easily unless sealed well.
Attaching Ribbons, Twine, and Accessories
Ribbons and twine are popular for hanging and decorating door hangers. Attach them through a hole or loop at the top, securing with knots or hot glue. Twine adds a rustic look and is weatherproof, while ribbons bring color and softness. You can combine both for layered texture, such as a wide burlap ribbon with a smaller colorful ribbon on top.
Embellishments like buttons, sequins, lace, small bows, flowers, or trinkets add personality and can reflect your theme. Sew or glue these carefully to fabric or wood surfaces. For outdoor durability, hot glue works best for wood or stiff materials, while fabric glue or sewing is better on cloth. Avoid heavy accessories that may weigh down the hanger or catch wind too strongly.
Seasonal and Theme Decoration Ideas
Seasonal decorations give your door hanger fresh appeal throughout the year. Spring styles often include pastel paints, floral embellishments, or attached small artificial tulips. Summer door hangers can feature bright colors, seashells, or beach-themed trinkets. Autumn designs use warm tones like orange and brown with leaves or miniature pumpkins.
Winter and holiday door hangers might include reds, greens, and whites, with glued-on pinecones, faux snowflakes, or tiny ornaments. Magnetic door hangers with seasonal prints offer quick changes for holidays. Seasonal decorations should be lightweight and weatherproof to last during colder, wetter months. Consider swapping embellishments out as the season changes for a fresh look without remaking the entire hanger.
Use a clear waterproof sealant to protect painted and embellished door hangers from weather damage, especially if placed outdoors.
6. Safety Tips and Common Mistakes to Avoid
Using safety gear like gloves and eye protection is a must when cutting materials for a door hanger. Gloves protect your hands from sharp blades or splinters, while goggles keep dust and paint particles out of your eyes. When using electric tools, such as a Cricut machine or power saw, make sure you work in a well-lit area and follow the manufacturer’s instructions closely to reduce the risk of injury.
Handling cutting tools properly means keeping your hands away from the cutting path and using a stable surface. For wood, support the piece fully to prevent unexpected movement. Apply steady pressure instead of forcing the blade, which can cause slips or rough edges. Allow the tool to do the work, whether cutting basswood thin enough to fit in a Cricut or slicing ribbons for hanging.
Painting a door hanger requires ventilation and patience. Use non-toxic paints to avoid fumes and allow each coat to dry fully before adding another or applying decorations. Overlapping wet paint can create bubbles or uneven texture that affect the final look. If a spot looks patchy, sanding gently after drying can smooth it for a second coat. For gluing, choose adhesives suited to your materials, like wood glue for wooden hangers or craft glue for fabric accents. Apply glue sparingly to avoid messy squeezes that can ruin paint or finish.
- Wear cut-resistant gloves and eye protection during cutting and painting
- Cut on a stable, clean surface and keep fingers clear of blades
- Follow tool instructions to handle machines safely and properly
- Paint in a ventilated area with thin coats, allowing each to dry
- Use appropriate glue types and apply sparingly for neat results
- Secure ribbons and attachments firmly to support weight when hung
- Sand rough edges or excess glue gently to fix imperfections
Common mistakes include cutting uneven shapes, which can be fixed by sanding edges or trimming carefully with scissors. Using too much glue can make decorations slip or create stains, but wiping excess glue quickly with a damp cloth helps control this. Painting over a surface that is too smooth or dusty leads to poor adhesion; light sanding and cleaning beforehand improve paint grip and durability. Lastly, not securing hanging parts like ribbons or hooks properly can cause a finished door hanger to fall, so always double-check knots and attachment points.
Ensuring your door hanger lasts begins with solid construction and protective finishing, such as a clear sealant over painted surfaces. Avoid placing it in direct sunlight or wet conditions, which can fade colors and degrade materials. Regularly inspect for loose parts or wear, making repairs promptly. Choosing quality materials and taking time with each step reduces repairs and keeps your crafted door hanger looking great for seasons to come.
7. Cost and Time Expectations for Making Door Hangers
Expect to spend between $5 and $20 on materials for a typical DIY door hanger, depending on the type and size. Simple designs using basic wood, paint, and hooks fall on the lower end, while kits or specialty materials like premium wood and decorative elements push costs higher. Kits usually cost a bit more upfront but include all tools and materials, saving time and reducing the hassle of sourcing items.
The time required varies based on your skill level and the complexity of the design. Simple door hangers can be completed in 30 minutes to an hour, while more detailed projects with multiple steps like sanding, painting, and drying might span several hours or even a day. Choosing faster-drying paints and glue can reduce wait times.
| Project Stage | Typical Time Required | Typical Cost Range |
|---|---|---|
| Material Gathering | 10, 20 minutes (DIY), 5 minutes (kits) | $5, $10 (DIY), $10, $20 (kits) |
| Cutting and Shaping | 10, 30 minutes | Included in initial cost (tools) |
| Painting and Decorating | 20 minutes plus drying time (1, 2 hours) | $3, $7 for paint and decor |
| Assembly and Final Touches | 10, 15 minutes | Included in material costs |
| Total Time | Approx. 1, 3 hours depending on drying time | $5, $20 total |
Material choice affects both the cost and time. For example, wooden door hangers generally take longer due to cutting, sanding, and multiple paint coats. Paper or cardboard versions dry faster and cost less but might not last as long. Purchasing a complete kit saves time because all materials and instructions come ready, but it may not allow as much customization as buying supplies separately.
Allocating more time for painting and drying often produces the best results, while rushing these steps can lead to smudging or uneven finishes. Planning your project stages around drying times lets you manage your craft time effectively, especially if working on multiple door hangers. This balance between cost and time ensures you get a quality DIY door hanger without overspending or spending all day on it.
8. How to Hang, Maintain, and Repurpose Your Door Hanger
To hang a door hanger securely, ensure the ribbon or string is firmly attached through notches or holes cut at the top. Using a hot glue gun in addition to tying knots can prevent slipping. For heavier door hangers, metal hooks or small clips attached to both the door and hanger provide extra support. Make sure the hanger’s weight is evenly balanced to avoid tilting or falling off the door.
Outdoor door hangers face weather challenges like rain, wind, and sun exposure, which can cause damage over time. Applying a clear waterproof sealant or laminate protects wooden or paper designs from moisture and fading. Remove the hanger during extreme weather events such as heavy storms or freezing temperatures to extend its life. Checking the ribbon and attachment points every few weeks can catch wear before it leads to a fall.
Store your door hanger indoors during harsh winter months or if you notice colors fading or materials weakening. Soft materials like fabric or paper should be replaced more often, typically every 6 to 12 months, while treated wood or acrylic versions may last several years outdoors if properly maintained. Replacing worn-out hangers keeps your decor looking fresh and reduces the risk of damage to your door.
Repurposing door hangers is simple and fun. Remove seasonal decorations for versatile designs that work year-round, or swap out embellishments like flowers and leaves to update your look with minimal effort. Turning an old door hanger into a key holder or memo board by adding small hooks or clips increases its function and lifespan. Handmade hangers also make memorable gifts; customize them with the recipient’s initials or favorite quote and include a coupon or special offer to add value and personal flair.
Check the attachment points of your door hanger regularly to avoid it falling and getting damaged or causing injury.
Step-by-Step Action Plan for Making Your Door Hanger
Follow these clear steps to create your door hanger efficiently, ensuring each phase builds on the last. This plan helps keep your project on track with visible progress checkpoints.
- Before you start: Gather all materials and tools needed according to your design plan. Confirm you have everything by laying it out in your workspace.
- Day 1: Cut your base material to the desired door hanger shape and size. Check edges for smoothness to ensure safety and a neat look.
- Day 2: Sketch your design on the hanger with pencil. Make sure the layout is balanced and fits within the hanger’s dimensions.
- Day 3: Apply paint or stain as the background and allow it to dry completely. The surface should feel dry and even without sticky spots before proceeding.
- Day 4: Add decorative elements like lettering, stencils, or embellishments. Let adhesives or paint dry thoroughly according to product instructions.
- Day 5: Attach hanging hardware securely and test it by gently hanging on your door. The hanger should remain stable without wobbling or slipping.
- After 1 week: Inspect for any wear or loose parts and repair as needed. Your hanger should stay intact and maintain its appearance.
Frequently Asked Questions
What Tools Do I Need to Make a Door Hanger?
Basic tools such as scissors, glue, paintbrushes, and a drill for the hole work well. Having paint or markers adds more decorating options.
Can I Use Recycled Materials for My Door Hanger?
Yes, using recycled wood or fabric is eco-friendly and cost-effective. It lets you customize unique textures and colors.
How Do I Choose the Right Size for My Door Hanger?
Match the hanger size to your door and purpose; 12 inches works well for front doors. Larger sizes increase visibility.
Can I Make a Door Hanger Without Wood?
Yes, sturdy cardboard or thick foam board can work. These materials are lighter but less durable outdoors.
What Paint Is Best for Outdoor Door Hangers?
Use acrylic or outdoor paint with a sealant for weather resistance. This helps decorations last in sunlight and rain.
How Do I Keep My Door Hanger from Falling?
Secure a sturdy ribbon or hook to hang your door hanger firmly. Check the attachment regularly for wear or damage.
Before You Go
Crafting a door hanger lets you add a personal touch to your home while practicing creative skills. Start with a clear plan and simple materials to build confidence. Today, pick your materials and draft your design to take the first step toward a unique, functional door hanger you can be proud of.