How to Make a Reverse Canvas Sign by Hand a Complete Guide for Beginners
How to make a reverse canvas sign by hand starts with removing the canvas from its wooden frame carefully, then flipping and reassembling it to create a framed design. This method is budget-friendly and allows you to customize signs without needing a cutting machine. The first step happens right at your workspace: safely separate the canvas from the frame to prepare for your unique artwork.
Key Takeaways
- Use a flathead screwdriver and pliers to gently remove the canvas staples without tearing the fabric.
- Sand and stain the wooden frame by hand for a rustic or polished finish before reassembling.
- Press the canvas with an iron for 10-15 seconds to remove moisture before transferring your design.
- Draw or trace your design directly onto the canvas with a pencil or fabric marker if you don’t have a cutting machine.
- Reattach the canvas stretched tightly over the frame using a staple gun, trimming any excess fabric carefully.
- Seal the wood and fabric with a clear protective coat to increase durability and washability.
What Is a Reverse Canvas Sign and How Does It Work?
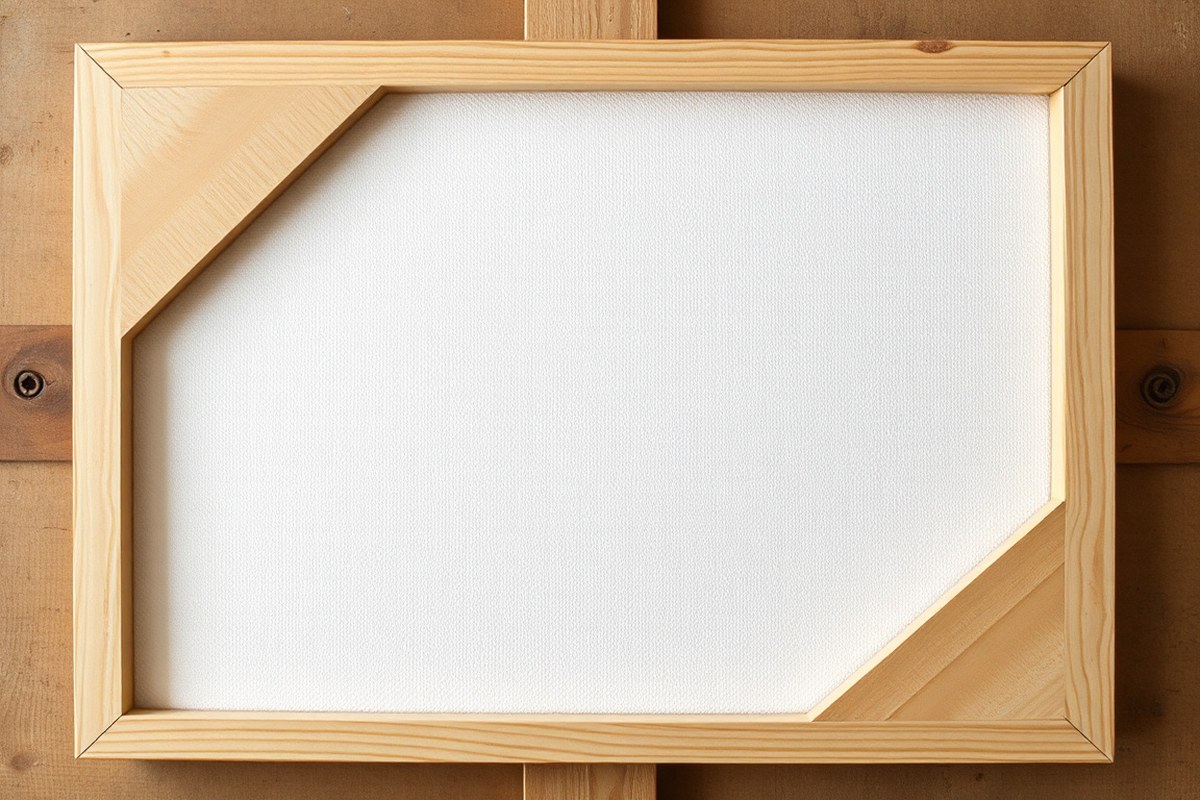
A reverse canvas sign is a creative DIY project where you take a stretched canvas painting and repurpose both the canvas fabric and its wooden frame to create a decorative sign. Instead of displaying the original painted side of the canvas, you flip it so the back of the canvas becomes the visible front of your sign. This approach gives you a blank surface to customize with paint, vinyl, or other embellishments, all while using the sturdy wooden frame as part of the design.
The main appeal of making a reverse canvas sign lies in repurposing materials you already have or can purchase inexpensively. Instead of buying a separate wooden board and canvas fabric, you remove the canvas from its frame and reuse both components. This saves money and reduces waste, making it a budget-friendly and eco-conscious craft. Stretched canvases are often available at craft stores or dollar stores for around $5 to $10, which keeps costs low for this project.
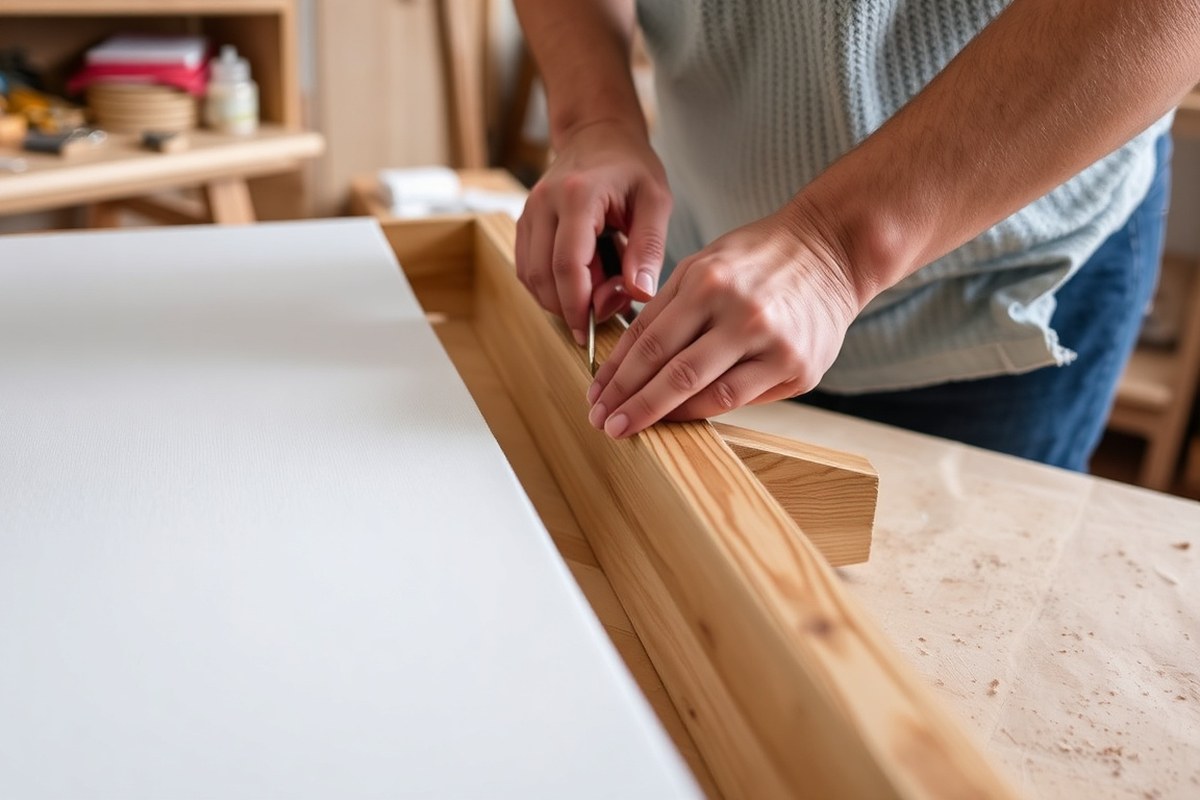
The process starts with carefully removing the canvas from the wooden frame by pulling out the staples that hold it in place. Once detached, the canvas is flipped so the side that was previously against the wooden stretcher bars faces forward. This reversed canvas surface typically has a raw fabric texture without any previous paint or design on the visible side, serving as a clean slate for your artwork or lettering.
Flipping the canvas creates a unique layered effect by showcasing the wooden frame around the canvas’s edge. This frame often stays visible, contributing a farmhouse or rustic aesthetic that differs from traditional framed art or signs made from flat boards. The combination of fabric texture and wooden edges adds depth and interest to your wall decor.
After flipping, you trim the excess canvas around the frame to ensure only the stretched area remains visible, avoiding loose or bulky edges. The canvas is restretched onto the frame’s front side, then you apply your chosen design by hand painting or adhering decals. The frame can be finished with paint, stain, or left natural depending on your style. Properly executed, the canvas lies flat and taut, giving your sign a professional, polished look.
A typical risk is accidentally tearing the canvas while removing staples or stretching it back onto the frame too tightly, which can cause wrinkles or damage. Using staple removers or pliers carefully and working slowly helps prevent problems. For beginners, starting with smaller canvases (around 8×10 or 11×14 inches) makes it easier to control and reduces waste if mistakes happen. Overall, a reverse canvas sign transforms common art supplies into personalized wall decor using simple steps and inexpensive materials.
Essential Supplies and Tools Needed Without a Cutting Machine
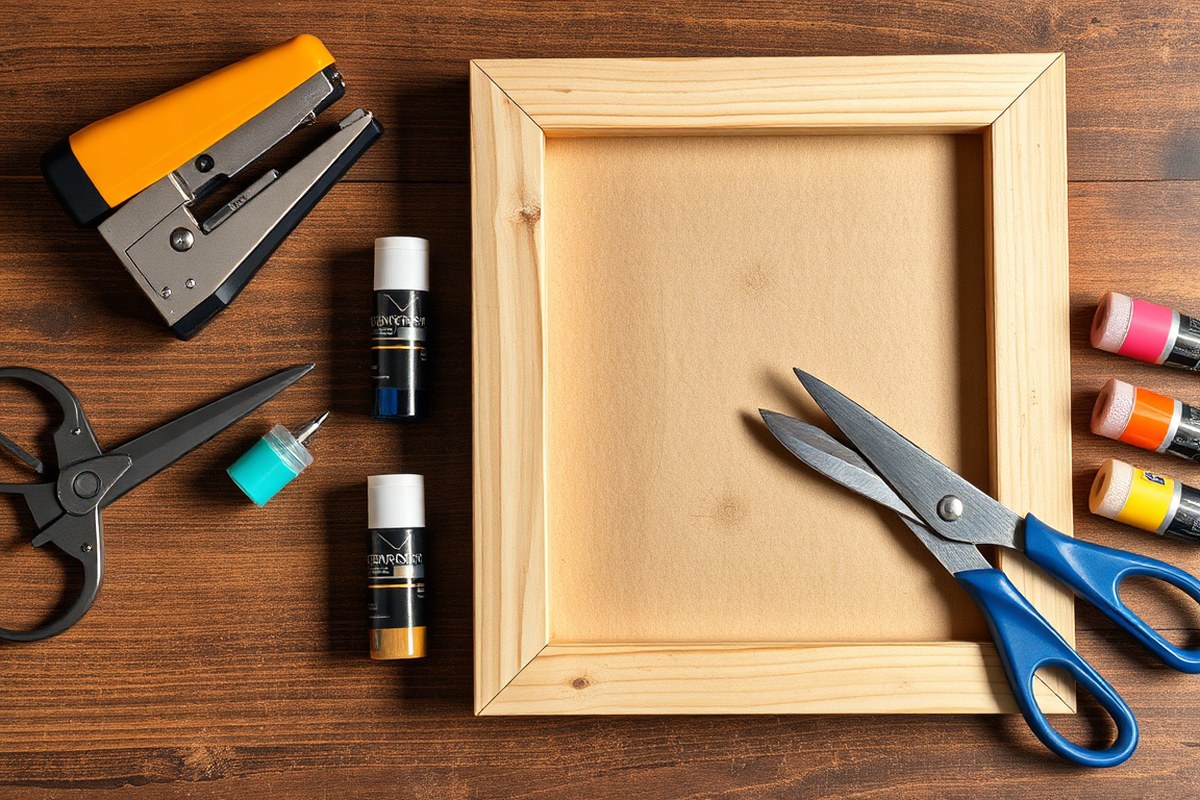
To make a reverse canvas sign completely by hand, you’ll need basic art supplies and tools that allow design application without a cutting machine. These include an art canvas, acrylic paints, brushes, stencils or transfer methods, and tools for separating and reattaching the canvas safely. Budget-friendly materials from dollar stores can work well for most steps.
Canvas and Frame Options
Choose a standard artist’s canvas size like 12″ x 16″ or 16″ x 20″ for easy handling. Budget canvases from craft or dollar stores are fine since you will be flipping and painting on the back side. The wooden frame attached to the canvas should be sturdy but easy to work with. Simple pine or basswood frames are common and available at hobby stores. The canvas should be tight with minimal sagging to ensure your painted design looks clean and smooth.
Frames without complex joints or staples are easier to work with if you plan to remove and reattach the canvas by hand. This size and type of canvas typically costs anywhere from $5 to $15 depending on quality. Using a canvas with a pre-primed surface will help paint adhere well for your design.
Tools for Removing and Reassembling Canvas
You’ll need tools to carefully separate the canvas from its wooden frame without tearing. A flat-head screwdriver or small pry bar works well to loosen staples or nails. Needle-nose pliers will help pull staples or tacks safely out. For trimming excess canvas after reattaching, sharp scissors or an X-Acto knife is essential. Use a staple gun or heavy-duty stapler to secure the canvas back onto the frame. Here is a checklist of essential tools you’ll need for this step:
- Flat-head screwdriver or small pry bar
- Needle-nose pliers for stapler removal
- Staple gun or heavy-duty stapler
- Sharp scissors or X-Acto knife
- Sandpaper (optional, for light frame finishing)
- Ruler or measuring tape
- Cloth or sponge for cleaning frame
Be patient and work slowly to avoid ripping the canvas or splintering the frame. Accurate removal and neat stapling affect how the finished sign looks and how durable it will be.
Take care not to pull the canvas forcefully during removal; this prevents unwanted stretching or tears that are hard to repair.
Design Transfer Materials Without Vinyl
With no cutting machine, hand-painting or stenciling your design onto the canvas is the best option. Use acrylic paints because they dry fast and stick well to canvas fibers. Smaller brushes (sizes 1, 4) let you paint detailed lettering or artwork precisely. Durable stencils from plastic or thick cardstock support neat edges and repetitive patterns. Secure stencils with painter’s tape for clean lines. Transfer paper or graphite paper transfers a drawn design directly onto canvas before painting.
For budget-friendly alternatives, instead of buying professional stencils, you can print your desired design on paper, then cut them out by hand with scissors or a craft knife to create custom stencils. Tracing your design with a pencil and freehand painting is also a workable method, especially for simple text or shapes. These supplies will help you transfer and paint your design accurately:
- Acrylic paints in chosen colors
- Variety of small and medium paintbrushes
- Plastic or cardstock stencils (homemade or store-bought)
- Painters’ tape for securing stencils
- Graphite transfer paper
- Pencil for sketching or tracing
- Palette or small containers for mixing paints
Allow enough drying time, typically 15 to 30 minutes per painted layer, to avoid smudging. Using paint in thin, multiple layers will give clearer designs than heavy single coats. This method requires patience but offers full customization without expensive technology or vinyl materials.
How to Remove Canvas from the Wooden Frame Safely
Removing the canvas from the wooden frame without tearing it requires patience and the right tools. Focus on carefully loosening staples and lifting the canvas gently so you preserve it for reuse. Taking your time with staple removal and protecting the edges will help you avoid damage and achieve a clean separation.
Tools Needed for Removing Staples and Canvas
Having the right tools makes it easier to pry staples without tearing the canvas or damaging the frame. A staple remover designed for upholstery or picture frames is best. Needle nose pliers help pull staples out once loosened. A small flathead screwdriver or an X-Acto knife blade can be used to gently lift staples and pry fabric away where staples are stubborn. A razor blade may also help cut adhesive or glue if present. Keep a soft cloth nearby to protect the canvas if you need to press down or use without causing snags.
Step-by-Step Removal Process
Follow these steps carefully to safely remove the canvas from the frame. Removing staples in stages reduces the risk of ripping and helps keep the fabric tight enough to prevent wrinkles once removed.
- Place the canvas face down on a flat surface with the wooden frame facing up.
- Use a flathead screwdriver or the tip of an X-Acto knife to gently lift one corner of a staple.
- Once raised, grip the staple edges with needle nose pliers and carefully pull straight out.
- Work along one side of the frame, removing every other staple to start loosening the canvas.
- Move to the opposite side, repeating the process to evenly release tension across the canvas.
- Complete removing staples from all sides, keeping the canvas as taut as possible throughout.
- Gently lift the canvas from the frame, peeling it away slowly to avoid sudden pulls that cause tears.
- Inspect the wooden frame and use pliers or a razor blade to remove any remaining stubborn staples.
How to Handle Canvas Edges and Prevent Tearing
Canvas edges are the most vulnerable areas for tearing, especially during staple removal. Lift staples slowly and evenly to maintain tension and avoid pulling at sharp angles. If the canvas seems fragile or older, work more gradually and keep support under the fabric to avoid stressing any single point. Using two hands to support the fabric near a lifted staple prevents puckering.
Another tip is to avoid pulling the canvas with force. Instead, lift a few staples on opposite sides to loosen the fabric evenly before removing the entire canvas. Keep the canvas rolled or draped loosely once removed to prevent creasing or permanent folds. In some cases, you can gently iron on a low setting with a cloth barrier to flatten wrinkles before reuse.
Preparing and Finishing the Wooden Frame by Hand
Start by thoroughly sanding the wooden frame with a fine-grit sandpaper, ideally between 180 and 220 grit. Sand by hand in the direction of the wood grain to smooth out dents or rough patches left from removing staples. This step matters because a smooth surface helps paint or stain adhere evenly and gives the finished sign a polished appearance. Pay special attention to edges and corners but avoid over-sanding, which can thin the wood or round off sharp angles.
After sanding, wipe the frame down with a slightly damp cloth to remove dust. Let the frame dry completely before moving on to staining or painting. For staining, gel stains or traditional wood stains work well. Apply the stain with a clean cloth or brush, wiping off excess to avoid blotchiness. One or two coats usually provide a rich, even color without overpowering the wood grain. Each coat should dry about 4 to 6 hours at room temperature before applying the next. Avoid painting the back side of the frame fully since it will be covered; focus on visible areas to save materials without sacrificing appearance.
Painting calls for acrylic paint if you want solid, opaque coverage. Two coats typically give solid coverage, but you can add a third if needed. Let each coat dry for at least 30 minutes before adding the next. Acrylic paint dries quickly and is water-based, making it a more eco-friendly option than oil-based stains. For a faux stain look, a watered-down acrylic paint in brown tones can be brushed on and wiped off similarly to a gel stain. This method offers faster drying times and easier cleanup.
Protect your work by keeping wet paint or stain away from the canvas until fully dry. Wet finishes can easily transfer and ruin the fabric. Also, consider quick-dry and low-VOC (volatile organic compound) products available at craft stores or home improvement centers. These provide shorter drying times and reduce fumes. Prices vary, but small bottles of gel stain or acrylic paint typically cost between $5 and $15 each.
Expect a finished frame to have an even, smooth color without heavy buildup or streaks. If areas appear blotchy or streaky, sanding lightly between coats can help even out the finish. Avoid overly thick coats that can drip or raise brush marks. Following these steps manually will produce a clean, professional look for your reverse canvas sign once reassembled and embellished.
Designing and Transferring Artwork Without a Cutting Machine
Transferring a design to canvas without a vinyl cutter is possible using manual methods like tracing, stenciling, or hand lettering. Each technique suits different skill levels and tools while allowing you to personalize your reverse canvas sign. These options help you apply clear and precise artwork with simple supplies.
Using Transfer Paper for Design Tracing
Transfer paper lets you copy printed or hand-drawn designs onto your canvas easily. It works by placing the paper between the canvas and your original artwork, transferring the lines when you trace over them with a pen or pencil. This method is helpful for reproducing detailed designs or fonts accurately. Follow these steps to transfer your design using transfer paper:
- Print or draw your design to the size of the canvas panel.
- Place a sheet of transfer paper on the canvas with the chalky or waxy side down.
- Position your printed design on top, centering it and securing all layers with masking tape at the corners to prevent shifting.
- Trace over the design lines firmly with a pencil or ballpoint pen, making sure to apply enough pressure for the transfer.
- Remove the printed design and transfer paper carefully.
- Check your canvas for clear outlines and touch up any faint spots with a permanent marker or pencil.
Use masking tape to keep your design and transfer paper stable; shifting can smudge or misalign the transfer.
Creating and Using Simple Stencils
Stencils are an effective way to paint consistent shapes or letters on canvas without freehand skills. You can create stencils by printing your design, then cutting out the positive parts with a craft knife. This leaves spaces where paint will go, producing a clean and crisp result.
After cutting the stencil, secure it on your canvas with painter’s tape before applying paint lightly with a foam brush, sponge, or stencil brush. Avoid heavy coats, which can cause bleeding under the stencil edges.
Using stencils typically takes 30 to 60 minutes, including cutting and painting, depending on design complexity. Stencils cost little to make: printer paper (under $0.10 per sheet) and a utility blade or craft knife (around $5 to $10).
Tips for Hand Lettering and Painting
Hand lettering adds character and uniqueness to your reverse canvas sign. Start by sketching your letters lightly with a pencil. If you want guides, print your text in your chosen font and size, then place tracing paper over it to copy the outlines. Transfer the letters onto the canvas following the transfer paper steps or freehand directly.
Use quality acrylic paint for crisp edges and fast drying times, or paint pens for smaller details and touch-ups. Paint in thin layers, letting each dry for 10 to 15 minutes before layering again. Practice on scrap canvas to get a feel for brush pressure and stroke consistency.
A steady hand and patience improve hand lettering; take breaks or switch hands for better control and less fatigue.
Reassembling the Canvas to the Frame and Trimming Excess
Stretching the canvas evenly while reattaching it to the wooden frame is key to a smooth, wrinkle-free finish. The goal is to pull the canvas taut enough that it resembles a drum surface without overstretching, which can distort the design or cause the staples to pull loose. Stapling in an alternating pattern across opposite sides helps distribute tension evenly and reduces lumps and creases. Leaving about one to two inches of canvas outside the frame gives enough material to fold over the edges and staple securely.
- Place the frame face down on a flat surface with the back side facing up to access the edges where the canvas will attach.
- Center the canvas over the frame, making sure there’s an even overlap of about 1.5 to 2 inches on all sides for folding and stapling.
- Pull the canvas taut on one side and place a staple in the middle of that side’s edge, anchoring the canvas to the frame.
- Move to the opposite side of the frame, pull the canvas evenly tight, and add a staple in the center there. This alternating pattern balances tension across the canvas.
- Add staples midway between the first two staples on each side, continuing to alternate sides and maintaining even tension with each staple. Avoid stapling too closely to the corners at first.
- Stretch and fold the corners neatly, folding in any excess fabric to avoid bulky overlaps, then staple firmly in place. Corners require gentle folding to keep the surface flat.
- Inspect the canvas for wrinkles or loose spots and add additional staples if needed to smooth these areas while maintaining even tension.
- Trim the excess canvas using sharp fabric scissors or an X-ACTO knife, cutting about 0.25 to 0.5 inches from the staples on all sides. This helps prevent fraying and gives a clean, finished edge without cutting too close to the staples.
Working slowly and checking after each staple avoids puckering or overstretching, which can weaken the canvas or distort the design. Standing the frame upright as you trim allows gravity to help keep the canvas taut. The final look should have smooth, tight surfaces with clean edges just inside the frame’s perimeter. Be cautious not to cut the canvas too close to the staples, which risks tearing. Leaving a small margin of fabric inside the staple line balances durability and neatness in your reverse canvas sign.
Finishing Touches: Adding Embellishments and Protective Coatings
Adding embellishments to your reverse canvas sign can improve its look and give it a personal touch. Common options include attaching wooden cutouts, metal letters, or fabric flowers to the wooden frame or glued directly onto the canvas area. Use strong craft glue or a hot glue gun for these pieces to ensure they stay put. You might also paint subtle details like dots or borders around your design to add depth. Choose embellishments that complement your artwork and home decor style without overcrowding the sign.
Distressing the wood or canvas creates a vintage, rustic vibe that suits many reverse canvas designs. To distress wood, lightly sand corners and edges using 220-grit sandpaper until the bare wood shows through the paint or stain in places. Avoid oversanding or using coarse paper, as this can damage the frame. For fabric distressing, gently rub the canvas with a fine steel wool pad or sand it unevenly with very fine sandpaper. Test these methods on a scrap canvas first to prevent accidentally weakening the fabric.
Protecting your sign with a sealant is a key step to ensure it holds up over time. Acrylic spray sealants work well on painted canvas and wood, offering a durable, clear finish that prevents smudging and moisture damage. Apply in thin, even coats outdoors or in a well-ventilated area, holding the can 10 to 12 inches from the surface. Usually, two or three coats with 15-minute drying intervals work best. A brush-on clear polyurethane is another option that provides strong protection but requires careful application to avoid brush marks. Choose water-based polyurethane for easier cleanup and less odor.
For sealing fabric specifically, fabric stiffeners or clear fabric sprays keep the canvas taut and add durability without changing the look. They dry quickly, usually within an hour, and cost around $5 to $10 per bottle at craft stores. Avoid heavy varnishes on the canvas area, as they can make the material brittle and crack over time. When sealing wood, consider a wipe-on stain or natural oil instead of heavy paint, which can chip easily on frequently touched signs.
Overall, the finishing touches on your reverse canvas sign help it last and look polished. Spend time planning your embellishments so they improve rather than clutter the design. Use distressing sparingly for an aged look and test sealants on small spots to avoid surprises. With these steps, your handmade sign will be a charming and durable part of your home decor for years.
How to Hang and Care for Your Handmade Reverse Canvas Sign
To hang your reverse canvas sign safely, choosing the right hardware is key. Since these signs are often light, standard picture hangers or adhesive hooks rated for at least 5 pounds usually work well. For chunkier frames or larger signs, consider using D-ring hangers screwed into the wooden frame. These provide more secure support and reduce the risk of damage from the weight over time.
When hanging heavier frames, avoid nails alone, as they can loosen or damage the wood. Using wall anchors or picture hanging hooks designed to hold 10 pounds or more improves stability. Also, hang the sign on wall studs if possible to ensure firm support, especially for signs over 15 inches wide. Using a level confirms straight placement and distributes weight evenly.
Keeping your reverse canvas sign fresh and clean involves gentle care. Dust regularly with a soft cloth to prevent buildup without damaging the canvas or paint. Avoid harsh chemicals, mild soap and water or a damp microfiber cloth usually suffice for light cleaning. Allow the sign to air dry completely before rehanging to prevent moisture damage.
- Use adhesive hooks or picture hangers rated for at least 5 pounds for small signs
- Screw D-ring hangers into the wooden frame for larger or chunkier signs
- Use wall anchors or stud-mounted hooks for signs heavier than 5 pounds
- Check hanging hardware and screws periodically for looseness
- Dust sign with a microfiber cloth weekly to remove dirt
- Clean canvas gently with mild soap and water when needed, then air dry
- Store away from direct sunlight to prevent color fading and warping
Applying a protective clear coat during finishing can also help resist stains and moisture, preserving the sign’s appearance longer. Chipboard backing, often used in reverse canvas signs, helps keep the canvas flat and stable but avoid excessive pressure while cleaning to prevent dents or warping.
Never hang your sign by the canvas itself; always use the wooden frame or attached hardware to avoid stretching or tearing.
Step-by-Step Action Plan for Your Reverse Canvas Sign
Follow these steps to create your reverse canvas sign by hand successfully. Each phase ensures you stay on track and get a professional look.
- Before you start: Gather all your supplies and tools. Confirm you have a canvas, wooden frame, staples, pliers, scissors, paint, brushes, and transfer materials ready.
- Day 1: Remove the canvas from the wooden frame carefully using pliers. Check that the staples come out without tearing the canvas for a clean base.
- Day 2: Sand and paint the wooden frame by hand. Let the paint dry fully, and make sure the surface is smooth and evenly coated.
- Day 3: Transfer your design onto the back side of the canvas using chalk, pencil, or printing techniques. Verify the image is clear and positioned correctly.
- Day 4: Re-stretch and reattach the canvas to the frame with staples, pulling tight to avoid wrinkles. Inspect the canvas for tautness and no sagging areas.
- Day 5: Trim any excess canvas around the frame carefully. The edges should be neat and even, without fraying.
- Day 6: Add any decorative touches like paint details or embellishments. Let any coatings or sealants dry completely for protection.
- After 1 week: Mount your sign securely on the wall using appropriate hardware. Confirm it hangs level and safely supports the weight.
Frequently Asked Questions
Can You Use Any Size Canvas for a Reverse Canvas Sign?
Yes, you can use various canvas sizes, but 12″x16″ is common and easy to handle for beginners. Larger canvases may require more care when removing and reassembling.
Is It Necessary to Prime the Wooden Frame Before Painting?
Priming the wood improves paint adhesion and durability. Use a basic wood primer for best results, especially if the wood absorbs paint unevenly.
How Do You Avoid Wrinkles When Reattaching the Canvas?
Stretch the canvas evenly and pull taut without over-stretching to prevent wrinkles. Use a staple gun securely for a smooth finish.
Can You Paint Directly on the Canvas Before Reassembling?
Yes, you can paint your design on the canvas before attaching it, which allows more control over the artwork placement.
What Types of Paint Work Best for Reverse Canvas Signs?
Acrylic paints are best due to fast drying and vibrant colors. They adhere well to both canvas and wood surfaces.
How Long Should You Wait Before Sealing Your Finished Reverse Canvas Sign?
Wait at least 24 hours after painting for the paint to dry thoroughly before applying any protective coating.
Before You Go
Creating a reverse canvas sign by hand gives you a unique, handcrafted piece with control over every detail. Start by removing your canvas cleanly to set the foundation for a flawless frame and design. Your next step is to carefully transfer your artwork so it shines after reassembling. Taking one phase at a time guarantees you build confidence and avoid mistakes while crafting.