Layered Wood Sign Ideas: A Complete Guide to Design, Make, and Finish
Layered wood sign ideas offer a simple way to create eye-catching, dimensional decor for your home or gifts. By stacking precisely cut wood layers, you add depth and texture that make your message stand out. Starting with clear design plans and straightforward materials keeps the project affordable and manageable.
Key Takeaways
- Choose plywood and 1×2 boards for a sturdy, budget-friendly layered wood sign base.
- Design your sign to fit around 5×11 inches for easy handling and display.
- Use a laser cutter or Cricut Explore Air 2 for precise layer cuts that fit perfectly.
- Apply Mod Podge to adhere layers securely while maintaining a smooth finish.
- Stain or paint layers before assembly to give each dimension its own character.
- Allow 1-2 weeks for complex signs, factoring in design, cutting, and drying time.
What Is a Layered Wood Sign and How Does It Work?
A layered wood sign consists of two or more thin sheets of wood that are cut with specific designs or letters and then stacked on top of each other. This assembly creates a three-dimensional effect where parts of the sign appear raised or recessed, offering texture and depth. Typically, these signs measure about 5 by 11 inches, making them ideal for wall decoration or gifts that catch the eye without overwhelming the space.
The core of the 3D effect lies in precision cutting and layering different shapes or letters from plywood, often Baltic birch due to its smooth finish and sturdiness. Each layer is carefully measured and cut, usually with a laser cutter or fine saw, then arranged with a small gap or directly adhered so that the upper layers stand out against the base. For example, a farmhouse sign might use a solid background layer, an intermediate stencil of a design, and a top layer of lettering. This combination produces shadows and highlights that change as natural or artificial light hits the sign, boosting its visual interest.
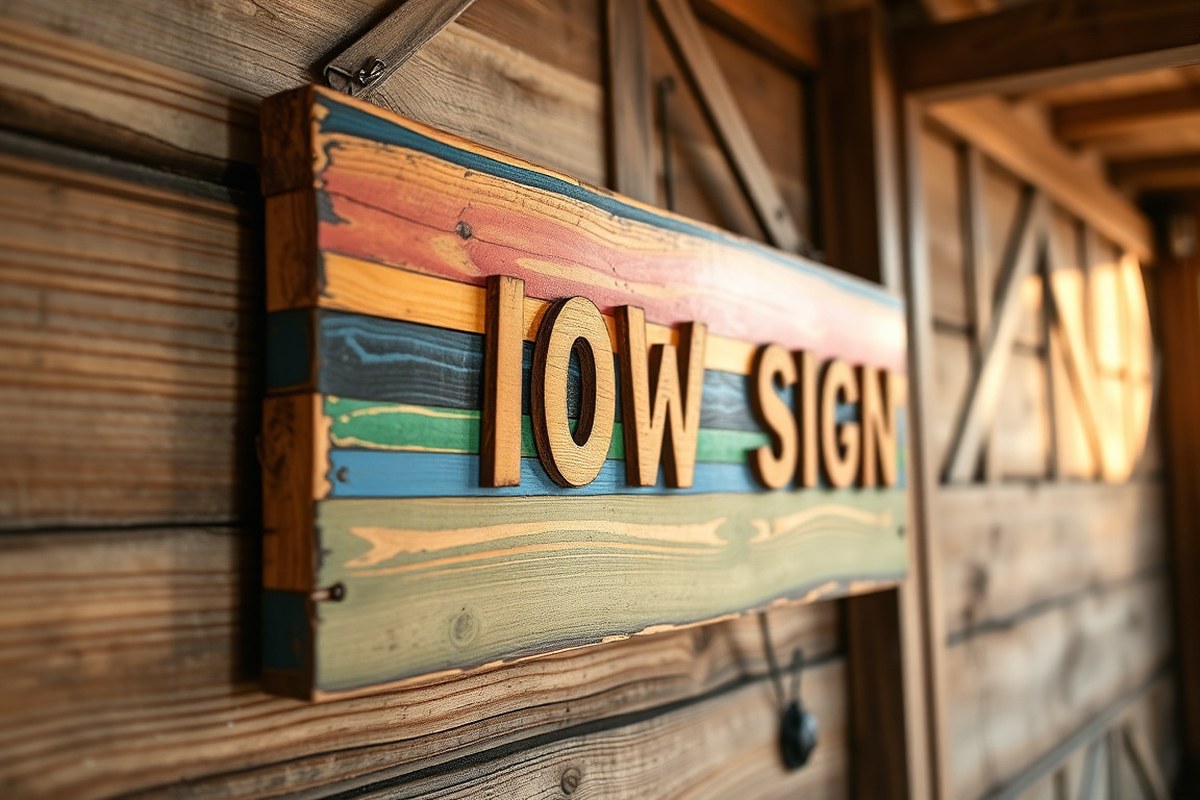
Layering wood rather than using a single flat piece adds dimension that transforms the sign from plain decor into a focal piece. You can highlight specific words or motifs by raising them above the background, making the message easier to read and more engaging. Single-layer signs tend to look flat and less dynamic. Layered signs give a handmade, crafted feel, improving rustic or farmhouse styles that are popular in home décor. This technique improves the overall aesthetic by adding handcrafted detail without complex techniques.
Building a layered wood sign involves cutting each piece to precise sizes, usually thin layers around ¼ inch thick, then stacking and gluing them with wood adhesive such as Mod Podge. The glue sets in about 20 to 30 minutes, while the entire project can usually be completed in a few hours depending on drying times for finishes. The cost for a basic layered sign is low, around $4 in materials including plywood, board for framing if desired, paint pens for color, and glue. The simplicity of the process makes it accessible for beginners while still offering room for creativity in design and color.
A simple illustration of the layering process would look like this: start with a flat rectangle of wood as a base layer. Next, add a layer of cutout shapes or words slightly smaller than the base. Finally, add a top layer of painted or stained lettering or additional shapes that stand out. Each layer adds thickness and creates shadows when light hits angled surfaces, producing the 3D effect.
Variations allow for two or three layers depending on the complexity of the design. More layers increase depth but also require more precise cutting and alignment. Some signs mix painted layers with natural wood finishes for contrasting textures. Common setbacks include misaligned layers or uneven glue spots, which can reduce the neatness of the final sign. Careful measurement, slow drying of glue, and sanding edges smooth out these issues to get a polished look.
Designing Your Layered Wood Sign: Tips and Templates
Designing a custom layered wood sign involves careful choices about fonts, shapes, layering order, and size scaling. The right design helps your sign stand out and fit perfectly in its intended space. Using design software to create templates and SVG files streamlines the process and allows you to scale your creation for different sizes easily.
Choosing the Right Fonts and Graphics
Select fonts that are clear and easy to read, especially when carved into wood. Sans-serif fonts or bold script styles work well for layered signs because they maintain visibility even with multiple layers. Keep decorative fonts minimal to avoid losing clarity at smaller sizes. Simple graphics or icons that complement the text can add visual interest without overwhelming your design. Choose shapes that fit the style of your space, such as rustic farm-style signs or modern geometric forms.
Use contrasting elements between layers to make each stand out. For example, a dark base layer with a lighter top layer highlights the raised parts. Also, consider the thickness of your wood layers; avoid very thin details that can break during cutting or assembly.
Creating Layered Templates in Design Software
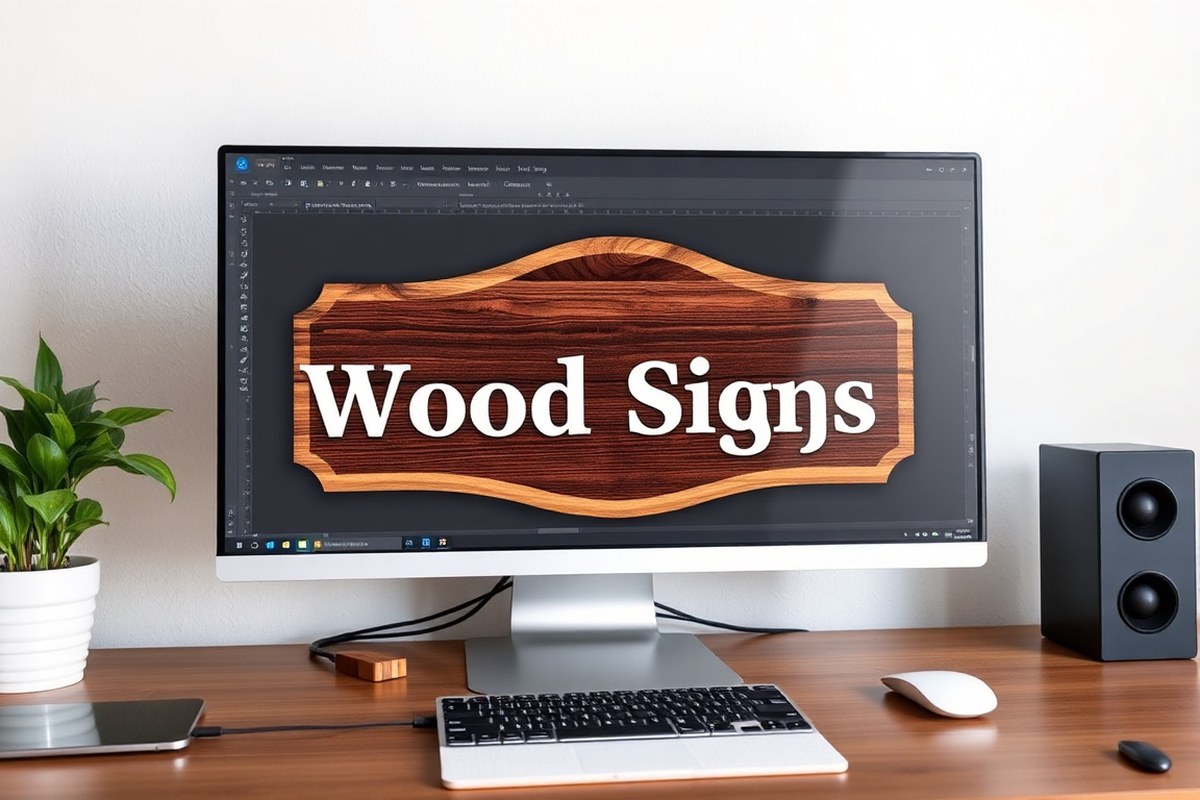
Use design programs like Cricut Design Space, Adobe Illustrator, or free options such as Inkscape to make your layered wood sign templates. These tools allow you to create SVG files that laser cutters or CNC machines can read. Start by designing each layer separately, then position them in order to check alignment and spacing.
Create separate vector files for each sign layer, ensuring paths don’t overlap unless intended for joining pieces. This organization makes it easier to cut or carve each piece accurately. Many online resources offer free or inexpensive SVG templates designed for layering, which you can customize to include your fonts and shapes.
- Choose your sign’s overall dimensions based on where it will hang or be displayed.
- Design the base layer first; this usually includes the largest or background shape.
- Add the middle layers with supporting graphics or text details.
- Create the top layer containing the primary message or focal points.
- Save each layer as a separate SVG file for precise cutting.
- Use the software’s preview feature to check how the layers stack together.
- Adjust spacing or overlap to ensure proper visual separation and structural integrity.
Test your design at full scale in the software’s preview before cutting to avoid sizing issues that are hard to fix physically.
Scaling and Sizing Your Design Correctly
Proper scaling ensures your layered wood sign fits its intended space and maintains legibility. Measure your available wall or surface area accurately and decide on sign height and width. Use your design software’s scale tools to resize your template proportionally. Some programs allow you to lock aspect ratios to prevent distortion.
When scaling, remember thickness changes don’t always scale evenly; maintain enough depth in each layer for stability. Signs smaller than 8 inches high should have bolder text and simplified graphics to stay readable. For larger signs over 18 inches, you can add more detail but must check the weight of combined layers for mounting safety.
- Measure the wall or placement area for the sign.
- Input these dimensions into your design software as a guide.
- Import or create your layered design within these boundaries.
- Use the scale function to adjust size proportionally.
- Lock aspect ratio to keep the design balanced.
- Double-check text size and graphic clarity at the new scale.
- Export the resized SVG files for cutting or printing.
Don’t scale unevenly; stretched designs may not cut properly and can result in fragile or distorted wood layers.
Materials and Tools Needed for Layered Wood Signs
Choosing the right materials and tools for your layered wood signs makes a difference in the quality and ease of your crafting. The type of wood, adhesive, cutting tools, and finishing products all influence how your project turns out, how long it lasts, and how safe it is to make.
For wood, popular options include pine, birch plywood, cedar, and repurposed or scrap wood. Pine is affordable and widely available, making it great for beginners or projects on a budget. Birch plywood offers a smooth surface that works nicely with paint and laser cutting but costs more. Cedar adds a natural rustic look and resists weather, suitable for both indoor and outdoor signs. Scrap wood and wood shims provide a charming, textured effect but may require extra sanding or prep.
Adhesives must bond wood layers firmly without damaging finishes. Wood glue provides strong, durable bonds but takes 20-30 minutes to set and 24 hours to cure fully. Double-sided tape can be quicker for lightweight layers but lacks long-term durability outdoors. For more complicated designs, hot glue works but can peel under stress.
Cutting tools depend on your experience and equipment availability. Laser cutters like the GlowForge, which uses a 20W laser, can etch detailed designs and cut precise shapes, ideal for advanced projects but typically costly ($2,000+). Jigsaws handle curves and straight cuts for larger slabs and are affordable (around $50-$100). CNC routers offer precision and repeatability but require programming skills and investment. Basic saws and utility knives can also work for trimming scrap wood components.
Finishing materials include stains, paints, and clear coats. Water-based stains dry in 1-2 hours and have low odor, while oil-based stains take up to 24 hours but penetrate deeper. Clear polyurethane topcoats protect your sign from moisture and UV damage when applied in 2-3 thin layers, each drying 4 hours. A matte or satin finish avoids glare and suits rustic layered looks.
| Material/Tool | Pros | Cons | Cost Range |
|---|---|---|---|
| Pine Wood | Affordable, easy to paint, widely available | Soft, dents easily, less durable outdoors | $5-$10 per 8’x4′ sheet |
| Birch Plywood | Smooth surface, good for laser cutting and painting | More expensive, sensitive to moisture | $20-$40 per 4’x8′ sheet |
| Cedar Wood | Weather-resistant, natural look | More costly, can be soft | $15-$35 per 4’x8′ sheet |
| Wood Glue | Strong, durable bonds | Long drying time (24 hours to cure) | $5-$10 per bottle |
| Double-Sided Tape | Instant bond, easy to use | Less durable, not for outdoors | $3-$7 per roll |
| Laser Cutter (e.g., GlowForge) | High precision, detailed cuts | Expensive, learning curve | $2,000+ |
| Jigsaw | Affordable, versatile cuts | Less precision than laser or CNC | $50-$100 |
Beyond these materials, safety gear is essential. You should wear safety goggles to protect your eyes during cutting and sanding. A dust mask or respirator prevents inhaling wood dust, especially when cutting or sanding hardwoods or plywood. Gloves protect your hands from splinters and sharp tools, while ear protection reduces noise exposure with power saws and laser cutters.
To assemble your layered wood sign, cut each piece carefully using your chosen tool. After sanding any rough edges, apply wood glue between layers or secure with double-sided tape based on weight and usage. Allow glue to cure fully before staining or painting. Finally, seal the sign with an appropriate clear finish to keep its look vibrant and durable for years.
- Wood: Pine, birch plywood, cedar, scrap wood
- Adhesives: Wood glue, double-sided tape, hot glue
- Cutting tools: Laser cutter, jigsaw, CNC router, basic saws
- Finishing: Water or oil-based stains, clear polyurethane
- Safety gear: Goggles, dust mask, gloves, ear protection
Cutting and Crafting Techniques for Layered Wood Signs
Choosing the right cutting method and mastering layering techniques are key for crafting clean, professional-looking layered wood signs. You can use laser cutting for detailed precision, hand tools for a hands-on approach, or CNC machines for repeatable accuracy. Proper alignment during assembly ensures each layer fits perfectly to bring out the design’s depth and texture.
Laser Cutting vs. Hand Cutting Methods
Laser cutting uses a focused beam to burn through wood precisely, producing clean edges without raised grain or splintering. It works best for fine details and intricate patterns, such as the six-layer ornate frames seen in decorative home signs. While laser cutters like the xTool M1 cost a few hundred dollars and often require digital design files, they speed up production and enable uniform results, especially on plywood or thin hardwood pieces.
Hand cutting with saws, scroll saws, or carving tools requires more skill and time but offers creative freedom and flexibility on thicker wood types. This method is ideal for hobbyists who enjoy a tactile process and want to customize cuts without expensive machines. However, it’s easier to get rough edges or uneven lines without steady technique. Sanding afterwards can smooth imperfections but takes extra effort.
CNC routers combine computer control with a rotating cutting bit, allowing precision cuts on thicker wood layers that laser light cannot easily penetrate. CNC setups generally require more investment, starting around $1,000 and up, but they automate complex shapes with accuracy. They excel for repeated patterns with depth because they physically remove wood rather than burning it, minimizing heat damage.
Aligning and Assembling Multiple Wood Layers
Accurate alignment is important to make a layered wood sign visually appealing and structurally sound. Start by numbering each layer and lightly sanding edges for a flush fit. Use spacer blocks or small square corners as guides while stacking to keep layers from shifting.
Apply wood glue evenly on each layer before stacking, then press firmly to avoid gaps. Some crafters use clamps or weighted objects to hold the assembly in place for 30 minutes to an hour until the glue cures enough to support the pieces. Check for any visible misalignments at this stage and adjust carefully before drying starts.
For exact positioning, dry-fit the layers with painter’s tape or rubber bands first, then transfer to glue. You can add small brads or finish nails through pre-drilled holes for extra security, especially on larger signs. Complete the assembly by filling nail holes with wood filler and sanding smooth for painting or staining.
Tips for Clean Cuts and Avoiding Wood Damage
Sharp tools and the right blade type help prevent tear-out and splintering on wood edges. Use a fine-tooth blade when cutting thin plywood or softwoods, and a carbide-tooth blade for hardwoods. For hand cutting, keep saw blades clean and replace worn blades to maintain smooth cutting action.
For laser cutting, maintain a clean lens and optimal focus settings recommended by your machine’s manual to avoid burn marks. Use masking tape on wood surfaces before cutting to reduce charring around edges and peel it off immediately after cutting. Work in a well-ventilated area to manage smoke and fumes.
Take your time cutting, especially on detailed areas. Slow, steady feeds produce cleaner cuts than rushing through wood. Between layers, sand edges lightly with fine-grit sandpaper (220 grit) to remove any rough spots but avoid over-sanding which alters layer thickness and can affect fit. Testing cuts on scrap wood similar in thickness can help refine speed and tool settings before working on your sign pieces.
Painting, Staining, and Finishing Layered Wood Signs
You can paint or stain your layered wood signs either before or after assembling the layers, depending on your design. Applying finish layers protects your project from wear, moisture, and fading. Following a careful step-by-step process ensures smooth color application and long-lasting results.
Painting vs. Staining: Choosing the Right Finish
Paint creates a solid, opaque layer of color, ideal for vibrant or graphic designs. Stain soaks into the wood, improving its natural grain with translucent color. Choose paint when you want bold patterns or multiple colors on separate layers. Pick stain to highlight wood texture or keep a rustic look.
When working on layered signs, paint or stain each piece individually for easy handling and precise coverage. Use high-quality acrylic craft paint for indoor signs or durable outdoor paint if the sign will face weather. Apply stain with a brush or cloth, wiping evenly to avoid blotches. Allow drying times of 1 to 2 hours between coats to prevent smudges or sticky surfaces.
Applying Protective Sealants for Longevity
Sealing your wooden sign keeps paint or stain intact, especially outdoors. Clear sealants prevent moisture damage, fading from sunlight, and surface scratches. Popular sealers include polyurethane, spar varnish, and clear acrylic spray. Polyurethane is best for indoor signs due to its hard finish, while spar varnish offers flexibility and UV protection for outdoor use.
Apply the sealant after paint or stain has fully dried, usually 24 hours. Use a soft brush or spray for even coats. Multiple thin layers, usually two to three, dry faster and reduce drips or wrinkles. Wait at least 4 hours between coats and lightly sand with fine-grit sandpaper before applying the next layer to improve adhesion.
- Sand each wood layer smoothly to 220 grit before finishing.
- Apply paint or stain to individual layers using a brush or cloth.
- Let paint or stain dry completely, about 1, 2 hours between coats; add additional coats as needed.
- Assemble the layers with glue or nails once dry.
- Apply the first coat of clear sealant evenly over the assembled sign.
- Allow sealant to dry for at least 4 hours, then lightly sand with 320-grit sandpaper.
- Repeat sealant application for a total of two to three coats.
- Let the sign cure for 24, 48 hours before hanging or handling extensively.
Always test your paint, stain, and sealer combination on scrap wood first to ensure compatibility and desired finish.
Preventing Common Paint and Wood Issues
Paint bleeding occurs when color seeps beyond its intended area, often due to uneven surfaces or unexpected wood grain absorption. Seal edges with painter’s tape or use fine-tip brushes for detailed work to avoid bleeding. Apply thin coats rather than thick layers to reduce dripping and wrinkles.
Wood warping happens when moisture creates uneven expansion, especially if the wood is left unfinished or painted too thickly on one side. Seal both sides of each wooden layer evenly to balance moisture absorption. Keep your sign in a temperature- and humidity-controlled space while drying to reduce warping risk.
Maintaining a clean, dust-free workspace also prevents imperfections in finish layers. Avoid over-brushing or brushing when the paint or stain starts to dry, which can cause streaking and uneven textures.
Common Mistakes and How to Fix Them in Layered Wood Signs
Misalignment in layered wood signs is one of the most common issues that beginners face. It happens when layers don’t line up perfectly, leading to a crooked or uneven final look. To fix this, carefully mark your layers with a pencil before gluing. Use clamps or weights to hold the layers firmly in place as the glue dries, which usually takes about 30 minutes with typical wood glues. For added precision, apply double-sided tape initially to position layers before committing with glue. Small misalignments can sometimes be sanded lightly along the edges for a smoother finish.
Paint bleed occurs when paint seeps under stencils or between layers, ruining sharp edges and details. Prevent this by sealing wood surfaces with a clear wood sealer or primer before painting. Use painter’s tape or specialized stencil spray adhesive to secure stencils tightly. Applying thin coats of acrylic paint prevents excess paint from pooling and bleeding; acrylic paint dries quickly, often within 15 to 30 minutes. When you see bleed after painting, gently scrape off the excess with a craft knife while the paint is dry, then touch up with a small brush.
- Misaligned layers: mark edges, use clamps, apply double-sided tape before gluing
- Paint bleed: seal wood, use stencil adhesive, apply thin paint coats
- Wood cracking: choose pine or smooth plywood, avoid sudden temperature changes
- Warping: store wood flat in stable humidity, seal all sides after painting
- Glue spots on visible areas: use a fine applicator and clean spills quickly
- Rough edges: sand between layers for a smooth look
Wood cracking and warping often result from changes in moisture and temperature, especially with unfinished or thin plywood. To avoid this, select stable wood like pine or smooth plywood, which handles paint and cuts well. Store your sign pieces flat in a room with stable humidity around 40-50%. Seal all sides of the wood with a clear coat or paint to lock in moisture evenly. When a crack appears, fill it with wood filler or putty, let it dry fully (generally 1 to 2 hours), then sand smooth before repainting. Warping can sometimes be corrected by gently clamping the wood flat while applying slight heat, but prevention works best.
In all cases, patience is key. Allow glue and paint to dry thoroughly between steps to keep layers crisp and well-bonded. Taking time to measure, seal, and sand along the way reduces mistakes and gives layered wood signs a professional finish that lasts.
Creative Layered Wood Sign Ideas and Style Inspirations
Popular layered wood sign designs often embrace rustic, farmhouse, or modern farmhouse styles. Think simple shapes like hearts, stars, or arrows layered with words like “Welcome,” “Family,” or “Gather” in contrasting wood tones. Seasonal décor ideas work well with pumpkins and leaves for fall, snowflakes and pine trees for winter, and flowers or suns for spring and summer. These themes make your sign feel relevant year-round and easy to update by swapping out the top layers or adding accent pieces.
Customizing these signs starts with picking a meaningful quote, family name, or monogram. Use a stencil or image transfer method to apply words or logos precisely across the layers. For example, a three-step process involves picking your wood base shape, cutting out layered accents, then transferring or painting your chosen lettering on the top layer. This personalization reflects your style and turns the sign into a one-of-a-kind piece. Personalized signs often require minimal extra time but add significant sentimental value, making them ideal gifts or keepsakes.
Holiday designs blend well with layered signs thanks to their 3D look. You can create understated Christmas signs featuring layered stars, wreaths, or trees with red and green accents. Easter signs may layer pastel-colored eggs or bunnies over a wooden backdrop. For Independence Day, stars and stripes in layered red, white, and blue add festive charm. Staying subtle with your paint colors ensures the signs suit both indoor and outdoor spaces, lasting through the season without overwhelming your décor.
Adapting layered wood signs to different rooms involves varying size and theme. Larger designs with bold, welcoming text suit entryways. Kitchen signs might layer cutlery silhouettes or coffee cups paired with fun quotes like “Gather here” or “Good food, good mood.” Bedrooms or nursery signs benefit from softer colors and personalized names or initials in script fonts for a cozy feel. Creating layers ¼ to ½ inch thick gives enough height to cast shadows and highlight textures but keeps the sign manageable for hanging.
Keep in mind the materials and tools’ costs when planning your design. Wood blanks can range from $5 to $20 depending on size and type, while paint and sealant add another $10 to $15. Simple image transfer kits average about $10, making the three-step customization affordable for hobbyists. Expect your layering and finishing process to take several hours across a few days, allowing paint and glue to dry properly. Signs that look blurry or the layers won’t adhere well often result from rushing these steps or using the wrong glues, so patience pays off.
Adding embellishments like wired ribbon, small LED lights, or seasonal greenery around the sign can further personalize and update your layered wood art. Experiment with different fonts, finish textures, or layer shapes to find your desired balance of rustic and modern. These creative touchpoints help your layered wood signs stand out as thoughtful, handmade decorations or gifts that your guests or loved ones will appreciate year-round.
Safety Tips and Best Practices for Layered Wood Sign Making
Working safely with wood, tools, and paints is key to enjoying your layered wood sign project without injury or damage. Start each session by gathering the right safety gear to protect yourself from sharp objects, fumes, and dust. Essential equipment includes safety goggles to shield your eyes, a dust mask or respirator rated for woodworking to avoid inhaling fine particles and paint fumes, ear protection if you use power tools, and gloves to guard your hands. Wearing closed-toe shoes and long sleeves adds extra protection.
Power tools and laser cutters demand particular care. Before turning on any equipment, inspect it for damage or loose parts. Secure your workpiece firmly to prevent shifting. Follow these steps for safe tool usage:
- Read and understand the manufacturer’s instructions and warnings for each tool.
- Keep fingers and loose clothing clear of moving parts.
- Use push sticks or guides to keep hands away from blades when cutting.
- Work in a well-lit area free of distractions.
- Turn off and unplug tools before changing blades or making adjustments.
Laser cutters like the xTool M1 and S1 offer precision but require proper ventilation since the burning wood releases smoke and fumes. Always operate them in a ventilated room or near an exhaust system to clear airborne particles. Never leave a laser cutter unattended, and have a fire extinguisher ready as a precaution.
Never skip securing your wood piece before cutting; a slipping board can cause serious injuries or ruin your work.
Painting and finishing layered wood signs introduces chemical hazards. Use water-based paints when possible as they emit fewer harmful fumes. Open windows or use fans to circulate air when painting indoors. Apply paints and stains in thin, even coats to speed drying and reduce dangerous buildup. Allow at least 24 hours of drying time in a dust-free environment between coats. Dispose of rags soaked with oil-based finishes carefully to prevent spontaneous combustion. Follow product label directions and local disposal regulations to stay safe and environmentally responsible.
Using the correct safety procedures may add a few minutes or require investing in protective gear, typically around $20 to $50 total. This upfront effort prevents injuries, health issues, and costly mistakes, leaving you free to create your personalized layered wood signs confidently and comfortably.
Step-by-Step Action Plan for Creating Your Layered Wood Sign
Follow these steps to build your layered wood sign confidently and see your design come to life.
- Before you start: Choose a simple design and gather all materials and tools. You’ll know you’re ready when you have wood pieces, paint, brushes, a cutting tool, and safety gear on hand.
- Day 1: Sketch or print your design template to scale. Success means your template matches the size of your wood pieces and fits your intended display space.
- Day 2: Cut each wood layer carefully following the template, using proper safety measures. You’re done when all layers align correctly without warping.
- Day 3: Sand edges and surfaces smooth. Test by running your fingers over edges; they should feel even and splinter-free.
- Day 4: Apply paint or stain to each layer separately. You’ll know it worked when the color looks even and matches your design vision.
- Day 5: Let all painted layers dry completely, ideally 24 hours. Confirm dryness by touch, no tackiness or wet spots.
- Day 6: Assemble layers with wood glue or small nails. Your sign is properly assembled when layers hold firmly together with no gaps.
- Day 7: Apply a clear protective finish if desired. Finished means your sign has a sealed surface that resists moisture and wear.
Frequently Asked Questions
What Size Is a Typical Layered Wood Sign?
A typical layered wood sign measures about 5 by 11 inches. This size is easy to handle and fits well in many home decor spaces.
How Much Do Materials for a Layered Wood Sign Usually Cost?
Materials for a layered wood sign cost around $4 on average. Plywood, wood boards, and basic supplies keep the project affordable.
Can I Use Laser Cutting for Layered Wood Signs?
Yes, laser cutting is great for detailed layered wood signs. It allows precise edges and intricate designs with professional results.
Are Layered Wood Signs Good for Gifts?
Layered wood signs make excellent personalized gifts. Their rustic, handmade feel suits various occasions and tastes.
What Paint Is Best for Finishing a Layered Wood Sign?
Acrylic paint pens, like Tooli-Art, work well on layered wood signs. They offer vibrant colors and clean application on wood surfaces.
Do Layered Wood Sign Projects Require Special Tools?
Basic woodworking tools are enough for layered wood signs. A saw, sandpaper, clamps, and paintbrushes typically cover the needs.
Wrapping Up
Layered wood signs offer a rewarding way to personalize your home or create meaningful gifts. Taking one step at a time ensures your project turns out just right. Start today with a simple design and see how each careful action transforms wood into art you can proudly display.