Kitchen Sign Ideas: A Complete Guide with Styles, Materials & DIY Tips
Kitchen sign ideas can instantly add personality and function to your cooking space without overwhelming your decor. Choosing signs in styles like farmhouse, funny, or personalized can improve your kitchen’s mood while fitting your space and taste. Start by measuring your wall space so you pick a sign with the right size and style that complements your kitchen’s layout.
Key Takeaways
- Pick a sign size based on location; 12 to 24 inches wide works well above stoves or dining tables.
- Use wood for a warm farmhouse look, metal for modern style, or vinyl for easy, customizable signs.
- Add functional signs like pantry labels or conversion charts to blend décor with utility.
- Choose designs that fit your kitchen theme: vintage farmhouse, minimalist, or coffee-bar chic.
- Gather all materials before starting; cutting and prepping wood takes about 30 minutes.
- Allow at least 1 hour to add lettering, paint, or decorations for a polished sign finish.
What Are Kitchen Signs and Their Purpose?
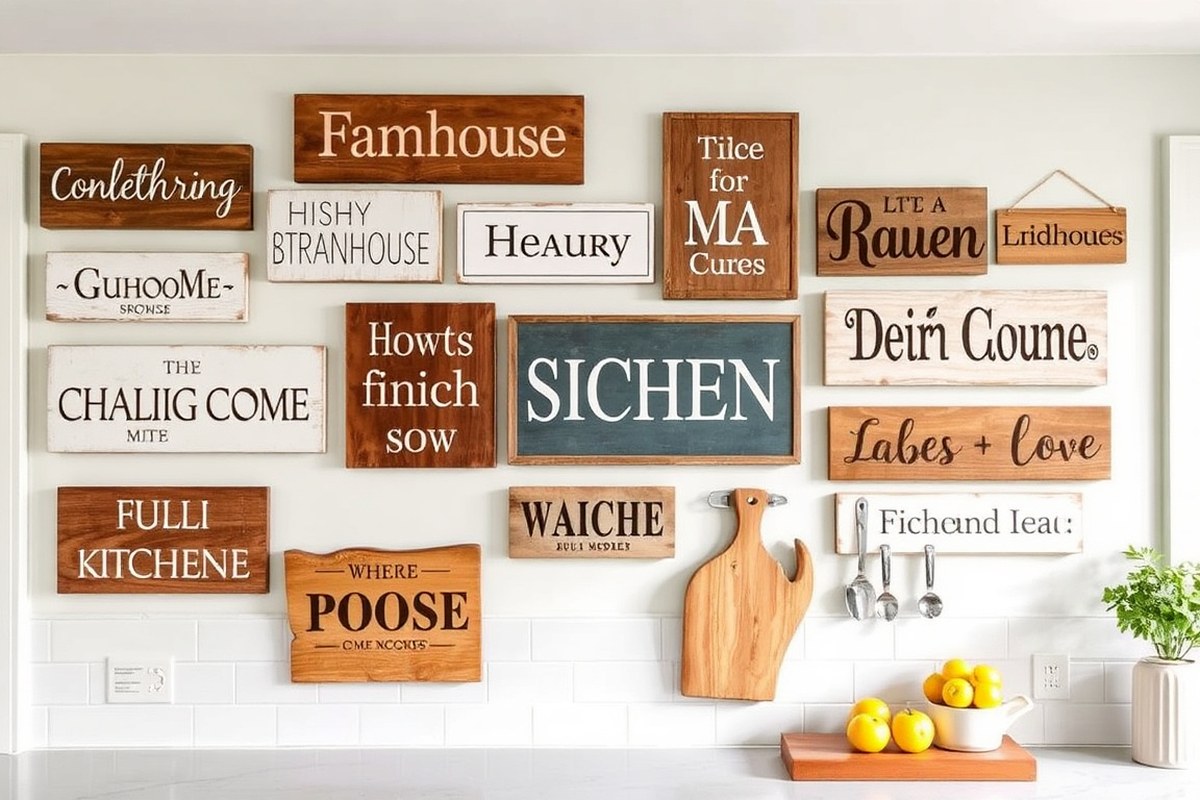
A kitchen sign is a decorative or functional piece displayed in a cooking space that often features words, phrases, or images related to food, cooking, or the kitchen itself. These signs range from humorous quotes and heartfelt sayings to practical information like measurement conversions or labels for coffee bars and pantries. Typically, kitchen signs are around 11 by 14 inches in size when framed, making them versatile additions that don’t overwhelm your walls but still catch the eye.
Adding kitchen signs to your space serves both decorative and functional purposes. Decoratively, they bring personality into your kitchen without requiring costly renovations or changes to cabinetry and layout. Functional signs like conversion charts or labeled zones help organize the kitchen and speed up cooking tasks by providing quick reference points. For example, a sign listing common cooking temperature conversions can save time and reduce errors, especially when handling recipes from different countries.
Kitchen signs influence the atmosphere by setting a tone that fits your style or cooking philosophy. A farmhouse-inspired sign with elegant script could create an inviting, warm environment encouraging from-scratch cooking and family gatherings. On the other hand, signs with funny sayings or playful quotes add a lighthearted vibe, making the kitchen a fun place to spend time. The colors and fonts you choose also affect mood, bright, colorful letters grab attention and energize the space, while neutral or pastel shades provide a calming backdrop.
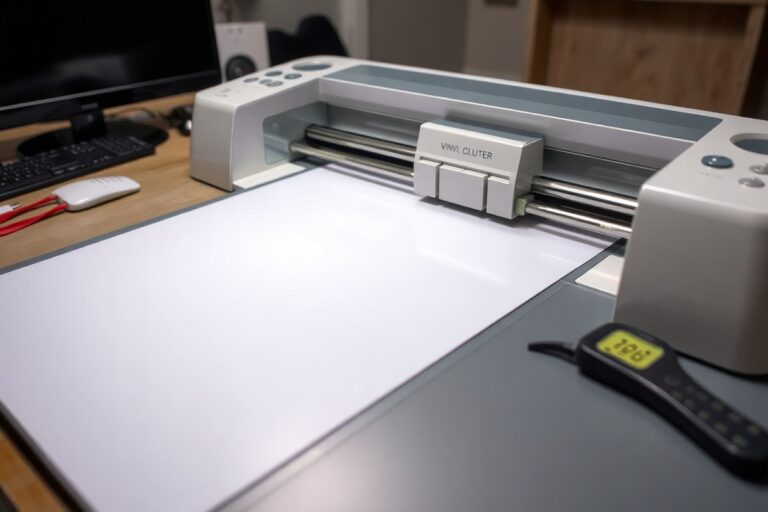
Creating or choosing kitchen signs involves considering your kitchen’s overall decor and how much personality you want to add. To add a personal touch, you can make your own signs using free kitchen sign SVG files available online, cutting designs with a Cricut or similar machine. Customized signs, like LED neon options, allow you to tailor messages and colors uniquely to your space and preferences. Pricing varies widely based on materials and customization, basic wooden or metal signs might cost between $20 and $50, while custom neon signs often start at $100 or more.
Good results come from placing signs where they can be easily seen but don’t clutter workspace areas. For example, a coffee bar label sign can hang above your brew station, clarifying the setup and adding charm. Avoid overcrowding walls with too many signs, which can create visual chaos rather than complementing your kitchen. Functional signs should feature legible fonts and clear layouts to ensure they serve their practical purpose efficiently.
Popular Kitchen Sign Styles and Which Fits Your Space
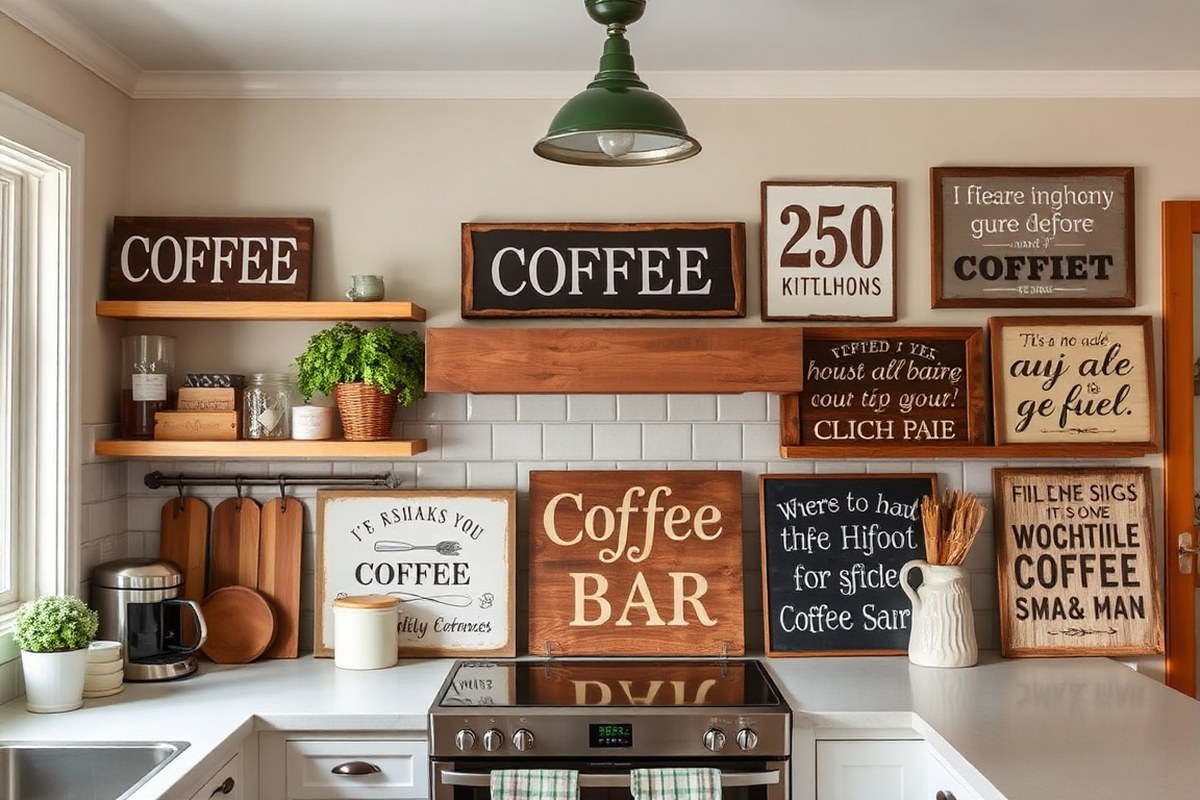
Kitchen signs come in several popular styles, each adding a unique charm and function to your space. Choosing the right style depends on your kitchen’s decor, the space available, and the mood you want to create. For small kitchens, compact, purpose-driven signs work best to keep the area feeling open and organized.
Farmhouse Style Signs
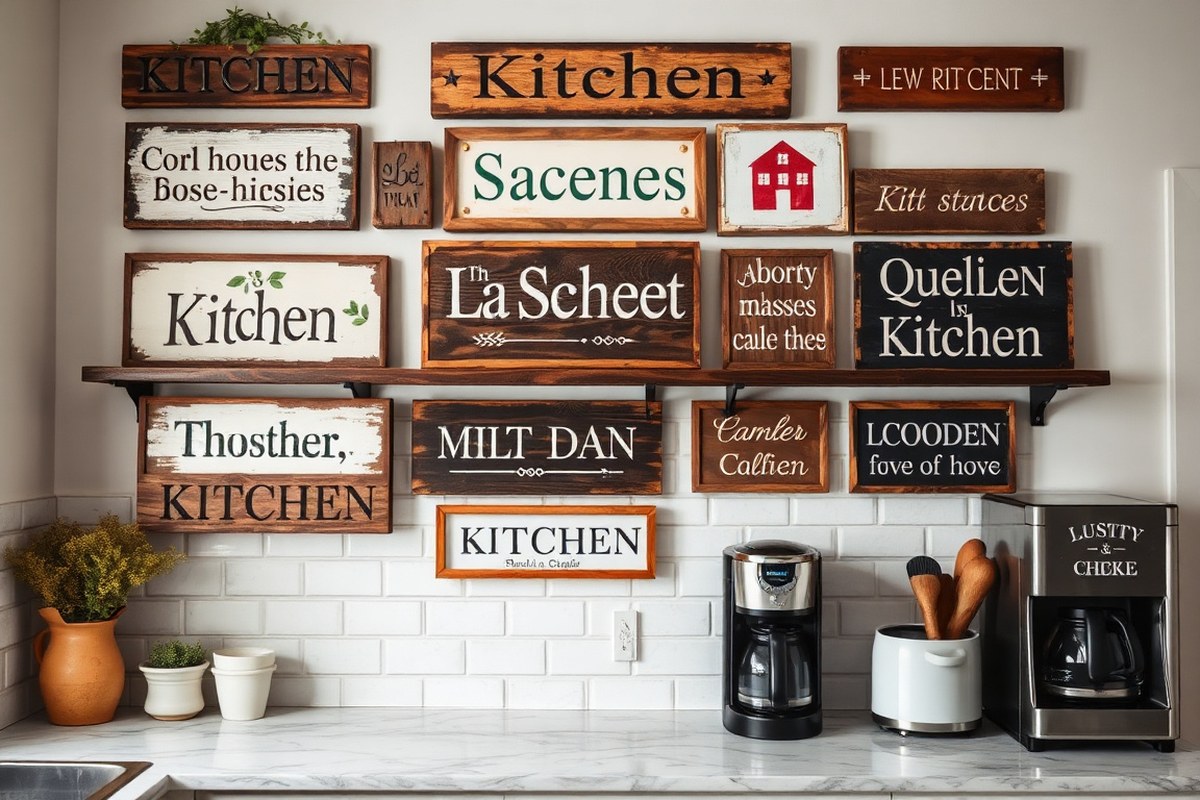
Farmhouse kitchen signs are known for their warm, rustic look, often featuring weathered wood and classic serif fonts. These signs fit perfectly in kitchens decorated with reclaimed wood, shiplap walls, or vintage accents. Their timeless appeal creates a cozy atmosphere, making the kitchen feel inviting.
To choose a farmhouse sign, look for handcrafted wooden boards with muted paint colors or distressed finishes. Popular options include dairy-themed signs, mason-jar motifs, and farmers-market styles that complement storage baskets or canning jars. Adding a galvanized metal sign adds a modern, industrial twist without losing rustic charm.
You can easily place a farmhouse sign in a small kitchen by selecting slim, vertical pieces like a tall welcome sign or a coffee-themed sign with a shiplap background. These don’t take up counter space but add character to walls or entryways.
Coffee Bar and Beverage Themed Signs
Coffee bar signs define a specific kitchen area, making the space feel personalized and purposeful. Often featuring flowing script lettering and lighthearted sayings, these signs suit any coffee lover’s nook, even in compact kitchens.
Look for signs that mix fun with function, such as a custom family name sign combined with cleaning reminders. Light-up neon signs or small metal plaques can improve a coffee station, creating a clear visual identity without bulk.
For small kitchens, a dedicated coffee bar sign works well because it gives a distinct spot to your coffee supplies while adding decor. Consider placing the sign above the coffee machine or on a narrow wall near your beverage containers.
Funny and Humorous Kitchen Signs
Adding humor through kitchen signs can lighten the room and reflect your personality. Clever quotes or playful phrases fit well in modern, minimalist, or eclectic kitchens. These signs usually feature bold fonts or informal script lettering for a casual vibe.
Choose a size that fits your wall space without overwhelming the kitchen. Small plaque-style signs or lean-back frame signs work particularly well in limited spaces. The style blends easily with most decors and can be rotated seasonally or based on your mood. Humorous signs also invite conversation and make a kitchen feel welcoming to guests, balancing function with fun.
Pantry and Functional Kitchen Signs
Pantry signs offer both decoration and clear organization. They typically use straightforward fonts and often replicate a vintage market or bakery storefront style. These signs add charm and guide kitchen use, particularly in open or walk-in pantries.
For small kitchens, opt for wall-mounted signs that label pantry sections or list kitchen rules without taking up counter space. Using a narrow wood plank or metal plate can create a sleek, practical look, blending well into any kitchen style.
Functional signs can also be made on a budget by DIYing with stencils on plain boards, sealed to resist spills and steam. Keeping the sign simple helps it serve its purpose without cluttering the space.
Personalized and Custom Name Signs
Custom kitchen signs add a personal touch that turns a generic kitchen into a unique family space. Names, phrases, or family mottos in elegant fonts express pride and create warmth. These signs can be crafted from metal, wood, or even neon lighting.
Choosing personalized signs helps match your kitchen style exactly. Rustic names work well with farmhouse decor, while sleek metal or neon signs suit modern or urban kitchens. For small kitchens, consider compact designs or vertical placements to save room.
Before buying or making a personalized sign, mock up your design in a room-planning tool. This helps you see how size, color, and font choices fit your kitchen’s layout and fixtures.
- Farmhouse signs: distressed wood, serif fonts, dairy or market themes
- Coffee bar signs: script fonts, family names, lighthearted messages
- Humorous signs: playful quotes, casual script, bold fonts
- Pantry signs: functional labeling, vintage bakery or market style, simple fonts
- Personalized signs: names or mottos, metal or wood materials, varied fonts
- Small kitchens: favor vertical, slim, or compact designs
- Visualize with digital room planners before committing
Make sure to seal wooden signs with a clear sealant to protect against kitchen moisture and spills for longer-lasting decor.
Materials for Kitchen Signs: Wood, Metal, Vinyl, and More
Wood is the top choice for kitchen signs because it offers warmth and versatility. It’s affordable and easy to work with for DIY projects. You can engrave or cut wood using tools like a Cricut Maker, which handles wood, vinyl, and fabric smoothly. Wood works well with farmhouse styles thanks to its natural, rustic look and can be stained or painted to match your kitchen colors.
Metal signs give kitchens an industrial feel and stand out with bold designs. They tend to be more durable against humidity and kitchen messes but may require stronger mounting hardware. Metal suits modern kitchens with clean lines or industrial decor. However, metal signs usually cost more and can be less forgiving in DIY attempts due to heavier materials and tools needed.
Vinyl signs are popular for easy application and customization. They stick to smooth surfaces like painted wood, glass, or metal and are ideal for adding a quick, clean graphic or phrase. Vinyl is excellent for renters or temporary decor since it can be removed with minimal damage. This material is the easiest to use in DIY projects with a cutting machine like a Cricut, requiring no heavy tools. However, vinyl won’t last as long in humid or greasy kitchen conditions without protective layering.
Ceramic tile signs offer a polished, classic finish that fits well in polished or Mediterranean style kitchens. The tiles are durable and easy to clean but heavier and more fragile during handling than wood or metal. These require mounting with adhesive or grout, making DIY more complex.
| Material | Best Look | Durability in Kitchen | DIY Friendliness | Typical Cost | Mounting Tips |
|---|---|---|---|---|---|
| Wood | Farmhouse, rustic | Good; can be sealed for moisture | High; cuts and engraves easily | $10, $30 for small signs | Twine, nails, or hooks |
| Metal | Industrial, modern | Very durable; withstands humidity | Medium; requires tools and strength | $20, $50 for medium signs | Metal hooks, screws |
| Vinyl | Modern, minimalist | Low to medium; needs sealant | Very high; easy to cut and apply | $5, $15 per sheet | Peel and stick; magnetic strips |
| Ceramic tile | Polished, classic | High; water and stain resistant | Low; heavy and fragile | $15, $40 per tile | Adhesive or grout |
Choosing the right kitchen sign depends on your style and how much wear it will get. Wood signs can be sealed with polyurethane to resist humidity, which is helpful near sinks or coffee stations. Metal signs handle grease and steam better but need sturdy mounting. Vinyl signs make great temporary options or layered on wood for a custom look. Ceramic tiles require cautious mounting but offer an elegant surface that cleans easily.
How to Design Kitchen Signs That Match Your Decor
Choosing the right font for your kitchen sign starts with considering the overall style of your kitchen. Classic fonts like Times New Roman and Courier New work well if your kitchen has traditional or farmhouse elements. For a modern or minimalist kitchen, select sleek, sans-serif fonts that offer clean lines and simplicity. Avoid overly intricate fonts, as they can be hard to read from a distance. The font should be clear enough to read at a glance, especially if the sign is meant to deliver a message or recipe inspiration.
Selecting colors depends heavily on your kitchen’s current palette. For a cheerful, vibrant kitchen, pick bright colors that can complement or contrast your existing walls or cabinets. For example, if your kitchen has white cabinets, consider bold reds or blues for the sign. Neutral tones such as subtle grays, black, or white work best for minimalist or industrial-style kitchens. Some craft suppliers offer paint in up to 42 different colors, giving you plenty of options to find just the right shade. Test paint samples on similar wood or material to check the finish and color match before starting your project.
The size of your kitchen sign should fit the specific wall or space where it will hang. Above stoves or ranges, a sign that is about 12 to 18 inches wide and 6 to 10 inches tall typically fits well without crowding the area or being too small to read. Above shelves or cabinets, consider wider signs between 24 and 36 inches so they balance with the surrounding hardware. For windows, thinner, vertically long signs can frame the window without blocking natural light. Measure your available space accurately and use painter’s tape to outline the sign size on the wall. It helps visualize how the finished piece will look before committing to materials.
Once you’ve picked your font, color, and size, sketch the design on paper or use a simple graphic tool to map out lettering placement and any decorative elements. Prepare your wood by sanding it smooth to avoid paint chipping later. Apply a primer before painting your chosen color to make the finish last longer and appear more vibrant. Painting can take a couple of hours per coat; allow at least two coats and drying time between each. After the paint dries, add lettering either by stenciling, using vinyl cutouts, or hand-painting with a fine brush.
The finish you apply affects not just appearance but durability. For kitchen signs exposed to steam or grease, use a clear sealant with a satin or semi-gloss finish to protect the paint and make cleaning easier. Matte finishes suit dry areas and minimalist styles but can show fingerprints and stains more quickly. Keep in mind that higher complexity in design and larger signs will increase costs; simple two-letter signs start near $61 but more detailed, larger pieces scale up from there.
Good results show a sign that feels like part of your kitchen’s personality without distracting or clashing with existing decor. Signs that are too large can overwhelm the space, while colors that clash make the sign stand out for the wrong reasons. Signs with fonts that are hard to read or designs that are too busy lose their message. A well-chosen sign complements your kitchen color, style, and size, making it a welcome visual and functional addition.
Step-by-Step Guide: Making Your Own Kitchen Sign
Creating a custom kitchen sign lets you use both your creativity and craftsmanship. The project duration varies, ranging from several hours up to two days depending on how long paints or finishes need to dry and how detailed your design is. Preparing the base, applying paint or stain, carefully painting or applying lettering, finishing with decorations, and sealing the sign helps achieve a polished, durable result.
Gathering Materials and Tools
Start by selecting the right materials that suit your kitchen’s style. Wood is the most common base, with dimensions like 11 x 14 inches fitting well in most kitchen spaces. You’ll need paints or stains in your chosen colors, brushes of various sizes, stencils or vinyl letters for clean text, sandpaper, and clear sealant. Optional decorative elements include metal letters, decals, or small embellishments. Gathering these ahead saves interruptions during the work.
Having the right tools improves the quality and speed of your project. A level helps position the sign straight on the wall later. Painter’s tape keeps edges tidy, and a foam brush prevents brush marks when sealing.
Preparing the Wood or Sign Surface
Proper preparation involves smoothing the wood and ensuring it’s clean before starting any paint or stain work. Light sanding removes rough patches and opens the wood grain for better paint or stain adhesion. After sanding, wipe the surface with a tack cloth or damp rag to clear dust.
For secondhand or thrifted wood, which often has character, sanding preserves texture while removing dirt and splinters. This step usually takes 15 to 30 minutes depending on the wood size and condition.
Applying Paint, Stain, and Lettering
Painting or staining sets the foundation of your kitchen sign’s look. Wood stain improve natural grain and offers over 250 color combinations when paired with text colors. Apply stain with a cloth or brush following wood grain, then let it dry for 2 to 4 hours. For paint, use a base coat, allow drying (at least an hour), then add layers for opacity.
Lettering is key to professional appeal. Use stencils or vinyl letters for crisp edges. Place them carefully with painter’s tape and paint gently with a small brush or sponge. Let each color dry before applying additional layers or hues. Hand-painted letters require slow, steady brush strokes and a fine-tipped brush.
Wait until paint or stain is completely dry before applying lettering or decorations to avoid smudging.
Adding Decorative Elements
Decorations add personality and can make your sign unique. Consider attaching 3D wooden letters stacked for dimension or simple decals reflecting your kitchen’s theme. Lightly dry brushing white paint over stained wood creates a weathered, rustic finish popular in country-style kitchens. Attach metal accents with small nails or strong adhesive for modern looks.
This step is flexible in time and complexity. Simple touches may take 10 to 20 minutes; layering multiple elements can require longer as you allow adhesives and paint to dry fully.
Sealing and Protecting the Finished Sign
Seal your sign with a clear acrylic or polyurethane finish to shield paint and wood from kitchen moisture and everyday wear. Use a foam or synthetic brush for an even coat and allow 2 to 4 hours to dry. Applying two thin layers spaced by 24 hours is best for durability. This protection improve longevity even if your kitchen has steam or occasional splashes.
Pay attention to ventilation when sealing indoors and follow label instructions on drying times and safe disposal. Once sealed, your sign is ready to hang and enjoy without worry of fading or damage.
- Sand the wood surface lightly and wipe clean.
- Apply paint or stain as the base coat and let dry completely.
- Position and affix stencils or vinyl letters carefully.
- Paint the letters using fine brushes and allow thorough drying.
- Add decorative elements securely and let all paint dry.
- Apply a thin first coat of clear sealant and wait 2, 4 hours.
- Apply a second sealant layer for added protection and wait 24 hours.
- Hang your finished kitchen sign in a suitable, dry spot.
Where to Buy Kitchen Signs and Typical Pricing Insights
Kitchen signs are widely available at home decor stores, specialty kitchen shops, and online marketplaces like Etsy, Amazon, and Wayfair. Local craft fairs and farmers markets often feature unique handmade options. Many big-box retailers also stock pre-made kitchen signs, though custom or personalized pieces usually require ordering online or through independent artisans. You can look for signs labeled specifically for the kitchen to find styles designed to fit cooking or dining spaces.
Prices for kitchen signs depend mainly on size, material, and design complexity. For a statement piece measuring around 12 to 24 inches wide, ideal for above a stove or dining table, expect to pay between $30 and $75 for mass-produced signs. Smaller pantry labels or shelf-sitter signs typically cost $10 to $25 each. Signs crafted from raw steel with rustic or weathered finishes generally run higher, often $50 to $120, because of the material and custom finishing.
Customization options include adding personal names, family sayings, or kitchen-themed labels like “Cafe,” “Bakery,” or “Pantry.” Many sellers offer engraved wooden signs or metal pieces with personalized text and graphics. Ordering a custom sign usually means providing your desired wording and choosing from font styles and finishes. For example, a wooden cutting-board style sign with an engraved humorous quote can be tailored to fit your kitchen’s personality. Custom orders add to the cost, typically increasing the price by 20% to 50%, depending on the level of detail and material used.
When placing a custom order, the process often involves selecting a size, common widths range from 8 inches for small labels to 24 inches or more for large wall signs, and submitting your text or design preferences through an online form. Production times vary but usually take one to three weeks. Shipping costs may also apply and vary by location. Keep in mind that signs designed for kitchens need to handle conditions like humidity and occasional grease, so materials like sealed wood or metal are the best choices to ensure durability.
Choosing a sign with the right size and theme can make a big difference in kitchen style and function. A bakery-style sign might set a warm tone near baking stations, while playful or humorous signs add personality to casual kitchens. If you want fresh ideas or free resources, some websites offer printable and SVG cut files of kitchen signs, letting you create your own designs at home with a Cricut or similar cutting machine. This option keeps costs low but requires crafting tools and skills.
Tips for Hanging, Displaying, and Caring for Kitchen Signs
Hanging kitchen signs securely starts with choosing the right hardware and location. For heavy signs, use wall anchors or toggle bolts to support the weight safely. Lightweight signs or delicate materials like thin wood or metal benefit from command strips or small nails to avoid damage. Always check the hanging instructions that come with the sign or verify the material type before selecting the hardware.
Position your kitchen sign where it can be easily seen but won’t interfere with daily kitchen activities. Placing signs at eye level, around 57 to 60 inches from the floor, ensures visibility for most adults. Popular spots include above the backsplash, near the pantry or cabinets, and on the inside of open shelves. Avoid placing signs too close to sinks, stovetops, or dishwashers to reduce exposure to moisture and heat.
Protecting wooden kitchen signs from steam and spills requires applying a clear, food-safe sealant or varnish. This coating creates a moisture barrier and allows for easy cleaning. Reapply the sealant every 1-2 years or as signs of wear appear, such as discoloration or peeling.
- Use wall anchors or toggle bolts for signs heavier than 5 pounds
- Apply command strips for signs under 2 pounds to avoid wall damage
- Hang signs at 57-60 inches height for optimal visibility
- Place signs away from direct heat sources and water splashes
- Seal wooden signs with a clear, food-safe varnish to protect against moisture
- Wipe signs gently with a damp cloth; avoid harsh chemicals
- Check and tighten hanging hardware annually to prevent falls
Signs hung properly will stay level and flush against the wall or cabinet surface, showing off the design clearly. Improper hanging can cause signs to tilt, fall, or damage walls and cabinetry. Wooden signs near steam or cooking grease can warp or stain if unprotected, so sealing them is essential. Regular care keeps your kitchen decor looking fresh and extends the life of your signs.
Common Mistakes When Choosing or Making Kitchen Signs and How to Avoid Them
Choosing or making a kitchen sign involves careful attention to size, material, font, installation, and finish. Mistakes in any of these areas can reduce a sign’s visual appeal or cause it to degrade quickly. Avoiding these errors requires selecting appropriate dimensions, using durable materials, ensuring legibility, installing securely, and applying protective coatings when needed.
Incorrect Size or Scale
Signs that are too large or too small disrupt your kitchen’s balance and draw unwanted attention. A sign that overwhelms a space can feel cluttered, while one that’s too tiny is easy to overlook. Measure your available wall space accurately before buying or making a sign.
Generally, choose a sign that fills about 20 to 30 percent of the wall area where it will hang. For example, a 24-inch-wide sign suits a small wall section about 4 feet wide, while a 12-inch sign works better on a narrow corner. To ensure visual harmony, compare your sign’s dimensions against nearby cabinet heights and appliances.
Poor Material Choice for Kitchen Environment
Kitchens expose signs to moisture, heat, and oily residues that many materials can’t withstand. Using cardboard or untreated wood causes warping or staining over time. Avoid materials that absorb humidity or don’t clean easily.
Wooden signs work well if properly sealed and offer a traditional feel, while matte vinyl signs provide moisture resistance with flexible sizing options. Metal signs resist wear but may need coatings to prevent rust near hot or humid spots. Choose durable materials matched to your kitchen’s conditions.
- Use sealed or painted wood to protect against splashes and steam
- Opt for matte vinyl for easy cleaning and vibrant graphics
- Select powder-coated metal for durability in humid kitchens
- Avoid porous materials like paper or untreated fabric
- Check for stains or discoloration resistance in product details
Choosing the right material prevents fading, peeling, or mildew buildup on your sign.
Inconsistent or Hard-to-Read Fonts
Fonts that clash with your kitchen style or are difficult to decode reduce your sign’s effectiveness. Ornate fonts in a modern kitchen make the text less legible, while overly plain fonts on rustic signs look out of place. Maintain consistency between font style and overall decor.
Select fonts with medium thickness and straightforward shapes. Sans-serif fonts work well for contemporary spaces, while simple serif fonts complement classic kitchens. Pay attention to font size; text should be readable from 3 to 5 feet away, usually requiring letters at least 1.5 inches tall for smaller signs.
Mixing font types can create confusion, try limiting your sign to one or two fonts. Contrast also matters: dark text on a light background or vice versa improves visibility.
Improper Installation and Hanging
Signs hung crookedly or with weak fasteners can damage walls and reduce aesthetic appeal. Uneven placement distracts from your kitchen’s design and can cause signs to fall, risking injury or damage.
Use a level to ensure even hanging. Choose hardware suitable for your wall type: anchors for drywall, screws for wood, and adhesive strips only for lightweight signs under 2 pounds. Confirm weight limits before installation to prevent accidents.
- Measure and mark hanging points accurately before drilling
- Use a bubble or laser level to align the sign horizontally
- Pick appropriate anchors and screws according to wall material
- For temporary renters, damage-free hooks are a good alternative
- Install signs at eye level, about 57 to 60 inches from the floor
Always double-check mounting hardware weight ratings to avoid falls and wall damage.
Proper installation creates a secure display and maintains your kitchen’s neat look.
Skipping Protective Finishes
Signs left unprotected show wear faster from kitchen heat, moisture, and grease. Fading, chipping paint, and mold growth are common problems without a finish designed to seal and shield the sign’s surface.
Apply a clear polyurethane or acrylic finish to wood signs to lock out moisture. Matte vinyl signs generally come with built-in protection but may benefit from periodic cleaning and gentle wipe-downs. Avoid overly glossy finishes that reflect harsh kitchen lights and make reading difficult.
Protective coatings add a few dollars and an hour or two of drying time but extend your sign’s lifespan by years. Check product labels for recommended finishes and curing times before use.
Step-by-Step Action Plan for Adding Kitchen Signs
Follow these steps to pick and display kitchen signs that suit your style and space perfectly.
- Day 1: Assess your kitchen decor style and available wall space; this helps you decide the sign size and style that will fit well.
- Day 2: Choose a material based on your kitchen environment, like wood for a rustic look or metal for an industrial feel; review care requirements to ensure longevity.
- Day 3: Decide on the design theme, funny quotes, family names, or food-related phrases, that matches your taste and kitchen vibe; visually compare options online or sketch your ideas.
- Day 4: If making your own sign, gather materials and tools following a simple tutorial; check your workspace is safe and organized.
- Day 5: Purchase or prepare the kitchen sign; confirm colors and fonts look clear in your kitchen lighting by testing a sample or preview.
- Day 6: Hang the sign using proper hardware for the wall type; ensure it’s level and securely attached by gently testing stability.
- After 1 week: Inspect the sign for any damage or fading; clean it gently according to the material’s care instructions to maintain appearance.
Frequently Asked Questions
What Are Some Unique Kitchen Sign Ideas to Personalize My Space?
Personalized signs with family names or favorite quotes add a unique touch. Consider signs that reflect your cooking style or hobby to make your kitchen feel truly yours.
How Can I Make My Kitchen Signs Child-Friendly?
Use soft-edged materials and non-toxic paints for safety. Choose fun, colorful designs that engage kids without sharp corners or breakable parts.
Can Kitchen Signs Help Organize My Cooking Area?
Yes, signs like pantry labels and measurement conversion charts improve organization. They provide visual cues that can speed up cooking and keep your kitchen tidy.
What Styles of Kitchen Signs Are Best for Small Spaces?
Small, framed signs with minimalistic designs work well in tight spots. Look for compact sizes around 11 x 14 inches to fit without overcrowding walls.
How Do I Protect Kitchen Signs from Heat and Moisture?
Use materials like sealed wood or metal with protective coatings. Avoid paper or untreated wood to ensure durability near cooking areas and sinks.
Is It Better to Buy Pre-Made or Make My Own Kitchen Sign?
Making your own offers custom design options and personal satisfaction. Buying pre-made saves time and ensures professional quality, especially for intricate designs.
Wrapping Up
Choosing and displaying kitchen signs gives you a simple way to personalize your cooking space with style and charm. Start by picking a design that speaks to your personality or family traditions, then add it where it complements your kitchen’s layout. This small addition can brighten your kitchen and inspire smiles every day.