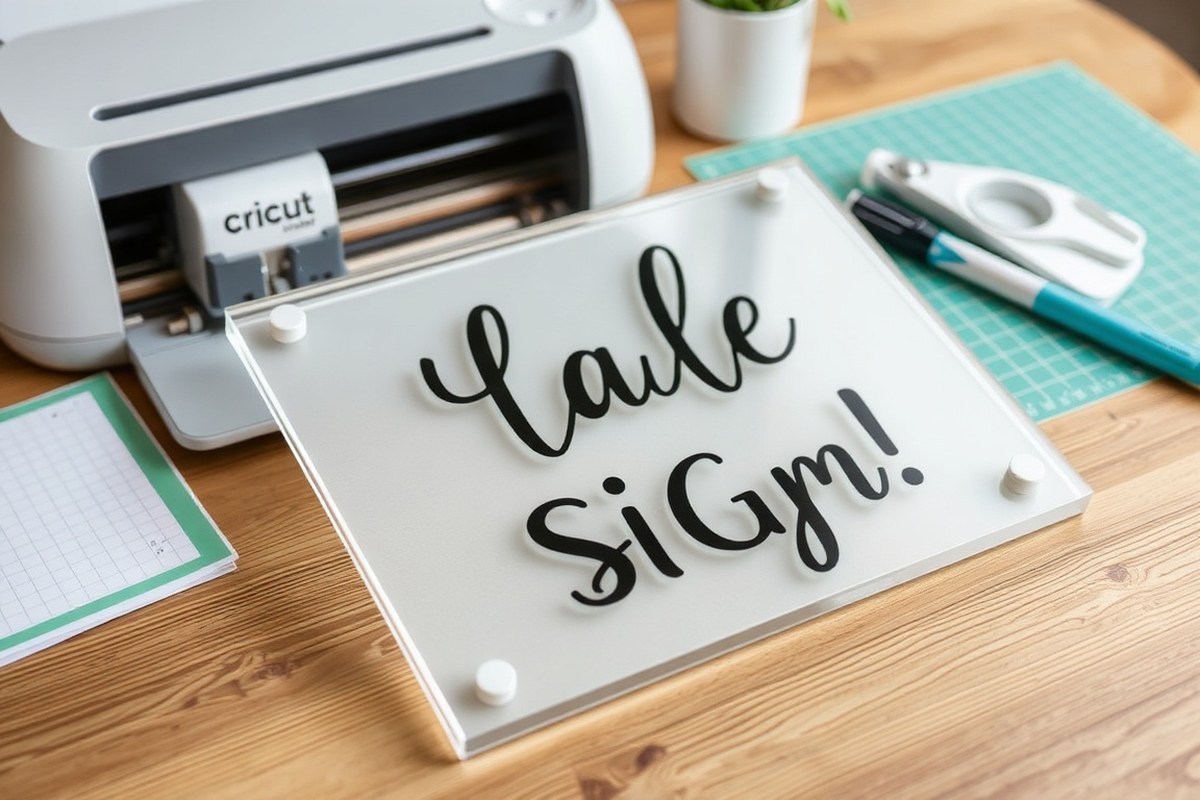
How to Make an Acrylic Sign with Cricut: A Complete Guide for Beginners
How to make an acrylic sign with Cricut is simple by using the Cricut Maker with the right settings and materials. Cut or engrave thin acrylic sheets (2 mm or less) for clean results, then add vinyl or 3D elements to improve the design. Starting with a properly sized design that fits your acrylic sheet ensures a smooth cutting process and professional look.
Key Takeaways
- Use acrylic sheets no thicker than 2 mm for engraving to avoid surface scratches on Cricut Maker.
- Cut .020-inch acrylic sheets with the knife blade set to basswood mode for best results.
- Resize your design to match your acrylic sheet dimensions before starting your project.
- Center acrylic sheets on the StrongGrip mat at the 6-inch horizontal and vertical mark for stability.
- Adding 3D elements or vinyl on acrylic signs boosts their visual impact and durability.
- Apply iron-on vinyl at 300 degrees Fahrenheit for 40 seconds to ensure good adhesion on acrylic surfaces.
Essential Materials and Tools for Acrylic Signs
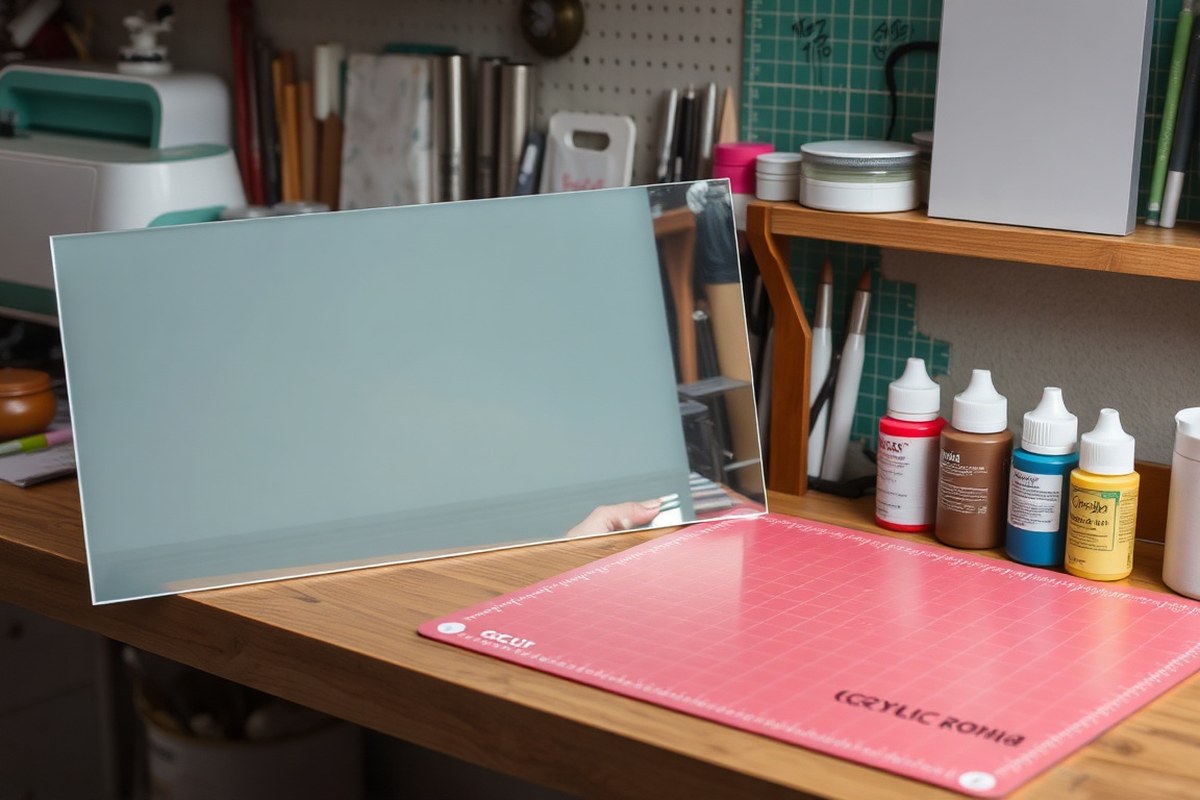
To create acrylic signs with your Cricut, start by selecting the right acrylic sheets. Sheets between 1/8 inch (3 mm) and 1/4 inch (6 mm) thick work best. Thinner sheets may flex too much, making precise cuts and engravings harder, while thicker sheets can be difficult for the Cricut to handle properly. Common sizes range from 8.5 x 11 inches for smaller signs up to 2 feet by 3 feet for larger projects. Choose smooth, clear acrylic for a clean surface that works well with paint, vinyl, or engraving.
Your Cricut machine requires specific tools depending on the techniques you plan to use. For cutting acrylic, the Cricut Maker with a fine-point blade can handle thin acrylic but struggles with thicker sheets. The recently introduced engraving tip is ideal for engraving, producing clean, precise lines without cracking the acrylic. Use Cricut pen adapters to hold acrylic markers if you want to write or draw directly on the sheet. Precise placement on the cutting mat and careful alignment in Cricut Design Space are important for centered, professional-looking results.
- Acrylic sheets: 1/8 inch to 1/4 inch thick, sizes from 8.5 x 11 inches to 2 ft x 3 ft
- Cricut Maker machine with fine-point blade and engraving tip
- Pen adapters for including acrylic markers or pens
- Acrylic paint with gloss finish and paintbrushes for sealing and coloring
- Adhesive vinyl or stencils for adding decorative details and layers
- Acrylic sealant spray to protect paint and finishes
- Strong, clear adhesive or mounting tape to attach signs to surfaces or LED bases
Using acrylic paint with a gloss finish seals your design and prevents colors from fading. It’s important to let paint fully dry before moving on. Skipping the sealant can result in peeling or smudging over time, especially if the sign is handled frequently. Vinyl stencils work well for adding detailed designs or lettering on smooth acrylic, but for a more painterly look, acrylic markers can replace vinyl or paint altogether. Strong adhesives provide durability, especially for LED signs that require secure placing in light bases or frames.
Choosing the right materials and tools sets up your acrylic sign project for success. Paying close attention to acrylic thickness helps you avoid machine jams or incomplete cuts. Using the engraving tip and pen adapters expands your creative options beyond cutting to include intricate engravings and hand-drawn effects. All supplies are readily available online or at craft stores, and planning your materials according to the sign size and final design keeps you organized and ensures professional outcomes.
Understanding Cricut Machine Capabilities with Acrylic
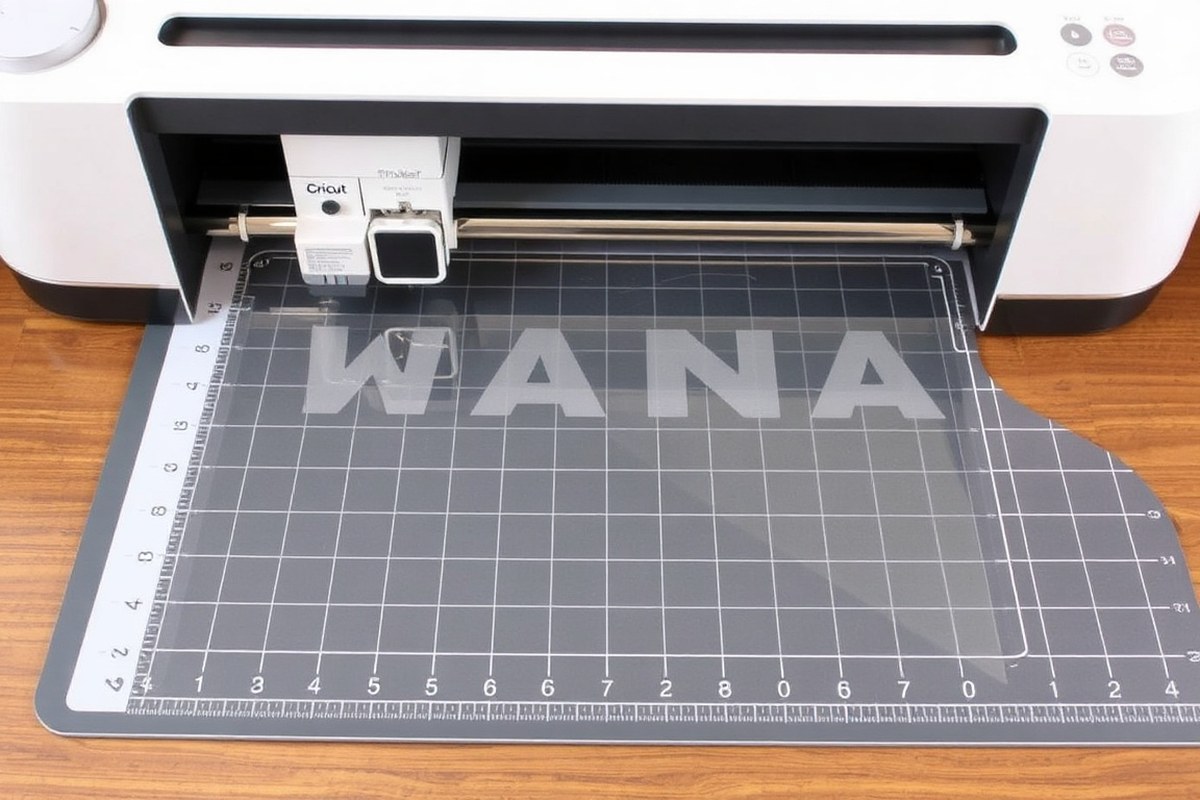
You can engrave acrylic with a Cricut Maker but cutting acrylic sheets directly is very limited. The machine cannot cut thick acrylic. It handles sheets up to about 0.020 inches thick using the knife blade on baswood settings, but this is rare and not consistently effective. Most makers use engraving for acrylic projects because it produces precise, decorative marks without damaging the sheet. Writing on acrylic with Cricut pens is possible but less effective compared to engraving, especially since acrylic markers tend to be thicker and can cause overlapping ink in tight lettering.
Engraving acrylic works well with the Cricut Maker’s engraving tip designed for use with QuickSwap housings. It requires acrylic sheets under 3mm thick to avoid breakage. The recommended steps are to secure the acrylic sheet on a strong grip mat, select your design in Design Space, and choose the engraving tool. Use settings for acrylic or similar hard plastics and apply multiple passes if needed for deeper engraving. The machine’s pressure and speed should be adjusted for a clean result without overheating the acrylic.
Writing on acrylic with Cricut pens is less common because it can scratch or smear, especially with thin sheets. If you want to add pen details, use the lightest pressure setting and avoid tight fonts or small scripts that lead to overlapping ink buildup. Acrylic markers especially need room to dry and work best on flat, stable surfaces. Here is a comparison table showing how the Cricut Maker handles acrylic by cutting, engraving, and writing:
| Operation | Recommended Acrylic Thickness | Machine Accessory | Settings | Effectiveness | Common Issues |
|---|---|---|---|---|---|
| Cutting | Up to 0.020 inches (rare) | Knife blade | Baswood setting, strong grip mat | Minimal; partial cuts or rough edges | Incomplete cuts, blade wear, acrylic cracking |
| Engraving | Up to 3 mm (about 0.12 inches) | Engraving tip with QuickSwap housing | Acrylic or hard plastic preset, medium speed, increased passes | High; clean, precise designs | Overheating, shallow engraving if speed too high |
| Writing | Any thickness, preferably flat sheets | Cricut pens (fine tip) | Light pressure, slow speed | Low to moderate; better for simple outlines | Ink overlapping, smudging, scratching |
Engraving allows you to create stunning custom acrylic signs with decorative etching. It is the most reliable method for detail and durability. Cutting works only for very thin sheets and might not fully separate the acrylic, so plan to finish edges by hand. Writing will add subtle details but requires caution to avoid ruining the surface and is best reserved for bold, simple designs.
Always check your acrylic thickness and perform a test engraving on a scrap piece before starting your main sign to avoid cracks or tool damage.
Designing Your Acrylic Sign in Cricut Design Space
Designing your acrylic sign in Cricut Design Space starts by matching the design size to your acrylic sheet and arranging elements for clear visibility. Choosing the right settings for materials and tools ensures crisp cuts and engravings. Careful planning prevents wasted materials and improves your final sign’s appearance.
Creating a Custom Acrylic Template
Begin by creating a template in Design Space that matches the exact size of your acrylic sheet. This helps you position your design elements precisely and avoid cutting or engraving outside the acrylic’s boundaries. For example, if you have an 8×10-inch acrylic sheet, your canvas should reflect those exact dimensions. This template serves as a guide to place text and images where they will show best once transferred to the acrylic.
- Select New Project in Cricut Design Space and open the canvas.
- Click on Shapes and choose Square or Rectangle, depending on your acrylic shape.
- Use the size toolbar to adjust the shape to your acrylic’s exact dimensions, such as 8 inches wide by 10 inches high.
- Lock the aspect ratio if necessary or unlock it to match non-square acrylic sheets precisely.
- Change the shape’s color or set it as a Score line so it’s easy to distinguish as a template and won’t be cut or engraved.
- Lock the template layer to avoid accidental movement while designing.
Optimizing Text and Graphics for Acrylic
Good design practices improve how your acrylic sign looks and how easily it can be read or seen. Use fonts sized according to the acrylic’s dimensions, smaller fonts may not engrave well or be legible, especially under LED lighting.
Avoid densely detailed images that can lose clarity when engraved. Instead, choose simple, bold graphics or vector images. Center your text and graphics on the template layer to ensure they are symmetrical and properly spaced. Also, leave some margin (about 0.25 to 0.5 inches) from the edge of the acrylic to prevent cutting into the material or interfering with frames. Smooth alignment of your design ensures edge illumination works well on LED acrylic signs, improving the glow effect along the edges.
Setting Material and Tool Options Correctly
After positioning your design, set the design layer to Engraving if your project includes engraving. This signals the Cricut machine to use the engraving tool rather than cutting blades. For cutting, keep the design layer set to Cut.
Be sure to select Acrylic as your material setting in Design Space. This adjusts the machine’s pressure, depth, and speed for clean cuts or engravings. Insert the engraving tip or knife blade as required by your machine model.
Test your settings on a scrap piece or a less expensive material like aluminum flashing sheet before using your full acrylic sheet. This can save material by confirming the size and clarity of your design first.
Preparing Acrylic Sheets for Cricut Projects
Handling acrylic sheets carefully ensures your Cricut projects turn out clean and damage-free. Acrylic can scratch easily and may crack if stressed, so preparing it properly before cutting or engraving is essential. Securing the acrylic firmly on your mat prevents slipping that could ruin detailed designs or cause machine errors. Protecting the surface during engraving or writing keeps the finish clear for sharp, visible results.
Follow these steps to prepare acrylic sheets safely and securely for your Cricut projects. This method reduces the risk of scratches and cracking while maintaining precise control over your cuts and engravings.
- Clean the acrylic sheet: Wipe both sides with a soft, lint-free cloth and mild soap solution to remove dust and oils. Avoid abrasive cleaners that can scratch the surface.
- Keep the protective film on: Leave the factory protective plastic film on the acrylic during cutting or engraving. This film acts as a barrier against scratches and helps preserve the finish.
- Trim acrylic to size: Cut your acrylic sheet to 2 mm (1/16 inch) thickness or less before placing it on the Cricut mat. Thicker sheets may cause unwanted scratches and reduce engraving quality.
- Center on a StrongGrip mat: Place the acrylic sheet in the center of a Cricut StrongGrip mat, aligning it carefully at the 6-inch horizontal and vertical marks for better support and balanced adhesion.
- Remove air bubbles: Press down firmly on the acrylic surface with a brayer or smooth plastic card to eliminate bubbles. This ensures even contact and prevents slipping during cutting or engraving.
- Secure edges with painter’s tape: Apply painter’s tape around the acrylic edges on the mat to add extra hold without damaging the material. Avoid tape on the sheet’s face to prevent residue.
- Set Cricut to proper settings: Use the recommended blade pressure and engraving depth for 2 mm acrylic to avoid cracking. Test on a scrap piece before running your final project.
- Protect the surface during engraving: If engraving without the protective film, cover the sheet with a low-tack masking film designed for acrylic to avoid surface damage and maintain engraving clarity.
Good results show clean, precise cuts with no chipping or cracks, and engraved designs that remain sharp and scratch-free. Avoid excessive blade pressure or speed too high, as these increase crack risk. Keeping the protective film on until the final reveal ensures your acrylic sign looks professional and polished.
Cutting, Engraving, and Writing Techniques on Acrylic
Cutting, engraving, and writing on acrylic with your Cricut machine requires adjusting settings for thickness and detail. Use the Deep-Point blade for cutting, the engraving tip for crisp lines, and compatible pens for smooth writing. Proper setup ensures clean edges, visible engravings, and lasting marks on your acrylic sign.
Cutting Acrylic Sheets Safely
Cutting acrylic with the Cricut Maker means using the Deep-Point blade set in pressure mode suitable for thicker materials. Position the acrylic sheet firmly on a strong grip mat to prevent shifting. Set your machine’s pressure to around 300 grams, and adjust the blade depth to the maximum recommended, usually 3-4 passes are necessary for a clean cut.
- Place the acrylic sheet on a strong grip Cricut mat, smoothing out air bubbles.
- Install the Deep-Point blade in the machine’s blade housing.
- Adjust grip rollers by moving all four white star wheels fully to the right, allowing for thicker material clearance.
- Select “Custom” material in Design Space and choose or create a setting for acrylic or heavy plastic.
- Set blade pressure to high (about 300 grams) and enable multiple passes (3-4) if available.
- Load the mat into the Cricut and start the cutting process.
- After cutting, carefully remove the acrylic from the mat to avoid cracking.
Avoid rushing the cut; multiple passes with lower speed reduce cracking and give cleaner edges.
Using the Engraving Tool for Detail
The engraving tip on the Cricut Maker delivers precise, shallow cuts that create visible, textured lines on acrylic. This method works well for signage where detail and contrast are key. Place the engraving tool in Clamp B, adjust the star wheels fully to the right to accommodate acrylic thickness, and use a lower speed setting to avoid melting the acrylic.
- Insert the engraving tip into Clamp B on your Cricut Maker.
- Move all white star wheels on the machine carriage fully to the right.
- Select the “Engrave” operation in Design Space for your acrylic project.
- Choose settings for acrylic or similar plastic, setting a lower speed (around 10-15) and moderate pressure.
- Load your mat with the acrylic sheet secured, then start the engraving job.
- Inspect the engraved lines; they should be consistent, shallow, and visible with a textured finish.
Engraving creates contrasting details when viewed from different angles or when backlit, making your sign stand out without requiring paint.
Engraving too quickly or with excessive pressure can cause melting or cracking on acrylic surfaces.
Writing and Drawing on Acrylic
For writing or drawing on acrylic, Cricut-compatible permanent markers or gel pens designed for plastic work best. The Cricut Gel Pen or Infusible Ink Markers can create smooth lines with minimal smudging. Secure the acrylic sheet on a mat, select the “Draw” function, and use controlled speed and pressure settings to avoid skipping.
- Secure your acrylic sheet on a strong grip mat to prevent movement.
- Install a Cricut Gel Pen or another suitable pen for plastic surfaces into Clamp A.
- Set your project in Design Space to “Draw” mode, using fonts or designs compatible with pen drawing.
- Adjust speed to medium-low to ensure consistent ink application.
- Load the mat and start the pen drawing operation.
- Allow ink to dry fully before handling or layering other materials.
Using the correct pen ensures durable markings that resist smudging and fading, important for outdoor or frequently handled signs.
Test your pen and ink on a small unused portion of acrylic to confirm drying time and durability before the full project.
Decorating and Finishing Acrylic Signs for Lasting Impact
Painting the back of your acrylic sign with acrylic paint is one of the best ways to make the lettering pop and add a professional look. Use a quality acrylic paint like Uni POSCA paint markers for clean, vibrant results that won’t peel or crack easily. First, flip your acrylic sheet over and apply the paint carefully behind your lettering or design. Let the paint dry fully, usually about 1 to 2 hours, to avoid smudging or clouding the clear front surface. Painting behind the design also protects the paint from scratches and environmental damage, keeping your sign looking fresh longer.
Applying vinyl decals or stencils cleanly requires patience and proper technique. The hinge method works well for aligning vinyl perfectly on acrylic. Position your vinyl on the front side, then use a hinge strip of painter’s tape along one edge to ensure precise placement. Peel back the backing paper slowly while pressing the vinyl down with a scraper or credit card to avoid air bubbles. If you plan to paint over vinyl stencils, apply a thin layer of Mod Podge on the vinyl stencil before painting. This creates a seal that prevents paint bleeding and produces sharp edges. Remove both the paint and vinyl backing only after the paint dries completely to maintain crisp lines.
Sealants are important for protecting your acrylic sign from moisture, UV light, and fading without clouding or yellowing the clear surface. Use a clear acrylic spray sealant labeled as non-yellowing or UV resistant, available for $6 to $15 per spray can in craft stores. Spray in thin, even coats about 6 to 8 inches away from the surface, allowing 15 to 30 minutes between layers. Two to three coats generally provide sufficient protection. Avoid heavy or thick sealant layers, as they can cause haziness or a sticky finish. Let the sealant cure fully, usually for 24 hours, before handling or installing the sign.
Successful decorating starts with prepping your acrylic by cleaning with isopropyl alcohol to remove oils and dust. Paint the back to create a solid color contrast behind your design if you want extra visual impact. For vinyl, use transfer tape and the hinge method to place decals precisely without bubbles. Use Mod Podge under paint stencils to prevent bleed-through. Finish by sealing the entire sign with a clear UV-resistant spray sealant in light coats, waiting adequately between layers and after completion. This multi-step process guards your sign’s appeal and durability, even with outdoor exposure or frequent handling.
Creating LED Light-Up Acrylic Signs with Cricut
Creating illuminated acrylic signs with LED strips involves designing your acrylic for effective edge lighting, crafting a base that fits and supports the acrylic securely, and installing LED strips with safe wiring. Using a Cricut machine for the acrylic cuts ensures precision in the grooves and shapes that hold the LEDs snugly. Proper planning and assembly produce signs that are both stable and visually striking.
Designing for LED Edge Lighting
Designing an acrylic sign for LED edge lighting means focusing on how light will travel through and reflect within the acrylic. Outline your design in Cricut Design Space, keeping lettering and shapes simple to allow light to spread evenly. Use clear or frosted acrylic because they diffuse light better, improving glow effects.
To maximize LED edge lighting, add a groove or channel along the edges where the LED strip will sit. The groove should be slightly wider and deeper than the strip, usually about 1/8 inch wide and 1/16 inch deep, to hold the LEDs firmly without damaging the strip. When designing the cut paths, consider the thickness of your acrylic (commonly 1/8 inch) and plan for any trimming needed to fit the acrylic into the base later.
Making a Base to Hold the Acrylic
A solid, stable base is essential to keep the acrylic sheet upright and to house the LED strips invisibly. Typically, bases are made from wood, acrylic, or another rigid material. For a flush fit, cut a slit in the base that matches the thickness of the acrylic sheet with a 3-inch depth or more, allowing the LED strips to be hidden inside without being visible from outside.
Cut the slit using a saw for wood or a scoring tool for acrylic. The slot width must tightly hold the acrylic to prevent wobbling but not crack it. Sometimes, lowering the bottom of the acrylic sheet by cutting off 1 to 2 inches helps it fit smoothly into the narrow slot while aligning with the LED strips embedded inside the base. A secure fit improves stability and creates a professional look.
Installing and Wiring LED Strips
Installing LED strips involves attaching them inside the base slot to line up with the acrylic edges. Pick LED strips rated at 5V or 12V with a power supply that matches. Bundled LED kits with remotes and controllers simplify installation and add control options like color changes. Before installation, test the LED strips to confirm they work.
Attach the LED strips to the inside walls of the base slot using adhesive backing or clear double-sided tape, ensuring even contact for uniform lighting. Route wiring neatly through the back or bottom of the base. Connect the strip to the power supply and controller, keeping wires tidy and away from the acrylic edges to prevent heat buildup. Avoid overbending LED strips as this can damage the diodes.
- Cut your acrylic to the desired size and design grooves on the edges in Cricut Design Space.
- Cut or prepare a base with a groove or slit that matches your acrylic thickness and length, about 3 inches deep.
- Trim the acrylic bottom edge if needed to fit snugly into the base groove without forcing.
- Secure LED strips inside the base groove or slot using their adhesive backing or double-sided tape.
- Test LED strips for proper operation before final installation.
- Neatly route wiring through the back or a hidden channel in the base, avoiding sharp bends.
- Connect LED strips to a power adapter and controller, ideally using a bundled kit for compatibility and added features.
- Place the acrylic sheet securely into the base groove and test the lighting effect, adjusting the fit as necessary.
Troubleshooting and Avoiding Common Acrylic Sign Mistakes
Cracking and scratching are common issues when cutting and handling acrylic sheets. Acrylic tends to crack if you apply too much pressure or use dull blades on your Cricut machine. Avoid this by using a sharp blade designed for acrylic or craft vinyl cutting and reducing the cutting pressure to around 300 grams or less. Keep the acrylic clean and lay it on a smooth, flat cutting mat to prevent uneven cuts. Use painter’s tape to secure the edges, which also helps minimize chip-outs.
Uneven or too-light engraving is another frequent problem. This usually happens if the engraving depth settings are off or the acrylic surface has residue. Set your Cricut engraving tool for shallow etching, light passes with moderate speed work best, around 300 to 500 mm/min, depending on your model. Clean the acrylic sheet thoroughly with isopropyl alcohol before engraving to prevent residue from affecting the cut depth and visual contrast.
Paint bleeding and vinyl adhesion trouble often stem from surface contamination or improper preparation. To stop paint from bleeding, use painter’s tape or a stencil over the edges of your design before applying paint, and apply it in thin layers. Let each coat dry fully before applying the next. When vinyl won’t stick, clean the acrylic with rubbing alcohol, dry completely, and warm the vinyl slightly with a heat gun or hairdryer to improve adhesion. Press the vinyl firmly with a scraper tool and avoid air bubbles by working slowly from one side.
- Use fresh, sharp acrylic blades to reduce cracking and chip-outs
- Adjust the Cricut pressure between 250-300 grams for clean cuts
- Clean acrylic surface with isopropyl alcohol before engraving or painting
- Set engraving speed moderate to slow and depth shallow for clear etching
- Apply paint in thin layers within taped or stenciled borders to prevent bleeding
- Heat vinyl slightly before applying and press firmly to boost adhesion
- Use transfer tape carefully to avoid tearing thin vinyl on acrylic
Always test cut and engrave on scrap acrylic before starting your main project to fine-tune your settings and avoid wasting materials.
Cracks look like jagged lines and glossy edges indicating too much force or worn blades. Scratches often appear as cloudy or white streaks, which happen from dragging tools or abrasive cleaners. Light burrowing or uneven engraving misses the sharp contrast needed for LED signs, reducing visibility. Proper surface prep and careful tool use ensure clean lines, consistent depth, and smooth finishes that make your acrylic signs look professional and last longer.
Step-by-Step Action Plan for Your First Acrylic Sign
Follow these steps to create your acrylic sign with a Cricut machine and check each step as you go to keep on track.
- Before you start: Gather all essential materials, acrylic sheets, transfer tape, cutting mats, and your Cricut machine. Confirm the acrylic is clean and free of scratches to ensure smooth cutting and engraving.
- Day 1: Open Cricut Design Space and create your sign design. Check that the dimensions fit your acrylic sheet and preview the cut lines to avoid errors.
- Day 2: Prepare your acrylic sheet by applying masking tape or transfer tape to protect the surface and improve cut precision. Ensure the tape adheres firmly without bubbles.
- Day 3: Load your acrylic onto a strong grip cutting mat, aligning it properly. Use the Cricut’s settings for acrylic or test cut a corner to confirm the cut depth and pressure are correct.
- Day 4: Perform the cutting and engraving steps, monitoring the Cricut to catch any issues like misaligned cuts or incomplete engraving. Remove protective film from the acrylic once done.
- Day 5: Apply adhesive vinyl or paint details, then seal with a clear coat if desired. Check the finish for smoothness and durability under light handling.
- Day 6: Assemble any lighting components for a light-up sign, such as LED strips, ensuring all electrical connections are secure and functioning before mounting the sign.
- After 1 week: Display your sign in the intended spot and evaluate its durability and visual impact, making any adjustments if needed for long-lasting results.
Frequently Asked Questions
How Do I Center My Acrylic Sign Design in Cricut Design Space?
Adjust your design on the mat preview in Cricut Design Space to align it with the center of your acrylic sheet. Centering your writing or cut lines ensures your design appears balanced on the physical acrylic sign.
Can I Use Any Pen with Cricut to Write on Acrylic Signs?
You need acrylic-compatible markers with pen adapters that fit your Cricut machine. Using the right pen adapter helps achieve clean, precise writing on acrylic surfaces.
What Thickness of Acrylic Works Best for Cricut Engraving?
Acrylic should be 2 mm or less to engrave properly without surface damage. Thicker sheets can scratch or not engrave well with the Cricut Maker blade.
How Large Can I Make an Acrylic Sign with Cricut?
Sizes up to 2 ft by 3 ft are manageable on a StrongGrip mat. Larger signs require careful placement and may need assembling multiple pieces.
Can I Add 3D Elements to My Acrylic Sign Made with Cricut?
Yes, adding 3D elements can improve your sign’s appearance. Small embellishments or layered acrylic cutouts provide depth and visual interest.
What Is the Typical Time Commitment for an LED Light-Up Acrylic Sign DIY?
Projects usually take two to six hours depending on design complexity. Simpler signs finish faster, while intricate LED wiring adds time.
Key Points to Remember
Creating your own acrylic signs with a Cricut machine lets you bring custom designs to life with precision and style. Start by tackling one small project, focusing on careful material preparation and machine settings. Experiment with simple designs first to build confidence, then try adding engraving or lighting effects. Your next step is to pick a design and prepare your workspace, so you can begin cutting and enjoy crafting your unique sign.