How to Make an Acrylic Sign with Vinyl Step-by-Step Guide with Pro Tips
How to make an acrylic sign with vinyl starts by choosing outdoor-rated vinyl designed to bond well with acrylic surfaces, avoiding heat transfer types. Proper preparation includes cleaning the acrylic using 91% or higher isopropyl alcohol to remove dust, oils, or fingerprints that cause bubbling. Ensuring the vinyl size matches your acrylic sheet is important for a smooth application.
Key Takeaways
- Use outdoor-rated 5, 7 year vinyl for the most reliable bond on acrylic.
- Clean acrylic surfaces with 91%+ isopropyl alcohol immediately before applying vinyl.
- Avoid heat transfer vinyl since acrylic softens around 160°F (71°C) and can warp.
- Resize your vinyl design to fit the exact dimensions of the acrylic sheet.
- Choose acrylic thickness just over 2mm for easier vinyl application and better durability.
- Bulk purchase 24×48 inch acrylic sheets to save cost when making large signs.
- Use tools like a vinyl cutter and squeegee to apply vinyl evenly and avoid bubbles.
- Clean acrylic surfaces with 91%+ isopropyl alcohol immediately before applying vinyl.
- Avoid heat transfer vinyl since acrylic softens around 160°F (71°C) and can warp.
- Resize your vinyl design to fit the exact dimensions of the acrylic sheet.
- Choose acrylic thickness just over 2mm for easier vinyl application and better durability.
- Bulk purchase 24×48 inch acrylic sheets to save cost when making large signs.
- Use tools like a vinyl cutter and squeegee to apply vinyl evenly and avoid bubbles.
- Avoid heat transfer vinyl since acrylic softens around 160°F (71°C) and can warp.
- Resize your vinyl design to fit the exact dimensions of the acrylic sheet.
- Choose acrylic thickness just over 2mm for easier vinyl application and better durability.
- Bulk purchase 24×48 inch acrylic sheets to save cost when making large signs.
- Use tools like a vinyl cutter and squeegee to apply vinyl evenly and avoid bubbles.
- Resize your vinyl design to fit the exact dimensions of the acrylic sheet.
- Choose acrylic thickness just over 2mm for easier vinyl application and better durability.
- Bulk purchase 24×48 inch acrylic sheets to save cost when making large signs.
- Use tools like a vinyl cutter and squeegee to apply vinyl evenly and avoid bubbles.
- Choose acrylic thickness just over 2mm for easier vinyl application and better durability.
- Bulk purchase 24×48 inch acrylic sheets to save cost when making large signs.
- Use tools like a vinyl cutter and squeegee to apply vinyl evenly and avoid bubbles.
- Bulk purchase 24×48 inch acrylic sheets to save cost when making large signs.
- Use tools like a vinyl cutter and squeegee to apply vinyl evenly and avoid bubbles.
Which Vinyl and Acrylic Materials Work Best Together?
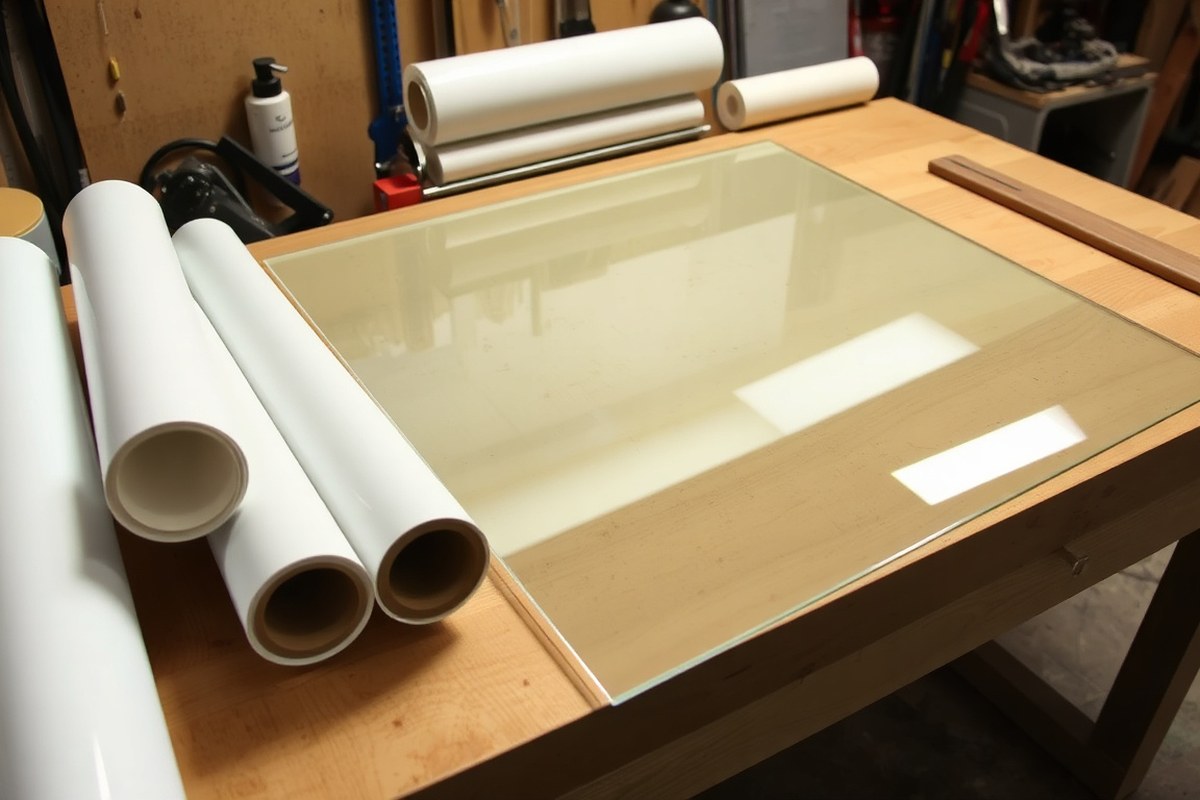
Select acrylic sheets that are around 1/8 inch thick for most DIY sign projects. This thickness provides a good balance between durability and ease of handling. Cast-grade acrylic is the preferred choice because it offers better longevity and clarity compared to cheaper alternatives. Thinner acrylics may feel fragile, while thicker sheets add weight and cost without much added benefit for small to medium signage.
Vinyl selection is critical for achieving a clean, long-lasting finish on acrylic signs. Permanent adhesive vinyl, especially those designed for outdoor use such as Oracal 651, bonds reliably to acrylic surfaces and maintains adhesion over time. These vinyl types resist fading and peeling, even in sunlight or changing weather. Medium-tack transfer tape is recommended during application to avoid damaging the vinyl or acrylic surface, since acrylic can scratch easily.
| Vinyl Type | Typical Cost (12″ x 30 yd) | Pros for Acrylic Signs | Cons for Acrylic Signs |
|---|---|---|---|
| Permanent Adhesive Vinyl (e.g., Oracal 651) | $40, $60 | Strong bond; UV and water resistant; ideal for outdoor and indoor use | Removal can damage vinyl or acrylic if forced |
| Removable Vinyl | Varies, generally slightly less than permanent | Good for temporary signage; less residue when removed | Less durable; not recommended for long-term or outdoor signs |
| Heat Transfer Vinyl (HTV) | Typically $20, $40 per roll | Ideal for fabrics; available in various finishes | Not compatible; heat damages acrylic (softens at ~160°F) |
Heat transfer vinyl should be avoided when working with acrylic signs. Acrylic softens around 160°F, which is significantly lower than the heat required for HTV application. Using a heat press or heat gun with acrylic warps the sheet permanently and leads to bubbling and distortion. A heat gun should never be used to remove bubbles or reactivate adhesive on vinyl applied to acrylic.
For indoor signs, permanent adhesive vinyl with UV resistance works well when applied to clean, prepped acrylic. Outdoor acrylic signage demands vinyl with strong UV and weather resistance to maintain adhesion and appearance over years. Clear acrylic combined with back-applied vinyl creates a high-end look for awards or LED-illuminated signs by producing a “floating” effect inside the acrylic.
Using medium-tack transfer tape during the vinyl application helps prevent tearing or damaging the vinyl edges, which is important to maintain sharp, professional lines on acrylic surfaces. Clean the acrylic thoroughly with 91% or higher isopropyl alcohol before applying vinyl to ensure the best adhesion and avoid bubbles or edge lift.
How to Properly Prepare Acrylic Before Applying Vinyl
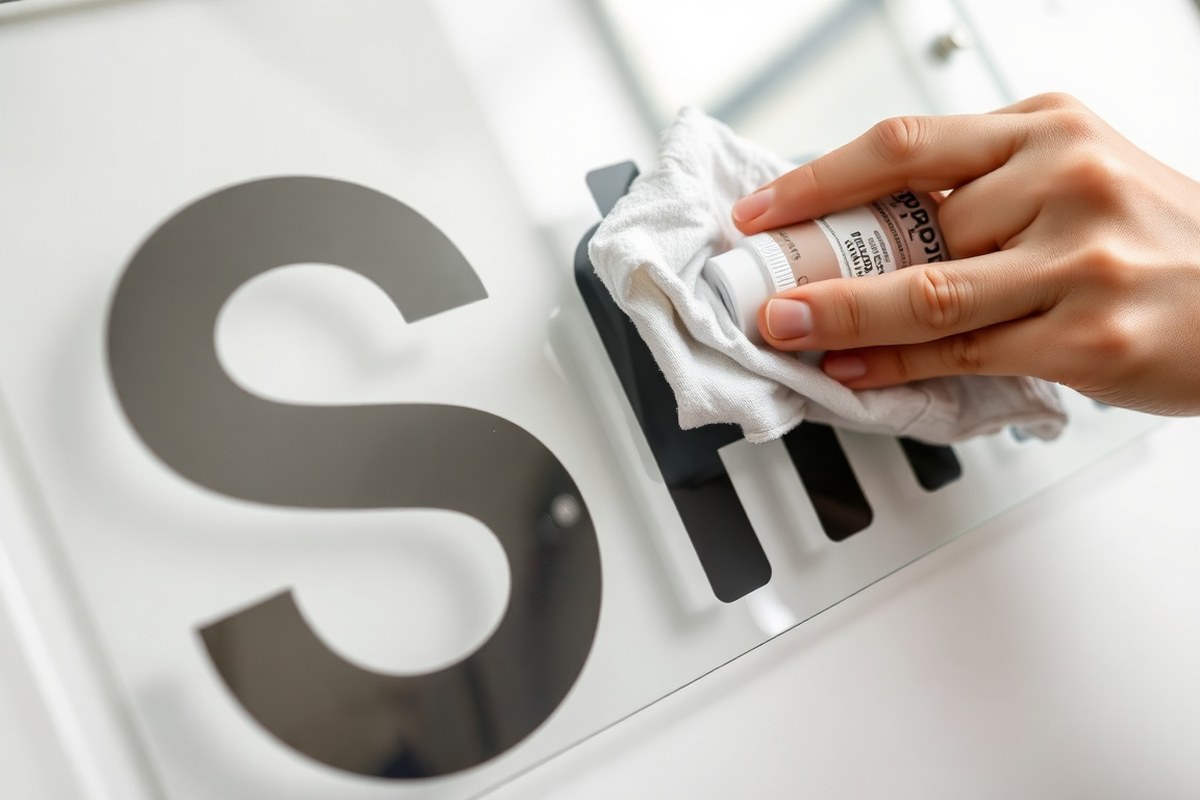
Preparing acrylic properly before applying vinyl is essential to prevent bubbles and lifting and achieve a sleek, professional finish. Thorough cleaning removes dust, oils, and residues that interfere with adhesion. Careful handling avoids scratches and fingerprints that degrade your sign’s appearance and durability.
Cleaning Materials and Solvents to Use
Use soft, lint-free cloths to avoid scratching the acrylic surface. Isopropyl alcohol (70% or higher) works well to remove oils and residues without damaging the acrylic. Avoid ammonia-based cleaners like window sprays, which can cause crazing or clouding over time.
Start by dusting the acrylic with a microfiber cloth. Then apply a small amount of isopropyl alcohol to a clean cloth and wipe the entire surface where you plan to place the vinyl. Allow the acrylic to air dry completely before applying vinyl to ensure no solvent residue remains that could trap bubbles or weaken adhesion.
Never wipe acrylic with paper towels or abrasive materials, as these can cause permanent scratches that show under vinyl.
Handling and Storing Acrylic Before Application
Handle acrylic sheets by their edges to prevent fingerprints on the surface. Finger oils are hard to remove and reduce vinyl adhesion. Store acrylic flat in a clean, dust-free area away from direct sunlight to avoid warping and UV damage. When the acrylic comes with a protective film, leave it on until you’re ready to apply the vinyl to guard against dust and scratches during handling.
Avoid placing acrylic where it could flex or bend; standard acrylic does not perform well when curved. For multi-color vinyl designs, plan your handling to minimize touching cleaned areas after initial prep.
Safe Working Environment and Protective Gear
Work in a well-ventilated area, especially when using isopropyl alcohol or other solvents. Avoid flames or sparks near solvents since isopropyl alcohol is flammable. Use disposable gloves to keep oils from your hands off the acrylic when applying vinyl. Wearing gloves also prevents the need for re-cleaning the surface repeatedly.
Keep your workspace free of dust and pet hair, as these particles trap under the vinyl causing bumps. A clean, flat table with good lighting helps ensure bubbles and misalignments get caught early before you finish the sign.
- Dust off the acrylic surface with a microfiber cloth to remove loose particles.
- Apply isopropyl alcohol to a fresh microfiber cloth and wipe the acrylic thoroughly.
- Allow the acrylic to air dry for at least 5 minutes to evaporate the alcohol fully.
- Repeat wiping with a clean, dry cloth as needed to clear any streaks or lint.
- Handle the acrylic by the edges while keeping the cleaned surface free of contact.
- Remove the protective film only right before applying the vinyl.
- Wear disposable gloves when applying vinyl to avoid fingerprints on the cleaned surface.
- Apply vinyl on a flat, dust-free surface with adequate lighting for precision.
Essential Tools and Machines for Cutting and Applying Vinyl
To cut vinyl precisely for acrylic signs, you need a reliable cutting machine and sharp blades. Applying vinyl smoothly requires the right transfer tape and a good squeegee. Picking tools designed for vinyl ensures clean edges and bubble-free application on acrylic surfaces.
Cutting Machines Suitable for Vinyl
Machines like Cricut and Silhouette are popular choices for cutting vinyl, offering the precision needed for professional-looking acrylic signs. Hobby-grade models from these brands cut permanent adhesive vinyl cleanly, which is essential for neat edges and detailed designs. Cricut machines, including the Explore and Maker series, accommodate various sizes and come with pen adapters for adding vinyl lettering or markers to acrylic. Silhouette Cameo models also provide reliable cutting with adjustable blade depth to suit different vinyl thicknesses.
When cutting vinyl, using a sharp blade is important. Replace blades regularly as dull blades cause tearing or rough edges. Hobby blades for these machines typically cost $10 to $20 and last several projects depending on usage and vinyl type.
Adhesive Transfer Tapes and Application Tools
Transfer tape is key for moving vinyl from its backing to your acrylic sheet without stretching or misalignment. For acrylic signs, choose a clear, low-tack transfer tape designed for permanent vinyl. Clear tape helps you see placement precisely, while low-tack prevents pulling up the vinyl during application. Popular brands like Oratape or Cricut’s own transfer tape offer consistent adhesion and reliable performance.
Apply transfer tape evenly over the weeded vinyl using a squeegee. A felt or plastic squeegee smooths out air bubbles and ensures all vinyl pieces stick to the tape. Prices for transfer tape range from $5 to $15 for a 12” x 50’ roll, which lasts many projects. Proper use involves firmly pressing the squeegee in one direction and peeling the backing off the vinyl slowly at a 45-degree angle.
Helpful Accessories to Achieve Professional Results
Beyond machines and tape, a few hand tools help perfect your acrylic vinyl project. A weeding tool with a fine hook or tweezers removes excess vinyl from the design so only the letters or shapes remain. Masking tape temporarily holds acrylic sheets in place on cutting mats to avoid slipping during machine cutting, especially for large or irregularly shaped pieces. Good lighting and a clean workspace reduce errors during weeding and application. Here’s a helpful list of accessories:
- Sharp weeding hook or tweezers
- Clear low-tack transfer tape (12” width recommended)
- Felt or plastic squeegee for applying vinyl
- Masking tape to secure acrylic on cutting mats
- Replacement blades for cutting machines
- Lint-free cloth for cleaning acrylic before application
Using these tools carefully leads to smooth, bubble-free vinyl on acrylic, making your sign look polished and durable. Avoid rushing the squeegee step or peeling the transfer tape too quickly to prevent vinyl lifting or wrinkles.
Step-By-Step Process to Design, Cut, and Apply Vinyl on Acrylic
Making an acrylic sign with vinyl involves designing your artwork, cutting it precisely, and applying it with care. You start with a digital design sized to fit your acrylic sheet, then cut vinyl layers and weed out excess material. Accurate alignment on the acrylic is key to a professional look, especially with multi-layer vinyl designs.
Designing Your Sign and Preparing the Cut File
Begin by opening your design software, like Cricut Design Space, and create a template matching your acrylic sign size. This step prevents errors and damage during cutting. Incorporate alignment markers such as rectangles positioned at the template’s edges to help place vinyl perfectly on the acrylic.
Choose or create your design and font, mindful of color layers if your sign uses multiple vinyl colors. Arrange all design elements efficiently on your cutting mat preview to cut everything in as few passes as possible.
Cutting and Weeding Vinyl Decals
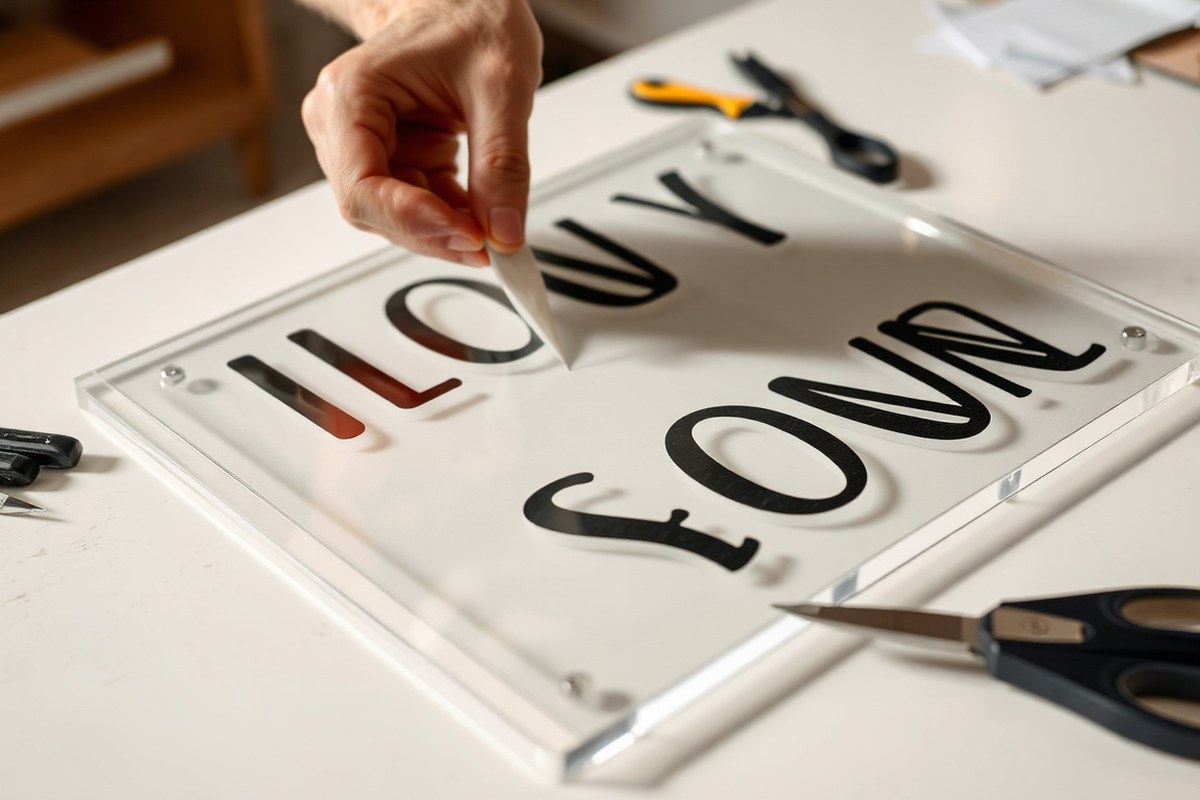
Cutting vinyl requires setting the blade depth and pressure correctly for clean cuts without cutting the backing paper. Use a vinyl cutting machine such as a Silhouette or Cricut, sending your design file after selecting the proper material type. After cutting, weed out the excess vinyl around and inside the design carefully, using a weeding tool or tweezers to remove small details.
For multi-layer designs, cut and weed each color separately. Keep the layers organized and clean to avoid dirt or fingerprints that could affect adhesion or appearance.
Aligning and Applying Vinyl to Acrylic
To apply vinyl precisely, place your acrylic sheet on a flat surface and clean it thoroughly. Use the previously created alignment rectangles as guides. Position transfer tape over your weeded vinyl and then align it on the acrylic using these guides, holding the transfer tape in place with low-tack tape if needed to move it without shifting the design. Press down starting from the center and move outward to avoid air bubbles.
For multi-layer vinyl signs, apply the base color first, then carefully layer each additional vinyl color with transfer tape, lining up edges precisely. Use a squeegee or plastic card to press down each vinyl layer firmly for strong adhesion. Take your time aligning each color; misalignment is the most common issue and can spoil the final look.
- Create a design in your cutting software sized to match your acrylic sheet and add alignment guides.
How Long Does It Typically Take to Complete an Acrylic Vinyl Sign?
The typical time to make an acrylic sign with vinyl ranges from two to five hours, depending on the design complexity and your experience level. Designing often takes one to two hours because it requires precise measurements and making sure the layout fits the acrylic piece exactly. Cutting the vinyl with a machine usually takes about 15 to 30 minutes, provided the design isn’t overly intricate.
Preparation of the acrylic surface before application can add another 20 to 30 minutes. This includes cleaning the acrylic thoroughly with a lint-free cloth and a mild solvent or isopropyl alcohol to remove dust and oils. Proper prep ensures the vinyl adheres well and lasts longer. The final step, applying the vinyl, generally takes 30 to 60 minutes. This stage involves careful alignment, smooth application using a squeegee or similar tool, and removing any air bubbles to avoid imperfections.
Factors affecting the total time include the size of the sign, vinyl complexity, drying or curing times if using transfer tape, and whether you work solo or with assistance. Larger signs or those with multiple vinyl layers can take longer, as can signs requiring multiple passes on your cutting machine for layered designs. Experience plays a role: beginners tend to spend extra time on design adjustments and careful application to avoid mistakes.
To save time, prepare all materials and tools ahead of starting the project to avoid interruptions. Use software templates if available to speed up design, and test cut designs on scrap vinyl to confirm settings before committing to the final piece. Choose simple, bold designs if you need faster turnaround without sacrificing visual impact. Skipping thorough surface prep to save time often leads to bubbles or vinyl peeling, so it’s best not to rush this step.
Spend enough time cleaning the acrylic surface properly; skipping this can cause the vinyl to lift prematurely.
Common Mistakes When Applying Vinyl on Acrylic and How to Fix Them
Bubbling, lifting, misalignment, and dust are the most common problems when applying vinyl to acrylic. These issues not only affect the appearance of your sign but also its durability. Fixing them quickly can keep your project looking professional and prevent costly rework.
Bubbles happen when air gets trapped between the acrylic surface and the vinyl. To fix small bubbles, gently lift the vinyl at the bubble’s edge and slowly smooth it back down using a squeegee or a credit card wrapped in a soft cloth. For larger bubbles, you can carefully prick them with a pin and then press out the air. Prevent bubbles by working in a dust-free, clean environment and applying vinyl slowly, using firm, even pressure to push air out as you go.
Lifting usually begins at edges where adhesive might not bond fully. Fix lifting by reheating the vinyl with a heat gun set to a low temperature (around 120°F). Gently warm the lifted area and press it down firmly with a squeegee. Avoid overheating, since too much heat can warp the acrylic. To prevent lifting, always clean the acrylic thoroughly with isopropyl alcohol and apply vinyl at room temperature between 65°F and 75°F. Cold or dusty conditions reduce adhesion.
Misalignment can ruin the look of your sign, especially with intricate lettering or graphics. Correct misalignment as soon as possible before the vinyl bonds fully. Slowly peel the vinyl back at a shallow angle and reposition it. Use masking tape as hinge points before applying vinyl to ensure accurate placement. To avoid this, always dry fit your design on the acrylic first, mark positioning with light pencil marks, or use application tape with grid lines to line up elements precisely.
Dust or particles caught under vinyl cause bumps and prevent full contact. Fix this by carefully lifting the vinyl around the dusty spot, cleaning the area with a lint-free cloth and isopropyl alcohol, then reapplying the vinyl. To stop dust problems, clean both your hands and the acrylic surface just before application. Use tacky lint rollers or compressed air to remove tiny particles. It helps to work in a low-traffic, well-ventilated room to reduce dust settling during application.
- Work in a clean, dust-free area to prevent contamination under vinyl
- Use a squeegee with firm, consistent pressure to avoid bubbles and improve adhesion
- Apply vinyl slowly and steadily, pushing out air as you go
- Use hinge tape or light pencil markings for precise vinyl alignment
- Clean acrylic with isopropyl alcohol before applying vinyl
- Apply vinyl at room temperature, ideally between 65°F and 75°F
- Use low heat to fix lifting without damaging acrylic
Good results show smooth, bubble-free vinyl that adheres evenly with crisp edges. Signs without dust or misalignment last longer and look sharp in public spaces such as retail counters or salon walls. Problems left uncorrected can worsen, shortening the sign’s life and making it look unprofessional. A little patience during application saves time and cost in fixing mistakes later.
When and How to Incorporate LED Backlighting with Acrylic Signs
Incorporating LED backlighting into your acrylic sign can create an appealing glow that improve visibility and gives your sign a professional look. To start, choose acrylic that is at least 1/4 inch thick. Thicker acrylic, around 3/8 to 1/2 inch, works better for diffusing light evenly and preventing dark spots. Edges should be polished smooth; rough edges scatter light unevenly and reduce the glow effect. Polishing with fine sandpaper followed by buffing with a plastic polish brings out maximum light diffusion along the edges.
Before applying vinyl, ensure your acrylic surface is clean and scratch-free, as imperfections can show up more with backlighting. Use a lint-free cloth and isopropyl alcohol to wipe the acrylic gently. For optimal glowing effects, keep your vinyl design simple and avoid applying vinyl over areas where you want the light to shine through unobstructed, usually reserving vinyl for text or logos and leaving other areas clear.
LED strip lights are the most common choice for backlighting. Select waterproof LED strips with consistent light distribution and a color temperature that matches your design goals, cool white LEDs produce a crisp look, while warm white looks softer. Cut strips to size based on your sign dimensions, making sure to follow manufacturer guidelines on cutting points. Mount the LEDs on an opaque backing behind the acrylic to prevent light loss through surfaces other than the edges.
To attach LED strips, use their adhesive backing or double-sided tape on a flat, clean surface. Position the lights along the edges of the sign or the inside frame to create edge-lit effects. Connecting the LED strips to a low-voltage power supply and in-line dimmer enables control over brightness. Test your wiring carefully and follow all electrical safety guidelines; if unsure, consult a licensed electrician. Including a diffuser layer, like frosted acrylic or a thin translucent sheet between the LEDs and the clear acrylic, helps soften the light and blends it better over the entire surface.
Assembly involves first securing the LEDs and wiring, then mounting your acrylic sign with vinyl applied. Use a sturdy frame or mounting brackets that keep the sign slightly spaced from the wall or backing board, allowing room for wiring and airflow to prevent overheating. Expect to spend around $20 to $50 on quality LED strips and a power supply, depending on the size of your sign. Properly incorporated backlighting can increase your sign’s visibility dramatically, especially in low light conditions.
Common issues include uneven lighting caused by inconsistent LED placement, excessive heat build-up that may warp thin acrylic, and poor electrical connections. Avoid these by evenly spacing your LEDs, providing adequate ventilation, and testing your setup before final installation. Customizing LED colors or using RGB strips adds complexity but also improve visual impact for special projects or seasonal signs.
Deciding When to DIY or Call a Professional for Acrylic Vinyl Signs
Deciding to make an acrylic sign with vinyl yourself or to hire a professional depends on the project’s complexity, your equipment, and your experience. Simple signs, such as small, single-color acrylic logos or text without intricate designs, are practical for DIY. These projects usually require a basic vinyl cutter like a Cricut or Silhouette, standard application tools, and under two hours to complete. You can manage cutting the vinyl on your own and applying it with minimal risk of errors.
Projects become too complex for DIY if they include multi-layered vinyl, large-scale signs over 24 inches in any dimension, intricate graphics requiring detailed masking, or integration with LED backlighting. In these cases, specialized equipment like industrial vinyl cutters, laminators, and professional heat presses might be necessary. Professionals also have access to software and hardware that ensure precision cuts and clean application. To ensure weatherproofing or outdoor durability, professionals recommend or use specific vinyl types and sealants that lower the risk of failure.
A clear decision checklist can help. Choose DIY if your project involves one or two vinyl colors, simple text or logos without gradients, and a sign size under 24 by 24 inches. Call a professional or consider specialized equipment if you need multiple vinyl layers, signs larger than 24 inches by 36 inches, exact color matching with commercial PMS colors, or additional features like backlighting. Other factors pushing toward professional help include short deadlines or a lack of experience handling vinyl application on acrylic, which can result in bubbles, wrinkles, or peeling.
The cost difference between DIY and professional services is significant. A basic vinyl cutter costs between $200 and $400, while commercial-grade cutters and laminators start at $1,000 and can go well beyond $5,000. Hiring a professional service typically ranges from $150 to $500 for medium-sized custom acrylic vinyl signs. Anticipating multiple signs or large projects makes investing in advanced equipment a worthwhile choice. Otherwise, outsourcing can save time and reduce mistakes.
Good results are signs with smooth, bubble-free vinyl firmly bonded to acrylic, sharp edges on the graphics, and consistent color. Common pitfalls in DIY include not cleaning the acrylic properly before application and failing to use transfer tape, which leads to misaligned or wrinkled vinyl sections. Complex cutting and layering without professional tools often cause peeling over time.
Try a small practice sign first to get comfortable with your tools and the vinyl application process before committing to a larger, more complex acrylic sign project.
Step-by-Step Action Plan to Make Your Acrylic Sign with Vinyl
Follow these steps to create your custom acrylic sign with vinyl, ensuring good adhesion and a professional look.
- Before you start: Choose compatible acrylic sheets and outdoor-grade vinyl, then gather tools like a vinyl cutter, scraper, and transfer tape.
- Day 1: Clean the acrylic thoroughly with isopropyl alcohol, making sure there’s no residue or dust.
- Day 2: Design your sign in your cutting software, then cut the vinyl and weed away excess material carefully.
- Day 3: Apply transfer tape on the vinyl design and align it on the acrylic surface using a scraper to remove air bubbles.
- Day 3, after application: Press firmly around the design edges and gently pull the transfer tape to reveal the vinyl adhered to acrylic properly.
- Optional, Day 4: Install LED backlighting behind the acrylic sign, checking wiring and brightness for even illumination.
Frequently Asked Questions
Can You Use Heat Transfer Vinyl on Acrylic?
Heat transfer vinyl is not suitable for acrylic because acrylic softens around 160°F, which can warp it during heat pressing. Stick to adhesive vinyl designed for cold application to avoid damaging your acrylic sign.
How Do You Prevent Air Bubbles Under Vinyl on Acrylic?
Applying vinyl slowly with a felt-edge squeegee helps prevent air bubbles by smoothing the vinyl as you go. Working from the center outward also pushes out trapped air for a clean finish.
Can You Reuse Vinyl from One Acrylic Sign to Another?
Vinyl cannot be reused once applied because the adhesive loses strength during removal. Plan your design carefully before applying to avoid waste and additional costs.
What Type of Transfer Tape Works Best for Acrylic Signs?
Medium-tack transfer tape is best for acrylic, as it sticks well without pulling up the vinyl or damaging the surface. Avoid high-tack tape to prevent residue and lifting issues.
Is It Necessary to Seal Vinyl on an Acrylic Sign?
Sealing vinyl is generally not necessary if you use outdoor-rated permanent adhesive vinyl. However, applying a clear acrylic spray can add extra protection for signs exposed to harsh weather.
How Do You Clean an Acrylic Sign with Vinyl Without Damaging It?
Use a soft cloth and mild soap solution to clean the acrylic sign gently; avoid ammonia-based cleaners which can cloud or degrade both acrylic and vinyl.
Key Points to Remember
Making an acrylic sign with vinyl combines creativity with careful preparation to get lasting, clear results. Start by selecting quality materials and follow each step to apply vinyl smoothly. Next, try a simple design to build confidence before working on more complex signs or adding lighting effects.