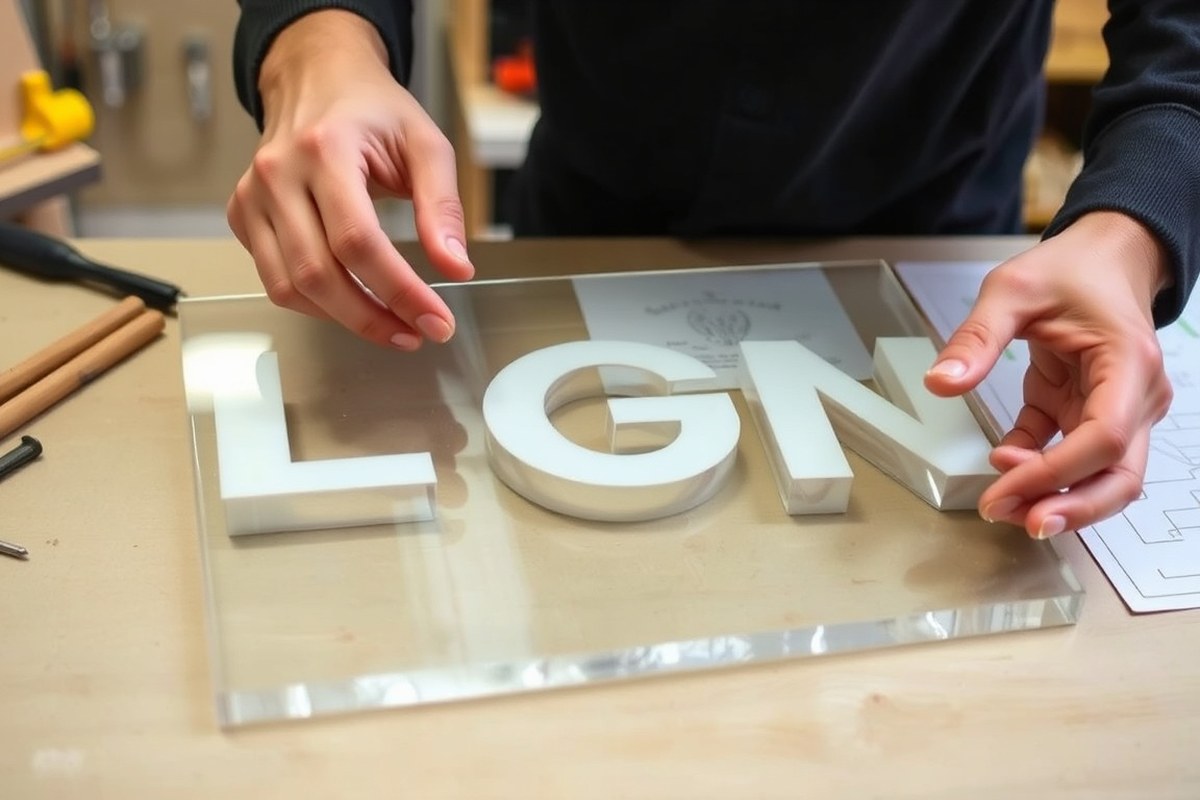
How to Make an Acrylic Sign: 8 Essential Steps for Perfect Results
How to make an acrylic sign starts with choosing the right materials and tools, then cutting and assembling the pieces carefully. Use a laser cutter or manual tools at proper settings to avoid cracks and achieve clean edges. Start by selecting acrylic that fits your size and design needs, as this affects every step that follows.
Key Takeaways
- Select acrylic thickness between 3mm and 4mm for easier cutting and engravability with common tools.
- Use 4mm acrylic sheets for laser cutting at about 80% power and 10mm/s speed; always test first.
- Cut a wooden base groove slightly narrower than the sign to securely mount acrylic and allow LED placement.
- Trim oversized acrylic sheets to size before starting the design process to match your project dimensions.
- Engrave acrylic under 3mm thick when using tools like the Cricut Maker to ensure proper results.
- Consider additional costs of $20-$40 if outsourcing laser cutting services instead of DIY cutting.
1. Essential Tools and Materials for Acrylic Signs
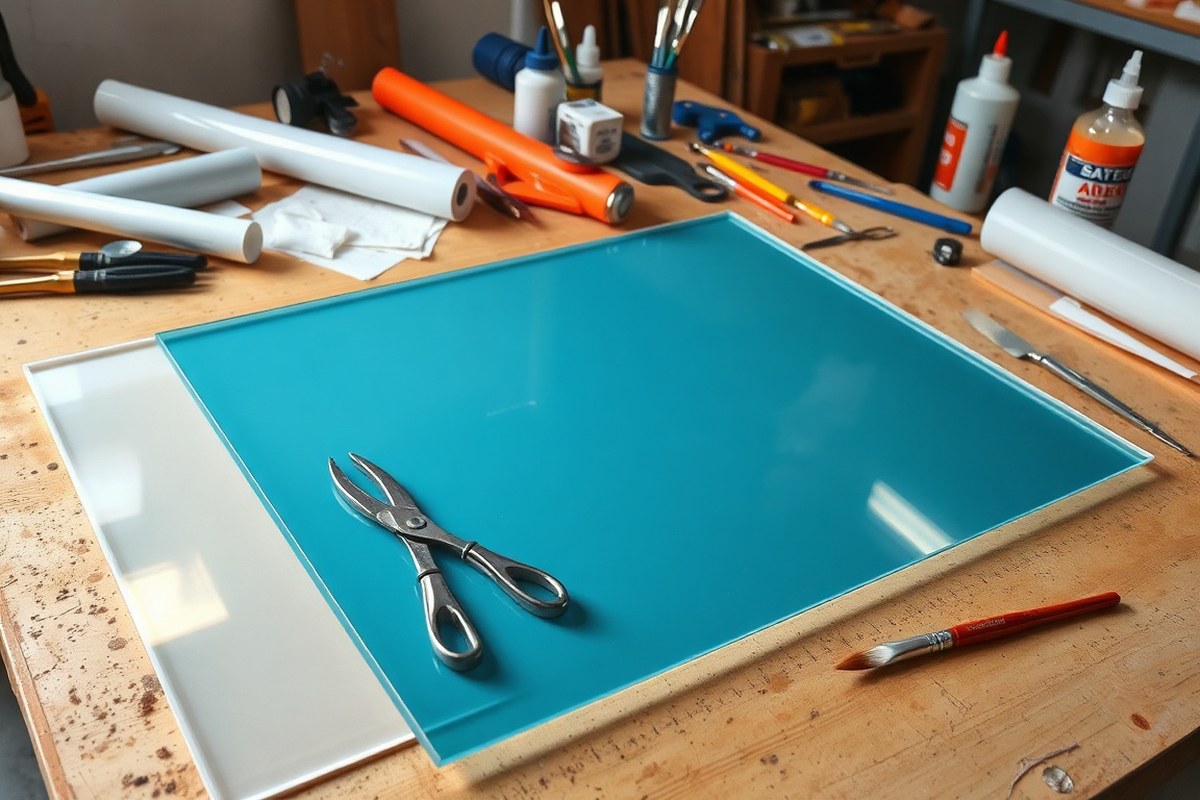
To make a high-quality acrylic sign, you need specific tools and materials that help you cut, decorate, assemble, and finish your project cleanly and professionally. The key items include an acrylic sheet, cutting tools suited to your setup, adhesives for bonding, and materials for applying graphics.
The acrylic sheet should be 3mm to 10mm thick depending on your sign’s size and application. Thicker sheets are more durable but harder to cut at home. For cutting, laser cutters or CNC routers provide precision, especially for detailed designs. These machines are common in maker spaces or for hire. At home, a scoring knife works for straight cuts on sheets up to 3mm. Make multiple passes scoring the surface, then snap the acrylic along the score line while securely clamping the sheet to avoid uneven edges.
For adhesives, acrylic cement like SCIGRIP 3 chemically bonds acrylic pieces with a clear finish, resulting in a strong, invisible joint. Avoid regular glue, which can cloud or damage the acrylic. For adding graphics, vinyl decals offer clean application and durability. Alternatively, paint designed for plastic surfaces works well and lets you customize colors. Apply graphics to the back of clear acrylic panels to protect them from scratches and give a premium look.
- Acrylic sheet (3mm to 10mm thick depending on the project)
- Cutting tools: laser cutter, CNC router, or scoring knife (for thin sheets)
- Acrylic cement (e.g., SCIGRIP 3) for bonding pieces
- Vinyl for decals or suitable acrylic-safe paint for graphics
- Sandpaper or edge finishing tools to smooth cut edges
- Mounting hardware such as screws, standoffs, or adhesive strips
- Protective gear: safety glasses and gloves when cutting or gluing
Finishing edge quality matters because rough or uneven edges make a sign look cheap. Use fine-grit sandpaper or a router to smooth edges after cutting. Applying graphics on the back side of clear acrylic keeps your design safe from daily wear and UV exposure. Proper mounting hardware ensures your sign stays level and secure. The cost for materials is typically $30 to $60 for a 12-inch sign, primarily depending on acrylic thickness and graphic complexity.
Choosing the right cutting method depends on your budget and precision needs. For example, a scoring knife is low-cost and effective for simple straight cuts, but laser cutting provides detail and smooth edges with minimal finishing. Adhesives designed for acrylic will bond firmly without fogging or weakening the material. Using paint or vinyl specifically for acrylic ensures your graphics last and resist peeling. Proper selection and combination of tools and materials lead to a sign that looks professional and stands up well to handling and environmental conditions.
2. Choosing the Right Acrylic Type and Thickness
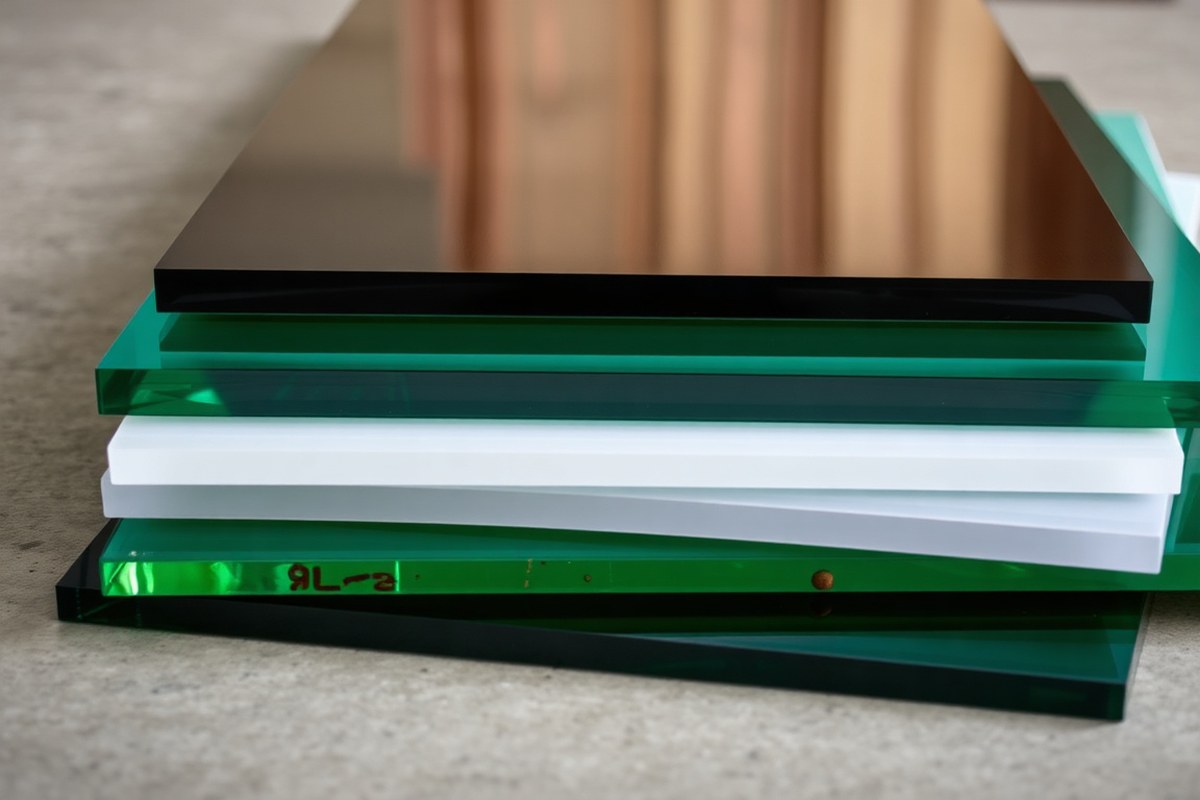
You select acrylic type and thickness based on your sign’s size, location, and intended use to achieve durability and the right look. Clear acrylic is most common for indoor signs, offering a clean, transparent surface that works well with vinyl graphics or paint markers like Uni POSCA. For outdoor signs, aim for acrylic 6mm thick or more to resist wind and impact. Wall-mounted signs typically use 3mm to 5mm thickness depending on their backing, balancing stability and weight.
Opaque acrylic provides a solid, high-gloss surface available in colors like black, white, and pink, ideal for bolder signage where you want full coverage or a painted look without see-through areas. Mirrored acrylic adds a reflective finish on one or both sides, lending elegance to signage but making graphics more challenging to apply and read from certain angles; it’s often paired with wood or other backings for rigidity.
| Acrylic Type | Description | Recommended Thickness | Best Use | Pros | Cons |
|---|---|---|---|---|---|
| Clear Acrylic | Transparent sheet with smooth surface | 3mm, 5mm (indoor), 6mm+ (outdoor) | Indoor signs, LED backlit signs | Easy to customize with vinyl/paint; versatile | Scratches easily; less impact-resistant if thin |
| Opaque Acrylic | Solid colors with high-gloss finish | 3mm, 5mm | Bold indoor/outdoor signs needing strong color | Bold look; hides mounting hardware; UV resistant | Limits light transmission; heavier |
| Mirrored Acrylic | Reflective surface on one or both sides | 5mm recommended for stability | Elegant signage, sandwich boards with backing | Eye-catching; decorative; adds depth | Tricky to apply graphics; fingerprints visible |
Evaluating your sign’s environment helps narrow choices. Large signs benefit from thicker acrylic for sturdiness, especially outdoors. Smaller signs or those inside, like wedding welcome signs, can use 3mm acrylic combined with precise Cricut cutting and drawing, aligning your design space template with the sheet size for perfect fit. Using a template in Cricut Design Space will help place your design accurately on your acrylic sheet before cutting or engraving.
Match your acrylic thickness with your cutting tool settings to avoid cracking or melting during shaping.
Consider what your sign needs to communicate visually and physically. Clear acrylic allows for bright backgrounds or light effects when combined with LEDs, while opaque acrylic provides striking colors that don’t rely on backing surfaces. Mirrored acrylic improve decor but requires careful handling and placement. Indoor signs usually work well with thinner sheets for lighter weight, while outdoor signs need heavier acrylic to endure weather. Planning size, mounting method, and finishing together with acrylic type and thickness ensures a professional-looking acrylic sign that lasts.
3. Safe Methods to Cut and Shape Acrylic at Home
Cutting and shaping acrylic at home can be done safely using several methods, from simple scoring and snapping to more precise options like laser cutting and CNC routing. Each technique has its advantages depending on your tools, budget, and the level of finish you want. Understanding the steps and safety measures helps you avoid common errors and hazards while achieving smooth edges and professional results.
Scoring and Snapping Acrylic Sheets
Scoring and snapping is the most accessible method for hobbyists working with thinner acrylic sheets, typically under 1/4 inch thick. It requires just a scoring knife or utility blade and a straight edge to guide the cut. This manual technique works well for straight cuts but is less precise for detailed shapes. Here’s a step-by-step guide to scoring and snapping acrylic:
- Secure the acrylic sheet on a flat surface with a straight edge clamped or held firmly.
- Score a deep groove along the cutting line using a scoring knife, applying steady, even pressure and repeating the stroke 5 to 10 times to deepen the line.
- Lift the sheet gently away from the scored edge while pressing down along the rest of the sheet, causing it to snap cleanly at the score.
- Smooth any rough edges with fine-grit sandpaper (220 to 400 grit) or a plastic file to remove sharpness.
Scoring works best with sheets up to 1/4 inch thick. Thicker sheets may crack or shatter. The main risks are uneven scoring leading to jagged breaks and injury from sharp edges. Always wear gloves and eye protection during this process.
Using Laser Cutters and CNC Machines
Laser cutting and CNC routing deliver the cleanest, sharpest edges and enable intricate shapes that scoring cannot achieve. These digital tools follow precise vector files to cut or engrave acrylic sheets with smooth, polished edges.
Laser cutters use a focused beam to melt or vaporize the acrylic along the cut lines. This produces fumes that require proper ventilation and extraction systems. While laser cutting usually costs $20 to $40 per project using online services, home-use models like the Cricut Maker can cut thin acrylic sheets (around 0.020 inches) with appropriate settings.
CNC routers physically cut or carve the acrylic using sharp bits and software-controlled paths. They also produce dust and waste material, so a dust collection system and safety glasses are essential. The main advantages of laser and CNC cutting include:
- Precise, clean edges without the need for sanding
- Ability to create detailed logos, text, and shapes quickly
- Consistency across multiple pieces
Files for cutting must be prepared carefully, with all text converted to outlines and cut lines placed on separate layers. This prevents errors like font substitutions or unwanted engraving.
Safety Precautions and Common Mistakes
Safety is critical when cutting or shaping acrylic. Always wear eye protection to shield from flying chips or dust. Gloves protect your hands from sharp edges and blade slips. Work in a well-ventilated area, especially when laser cutting, to avoid inhaling fumes. Using a dust mask can help during sanding or CNC routing.
Avoid rushing the scoring process; repeated shallow cuts are better than a single deep one to prevent cracking. For power tools, follow manufacturer instructions for speed and feed rates to minimize melting or chipping. Never use tools designed for metal as they can cause acrylic to crack. Here’s a safety checklist to keep handy during acrylic cutting:
- Wear safety goggles and gloves
- Work on a stable, clean surface
- Use a sharp scoring blade or properly maintained machine bits
- Ensure good ventilation or use extraction fans when laser cutting
- Sand edges to remove sharpness after cutting
- Keep fingers away from blades and cutting areas
| Cutting Method | Best For | Cost | Precision | Safety Considerations |
|---|---|---|---|---|
| Scoring and Snapping | Thin sheets, straight cuts | Low (tools under $20) | Moderate | Wear gloves, stable surface, eye protection |
| Laser Cutting | Detailed shapes, engraving | Medium to high ($20-40 service or expensive equipment) | High | Use ventilation, avoid inhaling fumes, eye protection |
| CNC Routing | Complex cuts, thicker acrylic | Medium to high (equipment cost plus maintenance) | High | Dust mask, eye protection, clean workspace |
4. Designing Your Acrylic Sign for Maximum Impact
Designing an effective acrylic sign begins with a clear layout that balances readability and style. Prioritize simplicity: use no more than two contrasting fonts to keep the message clear. Sans-serif fonts usually work best for visibility, especially from a distance. Choose a color palette that stands out against your acrylic background; high contrast is key, such as white or bright colors on clear or dark acrylic. Plan your design to use space wisely, leaving margins of at least 0.25 inches around text and images to prevent crowding and improve the sign’s visual appeal.
Using vector design software ensures your layout scales cleanly without losing quality. Adobe Illustrator and CorelDRAW offer professional tools to create and export files as SVG or DXF, which work well for cutting or engraving machines like Cricut Maker. Inkscape is a free alternative that supports these formats as well. Different software varies in cost and learning curve: Illustrator typically costs about $20 per month with Adobe’s subscription, while Inkscape is free but may require more time to learn.
Preparing your design for cutting or printing involves setting the exact dimensions to match your acrylic sheet. Resize your canvas in the software to the acrylic piece size, such as 8 by 10 inches for smaller signs. Convert all text to outlines or paths to avoid font compatibility issues during cutting. For engraving, separate filled areas with clear vector lines. When using vinyl cutouts, design solid shapes rather than thin lines, as very fine details may not cut well on acrylic thicker than 2mm.
Layering adds depth to your design. You can flip the acrylic and paint the back to fill engraved letters, which gives a polished, vivid look while protecting paint from scratches. Acrylic markers allow for softer, handmade effects on the surface but require careful handling to avoid smudging; use masking tape as a stencil or guide to keep lines clean. For multi-layer signs, consider stacking colored acrylic sheets carefully, aligning cutouts so the colors show through for added impact.
Good results look intentional and precise: smooth edges from clean cuts, even paint coverage behind engraving, and balanced spacing all contribute to a professional feel. Mistakes to avoid include overcrowding the design, using tiny fonts below 12 points for readable distance, or relying on too many colors, which can clutter the sign. Planning designs with patience and testing smaller samples before full production saves time and materials.
5. Applying Graphics: Vinyl, Paint, or Engraving Options
You can add graphics to acrylic signs by applying vinyl, painting directly on the surface, or using laser engraving. Each method offers different looks, costs, and levels of durability. Vinyl provides clean shapes and easy application, paint allows flexible customization, and engraving creates permanent, precise designs.
Applying Vinyl Graphics Precisely
Vinyl is popular for crisp letters and shapes on acrylic signs, often preferred for professional-quality results. Applying vinyl requires a clean surface, proper alignment, and care to avoid bubbles or wrinkles. Using application tape and the hinge method helps position vinyl graphics evenly. Follow these steps for the hinge method to apply vinyl:
- Clean the acrylic sheet thoroughly with a lint-free cloth and isopropyl alcohol to remove dust and oils.
- Cut and weed your vinyl design, removing unwanted parts.
- Apply application tape over the vinyl design, smoothing it firmly with a squeegee.
- Place a strip of masking tape on one edge of the vinyl and acrylic to act as a hinge for alignment.
- Lift the vinyl side without the hinge, peel the backing away to expose adhesive.
- Lower the vinyl slowly onto the acrylic along the hinge line, pressing down as you go.
- Use the squeegee to press out air bubbles and ensure full contact.
- Carefully remove the application tape, pulling back slowly at a sharp angle.
Always apply vinyl to a dust-free and dry surface to prevent bubbles and poor adhesion.
Painting Techniques for Acrylic Signs
Painting offers more freedom in design, like shading or custom brush strokes. For best results, paint on the back side (reverse painting) to protect your artwork and create a glossy finish. Acrylic sheets have smooth surfaces that help avoid paint bleed, but you should still use stencils or masking for clean edges.
Start with acrylic paint or specialized acrylic markers. Using a vinyl stencil with a sealant like Mod Podge between the stencil and paint helps keep edges sharp. Allow paint to dry fully before removing stencils or handling the sign to avoid smudging.
Painting the back of the acrylic sign protects your design from scratches and extends its life.
Preparing and Executing Laser Engraving
Laser engraving cuts or etches your design into the acrylic, creating permanent, high-contrast images that won’t fade or peel. Acrylic thickness between 3mm and 5mm works well for engraving small plaques, door signs, and layered artwork. Preparation matters: clean the acrylic and tape delicate areas to prevent smoke marks.
Before engraving, convert your design to black and white with high contrast. Use a laser cutter set to the appropriate wattage and speed for acrylic, too fast may fail to etch clearly, too slow can melt the surface. Test on scrap acrylic to dial in settings. An engraving project usually follows these steps:
- Clean the acrylic sheet to remove dust.
- Tape edges to reduce smoke stains during engraving if desired.
- Prepare the black-and-white design file, optimized for the laser software.
- Set up the laser cutter with acrylic-safe settings (power, speed, resolution).
- Secure acrylic inside the laser bed, avoiding movement.
- Start the engraving and monitor progress.
- Clean the engraved area to remove residue after finishing.
Always wear safety goggles and follow laser cutter manufacturer recommendations to avoid injury or equipment damage.
6. Assembling and Mounting Your Acrylic Sign Securely
Start assembling multi-layer or multi-piece acrylic signs by carefully aligning each piece before attaching them. Use clear acrylic glue or double-sided adhesive tape designed specifically for acrylic. Apply the adhesive evenly, using small dots or narrow strips to avoid excess glue squeezing out. Hold the layers together with clamps or heavy books for 30 to 60 minutes to ensure a strong bond without gaps. A dust-free workspace helps prevent particles from getting trapped between layers, which would spoil the clean look.
Mounting hardware varies depending on where and how your sign will display. For wall-mounted acrylic signs, standoffs are a popular choice. They create a floating effect by holding the sign a fraction of an inch from the surface. Typically made of metal or plastic, standoffs cost between $1 and $3 each and require drill holes matching your sign thickness, usually 3mm to 5mm for small signs and up to 10mm for premium panels. Adhesive pads or strips offer a no-drill alternative but work best on smooth, clean surfaces and tend to support lighter signs only up to around 5 pounds. For freestanding signs, such as A-frames, use thicker acrylic around 5mm or more for stability and secure the pieces together with screws and corner brackets designed for plastics.
Avoid misaligned mounting by marking exact hole positions on your wall or frame first. Use a level and measuring tape to ensure your sign hangs straight and evenly spaced from edges or other elements. Make pilot holes smaller than your screws to reduce acrylic cracking risks. Clean both your wall and acrylic surface with isopropyl alcohol before applying adhesive mounts to remove oils or dust. Press firmly for at least 30 seconds and let cure without disturbance for 24 hours. For heavier or larger signs, a combination of mechanical fasteners and adhesive pads improves security.
Signs mounted outdoors should include hardware made of rust-resistant materials like stainless steel or brass to withstand weather. Chains or ropes can support signs temporarily at events or retail displays, but check weight limits carefully to avoid falls. Choosing the right mounting system for your sign’s thickness and location results in a professional look and durable installation.
7. Adding LED Lighting for Illuminated Acrylic Signs
Adding LED lighting to an acrylic sign makes your design glow with professional-quality illumination. You select LED strips matched to your sign size and voltage needs, install them in grooves behind the acrylic, use diffusion materials to spread light evenly, and troubleshoot common dimming or flickering issues for smooth results.
Choosing the Right LED Strips and Power Supplies
Use either 12V or 24V LED strips, depending on your sign’s length. Smaller signs under 3 feet work fine with 12V strips, which cost around $10 to $15 for a 16.4-foot roll. For longer signs, 24V strips reduce voltage drop and maintain consistent brightness over distances. LED strips with 60 LEDs per meter provide a smooth light distribution, and denser strips with 120 LEDs per meter suit longer or more detailed signs.
Pick LED strips labeled as “warm white” or “cool white” depending on the desired look. Include a compatible power supply rated at 20% higher wattage than the total LED strip load to prevent overheating and flickering. For example, a 40-watt LED strip needs a 48-watt power supply minimum.
Installing and Wiring LEDs Behind Acrylic
Setting up LED lighting requires cutting grooves in wood or mount material beneath the acrylic to hold strips flat and recessed. Position the LED strips about a quarter-inch away from the acrylic to avoid hot spots, and place a diffuser material like opal acrylic or frosted film between the LEDs and the sign surface. This spreads light evenly and hides individual diodes. Follow these steps to install the lighting:
- Measure the acrylic sign dimensions and plan LED strip lengths accordingly.
- Cut grooves on the mounting wood about 0.1 to 0.15 inches deep to seat the LED strips securely with room for wiring.
- Apply adhesive backing on LED strips and press them firmly inside the grooves.
- Install a diffusion layer over the strips before placing the acrylic panel on top.
- Wire LED strips in series or parallel depending on power supply output, using connectors or soldering for durable joints.
- Connect the wiring to a compatible 12V or 24V power supply and test the lights.
- Secure all wiring out of sight and add mounting brackets or screws to fix the acrylic sign.
Troubleshooting Lighting Problems
| Problem | Cause | Fix |
|---|---|---|
| Dark spots or uneven lighting | LED spacing too wide or diffuser missing | Use LED strips with more LEDs per meter; add or reposition diffusion layer |
| Flickering lights | Power supply too weak or loose wiring | Upgrade to a higher wattage supply; check and secure all connections |
| LEDs not turning on | Incorrect voltage, reversed polarity, or damaged strip | Verify power supply voltage; switch polarity if needed; replace faulty sections |
Address these issues before final assembly to avoid costly disassembly. Proper LED selection and wiring ensure your acrylic sign shines brightly and evenly for years.
8. Finishing Touches and Maintenance for Lasting Signs
Polishing acrylic edges improves your sign’s look and protects it from damage. When your edges feel rough after cutting manually or sanding, begin with fine-grit sandpaper (400 to 600 grit) to smooth them out. Progress to higher grit (up to 2000) for a sleek finish. Use a polishing compound or acrylic polish applied with a soft cloth or buffing wheel to get a glossy, clear edge similar to laser-cut acrylic. Avoid excessive heat during polishing to prevent warping or new scratches.
Protecting your graphics and sign surface extends its lifespan. Applying a clear UV-resistant spray or laminate protects vinyl and paint from fading, especially in signs exposed to sunlight. Indoors, high-quality cast acrylic tends to resist yellowing better over time than extruded types, which may show yellowing even without sun exposure. Place signs away from direct heat sources to keep acrylic stable and clear.
Regular cleaning maintains brightness but requires care. Use a soft, non-abrasive cloth with mild soap and water to clean acrylic surfaces. Avoid ammonia-based cleaners or rough materials that cause scratches or cloudiness. Remove dust frequently to prevent it from embedding in the surface.
- Sand edges progressively with 400 to 2000 grit sandpaper for smoothness
- Buff with acrylic polish or a microfiber cloth for gloss
- Use UV protective spray or laminate for outdoor or sunny locations
- Clean gently with mild soap and soft cloth, avoiding harsh chemicals
- Avoid placing your sign near heaters or direct sunlight to prevent warping and yellowing
- Store signs flat and covered if not installed to reduce dust and scratches
Maintaining your acrylic sign involves routine inspections. Look for early signs of yellowing or surface damage and address them quickly. Noticing cloudiness or scratches means re-polishing could restore clarity. For signs heavily exposed to sun, consider periodic reapplication of UV protection to keep colors vibrant.
Never use window cleaners with ammonia on acrylic signs, as these can cause irreversible clouding and damage.
Step-by-Step Action Plan for Your Acrylic Sign Project
Follow these steps to create your custom acrylic sign efficiently and effectively. Check your progress at each stage to ensure quality results.
- Before you start: Gather all essential tools and materials, including acrylic sheets, cutting tools, adhesives, and graphic supplies. Confirm you have everything to avoid interruptions.
- Day 1: Choose your acrylic type and thickness based on your sign’s placement and durability needs. Verify your selection matches your design requirements.
- Day 2: Cut and shape the acrylic using safe, recommended methods like a scoring knife for thin sheets or a jigsaw with a fine blade for thicker sheets. Ensure your cuts are clean and smooth.
- Day 3: Design your sign layout digitally or on paper, refining graphics for clarity and impact. Review the design for readability and style before proceeding.
- Day 4: Apply your graphics using vinyl decals, paint, or engraving techniques. Check that the graphics adhere well and display sharply.
- Day 5: Assemble mounting hardware and secure the acrylic sign in place using appropriate methods like standoffs or adhesive mounts. Confirm the sign is stable and level.
- Day 6: Add LED lighting if desired, wiring carefully and testing the illumination for even coverage and brightness.
- After 1 week: Perform finishing touches such as cleaning, polishing edges, and inspecting for any damage. Use mild cleaners appropriate for acrylic and confirm the sign looks polished and professional.
Frequently Asked Questions
Can You Personalize Acrylic Signs Without Using Vinyl?
Yes, you can use glitter heat transfer vinyl (HTV) or paint directly on acrylic for a custom look. This allows for unique designs ideal for weddings or special events without relying on cut vinyl letters.
How Do You Center Your Design on Acrylic Before Cutting?
In design software like Cricut Design Space, adjust your layout on the virtual mat to center the writing or graphics before cutting on acrylic. This ensures a balanced, professional appearance on your sign.
What Safety Gear Should Be Worn When Cutting Acrylic?
Wear safety glasses and a dust mask to protect your eyes and lungs from acrylic dust and shards. Gloves can also help prevent cuts while handling sharp edges during the cutting process.
Is Acrylic Suitable for Outdoor Signs with LED Lights?
Yes, acrylic works well outdoors and pairs nicely with LED lighting for visibility. Choose UV-resistant acrylic to avoid yellowing when exposed to sunlight over time.
Can Acrylic Signs Be Reused for Different Events?
Acrylic signs can be reused if you use removable graphics or paint that can be wiped off. This is handy for events like weddings and baby announcements where you might want to change text or designs.
What Thickness of Acrylic Is Best for a Large 2ft by 3ft Sign?
A thicker acrylic sheet, around 1/4 inch or more, is best for large signs to ensure durability and stability while preventing bending or warping.
Final Thoughts
Creating an acrylic sign involves careful selection and preparation through to final installation and maintenance. Starting your project with clear steps helps you stay organized and achieve the desired result. Begin by choosing your acrylic sheet and preparing your workspace to set a solid foundation for your sign-making journey.