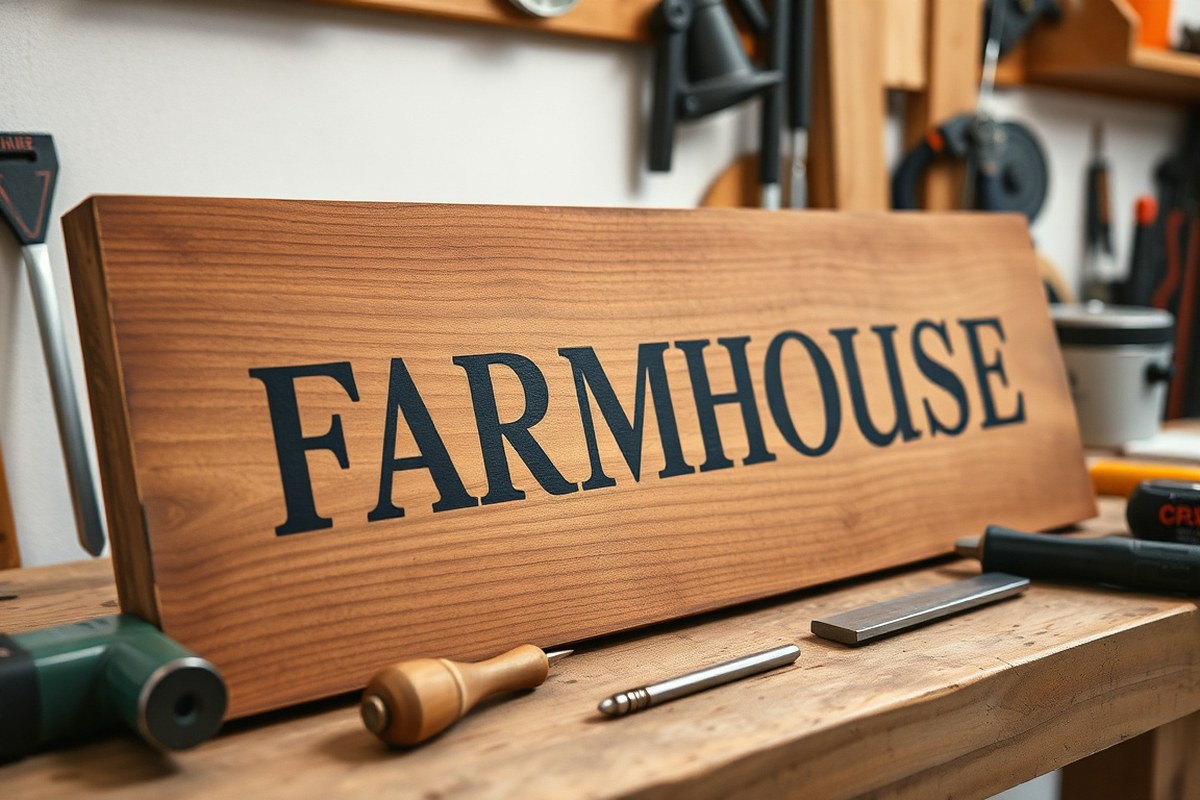
DIY Farmhouse Sign: Complete Step-by-Step Guide with Tips and Cost-Saving Hacks
Creating a diy farmhouse sign offers a simple way to add rustic charm and personality to your home decor. You can make one quickly and affordably using basic materials like wood boards and paint. Start by choosing the right wood size and type to match your desired look and space.
Key Takeaways
- Use a 1×10 wood board between 4 and 8 feet long for versatile farmhouse sign sizes.
- Recycle old wood or frames to save money and add authentic rustic character.
- Paint with neutral tones like white, black, or muted pastels for a classic farmhouse style.
- Hand-letter your sign with stencils or freehand to personalize without needing machines.
- Sand wood edges and surfaces lightly to create a weathered, aged appearance.
- Seal your finished sign with clear matte varnish to protect it indoors and out.
What Is a DIY Farmhouse Sign and Why Make One?
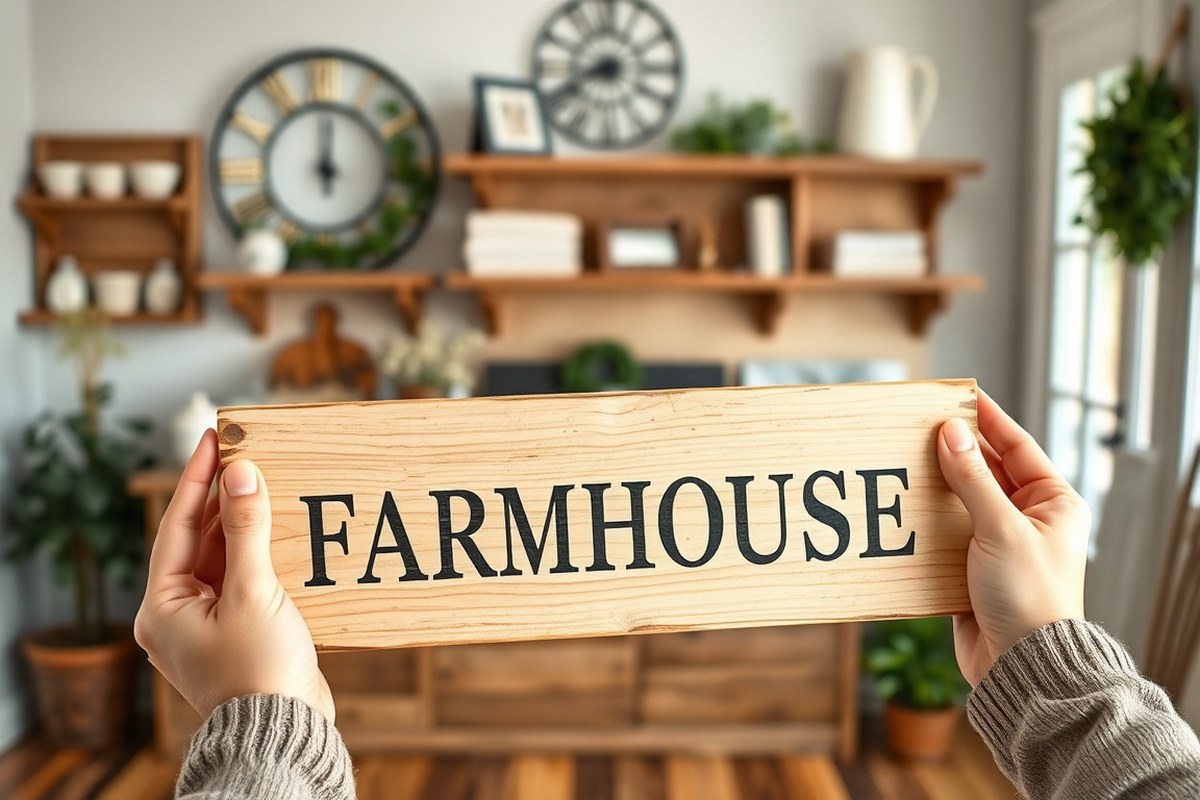
A farmhouse sign is a decorative piece often made from wood and painted or stenciled with simple, warm phrases or images that reflect rustic, country charm. These signs usually feature worn, distressed finishes that mimic the look of aged wood and vintage paint, making them a staple in farmhouse-style homes. Common phrases include welcoming greetings, family names, seasonal messages, or inspirational quotes, all designed to add a cozy and personal touch to living spaces.
People choose to make their own farmhouse signs because DIY versions allow for complete customization while being budget-friendly. Creating a sign yourself costs significantly less than buying one, often under $10 for materials like wood, paint, and a brush. Making it also offers creative control over the size, color, and wording, ensuring the sign fits perfectly with your home décor and style preferences. The process is straightforward and beginner-friendly, requiring only basic supplies and no special equipment, which makes it accessible to anyone wanting a hands-on project.
Designing your own farmhouse sign usually starts with selecting a piece of wood that fits your desired space. Rough-sawn pieces or pallet wood can be used to achieve the rustic look without extra finishing. Painting a background coat, then stenciling or hand-painting letters and images, brings the sign to life. Popular fonts lean toward simple, readable styles that mimic hand lettering. You can download free or paid templates to help with layouts and lettering accuracy, or you can practice freehand if you want a more genuine, handmade result.
DIY farmhouse signs work well in many rooms, especially kitchens, entryways, and living rooms, often placed above fireplaces or on open wall spaces. Besides being decorative, these signs create a welcoming atmosphere that feels lived-in and comfortable. Seasonal or holiday-themed signs can easily be swapped out or created as multiples for variety, using the same sign base with removable paper rolls or easily painted over surfaces. This versatility and personal touch explain why experiencing the satisfaction of making your own farmhouse sign has become so popular.
Choosing Materials: Wood, Paint, and Supplies Checklist
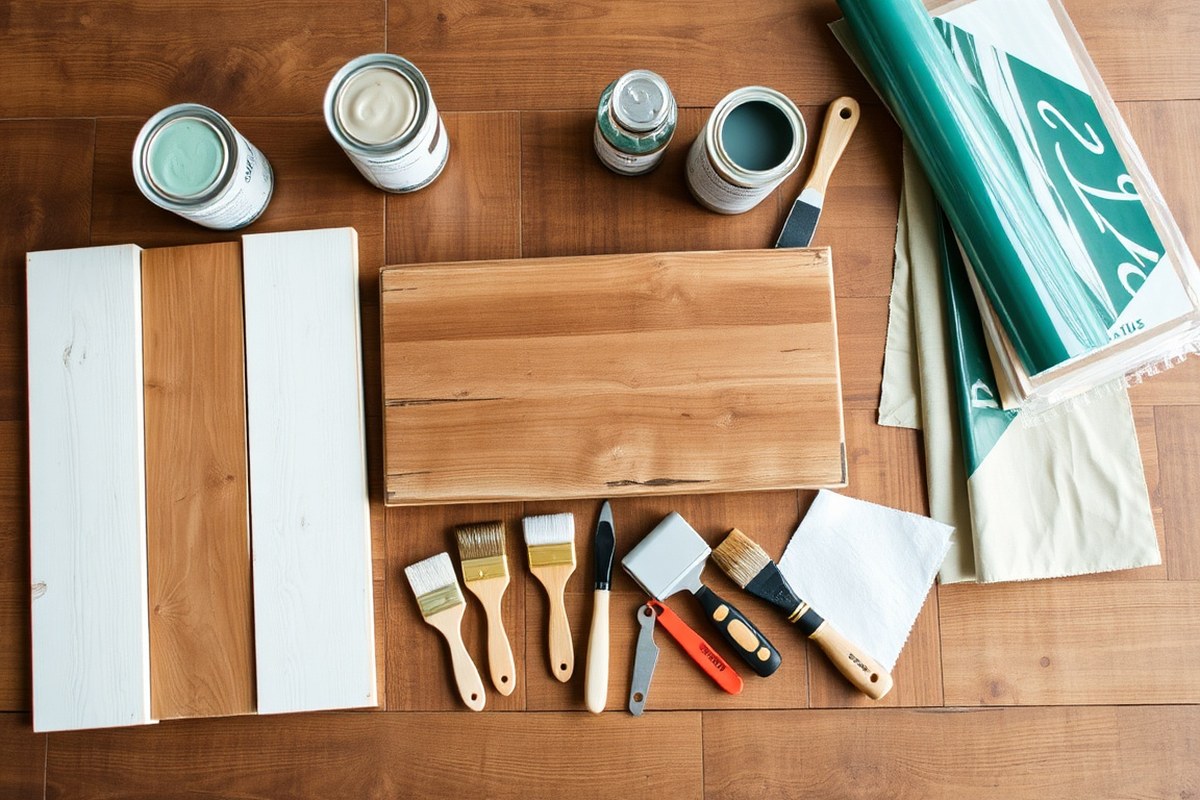
Wood is the most common base for farmhouse signs because of its natural, rustic feel. Pine boards are often the best choice since they’re affordable, easy to paint or stain, and have a smooth surface for painting letters. You can also repurpose pallet wood if you want a more weathered look and are okay with extra prep work. Avoid particle board or MDF, which don’t hold up well outdoors or absorb paint unevenly. For the best results, pick wood pieces around 1/2 to 3/4 inch thick and cut to your desired size, typically between 12×18 inches and 18×24 inches for an easy-to-handle sign.
Choose acrylic paint for bright colors that dry quickly and resist chipping, or use water-based stain for a softer, vintage vibe. Flat or satin finishes work well for that classic farmhouse style. Brushes are also important: synthetic bristle brushes between 1/2 to 1 inch wide give you fine control for lettering and background painting. Price-wise, a set of decent brushes can run $5 to $12. Paint pens offer an affordable and easy alternative for lettering if you want more precision without the mess of a fine brush.
You don’t need a vinyl cutter or transfer papers to make great farmhouse signs. Hand-painting letters or using stencils cut with scissors or craft knives save money and still achieve charming results. For beginners, tracing letters printed on paper and transferring with pencil rubbing or graphite paper works well. This method avoids the added cost of machines and materials, keeping the project under $20 easily.
- Pine wood board, 1/2 to 3/4 inch thick ($5-$10 each)
- Acrylic paint or water-based wood stain ($3-$7 per bottle)
- Synthetic bristle brushes, assorted sizes ($5-$12 per set)
- Paint pens for lettering ($4-$8 per pen)
- Sandpaper (medium grit, 120-150) for smooth wood ($2-$5 per pack)
- Hammer and nails or wood glue for assembly (optional, $1-$5)
- Printed letter templates or stencils (free if DIY, $2-$5 if bought)
Some budget-friendly options include buying smaller paint bottles or samples instead of full sizes and reusing scrap wood from other projects. You can also skip fancy brushes and use regular craft brushes, but expect less control on detailed lettering. Sanding your wood lightly before painting helps paint stick better and prevents uneven finishes. Rough or untreated wood can absorb too much paint and cause blotchy results, which won’t look as polished.
Take time to sand your wood evenly before painting and use thin layers of paint to avoid drips and streaks on your farmhouse sign.
Preparing Wood for a Rustic Farmhouse Look: Step-by-Step
Getting the wood ready is the foundation of a farmhouse sign that looks authentic and rustic. You need to select the right type of wood, cut it accurately, sand for smoothness or a weathered texture, and apply stain or paint evenly. These steps ensure your sign has both a sturdy base and the charming worn finish farmhouse styles are known for.
Selecting the Right Wood Type and Size
Choose wood that fits your farmhouse style, such as pine, cedar, or reclaimed pallet wood, which often already has a weathered look. Standard board sizes like 1×6 or 1×8 work well; for a 2-foot by 4-foot sign, cut accordingly or buy pre-cut pieces. Avoid fancy furniture-grade wood since rustic charm depends on texture and imperfections.
Measure your board accurately to fit your desired sign size. Mark with a pencil and use a circular saw or miter saw to cut straight edges. Cutting your wood precisely saves sanding time later and creates clean borders for painting or staining.
Sanding Techniques for Smooth and Weathered Finish
Sanding smooths rough spots but also helps create a rustic look by softening wood edges and revealing natural grain patterns. Start with 80-grit sandpaper to remove splinters and uneven surfaces. Then, switch to 120-grit for a finer finish.
Focus on sanding edges and corners lightly to mimic natural wear. Avoid over-sanding flat areas if you want a weathered texture. Use a sanding block for flat surfaces and a sponge or small piece of sandpaper folded for corners. Wipe the wood clean with a dry cloth to remove dust before staining or painting.
Applying Stain or Base Paint Evenly
Applying stain or base paint creates the color foundation for your farmhouse sign. Choose a stain like Minwax Wood Finish Penetrating Stain in a dark color such as Espresso for rich warmth. For a lighter base, use chalk paint or a base coat in pale colors like Behr Premium Plus Ultra paint in Frost.
Use clean cloths or brushes to spread stain or paint evenly along the wood grain. Apply thin coats and wipe off excess stain promptly to avoid blotches. Let each coat dry fully, typically 2 to 4 hours for stain or 1 hour for paint, before layering another. For a weathered look, lightly sand between coats with 220-grit paper and apply a second coat only where the coverage is uneven.
Finish with clear spray sealant to protect the surface if the sign will be outdoors. This keeps the stain or paint from fading or peeling over time.
- Pick your wood type (pine, cedar, or pallet wood) and measure the desired size, such as 2 feet by 4 feet.
- Mark cutting lines with a pencil, then cut your boards using a circular or miter saw for straight edges.
- Sand the wood starting with 80-grit sandpaper to remove rough areas and move to 120-grit for smoother surfaces.
- Lightly sand edges and corners to create a worn, rustic effect, but keep the flat areas smoother for painting.
- Clean off sanding dust with a dry cloth before applying stain or paint.
- Apply thin coats of stain or base paint along the wood grain using a brush or cloth, wiping excess stain promptly.
- Allow each coat to dry completely between applications, sanding lightly with 220-grit paper if a more weathered finish is desired.
- Seal the wood with clear spray paint if you want a longer-lasting, weather-resistant finish.
Designing and Lettering Farmhouse Signs Without Special Machines
You can create farmhouse-style signs with beautiful lettering and designs without needing vinyl cutters or stencils. Several manual techniques help transfer your chosen fonts and quotes onto wood, including carbon paper transfer, pencil tracing, and freehand painting. These methods suit beginners and allow for custom rustic looks on a budget.
Using Carbon Paper and Pencil Transfer
Using carbon paper is an affordable and accurate way to transfer farmhouse fonts and designs. Start by printing your chosen design on regular printer paper. Then place a sheet of carbon paper between the printout and your wood surface with the carbon side facing down. Trace over the letters and images with a pencil or ballpoint pen, pressing firmly enough to transfer the outlines onto the wood.
Carbon paper is inexpensive, a pack of 100 sheets usually costs under $10. This method is quicker and cleaner compared to traditional pencil tracing, where you rub pencil marks on the back of the printout. Pencil transfer can smudge or miss details, especially with complex fonts. Once your design is on the wood, use paint or permanent markers to fill in the lines. Carbon paper works especially well for popular farmhouse fonts that you can find for free online, often coupled with charming quotes like “Gather” or “Bless this Home.”
Freehand Painting Tips for Rustic Lettering
Freehand painting is a viable option if you want more control or a truly unique sign. Beginners can start by sketching light pencil outlines as a guide. Use small, angled brushes to carefully paint letters using acrylic paint or chalk paint.
To keep a rustic farmhouse look, embrace slight imperfections in your letters. Avoid sharp edges; soft curves and uneven lines add character. Practice a few letters on scrap wood to get comfortable with brush pressure and strokes.
Try painting your farmhouse fonts in layered colors for a weathered look, such as white paint over gray, sanding parts lightly after drying. This approach adds depth without needing special equipment. For control, use a small water cup to dilute paint slightly, making brush strokes flow better.
Digital Design and Print-then-Trace Methods
Printing your design and tracing it onto wood is an easy way to get farmhouse fonts without cutting machines. Print your font or quote in size and style desired on standard printer paper. Tape this paper onto the sign surface and use a sharp pencil or ballpoint pen to trace over the lines firmly.
The pressure creates an imprint on the wood surface, which you can then paint over. This takes less time than transferring with graphite pencil behind the sheet and reduces the chance of smudging. It also works well for complex designs with vintage or antique elements that fit farmhouse style.
Signs made this way can range from small nursery decor on rustic wood rounds to larger bakery or seasonal signs. You can customize these signs with multiple fonts by printing each word separately to arrange for balance and spacing before transfer. Comparing transfer methods and results shows differences in cost, speed, and ease of use, which helps you pick the right approach for your skill level and project size.
| Transfer Method | Approximate Cost | Time to Complete | Skill Needed | Best For |
|---|---|---|---|---|
| Carbon Paper Transfer | Less than $10 for 100 sheets | 10, 20 minutes per design | Beginner to Intermediate | Accurate lettering, complex fonts |
| Pencil Tracing | Free (uses pencil and paper) | 20, 30 minutes per design | Beginner | Simple fonts, small signs |
| Freehand Painting | $5, $15 (paint & brushes) | 30+ minutes depending on size | Beginner to Advanced | Custom rustic style, unique signs |
| Print-then-Trace | Free (uses printer & pencil) | 15, 25 minutes per design | Beginner | Complex vintage designs, layering fonts |
Choosing between these methods depends on your budget, time, and level of comfort with drawing or painting. Carbon paper offers the best mix of speed and accuracy without special tools. For a true rustic feel, freehand painting lets you add personality but requires practice. Printed designs traced by pressure are quick and replicate more detailed fonts.
Building and Finishing Your Farmhouse Sign: Frames and Protection
Adding frames, trim, and protective finishes completes your farmhouse sign and increases its durability. Choose or build a frame that highlights the rustic, vintage style of your sign. Use sealants suited for indoor or outdoor exposure to protect the wood and paint while preserving that warm farmhouse charm.
Attaching Frames and Trim for Rustic Charm
Frames anchor the look of your farmhouse sign and can either be purchased pre-made or built from scrap wood. A simple frame built from 1×2 or 1×3 pine boards often works best for a rustic appearance. Trim can also be added around edges for detail, such as beveled or ripped wood strips. Frames with visible nails or slight imperfections add character but make sure corners are square to avoid warping.
To attach a frame, measure your sign accurately to fit the frame pieces tightly around the edges. A basic method uses wood glue and finishing nails or a brad nailer for a clean hold. Pre-staining or painting your trim pieces before attachment reduces chipping of the finish. For a vintage look, consider distressing the frame edges lightly with sandpaper after assembly.
- Measure each side of your sign and cut frame pieces to the exact lengths, ensuring corners will meet at a 45-degree angle.
- Sand the cut edges smooth and apply your preferred stain or paint to each frame piece.
- Let the stain or paint dry completely, usually 1-2 hours for stain and 30-60 minutes for paint.
- Apply wood glue along the back edges of each frame piece where it meets the sign surface.
- Position the frame pieces around the sign, carefully aligning corners.
- Secure each frame piece with 1-inch finishing nails, driving them into the sign edges.
- Fill any nail holes with wood filler if desired, and lightly sand after drying for a smooth finish.
- Wipe away sanding dust with a tack cloth before moving on to sealing.
A frame too tight can cause the wood to warp as it expands; leave a small gap if your sign will be in a humid or outdoor environment.
Applying Sealants and Protective Coatings
Sealants protect your sign’s paint and wood from moisture, dirt, and fading. For signs displayed indoors, a clear water-based polyurethane or polycrylic works well. Outdoor signs need a more durable, weather-resistant finish such as exterior-grade spar urethane or a marine varnish to withstand sun and rain. Finish coatings also improve color depth and add a slight sheen, but a matte finish keeps the rustic farmhouse look subtle.
Apply thin, even coats with a high-quality synthetic brush or foam brush. Let each coat dry completely before applying the next, which usually takes about 2-4 hours depending on the product and humidity. Two to three coats provide good protection without obscuring the texture of the wood. Avoid thick coats that drip or leave bubbles.
Troubleshooting Common Finishing Issues
Frames that aren’t square make your sign look uneven; recheck measurements with a carpenter’s square before nailing. If nails split the wood, reduce nail size or drill pilot holes first. Uneven staining or blotchy finish often comes from not sanding enough or applying stain on dry wood.
Bubbles, streaks, or peeling in the sealant usually result from inadequate drying time between coats, poor brushing technique, or applying finish in high humidity or extreme temperatures. Sand lightly with fine-grit sandpaper between coats to smooth the surface. For outdoor signs, inspect yearly and reapply finish as needed, generally every 1-2 years depending on exposure.
How Long Does a DIY Farmhouse Sign Take? Planning Your Project
Creating a DIY farmhouse sign generally takes anywhere from a few hours to a couple of days, depending on the methods and materials you use. Planning a realistic timeline helps you arrange your project so you don’t feel rushed and can get the best rustic look. Each step, preparing the wood, painting, lettering, and finishing, has its own time needs and potential delays.
Wood preparation usually demands at least 30 to 60 minutes. This involves sanding the wood for a smooth surface and applying any base stain or paint. Allow the stain or paint to dry completely, which can take 2 to 4 hours or longer if you apply multiple coats or work in humid conditions. Planning for this drying time is important since rushing can cause smudged or uneven finishes.
Lettering can vary widely in time based on your method. Hand-painting letters typically adds 30 minutes to an hour, depending on your skill and sign size. Using pre-cut stencils or vinyl transfers speeds this up to 15-30 minutes, but might cost more in supplies. For a farmhouse sign, slight imperfections in brush strokes add character, so don’t worry about perfection.
- Wood sanding and prepping: 30-60 minutes
- Applying and drying paint or stain: 2-4 hours per coat
- Lettering by hand: 30-60 minutes
- Lettering with stencils or transfers: 15-30 minutes
- Applying sealant or protective finish: 1-2 hours including drying
Environmental factors such as temperature and humidity significantly affect drying times. Cooler or more humid days extend how long paint and finishes need to dry. Working indoors under controlled conditions can speed things up and minimize dust. However, paint fumes or strong smells might require good ventilation.
The finishing step includes applying protective clear coats or sealants, which usually takes 1 to 2 hours with drying time factored in. A proper finish protects your sign and adds to the rustic charm, so don’t skip this step even if it prolongs the project. Depending on the product, you might need multiple layers, each requiring drying time.
Some methods can shorten the build time but might reduce customization. For example, using pre-cut wooden letters glued onto the base eliminates hand-lettering but may not achieve the same farmhouse style. Similarly, opting for spray paints dries quicker but can be harder to control for detailed work.
Common Mistakes and How to Fix Them in Farmhouse Sign Making
Lettering and painting mistakes are common hurdles in farmhouse sign making that can affect the final look. Uneven lettering, smudges, or paint bleeding often result from rushing or using the wrong tools. To avoid this, use quality stencils or painter’s tape to keep lines clean and steady. Applying thin paint layers and letting each dry for at least 30 minutes reduces smudging and uneven coverage. Acrylic paint is a good choice because it dries fast and resists cracking.
Wood warping or cracking is mostly caused by moisture changes and inadequate preparation. Wood that isn’t dry or sealed properly will expand and contract with humidity, leading to warps or cracks. You can prevent this by selecting kiln-dried wood or reclaimed wood that has been thoroughly dried. Before painting or staining, apply a wood conditioner or primer to stabilize the surface and reduce moisture absorption. Store your sign flat in a dry place for 24 to 48 hours after finishing to help it set evenly.
Smudged paint or stain can ruin a carefully crafted sign but fixing this damage is manageable. If you catch smudges before the paint dries, quickly wipe the area with a damp cloth and let it dry fully before reapplying paint. After paint dries, gently sanding the smudged area with fine-grit sandpaper (around 220 grit) smooths the surface for repainting. Avoid heavy pressure to prevent deep scratches. For stains, blot spills immediately and use wood-friendly cleaners to lift spots without damaging the finish.
- Use pencil lightly to sketch lettering before painting to catch errors early.
- Apply paint with small brushes or foam brushes for better control on letters.
- Seal wood with a clear matte polyurethane for longevity and moisture protection.
- Keep sign pieces flat and weighted down while drying to prevent warping.
- Work in a dust-free, well-ventilated space to avoid debris sticking to wet paint.
- Practice lettering on scrap wood to gain confidence before your final sign.
- Use painter’s tape edges as guides to keep straight lines for borders and text.
These precautions take a little extra time but make a big difference in the quality of your farmhouse sign. Clean lines and smooth finishes give your sign that polished, professional look that suits rustic decor perfectly. Keep your workspace organized and take breaks between layers to avoid rushing. The cost for fixing such issues is mostly your time and a few supplies like primer, sandpaper, or painter’s tape, usually under $10 total. Patience pays off by reducing waste and frustration.
Customizing Farmhouse Signs for Seasons and Special Occasions
Seasonal and special occasion farmhouse signs bring a warm, personal touch to your home without needing a new sign for every change. Choosing phrases and designs that fit holidays or seasons helps your decor feel fresh year-round. For fall, phrases like “Give Thanks,” “Pumpkin Patch,” or simple leaves and acorn motifs work well. Winter might call for “Joy,” “Let It Snow,” or snowflake designs, while spring and summer lend themselves to “Bloom Where You’re Planted,” floral patterns, or beachy themes like “Salt Life.”
Design your sign so the main background remains neutral and rustic, using natural wood tones or whitewashed boards. This base looks good year-round and doesn’t need repainting. Then create interchangeable panels or inserts for the seasonal phrases and artwork. One popular method is making a double-sided sign with different seasonal messages on each side. You can rotate the sign depending on the time of year. Another way is to use thin slotted frames allowing you to slide in new panels or painted wood pieces without disturbing the entire sign.
Materials like lightweight plywood or medium-density fiberboard (MDF) painted in your base color are ideal because you can paint and dry interchangeable inserts in advance. Use craft paint or chalk paint, which peels less and dries in under an hour. Attach your seasonal pieces using thin Velcro strips or small clamps to make swapping fast and tool-free. This approach keeps costs low since you only update part of the sign instead of rebuilding it completely.
The exact size of your interchangeable part depends on the overall sign size but typically should be about half the height and width to balance the rustic look with practical changes. For instance, a 12-by-18-inch sign might have a 10-by-14-inch insert. Prepare a simple template by creating a stencil of your go-to phrases with block letters about 2 to 3 inches tall. This sizing keeps the message clear but fits within that panel. Hand-paint or use stencils to maintain consistent lettering season after season.
Before painting your new seasonal insert, lightly sand the surface to avoid paint peeling or flaking, especially if you reuse the same piece across years. Seal finished inserts with a clear matte spray sealer and allow at least 24 hours to dry. Store old inserts flat in a dry place to preserve them. Failure to do this may cause warping or paint damage, spoiling the clean, farmhouse look you want.
Keep your base sign simple and neutral, and swap out smaller, lightweight inserts with Velcro or slots to easily switch messages without redoing the whole sign.
Step-by-Step Action Plan for Your DIY Farmhouse Sign
Follow this plan to create your custom farmhouse sign on a manageable schedule. Each step has a clear goal to help you track your progress and keep your project on track.
- Before You Start: Gather materials including wood, paint, brushes, stencils (if using), and protective finish. Confirm all supplies are ready to avoid delays.
- Day 1: Prepare your wood by sanding and staining or painting the base color. Check the surface is smooth and evenly coated before moving on.
- Day 2: Sketch your design with pencil or apply stencils for lettering. Make sure spacing and alignment look good before painting.
- Day 3: Paint letters and design elements carefully. Allow paint to dry fully to prevent smudging.
- Day 4: Add any distressing or decorative touches to create a rustic farmhouse look. Review your work for consistent style.
- Day 5: Apply a protective finish like a clear varnish or wax. Confirm the sign feels dry and sealed to the touch.
- Day 6: Attach frames or hanging hardware as needed for display. Test stability and hanging function before use.
Frequently Asked Questions
What Tools Do I Need Besides Paint and Wood for a Farmhouse Sign?
You need basic tools like sandpaper, brushes, and a ruler. These help you prepare the wood, paint neatly, and measure your design accurately.
How Do I Choose the Right Phrase for My Farmhouse Sign?
Pick a phrase that reflects your style or seasonal theme. Keep it short and readable for the best farmhouse look.
Can I Use Recycled Wood for My Farmhouse Sign?
Yes, recycled wood works well and adds charm. Just make sure it’s clean and sanded smooth before painting.
How Do I Protect My Farmhouse Sign for Outdoor Use?
Use a clear outdoor sealant after painting. This protects against weather and extends the sign’s lifespan.
What Is the Best Way to Hang a DIY Farmhouse Sign?
Use sturdy picture hangers or hooks. Make sure the hardware can hold the sign’s weight securely on your wall.
Can I Stencil Designs Instead of Freehand Lettering for DIY Farmhouse Signs?
Stenciling is an easy option for beginners. It gives neat, consistent letters without the need for special machines.
Final Thoughts
Creating a farmhouse sign lets you add charm to your home while keeping costs low and personal style high. Start with simple materials and methods, adjusting with your skills and creativity. Try making a small sign for a specific room or season to gain confidence and enjoy the process.