What Is a Cabinet Sign? A Complete Guide to Choosing and Using Them
What is a cabinet sign? It’s a rigid, box-shaped sign that houses internal lighting to illuminate your branding or messages day and night. These signs use materials like aluminum and acrylic to create durable, eye-catching displays that work 24/7 to attract customers. Starting with a clear design helps ensure your cabinet sign delivers the right impact for your location.
Key Takeaways
- Cabinet signs typically cost between $1,500 and $5,000, depending on size and features.
- LED lighting inside cabinet signs lasts around 50,000 hours, reducing maintenance needs.
- Push-through and backlit designs offer different visual effects based on lighting placement.
- Customizing with 3D elements and special materials can make your sign stand out.
- Double-face cabinet signs are effective for high visibility on poles or building corners.
- Indoor cabinet signs avoid weather damage and can use simpler lighting options.
What Is a Cabinet Sign and How Does It Work?
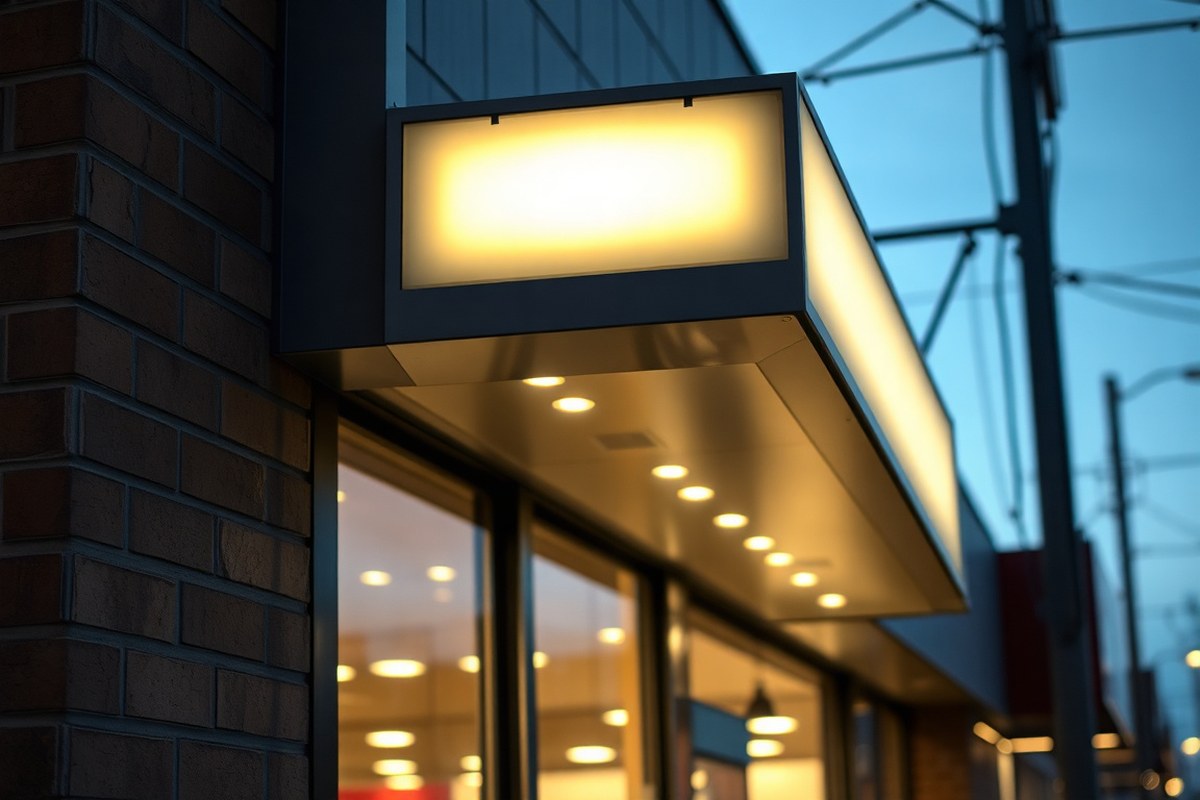
A cabinet sign is a rigid, box-shaped structure designed to display your brand or message prominently. It functions as a self-contained unit with a front face that shows your business name, logo, or other graphics. The box often contains an internal light source, making it highly visible during the day and night, which is why it’s sometimes called a light box or box sign. Usually mounted on a building’s exterior, it acts as a constant branding tool that works 24/7 to attract customers and increase brand recognition.
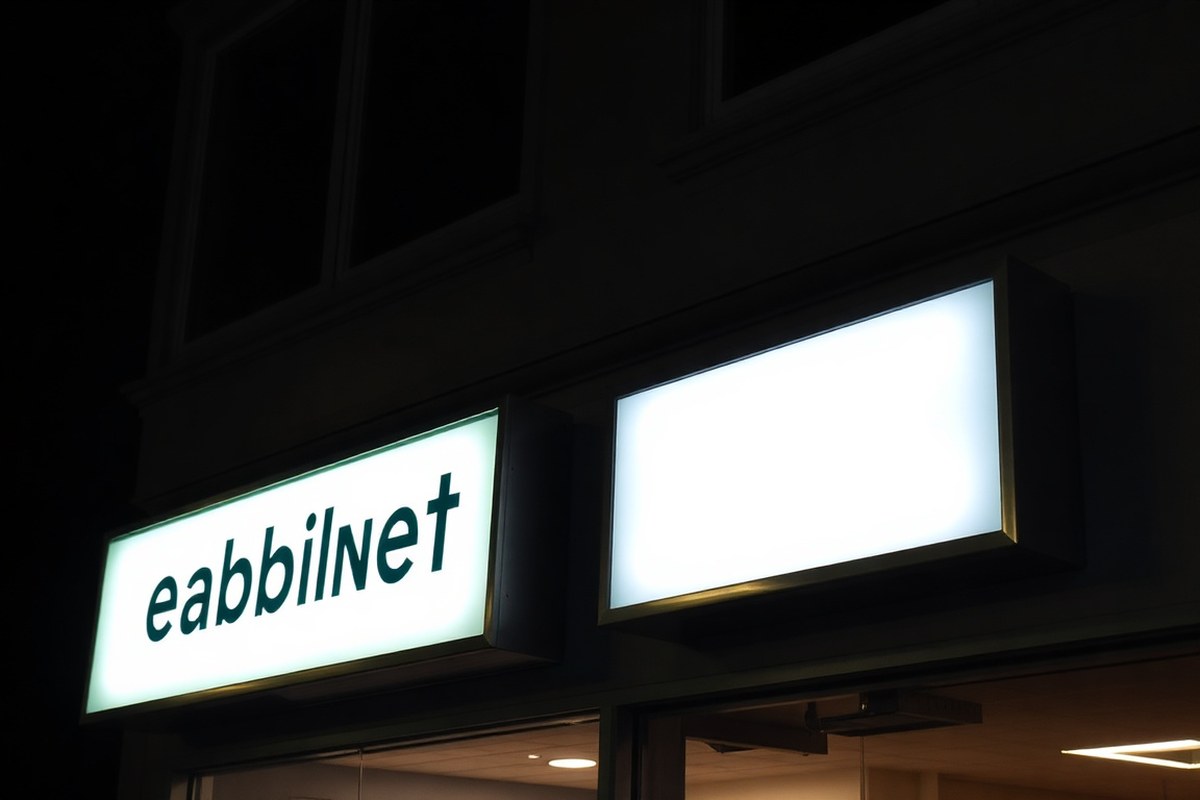
The primary method a cabinet sign uses to display information is through its front face, which is commonly made of acrylic or polycarbonate material. Graphics or lettering are applied directly to this surface or created as part of the face design. Illumination improves visibility, with fluorescent tubes or LED modules placed inside the box to shine light evenly from behind the sign face. This backlighting creates a clear, vibrant display and allows your branding to stand out at night or in low-light conditions. The even glow across the sign surface is a key feature that distinguishes cabinet signs from other types of signage.
Sometimes a cabinet sign includes push-through elements. This design features dimensional letters or logos that extend through the sign face, adding depth and a more three-dimensional effect. Whether lit or unlit, these signs are available in various shapes and sizes but tend to maintain their characteristic box or cabinet shape. The common shape and lighting mechanism are why people often refer to them interchangeably as light boxes or box signs.
The flexibility of cabinet signs is another reason they are popular. You can update the graphics or branding without replacing the entire structure. For example, if your logo changes, a new sign face can be produced and installed in the existing cabinet, often saving time and expense. In addition, cabinet signs can be adapted for indoor or outdoor use, although indoor signs don’t face weather-related wear and tear.
Investing in a cabinet sign means choosing a branding tool that combines durability and visibility. Typical fabrication costs start around $49 per square foot, making them a cost-effective way to maintain consistency across multiple locations. While the basics are straightforward, box structure, illuminated face, the options for customization mean you can create a sign that fits your business style and location needs. The best outcomes come from ensuring an even internal light placement and clear, high-quality graphics that represent your brand professionally and attractively.
Key Components and Materials Used in Cabinet Signs
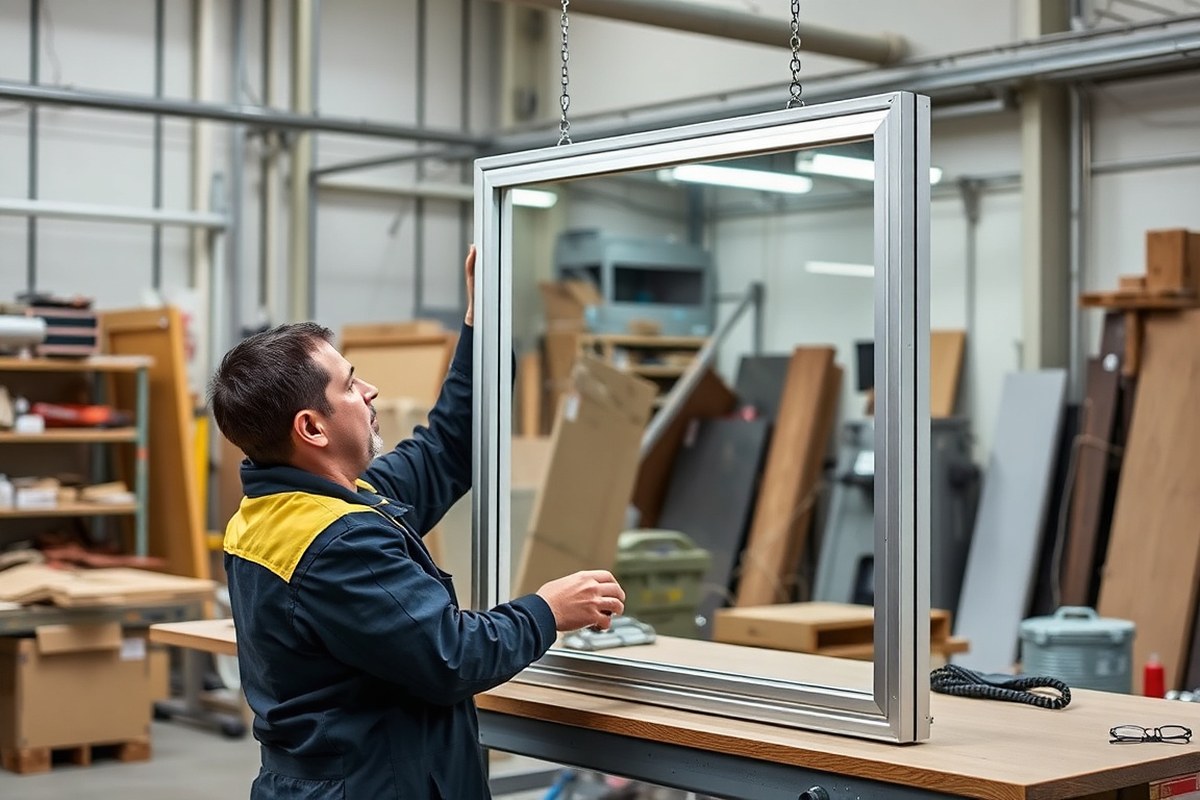
The core structure of a cabinet sign consists of a frame, usually made from aluminum, enclosing the sign face and the lighting fixtures inside. Aluminum is the preferred material for the housing because it is lightweight, strong, and highly resistant to corrosion. This means your sign can stand up to outdoor weather without rusting or warping, which keeps maintenance low and your display looking sharp for years. For larger signs, steel may be used for additional strength, especially if wind load and structural support become concerns.
The faces of cabinet signs are typically made from impact-resistant materials like acrylic or polycarbonate. Acrylic offers a clear, bright surface that allows the internal lighting to shine through evenly, while polycarbonate provides extra durability when vandal resistance or extreme weather conditions are a factor. These materials are translucent, which means the sign’s graphics and letters can be illuminated from within, improving visibility day and night.
Internal illumination often comes from energy-efficient LED lights mounted inside the aluminum housing. LEDs provide consistent, bright light without generating much heat, which protects the sign components and reduces electricity costs. The lighting layout inside the cabinet is designed to evenly spread light across the sign face to avoid dark spots or hotspots, making your brand message clear from a distance. Some signs feature individual illuminated letters that sit on or project from the face, using acrylic or metal with LEDs inside to create an eye-catching halo glow.
Because the face is a separate component from the housing, it can be replaced or updated without rebuilding the entire sign. This modular design saves time and money when refreshing your brand or repairing damage. Sizes vary, but typical thicknesses for aluminum frames range from 0.08 to 0.125 inches (about 2 to 3 mm), offering the right balance between durability and weight. Installation brackets or mounting systems attach the cabinet securely to a wall, pole, or freestanding structure, depending on your location and signage needs.
Choose a cabinet sign with a polycarbonate face rather than acrylic if your location faces frequent vandalism or harsh weather, as it’s more impact resistant and better suited for long-term durability.
Aluminum also supports customization with painted finishes or powder coatings available in several colors. This flexibility lets you match your sign’s housing to your brand identity or building design perfectly. Inside, wiring and LED modules are protected by the enclosure, which is sealed to prevent water ingress and extend the electronics’ lifespan. Taking care to select a sign with proper sealing and quality materials helps avoid costly repairs related to moisture or UV damage over time.
Types of Cabinet Signs and Their Best Uses
Cabinet signs come in a variety of types tailored to different visibility needs, aesthetic preferences, and budget considerations. The most common styles include single-sided and double-sided options, illuminated or non-illuminated cabinets, and specialty designs like push-through and slim cabinets. Understanding these types helps you pick the right sign that aligns with your business location, brand style, and lighting requirements.
Single-Sided vs Double-Sided Cabinets
Single-sided cabinet signs display your message on one face, making them ideal for mounting directly against a wall or building façade where visibility is limited to one direction. They tend to be more cost-effective due to simpler construction and installation. For businesses located on a busy street or at corners, double-sided cabinet signs provide visibility from both directions, effectively doubling exposure to potential customers.
Double-sided signs typically require more strong framing and greater maintenance because they are exposed on both faces to outdoor elements. The installation cost and complexity also increase compared to single-sided models. Choosing between single- and double-sided cabinets depends on your site’s layout and customer traffic flow; double-sided signs work best where foot or vehicle traffic approaches from multiple directions.
Illuminated: LED vs Fluorescent and Non-Illuminated
Illumination greatly improve a sign’s visibility, especially after dark. LED lighting has become the industry standard due to its energy efficiency, longevity, and low maintenance needs. A modern LED cabinet sign will typically consume less electricity and last over 50,000 hours, requiring minimal upkeep, which saves money over time. Fluorescent lighting was the traditional choice before LEDs took over; it can still offer bright illumination but uses more power and requires more frequent bulb replacement.
Non-illuminated cabinet signs offer a durable, budget-friendly alternative for locations where night visibility is not critical or where external lighting is present. These signs also work well indoors or under well-lit canopies. Choosing illumination depends on your business hours, location lighting conditions, and whether nighttime visibility is a priority.
- Non-illuminated cabinet signs cost less upfront and suit indoor or well-lit outdoor areas
- LED illuminated signs use significantly less energy than fluorescent options
- Fluorescent cabinet signs may cost less initially but have higher maintenance over time
- Illuminated signs improve visibility day and night, boosting brand exposure
- Local sign codes may regulate illumination types and brightness levels
Opt for LED illuminated cabinets if your sign needs to attract customers during evening hours, while non-illuminated models are suitable for daytime-only visibility or cost-conscious projects.
Specialty Styles: Push-Through and Slim Cabinets
Push-through cabinet signs feature individual letters or logos that are cut out of the cabinet face and pushed through the sign’s surface. The exposed letters are often illuminated from behind, creating a halo or backlit effect that adds depth and texture to the graphics. This style works well for businesses seeking a distinct and eye-catching look while maintaining the durability of a cabinet sign.
Slim cabinet signs have a thinner profile than standard boxes, giving them a sleeker appearance. These signs are more visually subtle and often used in urban environments or storefronts where space is limited or where a modern aesthetic is preferred. Slim cabinets can be single- or double-sided and are typically illuminated with LEDs to maximize impact without bulk.
- Push-through cabinets combine dimensional graphics with internal lighting for standout appearance
- Slim cabinets offer a low-profile option that works well in tight or contemporary spaces
- Push-through designs require precise fabrication, often resulting in higher costs
- Slim signs reduce wind load and installation complexity compared to full-depth cabinets
- Both styles benefit from LED illumination for energy-efficient night visibility
Select push-through cabinets when you want your logo or text to literally stand out from the sign face. Choose slim cabinets to maintain a clean, modern look especially when building codes limit sign bulk or when your budget prioritizes a streamlined design.
Lighting Options: Choosing Between LED, Fluorescent, or No Illumination
Choosing the right lighting option for your cabinet sign directly affects its visibility, energy costs, and how often you’ll need maintenance. LED lighting has become the preferred choice due to its energy efficiency, brightness, and long lifespan compared to traditional fluorescent tubes. Fluorescent lights, while still in use, consume more power and require frequent replacement. Non-illuminated cabinet signs work best when your location gets plenty of daylight or when you want to cut down on energy costs entirely.
LED modules typically last around 50,000 hours, translating to several years of continuous use before replacement. They use significantly less electricity, helping you reduce your business’s energy consumption and making your sign more eco-friendly. Fluorescent options have shorter lifespans and can flicker or dim over time, which can diminish your sign’s impact, especially at night. Non-illuminated signs avoid these energy costs altogether, but they depend on external light and work best in high-traffic areas with good daylight or nighttime lighting.
| Lighting Type | Typical Lifespan | Energy Use | Brightness & Visibility | Maintenance Frequency |
|---|---|---|---|---|
| LED | ~50,000 hours | Low (energy-efficient) | High, steady glow | Low (years between replacements) |
| Fluorescent | ~10,000 – 15,000 hours | Higher than LED | Moderate, may dim over time | Frequent bulb replacement |
| None (Non-illuminated) | N/A | None | Daylight-dependent | Minimal |
For businesses open 24/7 or in areas with low ambient light, LED illuminated signs provide constant visibility with minimal energy costs. Switching from fluorescent to LED lighting inside an existing cabinet sign is often feasible and can improve performance while lowering energy bills. If bright, night-time visibility is less important, a non-illuminated cabinet sign can effectively showcase your brand during business hours, requiring no energy input and nearly no upkeep.
Carefully consider your location, budget for energy use, and how often you want to maintain your sign. LED options involve a slightly higher upfront cost but pay off through low electricity bills and fewer replacements. Fluorescent lighting might seem cheaper initially but will cost more over time in energy and maintenance. Non-illuminated signs reduce all electrical costs but must fit your property’s lighting conditions to keep your sign visible and effective.
How to Design and Customize a Cabinet Sign to Fit Your Brand
Customizing a cabinet sign lets you showcase your brand’s identity clearly and attractively. You can tailor colors, fonts, shapes, and lighting to match your style and location. Adding 3D elements or changing the sign face later also improve visibility and adaptability to new branding.
Brand Colors and Typography
Matching your brand colors precisely on a cabinet sign ensures consistency across all your marketing materials. Sign makers use color matching systems like Pantone or custom mixes to achieve accurate hues. This helps your sign stand out while staying true to your established brand guidelines.
Typography choices impact readability and brand recognition. Choose fonts that reflect your business tone and remain legible from your sign’s expected viewing distance, typically 10 to 50 feet. Simple, bold fonts improve clarity, especially when illuminated at night. Custom fonts may add uniqueness but verify if they translate well into sign materials. Here are key design elements you can customize:
- Exact brand color matching using Pantone or CMYK values
- Font style, size, and spacing optimized for visibility
- Size and shape of the sign cabinet, including unusual custom forms
- Graphics or logos printed or cut into the face
- Lighting color, brightness, and placement to improve brand visibility
- Multiple faces with distinct messages for different viewing angles
3D and Cutout Features
Adding 3D letters or cutouts creates depth and shadow effects, increasing the visual impact of your cabinet sign. Raised letters or logos catch sunlight and artificial lighting differently than flat surfaces, making the sign more eye-catching both day and night.
These features often use materials like acrylic or metal, which add durability and texture. A 3D element can range from a few millimeters to a couple of inches thick depending on your design. For example, 1/2-inch thick acrylic letters backlit with LED produce a sharp glow around edges, improving night-time legibility.
Ensure the material thickness and mounting method support outdoor conditions like wind and temperature changes. Incorrect installation may cause warping or detachment, reducing the sign’s lifespan.
Plan 3D features carefully to avoid excessive weight that complicates installation and increases costs.
Updating Messages and Faces
Changing your cabinet sign’s message later is easier if you plan ahead. Signs with easy-to-remove faces or overlay graphics let you swap out messages or update branding without replacing the entire structure. This flexibility is useful for businesses expecting growth or rebranding.
Modular sign faces come with snap-in panels or magnetic graphics. These can be updated on-site in under an hour, saving time and labor compared to full replacement. However, keep in mind that multiple faces or complex lighting setups increase initial costs and maintenance.
If your brand updates frequently, opt for interchangeable panels with durable materials like polycarbonate, which withstand weather better than printed vinyl wraps. For less frequent updates, a traditional acrylic face sheet can be professionally refinished or replaced.
Cost Factors and Budgeting for Your Cabinet Sign Project
Expect the average cost of a cabinet sign to range widely from about $1,000 to $5,000 or more. Fabrication accounts for the largest portion of this price, influenced by size, materials, and design complexity. Lighting adds to the expense, especially if you choose LED fixtures over fluorescent or no illumination. Installation and permits represent additional but essential costs that vary based on your location and the sign’s mounting challenges. Budgeting for maintenance over the sign’s lifetime ensures long-term durability and reduces unexpected expenses.
Price differences between cabinet signs primarily come down to four factors: the sign’s size and design, the type of illumination, installation complexity, and local permit requirements. A larger sign with custom graphics and LED lighting costs more to produce and install than a smaller, non-illuminated box sign. If your sign is mounted on a difficult surface or at a height requiring special equipment, professional installation costs will increase. Some municipalities require permits that can add several hundred dollars, and professional sign companies often handle this for you, streamlining the process and avoiding costly compliance problems. Considering these elements, here is a breakdown of typical cabinet sign cost factors to help you plan your budget accurately.
| Cost Factor | Typical Price Range (USD) | Notes |
|---|---|---|
| Fabrication | $700, $3,500 | Depends on size, materials, design complexity; custom builds allow you to pay fabrication costs directly |
| Lighting | $200, $1,000 | LED lighting more costly initially but energy-efficient; fluorescent or no lighting lower cost |
| Installation | $300, $1,500 | Varies by sign height, mounting surface complexity; professional installers ensure safety and compliance |
| Permits | $100, $500 | Costs depend on local regulations; professional sign companies usually handle permitting |
| Maintenance (Annual) | $100, $300 | Includes cleaning, inspection, minor repairs; planned maintenance extends sign life |
Involving a professional sign company throughout the project simplifies your budgeting and execution. By managing design, fabrication, permits, and installation, they help avoid hidden costs and delays. Choosing LED illumination might raise upfront costs but can reduce energy expenses over time, especially for franchises or businesses with multiple locations. Planning your budget to include periodic maintenance protects your investment and keeps the sign performing at its best.
Installation Process and Practical Considerations to Ensure Success
Installing a cabinet sign requires careful measurement, securing permits, proper mounting, and electrical connections. After installation, verify the sign’s alignment, illumination, and wiring to ensure everything works safely and looks professional. Following a clear process helps avoid costly mistakes and ensures compliance with local regulations.
Site Measurement and Planning
Start by measuring the intended installation area precisely, including height, width, and available mounting surfaces. These measurements determine the size and style of the cabinet sign that fits the space without obstructing windows or architectural features. Planning also involves checking sightlines to ensure visibility from key angles.
Accurate measurements prevent costly resizing or repositioning. Consult a professional technician who can assess the building facade and suggest the best placement. This step often includes evaluating structural support for the sign to avoid damage or unsafe installation.
Obtaining Permits and Compliance
Before installation, verify local zoning rules, building codes, and electrical regulations. Most municipalities require permits for exterior signs, especially illuminated ones. The permitting process typically involves submitting detailed plans and specifications, including dimensions, materials, and wiring diagrams.
Securing permits can take several weeks, so start early to avoid delays. Some businesses use professional sign manufacturers or local signage experts who manage the entire permitting process. They handle applications, coordinate inspections, and ensure your sign complies with all local codes to prevent fines or forced removal.
- Review local zoning laws and sign ordinances
- Prepare detailed installation plans
- Submit permit applications to city or county offices
- Wait for permit approval before starting installation
- Schedule necessary inspections with authorities
Keep copies of all permits and approvals on site during installation and final inspection.
Mounting and Electrical Hookup
Mount the cabinet sign using hardware appropriate for the surface, commonly anchors, bolts, or brackets designed for the building material. Verify the mounting method supports the sign’s weight and withstands local weather conditions. Consult a structural engineer if needed for heavy or large signs.
All electrical connections must be performed by a licensed electrician to ensure safety and code compliance. This includes wiring for LED or fluorescent lighting inside the cabinet, grounding, and weatherproof seals for outdoor installations. Confirm the power source matches your sign’s electrical requirements.
Regular inspections of wiring help maintain illumination quality. Poor or loose connections can cause fading or intermittent lighting, so periodic maintenance is critical for longevity.
Final Inspection and Testing
After mounting and wiring, conduct thorough checks to confirm the sign is level, secure, and fully illuminated. Verify that all electrical components operate correctly and safely without flicker or shorts. This is also the time to clean the sign and adjust brightness as needed.
Schedule or pass a final inspection by local authorities if required. The inspector will verify that your installation meets all building and electrical codes and matches the approved permit plans. Keeping accurate documentation helps expedite this process and avoids future compliance issues. Final checks often include:
- Confirming the sign is horizontally level and vertically aligned
- Testing lighting under different conditions to ensure consistent brightness
- Inspecting wiring connections for proper insulation and safety
- Verifying weatherproof seals for outdoor signs
- Ensuring no structural stress or damage to mounting surfaces
Maintaining and Troubleshooting Cabinet Signs for Longevity
Maintaining a cabinet sign regularly is essential to keep it functioning well and looking professional. Plan on inspecting and cleaning your sign every 3 to 6 months. Frequent maintenance prevents common issues like dim lighting, dirt buildup, and weather damage from worsening.
Cleaning involves wiping down the sign face with a soft cloth and a mild, non-abrasive cleaner. Avoid harsh chemicals or pressure washing as they can damage the sign’s surface or electrical components. Remove accumulated dirt, dust, and residues that can cause fading or reduce visibility.
Lighting problems are among the most frequent issues in cabinet signs. Check bulbs and LED modules for burnouts or flickering. Replace any failed components promptly using exact matches recommended by the manufacturer. For wiring issues such as loose connections or exposed wires, shut off power before attempting repairs. If you’re uncomfortable with electrical work or the problem persists, call a licensed electrician or sign maintenance professional.
Weather damage like moisture intrusion and fading requires careful attention. Inspect seals and caulking annually, especially after harsh weather seasons. Replace or repair damaged seals to prevent water from entering the sign cabinet, which can cause corrosion or electrical shorts. UV protective coatings may need reapplication every few years depending on sun exposure.
- Clean sign face and lenses every 3 to 6 months with mild soap and water.
- Inspect lighting annually; replace burnt-out bulbs or LED modules immediately.
- Check power wiring quarterly; tighten loose connections and replace damaged wiring safely.
- Examine seals and caulking yearly; repair any cracks or gaps to prevent water damage.
- Remove bird droppings or debris promptly to avoid staining and corrosion.
- Schedule professional electrical inspections every 1 to 2 years for safety.
Always turn off electrical power before inspecting or repairing any lighting or wiring components to avoid shock or equipment damage.
Small repairs like replacing light tubes or cleaning are manageable if you have basic handyman skills and follow safety steps. Major electrical repairs, structural damage, or repeated failures should be handled by specialists. A professional can also perform detailed diagnostics and preventative maintenance, protecting your investment and ensuring your sign remains a reliable marketing tool.
Your First Steps: Setting Up Your Cabinet Sign
Begin with a clear plan to get your cabinet sign up and running smoothly. Follow these steps to keep your project on track.
- Week 1: Define your sign’s purpose and style by reviewing your brand guidelines. Confirm your design choices match your message and target audience.
- Week 2: Choose the type of cabinet sign and lighting based on your location and visibility needs. Request samples or images to verify your choices look right in your space.
- Week 3: Set a budget that accounts for materials, installation, and any permits. Obtain at least three quotes to compare costs and ensure fair pricing.
- Before installation: Schedule a professional sign installer and confirm local regulations and permits. Check that the installation date is feasible and you have site access.
- Installation day: Be available to oversee the process or assign someone responsible. Verify the sign is securely mounted and lighting works as specified.
- After installation (Week 4): Inspect your sign during different times of day and in various weather conditions. Take photos to document its condition and ensure it attracts attention as intended.
- Monthly ongoing: Perform regular maintenance like cleaning and checking electrical components. Keep a log of maintenance dates to extend your sign’s lifespan.
Frequently Asked Questions
What Customization Options Are Available for Cabinet Signs?
Custom cabinet signs offer options like cutouts, three-dimensional designs, special lighting, and unique materials that improve your sign’s appearance and express your brand personality. Employing these features results in a sign that captures attention and leaves a lasting impression.
How Does a Cabinet Sign Support Brand Recognition for a Business?
A well-made cabinet sign works around the clock to attract customers and build brand recognition by consistently displaying your business name and logo. This continuous visibility helps reinforce your presence in the local market.
What Should You Consider When Choosing the Size of a Cabinet Sign?
Choose a size large enough to be easily readable from your target viewing distance while fitting the physical space available. Sign size affects visibility and compliance with local signage regulations.
Can Cabinet Signs Be Used Inside a Building?
Yes, indoor cabinet signs don’t face weather damage and can improve branding within a store or office. They also allow more flexible design choices since they’re protected from the elements.
What Is the Difference Between Push-Through and Backlit Cabinet Signs?
Push-through cabinet signs use dimensional letters or graphics pushed through the sign face; backlit signs have internal lighting behind the face for vibrant illumination. Each style offers a unique visual effect to suit different brand styles.
How Do Lighting Choices Impact the Effectiveness of a Cabinet Sign?
Lighting options like LED or fluorescent affect brightness, energy use, and maintenance needs. Properly illuminated signs remain visible after dark, helping businesses attract customers at night.
Before You Go
Cabinet signs remain a practical and flexible choice to communicate your business identity effectively. Choosing the right materials, lighting, and placement helps attract customers while supporting your brand image. Start by reviewing your branding and space to select a sign style that fits your needs, then move forward confidently with your installation plan.