DIY Floating Frame Sign: A Complete Step-by-Step Guide for Perfect Results
Creating a diy floating frame sign adds a sleek, modern look to canvas art or wood signs by suspending them within a slightly larger frame. This style uses a small gap, usually between 1/4 and 1/2 inch, to produce the illusion that the artwork floats inside the frame. Start by measuring your canvas carefully and choose lumber slightly larger than the artwork for a clean, professional effect.
Key Takeaways
- Leave a 1/4 to 1/2 inch gap around the canvas to achieve the classic floating effect.
- Use mitered corners cut at 45 degrees for precise, clean frame joints.
- Apply wood glue and clamp the frame for at least 30 minutes before securing it fully.
- Allow finishes like stain or paint to cure for 24 to 48 hours to ensure durability.
- Consider a backing board if your floating space exceeds 1/8 inch to maintain the floating illusion.
- Cut picture wire 6 inches longer than the distance between hanging rings for easy mounting.
What Is a DIY Floating Frame Sign and How It Works
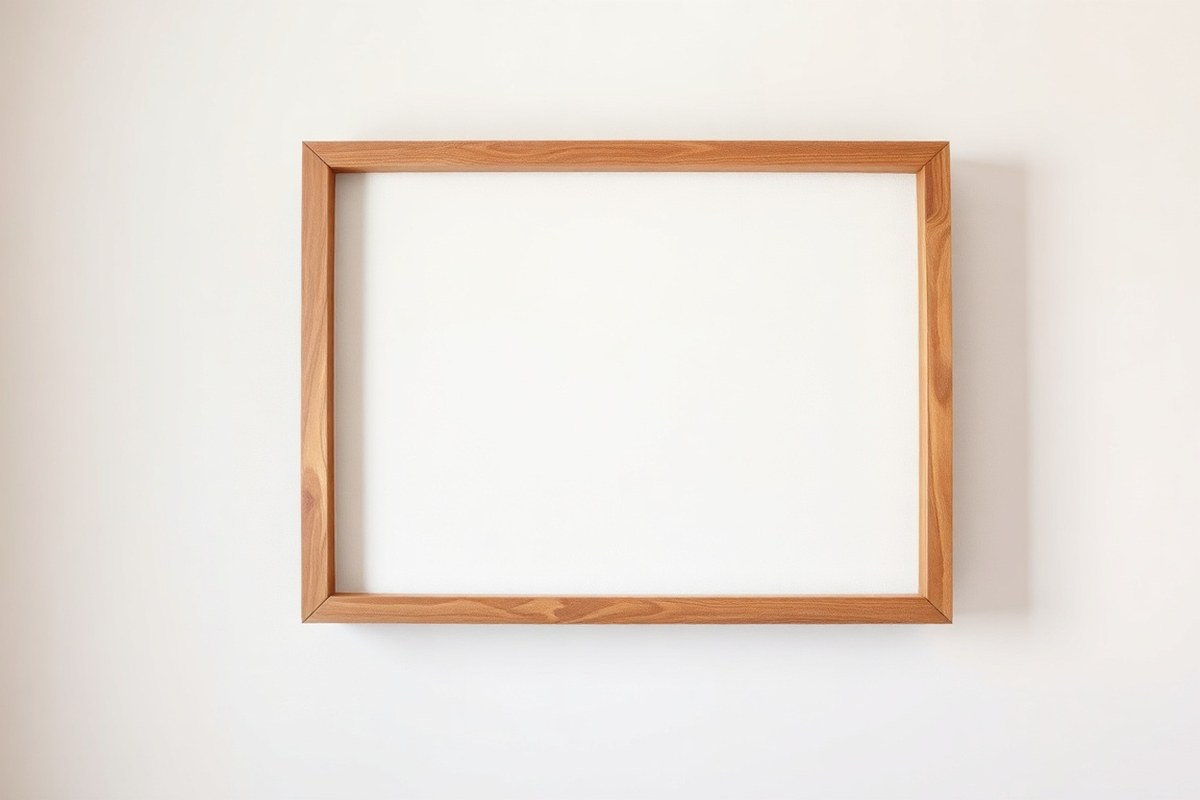
A DIY floating frame sign features a unique design that sets it apart from traditional frames by creating the illusion that the artwork is suspended within the frame rather than pressed against it. This effect results from a carefully measured gap between the edges of the canvas or sign and the inner edges of the frame. Typically, this gap ranges from about 1/8 to 1/4 inch, though it can go up to 1/2 inch depending on the size and style of the artwork. This subtle separation of the canvas from the frame is what makes the piece appear to float, adding depth and a modern aesthetic to your wall decor.
The floating effect occurs because the frame does not physically touch the canvas’s edges. Instead, spacer blocks or strips hold the canvas slightly inward from the frame edges, creating a small but visible space on all sides. These spacers, often made from paint stirrers or thin strips of wood, are installed behind the frame pieces during assembly, lifting the frame slightly above the canvas. This technique produces a shadow or visual break between the frame and the artwork, making the artwork stand out more than it would inside a traditional frame that typically presses directly against the canvas or sign edges.
Traditional frames usually have a rabbet, a recessed area where the artwork rests, pressing the canvas or picture inside tightly. This approach leaves little to no gap between the frame and the artwork. Floating frames, by contrast, use two frames stacked or layered, or specifically designed spacers, to create that space between the artwork and frame edges. The finished look highlights the edges of canvases or signs, offering a “gallery-style” presentation that can be especially appealing with stretched canvas artwork, 3D mixed-media pieces, or textured signs. These types of works benefit most because the floating frame showcases their depth and texture without the risk of damaging or pressing down on the artwork.
Making a DIY floating frame involves measuring the exact dimensions of your canvas or sign, then cutting frame pieces that are slightly larger to maintain the precise gap all the way around. For example, if your canvas is 16 by 20 inches, the frame inner edges might be cut to about 16 1/4 by 20 1/4 inches to include that quarter-inch gap. This gap not only allows the artwork to “breathe” but also adds an elegant shadow that improve visual interest. For thicker or sculptural art pieces, adding larger spacers or adjusting the frame depth helps maintain the floating effect without compromising the fit or appearance.
Costwise, building a floating frame from scrap wood or inexpensive lumber can be very affordable. You only need enough wood for a frame slightly larger than the canvas, some spacer strips, glue or small nails, and basic tools. The design allows for a straightforward construction process without requiring advanced woodworking skills or special equipment. Good floating frames look clean and balanced, with even gaps all around and the artwork clearly set off from the frame edges. Uneven gaps or a frame cut too tight can break the illusion, so careful measurement and spacer placement are key to achieving that professional, gallery-style floating effect.
Materials and Tools Needed for Building Your Frame
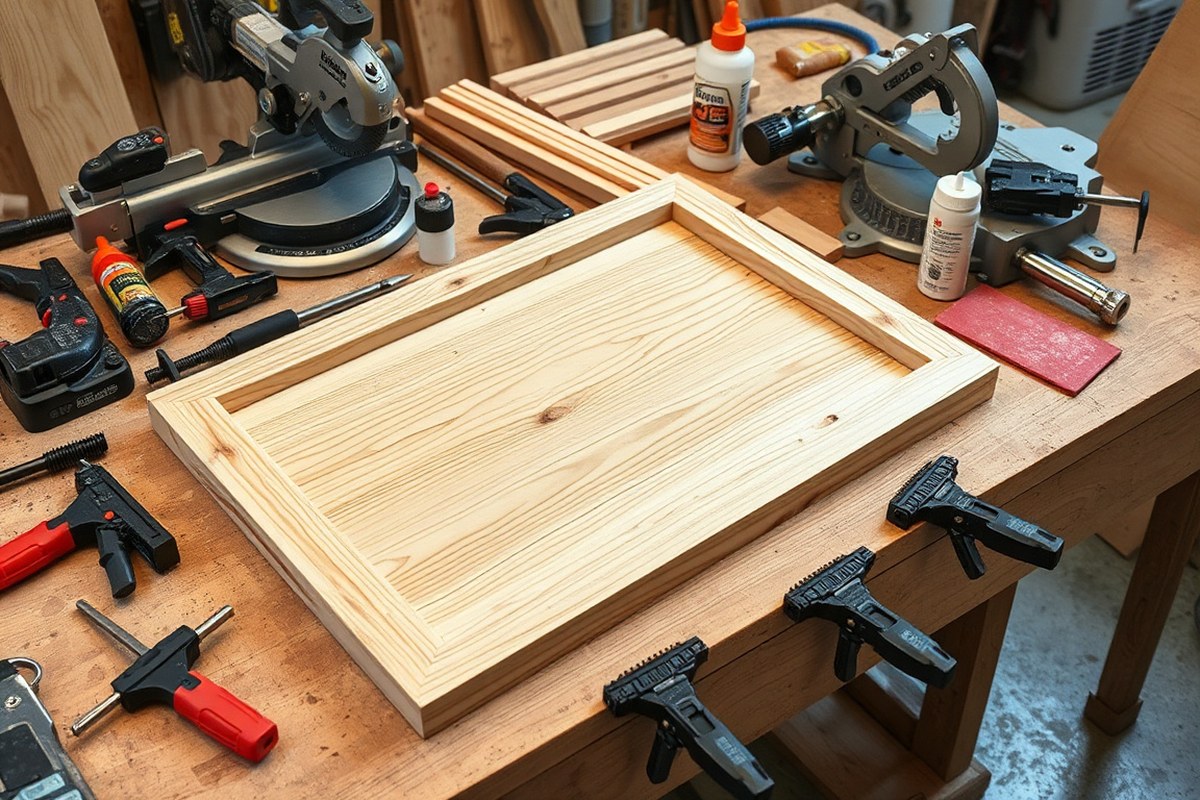
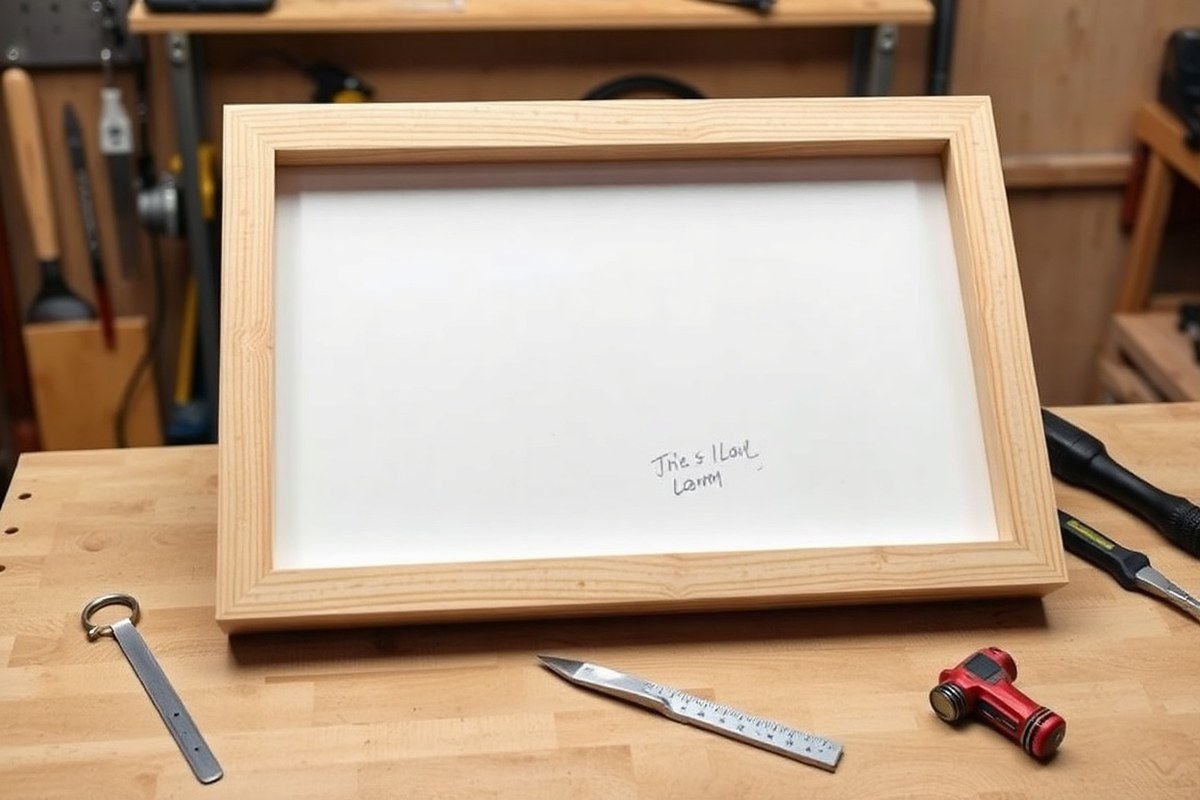
For a DIY floating frame sign, choose wood strips that are about 1 5/8 inches thick, as this size offers a sturdy base and enough dimension to create the distinctive floating effect. Select hardwoods like poplar, maple, or pine because they are easy to cut and sand while providing a smooth surface for staining or painting. For the frame’s structure, you’ll need to cut the wood into precise pieces with 45-degree mitered corners to form clean joints.
A miter saw is the most efficient tool for cutting these angled edges, ensuring clean 45-degree cuts on each end of the frame pieces. A miter box paired with a sharp hand saw can work well in place of a miter saw, though it takes more time and skill for accurate cuts. Sandpaper, ideally a medium and fine grit (120 and 220 grits), helps smooth edges and prepares the wood for finishing. Wood glue and clamps are essential for holding the corners tightly while the glue dries, providing strength to the frame.
In addition to these basics, you’ll need a power drill with drill bits sized for trim screws. Screws add extra stability beyond glue, especially for heavier or larger frames. Always use screws designed for woodworking, such as trim screws, to avoid splitting or damaging the wood. For sealing your frame, pick a paint, stain, or polyurethane finish suited to the look you want, applied after all assembly and sanding is complete.
- Wood strips 1 5/8″ thick, hardwood recommended
- Miter saw or miter box with hand saw for 45° cuts
- Sandpaper in 120 and 220 grits for smoothing surfaces
- Wood glue and clamps to secure corners during drying
- Drill with drill bits and trim screws for assembly
- Paint, stain, or polyurethane for finishing the wood
- Measuring tape to confirm dimensions precisely
Using clamps while the glue dries prevents gaps and wobbly corners, so never skip this step.
When selecting wood length, measure the perimeter of the canvas and add extra length for overlap on the corners, usually two opposite sides are cut slightly longer to allow for mitered joints. Create a small gap around your canvas for the floating effect by adding spacer strips cut with 45-degree angles as well; these do not need to be as precise but should be consistent. The total cost for materials commonly ranges between $20 and $50 depending on wood type and finish products chosen.
Alternatives exist if some tools are unavailable. For example, you can create angled cuts using a square and fine handsaw if a miter box is not available, but expect more effort and less perfect angles. Scarce clamps can be replaced temporarily by strong rubber bands to hold the frame while the glue dries. Avoid skipping drilling and screwing steps for larger frames since glue alone may not hold under weight or over time.
Measuring and Calculating Dimensions for the Floating Frame
Measure your canvas carefully and decide on a floating gap between 1/4 inch and 1/2 inch to create the signature floating look. Calculate the inside frame dimensions by adding twice the float gap to each side of your canvas measurements. Then figure out the outside frame sizes by adding the wood thickness twice (for both sides) to the inside frame dimensions.
Measure Canvas and Set Float Gap
Start by measuring the height and width of your canvas or sign exactly where the edges meet the stretcher bars or edge of the sign. Use a steel ruler or tape measure for accuracy, noting decimals in inches for precision. The float gap is the space between your artwork and the frame, usually 1/4 inch to 1/2 inch. A smaller gap gives a subtle floating look, while a larger gap is more noticeable but might require backing to hide your wall color behind the canvas.
Calculate Inside Frame Dimensions
The inside dimension is the opening your canvas will sit inside. Add twice the float gap to the canvas width and height to calculate these inside measurements. For example, if your canvas is 16″ wide and 20″ high and you choose a 1/2″ float gap, the inside width equals 16″ + (2 × 0.5″) = 17″, and the inside height equals 20″ + (2 × 0.5″) = 21″. This ensures an even gap on all sides to create a balanced floating effect inside the frame recess.
Determine Outside Frame Sizes
To find the outside dimensions of the frame, add twice the thickness of your frame wood to the inside dimensions. Use 3/4 inch thick wood? Add 1.5″ total to both the width and height (0.75″ × 2). Continuing the example, the outside width becomes 17″ + 1.5″ = 18.5″ and the outside height becomes 21″ + 1.5″ = 22.5″. The outside measurement gives you the full size of the finished frame, including the wood edges.
You want a thicker frame for more impact; increase these calculations accordingly. Thicker wood adds weight and depth but changes the final size and how the frame fills your wall space.
- Measure the exact width and height of your canvas or sign with a steel ruler or tape measure.
- Decide on the float gap between 1/4 inch and 1/2 inch based on your aesthetic preference.
- Add twice the float gap measurement to the canvas width and height to find the inside frame dimensions.
- Measure or note the thickness of the wood you plan to use for the frame (commonly 3/4 inch).
- Add twice the wood thickness to the inside frame dimensions to get the outside frame dimensions.
- Write down all dimensions clearly, double-checking your math before cutting.
- Cut spacer strips to fit inside the frame’s inside dimensions to hold the canvas with the float gap.
- Create a backing or small wood blocks behind the canvas if your float gap is greater than 1/8 inch to maintain the floating appearance without showing the wall color.
Cutting Wood Pieces and Creating Mitered Corners
Cutting the wood pieces precisely with 45-degree mitered corners is key to achieving clean, smooth edges on your floating frame sign. Accurate angled cuts ensure the corners fit tightly together, giving your frame a professional look. Using the right tools and following careful measuring and cutting steps will help you avoid gaps or uneven edges.
Select and Prepare Wood Boards
Choose wood boards that are straight and free of warping for the best results. Common frame woods include pine, poplar, or hardwoods like oak, depending on your desired finish and durability. Before cutting, smooth any rough edges with sandpaper and check that the widths and thicknesses are consistent across all pieces. This helps make precise miter cuts easier and improves the final fit of your frame.
Measure the lengths needed for each side, accounting for the 45-degree angle cuts on both ends. Cutting the boards slightly longer than the finished size gives you room for trimming to an exact fit after test-assembly. Label each board clearly to keep track of its position in the frame.
Setting Miter Saw for 45-Degree Cuts
Set your miter saw to a 45-degree angle for each cut, which creates the angled ends needed for the mitered corners. Most miter saws have a detector or stop mark you can lock for accuracy. Double-check the angle with a carpenter’s square before you start cutting. Align the saw blade carefully with the pencil mark on your board.
A miter saw is ideal because it offers quick, clean cuts with minimal tear-out. If you don’t have a power miter saw, a miter box and hand saw can do the job for a lower cost, though it takes more time and effort to keep the cut straight and clean.
Cutting and Labeling Each Frame Piece
Cut four pieces for your frame, each with 45-degree miters on both ends, angle the cuts so that when assembled, the outside edges form a perfect rectangle. Make sure the bevels face the right direction to match up at corners. Mark each piece on the inside edge so you can orient the pieces correctly during assembly. Follow these steps for best results:
- Measure and mark your wood boards with a pencil where the 45-degree cuts will go.
- Set the miter saw to 45 degrees and position the board flush to the saw’s fence for stability.
- Align the saw blade exactly on your cut mark to prevent cutting too short or too long.
- Hold the board securely and slowly lower the blade through the wood with a steady cut.
- Label each cut piece with its frame position (Top, Bottom, Left, Right) and inside edge indication.
- Dry fit the pieces by joining the mitered edges to check the corners align and fit tightly.
- Trim any ends slightly if the fit is too tight or the corners don’t meet flush.
- Sand the mitered edges lightly to remove any splinters or rough spots before gluing.
Assembling the Frame: Glue, Clamp, and Secure
Join the frame pieces with wood glue applied evenly on the mitered edges, then clamp each corner securely to keep the joints tight and square while the glue sets. Use clamps suited to your frame size and allow the glue to dry fully, usually overnight, before moving on. Adding screws or brad nails after gluing can strengthen larger frames for better durability.
Prepare Joints with Wood Glue
Start by arranging your mitered wood pieces in the correct frame shape without any glue or fasteners. This dry fit lets you check how cleanly the corners come together and catch any gaps or uneven edges. Applying glue correctly matters because an even layer creates a strong bond without excess squeeze-out that can damage the finish.
Use a small brush or the glue bottle tip to apply a thin, even coat of wood glue along the mitered edges that will join. Avoid heavy application to prevent messy drips. Wipe away any glue that squeezes out immediately with a damp cloth before it dries. This keeps your frame looking neat and ready for finish work.
Clamp Frame Corners Evenly
Clamping is key to holding the frame pieces tightly while the glue sets, preventing wobble or gaps. Choose clamps large enough to cover your frame thickness and width. Use corner clamps if available, as they help maintain a perfect 90-degree angle at each joint. Apply clamps firmly but avoid over-tightening, which can distort the wood or squeeze out all the glue.
Place one clamp on each corner, making sure pressure is distributed evenly across the joint surfaces. If your frame is large, extra clamps along the edges can help prevent bowing. Keep clamps in place throughout the full drying period for the best bond strength.
Check and Secure Frame Squareness
Before the glue dries, confirm each corner is square using a carpenter’s square or measuring the diagonals. The diagonals should be the same length to indicate perfect squareness. Adjust clamps slightly if needed to correct any misalignment. This step prevents warping when the glue cures.
For frames larger than about 24 inches, reinforce glued corners with brad nails or screws after the glue sets but before finishing. Drive brad nails carefully to avoid splitting the wood, and pre-drill holes for screws if using them. This reinforcement adds long-term durability, especially for heavier or frequently handled frames.
- Arrange all frame pieces in the correct shape without glue.
- Apply a thin, even layer of wood glue on the mitered edges.
- Join the edges carefully and wipe off excess glue immediately.
- Clamp each corner using corner clamps or appropriate clamps evenly.
- Check squareness with a carpenter’s square or diagonal measurements.
- Adjust clamps to fix any misalignment if necessary.
- Allow glue to dry completely, at least 8 hours or preferably overnight.
- Optionally, reinforce corners with small screws or brad nails once glue is dry.
Always wipe away excess glue before it dries to avoid marks that are hard to remove later.
Attaching Your Canvas or Sign Inside the Floating Frame
Mounting your canvas or sign inside the floating frame while maintaining the desired gap requires careful selection of hardware and precise installation. The goal is to hold the artwork securely without it touching or shifting against the frame, which preserves the illusion of it “floating.” The best hardware option for gallery-wrapped canvases is offset or Z-clips. These metal clips attach to the back edges of the frame and canvas stretcher, creating a small gap that keeps the canvas suspended inside the frame. You screw the clips into the frame sides first, then slide the canvas onto them. This setup allows for easy removal while keeping the canvas stable.
For rigid signs or artwork that can’t use stretcher bars, small standoffs or spacers work well. Plastic or wooden shims of 1/4 inch thickness attached strategically behind the sign raise it up slightly from the back panel. These spacers ensure the sign does not rest flat against the backing, maintaining the floating gap. Make sure the shims are glued or screwed tightly so they don’t shift over time. For wider floating gaps, installing a simple backing frame can support the artwork evenly and prevent warping or sagging. For example, if framing a 16×20 inch piece with a 1/4 inch float, use 1/4 inch thicker wood strips cut approximately 33 by 40.5 inches to form a frame behind the artwork. This back frame provides a solid platform while continuing to hold the art off the back wall.
Before mounting, double-check all measurements of the canvas or sign and the interior dimensions of the frame, including the intended floating space. The artwork’s edges should clear the frame by at least 1/8 inch on every side to avoid contact. After attaching clips or spacers, carefully insert the canvas or sign, then verify there is no movement when the frame is held vertically. If you notice shifting, add small foam pads at discreet points on the backing to stabilize the piece without closing the gap.
Costs for mounting hardware vary but expect to spend about $5 to $10 for a set of offset clips or a few dollars for plastic shims. Lumber for backing supports may cost $5 to $15 depending on wood type and size. Plan for at least 20 to 30 minutes to install clips and spacers accurately, especially if it’s your first floating frame.
Good results show your artwork evenly suspended with clean, consistent gaps visible on all sides. Avoid using tape or glue directly on the canvas surface, which can damage the fabric or paint. Also, do not allow the canvas to rest on the inside edges of the frame, as this can cause pressure marks or distort the floating effect. Proper mounting hardware and backing supports combine to keep your canvas or sign secure, stable, and visually impressive within the floating frame.
Finishing Techniques: Sanding, Staining, Painting, and Poly
Preparing your floating frame for a smooth and durable finish starts with proper sanding. Use a medium-grit sandpaper (around 120 grit) to remove any rough spots and imperfections, then progress to a fine grit (220 grit) for an even, polished surface. This helps your stain or paint to adhere better and reveals the natural grain when working with wood. Selecting finishes depends on your wood type: hardwoods absorb stain differently than softwoods, so test on a scrap piece first to avoid blotching.
Choosing between stain, paint, or polyurethane (poly) depends on the look and protection you want. Stain brings out the wood’s natural character, ideal for oak, maple, or walnut. Paint allows you to add color or coordinate with your décor, working well on pine or smoother woods. Polyurethane adds a clear, protective layer and is available in gloss, satin, or matte finishes. For signs exposed to humidity or frequent handling, a polyurethane topcoat helps prolong durability.
Proper timing between coats matters for a smooth finish. Generally, wait 2 to 4 hours between stain or paint coats and at least 24 hours before applying polyurethane. After the final coat, let the frame cure for around 48 hours before hanging. Rushing this can result in tacky or uneven surfaces that attract dust or fingerprints.
- Sand the frame using 120-grit sandpaper to smooth out rough areas, then finish with 220-grit for a polished surface. Sand edges and corners evenly to avoid sharp roughness.
- Clean the dust off your frame with a tack cloth or damp rag. Any leftover dust can create bumps in the finish.
- Test your finish on a scrap piece of the same wood to check color and absorption, especially if using stain.
- Apply stain or paint in thin, even coats using a brush or cloth, following the grain for stain. Allow 2 to 4 hours drying time between coats for best results.
- Add additional coats as needed until you achieve your desired color or coverage, sanding lightly with 220-grit sandpaper between coats to maintain smoothness.
- Apply polyurethane after the final stain or paint layers have dried completely. Use a clean brush and apply thin coats to avoid drips.
- Let the poly dry for at least 24 hours before lightly sanding and applying a second coat if extra protection is needed.
- Allow the frame to cure for 48 hours after the last coat before handling or hanging to ensure full hardness and durability.
When staining, avoid heavy coats that pool or blotch, multiple thin coats create a more even finish. For painted frames, use paint suited for wood like acrylic latex, which is easy to work with and dries clear. Polyurethane works well on stained or painted surfaces to protect against scratches and fading but can yellow over time if not water-based. Water-based poly costs around $15 to $25 per quart and dries faster with less odor, making it good for indoor projects.
Keeping your workspace clean and dust-free during finishing prevents imperfections. Lightly sanding between layers promotes better adhesion and results in a professional look. Over-finishing or rushing drying times usually causes surface imperfections or longer cure times. Taking these careful steps ensures your floating frame sign looks polished, holds up well, and complements your DIY décor.
Common Mistakes and How to Fix Them When Making Frames
Uneven or misaligned corners usually happen because the cuts weren’t exactly at 45 degrees or the pieces were clamped unevenly during assembly. This results in gaps or frames that don’t sit flat against your canvas. Ensuring your miter saw is properly set, double-checking angles before cutting, and dry-fitting pieces before gluing can prevent this.
Gaps or splits in the joints often come from wood shrinking or from glue not fully bonding the surface because dust or oils were present. You can fix small gaps using wood filler that’s tinted to match your frame’s wood tone. For bigger splits, apply wood glue inside the joint and clamp firmly for 30 to 60 minutes, then fill any remaining gaps. Sand smooth before finishing.
Frames that don’t fit the canvas usually result from measurement errors. When your frame feels too tight, sand the inner edge a little or opt for thinner spacer strips to allow more room. When the frame is too loose, place thin foam or felt strips behind the canvas to help keep it stable. Always measure your canvas width, height, and depth carefully before cutting frame parts.
- Double-check saw settings and test cuts on scrap wood before cutting actual frame pieces.
- Clamp the frame pieces on a flat surface to ensure corners sit flush without gaps.
- Use painter’s tape to hold corners temporarily for dry-fitting before applying glue.
- Clean wood surfaces to remove dust and oils before gluing to improve adhesion.
- Clamp glued joints evenly to avoid over-tightening, which can distort angles.
- Measure canvas thickness and add spacer strips accordingly to maintain the floating effect.
- Sand and fill any minor joint gaps before applying stain or paint for a smooth finish.
Avoid rushing the clamping step; uneven pressure can cause warped frames or weak joints that won’t hold over time.
Correctly aligned and tight joints create a cleaner look and add structural strength. Gaps catch dust and can weaken the frame if left untreated. Proper sizing protects your canvas and maintains that floating look without the frame crowding the edges. Taking time on these steps makes a significant difference in the final presentation and durability of your floating frame sign.
Creative Customizations and Hanging Tips for Your Frame Sign
Customizing the colors or textures of your floating frame sign lets you match your decor or add a unique touch. Start with sanding the wood smooth, then apply paint or stain depending on your desired finish. For paint, choose a semi-gloss or satin finish to highlight the frame’s edges. Stain gives a natural wood look that adds warmth. Experiment with layering paint and distressing the edges gently with fine-grit sandpaper to create a weathered, vintage appearance. Adding clear wax or polyurethane protects the surface and deepens the color. Textural effects like applying a crackle medium or using a dry brush technique with contrasting paint can bring your frame to life without overpowering the artwork.
Improving the floating effect means emphasizing the space between the canvas and frame. Use spacers or thin strips of wood, around ¼ inch thick, to create a gap that clearly separates the artwork from the frame edges. Painting these spacers a dark color makes the art seem to hover visually, while a contrasting color adds a playful, modern twist. You might also try varying the frame width or choosing unusual shapes like hexagons or circles to break the traditional square look. These shapes require careful measuring and cutting but add a distinctive style to your project. For prints or photos inside mats, make sure the frame depth and spacer size fit the thickness of the backing and glass or acrylic cover.
Securing your floating frame sign properly ensures safety and a clean look. For frames weighing less than 10 pounds, adhesive hooks or picture-hanging strips offer an easy solution that won’t harm the wall. Command strips, for instance, can support between 4 and 16 pounds, making them suitable for small frames on painted drywall. Heavier frames require wall anchors combined with mirror or D-ring hangers for a more reliable hold. Attach two D-rings to the back of the frame, positioned about one-third of the way down from each top corner, and select wall anchors rated for your frame’s weight and wall type, such as drywall or masonry. Connecting hanging wire between the rings helps you adjust and level the frame smoothly. Use a level during installation, and add felt pads under the bottom corners to protect the wall and keep the frame secure. This approach helps maintain the neat, floating look of the frame while ensuring it stays firmly in place.
Step-by-Step Action Plan for Your DIY Floating Frame Sign
Follow this straightforward action plan to build your floating frame sign efficiently and confidently.
- Before you start: Gather all necessary materials and tools, including wood for the frame, glue, clamps, a saw, sandpaper, and your canvas or sign. Confirm you have proper workspace and safety gear.
- Day 1: Measure your canvas or sign carefully, then calculate the dimensions of your floating frame with the recommended offsets. Double-check measurements to avoid errors.
- Day 2: Cut your wood pieces with mitered corners at 45 degrees exactly. Use a miter box or miter saw to ensure clean cuts that fit together snugly.
- Day 3: Apply wood glue to the miters and clamp the frame, ensuring all corners align flush. Let the glue dry according to the adhesive instructions, usually 30 minutes to an hour for initial set.
- Day 4: Attach the canvas or sign to the frame using appropriate fasteners or adhesive, making sure it fits with the floating gap evenly on all sides.
- Day 5: Sand all surfaces gently to remove rough edges. Apply your chosen finish: stain, paint, or a clear polyurethane coat. Allow drying and cure time per product label.
- Day 6: Inspect your frame for any flaws or loose joints, then add hanging hardware suited for the frame’s weight and wall type.
- After 1 week: Hang your floating frame sign and evaluate its appearance and stability. Make minor adjustments if necessary.
Frequently Asked Questions
Can I Use Scrap Wood for My DIY Floating Frame Sign?
Yes, scrap wood works well and is budget-friendly. Make sure to select pieces that are straight and free of damage for a better finish.
What Gap Size Should I Leave Between the Canvas and Frame Edges?
Leave a 1/4 to 1/2 inch gap for the floating effect. This gap creates a clean modern look and gives the artwork a sense of air around it.
Is It Possible to Make a Floating Frame for Non-Canvas Materials?
Yes, floating frames work for acrylic, photos, and paper keepsakes. Adjust the frame depth and materials based on thickness to accommodate different items.
Can I Build a Floating Frame Without Advanced Woodworking Tools?
Yes, simple hand tools suffice for most DIY floating frames. A miter box saw, clamps, and wood glue often cover the basic needs.
How Do I Hang a Floating Frame Sign Securely on the Wall?
Use sturdy hanging hardware like D-rings or keyhole hangers. Position them evenly to balance the frame’s weight for secure mounting.
What Is the Best Finish to Protect My DIY Floating Wooden Frame?
Choose a clear polyurethane to seal and protect the wood. It preserves the wood’s look and offers durability against wear and sunlight.
Key Points to Remember
Creating a floating frame sign yourself adds a polished, professional look to your art or signs and improve your DIY skills. Start by carefully measuring your piece and cutting accurate miters, the foundation of a clean frame. Grab your materials, follow the steps, and enjoy the satisfaction of displaying your custom work.