Construction Zone Sign Requirements: A Complete Guide for Safety and Compliance
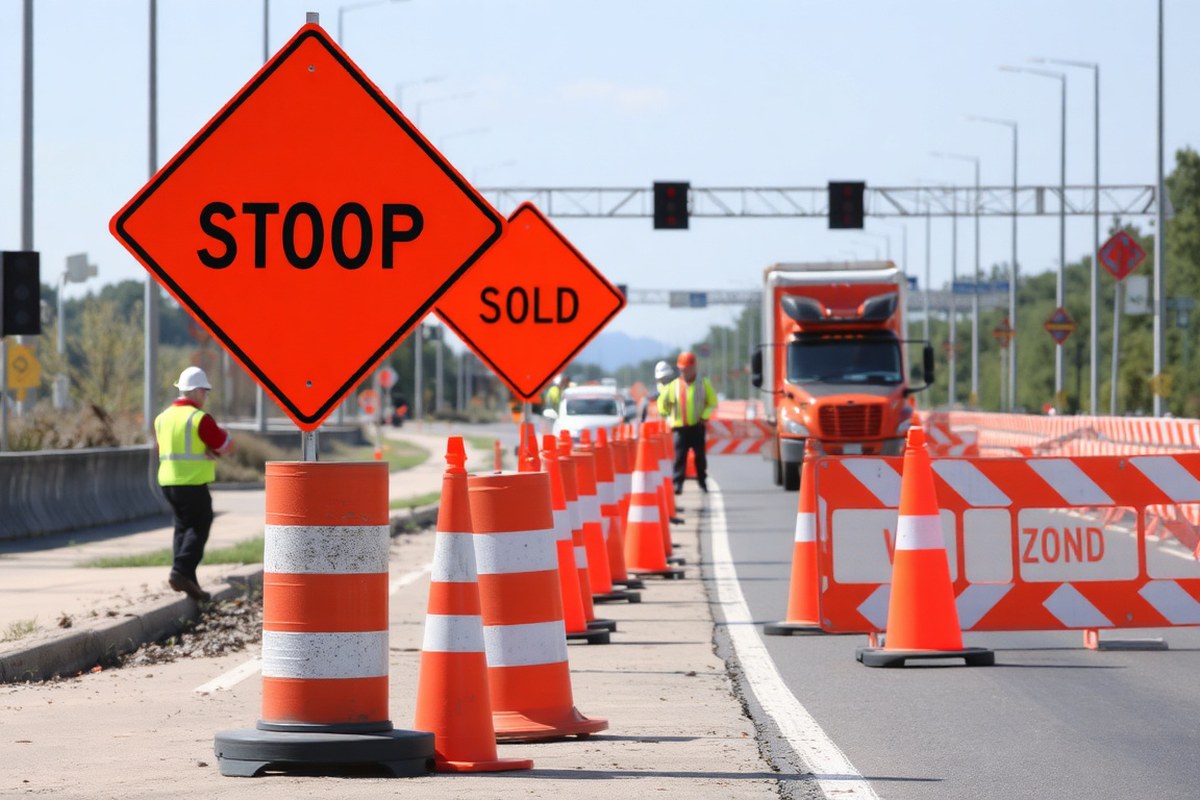
Construction zone sign requirements ensure clear communication of hazards and directions to drivers and workers, improving safety and regulatory compliance. Signs must meet specific size, placement, and visibility standards based on road speed and site conditions. Start by placing the first warning sign 440 to 660 feet before the work zone to give enough reaction time.
Key Takeaways
- Use portable sign mounting for construction zones lasting less than three days to meet temporary work zone standards.
- Post the first warning sign roughly 440, 660 feet before the work zone to alert drivers in advance.
- On high-speed roads, position advance warning signs 500 to 1500 feet ahead for ample driver preparation.
- Choose 48 x 48 inch signs with 7-inch uppercase letters on roads 35 mph or faster for optimal legibility.
- On low-speed local roads (25 mph or below), use 30 x 30 inch signs with concise messages for quick understanding.
- Mount vehicle traffic signs so the center is 5 to 7 feet above the road to ensure visibility and compliance.
What Construction Zone Signs Are Legally Required?
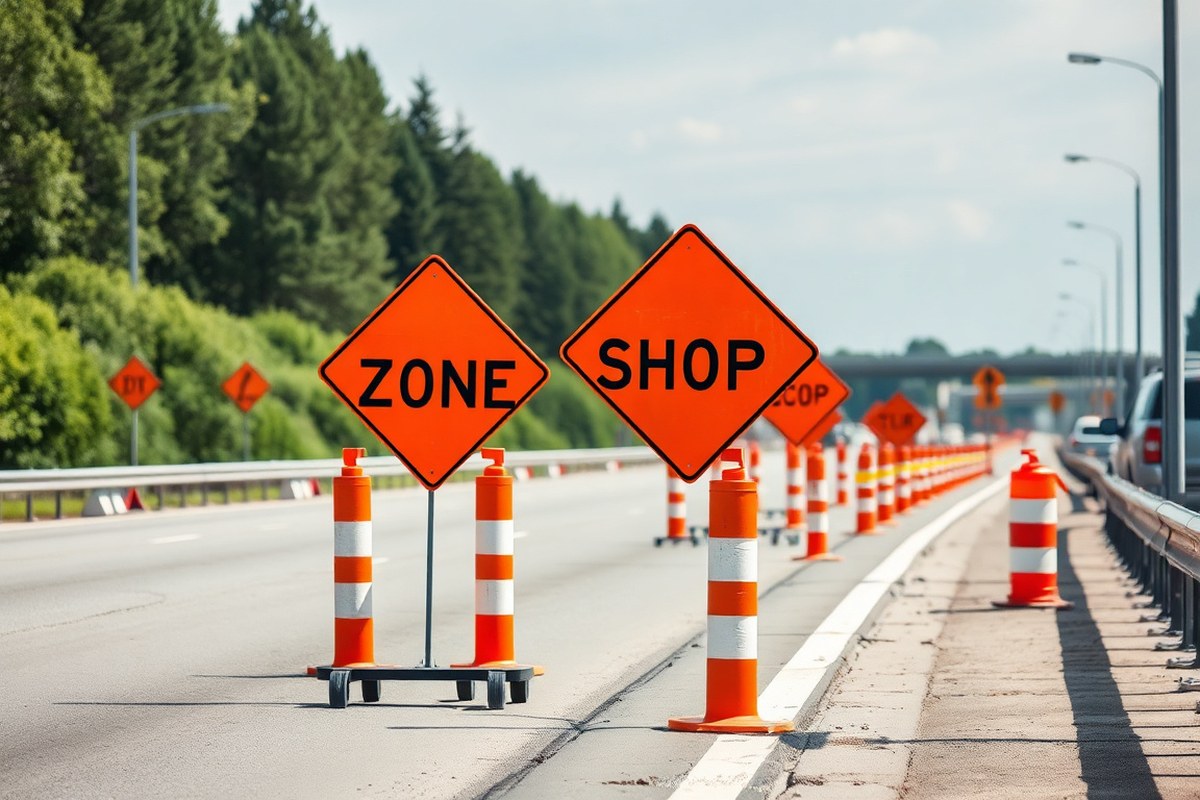
Construction sites must display specific signs to comply with OSHA regulations, the Manual on Uniform Traffic Control Devices (MUTCD), and ANSI standards. Under OSHA 29 CFR 1926.200 and 1910.145, construction zone signage includes accident prevention signs and tags that warn workers and visitors about hazards and provide essential safety instructions. Compliance means posting signs that clearly identify dangerous conditions, mandatory instructions, and directional information using ANSI Z535 color coding and signal words like DANGER, WARNING, and CAUTION. For example, a “DANGER” sign with red background must alert of immediate risk of death or serious injury, while yellow “CAUTION” signs indicate less severe hazards.
OSHA requires accident prevention signs in all areas where hazards exist or could develop. These include fall hazards, electrical dangers, heavy machinery operations, and areas requiring personal protective equipment (PPE). OSHA 29 CFR 1926 Subpart G details that signs, signals, and barricades must be employed to prevent accidents consistently. Also, MUTCD standards govern temporary traffic control (TTC) signs used for roadway work zones associated with construction sites. These signs follow federal and state MUTCD editions that specify exact placement, size, and spacing. MUTCD signs communicate directions, lane closures, detours, and speed limits to drivers and pedestrians near construction zones.
Mandatory signs depend on where the construction takes place and the types of hazards present. For instance, OSHA requires that signs prohibiting unauthorized entry be posted at all construction site boundaries with hazardous conditions. A sign compliance checklist includes categories such as hazard warning signs, mandatory instruction signs (like “Wear Hard Hat”), emergency exit identification, and traffic control signs. Temporary signs cover short-term changes in the work environment or detours, while permanent signs are needed where hazards or instructions apply throughout the project’s duration.
To ensure correct application, post signs at heights where they are easily visible, generally 5 to 7 feet above standing height. Signs must be promptly removed or covered once a hazard no longer exists, as stated in 29 CFR 1926.200(a), preventing “sign blindness” among workers who may otherwise ignore outdated warnings. Construction site managers should regularly review federal, state, and local MUTCD and OSHA standards, as MUTCD editions vary by state, affecting sign spacing and types. Investing in proper signage can range from $20 to $100 per sign based on size and materials, but the cost is minimal compared to risks of accidents or OSHA fines. Below is a compliance checklist aligned with OSHA and MUTCD references for required construction zone signs:
| Sign Category | OSHA Reference | MUTCD Reference | Example |
|---|---|---|---|
| Accident Prevention Signs | 29 CFR 1926.200 / 1910.145 | N/A | DANGER: Falling Objects |
| Mandatory Instruction Signs | 29 CFR 1926.200, ANSI Z535.2 | N/A | Hard Hat Area |
| Traffic Control Signs (Temporary) | 29 CFR 1926 Subpart G | MUTCD Part 6 (Temporary Traffic Control) | Road Work Ahead, Detour |
| Prohibition and Restricted Area Signs | 29 CFR 1926.200 | N/A | No Unauthorized Entry |
| Emergency Information Signs | 29 CFR 1910.145 | N/A | Emergency Exit, First Aid Station |
How to Properly Size and Place Construction Zone Signs
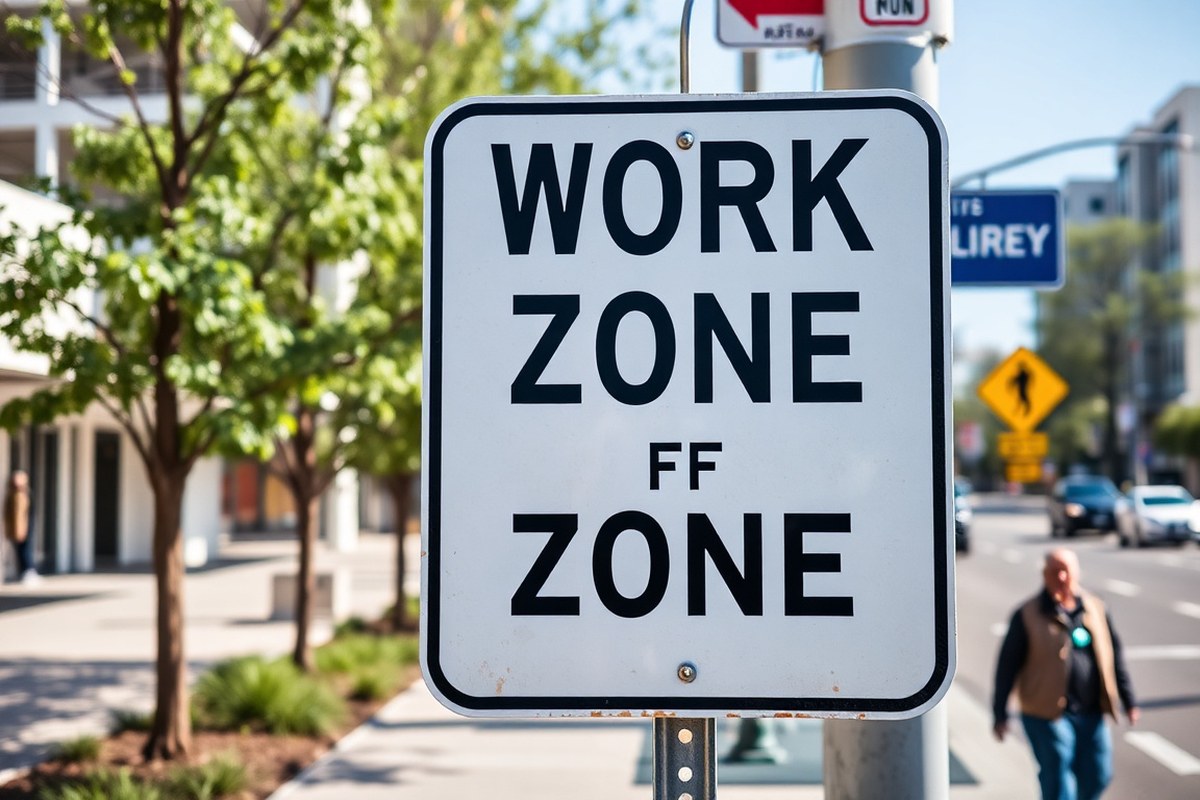
Proper sizing and placement of construction zone signs depend on the road type, speed limit, and presence of pedestrians. For high-speed roads like freeways and expressways, use larger signs, typically 48 by 48 inches, to ensure visibility from a distance. On conventional, lower-speed roads, 36 by 36-inch signs are standard. Vehicle zones require the sign center to be mounted 5 to 7 feet above the road surface, while pedestrian zones need signs mounted so the bottom edge is about 7 feet above the ground to avoid being a head hazard.
Advance warning signs should be placed well ahead of the work zone to give drivers time to react. First warning signs on conventional roads begin approximately 440 to 660 feet before the construction zone. On high-speed roads, place warning signs between 500 and 1500 feet ahead, depending on the posted speed and roadway conditions. Signs must be readable from at least five feet away. For pedestrian zones, angle signs toward pedestrian traffic to increase legibility. If drivers do not appear to respond to signs, increasing sign size or spacing, or adding flags and warning lights, may help.
| Road Type | Typical Sign Size | Minimum Height (Bottom of Sign) | Advance Warning Distance |
|---|---|---|---|
| Conventional Roads (low-speed) | 36 × 36 inches | 5 feet from pavement | 440, 660 feet ahead |
| Freeways / Expressways (high-speed) | 48 × 48 inches | 5 feet from pavement | 500, 1500 feet ahead |
| Urban Pedestrian Zones | Varies, generally at least 36 × 36 inches | 7 feet above sidewalk or curb | As close as practical to hazard (minimum 5 feet readability) |
- Identify the posted speed limit and road type where the sign will be placed.
- Select the sign size based on road type using the table above.
- Calculate advance warning sign distances: use 440, 660 feet for low-speed roads, 500, 1500 feet for high-speed roads.
- Place the first advance warning sign accordingly, ensuring clear line of sight.
- Mount signs so the center is 5, 7 feet above pavement for vehicles; in pedestrian zones, bottom edge should be 7 feet high and angled toward pedestrian approach.
- Verify sign readability from a minimum of 5 feet visually, adjusting angle or height if necessary.
Proper sign placement ensures drivers have enough time to notice and safely respond to construction zones, reducing crash risks and legal exposure for contractors.
Tip: Signs mounted perpendicular to pedestrian pathways reduce readability; always angle signs toward the direction of pedestrian or driver approach for optimal visibility.
Materials and Durability: Choosing the Right Sign Substrate
Choosing the right material for construction zone signs depends on the duration of use, budget limits, and exposure conditions. OSHA requires signs to be durable enough to handle outdoor environments but does not prescribe specific materials. Materials like .040 aluminum and aluminum composite (ACM) both meet OSHA’s performance standards, but each has distinct advantages for different site needs. Temporary signs can use lighter, less costly materials like corrugated or rigid plastic, while permanent signs require sturdier, weather-resistant options.
.040 aluminum is the standard for long-term outdoor signs because it resists rust and can last for years in harsh weather. However, it is heavier and generally costs more than ACM. Aluminum composite, made from a thin aluminum layer bonded to a plastic core, is about 50% lighter than solid aluminum, and typically costs around 20% less, making it easier to handle and transport, especially for larger signs. Rigid and corrugated plastics offer cost-effective, lightweight solutions for short-term sites but degrade faster in UV exposure and severe weather.
| Material | Best For | Cost | Weight | Durability | Use Cases |
|---|---|---|---|---|---|
| .040 Aluminum | Permanent and Long-Term Outdoor | Higher | Heavier | Weatherproof, rust-resistant, lasts years | Long-term roadside or panel-mounted signs |
| Aluminum Composite (ACM) | Large Format & Budget-Conscious Long-Term | About 20% Less than Aluminum | About 50% Lighter than Aluminum | Durable, weather-resistant, lightweight | Large signs that require easier handling |
| Rigid Plastic | Short-Term Use | Moderate | Lightweight | Good for shorter durations, less UV-resistant | Temporary postings, changing sites |
| Corrugated Plastic | Short-Term, Frequent Change | Low | Very Lightweight | Least durable, cost-effective | Sites with short-term, rotating messages |
Ultraviolet light and weather conditions affect sign lifespan significantly. Signs mounted horizontally face chemical trapping and UV deterioration that can cut durability by half compared to vertical mounts. For temporary signs, placing lightweight materials vertically reduces damage and eases removal or movement between sites. For long-term signs, expect more resistance from .040 aluminum or ACM, but regular inspection ensures visibility and compliance over time.
Handling tips include using gloves to avoid fingerprints on reflective surfaces, securing larger signs to prevent warping, and storing temporary plastic signs inside when not in use to limit sun and moisture exposure. Keep a replacement schedule for plastics, swapping them out as colors fade or edges crack. For permanent aluminum signs, clean with mild soap and water annually to maintain reflectivity and legibility.
Sign Colors, Signal Words, and Legal Design Standards
Construction zone signs must use specific colors and signal words to communicate hazard severity clearly. OSHA and ANSI Z535 standards guide these choices, ensuring that Danger, Warning, and Caution signs each display the correct wording and color coding. Proper application of these requirements reduces confusion on-site and limits legal risks for contractors and managers.
OSHA’s Role in Sign Messaging Standards
OSHA’s regulations, including 29 CFR 1926.200, define the exact language and design elements construction signs must have. OSHA requires that signs use signal words like “Danger,” “Warning,” and “Caution” to categorize hazards by severity and instruct workers accordingly. For example, “Danger” indicates an immediate hazard that will cause death or serious injury if not avoided, while “Caution” warns about a lesser risk. OSHA mandates that these signs be visible and placed where workers will see them before encountering the hazard.
Besides hazard warnings, OSHA specifies that construction sites display signs related to fire safety, access control, and emergency information. This complete signage plan supports safer working conditions and helps managers meet legal obligations. Failing to follow OSHA’s messaging requirements can result in citations and increase liability exposure after incidents.
ANSI Z535 Color and Signal Word Requirements
ANSI Z535.2 sets standardized colors and signal words for safety signs, complementing OSHA rules to create a uniform language understood nationwide. For construction zones, three primary signal words correspond to defined hazard levels: “Danger,” “Warning,” and “Caution.” “Danger” signs must use a red panel or border with white or black text, signaling the highest hazard level. “Warning” uses an orange background with black text, signifying a serious but not immediately life-threatening risk. “Caution” signs are yellow with black text, denoting potential hazards that require attention but present a lower risk.
Signs should also include a black header that displays the signal word clearly, such as “DANGER, Overhead Work” or “CAUTION, Wet Concrete.” ANSI Z535 recommends highly visible fonts, minimum letter heights (e.g., 2 inches for headers), and simple, direct phrasing. Colors and words must be consistent across all signage to prevent misunderstandings, especially in complex zones where different hazards intersect. The following table provides a summary of hazard levels, signal words, and example colors:
| Hazard Level | Signal Word | Example Color Scheme |
|---|---|---|
| Immediate Danger (death/serious injury) | Danger | Red background or border with white/black text |
| Serious Hazard (potential death or injury) | Warning | Orange background with black text |
| Minor Hazard (possible injury) | Caution | Yellow background with black text |
Avoiding Common Design Mistakes
Design errors often involve using incorrect signal words for the hazard, mixing color schemes, or placing signs where they are hard to see. Including a “Warning” sign instead of “Danger” when the risk meets the highest severity level violates ANSI Z535 and may expose you to legal consequences. Similarly, using colors that do not align with the standard can confuse workers and emergency responders.
Effective sign design respects both OSHA and ANSI standards by using concise, consistent wording combined with the appropriate colors. Text should be large enough to read from a distance, headers usually require letters at least 2 inches tall. Avoid cluttering signs with too much information; the signal word and main hazard message should be the most prominent elements. For example, a compliant sign header might be “DANGER, Falling Objects” with supporting text below stating “Hard Hats Required Within 20 Feet.”
Integrating this clarity helps workers quickly recognize the type and severity of hazards, enabling faster, appropriate responses. It also creates a strong compliance record that can be critical during inspections or following incidents, helping reduce fines and liability risks linked to inadequate warnings.
Routine Inspection and Maintenance for Construction Signs
Site signs in construction zones must be inspected at least weekly by safety officers or site supervisors during routine walkthroughs to ensure they remain clear and compliant. Any sign that is faded, damaged, illegible from 5 feet, or irrelevant to current site conditions requires immediate replacement. Keeping detailed records of these inspections is essential for OSHA compliance and can help reduce penalties.
Weekly and Pre-Event Inspection Checklist
Perform visual inspections of all construction signs every week as part of your regular safety walkthroughs. Before special events, busy shifts, or changes in site operations, additional inspections help ensure signs reflect the current hazards and traffic patterns. Use a checklist to keep inspections systematic and thorough.
- Verify each sign’s visibility from at least 5 feet without obstructions like dirt or equipment.
- Check for fading, peeling, cracking, or any surface damage that affects legibility.
- Confirm that sign placement matches the latest site layout and current safety requirements.
- Note missing or knocked-down signs that need to be reinstalled or replaced.
- Inspect mounting hardware to ensure signs are securely fastened.
- Assess reflectivity of signs if used during low-light conditions or night work.
- Review entries from previous inspections for recurring issues or deferred maintenance.
- Document all observations including the date, time, inspector’s name, and corrective actions taken.
Identifying Signs for Immediate Replacement
Signs that fail inspection criteria require prompt replacement to maintain safety and legal compliance. Immediate attention is necessary for signs that are faded, scratched, or otherwise unreadable from five feet, as they can lead to miscommunication of hazards. Any sign no longer consistent with current site operations must be updated or removed to avoid confusing workers and visitors.
Damage caused by weather, vandalism, or site equipment can degrade sign effectiveness quickly. Signs with missing reflective coatings or obscured messages also impact visibility during dawn, dusk, or night shifts, posing serious risks. It’s important to replace these signs without delay, ideally within 24 hours of identification.
Keep a small inventory of standard construction signs on-site for immediate swap-outs to reduce downtime.
Recording and Reporting Inspection Results
Thorough documentation of sign inspections and maintenance actions helps demonstrate compliance with OSHA and MUTCD regulations. Maintain a log that records inspection dates, findings, actions taken, and personnel involved. This log should be easily accessible during OSHA audits and updated promptly following each inspection.
Using a digital or paper form that combines checklist items and space for notes streamlines recordkeeping and accountability. When replacements occur, record the reason for replacement, the date installed, and any vendor or model information. This routine documentation supports good-faith compliance efforts under 29 CFR 1903.15 and can reduce penalties in case of enforcement.
- Create or adopt a standardized inspection form for construction sign checks.
- Train safety staff to complete the form during every weekly and pre-event walkthrough.
- File completed inspection forms centrally, either digitally or in hard copy.
- Review past inspection records to identify trends or recurring sign issues.
- Report any significant non-compliance or safety risks to site management immediately.
- Schedule or execute immediate replacement for damaged or outdated signs.
- Include a summary of inspection outcomes during regular safety meetings.
Conducting a Construction Site Signage Compliance Audit
Conducting a construction site signage compliance audit requires a clear, detailed approach to assess whether all posted signs meet OSHA and MUTCD standards. This process includes preparation, precise on-site verification, and thorough documentation of findings with a plan for correcting any deficiencies. Following a structured audit ensures site safety, legal compliance, and readiness for OSHA inspections.
Preparing and Planning the Audit
Begin by gathering all applicable regulations and standards. The latest MUTCD edition and OSHA construction safety standards should be on hand as primary references. Review the site’s traffic control plan to understand the intended sign layout and specifications. Assemble a checklist or audit form based on these standards to guide your inspection and record findings systematically.
Identifying critical audit points beforehand prevents missing key requirements related to sign sizes, locations, retroreflectivity, and visibility. Confirm access to all site areas where signs are installed and schedule the audit during typical working hours to observe actual site conditions.
On-Site Verification of Sign Placement and Condition
Conduct a detailed walk-through of the entire construction zone, checking each sign against the audit checklist. Measure distances from the work zone or hazards to ensure placement complies with MUTCD prescription, which often specifies signs must begin at least 150 feet in advance of the active work area on high-speed roads. Verify sign size, shape, color, and legibility. Note if signs are clean, undamaged, and properly mounted at the correct height and angle for maximum visibility.
Record any missing or incorrect signs and document these with photos and exact locations. Observe ambient lighting and weather conditions, as these can affect sign effectiveness. Mark signs that need repair or replacement.
Compiling Findings and Corrective Action Planning
Use a standard audit form to organize the data collected, including specific compliance failures and regulatory references for each violation. A sample audit form should have columns for sign ID, compliance criteria, observed condition, violation type (e.g., Serious, Willful), and recommended corrective action.
Classify violations by severity: Serious violations require prompt correction, typically within 24 to 48 hours to avoid citations or work stoppages. Willful or repeated violations carry higher penalties, so escalate these to project management immediately and involve safety professionals for resolution. Develop a corrective action plan detailing who will fix each issue, the method, timeline, and verification process.
Maintain all audit documentation and communication records. OSHA inspectors often request these during on-site compliance inspections. Having complete, organized records demonstrating ongoing site diligence reduces risk and supports legal defense if citations occur.
- Review applicable OSHA and MUTCD standards and site traffic control plans. Prepare audit tools including checklists and audit forms.
- Schedule audit during active working hours and verify access to all signage locations.
- Walk the site to physically check sign placement, size, color, condition, and visibility. Measure distances relative to hazard zones.
- Photograph and document any deficiencies or missing signage with exact site coordinates.
- Complete the audit form categorizing violations by regulatory importance.
- Report serious or willful violations to site management immediately and assign corrective actions.
- Develop a written corrective action plan including timelines and responsible parties.
- Retain audit documentation for OSHA inspections and future compliance verification.
| Sign ID | Compliance Criteria | Observed Condition | Violation Type | Recommended Correction |
|---|---|---|---|---|
| SIG-01 | MUTCD 11th Ed., 6-foot Min Height | Mounted at 4.5 feet | Serious | Raise sign to 6 feet minimum within 24 hours |
| SIG-05 | OSHA 1926.200 – Visibility and Legibility | Faded text, poor reflectivity | Serious | Replace with new retroreflective sign immediately |
| SIG-08 | MUTCD Distance Placement – 150 feet before zone | Sign placed only 80 feet before work area | Willful | Relocate sign to correct distance, notify management |
Specialized Signs: Electrical Hazards and Fire Safety
OSHA and NFPA provide clear guidelines for electrical hazard signage that differ significantly from general construction warning signs. Electrical hazard signs must highlight the immediate danger posed by energized equipment or arc flash risks. NFPA 70E mandates placing arc flash hazard labels directly on or near electrical panels. These labels must include the incident energy level (measured in cal/cm²), the required personal protective equipment (PPE) category, and the safe working distance to keep personnel protected from electrical burns or explosions. You should post the arc flash label on the wall beside or above the panel, not just on the door. This positioning ensures visibility before anyone accesses the panel.
Construction site managers should follow a clear process to post electrical hazard signs accurately. Start by locating all electrical devices with hazards, such as spider boxes and temporary power setups. Then, attach an Electrical Hazard warning sign where it can be easily seen on or near each device. Label cords with warnings like “Electric Cord Do Not Drive Over” to avoid accidental harm. Regularly check the condition of these signs and replace any that are faded or damaged to maintain worker safety and meet regulations. Treat this as a priority task throughout the project.
Fire safety signage on construction sites also follows specific requirements that go beyond general warnings. OSHA requires visible exit signs clearly indicating emergency escape routes. These signs must remain illuminated or have backup power to stay visible in power outages. Also, signs marking fire extinguishers and fire alarm activation points are mandatory and must be located so workers can quickly identify and access them during an emergency. Examples of compliant fire safety signs include red “Fire Extinguisher” plaques above extinguisher stations and bright “Emergency Exit” signs featuring a running man icon and arrows directing evacuation paths.
The difference between specialized electrical and fire safety signage and general construction warnings lies in the level of detail and location precision. General construction signs often focus on broad hazards like “Hard Hat Area” or “Caution: Construction Zone.” In contrast, specialized signage must convey specific technical data, such as arc flash PPE categories or exit route directions under low visibility. These signs often require precise placement near the hazard or evacuation point rather than general site entrances or boundaries.
| Requirement Aspect | General Construction Signs | Specialized Electrical & Fire Safety Signs |
|---|---|---|
| Content | Basic warnings, e.g., “Caution: Construction Area” | Detailed hazard info like incident energy level, PPE category, or exit routes |
| Placement | Site entrances, perimeter fencing, general zones | Directly on/near equipment or emergency exits |
| Visibility | Standard reflective or high-visibility materials | Illuminated or durable labels, compliant with NFPA 70E or OSHA |
| Updates | Periodic, general checks | Regular inspection mandated by safety protocols, especially post-maintenance |
Following specialized signage requirements reduces the risk of electrical fatalities, the third leading cause of construction deaths, and improve fire emergency responsiveness. Sign costs vary depending on customization and durability; arc flash labels typically range from $15 to $50 each, while exit and fire safety signs cost between $20 and $75. Investing in correct signage and placement supports compliance and protects workers, preventing costly accidents and violations.
Key Penalties and Legal Risks of Non-Compliance
Failing to comply with construction zone sign requirements can trigger significant legal and financial consequences. OSHA imposes fines that vary based on the severity of the violation. Serious violations start at $16,550 per incident, while Willful or Repeated violations can reach up to $165,514. These penalties have increased recently due to inflation adjustments, making adherence to signage rules even more critical.
Legal risks extend beyond direct fines. Inadequate or missing signs increase your project’s liability if a work zone accident occurs. Courts may hold contractors or site managers responsible for injuries or damages sustained, leading to costly lawsuits or insurance claims. This liability can delay project completion and result in higher insurance premiums or legal defense expenses.
Common causes of OSHA citations during inspections include signs that are improperly placed, obscured by dirt or damage, or using incorrect wording or colors. Often, signs are not updated to reflect current work conditions, causing confusion for drivers and workers alike. Signs that do not meet size or retroreflectivity standards also lead to citations. Such oversights are typical but avoidable by following detailed regulations and performing regular maintenance.
To reduce the risk of penalties and legal exposure, construction site managers should implement a proactive signage compliance strategy. This means scheduling routine inspections at least weekly, ensuring all signs are clean, visible, and correctly positioned according to OSHA and state requirements. Use a checklist that includes verifying signal words, font sizes, colors, and placement distances to maintain compliance. Documenting these inspections can provide evidence of due diligence if legal questions arise.
Managing signage effectively also involves training site personnel on recognizing and reporting damaged or missing signs immediately. Quick replacements or repairs prevent compliance gaps. Avoid using temporary signs that do not meet regulatory standards or placing signs too close to the work area, where they can be obscured by equipment or materials. Staying current with any updates to federal or state signage rules reduces surprises during inspections. Below is a summary of OSHA penalties related to signage violations:
| Violation Severity | Typical Fine Per Violation |
|---|---|
| Serious | $16,550 |
| Willful or Repeated | Up to $165,514 |
These figures illustrate the financial risks but do not reflect indirect costs such as project delays or increased legal liability. Ensuring proper signage is a cost-effective way to prevent these outcomes.
Regularly inspect and promptly repair or replace any worn, dirty, or incorrectly placed signs to avoid costly OSHA fines and reduce liability in your construction zones.
Your Step-by-Step Action Plan for Construction Zone Sign Compliance
Use this plan to implement and maintain compliant construction zone signage systematically. Following these steps will keep your site safe and minimize legal risks.
- Before Project Start: Review local and federal sign requirements specific to your construction zone. Confirm sign dimensions, colors, wording, and materials meet applicable standards. Success is a documented checklist aligned with regulations.
- Week 1: Procure approved signs made from durable, weather-resistant materials with proper reflectivity. Ensure signs communicate specialized hazards like electrical or fire risks prominently. Verify delivery matches specifications.
- Week 2: Place signs at strategic locations following prescribed positioning rules and sight distances, including advance warning and regulatory signs. Confirm visibility for all road users and workers during different lighting conditions.
- Week 3: Conduct a compliance audit using a checklist to ensure correct sign type, size, placement, and condition. Address any deviations immediately. Successful audit results in no critical or high-risk findings.
- Monthly: Perform routine inspections to check for sign damage, fading, or obstruction. Replace or repair signs as needed to maintain clarity and compliance. Document maintenance activities.
- Ongoing: Train site personnel on the importance of signage and compliance standards. Encourage reporting of damaged or missing signs. Track training completion records.
- After Any Incident or Regulatory Visit: Reassess signage condition and compliance to prevent future penalties. Update your records and take corrective action if citations were issued.
Frequently Asked Questions
What Federal Guidelines Apply to Construction Zone Sign Placement?
The Manual on Uniform Traffic Control Devices (MUTCD) sets federal standards for sign placement and design in construction zones. Following MUTCD guidelines helps ensure nationwide consistency and legal compliance on public roadways.
Who Must Receive Training on Construction Zone Signage Regulations?
Construction and road authorities usually provide training to site managers and safety officers to ensure proper adherence to sign requirements. Regular training improves compliance and site safety.
How Should Inspection Records for Construction Zone Signs Be Maintained?
Maintain detailed logs of sign inspections, repairs, and replacements to demonstrate compliance with legal requirements. Good record-keeping supports audits and liability protection.
When Is Portable Sign Mounting Appropriate for Construction Zones?
Use portable sign mounts for projects expected to last less than three days to meet temporary signage requirements. This allows quick setup and removal without permanent fixtures.
How Far in Advance Should Advance Warning Signs Be Placed on High-Speed Roads?
Advance warning signs should be placed between 500 and 1500 feet before the work zone on high-speed roads. This distance provides adequate driver reaction time for lane changes or speed adjustments.
What Are Common Legal Penalties for Non-Compliance with Construction Zone Signage?
Penalties include fines, work stoppages, and increased liability for accidents. Non-compliance jeopardizes public safety and can significantly disrupt projects.
The Bottom Line
Proper construction zone signage is essential for safety and legal compliance throughout your project. Prioritize accurate installation and regular maintenance to avoid penalties and protect workers. Begin by verifying all current signage against your local regulations today to ensure your site meets required standards before work intensifies.