How to Install Channel Letters: Complete Step-by-Step Guide with Best Methods
How to install channel letters starts with selecting the right mounting method for your building surface and preparing the site properly. Secure the letters using the appropriate hardware, keeping electrical safety and weatherproofing in mind. Begin by assessing your wall condition and mounting options before moving on to precise alignment and wiring.
Key Takeaways
- Choose a mounting method, raceway, backer mount, or stud mount, that fits your wall type and installation access.
- Prepare the wall by cleaning and leveling to ensure a strong, even base for the letters.
- Use weather-resistant materials and seal edges to protect against moisture and extend sign lifespan.
- Follow wiring diagrams carefully and use damp location rated transformers to avoid complex external boxes.
- Test electrical connections before finalizing the installation to confirm all letters light evenly.
- Align letters precisely using level tools to maintain professional appearance and avoid rework.
How to Install Channel Letters Step-by-Step
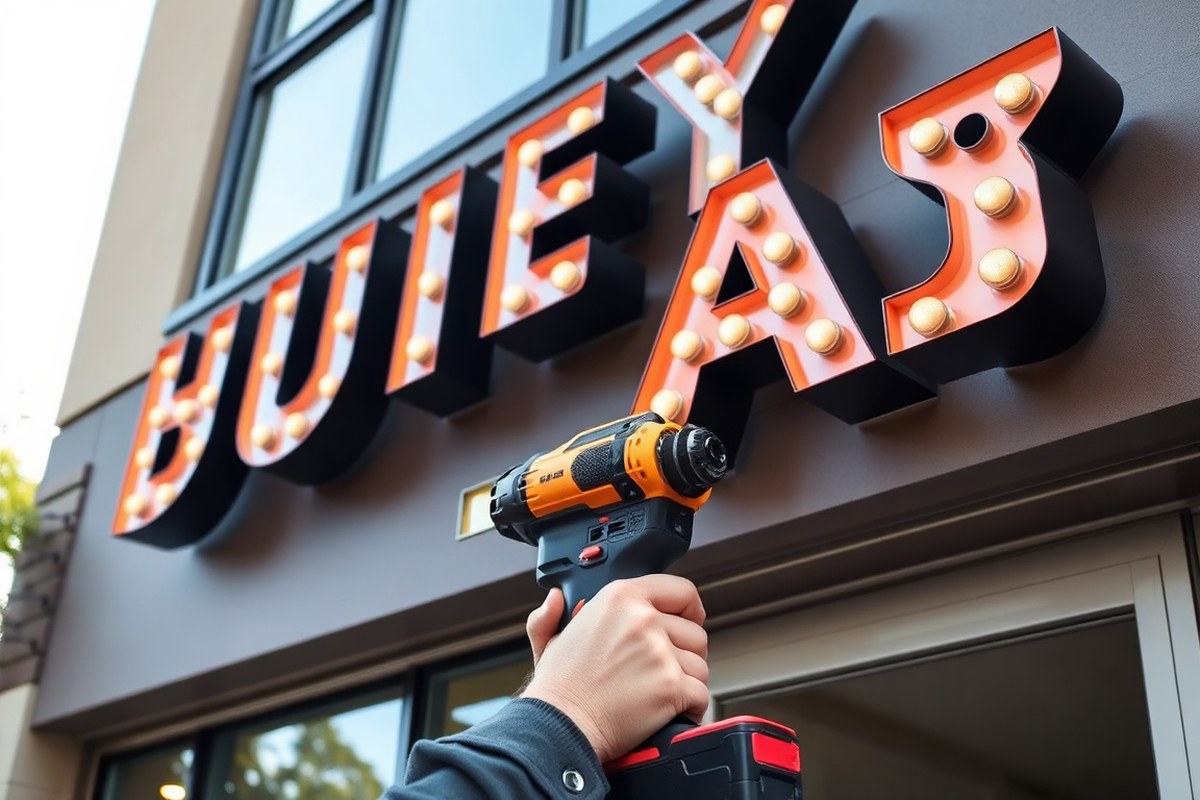
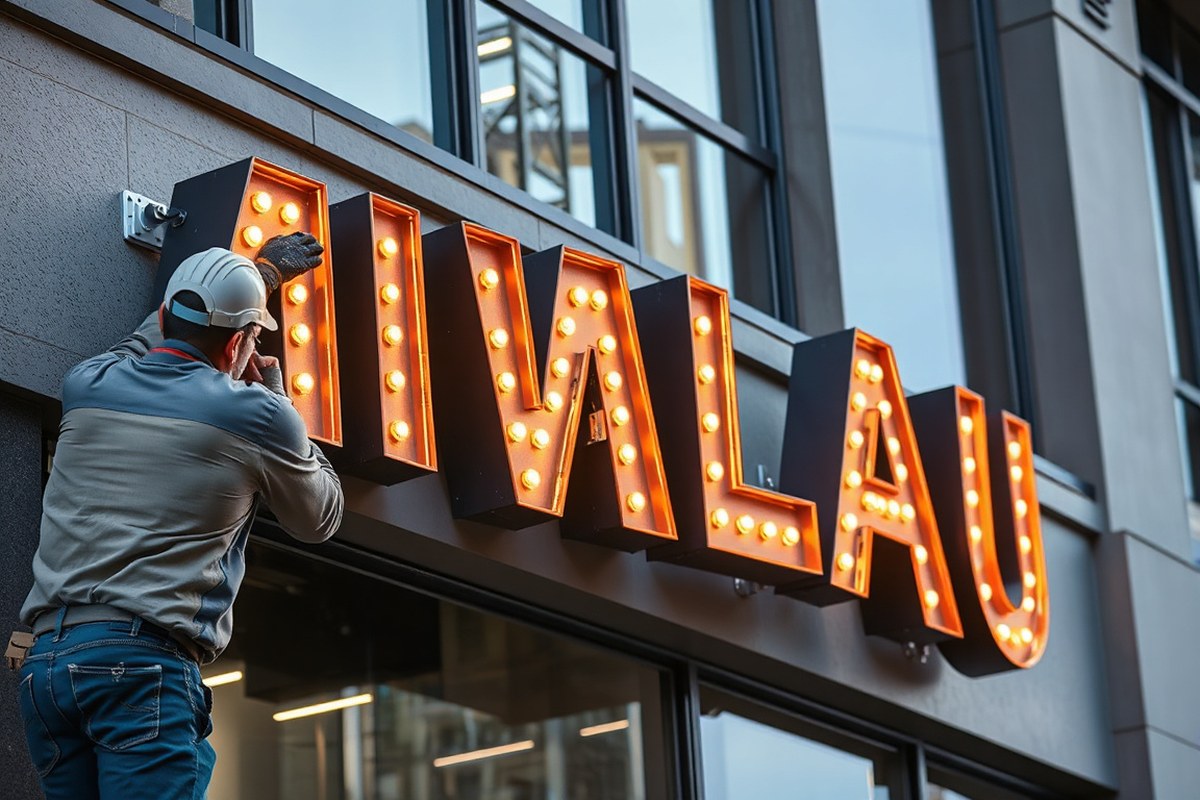
Installing channel letters requires careful preparation, correct placement, secure fastening, and thorough testing to ensure the sign looks professional and lasts through weather changes. Start with a clear plan for positioning each letter so the layout matches the design specifications and the spacing is consistent. Use appropriate tools like power drills, level, measuring tape, and mounting hardware specified for your chosen installation method, whether stud mounting, raceway, or backer panel. Basic safety precautions such as wearing gloves, eye protection, and ensuring power is off during wiring will protect you during the process.
- Mark the positions for each letter on the mounting surface. Use a level and layout template to ensure the letters align perfectly. Mark drill points according to the mounting studs or hardware.
- Drill mounting holes at the marked points. Use a drill bit sized to the mounting hardware. For masonry or concrete walls, use a hammer drill with appropriate anchors to secure screws firmly.
- Route the electrical wiring through the prepared holes. Pull the wiring carefully, avoiding sharp edges, then feed the wires into each channel letter. Leave sufficient slack to connect inside the letter’s LED fixture.
- Attach each channel letter to the surface. For stud-mounted letters, insert mounting studs into holes and secure with nuts and washers. For raceway or backer panel installations, first mount the raceway or panel, then fasten the letters to it according to manufacturer instructions.
- Connect the electrical wiring inside each channel letter. Attach wiring connectors or terminals precisely as indicated, maintaining polarity for LED illumination. Use waterproof connectors or sealant to protect connections from moisture.
- Test the illuminated letters before final sealing. Turn the power on to check that all LEDs light correctly, look uniform in brightness and color, and that there are no flickering or dead sections.
- Seal around electrical entry points and mounting hardware as needed. Applying silicone sealant or caulk designed for outdoor use prevents water intrusion that can damage wiring or cause corrosion.
- Clean the installed letters and surrounding area. Remove any dirt or smudges so the sign presents a crisp, professional appearance.
This process typically takes a few hours for a small set of letters but can extend to a full day or more for large signage or complex mounts. Using corrosion-resistant stainless steel hardware and weatherproof materials will extend the life of your sign, especially in harsh climates. Avoid rushing the alignment or wiring steps, as errors here affect the final appearance and safety. The result should be a well-aligned, securely mounted, and fully illuminated channel letter sign that improve your business’s visibility day and night.
Choosing the Best Mounting Method for Your Surface
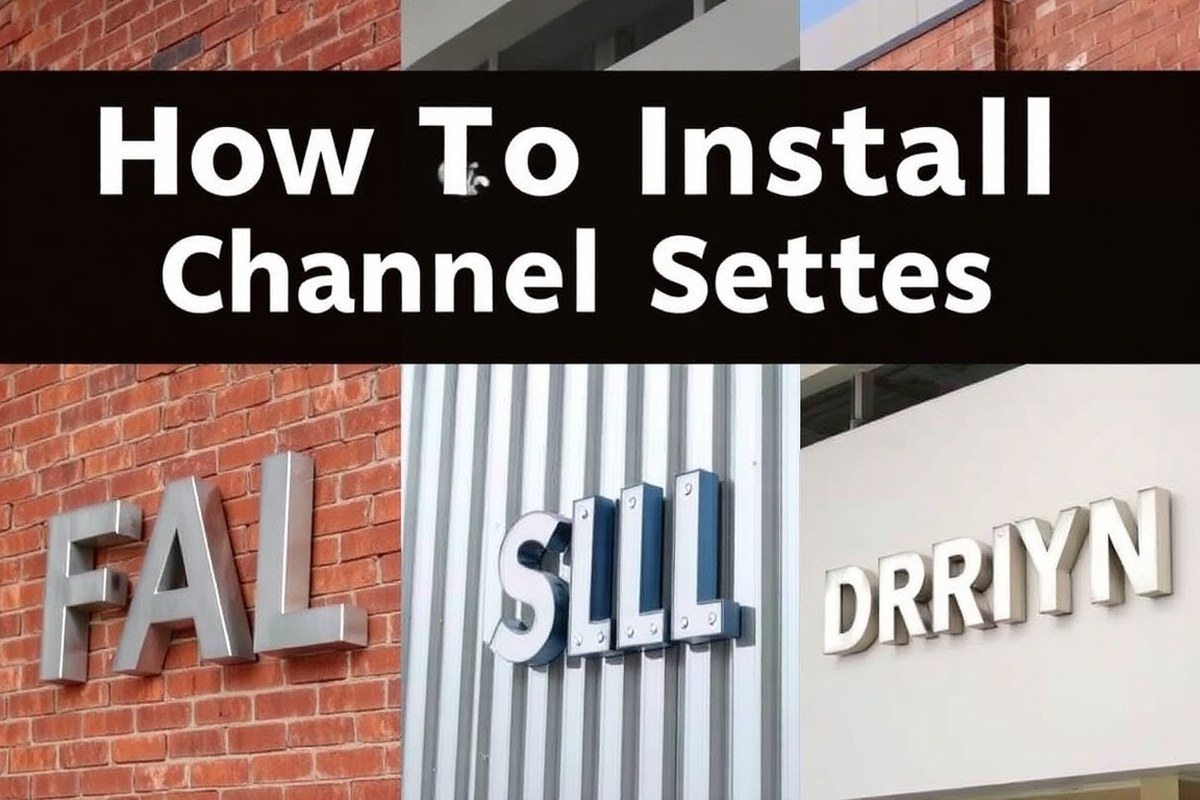
Choosing the right mounting method for channel letters depends on the wall material and the desired look. Raceway mounting works well on brick or metal panels where wiring access matters, while stud and spacer mounting suit halo-lit letters on surfaces like drywall or EIFS. Backer panels offer a solid, clean base, especially on uneven or delicate surfaces, combining appearance with structural support.
Raceway Mounting Explained
Raceway mounting fastens all channel letters onto a metal housing called a raceway, which contains wiring and power components. This technique minimizes wall damage by limiting drilled holes to the raceway’s mounting points and one power access. It’s frequently used for storefront signs on brick or metal surfaces because it makes electrical connections easier and cuts down installation time.
The visible raceway is often painted to match the building or sign to blend in. Although it creates a bar behind the letters, raceway mounting offers sturdy support and easier maintenance since wiring is contained in one accessible location. It usually costs less in labour but may add weight to the mounting surface, so confirm wall strength beforehand.
Stud and Spacer Mounting Details
Stud mounting involves fixing letters individually with threaded rods through the channel letter backs into the wall. This provides a clean, floating appearance with minimal visible hardware and is ideal for front-lit or backlit letters where crisp edges matter. Spacer mounting, a variation of stud mounting, uses cylindrical spacers between the letters and the wall to create the depth needed for halo or backlit illumination.
Both methods depend heavily on proper anchors based on wall type: masonry anchors for brick, lag bolts for wood, or toggle bolts for drywall. Correct selection and installation of anchors affect sign stability and the look. Stud and spacer mounting often require more wall penetrations for wiring but deliver a premium aesthetic when done properly.
Backer Panel Installation Uses
Backer panels are metal sheets mounted to the wall first, with channel letters then fastened to the panel. This method hides all electrical wiring behind a single surface, resulting in a uniform, sleek appearance. Backer mounting suits surfaces where direct attachment is difficult, such as uneven masonry or EIFS, providing a stable and level mounting plane.
Because the panel covers mounting holes and wiring, the risk of water intrusion or damage to the wall is reduced. This method can also simplify installation on walls that can’t handle the concentrated load from individual letters and is valuable when a smooth backdrop for the sign is desired. The table below compares these mounting methods by wall surface and their visual impact:
| Mounting Method | Wall Surface | Visibility of Hardware | Number of Wall Penetrations | Look | Electrical Access |
|---|---|---|---|---|---|
| Raceway Mount | Brick, Metal Panel | Visible raceway bar | Few (for raceway box and power entry) | Bar behind letters, painted to blend | Wiring housed within raceway |
| Stud Mount | Drywall, EIFS, Brick | Minimal hardware visible | More (one for each letter plus wiring) | Letters appear to float | Wiring behind wall |
| Spacer Mount | Drywall, EIFS | Spacers visible between letters and wall | More | Creates halo or backlit gap | Wiring behind wall |
| Backer Panel | Uneven brick, EIFS, Masonry | None (hidden behind panel) | Few (for backer panel attachment) | Uniform and clean backdrop | Wiring hidden behind panel |
Choose mounting hardware based on wall type for secure fastenings: use masonry anchors for brick or concrete, toggle bolts for drywall, and lag bolts or screws for wood framing. Secure anchors minimize movement and keep wiring protected from weather.
Tip: Always verify the wall’s load capacity and anchor compatibility before selecting a mounting method to avoid sign instability or wall damage.
Preparing the Wall and Site for Installation
Preparing the wall and site before installing channel letters ensures a secure mount and safe electrical setup. This includes cleaning the surface, checking measurements with templates, and confirming electrical access. Proper preparation reduces the risk of installation delays or damage to the signage and building facade.
Cleaning and Surface Checks
Start by thoroughly cleaning the mounting surface to remove dirt, dust, grease, or loose paint. Use a mild detergent and water or an approved cleaner compatible with the wall material. Let the surface dry completely before proceeding.
Inspect the wall for damage or unevenness that could affect mounting stability. For masonry or concrete walls, look for cracks or crumbling areas; patch and allow repairs to cure as needed. For metal or aluminum surfaces, verify they are free of rust and corrosion, sanding down rough spots and priming rust-prone areas if required. These steps ensure the mounting hardware will hold securely and avoid future shifting or detachment. Preparing different wall types:
- Brick or concrete: Confirm drill points into solid material, avoiding mortar joints if possible.
- Drywall or stucco: Reinforce mounting locations with backing plates or fasteners rated for hollow walls.
- Metal panels: Clean, degrease, and use appropriate hardware such as self-drilling screws or anchors.
- Wood surfaces: Check for rot or loose boards; use lag bolts or heavy-duty screws.
This preparation typically takes a few hours on site and may require materials costing $25 to $100, depending on wall repair needs.
Applying and Centering Mounting Templates
Use the mounting templates supplied with the channel letters to mark exact drill locations on the wall. Position the template carefully according to your approved sign placement plan.
Ensure the template is level both horizontally and vertically using a spirit level or laser level. Secure the template temporarily with painter’s tape or light adhesive that does not damage the surface.
Mark drill points clearly through the template holes using a pencil or marker. Double-check all measurements, distance between letters, height off the ground, and alignment with architectural features, to ensure accuracy. This step prevents costly mistakes like uneven lettering or misaligned signage. If installing multiple sets of letters or logos, repeat measurements for each group before drilling.
Electrical Power and Wiring Access Prep
Confirm the availability and location of electrical power sources before installation. Identify whether existing outlets or junction boxes can support the channel letters’ power requirements or if new wiring must be run.
Plan conduit access routes needed for electrical wiring. These may involve wall penetrations, raceways, or surface-mounted conduit depending on the building structure and code. Check local electrical codes to determine approved methods for your site.
Ensure power is turned off when preparing conduit or drilling near electrical components. Pre-wire conduit and pull wires before mounting the letters, allowing easier access and reducing installation time. Also, verify that the voltage and wattage capacity match the channel letters’ specifications provided by the manufacturer.
- Locate nearest electrical panel or circuit breaker
- Confirm circuit capacity and breaker rating for signage load
- Determine conduit size and pathway per building codes
- Pre-install any necessary junction boxes or raceways
- Schedule electrician for final hookup and inspection
Proper electrical prep can take several hours and may require a licensed electrician’s involvement, costing anywhere from $100 to $500 depending on complexity and local rates.
Channel Letter Electrical Wiring and Safety
Channel letters require careful electrical wiring and proper transformer sizing to function safely and reliably. Following National Electrical Code (NEC) guidelines, using correct conductor color codes, and selecting the right transformer size help prevent common faults like flickering lights or shorts. Ensuring compliance with local codes and electrical safety practices protects your investment and users.
Wiring Channels and Transformer Setup
Each channel letter contains LEDs powered by a low-voltage transformer. The transformer steps down standard building voltage to a safe level, typically 12 or 24 volts. Transformer size must match the total wattage load of all connected letters to avoid overheating or dimming.
Primary wiring uses black (hot) and white (neutral) conductors, while secondary wiring to LEDs follows color codes: typically red for positive (+) and black for negative (−). The wiring diagram provided with your sign kit shows how to splice secondary conductors between letters.
Choose a transformer rated for at least 125% of the sum wattage of all channel letters. For example, if your letters total 100 watts, select a 125-watt transformer or larger to handle startup currents and maintain longevity.
Electrical Code and Safety Considerations
Channel letter wiring must comply with the National Electrical Code Article 600 and any stricter local codes. Grounding and bonding are important to prevent electrical shocks and protect the system from surges.
Always use wiring components rated for outdoor use and ensure weatherproof connections within junction boxes. Avoid common mistakes like mixing conductor sizes or failing to secure cable entries, which can lead to shorts or water intrusion. To wire safely, follow this checklist:
- Turn off power at the main breaker before beginning any wiring.
- Use a voltage tester to confirm power is off.
- Match conductor colors according to NEC and manufacturer diagrams.
- Use watertight cable connectors and junction boxes rated for outdoor use.
- Install a ground wire connected to the building’s grounding system.
- Secure all wiring to prevent strain or damage over time.
- Confirm transformer placement provides ventilation and stays dry.
- Obtain required permits and inspections from local authorities.
Testing and Troubleshooting Wiring Connections
After installation, test the channel letters by powering on and observing for consistent illumination without flicker. Flickering often indicates loose connections, faulty wiring, or insufficient transformer size.
Use a multimeter to check voltage at each letter and continuity across splices. Tighten or redo any questionable connections. Re-check that wire colors match properly and that no wires are pinched or exposed to moisture.
Common wiring faults include reversed polarity (wrong color on + and −), improper transformer sizing, and damage from water infiltration. Resolving these problems quickly prevents damage to LEDs and reduces downtime.
Aligning and Securing Letters Correctly
Achieving correct alignment and secure fastening of channel letters is key for a professional look and long-term durability. Uneven spacing or poorly secured letters can look sloppy and risk damage from wind or vibration. Use a mounting template provided by the manufacturer to mark exact anchor points before installing. This prevents guesswork and ensures uniform spacing across the sign.
Measure spacing precisely with a tape measure, combination square, or laser level, especially for larger signs. Mark horizontal and vertical reference lines on the wall or mounting surface to guide placement. When spacing letters, a common standard is 1/8 to 1/4 inch between edges of adjacent letters, but follow the sign designer’s specifications. Use a level during installation to confirm each letter is perfectly horizontal or vertical.
Mounting hardware typically includes studs, sleeves, brackets, or Z-bars depending on the letter style and wall type. Insert each fastener fully and tighten securely to prevent letter movement. For large letters, check whether engineered reinforcements are required, as insufficient fastening can lead to sagging or detachment. Before tightening, ensure the hardware lines up with the mounting template to avoid misalignment.
- Use a manufacturer’s mounting template to mark drill points.
- Employ a laser level for consistent horizontal and vertical alignment.
- Maintain 1/8 to 1/4 inch spacing between letters unless specified otherwise.
- Confirm mounting holes and fasteners align before final tightening.
- Use appropriate anchors for the wall material, masonry anchors for brick or concrete, toggle bolts for drywall.
- Double-check levels after tightening each letter to detect any shifts.
- Wear safety glasses when drilling and handling hardware.
Misalignment often occurs when installers skip measuring tools or rush to tighten mounting hardware. Take time to cross-check measurements and alignment marks at every step. For uneven surfaces, shimming brackets or using adjustable fasteners can compensate for irregularities and keep the letters flush. Stainless steel fasteners avoid rust stains and degradation, particularly for outdoor installations exposed to moisture.
Confirm your mounting template’s accuracy before drilling any holes to prevent costly corrections and damaged surfaces.
Correctly aligned and secured letters resist movement during weather changes and maintain even illumination from LED modules inside. Misalignments can cause shadows, distorted shadows, or inconsistent lighting and may void manufacturer warranties. Costs for the right tools, laser levels around $100 to $200, and quality stainless fasteners are modest compared to the expense of repairing a poorly mounted sign or replacing damaged letters. Proper alignment and fastening boost the sign’s look and lifespan, reflecting well on your workmanship and the client’s brand.
Testing, Sealing, and Weatherproofing Channel Letters
Testing and weatherproofing channel letters after installation ensure they operate properly and withstand the elements, extending their lifespan and reducing future maintenance costs. You should start by inspecting the LED lighting circuits to confirm all modules light up evenly and no wiring faults exist. Then, sealing the letter joints prevents water intrusion, which can cause electrical shorts and damage the sign’s structural components over time. Proper weatherproofing also protects against dirt and insects, which contributes to long-term durability, especially in outdoor environments exposed to rain, snow, or high humidity.
LED channel letters usually last from 50,000 to 1,000,000 hours, provided they remain dry and well-maintained. Use silicone sealants rated for outdoor use or specialized weatherproof tape to seal corners, edges, and wire entry points. These materials prevent moisture penetration while allowing some flexibility for thermal expansion and contraction. Neglecting sealing can lead to peeling paint, corrosion, and electrical failures that increase repair costs and sign downtime. Follow this stepwise process to conduct a thorough lighting test and achieve effective sealing of your installed channel letters:
- Power on the Sign: Connect the LED drivers or power supplies to the circuit and switch on the power to activate all letters.
- Inspect Each Letter: Check every channel letter to ensure LED modules light uniformly without flickering, dim spots, or complete outages.
- Test Wiring Integrity: Use a multimeter to measure voltage drops across the LED circuits, verifying proper electrical connections and eliminating loose wires.
- Identify Faulty Components: Replace any defective LED modules or repair damaged wiring before proceeding with sealing.
- Prepare Surfaces: Clean letter edges, joints, and wire holes to remove dust, grease, and debris for better sealant adhesion.
- Apply Sealant: Use a weatherproof silicone or polyurethane sealant around all seams, attaching points, and cable entry areas, smoothing it out to avoid gaps.
- Check for Gaps: Inspect the seal for any voids and add extra sealant if necessary, ensuring a continuous waterproof barrier.
- Allow Cure Time: Let the sealant dry according to product instructions, typically 24 to 48 hours, before exposing the sign to rain or moisture.
This process typically requires investing about $10 to $50 in weatherproofing materials and 1 to 2 hours per sign, depending on size and complexity. Weatherproof sealants rated for outdoor UV resistance and temperature ranges from -20°F to 180°F work best. Proper sealing reduces water-related issues that could cause LED failures or metal rust, keeping maintenance low and your signage bright and visible for years.
Common Installation Problems and Fixes
Flickering or dim channel letters often indicate electrical issues that need immediate attention. This problem usually stems from loose wiring connections, failing transformers, or low-quality LED modules. Check the wiring first by turning off the power and inspecting for frayed or disconnected wires; secure any loose connections. Test the transformer with a multimeter to verify it outputs the correct voltage according to the sign specifications. Replacing a faulty transformer or upgrading to higher-quality LEDs can stop flickering and ensure consistent brightness. Expect transformer replacement costs between $50 and $150, depending on the model.
Misalignment and uneven spacing between letters can diminish your sign’s professional appeal. Correcting alignment after installation requires careful measurement. Use a level and measuring tape to identify discrepancies in height and spacing. Mark adjustments lightly with a pencil on the backing surface, then loosen the mounting hardware just enough to shift each letter into proper alignment. Tighten securely once every letter is flush and evenly spaced, usually about 1/8 inch spacing looks balanced. This process can take 30 to 60 minutes per sign section depending on size and mounting type.
Water damage in channel letters often shows as foggy or discolored acrylic faces, corrosion on metal edges, or intermittent lighting. Moisture usually enters through cracks in seals or damaged conduit. Inspect seals regularly by applying a bead of silicone caulk around edges, especially after seasonal temperature shifts that cause expansion or contraction. For existing damage, remove the letter, dry it completely with a heat gun on low setting, and clean corrosion with fine sandpaper and rust inhibitor before resealing. Promoting consistent waterproofing can extend your channel letter’s life beyond the average 10-15 years.
- Check for flickering or dim lights immediately and turn off power before inspection
- Use a level and tape measure to detect and mark misalignment precisely
- Loosen mounting screws carefully to shift letters without damage
- Apply silicone caulk to all perimeter seams and conduit entry points
- Dry water-damaged letters fully before resealing to prevent mold
- Replace faulty transformers or LED modules for durable lighting
- Schedule routine inspections twice a year to catch problems early
Maintaining channel letters through these troubleshooting steps prevents costly replacements and preserves sharp brand visibility. Most adjustments and repairs involve basic tools such as screwdrivers, multimeters, caulk guns, and levels. Consistency in checking lighting and seals ensures your sign remains a clear, bright identifier for years to come.
When to Hire Professionals for Installation
You should hire licensed electricians or professional sign contractors for any installation tasks involving electrical connections. Nearly every state requires a licensed professional to handle the wiring of illuminated channel letters. For example, Washington state mandates an electrical license not just for wiring but for installing any part of a lit sign. This ensures that the electrical setup complies with safety codes and local regulations, reducing risks like electrical faults or fire hazards. Local codes usually specify these licensing requirements clearly, and ignoring them can lead to costly fines or the need to redo the installation.
Local zoning and sign regulations often restrict the options for mounting channel letters on your building. Securing both sign and electrical permits usually takes place before installation to comply with size, illumination, location, and safety rules. Even with a do-it-yourself mounting plan, permit handling and inspection typically need a certified professional. Licensed sign installers often take charge of these procedures, speeding up the process and helping your sign pass inspections smoothly.
Hiring professionals brings practical advantages beyond compliance. Experienced installers often have the right tools and equipment, especially for large or complex signs that require scaffolding, lifts, or multiple workers. They know how to position the sign perfectly using an install pattern, secure it safely to the wall or raceway, and wire it to the power source with code-approved methods. Many also offer warranties on their work, providing peace of mind.
Deciding when to hire pros depends on several factors. Connecting lit channel letters mounted on a raceway or directly to electricity requires hiring a licensed electrician or a sign contractor. Securing permits and scheduling inspections typically become easier with professional installers who are familiar with local code requirements. Large signs that need lifts, scaffolds, or multiple workers are also best handled by pros to ensure safety. On the other hand, small, non-illuminated channel letters mounted on easy-to-reach surfaces may be feasible for capable DIYers without specialized licensing.
Look into your city’s specific requirements by contacting your local building or electrical permit office before starting. Compare the cost of professional installation, which can range from a few hundred to several thousand dollars depending on sign size and complexity, to the risks and potential fines of improper installation. High-quality installation protects your investment, ensures your sign works reliably, and keeps your business safely visible.
Always verify local licensing rules and permits before starting any installation involving electrical connections to avoid legal issues and costly rework.
Step-by-Step Action Plan to Install Channel Letters
Follow these steps to ensure your channel letters are installed safely and correctly for a professional look that lasts.
- Before You Start: Gather all tools, materials, and safety gear. Double-check your site preparation to confirm the wall surface is clean and level.
- Day 1: Choose the mounting method that suits your surface type. Confirm it holds the weight of your channel letters securely without damaging the wall.
- Day 2: Attach the mounting track or frame according to your chosen method. Test its stability by applying gentle pressure to ensure it is firmly secured.
- Day 3: Wire each channel letter safely, following electrical codes. Use a voltage tester to verify proper connections before finalising.
- Day 4: Align all letters carefully using a level and measuring tape. Step back to check consistent spacing and straightness before fastening fully.
- Day 5: Secure letters to the mounting frame with screws or anchors. Ensure they don’t move or wobble by applying slight force.
- Day 6: Seal all electrical entry points and letter edges with weatherproof caulking. Inspect the seals for complete coverage to prevent moisture intrusion.
- Day 7: Test the lighting by powering on the channel letters. Confirm all letters light evenly and repair any flickering or dark spots immediately.
Frequently Asked Questions
What Tools Do I Need to Install Channel Letters?
Basic tools include a drill, level, measuring tape, and screwdriver. Specialty tools like a conduit bender may be needed for electrical wiring. Having the right tools ensures accuracy and safety during installation.
Can I Install Channel Letters on Uneven Walls Like Stone or Stucco?
Yes, but prepare the surface well. Use backer panels or raceways to create a flat mounting surface. This step prevents misalignment and helps the letters look professional on rough surfaces.
How Do I Protect Electrical Wiring When Installing Channel Letters Outdoors?
Use weatherproof conduit and seal all entry points with silicone. Proper sealing prevents water damage and electrical shorts in variable weather conditions. Always follow local electrical codes.
What Is the Best Mounting Height for Channel Letters on Storefronts?
Mount letters at eye level or slightly above for best visibility. Height depends on pedestrian or vehicle distance to maximize readability and impact for your target audience.
Can I Reuse Channel Letters from an Old Sign?
Reusing channel letters is possible if they’re in good condition. Inspect for damage and test electrical components before reinstalling to ensure safety and appearance.
How Long Does It Usually Take to Install Channel Letters?
Installation time varies but generally takes several hours per sign panel. Factors include surface type, size of the sign, and complexity of electrical wiring. Proper planning speeds the process.
Key Points to Remember
Installing channel letters takes patience and attention to detail, but by following a clear plan, you ensure a durable and visually striking sign. Start by focusing on the mounting and wiring steps, as these are critical for safety and longevity. Schedule your first installation day now and prepare your materials to get started confidently.