How to Install Dimensional Letters: Complete Steps and Best Methods
How to install dimensional letters involves precise surface preparation, accurate template use, and choosing the right mounting method for your sign type and location. Start with a clean, flat, non-porous surface and create a detailed installation template to ensure letter alignment and spacing. Press-fit or screw-mount letters using proper anchors or adhesives, allowing enough curing time for secure bonding.
Key Takeaways
- Use a chalk line and measuring tape to mark exact letter placement before drilling holes.
- Create a full-scale template for consistent spacing and to save hours of manual alignment.
- Wear gloves, eye protection, and fall arrest gear when installing above 6 feet.
- Allow adhesive cure times of 24 to 72 hours before touching or cleaning the mounted letters.
- Leave at least 1/8-inch clearance between the letter backs and mounting surface per manufacturer guidelines.
- Press studs gently into holes during dry fitting; never force or apply adhesive until positioning is perfect.
What Are Dimensional Letters and How Are They Mounted?
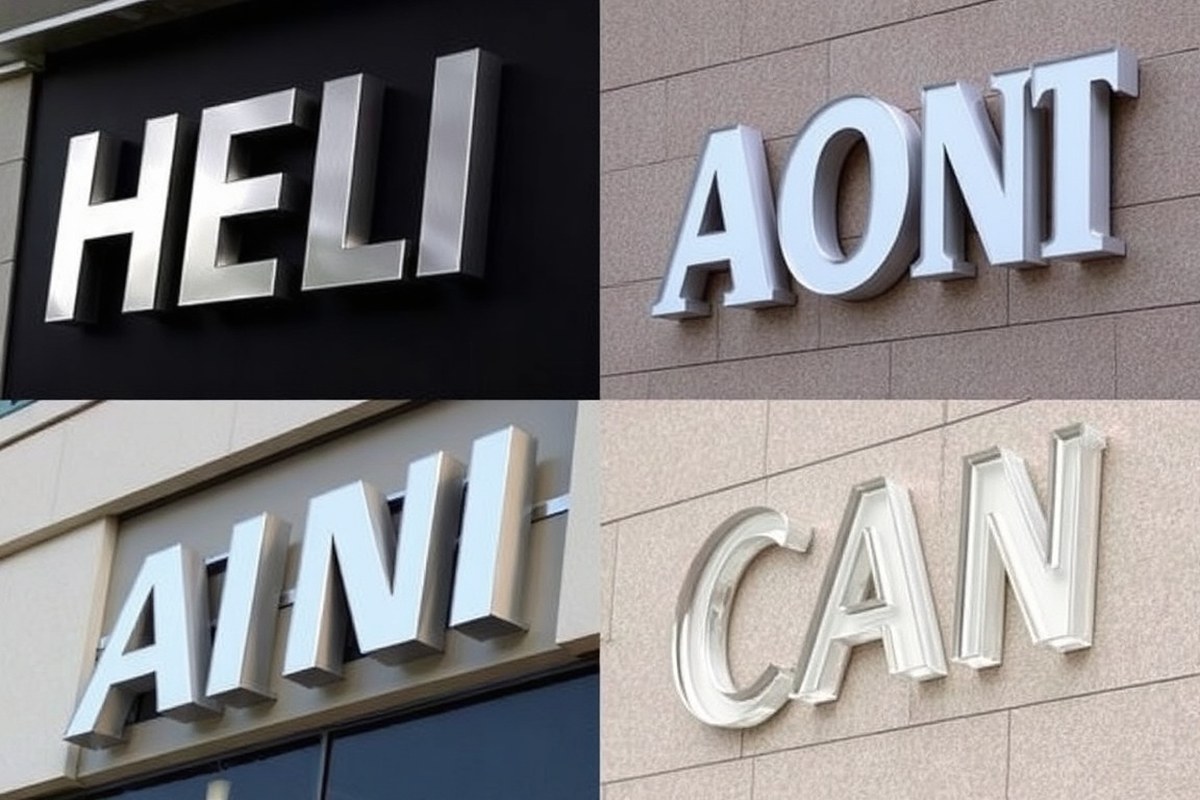
Dimensional letters are raised characters often used for signs, logos, and displays that provide a three-dimensional effect compared to flat signs, which are printed or painted directly onto surfaces. These letters stand out visually and physically, improving visibility and creating a professional look. They are typically made from metal, acrylic, or PVC, each offering different durability, weight, and appearance. Choosing the right mounting method for your dimensional letters depends on their material, size, weight, and the surface where you will install them.
Common mounting methods include stud mounting, double-sided tape, and silicone adhesive. Stud mounting uses threaded metal studs attached to the backs of letters, which fit into holes drilled into the mounting surface to create a secure, long-lasting installation. This method is well-suited for metal and PVC letters, especially when the letters are heavy, larger than about 6 inches tall, or when mounting on uneven surfaces like rough stone or corrugated metal siding. Stud mounting allows for precise alignment and keeps the letters flush but raised off the surface for a dimensional effect.
Double-sided tape mounting is ideal for lightweight, smaller acrylic letters typically under 4 inches tall. It requires a smooth, clean surface to bond strongly. This method is simpler and quicker but less durable under heavy weather conditions or on rough surfaces. Silicone adhesive is a flexible alternative that works well when drilling into the mounting surface is not feasible or when a clean look without visible fasteners is desired. It is especially useful on materials like glass or stucco and for medium-weight acrylic or PVC letters. The adhesive requires 24 to 72 hours to cure completely before the sign can be disturbed or cleaned.
The materials influence mounting choices: metal letters are often heavier, favoring stud mounting to support weight and allow for thermal expansion, which on aluminum can be about 23×10⁻⁶ per degree Celsius, making it necessary to allow room for movement. Acrylic letters are lighter and smoother, making tape or silicone adhesive more viable options. PVC letters fall in between and frequently use stud mounts, but silicone adhesives offer a good alternative if drilling is not an option.
| Mounting Method | Letter Size | Material Suitability | Surface Type | Key Considerations |
|---|---|---|---|---|
| Stud Mounting | Large (6″+) and Heavy | Metal, PVC, Acrylic (medium to large) | Uneven, masonry, metal siding | Requires drilling, uses full-size paper template; allows precise alignment |
| Double-Sided Tape | Small (under 4″) | Acrylic, lightweight PVC | Smooth, clean surfaces | Quick install, limited durability outdoors, not for rough surfaces |
| Silicone Adhesive | Small to Medium | Acrylic, PVC, some metal | Glass, stucco, areas where drilling is not preferred | Requires curing time 24-72 hours; flexible bond |
Using a full-scale paper template marking the exact mounting points is necessary for stud-mounted and keyhole-mounted letters to ensure accurate spacing and alignment. Many manufacturers provide these templates for an extra cost and highly recommend their use to save installation time and avoid mistakes. Allow the adhesives or sealants to cure fully to ensure lasting adhesion, and avoid cleaning or disturbing the letters during this period.
Tools, Materials, and Safety Gear Needed for Installation
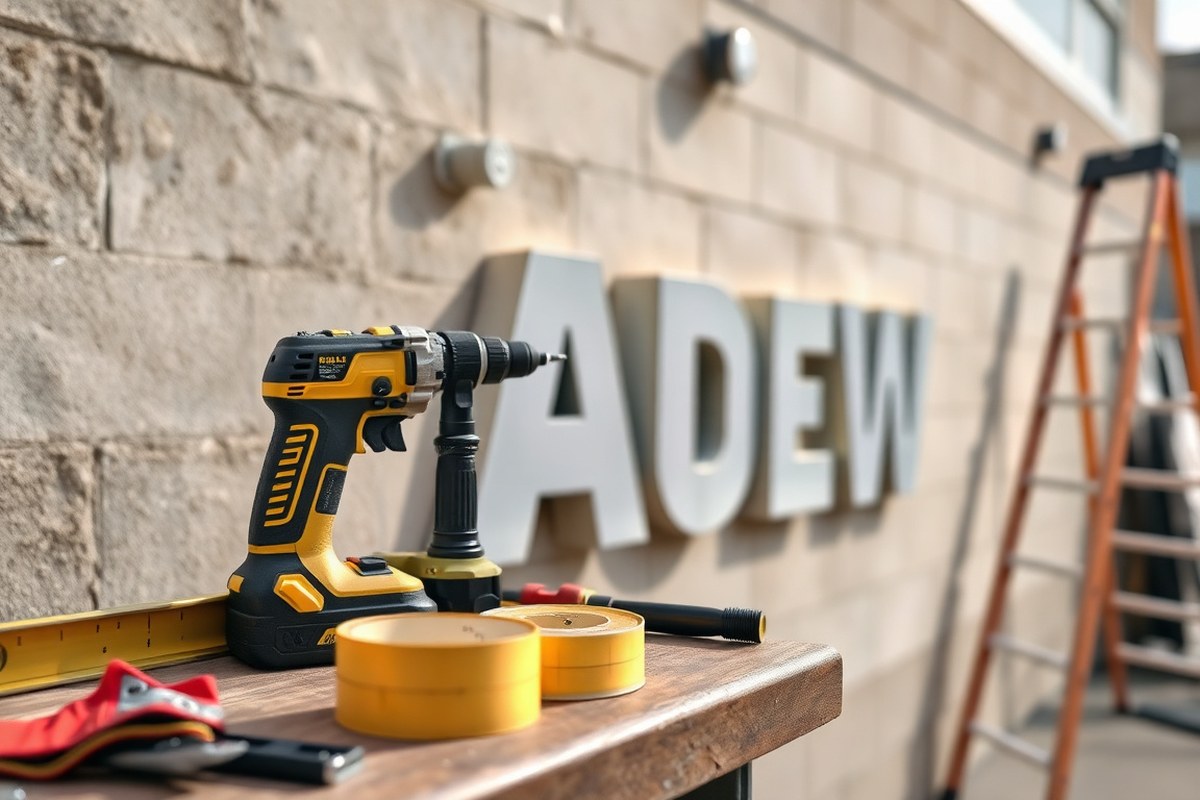
Installing dimensional letters requires a specific set of tools, adhesives, hardware, and personal protective equipment (PPE) to ensure a safe, durable, and visually appealing result. You need the right power tools, leveling devices, and mounting materials suited to your particular letter type and surface. Safety gear protects you during installation, especially when working at heights or with sharp materials.
Essential Tools for Installation
A compact but versatile tool kit is important for mounting dimensional letters properly. At minimum, you’ll want a power drill equipped with masonry and metal bits that match the substrate, a 4-foot level or laser level for alignment, and a torque driver for secure fastening. For mounting hardware like rivets or studs, a rivet gun is necessary. To apply adhesives cleanly, a silicone gun is standard. Depending on your letters and wall type, keep an assortment of anchors, marine-grade screws, and mounting studs ready for different conditions.
Keep in mind that having a helper makes positioning and securing the letters more accurate, especially when using templates or adjusting after preliminary mounting. Large or illuminated letters may require strain relief devices or access panels, which also add to your tool needs.
Recommended Adhesives and Hardware
Choosing the correct adhesives and hardware depends on letter weight, material, and mounting surface. For outdoor or heavy letters, stud mounting provides the most reliable mechanical attachment. These mounts typically allow slight bending to adjust letter alignment after installation. Epoxy adhesives are popular for their strength, but require careful curing time monitoring, usually between 24 and 48 hours. Silicone adhesives also work well for certain plastic letters but need ventilation due to solvent fumes.
For letters with LED illumination, raceway mounting helps bundle wiring neatly and simplifies maintenance for long runs. Marine-grade fasteners prevent corrosion in exterior applications. Always leave about 1/8 inch of clearance between the letter backs and the mounting surface to avoid trapped moisture or uneven adhesion.
Personal Protective Equipment (PPE) Essentials
Protective gear is critical when installing dimensional letters, especially on improve surfaces or using power tools. ANSI Z87.1 safety glasses shield your eyes from debris, while cut-resistant gloves rated ANSI/ISEA Level A4 guard against sharp edges of sheet-metal letters. ASTM F2413 steel-toe boots offer foot protection from heavy letters or dropped tools. Hearing protection is necessary when noise levels exceed 85 decibels. If you use silicone adhesives or work in dusty conditions, respirators such as N95 for dust or P100 cartridges for organic vapor fumes provide respiratory safety. Follow a documented safety plan tailored to your site that includes fall-protection measures and logs of all PPE and equipment inspections before starting work.
Key Supplies Checklist
Having all necessary supplies on hand before starting saves time and avoids installation errors. Use this checklist as a baseline for most installations:
- Power drill with masonry and metal bits
- 4-foot level or laser level
- Torque driver or screwdriver set
- Rivet gun for fasteners
- Silicone gun for adhesives
- Assorted anchors, mounting studs, and marine-grade fasteners
- Personal protective equipment: safety glasses, cut-resistant gloves, steel-toe boots, hearing protection, respirators
Adjust the contents of this list depending on the size, illumination, and location of your letters.
Always record the batch numbers and curing times of adhesives used to maintain quality control and know when it’s safe to finalize your installation.
Preparing the Surface and Creating a Precise Installation Template
Preparing the mounting surface ensures strong adhesion and accurate placement of your dimensional letters. A clean, smooth, and properly marked surface prevents misalignment and weak attachment. Creating and using an installation template guides precise drilling and mounting, saving time and reducing errors during installation.
Cleaning and Surface Preparation Techniques
Start by removing any existing letters or hardware from the mounting area. Next, clean the surface thoroughly using a mild detergent solution or isopropyl alcohol to eliminate dirt, oil, dust, and loose debris. Make sure the surface is completely dry before proceeding, as moisture can interfere with adhesives or fasteners.
If the surface is rough or uneven, sand it lightly with medium-grit sandpaper until smooth. This is especially important for non-porous materials like metal or painted surfaces where roughness may prevent a tight bond. Avoid working outdoors on rainy or windy days to keep the surface free of contaminants during preparation.
- Remove old letters and clean the surface with detergent or isopropyl alcohol.
- Let the surface dry fully, preferably for at least 30 minutes in warm, dry conditions.
- Lightly sand any rough spots to create a smooth, even surface.
- Wipe down the sanded area with a clean, dry cloth to remove dust.
- Inspect the surface for loose paint or material and remove if necessary.
- Check weather conditions; avoid surface prep in rain or strong wind.
How to Make or Use Paper Installation Templates
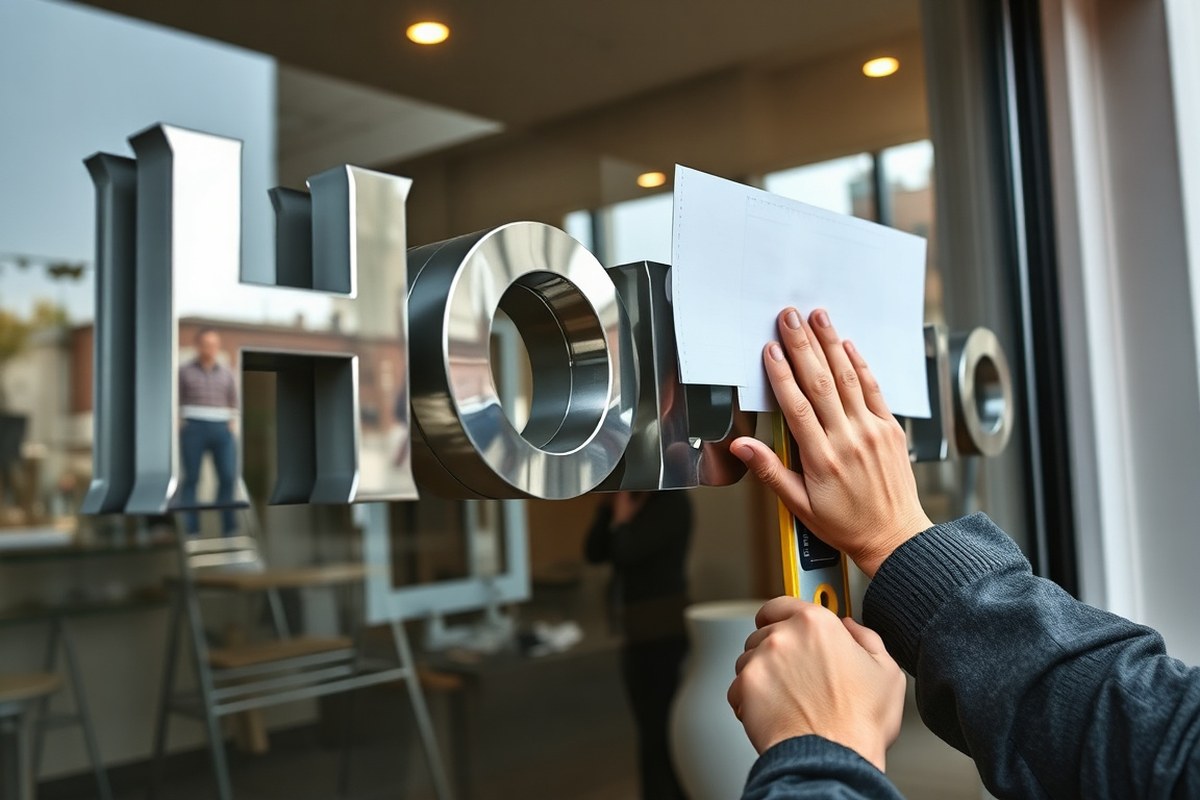
Templates act as guides for the exact placement of mounting holes or adhesive pads. For dimensional letters mounted with screws, use full-size paper templates showing precise hole locations. Print or trace the template onto sturdy brown pattern paper if no factory template exists, especially when relocating a sign.
Secure the template to the mounting surface with painter’s tape or masking tape. Align a 5- to 6-foot section of the template with a baseline or datum point to ensure correct horizontal positioning. Mark all mounting hole centers using a center punch or nail through the template at each indicated spot.
Pad-mounted letters require direct adherence without screw holes, so templates serve mainly for alignment reference rather than drilling guides. Always keep the template taut and flat to avoid distortion.
Tips for Accurate Measuring and Leveling
Accurate alignment depends on reliable reference points rather than relying solely on bubble levels, which can be unreliable on uneven facades. Instead, establish a datum line using a laser level or chalk line across the mounting surface. Mark this baseline clearly before placing your template.
Measure twice and mark once when positioning the template. Use a tape measure to check distances from fixed edges or architectural features. After taping the template, verify it is straight and level relative to the datum line using your laser or chalk line as a guide. This ensures consistent letter spacing and proper horizontality.
When drilling mounting holes, apply consistent torque (around 20-30 in·lb) to prevent shifting or pull-through of screws in drywall or soft surfaces. For heavier letters, additional backing plates or anchors may be required to maintain stability and prevent distortion.
Step-by-Step Installation Process for Different Mounting Methods
Installing dimensional letters depends largely on the weight and surface where you are mounting them. Stud mounting offers the strongest hold for large or heavy letters, while adhesive and tape mounting suit smaller, lighter letters on smooth surfaces. Handling weight carefully and precise alignment are essential for all methods.
Stud Mount Installation Steps
Stud mounting uses threaded rods attached to the letter back, inserted into matching pre-drilled holes in the wall. This method holds large dimensional letters securely and prevents shifting over time. You’ll need 2-3 people to manage alignment and safety when handling letters larger than 2 feet.
- Mark and measure wall: Use a level and template to mark the exact position for each letter and drill holes that match the stud diameter, typically 3/8 inch for masonry.
- Drill holes: For masonry surfaces, use a hammer drill and install sleeve or chemical anchors to secure the studs.
- Attach studs: Securely weld or glue threaded rods to the letter back, making sure studs extend straight and evenly.
- Dry fit letters: Insert letters into the drilled holes without glue to ensure roundness and alignment.
- Apply adhesive (optional): For added strength, use construction adhesive around studs and in holes.
- Mount letters: Push letters into the holes fully, using help to hold them plumb and level.
- Tighten fasteners: If accessible, fasten nuts on studs behind wall or use caps to secure letters firmly.
Stud mounting can take several hours depending on letter size and quantity. It costs more due to drilling and anchors but offers lasting stability, especially outdoors or on uneven surfaces.
Adhesive Mounting Techniques
Silicone or construction adhesive mounting allows letters to bond directly to smooth, clean surfaces. It is best for smaller, lighter letters on non-porous surfaces such as metal or painted drywall. This method requires clean conditions and careful curing time.
- Clean surface: Wipe with isopropyl alcohol to remove dust, oils, or contaminants.
- Apply adhesive: Use a high-quality silicone or construction adhesive, applying a bead on the back perimeter and center of each letter.
- Position letters: Press letters firmly against the wall, maintaining alignment with a level or template.
- Hold or tape: Secure letters temporarily with masking tape or supports while adhesive cures, usually 24 to 48 hours.
- Remove tape and inspect: After curing, remove tape and check for firm adhesion and level placement.
Adhesive mounting is cheaper and faster than stud mounting but less secure for heavy or large letters. Avoid this method on rough, dusty, or porous surfaces, which reduce adhesion strength.
Double-Sided Tape Installation Guide
Very high-bond (VHB) double-sided tape is a clean and fast mounting method for smooth surfaces like glass, metal, or finished wood. This tape provides a strong seal but can damage painted surfaces if removed and is unsuitable for heavy letters.
- Prepare surface and letters: Clean both with alcohol wipes for maximum adhesion.
- Cut tape pieces: Size tape strips to fit the back edges and center areas for balanced hold.
- Apply tape: Stick tape pieces firmly on the letter backs, pressing to ensure full contact.
- Peel backing: Carefully remove the protective liner without touching the adhesive.
- Align and press letters: Using a level or template, set letters in place and press firmly for at least 30 seconds to activate the tape bond.
- Allow bonding: Wait at least 24 hours before subjecting letters to stress or cleaning.
Use two or more people for alignment and to support heavier letters during tape mounting. Avoid this method on textured or porous surfaces, or with large letters that exceed tape weight limits (often around 5 pounds per square inch of tape).
How Weather and Environment Affect Installation and Adhesive Curing
Temperature and humidity have a direct impact on the success of mounting dimensional letters and the curing times for adhesives and sealants. Adhesives generally cure best within a temperature range of 50°F to 90°F. Below 50°F, curing slows significantly, sometimes extending by several hours or even days. Above 90°F, adhesives can cure too fast, which may weaken the bond as the adhesive might not have time to properly flow and adhere to the surface. High humidity also slows curing because moisture interferes with the chemical process adhesives rely on. A relative humidity above 70% can extend curing times by 50% or more, making it more likely that dirt or debris can get trapped during installation.
For cold weather installations, plan for longer cure times, especially if temperatures drop below 50°F. Using adhesive products rated for low-temperature curing helps, but you still need to keep the surface and letters dry and protected during curing. Applying the adhesive indoors or in a heated environment before mounting can improve results. In hot weather, aim to install during cooler parts of the day, such as early morning or late afternoon, to prevent too-rapid curing. Direct sunlight on the metal letters or wall surface can heat them well above ambient temperatures, affecting how the adhesive sets.
Metal dimensional letters will expand and contract with temperature changes. To allow for this thermal expansion, leave a small gap of about 1/16 inch around the edges when using mechanical mounting methods like studs or spacers. For adhesive mounting, make sure the adhesive remains flexible after curing; many sealants with elastomeric properties accommodate some movement without cracking or losing adhesion. Rigid glues may fail if expansion is constrained.
The curing time varies by adhesive type and temperature. For a typical construction adhesive at 70°F, expect between 24 to 48 hours for full cure. Epoxy adhesives may cure partially within 30 minutes but require up to 24 hours for full strength. Silicone-based sealants often need 48 hours or more, especially in high humidity. Cold weather can double these time frames, while hot, dry conditions may reduce them by one-third. Wind speeds over 25 mph complicate installation by making it harder to position letters accurately and can cause dust and debris to stick to wet adhesive, so choose calmer days.
Always check the adhesive manufacturer’s instructions and product specification sheets for exact recommended temperature and humidity ranges for application and curing. In some cases, warming metal letters with a heat gun before installing can improve adhesion but avoid overheating. Surface preparation remains critical; any moisture, dirt, or frost can undermine the bond regardless of adhesive quality. Allow the recommended cure time before handling or exposing the installation to rain, ice, or heavy cleaning.
Avoid installing dimensional letters during windy or rainy conditions to prevent misalignment and contamination of the adhesive bond, which can cause failure or shorten the lifespan of the installation.
Troubleshooting and Avoiding Common Installation Mistakes
Misalignment is one of the most frequent problems during dimensional letter installation and can result from inaccurate hole placement or uneven surface preparation. To prevent this, always perform a dry run by inserting letters into the drilled holes without adhesive and view your sign from a distance to check for straightness and even spacing. Use a level or laser guide to verify alignment before committing to drilling or mounting. Letters with single mounting points such as “T,” “I,” “Y,” and “J” require extra attention because they tend to tilt more easily.
Improper adhesive use can weaken the bond between the letters and the mounting surface, leading to letters loosening or falling off. Use manufacturer-approved adhesives and clean the letter faces and mounting surface thoroughly with recommended cleaners to avoid damage to finishes. Allow the adhesive to cure completely, which usually takes 24 to 48 hours depending on the product and weather conditions. Structural adhesives are ideal for wood letters or when studs and stand-offs do not provide sufficient support.
Hole sizing mistakes can cause letter mounts to fit either too loosely or too tightly. Drill pilot holes carefully, avoiding bit wandering by securing the drill steady and starting with a smaller bit. If the letters do not fit easily into the holes, enlarge the holes gradually using a larger drill bit until the letters slide in smoothly and align properly. Wood letters typically require holes larger than the studs to accommodate adhesive attachment and provide stable mounting.
- Check hole spacing against your installation template before drilling to avoid misplacement.
- Use proper anchors sized for the weight of each letter and the substrate material.
- Handle letters gently to prevent scratching or denting finishes during installation.
- Clean mounting surfaces and letters thoroughly with approved cleaners to improve adhesive bond.
- Allow full adhesive curing time before exposing the sign to weather or stress.
- Enlarge holes incrementally if letters fit too tightly; avoid forcing letters into holes.
- For letters with single mounting points, support them temporarily during installation to prevent tilting.
Correcting common issues often requires patience and attention to detail. Carefully adjusting holes and confirming alignment visually and with tools prevents misaligned letters that detract from sign quality. Choosing the right adhesive or mounting hardware ensures long-term durability. Avoid forcing letters into holes, which leads to damage or misalignment. Taking the time to prepare a precise template and confirm all measurements can save you the cost and frustration of rework, which can range from $50 to over $200 in materials and labor for a small business owner.
Post-Installation Care, Maintenance, and Inspection Tips
Cleaning dimensional letters regularly keeps them looking sharp and helps prevent surface damage or buildup that can hide mounting issues. Use a soft cloth with mild soap and water for routine cleaning. Avoid harsh solvents, abrasive cleaners, or scrubbing pads that may scratch or degrade the finish. Rinse thoroughly with clean water and dry with a microfiber towel to prevent water spots.
Inspecting the letters helps catch problems before they worsen. Check anchor bolts or mounting hardware for tightness and signs of corrosion, especially in coastal or humid areas where 316 stainless steel is recommended over mild steel to resist rust. Review adhesive bonds carefully, focusing on the silicone joints that should have no gaps larger than 2 millimeters. Small gaps can degrade over time and allow moisture to enter.
Set a clear inspection and maintenance schedule to extend the life of your dimensional letters and keep them safe. Immediately after installation, inspect all anchors and adhesive bonds once the adhesive has cured. Follow up with inspections between 30 and 90 days to ensure stability. After this initial period, plan ongoing checks every 6 to 12 months to monitor hardware torque and seal integrity. Silicone joints generally require resealing every 3 to 5 years to maintain a watertight bond.
- Photograph each letter during inspection for visual records
- Log torque values of anchor bolts to track changes
- Note any corrosion or deterioration in mounting components
- Measure silicone joints and identify gaps larger than 2 mm
- Schedule resealing of silicone joints every 3 to 5 years
- Use 316 stainless steel hardware for marine or high-humidity environments
- Replace any worn or rusted mounting hardware immediately
Maintaining this routine prevents loose or failing letters that pose safety risks and costly repairs. The time investment for inspections typically ranges from 15 to 30 minutes per installation, depending on size. Tools needed include a torque wrench, gap gauge or ruler, camera, and a checklist to document findings. Consistent care ensures the letters retain their intended appearance and structural reliability for years to come.
When to Hire a Professional Installer and How to Prepare
Call a professional installer when your dimensional letters require complex mounting like keyhole slots or large, heavy pieces over 36 inches. These often need special fasteners tightened with a wrench and multiple anchors spaced 6 to 12 inches apart for secure attachment. If the surface is uneven, structurally questionable, or subject to local building codes, a pro can assess and prepare the site properly. Safety risks escalate when working overhead or on tall walls, so keep in mind that fall protection gear and rescue planning are critical. Time and experience also matter; professional installs can take several hours but ensure precise alignment and durability.
Prepare your site by inspecting the surface for flatness and confirming it meets structural and code requirements. Clean the area thoroughly and provide clear anchor location marks if you’ve already mapped them out. Communicate exact letter dimensions, mounting style, and any unique challenges like rounded letters to help the installer anticipate adjustments. Have a detailed installation plan or template ready, including reference points for orientation. Highlight any access restrictions or safety hazards to allow the pro to bring appropriate equipment, such as ladders or fall arrest systems.
Guaranteeing safety and quality involves hiring licensed or certified sign installers who follow OSHA guidelines and local regulations. Ask about their experience with your letter type and mounting method. Confirm they use shock-absorbing lanyards or self-retracting lifelines when working at height and locate all overhead anchors within 6 feet of the work area to reduce fall risk. Discuss onsite time frames and get a clear contract, including warranty terms on workmanship. Ensuring your pro marks outlines for rounded letters and hand-adjusts positioning after loosening tapes prevents misalignment.
Before the pro arrives, provide detailed measurements and a site readiness checklist: surface cleanliness and flatness confirmed, exact anchor positions marked, access paths cleared, and any permits secured. Have a point of contact available for questions during the process. This preparation minimizes delays and supports a smooth, high-quality installation.
Never attempt to completely tighten keyhole-slot fasteners with standard screws; use the special side-wrench fasteners supplied to avoid damaging letters and ensure a secure fit.
Step-by-Step Action Plan for Installing Dimensional Letters
Follow these clear steps to install your dimensional letters correctly and securely. Each phase ensures your letters look professional and last long.
- Before you start: Clean and prepare the mounting surface using appropriate cleaners and patch any uneven areas. Check that the surface is smooth and dry to ensure good adhesion.
- Day 1: Create and apply a precise installation template aligned with your design layout. Verify the template is level and accurately positioned before proceeding.
- Day 1 or 2: Select the right mounting method for your letters and surface, such as adhesive, standoffs, or screws. Confirm that the hardware or adhesive matches the material and weight of your letters.
- After choosing the method: Mount the letters carefully following the chosen technique, using a level during installation. Ensure each letter is secure and flush or spaced as designed.
- Within 24 hours: Allow adhesives or sealants to cure fully according to the manufacturer’s instructions. Avoid touching or disturbing the letters during this curing period.
- After 1 week: Inspect the installation for any signs of loosening or damage. Tighten fasteners or re-adhere letters if needed to maintain long-term durability.
- Monthly checks: Clean letters gently with non-abrasive products and inspect for weather or environmental wear. Address any issues promptly to prevent permanent damage.
Frequently Asked Questions
What Is the Best Height to Install Dimensional Letters?
Dimensional letters are best installed at or slightly above eye level for maximum visibility. This height ensures they grab attention and remain easy to read from a normal standing position.
Can I Install Dimensional Letters on Uneven Surfaces?
Installing on uneven surfaces is difficult and not recommended because it affects adhesion and alignment. Use a suitable backing board or smooth the surface beforehand for a cleaner look.
How Do I Handle Installation in Extreme Weather Conditions?
Avoid installing dimensional letters in extreme heat, cold, or high humidity to ensure adhesives cure properly. Extreme weather can affect both adhesive strength and material expansion, causing alignment issues.
Are There Weight Limits for Mounting Dimensional Letters with Double-Sided Tape?
Double-sided tape works best for lightweight letters only, usually under a few pounds. Heavier metal or large acrylic letters require mechanical fasteners or adhesive for secure mounting.
How Do I Prevent Damage to Letters During Installation?
Handle letters carefully, especially acrylic and PVC, by using gloves to avoid fingerprints and chips. Using a template reduces repositioning, which lowers the risk of damage or misalignment.
What Should I Do If My Mounting Holes Don’t Line Up with the Template?
Double-check drill hole placements before installing studs; if holes are off, fill and re-drill carefully. Using a high-quality paper template helps minimize errors during positioning.
The Bottom Line
Installing dimensional letters takes careful preparation, precise positioning, and patience for adhesives to cure properly. Taking the time to work step-by-step ensures a durable, attractive installation that withstands the environment. Your next step is to gather all materials and plan your surface prep to get started confidently.