How to Use Oramask for CNC Signs: A Complete Guide for Flawless Painting
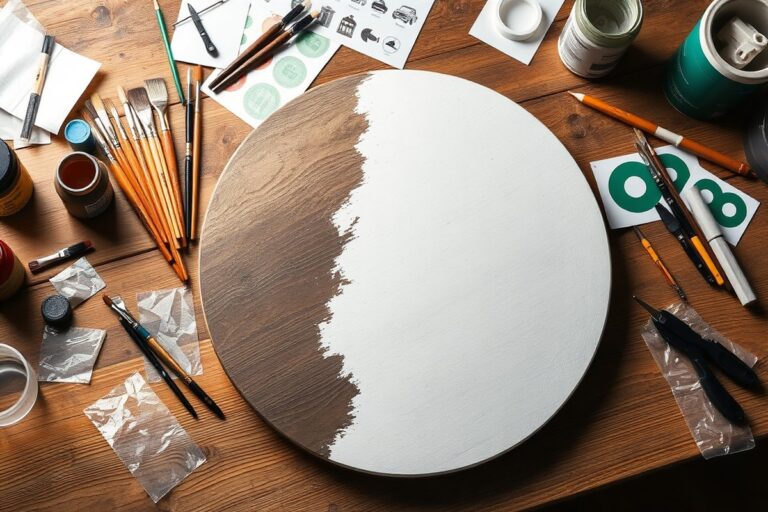
How to use Oramask for CNC signs involves selecting the right stencil film and applying it precisely to create sharp paint lines. Oramask 810S, a flexible PVC stencil, works well on complex shapes, allowing you to paint clean designs while protecting surrounding areas. Start by thoroughly cleaning and lightly sanding your CNC sign surface to help Oramask adhere smoothly.
Key Takeaways
- Clean CNC signs with isopropyl alcohol before applying Oramask to remove oils and dust.
- Lightly sand surfaces using 220 to 400 grit sandpaper for better stencil adhesion.
- Use Oramask 810 for curves and semi-flexible sign substrates to maintain stencil integrity.
- Cut Oramask precisely with sharp tools or a CNC cutter to match the sign’s design.
- Apply Oramask in smooth, bubble-free layers to avoid paint seepage under the stencil.
- Apply spray paint in light layers from 6 to 8 inches distance, letting each coat dry for 15 minutes before adding the next.
What Is Oramask and How Does It Work for CNC Signs?

Oramask is a flexible stencil film made from a translucent dark grey PVC material, typically 3 mil thick, designed specifically for paint masking in applications like CNC sign making. Its main advantage lies in its combination of flexibility and transparency, which allows the film to conform to complex curves and uneven surfaces commonly found in CNC-cut signs. This feature helps maintain a strong adhesive contact without air bubbles or gaps, ensuring sharp paint edges even on semi-flexible or irregular substrates.
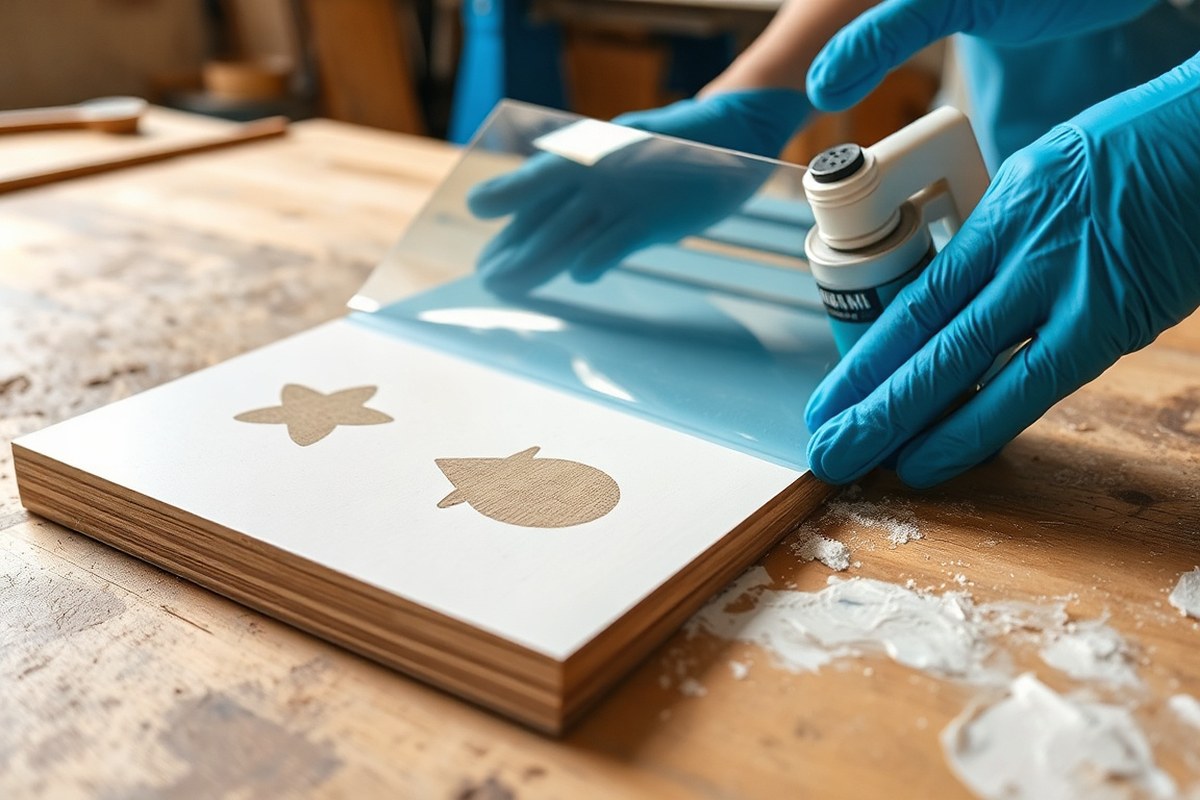
Using Oramask for CNC signs means you can apply stencils that closely follow the shape of your sign, including rounded edges or intricate contours. The stencil film’s transparency makes it easier to position on your workpiece with precision because you can see the surface underneath during application. This reduces alignment errors and allows for better control when layering paint or performing back spraying, which is often used on illuminated sign faces.
Oramask’s adhesive sticks well enough to secure the stencil firmly yet peels off cleanly without harming the painted surface or sign substrate. This is critical since CNC signs usually need several paint coats to achieve the right strength and color richness. Pull the stencil away soon after painting while the paint remains a bit wet to prevent peeling or ripping. For the best stick, apply Oramask on a clean area prepared by wiping with isopropyl alcohol and lightly sanding first.
Oramask’s price varies but expect to pay around $20 to $30 for a roll suitable for several small to medium-sized CNC signs. The added cost is justified by the quality of edges and the reduced risk of paint bleed, which saves time and material on touch-ups. Using Oramask also cuts down on masking time compared to irregular tape or paper stencils, especially for signs with complex shapes requiring precision.
The stencil film is highly compatible with a range of paints used in CNC sign making, including acrylics and enamels, which are popular for outdoor durability and a high-gloss finish. Oramask’s flexibility and surface adherence help prevent common issues like paint drips and uneven coverage on curving surfaces. For very slick substrates like Oracal tape, lightly tacking the stencil with a low-tack spray adhesive can improve hold without compromising removal.
A common issue when using Oramask is improper surface cleaning before application. Dust or oils can cause the stencil to lift or allow paint bleed under edges, leading to fuzzy lines. Another issue is waiting too long to remove the stencil, which can cause the dried paint to peel when pulled off. Following the recommended steps, clean surface, light sanding, use of primer where appropriate, careful paint layering, and prompt stencil removal, ensures crisp, professional results for your CNC signs.
How to Prepare CNC Sign Surfaces Before Applying Oramask
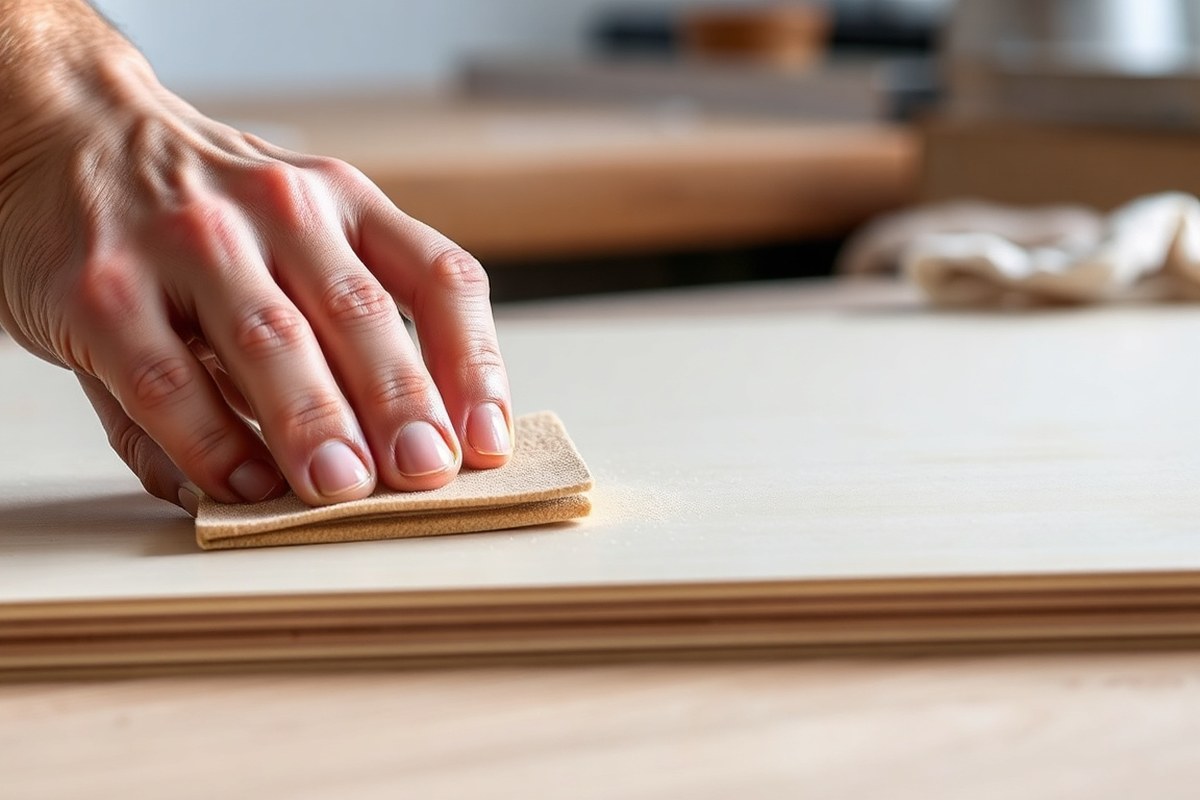
To prepare your CNC sign surface before applying Oramask, the key steps are to clean thoroughly, sand lightly with the right grit, and apply a suitable primer. Proper surface prep creates a clean, slightly rough, and mattified base, critical for strong paint adhesion and a durable finish.
Cleaning the CNC Sign Surface
Begin by removing all dust, dirt, and oils from the sign surface. Any debris or grease can cause paint to peel or bubble, reducing the lifespan of your finish. Use a damp cloth or mild cleaner suited to the material of your sign, making sure the surface is completely dry before moving on. Cleaning ensures Oramask tape adheres properly and that paint applies smoothly without imperfections.
Sanding for Optimal Paint Grip
Sanding improves adhesion by creating a slightly rough texture for the paint to hold onto. For most CNC signs made from wood, MDF, or plastic materials, use fine sandpaper between 180 and 220 grit. Sand gently in a circular motion, focusing on tool marks or edges that may affect the paint’s coverage. This light sanding avoids damaging crisp CNC details while providing the necessary “tooth” for better bonding of both primer and paint layers.
Applying the Right Primer
A primer acts as a bridge between the base material and the paint. It prevents peeling, improves paint durability, and results in an even, matte finish ready for stencil application. Use a primer compatible with your sign’s material (wood, metal, or plastic) and intended paint type.
Apply the primer in thin, even coats, allowing it to dry completely, usually around 30 minutes to an hour at room temperature. The surface should feel dry and matte with a slight texture before you start masking.
- Wipe down the entire surface with a damp cloth to remove dust and oils, then let it air dry.
- Lightly sand the surface with 180, 220 grit sandpaper, using circular motions and focusing on imperfections.
- Clean off sanding dust with a dry, lint-free cloth or tack cloth.
- Select a primer suited for your sign’s material and your paint type (e.g., acrylic primer for wood or plastic).
- Apply primer evenly in thin coats, maintaining a distance of 6 to 8 inches if spraying, or a smooth layer if brushing.
- Allow the primer to dry until the surface looks matte and slightly rough to the touch, which usually takes 30, 60 minutes.
- Inspect the surface, lightly sanding again if needed to smooth any raised areas from primer application.
- Remove dust from sanding and ensure the surface is clean and dry before applying Oramask tape.
Never skip priming on bare wood or metal surfaces; skipping this step often causes paint to peel or fail prematurely under Oramask stencil edges.
Tips and Tools for Cutting and Applying Oramask on Complex CNC Shapes
Cutting and applying Oramask on complex CNC shapes requires precision and proper technique to prevent wrinkles, gaps, and bubbles, especially on curves. Using sharp blades and flexible tools makes cutting intricate details easier while careful smoothing during application avoids air pockets. Preparation and patience help keep Oramask firmly adhered without lifting or distortion.
Recommended Cutting Tools and Blades
Using the right cutting tools ensures clean edges and accurate shapes on your Oramask stencil. A sharp hobby knife or craft scalpel with a fine point works best for detailed cuts and tight curves. Rotary cutters with small-diameter blades can also help when cutting longer curves or rounded edges.
Replace blades frequently to avoid tearing the mask. Dull blades create jagged edges and increase the risk of lifting during application. For very intricate or small designs, consider using a self-healing cutting mat to protect your work surface and support smooth cutting movements.
Techniques for Applying to Curves and Edges
Applying Oramask to curved or raised edges needs a delicate touch to conform the mask without stretching or wrinkling it. Start by cleaning the surface to remove all dust and grease. Use your fingers to gently press the mask into place from the center of the curve outward, avoiding pulling or overstretching.
A flexible squeegee or plastic card works well to smooth the mask and push out air. When working around sharp edges or tight curves, score the mask lightly with a blade to create a hinge that folds neatly without gaps. Applying low-tack transfer tape over Oramask before removing the backing can help maintain alignment on complex shapes.
Avoiding Air Bubbles and Wrinkles
Air bubbles and wrinkles can compromise paint edges and reduce stencil lifespan. To avoid these, apply Oramask slowly and steadily. Starting at one corner, peel back the backing paper a few inches, press the mask down, and continue gradually. Use a squeegee or a plastic card to smooth the mask down as you go, applying firm but even pressure.
Pay close attention to curves and recesses. If you see a bubble, press it out gently toward the edge before it sets. Avoid applying Oramask over rough or textured surfaces, which encourages lifting and peeling.
- Keep blades sharp and replace regularly
- Use a flexible squeegee or plastic card for smoothing
- Peel backing paper slowly at a steady pace
- Score mask edges on tight curves for better fit
- Apply transfer tape to high-detail designs
- Work in a clean, dust-free environment
- Avoid rough surfaces where possible
Patience during application and the right tools greatly reduce bubbles and wrinkles. Correctly applied Oramask maintains crisp paint lines and protects your design throughout the painting process and beyond.
Choosing and Applying Paint Types Compatible with Oramask
Choosing the right paint for use with Oramask depends on the material of your CNC sign and the finish you want. Acrylic, enamel, and spray paints each have strengths and weaknesses when it comes to adhesion, drying time, and the final appearance.
Acrylic paints stick well to many surfaces and provide rich color depth, making them a solid choice for indoor CNC signs that need a durable finish. Enamels offer a hard, glossy coat that resists wear, which is helpful for signs exposed to more handling or outdoor conditions. Spray paints dry fast and are convenient for covering large areas but can sometimes lack the richness of color compared with brush-applied acrylics or enamels.
Applying paint in multiple thin coats is critical to getting crisp edges and a smooth, even surface. Thin layers dry faster, reducing the risk of paint running under the stencil edges or forming drips. Thin coats are easier to control during application, allowing you to build intensity gradually and maintain stencil precision. Before painting, lightly sanding the sign surface helps paint adhere better and promotes a smooth finish.
When using spray paint with Oramask, keep the can 8 to 12 inches from the surface. Use smooth, overlapping strokes to apply an even coat without overloading the edges. If you see stencil edges lifting during this process, gently press them back down before continuing to avoid paint bleeding under the stencil. This careful approach ensures a clean, well-defined paint line. The table below compares acrylic, enamel, and spray paints for CNC sign use, considering their key characteristics relevant to Oramask stenciling.
| Paint Type | Adhesion | Drying Time | Finish | Best Use | Application Tips |
|---|---|---|---|---|---|
| Acrylic | Strong on most surfaces | Moderate (20, 30 minutes per coat) | Rich color, matte to satin | Indoor signs with color depth | Apply 2, 3 thin brush coats, let dry between |
| Enamel | Excellent, hard durable finish | Longer (1, 2 hours per coat) | Glossy and durable | Outdoor or high-wear signs | Use thin brush coats, smooth sanding between coats |
| Spray Paint | Good but varies by product | Fast (5, 10 minutes per coat) | Varies: flat, satin, gloss | Quick coverage on large or complex shapes | Hold 8, 12 inches away, use overlapping strokes, apply multiple thin coats |
Following these guidelines on paint type and application method helps you maintain stencil integrity and achieve crisp, professional-looking CNC signs. Layering thin coats develops a durable surface while minimizing common issues like paint bleeding or uneven texture. Taking time with light sanding and careful spray technique improves adhesion and smoothness, key factors for signs that command attention with clean, sharp graphics.
How Long to Wait for Drying and Curing After Painting CNC Signs
After painting your CNC sign with Oramask stencils, wait until the paint is fully dry before removing the stencil to avoid smudging or lifting the design. Acrylic paint typically dries faster, usually within 30 minutes to an hour under normal indoor conditions, making it ideal for quick projects. Enamel paint requires a longer drying time, often up to 24 hours, due to its thicker consistency and outdoor durability. Removing the stencil too soon with enamel can cause bleeding or damage to the edges of your design.
Temperature and humidity play a significant role in drying times. A steady room temperature between 65°F and 75°F with low to moderate humidity works best. High humidity or cold conditions slow paint drying, which increases the risk of smearing when removing Oramask. Work in a well-ventilated area to aid evaporative drying, especially for enamel paints that release solvents needing ventilation. Avoid strong drafts that could cause uneven drying or dust contamination.
Once the stencil is removed, allow additional curing time for the paint to harden fully. For most acrylic paints, curing can take between 24 to 48 hours. Enamel paints also benefit from a 24- to 48-hour curing period, gaining durability and resistance to scratches or weather exposure. This curing time is especially important before handling, sealing, or installing the sign to maintain the integrity of your painted design.
To ensure the best results, apply a thin, even coat of paint using a spray gun or a high-quality brush while the Oramask stencil adheres firmly to the surface. Firm adhesion prevents paint bleed beneath the stencil edges, which affects the crispness of your sign’s details. After painting, keep the work area stable in temperature and humidity until the paint is dry enough to remove the mask. Rushing this step often leads to paint peeling or touch-up work, adding time and materials back into your project.
Removing Oramask stencils before paint is fully dry or cured often causes adhesive pull-up and smudges, wait until paint feels dry to the touch, then peel the stencil slowly at a sharp angle for clean edges.
Removing Oramask Stencils Safely Without Damaging Paint
Removing Oramask stencils carefully prevents paint damage and ensures sharp edges on your CNC sign. Pull the stencil slowly at a low angle to reduce the risk of lifting paint. Timing the removal after paint dries but before full cure helps avoid tears and residue.
Optimal Removal Angle and Speed
Pull the Oramask stencil back over itself at about a 45-degree angle. This angle minimizes stress on the painted edges, keeping them crisp. Start peeling slowly; a steady, gentle speed reduces chances of paint lifting or tearing.
Faster removal risks peeling fresh paint, while waiting too long after paint cures can make the vinyl harder to lift cleanly. Removing stencils about 30 minutes to one hour after spray paint dries is usually best for most acrylic paints, but check your paint’s drying time. Cooler or humid conditions may require more drying.
Handling Residue and Sticky Patches
Oramask can sometimes leave slight adhesive residue. Clean sticky areas promptly to avoid paint damage. Use a soft cloth lightly dampened with warm, soapy water and rub gently. Avoid harsh solvents that could react with your paint or sealant.
Test a small hidden area with isopropyl alcohol before applying more, when residue remains. This usually removes leftover adhesive without harming most sign paints. Wipe residue in the stencil’s original direction to prevent smudging fresh edges.
Quick Fixes for Lifted Paint Edges
Minor edge lifting happens if removal is rushed or paint isn’t dry enough. To fix this, wait until the paint fully cures, usually 24 hours. Then, carefully use a fine brush with matching paint to touch up edges.
After touch-ups dry, reseal the surface to protect repairs and prevent further flaking. Avoid scraping or sanding lifted edges, as this can worsen damage. Small nicks can often blend in after sealing if matched carefully.
- Wait for paint to dry, typically 30, 60 minutes depending on paint type and conditions.
- Start peeling Oramask at a 45-degree angle, pulling it back over itself slowly and steadily.
- Pause and try slightly adjusting the angle or speed when resistance or lifting occurs.
- Remove the entire stencil in one motion when possible to maintain clean edges.
- Clean any sticky residue gently with warm, soapy water or a tested mild solvent.
- Allow full cure, then touch up paint edges that lift using a fine brush and matching paint.
- Apply a compatible sealant after all repairs to protect paint and improve durability.
Common Mistakes and How to Avoid Them When Using Oramask
Paint bleed happens when paint seeps under the Oramask stencil edges, ruining clean lines. This often occurs if the paint is applied too thickly or if the stencil doesn’t lie flat on the CNC sign surface. Thick layers encourage paint to puddle and flow beneath the mask before drying, increasing bleed risks. Keeping paint coats thin helps maintain sharp edges, especially on intricate CNC cuts where precision matters most.
Stencil wrinkles form when Oramask isn’t properly smoothed onto the sign before painting. Wrinkles trap paint underneath, causing uneven coverage and jagged edges. Applying Oramask on a clean, dust-free surface with even pressure prevents wrinkles from forming. You can use a soft squeegee or a burnishing tool to press the stencil down firmly, ensuring full contact along every curve and corner.
Edges lifting or tearing results from poor surface preparation or forcing the stencil onto rough or uneven materials. If the surface has residues or if edges catch on raised spots, Oramask may peel back during paint application or removal. To avoid this, clean the surface with isopropyl alcohol, let it dry completely, and handle stencils gently, especially on delicate or detailed parts of your CNC sign. Removing the stencil too quickly after painting may also cause tearing; waiting the recommended drying time lets paint set, reducing damage risks.
- Apply multiple thin paint coats instead of one thick layer.
- Use a lint-free cloth and isopropyl alcohol to thoroughly clean the surface.
- Smooth Oramask down with a squeegee or burnishing tool before painting.
- Allow paint to dry partially between coats to prevent run-off under the stencil.
- Wait the recommended drying time before carefully peeling off the stencil.
- Handle stencil edges gently to avoid lifting or tearing.
- Avoid painting in high humidity or extreme temperatures to ensure proper drying.
The time to wait between paint coats usually ranges from 10 to 30 minutes, depending on paint type and environmental conditions like room temperature and humidity. Using fast-drying acrylic paints often allows shorter intervals. Avoid applying paint in very humid conditions or when temperatures are below 50°F, as slow drying increases bleed chances. These steps take some extra time but dramatically improve edge sharpness and overall finish quality on CNC signs.
Sealing and Protecting CNC Signs After Painting with Oramask
Choosing the right sealant for your CNC signs painted with Oramask is key to protecting the paint and extending the sign’s life outdoors. Polyurethane-based sealants are highly recommended because they offer strong durability and resist harsh weather conditions, including moisture and UV exposure. These sealants create a tough, clear layer that shields your painted surface without yellowing over time. For best results, select a product labeled for exterior use and compatible with acrylic or enamel paints typically used with Oramask.
Use two to three thin layers of polyurethane sealant, letting each fully dry before applying the next. Drying times typically fall between 4 and 6 hours, but follow the manufacturer’s guidelines for exact timing. Use a high-quality synthetic brush or spray gun to achieve a uniform finish. Thick coats can lead to bubbling or uneven shine. A properly sealed sign shows a smooth, even gloss without tackiness or powdery build-up.
Curing time is essential for long-lasting protection. After the final coat, allow the sign to cure in a dust-free area at moderate temperature (around 70°F) for at least 24 to 48 hours before handling or installing. This ensures the sealant fully hardens and adheres to the painted surface. Avoid exposure to rain or heavy dew during curing to prevent clouding or poor adhesion.
Maintenance will vary depending on your sign’s environment. For signs exposed to harsh weather, plan to reapply the sealant annually to maintain optimal protection. Before recoating, clean the surface with mild soap and water to remove dirt and debris. Light sanding with 320-grit sandpaper can help the new sealant bond better, but be careful not to damage the paint underneath. Reapplication usually requires just one or two coats since you’re working over an existing finish.
Protect your sign’s edges and mounting holes during sealing to prevent moisture intrusion, which can cause peeling or wood swelling if the substrate is wood. Extreme temperature fluctuations may affect adhesion, so install your sign in a location shielded from direct afternoon sun and cold drafts when possible. Signs facing south or west will need more frequent checks and maintenance due to higher UV exposure.
Test your polyurethane sealant on a small, inconspicuous area first to ensure it doesn’t react with your paint or Oramask residue.
Step-by-Step Action Plan for Using Oramask on CNC Signs
Follow this plan to apply Oramask on your CNC signs and achieve sharp, professional paint results.
- Before you start: Clean the sign surface with isopropyl alcohol to remove dust and oils. The surface should look spotless and feel dry.
- Day 1: Cut your Oramask stencil using a sharp blade or vinyl cutter, adjusting pressure for clean edges on complex shapes. Test the cut on scrap material for accuracy.
- Day 1, continued: Apply the Oramask stencil carefully, smoothing out all bubbles and wrinkles with a plastic squeegee. The mask should adhere fully with no air pockets.
- Day 2: Paint on your chosen compatible paint, using light coats to avoid bleeding under the mask. Let each coat dry to touch before applying the next.
- After painting: Wait 1 to 2 hours for paint to dry enough to handle but not fully cured. Peel off the Oramask slowly at a 45-degree angle to prevent paint lift.
- After stencil removal: Allow the paint to cure fully for 24 to 48 hours depending on paint type and conditions. Then, seal the sign with a compatible clear coat for protection.
- Ongoing: Store unused Oramask in a flat, cool, dry place to maintain adhesion and cutting quality for your next project.
Frequently Asked Questions
Can I Use Oramask on Curved or Irregular CNC Sign Surfaces?
Yes, Oramask can be used on curved or irregular surfaces, but ensure the material is clean and smooth. Light sanding can help the mask adhere better, and applying firm pressure during application reduces air bubbles for crisp edges.
Does Temperature Affect Oramask Application on CNC Signs?
Yes, applying Oramask in temperatures between 60°F and 80°F ensures optimal adhesion. Too cold or hot conditions may cause poor bonding or lifting during painting, affecting stencil quality.
How Do I Store Unused Oramask to Maintain Its Quality?
Store Oramask in a cool, dry place away from direct sunlight to preserve its adhesive and flexibility. Keep it flat or loosely rolled to avoid creases that could affect stencil precision.
Can Oramask Be Reused After Removal on CNC Sign Projects?
Generally, Oramask is designed for one-time use, as removing it damages the edges. For repeat designs, cut new stencils to ensure crisp lines and better adhesion on subsequent projects.
Is It Necessary to Prime a CNC Sign Before Using Oramask?
Priming depends on the base material. For porous surfaces like wood, a primer ensures smooth paint application and better Oramask adhesion, while non-porous materials like acrylic may not need priming.
How Does Humidity Impact Painting with Oramask on CNC Signs?
High humidity can slow paint drying and cause masking edges to lift or bleed. Use Oramask when humidity is below 50% for best results and faster curing times.
Key Points to Remember
Using Oramask on CNC signs gives you crisp paint edges that improve your work quality. Start by preparing your surface and cutting precise stencils, then apply paint carefully and remove the stencil at the right time. Your next step is gathering the right tools and practice cutting your first stencil to build confidence for more detailed designs.