How to Install House Numbers on a Post: Simple Steps for Fast Results
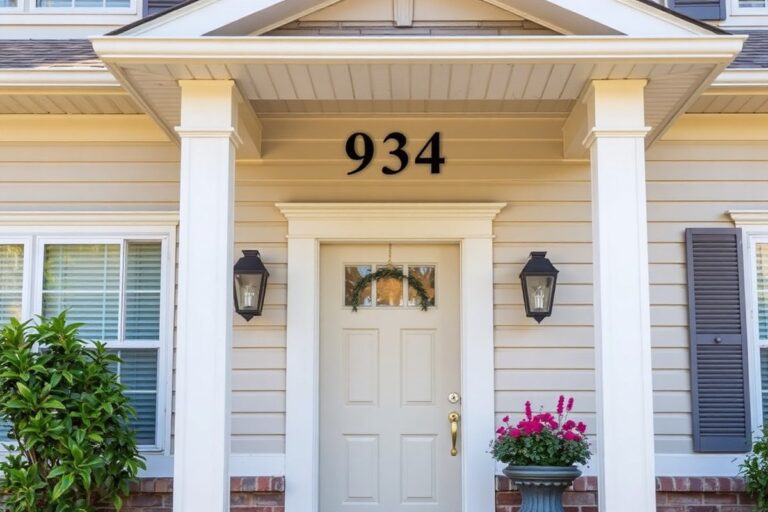
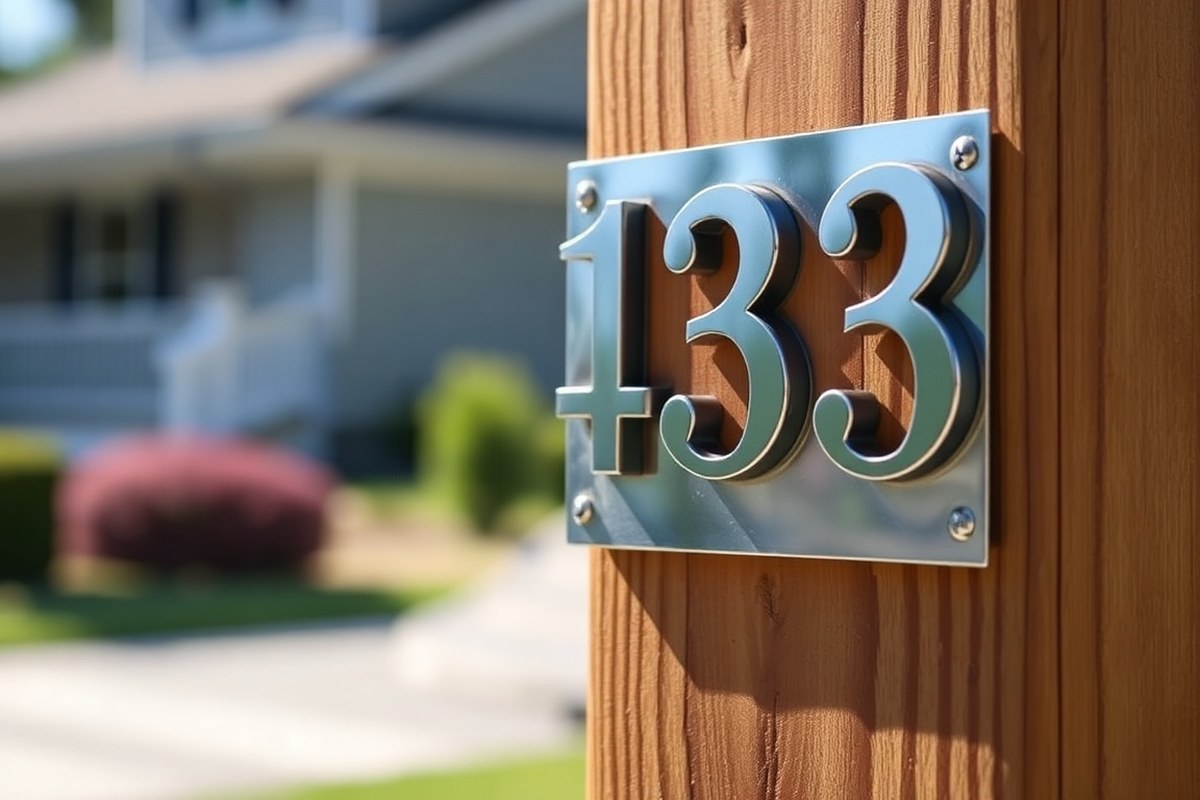
How to install house numbers on a post requires proper placement and mounting for clear visibility and quick identification. To do it right, choose the correct hardware for your post material, measure the height between 48 and 60 inches, and space the numbers evenly for easy reading. Start by selecting a well-lit, accessible spot near the street to maximize visibility.
Key Takeaways
- Mount house numbers 4 to 5 feet above ground for optimal viewing from the street.
- Use hardware compatible with your post material to ensure secure attachment and longevity.
- Space vertical numbers at least 4 inches apart for clear readability.
- Leave a spacing of between ½ inch and 1.5 inches between numbers to make them easier to read.
- Place numbers 4 to 6 inches below the doorway lintel to avoid obstruction by plants.
- Check local codes for minimum number height, often requiring at least 4 inches tall digits.
How to Install House Numbers on a Post Step-By-Step
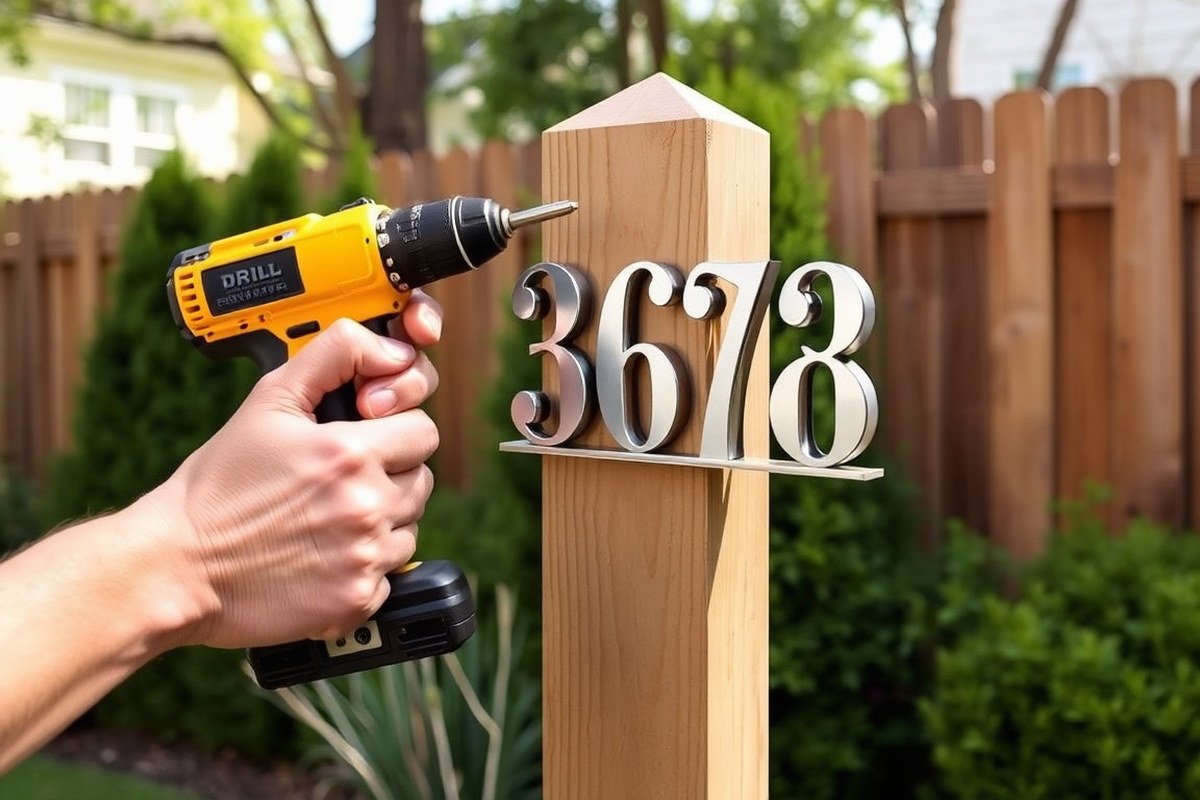
Installing house numbers on a post requires careful planning and precise execution to ensure visibility and durability. You’ll need to check alignment closely during the process, keep the numbers at an appropriate height and spacing, and follow a clear sequence for the best results. The installation typically takes about 20 to 30 minutes depending on your tools and the post material. Here is a detailed step-by-step sequence to help you install your house numbers securely and with professional results.
- Measure and mark the placement: Start by deciding the height, usually between 4 to 5 feet from the ground, for optimal visibility. Mark the post where each number will go. For vertical placement, allow at least 4 inches between numbers to aid readability. Use a level and measuring tape to ensure even spacing and straight alignment across the post.
- Align the numbers on the post: Temporarily position the numbers on the marks. Use a small level or straightedge to verify they are perfectly straight and evenly spaced. Adjust as needed until the alignment looks balanced from several angles, especially the street-facing side. This step is important to prevent crooked installation that can be hard to fix later.
- Pre-drill holes for mounting screws: Choose a drill bit size matching your mounting hardware. Pre-drill holes through the post at marked spots to prevent wood or metal from splitting. This makes attaching the numbers cleaner and allows screws to go in smoothly, ensuring a secure fit. Always wear safety glasses during drilling.
- Attach mounting hardware or spacers: If your numbers come with floating spacers or hidden mounting brackets, install these next according to the manufacturer’s directions. Spacers create a professional, dimensional effect and help hide screws. Secure hardware firmly but avoid over-tightening to protect the post and numbers.
- Secure the house numbers: Fasten each number to the post using weather-resistant screws or bolts that came with your kit. Check alignment one more time as you tighten all fasteners. This stage locks the numbers in place, so it is important to keep them level and evenly spaced.
- Test visibility and finish touches: Step back and view the numbers from the typical street or driveway vantage point to confirm they’re easy to read. Morning or evening lighting conditions can affect visibility, so check under different light if possible. Consider adding a solar or wired spotlight if the area dims at night.
The whole process should take roughly half an hour with basic DIY skills. Skipping alignment checks or pre-drilling can cause uneven placement or material damage, resulting in a less durable installation and harder-to-read numbers. Taking the time up front to carefully measure, mark, and level will give you a clear, lasting display that helps guests and emergency responders find your home quickly.
Choosing the Right Mounting Hardware for Post Materials

Select mounting hardware based on the post material to ensure durability and ease of installation. Wood posts typically require wood screws with anchors if hollow; metal posts need rust-resistant screws and careful drilling; PVC posts benefit most from adhesive mounts or lightweight fixings that won’t damage the surface.
Mounting Hardware for Wooden Posts
Screws designed for wood are the best choice for attaching house numbers to wooden posts. Use 2- to 3-inch exterior-grade stainless steel or brass screws to resist rust and corrosion. If the post is hollow or weak, install plastic anchors before screwing to improve hold. Cleaning the post surface of dirt and old paint helps screws grip better.
Surface prep often involves sanding and possibly applying a primer or sealant to protect the wood and prevent moisture damage around the fasteners. Securely anchoring your numbers on a wooden post ensures they don’t loosen in strong wind or rain.
Best Options for Metal Posts
Drilling into metal posts requires a drill bit suitable for metal, typically a high-speed steel or cobalt bit. Use rust-resistant hardware, such as 316 stainless steel or powder-coated screws, to prevent corrosion in outdoor environments. For hollow metal posts, you may need metal anchors or toggle bolts specifically made for metal.
Pre-drilling pilot holes reduces the risk of metal warping or the screw stripping the hole. Mounting house numbers on metal posts often looks cleanest when using floating mounts or standoffs, which provide a 3D effect by offsetting numbers from the surface and giving a modern aesthetic.
Adhesives and Mounts for PVC or Plastic Posts
Adhesives offer a non-invasive way to mount house numbers on PVC or plastic posts, which can crack with too much drilling. High-strength exterior-rated construction adhesives or double-sided mounting tape designed for outdoor use provide adequate hold for lightweight numbers. Thoroughly clean and dry the post surface with isopropyl alcohol before application to ensure strong adhesion.
Lightweight metal numbers or numbers attached to a small metal plaque often work best with adhesives on PVC. Avoid heavy hardware or thick screws that risk splitting the post. Adhesive mounts allow easier updates or replacement while maintaining a clean look.
| Post Material | Recommended Hardware | Durability Features | Installation Notes |
|---|---|---|---|
| Wood | Exterior-grade stainless steel or brass screws, plastic anchors | Rust resistant, secure holds | Sand and seal surface; pre-drill if needed |
| Metal | 316 stainless steel or powder-coated screws, metal anchors | Corrosion resistant, strong grip | Use metal drill bits; pre-drill pilot holes |
| PVC/Plastic | Construction adhesive, double-sided outdoor mounting tape | Non-invasive, weatherproof adhesive | Clean surface with alcohol; use lightweight numbers |
Choosing the right hardware improves longevity and keeps your house numbers secure in all weather. Consider weight and post condition before finalising your method. Surface prep and material compatibility are key to preventing early failure.
Always clean mounting surfaces thoroughly before installing hardware or adhesive to ensure the strongest possible bond and avoid premature loosening.
Best Tools and Materials Checklist for House Number Posts
To install house numbers on a post effectively, gather the right tools, mounting hardware, and surface preparation materials first. Proper preparation ensures the numbers stay secure and visible for years. The checklist below organizes what you need according to these categories.
Essential Tools
A drill is the primary tool you need to create holes for mounting the house numbers with studs or screws. A cordless drill with variable speed and a set of drill bits suited for the post material, wood, metal, or PVC, works best. A screwdriver, either manual or electric, is necessary to fasten screws securely. Use a level to ensure the numbers are perfectly horizontal for a professional look and better visibility. A tape measure and pencil or marker are essential to precisely mark the spots before drilling, especially when using a drilling template to help with alignment and spacing. Keep these tools ready, clean, and with fresh batteries if cordless, as interruptions can damage your alignment or exhaust your materials prematurely.
Mounting Hardware and Fasteners
The types of screws and anchors depend on the post material and house numbers you are installing. For wooden posts, wood screws typically suffice. Metal posts might require self-tapping screws or threaded rods when using studs to offset the numbers from the surface. PVC or composite posts may need special anchors designed for hollow materials. Spacers or standoffs can help position the numbers slightly off the post, improving visibility and adding dimension.
- Wood screws or self-tapping screws matched to post material
- Masonry anchors and masonry drill bits if mounting on brick or concrete posts
- Threaded rods or studs for mounting numbers requiring depth
- Spacers or standoffs for setting numbers away from post surface
- Tape for temporarily securing numbers during installation
Check that screw lengths fit the post thickness, typically 1 to 2 inches for wood posts. Using the wrong screw length can cause loose mounts or split the post. Anchors should match the drilled hole size to provide firm support.
Surface Preparation and Finishing Materials
Before mounting, clean the post surface to remove dirt, dust, and grease, which can reduce adhesion or interfere with fasteners. Use a mild detergent and water, followed by rubbing alcohol or a specialized cleaner suitable for your post material. If the surface is rough or weathered wood, sanding lightly before cleaning improves contact.
Sealants such as exterior-grade clear sealers or waterproof coatings help protect wooden posts from moisture damage around the drilled holes. For metal posts, consider rust inhibitors applied after drilling the mounting holes. Some installers use clear epoxy around screws for added weather resistance, especially in areas with heavy rain or freeze-thaw cycles.
- Mild detergent and water for initial cleaning
- Rubbing alcohol or specialized surface cleaner
- Fine sandpaper for smoothing rough wood surfaces
- Exterior wood sealer or rust inhibitor as needed
- Waterproof epoxy or sealant to protect drilled holes
Using proper surface preparation helps the house numbers stay firmly attached and maintain their appearance despite exposure to weather. Avoid skipping cleaning or sealing on porous materials, as this often leads to premature loosening or damage.
Where and How to Place House Numbers on a Post for Best Visibility
Mount house numbers between 4 and 6 feet above the ground on the post to ensure they are easily visible from the road by drivers, emergency responders, and delivery services. This height range places the numbers at eye level for most passersby, helping avoid obstruction by plants or parked cars. Measure precisely before mounting to keep consistency, especially if the post stands in an area with uneven terrain.
Space the numbers so they are evenly aligned and clearly separated for legibility. A good rule is to leave about a half-inch to an inch between each digit, depending on the size of the numbers. This spacing prevents the digits from blending together when viewed from a distance, which can be important for quick recognition. Before attaching, arrange and measure the layout on the post to achieve symmetry, whether you choose a vertical or horizontal arrangement.
Position numbers on the side of the post facing the street or driveway for maximum visibility. If your post sits near a roadway, orient the house numbers directly toward oncoming traffic to speed identification. Avoid placing numbers where shadows from nearby trees or other structures will obscure them during daylight hours. Adding your numbers underneath a post-mounted light lamp can boost visibility at night, helping keep your address clear around the clock.
The choice between mounting numbers vertically or horizontally depends on the design of your post and the sightlines from your street. Horizontal placement usually works well for wider posts and allows larger digits, improving readability at a glance. Vertical stacking fits narrower posts or limited space but requires careful alignment to maintain clarity. Either way, confirm the numbers are level and aligned by using a small level tool and marking their positions before drilling holes.
Always use durable mounting hardware suited for outdoor conditions to keep numbers secure through weather changes. Properly spaced and aligned numbers, placed 4 to 6 feet high facing the street, create clear, quick visual cues for anyone searching for your home. Misplaced or unevenly spaced numbers risk being overlooked or misread, leading to delays or confusion. Planning your layout carefully before installation minimizes mistakes and makes your address stand out effectively from your post.
Common Mistakes When Installing House Numbers on Posts and How to Avoid Them
One of the biggest mistakes when installing house numbers on a post is ignoring proper alignment. Crooked or uneven numbers not only look unprofessional but also make it harder for visitors or emergency responders to read them quickly. Always use a level or a mounting template before drilling. Measure carefully to ensure consistent spacing and a straight line. Relying on eye judgment alone often leads to misalignment that can require costly re-drilling and patching.
Visibility issues frequently come from placing numbers too low on the post or using hardware that obscures the digits. Position your numbers at eye level, approximately 4 to 5 feet from the ground, and keep them centered on the post’s front face. Avoid bulky screws or brackets that cover parts of the numbers. Instead, choose flat-head screws that sit flush or use clear adhesive mounts for a clean look. Reflective or backlit numbers further improve visibility after dark, but proper placement during daylight hours remains key.
Durability problems arise when installation hardware isn’t suited for the post material or outdoor environment. Using standard drill bits on masonry posts can crack the surface, weakening the mounting site. Use masonry bits for brick or stone, and stainless steel screws to resist corrosion on metal posts. Over-tightening screws can mar metal numbers and crack plastic bases, so stop once parts feel secure without movement.
Mark your drill holes with a pencil and double-check alignment with a level before drilling to avoid shifting numbers afterward.
- Skip freehand drilling; use a mounting template for exact hole placement.
- Level the numbers before securing each screw to keep them straight.
- Choose corrosion-resistant hardware specific to the post material.
- Avoid large or decorative mounting hardware that blocks digits.
- Install numbers 4 to 5 feet above ground for optimal visibility.
- Use backlighting or reflective paint for nighttime viewing.
- Do not overtighten fasteners to prevent damage to numbers or posts.
If you notice visible mounting hardware spoiling the look, replace screws with smaller, low-profile versions or cover screw heads with matching caps or paint. When numbers shift out of alignment, remove them and fill old holes with exterior-grade filler before drilling new ones. These adjustments may take extra time but ensure a neat, durable, and highly visible installation that meets both aesthetic and functional needs.
Ensuring House Numbers Remain Visible Day and Night
Improving the nighttime visibility of house numbers on a post involves using lighting or reflective materials to catch attention in low light. Lighting options include solar-powered lights, LED illumination, and wired lighting setups. Solar lights offer an easy installation since they don’t require wiring, making them popular for DIY projects. They usually cost between $20 and $50 each and recharge during the day to power the numbers after dark. Install solar lights by mounting the solar panel where it receives direct sunlight for at least 6 hours a day, usually atop or beside the post, then attach the light or illuminated numbers facing the street where they can be seen clearly.
Wired lights provide consistent and bright illumination, ideal for locations with less sun exposure. Running low-voltage LED strips behind or around the house numbers creates a backlit effect that improve visibility and adds a modern look. Installation requires running electrical wiring from your home’s power source to the post, which may involve trenching or using conduit. Due to electrical complexity and safety requirements, hiring a licensed electrician is recommended. Costs vary but expect at least $100 to $200 for materials and professional installation.
Using reflective house numbers is a cost-effective way to boost visibility without relying on power. Reflective metal or plastic numbers bounce light from vehicle headlights back toward the driver, making them visible at night. They typically cost $10 to $30 and come pre-coated or with adhesive reflective films. To install, clean the post surface to ensure good adhesion, then precisely align the numbers for maximum effectiveness. Reflective numbers work best on posts located within 30 feet of the roadway so headlights can illuminate them well.
Backlit numbers combine illumination and aesthetic appeal. These usually have built-in LED lights powered by batteries or solar cells. Some models feature motion sensors that activate lighting only when movement is detected, adding security while saving energy. Install these by mounting the unit on the post at eye level, ensuring the light faces the street clearly. Follow manufacturer guidelines for battery replacement or solar panel maintenance to keep them functioning reliably.
Proper placement and angle are critical no matter what lighting or reflective option you choose. Numbers should be in clear view from the street and positioned about 4 to 6 feet above ground for easy recognition. Avoid obstruction by bushes or decorations, and maintain contrast between numbers and the post color. White or light-colored numbers on dark posts, or vice versa, maximize daytime visibility and complement nighttime lighting.
Combining reflective numbers with solar or LED lighting yields the best results for visibility in all conditions, though it involves higher upfront costs and installation effort. Reflective number options suit budget-conscious homeowners or those in areas without easy electricity access. Wired lights provide steady brightness but require professional installation and higher expense. Solar-powered lighting strikes a balance of moderate cost, simple setup, and eco-friendliness.
How Weather and Local Codes Affect House Number Post Installation
Choosing the right mounting hardware for house numbers on a post depends heavily on weather conditions and local regulations. Minimum size requirements set by codes often dictate not only the height of the numerals but also impact the strength and type of hardware you’ll need. Most municipalities follow the International Building Code, which requires address numbers to be at least 4 inches tall. However, some local codes may call for larger numerals, affecting the selection of mounting plates or standoffs. For example, taller numbers need sturdier supports to prevent warping or detachment under wind pressure or heavy storms.
Local rules may also specify where on the post numbers must be placed. Height requirements can be based on setback distances from the road or sidewalk. This means the post’s height and the numbers’ positioning could vary to ensure visibility from the street while matching code standards. Many regulations require good contrast between the numbers and the post’s finish color to improve legibility at any time of day. This includes avoiding glare or reflective materials that could obscure the numbers in certain lighting.
Weather is a major factor when planning the installation. Harsh climates accelerate the wear on hardware due to UV rays, rain, snow, or freeze-thaw cycles. In regions with frequent freeze-thaw conditions, acrylic or plastic mounting hardware may crack or become brittle, so metal options like stainless steel or powder-coated aluminum are better choices. Coastal areas need corrosion-resistant metals since salty air speeds up rusting. UV-resistant coatings on the hardware and numbers help prevent fading and brittleness in sunny locations. Applying a weatherproof sealant around screw holes is a simple step to reduce moisture entry and prolong the post’s durability.
Making a house number post durable begins with selecting weatherproof materials and finishes that meet local standards. Powder-coated metal finishes offer both compliance and resilience against environmental damage, typically costing $15, $30 more than basic paints but lasting years longer. Wood posts require regular sealing and maintenance, especially in wet or humid climates. Using galvanized or stainless steel screws prevents rust marks on the post and ensures the hardware stays secure as seasons change.
Ultimately, compliance with local codes ensures emergency services can find your home easily, and weatherproofing keeps your installation intact for years without costly repairs. Checking with your local municipality for size, color, and placement rules before purchase avoids common problems. Pairing this knowledge with materials designed for your climate helps maintain clear, visible, secure house numbers on your post through all kinds of weather.
How to Remove or Update House Numbers on a Post Safely
Removing existing house numbers from a post without harming the post means working carefully with the right tools and preparation. Doing this properly preserves the condition of your post and sets a smooth foundation for installing new numbers. The process involves loosening or detaching the current numbers, cleaning the surface, repairing any minor damage, and prepping for the new installation.
Tools and Methods for Safe Removal
The safest way to remove mounted house numbers depends on how they were attached, whether with screws, nails, or adhesive. Using the correct tools reduces the risk of gouges or splinters on the post’s surface.
For screwed numbers, a screwdriver or drill with the right bit size helps back out fasteners gently. Pry bars or putty knives assist with numbers nailed or glued on, but caution is needed to avoid scraping the post. Heat guns or hair dryers can soften adhesives, making removal easier without forcing the numbers off.
- Identify how the numbers are mounted (screws, nails, adhesive).
- Use a screwdriver or drill set to remove screws, turning slowly to avoid stripping heads.
- Insert a putty knife or pry bar carefully under numbers attached with nails or adhesive, applying gentle pressure.
- Apply low heat with a hair dryer or heat gun to soften strong adhesive bonds before prying.
- Remove any leftover nails, screws, or adhesive residue with pliers or scraper tools.
Work slowly and avoid using excessive force, which can damage wood grain or plastic post material underneath the numbers.
Post Surface Cleaning and Minor Repairs
Once the numbers and mounting hardware are off, the post surface usually needs cleaning and repairs to remove old adhesive, dirt, or gouges. Proper surface preparation ensures new numbers adhere well or attach smoothly.
Begin by sanding damaged spots lightly with fine-grit sandpaper (150-220 grit) to smooth rough edges around holes or scrapes. Clean the entire mounting area with mild detergent and water, then allow it to dry completely before sealing or painting.
For deeper holes or cracks, use an exterior wood filler or sealant designed for your post type (wood, vinyl, metal) to create a flat, consistent surface. Allow repair materials to dry according to product instructions, then sand again if needed, and seal or prime the spot before installing new numbers.
- Sand away rough spots and old adhesive residue with fine-grit sandpaper.
- Wash the post with mild soap and water, then let it dry fully.
- Fill any holes or cracks with an appropriate exterior filler or sealant.
- Allow the filler to cure, then sand smooth for a level surface.
- Apply a primer or sealant if repainting or adding adhesive-mounted numbers.
Always let filler and sealants dry completely before moving on; moisture can prevent new numbers from sticking properly.
Reinstallation Considerations After Updates
Installing new house numbers after removal requires careful measurement and alignment for the best appearance and visibility. Choose mounting hardware compatible with your post’s surface condition and material.
Test the new numbers’ placement by holding them at eye level from the street or driveway. Use a level to keep numbers straight and marking tools like pencils or painter’s tape to mark holes or adhesive spots precisely. Ensure fasteners or adhesives are suitable for your post material, wood posts accept screws well; vinyl or metal posts often work best with adhesives or specific anchors.
- Measure and mark the desired position for the new numbers carefully.
- Check the alignment horizontally and vertically with a level.
- Drill pilot holes if screws will be used to prevent splitting wood posts.
- Attach numbers firmly with the appropriate hardware according to instructions.
- Clean around the numbers after installation to remove fingerprints and debris.
Taking the time to align and secure new numbers correctly helps ensure they stay in place and remain visible over years of weather exposure.
Step-by-Step Action Plan
Follow this plan to install your house numbers on a post with confidence and secure visibility.
- Before you start: Check local regulations for house number size and placement to ensure compliance. Confirm your post location meets visibility standards.
- Day 1: Gather all tools and materials including mounting hardware suited for your post type and weather-resistant numbers. Make sure your post is sturdy and upright.
- Day 2: Mark the exact spot on the post for mounting the numbers, ideally at eye level and facing the street for maximum visibility.
- Day 3: Pre-drill holes if necessary to avoid splitting your post. Attach the house numbers using the chosen hardware, ensuring they are secure and straight.
- Day 4: Clean the surface and numbers to remove debris or fingerprints that may affect visibility, especially if using reflective or illuminated numbers.
- After 1 week: Inspect the installation for looseness or damage caused by weather. Tighten or adjust mounting hardware as needed.
- After 1 month: Check that the numbers remain clearly visible both day and night, adding additional lighting if local codes require or if visibility is poor.
Frequently Asked Questions
How to Install House Numbers on a Post?
Begin by choosing a visible spot on your post, mark the holes, drill pilot holes, and use appropriate screws to secure the numbers tightly. Make sure they’re mounted at eye level for better visibility.
What Height Should House Numbers Be Placed on a Post for Easy Reading?
House numbers should be installed about 4 to 5 feet above the ground for clear visibility from the street. This height helps both guests and emergency responders locate your home quickly.
Can I Install House Numbers on a Metal Post?
Yes, use screws or adhesive suited for metal surfaces to secure your numbers firmly on a metal post. Ensure the post is clean and dry before installation to maximize adhesion or screw grip.
How Do I Illuminate House Numbers on a Post at Night?
Add a small solar-powered or wired spotlight directed at the numbers, or use backlit numbers for visibility during low light. Proper illumination improves safety and helps emergency services find your home.
What Spacing Is Recommended Between Vertical House Numbers on a Post?
Place vertical house numbers with at least 4 inches of space between each digit to improve clarity. This gap helps avoid a congested look and makes it simpler to read the numbers from afar.
How Should I Maintain House Numbers on a Post Exposed to Weather?
Regularly clean and check for rust or loose screws to keep numbers readable and secure. Weatherproof materials like metal and UV-resistant coatings extend durability against rain and sun damage.
Final Thoughts
Properly installed house numbers on a post improve your home’s curb appeal and make it easier for visitors, deliveries, and emergency services to find you. Start by selecting the right spot and materials, then follow with careful mounting and periodic checks to maintain visibility and stability. Take that first step today by reviewing your local rules and preparing your tools to get your project underway.