How to Make a Door Sign: A Complete Guide with Tools, Tips, and Techniques
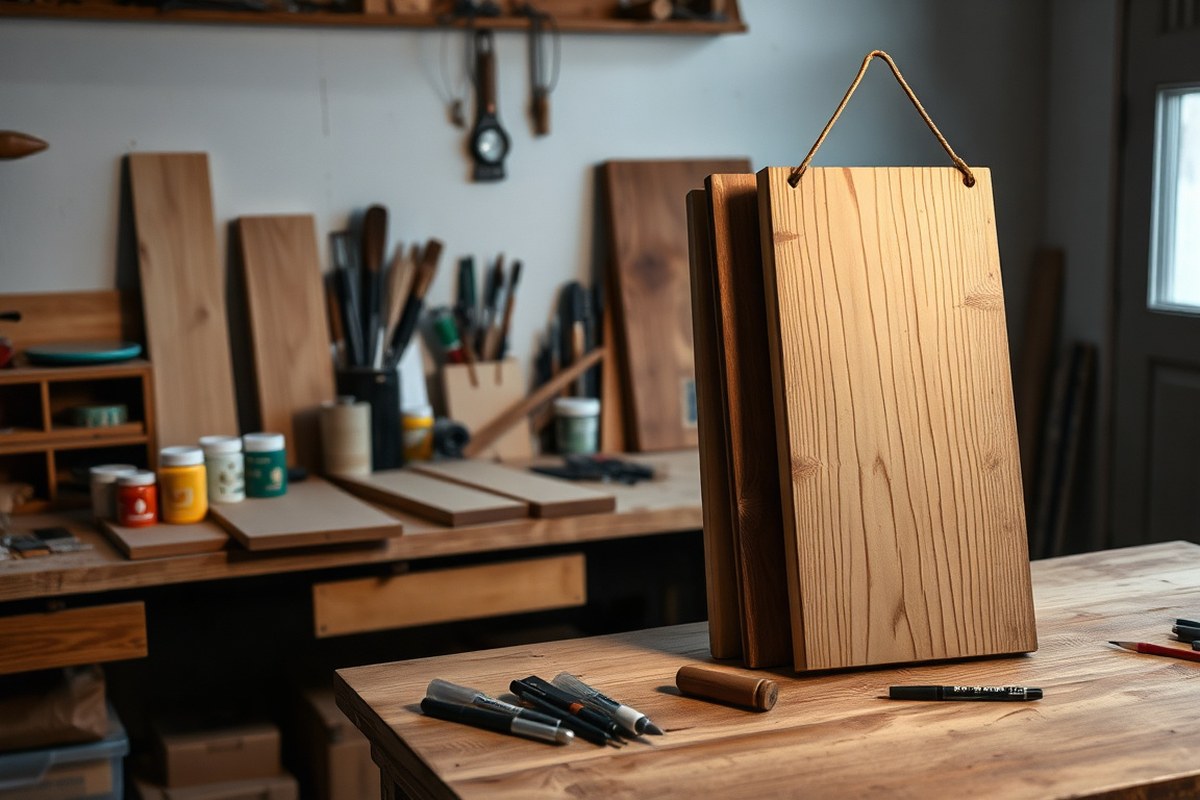
Figuring out how to make a door sign starts with selecting the right materials and design for your space and purpose. Using wood like birch plywood creates a sturdy base that holds paint and decorations well. Begin by preparing your work surface and gathering tools like sandpaper, paint pens, and stencils to ensure clean, professional results.
Key Takeaways
- Choose wood such as 3/4″ birch plywood for a smooth, strong door sign base.
- Cut wood pieces slightly larger than the sign size, adding about 1.5 inches to the height.
- Use 220 grit sandpaper to smooth rough edges before staining or painting.
- Paint pens simplify lettering, making it easier than using tiny paintbrushes.
- Apply a stain like Minwax dark walnut to add color and protect your wood.
- Prepare your design respecting material size and available cutting machine dimensions.
Step-By-Step Process to Make a Door Sign
Making a door sign involves several clear steps from planning your design to hanging the finished piece. This process typically takes a few hours, depending on the materials and drying times for paint or glue. Taking your time with each step ensures the sign will look great and last longer.
Start by deciding on the size and shape of the sign to fit your door and the message you want to display. Use pencil and paper to sketch your design, including any text or decorative elements. If you prefer, you can create the design on a computer to print or use as a reference.
- Cut and prepare the base material. Choose wood, cardboard, or another sturdy material for the sign. Cut it to your desired size, such as 12 by 8 inches, and sand any rough edges if using wood. This provides a smooth surface for your design.
- Sketch your design on the base. Lightly pencil in lettering and decoration onto the sign. This helps you position elements accurately. For wooden signs, use a ruler to keep letters straight and spaced evenly.
- Apply paint or markers to your design. Use acrylic paint or permanent markers to fill in the letters and artwork. Paint usually dries within 30 minutes to an hour, but check the label for your product’s drying time. Two coats might be necessary for vibrant colors.
- Add decorative touches. Stickers, glitter, or small embellishments can personalize the sign further. Attach these using craft glue and allow them to dry completely, usually about 30 minutes.
- Seal the sign for durability. Apply a clear spray sealant to protect paint and decorations, especially if the sign will hang outdoors. Let it dry overnight for best results.
- Install hardware for hanging. Screw in hooks, attach a string, or use adhesive strips depending on your door and sign weight. Make sure the hanging method is secure to avoid damage or falls.
- Hang the sign and adjust as needed. Place the sign on your door at eye level to maximize visibility. Step back and make sure it sits straight and securely.
This straightforward process lets you control every part of the design and production, creating a sign that fits your style. Costs vary by materials but using basic supplies like cardboard and markers can keep expenses under $10, while wood and specialty paints or sealants might total $20 to $40. Taking breaks between drying steps helps avoid smudges and misaligned parts. Expect a total project time of 3 to 5 hours, making it a rewarding weekend craft activity.
Choosing the Best Materials for Door Signs
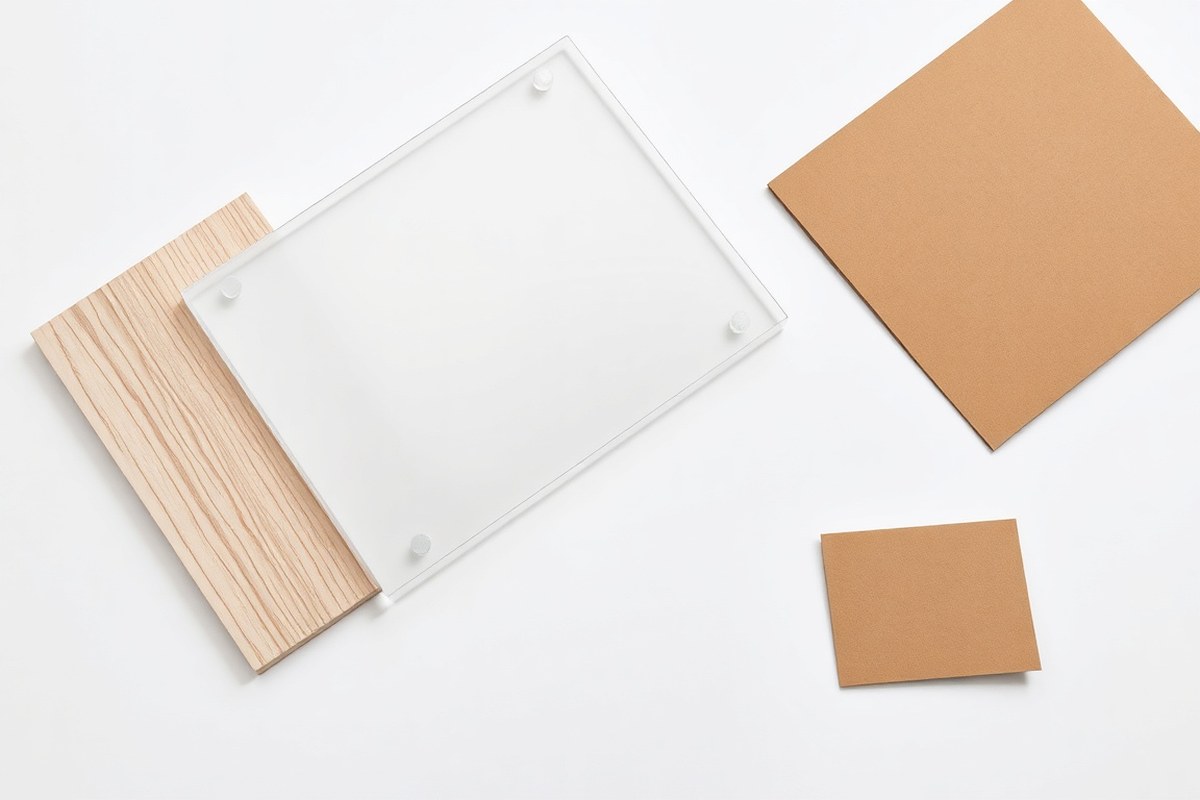
Choosing the right material for your door sign depends on where and how you plan to use it. Wood offers a warm, traditional look and works great both indoors and outdoors if sealed properly. Birch plywood about ¾ inch thick is a common choice because it’s sturdy and easy to paint or stencil. Acrylic gives a sleek, modern appearance and is very durable, making it popular for offices and outdoor spaces where a professional look is needed. Cardboard is best for temporary or indoor signs where budget and ease of cutting matter most but it won’t hold up outside or in humid conditions.
Outdoor use demands more durable materials. Wood needs a weatherproof finish to last through rain and sun, or you can use laminated or UV-coated acrylic to prevent fading or damage. Indoor signs can focus more on style since they face less wear. Knowing these material properties will help you pick the right base for your design and budget.
| Material | Pros | Cons | Average Cost | Best Use |
|---|---|---|---|---|
| Birch Plywood (3/4″) | Sturdy, easy to paint, natural look | Needs sealing outdoors, heavier | $15-$30 per 2×2 ft panel | Indoor & outdoor with finish, rustic or classic signs |
| Acrylic Sheets | Durable, modern, various colors, weather resistant | Can scratch, needs special tools to cut | $10-$25 per 12×12 inch sheet | Office signs, sleek home decor, outdoor modern signs |
| Cardboard | Affordable, easy to cut, lightweight | Not weatherproof, weak durability | $1-$5 per sheet | Temporary indoor signs, kids’ craft projects |
This table helps you decide based on what really matters for your project. For example, choose birch plywood if you want a classic wood sign for your front door that can be painted and sealed. Select acrylic for an office door where a crisp, professional look that resists weather is needed. Cardboard fits quick, low-cost projects inside, like signs for kids’ rooms or craft fairs.
Measure the space your sign will occupy to cut your material to the right size. Use ¾ inch plywood for a solid wood sign base or pick a matching acrylic sheet that fits your dimensions well. Consider how often your sign will change or be handled, acrylic works best for repeated cleaning, while cardboard might tear easily.
Seal wood signs with outdoor polyurethane or marine varnish if placing outside to avoid warping and fading. Without this, wood signs typically last just months outdoors.
Effective Ways to Transfer Your Design Onto the Sign
You have several ways to transfer your design onto wood or other bases for your door sign, using simple hand methods or vinyl decals. Each method varies depending on your tools, skill level, and the effect you want. Vinyl decals and stencils simplify the process, especially for beginners, while carbon paper or freehand paint pens offer more control without power tools.
Carbon Paper Transfer Method
The carbon paper transfer is a straightforward way to get your design outlines onto wood using just a pencil and graphite (carbon) paper. Print your design on regular paper and place graphite paper underneath it. Use a pencil to trace around the design edges or fill in important lines, pressing firmly. The graphite transfers onto your wood surface as a guide for painting.
Alternatively, shade the back of your design with pencil graphite completely, then tape it to your wood and trace the front with a sharp pencil, transferring the graphite onto wood. Once finished, peel back the papers carefully to avoid smudging. This method costs around $5 to $10 for a pack of carbon paper and doesn’t require any power tools, making it perfect for beginners who want control over fine details without vinyl machines.
The results should show clear, faint pencil lines that guide your painting or filling in with markers or paint pens. Lines that are too faint or uneven can be retraced. Avoid pressing too hard through the paper to keep the wood surface smooth for painting later.
Using Vinyl Decals or Stencils
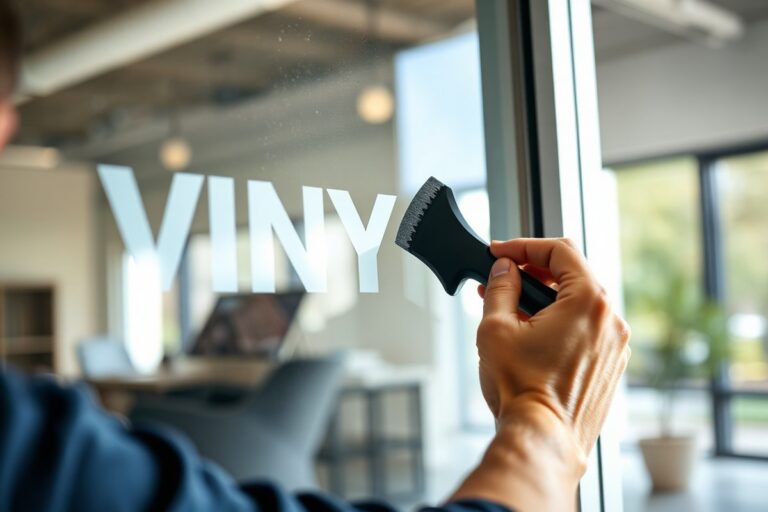
Vinyl decals and stencils offer an easier transfer if you want consistent lettering and shapes. Vinyl decals require a cutting machine like a Cricut or pre-cut stickers, which stick directly onto your wood. Use transfer paper to lift the vinyl from its backing, then carefully apply it to the wood. The transfer paper protects your design and ensures perfect alignment. Once applied, peel off the transfer paper slowly. This method can cost $25 to $300, depending on if you buy a cutting machine or ready-made decals.
Stencils are another beginner-friendly option. You can buy pre-made stencils or cut your own using cardstock or vinyl sheets. Position the stencil on your painted or bare wood, then use a paint pen or sponge brush to dab paint over the design. Paint pens allow for more control and cleaner lines than brushes, especially for lettering, and cost between $3 and $10 each.
Vinyl decals provide sharp, smooth designs without painting, good for intricate floral or letter designs. Stencils need painting skills, but both avoid freehand sketching, saving time for beginners.
Freehand and Paint Pen Techniques
Freehand drawing or using a paint pen directly on the wood suits artists comfortable with drawing or those aiming for a personal touch. Use a pencil to sketch your design lightly first, or transfer a carbon paper outline, then trace over it with a paint pen. Paint pens are easier to control than brushes, letting you stencil with smooth, even strokes without smudges. They are less messy and perfect for small signs or detailed work. Expect to pay about $5 to $10 per paint pen.
This approach works without power tools and allows you to adjust designs on the fly. It’s ideal for customizing your sign with hand lettering or simple images and gives a handcrafted look. Take your time building up color with thin layers of paint from the pen to avoid bleeding edges or uneven coverage. Here’s a comparison of these popular transfer methods to help you decide:
| Method | Tools Needed | Skill Level | Typical Cost | Best For | Downsides |
|---|---|---|---|---|---|
| Carbon Paper Transfer | Graphite paper, pencil, printed design | Beginner | $5, $10 | Precise outlines without power tools | Lines can be faint, needs steady pressure |
| Vinyl Decals | Cricut or pre-cut vinyl, transfer tape | Beginner to intermediate | $25, $300 | Sharp, clean graphics; fast application | Costly setup, less flexible design changes |
| Stencils | Stencil sheets, paint pen or brush | Beginner | $5, $15 | Consistent shapes and letters; customizable | Painting skill required to avoid smudges |
| Freehand with Paint Pen | Pencil, paint pens | Intermediate | $5, $10 per pen | Custom designs; detailed touch-ups | Requires steady hand and patience |
For simple, precise designs without power tools, carbon paper or stencils are excellent picks. Choose vinyl decals if you want perfectly smooth edges and are willing to invest in a cutter machine or purchase ready-made designs. Paint pens offer the freedom to add hand-drawn details once your outlines are down. Matching your method to your skill and budget will make your door sign look just as you envision.
Painting and Decorating Your Door Sign with Style
Choosing the right paints, brushes, and decorations is key for a polished door sign. The right supplies help you create neat, vibrant designs that last. Using paint pens for lettering and carefully adding embellishments like bows or 3D items gives your sign a personal, stylish look.
Selecting Paint Types and Brushes
For backgrounds, almost any paint works, including small craft paints, paint samples, or chalk paint. Use outdoor or furniture paint for signs exposed to weather, as these hold up better over time. When painting a larger sign, a small foam roller can speed up the process and create a smooth finish. For smaller signs or detailed areas, a good quality paintbrush with fine synthetic bristles provides better control.
Lettering benefits from a different approach. Sharpie oil-based paint pens offer precise lines and long-lasting color that won’t easily fade or chip. Paint or chalk markers with fine tips are also great for adding accents or creating smooth outlines. Choose marker tips depending on your design details and size.
- Use foam rollers for even backgrounds on larger signs
- Choose synthetic brushes for detailed painting and edges
- Pick oil-based paint pens for crisp, durable lettering
- Consider chalk markers for a matte, vintage effect
- Match paint type to indoor or outdoor use
- Test colors on scrap wood to preview shades
Investing between $5 and $15 per paint pen or marker and $3 to $10 for brushes provides quality that improves your results without high costs. Always clean brushes immediately after use to maintain their shape.
Adding Decorative Bows and 3D Elements
Embellishments add charm and texture to your door sign. Fabric bows, ribbon loops, buttons, and small wooden or metal accents can give dimension and style. Attach these items using a hot glue gun or strong craft glue. If children are involved, adults should handle adhesives to avoid burns or mishaps.
Position elements before gluing to find the best balance. Layering creates interest, for example, place a small button center in a bow or cluster several small accents around lettering. For outdoor signs, weather-resistant glue and embellishments made from plastic or metal are preferable to fabric, which may degrade.
- Use hot glue for quick drying and strong hold on fabric and wood
- Place bows in corners or near lettering for added focus
- Group multiple small 3D items for clusters of interest
- Choose weather-resistant materials for signs exposed outdoors
- Allow glue to dry completely before handling
Decorations can transform a simple board into a signature piece, making your sign feel handcrafted and unique. Keep embellishments light so they don’t weigh the sign down or interfere with hanging.
Using Hand Lettering and Calligraphy Tips
Hand lettering lets you personalize your door sign with custom fonts or calligraphy styles. Sketch your design lightly in pencil to plan spacing and alignment. Using a ruler helps keep letters straight and evenly spaced, especially for younger crafters aged 8, 12 practicing measuring and fine motor skills.
Write over pencil lines with Sharpie oil-based paint pens for clean, bold letters. Write slowly, with steady hand movements to avoid smudges or uneven strokes. For calligraphy-style letters, vary pressure on flexible brush markers to create thick downstrokes and thin upstrokes, while practicing on paper before applying to the sign.
- Plan your lettering layout using a pencil and ruler
- Trace over pencil with oil-based paint pens for durability
- Practice calligraphy on scrap paper before applying
- Keep hand steady and write slowly for neat results
- Use erasers gently after paint dries to remove pencil marks
Creating beautiful lettering builds your skills and adds a professional look your sign can proudly showcase. Drawing or painting letters by hand also makes the project feel more personal and rewarding.
Preparing and Finishing Your Sign to Last Long
To make sure your door sign stays attractive and intact for years, proper surface preparation and sealing are essential. For wood signs, start by sanding the surface with medium-grit sandpaper (around 120-grit) to smooth out rough areas and open the wood pores. Follow with fine-grit sandpaper (220-grit) for a polished finish. This helps paint or stain adhere better and prevents peeling. Clean the wood afterward with a damp cloth to remove dust and let it dry completely before moving on. Before working with other base materials such as metal or plastic, wipe down the surface with rubbing alcohol to remove oils and dirt, which improves paint and sealant bonding.
Sealing your sign protects it from moisture, fading, and damage, especially if it will hang outdoors. Clear sealants come in water-based and oil-based formulas. Water-based polyurethane dries quickly and has lower odor, making it good for indoor signs. For outdoor signs, opt for an exterior-grade spar urethane or marine varnish, which flexes with temperature changes and resists UV rays better. Apply at least two to three thin coats with a high-quality brush, waiting 24 hours between coats. Avoid thick layers to prevent bubbling and peeling. After sealing, your sign will be sturdy enough to attach 3D decorations like bows or flowers without damage. Use the following checklist to prepare and seal your door sign effectively:
- Sand wood surfaces with 120-grit and then 220-grit sandpaper
- Clean surface with a damp cloth or rubbing alcohol for non-wood bases
- Use a brush to apply thin, even coats of a suitable sealant
- Wait 24 hours between coats for proper drying
- Choose water-based polyurethane for indoors, exterior spar urethane for outdoors
- Seal both front and back surfaces, including edges
- Allow final curing for at least 48 hours before hanging
Apply sealant in a dust-free, well-ventilated area to avoid debris sticking and to ensure safe drying.
Wood signs made from 3/4” plywood are a popular and durable choice for door decor. Use wood glue combined with finishing nails or a brad nailer to secure frame pieces firmly. When hanging the sign on a metal door, consider embedding magnets around the sign’s edges for a cleaner look and a secure hold that won’t damage paint. Outdoor signs face challenges like rain, sun, and temperature swings, so sealing every surface, especially edges, is key to preventing warping and cracking. Keep in mind that even the best sealant won’t protect a sign indefinitely, so expect to refresh your finish every two to three years to maintain beauty and protection.
How to Hang or Fix Your Door Sign Securely
To hang your door sign securely, start by selecting the right attachment method based on your door type and the sign’s weight. For wooden or solid doors, small screw-in hooks or D-rings work well for long-term mounting. Your hollow-core or metal door needs adhesive hooks made for outdoor use or command strips rated to support at least 5 pounds. This approach keeps your sign secure without causing damage to the door’s surface.
Adding a frame to your door sign is a great way to improve its appearance while reinforcing its structure. Use scrap wood cut to the height of your sign plus 1.5 inches for the frame edges. Sand the wood smooth with 220 grit sandpaper, then stain with a wood stain of your choice, such as Minwax dark walnut, for a polished look. Attach the frame to the sign using wood glue or small finishing nails, allowing it to dry completely before hanging.
Using ribbons to hang signs avoids putting holes in the door, providing both style and practicality. After the hanging hardware is set, cut two ribbon lengths to stretch across the sign’s top, linking the hooks on each side. Place the hooks inside loops formed by folding the ribbon halfway, then adjust for balance. This technique suits lighter signs and adds a subtle decorative effect.
- Use screw-in hooks or D-rings for wooden doors and heavier signs
- Choose adhesive hooks or strong command strips for metal or hollow doors
- Add a stained wooden frame from scrap wood for extra durability and style
- Sand frames with 220 grit paper before staining for a smooth finish
- Cut ribbons slightly longer than the sign’s width plus hangers for looped hanging
- Secure ribbon ends by knotting or using small staples on the back of the sign
- Check weight limits on adhesives and hardware to avoid sign falling
For secure mounting, clean the door surface thoroughly to remove dust or oil before applying adhesive hooks. For heavier signs, it’s safer to use mechanical fasteners driven into wood or through a door frame, as adhesives may fail over time. Assess the weight and thickness of your sign, the heavier it is, the stronger the mounting must be. Avoid hanging signs with ribbons on windy exterior doors without additional support, as they can swing and damage the sign or door.
Fixing Mistakes and Common Pitfalls in Door Sign Making
Fixing mistakes on a door sign is usually possible, but how you correct errors depends on the type of materials and techniques you’ve used. Smudges from paint or ink, uneven lines in hand-painted details, and design misalignments during transfers can all be fixed with patience and the right approach.
Common errors include smudging paint before it dries, misplacing vinyl transfers, or having uneven brush strokes. These mistakes matter because they affect how polished and professional your sign looks. Early corrections help keep your project on track without wasting materials or starting over.
For paint smudges, lightly wait until the paint is dry or mostly dry. Then, gently sand the affected area with fine-grit sandpaper (around 220 grit) to smooth the surface. Use a soft cloth to wipe away dust. Reapply the paint carefully with a small brush, and avoid overloading it to prevent new smudges. Notice uneven lines while painting? Try these steps:
- Use a steady hand and a fine-tipped brush to gently touch up uneven edges.
- Apply thin layers rather than one thick layer to maintain control.
- Wait for each layer to dry fully before adding another to prevent smears.
Design misalignments happen frequently during heat transfer vinyl (HTV) or adhesive vinyl applications. To correct a misaligned vinyl design on a door sign:
- Peel the vinyl carefully from one corner, using a plastic scraper to lift edges without ripping.
- The vinyl might stick too firmly to lift cleanly; apply gentle heat using a hairdryer or a heat gun set to about 250°F to soften the adhesive.
- Reposition the vinyl carefully, ensuring the shiny plastic carrier sheet faces up when applying HTV and that the design size fits within your sign’s dimensions (up to 12 inches by 20 inches helps maintain balance).
When salvaging signs with transfer issues or paint errors, always look for quick fixes before considering redoing the entire piece. Sometimes layering paint or adding small decorative elements can mask imperfections effectively. For example, adding borders, stripes, or small graphics around the mistake could turn an error into a design feature. Here is a quick checklist to help you avoid or fix common mistakes:
- Ensure your design is the correct size and mirrored if using heat transfer vinyl.
- Work in a clean, dust-free environment to prevent debris from affecting paint or adhesive surfaces.
- Test a small paint or vinyl sample on scrap material to check drying time and ease of removal.
- Use the appropriate tools: soft brushes for paint touch-ups, plastic scrapers for vinyl lifts.
- Apply thin layers and let them dry completely before refinishing.
- Have patience and resist the urge to rush corrections as this can cause more errors.
Fixing errors takes time and attention to detail but saves money and effort by avoiding total restarts. Good corrections will leave your door sign looking like it was made perfectly the first time. Mistakes too severe to fix? Use your earlier work as a guide and start fresh for better results next time.
Creative Door Sign Ideas for Kids, Gifts, and Offices
Creative door signs bring personality and purpose to different settings, from kid’s rooms to offices. Tailoring the design to the user or occasion makes the sign more meaningful and functional. Including ADA-compliant options ensures accessibility in professional environments.
Personalized Kids and Nursery Sign Ideas
Kids’ door signs can be colorful, playful, and interactive. Use vibrant colors like red, blue, and yellow to catch a child’s eye. Incorporate fun shapes like stars, animals, or cartoon characters. Adding the child’s name in bold, easy-to-read letters personalizes their space. Including their favorite hobbies or interests, such as sports or fairy tales, makes the sign unique.
To create a kids’ door sign, start with a wooden base 8 by 12 inches for easy handling. Paint the background in a bright solid color or with polka dots or stripes using non-toxic acrylic paint. Apply vinyl lettering for the name or use stencils and paint. Finally, seal the sign with a clear sealer to protect it from wear. Allow about two hours drying time between coats.
Gift-Worthy Door Sign Themes and Styles
Door signs make thoughtful gifts for baby showers, birthdays, weddings, or housewarmings. Themes can match the recipient’s taste, such as rustic farmhouse, modern minimalist, or vintage floral. Adding a short, heartfelt phrase like “Welcome Home” or “The Johnson Family” adds warmth. Popular techniques include:
- Laser engraving names or dates on wood for a classy effect
- Using full-color UV printing for photos or detailed images
- Adding decorative hooks or small shelves on the sign for functionality
- Incorporating initials inside a wreath or geometric shape
- Mixing materials like acrylic and metal for a premium look
Gift signs generally measure 10 by 14 inches and take a few hours to craft, depending on complexity. Wrapping the sign in tissue or craft paper makes a nice presentation.
Choose water-resistant paint and finishes for gifts, especially if they might hang outdoors or in humid areas.
Professional and ADA-compliant Sign Options
Office door signs benefit from clean, professional designs, often incorporating logos and branded colors. Upload your business logo to a design tool for a consistent look. Popular materials are clear acrylic or brushed metal for modern appeal.
To comply with ADA (Americans with Disabilities Act) guidelines, signs must include high-contrast text, durable embossed lettering, and Grade 2 Braille where required. Common ADA-compliant signs feature room names or numbers and tactile pictograms. Custom braille signs range from 8 by 8 inches upwards and can cost $50 to $150 depending on material and style. Examples of professional and ADA sign templates include:
- Room number with raised text and Grade 2 Braille below
- “Conference Room” with company logo and tactile pictogram
- “In Session / Available” sliding signs for offices or meeting rooms
- Clear acrylic signs with vinyl lettering and barcode or QR code
Custom ADA-compliant signs must meet federal standards to ensure accessibility for all users, ensuring your workplace or public area is inclusive.
Step-by-Step Action Plan for Making Your Door Sign
Follow these clear steps to create your own custom door sign efficiently and confidently.
- Before you start: Choose your sign size and material based on where it will hang. Confirm the material is smooth and clean to ensure your design transfers well.
- Day 1: Plan and sketch your design on paper. Make sure the size fits your sign and the style matches the intended space.
- Day 2: Transfer the design onto your sign using your chosen method, such as tracing or transfer paper. Check that the outline is visible and accurate before painting.
- Day 3-4: Paint the base layers and details carefully. Allow each coat to dry completely and apply additional coats if needed for brightness and coverage.
- Day 5: Add decorative elements like stencils or embellishments once the paint is dry. Let all decorations set to avoid smudging.
- Day 6: Apply a clear sealer suited for your sign’s location to protect your work. Ensure the finish is even and dry to the touch.
- Day 7: Attach hanging hardware firmly. Test the sign’s balance and security by hanging it temporarily before final placement.
- After 2 weeks: Inspect your sign for any wear or damage and touch up as needed to keep it looking fresh.
Frequently Asked Questions
What Types of Paint Work Best on Wooden Door Signs?
Acrylic paint works well on wooden door signs because it dries quickly and provides good coverage. It also resists fading and weather damage better than watercolors, making your design last longer outdoors.
Can I Use Fabric to Decorate My Door Sign?
Yes, incorporating fabric adds texture and color variety, improving visual interest. Use fabric glue or staples to attach it securely; consider sealing with a clear coat for durability.
How Do I Protect My Door Sign from Outdoor Weather?
Applying a clear outdoor sealant or varnish protects the sign from moisture and UV rays. Reapply every year or so to maintain the finish and prevent fading or warping.
Are Vinyl Decals a Good Option for Door Signs?
Vinyl decals offer precise, clean lettering and are weather-resistant, making them a neat alternative to freehand painting. They stick well to smooth surfaces like wood or plastic.
Can Children Safely Help Make Door Signs?
Yes, with supervision, kids can paint, stick decals, or glue decorations safely. Stick to non-toxic materials and simple tasks appropriate for their age and skills.
What’s a Quick Fix If My Paint Smudges on the Door Sign?
Let the paint dry completely, then lightly sand the area and repaint. Avoid rushing the drying time to prevent smudging.
Final Thoughts
Making a door sign is a hands-on project that lets you add a personal touch to any space. Picking the right materials and following a solid plan makes the process smoother and the results longer lasting. Start by sketching your design today and watch as your vision comes to life with just a few simple tools and a bit of patience.