How to Make Layered Wood Signs: A Complete Guide with Pro Tips
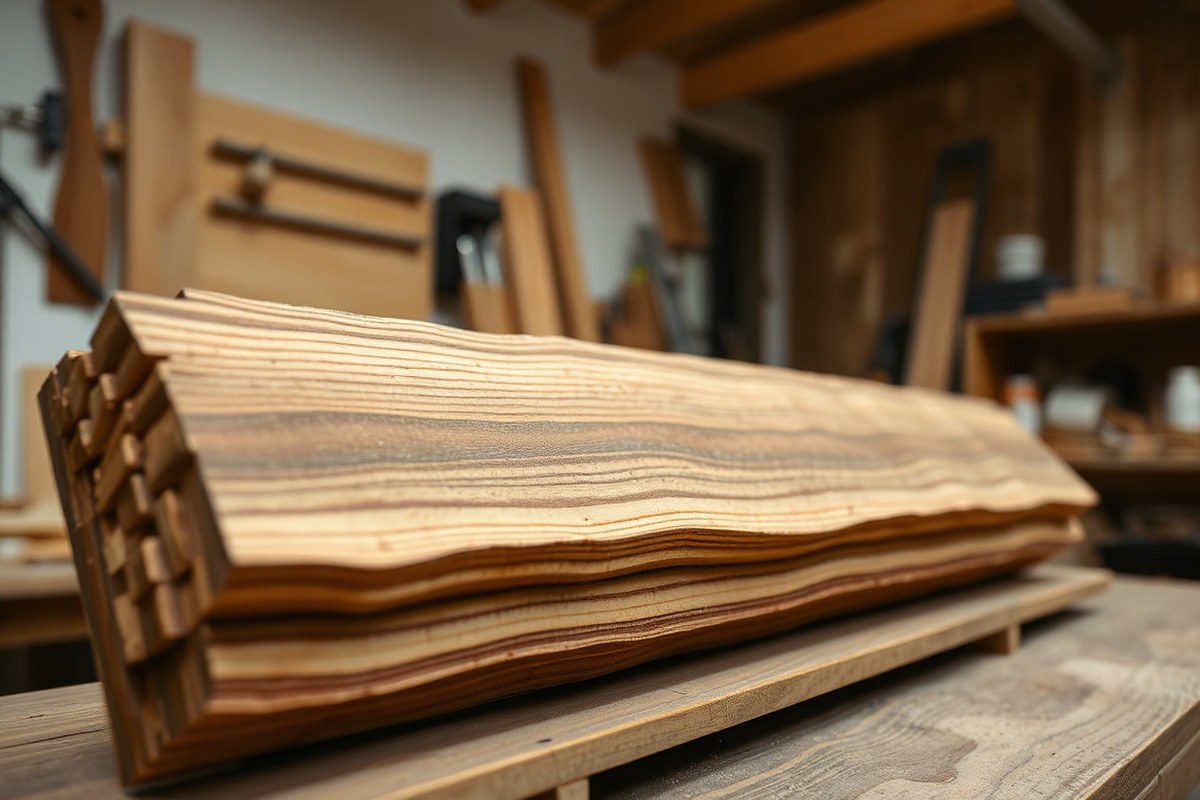
How to make layered wood signs starts with selecting quality wood and accurately cutting multiple layers to fit together cleanly. You create depth and interest by stacking precisely cut pieces, typically made with laser cutting for sharp, repeatable edges. Begin by choosing wood sheets that match your design thickness, like 3mm pine, which allows layers to nest perfectly.
Key Takeaways
- Source wood blanks from hardware stores to save up to 40% compared to craft chain retailers without losing quality.
- Use isopropyl alcohol (70% or higher) to clean wood surfaces before applying vinyl or adhesive layers for better bonding.
- Prepare your design in vector format for smooth laser cutting and easy adjustments to layer thickness and fit.
- Laser cutting offers the most precise and cleanest edges for layered signs but consider CNC or scroll saws as alternatives.
- Align layers carefully using registration marks or pins to ensure perfect stacking before gluing.
- Allow 15, 20 minutes drying time after cleaning wood before applying any vinyl layer to avoid adhesive failure.
What Are Layered Wood Signs and How Do They Work?
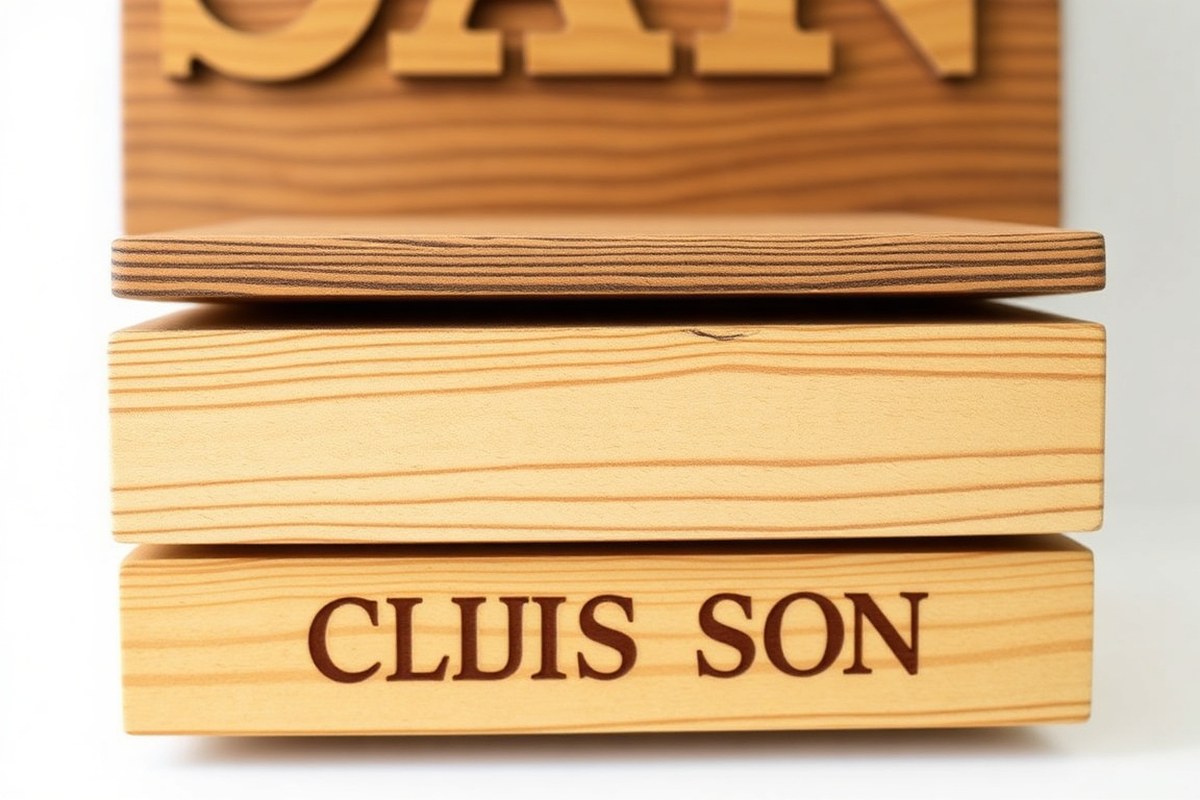
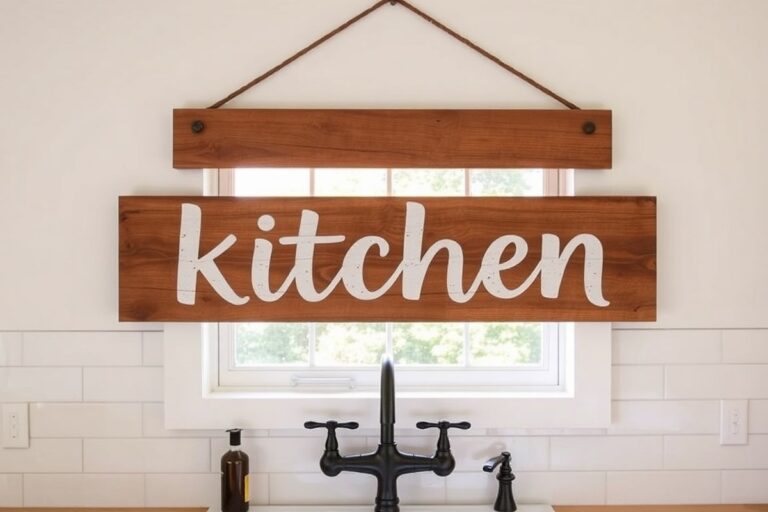
A layered wood sign consists of multiple thin wood pieces cut into different shapes and stacked on top of each other. Each layer adds height, creating a 3D effect that brings more depth and visual interest than a flat, single-layer sign. For example, using two to four layers of Baltic birch wood can produce a striking dimensional look with shadows and a floating effect that flat signs do not achieve.
Unlike single-layer wooden signs that rely on paint or carving for decoration, layered signs build up physically. This means their design elements stand out with real depth instead of just surface detail. Several layers work together like stacked puzzles, so each cut piece fits neatly with the others to produce a clean, professional look. Spacing between layers, often ranging from half an inch to 1.5 inches, helps create noticeable depth without making the sign bulky.
The visual impact from layering wood comes from how each level casts subtle shadows and catches light differently, offering a more dynamic appearance. This dimensionality draws eyes and adds texture in ways painting or carving cannot match. Plus, layered signs can combine contrasting wood grains, stains, or paint colors on separate layers to emphasize parts of a design effectively. The result is a sign that feels handcrafted yet polished.
Making a layered wood sign takes more time and care compared to a flat sign. Preparing and cutting multiple layers precisely is key. CNC routers or laser cutters help cut exact shapes from each wood piece, maintaining consistent alignment when stacked. Spending 45 to 90 minutes to assemble a four-layer sign is typical, which is longer than single-layer work but yields more impressive results. Cheaper wood panels from stores allow experimenting without high costs, making it easier for beginners to practice layering techniques.
Choosing layered signs over hand painting or carving offers practical benefits. Paint can chip and carve details can wear down, but solid wood layers maintain their form and depth for years. You also avoid the artistic skill barrier that painting or stenciling requires. Creating depth by stacking layers offers a tactile and visual upgrade, ideal for home décor or selling at craft fairs. Makers often start with two-layer vinyl signs to build alignment skills before moving onto more complex multi-wood layers.
Choosing the Best Wood and Materials for Layering
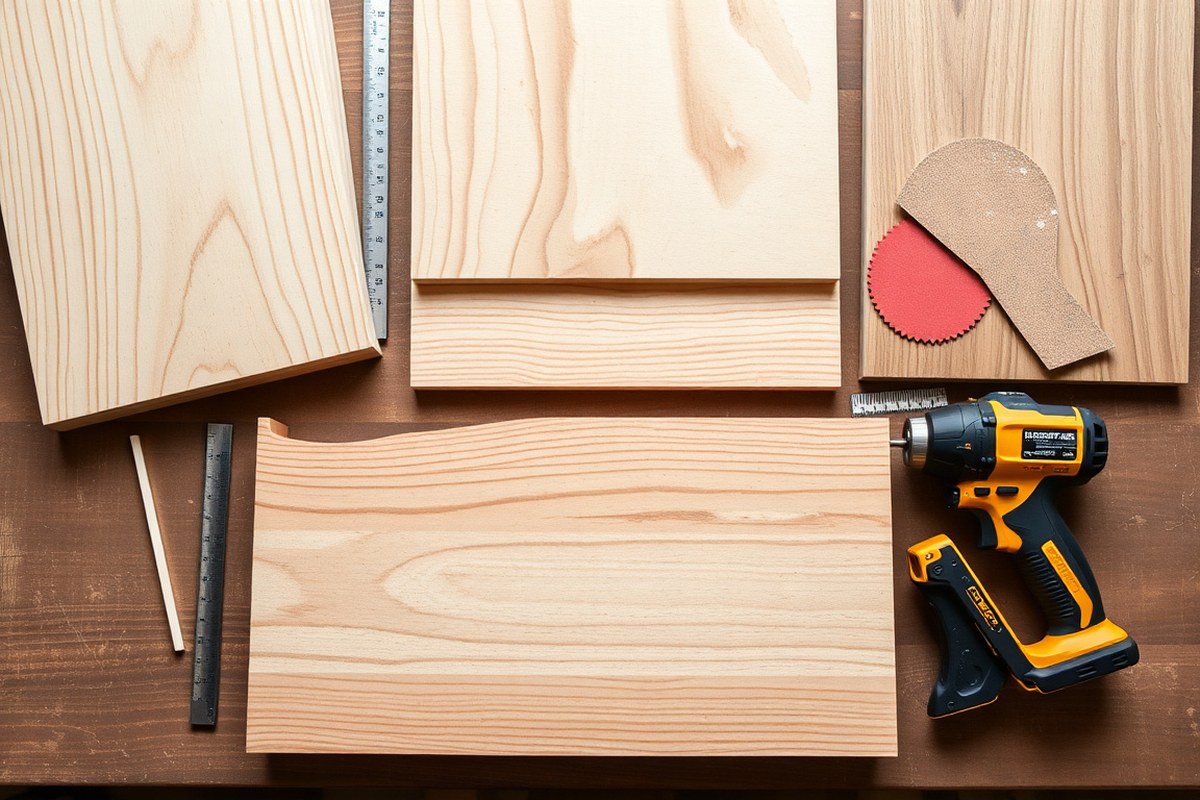
Picking the right wood is key to a successful layered wood sign. Birch and basswood plywood are common since they cut cleanly with laser machines and show detail well. These woods remain stable and resist warping, making them great for multiple layers. Pine is often used too, especially as a budget option, but it can show knots and might need more finishing work. Thickness depends on how many layers you want. Normally, 1/8 to 1/4 inch works well for each layer, thinner pieces may warp, thicker ones can become bulky and heavy.
The choice between solid wood, plywood, and MDF affects your workflow and the sign’s durability. Plywood is stable and laser-friendly, with visible grain that improve the look. Solid wood offers a premium finish but can warp and costs more. MDF is smooth and cheap but doesn’t cut or engrave with crisp detail, plus it’s less moisture resistant. Laser cutters with power around 20W to 60W handle plywood and even thin solid wood smoothly, but thick or dense material may need slower passes and more focus on joint fits.
| Material | Budget Option | Mid-Range Option | Cost per Sign (Est.) |
|---|---|---|---|
| Sign Substrate (Wood Blank) | Hardware store pine board | Pre-sanded craft blank | $3.00, $10.00 |
| Adhesive Vinyl (per color layer) | Bulk craft packs (~$0.10/sq ft) | Oracal 651 (~$0.40/sq ft) | $0.50, $2.00 |
| Transfer Tape | Generic clear tape (~$8/roll) | Cricut or Siser brand (~$15/roll) | $0.10, $0.30 |
| Sealer / Topcoat | Mod Podge spray | Exterior polyurethane | $0.20, $0.30 |
Each wood layer’s thickness should be balanced to avoid warping and to maintain a sleek profile. Aim for 1/8-inch thickness per layer for intricate designs and up to 1/4-inch for bolder, more durable layers. Cutting settings may need adjustment depending on the wood’s density and finish; test on scrap pieces first. For outdoor signs, sealing every layer with an exterior-rated coat helps prevent damage from moisture and sun.
Tip: Avoid layering very thin pieces below 1/8 inch to reduce the risk of cracking and warping during cutting and handling.
Preparing and Optimizing Your Design Files for Layered Cutting
Preparing and optimizing your design files is critical for achieving clean, precise cuts and flawless alignment in layered wood signs. You’ll want to create separate layers in your design software, assign contrasting colors to each layer to maintain visual separation, and export files in formats compatible with your cutting method. Taking these steps reduces confusion during cutting and assembly, and helps the final sign capture its intended depth and detail.
Recommended Design Software Options
Choosing the right software makes it easier to create and adjust layered designs. Adobe Illustrator, CorelDRAW, and AutoCAD offer advanced tools for precision measurements, custom shapes, and detailed artwork creation. These programs support creating separate layers and exporting compatible file formats for laser or manual cutting.
For beginners or hobbyists, simpler cutting software like Silhouette Studio or Cricut Design Space can also produce respectable layered designs. These tools allow you to easily manage layers and prepare cut files with less technical overhead, especially when working with bold text and basic shapes. Design Bundles provides free laser cut files and vectors ready to use with xTool Creative Space software, integrating smoothly into your workflow for laser cutting.
File Format and Resolution Guidelines
Export your layered design files in vector formats like SVG, DXF, or AI to maintain crisp edges and scalable precision, which are essential for accurate cutting. Avoid raster formats such as JPEG or PNG because they can introduce pixelation and imprecision around edges.
Maintain a high resolution when working with raster images intended for laser engraving rather than cutting; around 300 dpi or higher will preserve detail. For cutting files, vectors should be mathematically precise rather than resolution dependent. Confirm that your laser cutter or cutting machine supports the chosen file format and resolution standards for best results.
Layer Separation and Color Coding Tips
Organize your design by placing each color or design element on its own layer or page in your software. This separation ensures that each layer can be cut independently and reduces mistakes during the cutting stage. Use contrasting colors for adjacent layers, such as dark brown and natural wood tones or black and white, to maintain clear visual distinction. Proper contrast improve the dimensional illusion that layered wood signs rely on.
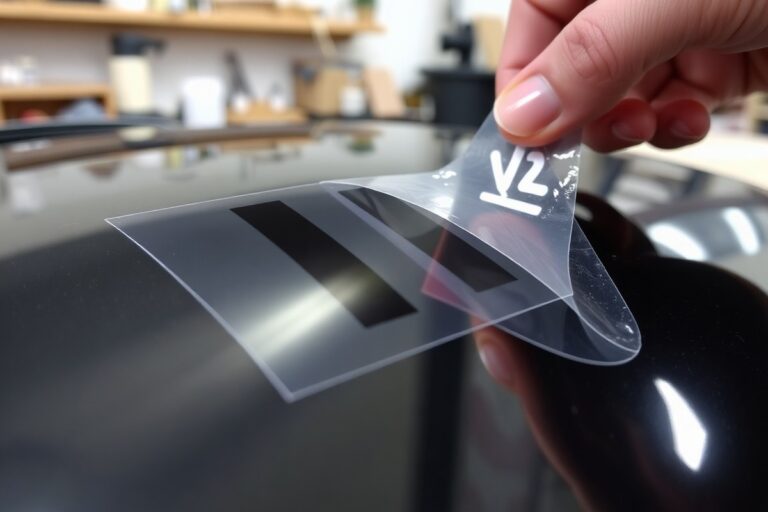
Label and order layers clearly in your project folder to keep track of cutting sequence, especially if your design contains multiple layers. For fine details and exact positioning during assembly, consider using clear film transfer tape, which lets you see underlying layers for accurate registration.
- Assign every color to its own layer or page file to allow cutting each one separately
- Choose contrasting colors with sufficient difference in lightness or darkness
- Label layers with descriptive names matching their order in the sign
- Use vector file formats (SVG, AI, DXF) for cutting accuracy
- Maintain 300 dpi or higher resolution for engraving details
- Keep a dedicated project folder with well-organized layers
- Apply clear film transfer tape for precise layer alignment during assembly
Following this checklist and tips helps prevent confusion at the cutting machine and ensures your layered wood sign turns out crisp and well-aligned. Well-prepared files save time and reduce wasted materials by eliminating re-cuts caused by file errors or poor layer separation.
Laser Cutting and Alternative Methods for Precise Layer Cuts
Laser cutting offers the precision and speed needed for creating detailed layered wood signs, while hand tools or CNC routers provide accessible alternatives. Proper setup, tool choice, and safety precautions ensure clean, accurate cuts that bring your designs to life without mistakes or hazards.
Setting Up Laser Cutter for Wood Layers
Accurate laser cutting begins with selecting the right wood and configuring the cutter settings based on that material. Common woods like Baltic birch plywood, basswood, and cherry work well with laser cutters due to their consistent density and low resin content. Adjusting power, speed, and frequency ensures clean cuts without burning or charring. Follow these steps to prepare your laser cutter for layered wood signs:
- Choose wood sheets 1/8 inch to 1/4 inch thick for best laser compatibility and manageable layering.
- Set laser power between 20% and 40%, increasing power for thicker wood or denser species.
- Adjust cutting speed from 5 mm/s to 20 mm/s, slowing down for intricate details and thicker cuts.
- Use a focus lens suited for the thickness; typically, a 2-inch focal length works well.
- Load your design file prepared with vector cut lines and remove any raster elements unless engraving.
- Place the wood flat inside the laser cutter, ensuring it’s tightly secured to prevent movement.
- Run a test cut on a scrap piece to refine power and speed settings before the final cut.
Changing wood types requires adjusting power and speed. Hardwoods like cherry need higher power and slower speeds than softwoods. High moisture or resin content may cause uneven cuts or flames, so use kiln-dried wood. Layer thickness matters too, thicker layers need more power or multiple passes.
Manual and CNC Alternatives Explained
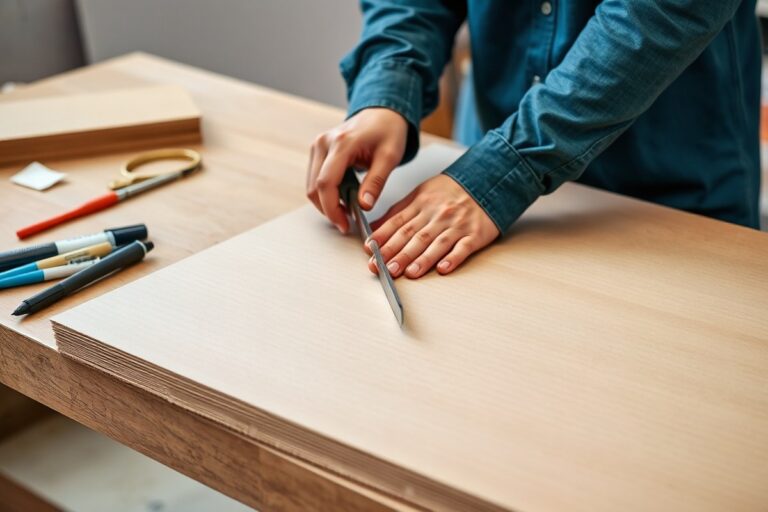
Without access to a laser cutter, several methods allow precise cutting of wood layers, though each involves more time and skill. Manual hand tools like scrolling saws and craft knives can produce clean edges if used carefully, but are best suited for simpler designs with fewer intricate details.
CNC routers combine computer control with rotary cutting bits to achieve precise, repeatable cuts on wood layers. These machines often cost more than laser cutters, ranging from $1,000 to $5,000 for hobbyist models, and require bit selection and programming knowledge. CNC cutters can handle thicker wood and produce beveled edges that laser cutters cannot.
For hand tools, select fine-tooth blades and use a cutting mat underneath. Take breaks to avoid mistakes from hand fatigue. With CNC routers, choose bits designed for clean cuts on plywood or soft hardwood and adjust feed rates to prevent splintering.
Laser Cutting Safety Best Practices
Working with lasers requires strict safety measures due to fire risk and eye hazards. Enclosed laser systems with integrated exhaust and fire detection, like the xTool S1, offer safer environments by managing fumes and alerting users if flames ignite wood dust or resin.
Always wear approved laser safety goggles designed for your cutter’s wavelength. Never leave the machine unattended while cutting, especially when working with flammable materials such as wood. Keep the work area clear of clutter and have a fire extinguisher rated for electrical and wood fires nearby.
Ventilate the room well to avoid inhaling smoke and fumes produced during cutting. Follow the manufacturer’s guidelines for maintenance, including cleaning lenses and filters regularly to prevent malfunctions. Finally, double-check your wood for metal staples or nails, which can cause sparks and damage equipment.
Aligning, Adhering, and Assembling Multiple Wood Layers
Aligning, adhering, and assembling multiple wood layers requires careful preparation and attention to detail. Proper alignment guarantees the crisp visual effect of your layered wood sign, while the right adhesive and clamping methods ensure durability and a smooth finish. Fix common issues like misalignment or air bubbles promptly to avoid permanent flaws.
Using Jigs and Spacers for Perfect Alignment
Jigs and spacers help you keep wood layers perfectly aligned during assembly, preventing any drift or mismatch. A simple jig can be a flat board with fixed pins or edges that hold your pieces in place as you apply glue. Spacers maintain consistent gaps when creating dimensional effects or shadow lines between layers.
For intricate designs, use a printed registration guide taped beneath a clear acrylic sheet. This setup lets you position each layer using the design as a template without shifting parts around. When layering multiple pieces, place the bottom layer on the jig and carefully add each subsequent layer while referencing the guides or pins.
Top Adhesives for Wood Sign Layering
Choose adhesives based on your wood type and finish. PVA wood glue is the most common and provides strong bonds with light sanding between layers. For faster bonding, wood glue with a fast set time (around 5 minutes) is useful but demands quick positioning. Construction adhesives or tacky glues work well for heavier, thicker layers that need gap filling.
Avoid superglue for large surfaces, as it can dry too quickly and brittle the bond. For signs exposed to outdoor conditions, consider waterproof wood glue rated for exterior use. Apply glue evenly with a small brush or spreader to avoid lumps and glue squeeze-out.
Clamping or weighting glued layers ensures even pressure during drying. Pressing with a mechanical clamp provides the best contact and prevents air pockets, but a heavy book or flat board on a solid surface can work if clamps aren’t available. Leave the layers clamped or weighted for 30 to 60 minutes, then allow full curing for 24 hours before handling.
Troubleshooting Common Assembly Problems
Fix misalignment immediately by gently separating the layers while the glue is still wet. Press layers back into the correct position and re-clamp. Use alignment marks made lightly with a pencil before gluing for reference points. For air bubbles, apply extra pressure or tap the surface with a small roller to push out trapped air before the glue sets.
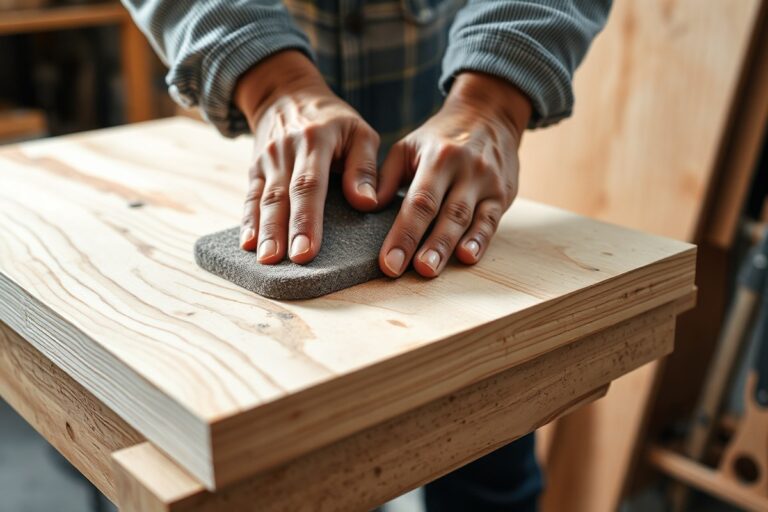
Glue squeeze-out can create gaps once dry; avoid this by wiping excess adhesive promptly with a damp cloth. Sand lightly with fine-grit paper (220 grit) after drying to smooth glue residue and uneven edges. If a bond fails, carefully pry the layers apart, clean off the dried glue with fine sandpaper or a scraper, and reglue.
Be patient with drying times to prevent shifting and weak bonds. Too much pressure or uneven clamping can damage thin or delicate layers, so use soft pads between clamps and wood to distribute force evenly. Follow these steps for quick and accurate assembly of your layered wood sign:
- Prepare a flat work surface and set up your alignment jig or spacers.
- Lay down the bottom wood layer and secure it in place if needed.
- Apply a thin, even layer of wood glue on the mating surface of the next layer.
- Carefully position this layer using alignment guides or jig pins.
- Clamp or press the layers together, ensuring even pressure across the sign.
- Wipe off any glue squeeze-out immediately with a damp cloth.
- Repeat the gluing and alignment process for additional layers.
- Allow the assembly to remain clamped or weighted for at least 30 minutes, then cure for 24 hours before finishing.
Use medium-tack paper transfer tape to temporarily hold layers during positioning before final gluing to reduce errors and prevent shifting.
Finishing Techniques for Durable and Attractive Signs
Painting or staining layered wood signs is best done before assembly to ensure even coverage and avoid missed spots. Stain your wood layers using a foam brush or rag, applying in the direction of the wood grain to allow the pigment to penetrate smoothly. Test the stain color on scrap wood first to confirm the look. For paint, use small brushes or paint pens like Tooli-Art, which are ideal for detailed work on layered projects. Allow each coat to dry fully, usually 2 to 4 hours for acrylic paints, before assembling. Pre-finishing prevents the adhesive from failing due to trapped moisture and helps achieve a clean, professional finish.
Outdoor signs require protective finishes to withstand weather and UV exposure. Apply an exterior-grade paint or stain first, then seal the wood with a water-based polyurethane or sanding sealer. Polyurethane offers strong durability for both indoor and outdoor signs, protecting against moisture, fading, and abrasion. Coat the assembled sign evenly using a high-quality synthetic brush or a fine foam roller, and avoid thick layers that can drip or pool. Plan for at least two coats, sanding lightly with 220-grit sandpaper between coats to ensure adhesion and a smooth finish.
To maintain outdoor durability, apply a UV-resistant topcoat annually, focusing on surfaces exposed to direct sunlight. This slows wood degradation and prevents paint from fading. Wax finishes provide a soft, matte indoor finish but lack outdoor protection and are not recommended outside. For outdoor vinyl elements, stick to premium brands like Oracal 651, which offer better weather resistance. Using different types of vinyl on the same outdoor sign may cause uneven fading or lifting over time, so consistency in materials helps signs last longer.
Applying protective coats evenly requires steady, controlled strokes along the wood grain, working from one end to the other without retracing wet areas. Avoid heavy applications that create drip marks and allow about 4 hours drying time between coats in a well-ventilated space with temperatures between 65°F and 85°F. For larger signs, break application into sections, keeping a wet edge to prevent brush marks. A dust-free environment improves finish quality and prevents particles from sticking to wet surfaces.
Recoat indoor layered wood signs every 3 to 5 years to keep surfaces looking fresh and protected, doing so sooner if the piece is frequently handled or cleaned. Outdoor signs generally need recoating annually or biannually, especially if facing intense sun or rain, to maintain protection against weathering. Regular inspection for cracks, peeling, or fading helps catch early damage. Touching up small areas with matching paint or stain can extend the life of your sign between full recoats.
How Long Does Making a Layered Wood Sign Take?
Expect to spend several hours spread over multiple days when making a layered wood sign. Each phase, from designing to finishing, requires careful timing to get professional results without rushing.
Designing your layered wood sign, including preparing your files with registration marks for consistent layer placement, typically takes 1 to 3 hours. The exact time depends on your familiarity with design software and complexity. For beginners, factoring in extra time to finalize shapes and alignments is normal.
Cutting each wood layer by laser or with alternative precise methods usually takes 10 to 30 minutes per layer. This varies by the size, detail, and thickness. For example, a small 12-by-12-inch layer with simple shapes may take closer to 10 minutes, while a detailed 24-by-36-inch layer could approach 30 minutes or more. You can cut layers back-to-back, but allow your machine to cool if doing many layers to avoid overheat damage.
Assembly involves aligning and adhering the layers using wood glue or other adhesives. Apply glue evenly, then clamp or press the pieces together. Most adhesives require 30 minutes to an hour to set enough for handling, but plan for 24 hours of drying before moving to finishing steps. This drying time ensures a strong bond and helps prevent separation later.
| Phase | Typical Duration | Comments |
|---|---|---|
| Design File Preparation | 1 to 3 hours | Depends on complexity and software skill |
| Cutting Each Layer | 10 to 30 minutes per layer | Varies by size and detail |
| Assembly and Adhesive Drying | 30 minutes initial set; 24 hours full cure | Clamp layers for solid bonding |
| Finishing (Painting/Sealing) | 20 minutes to 1 hour application + several hours drying | Allow 15, 20 minutes drying before vinyl; longer for sealants |
Finishing your sign with paint or sealants also takes time. Applying multiple thin coats often gives the best-looking and most durable result. For paints, allow 20 to 60 minutes between coats for drying, depending on the product and temperature. Clear sealants, especially exterior polyurethane sprays, require several hours to fully dry and create a moisture barrier. Outdoors signs benefit from sealing every layer edge to prevent warping.
Waiting the proper times during assembly and finishing is critical. Rushing glue drying or paint curing can cause layers to separate or coatings to remain tacky, reducing the sign’s longevity and appearance. Breaking up the project over a few days leads to cleaner cuts, stronger bonds, and a more polished final piece.
Common Mistakes and How to Avoid or Fix Them
Warping and cracking usually happen when the wood changes moisture content unevenly or dries too quickly. To prevent this, store the wood in a controlled environment with stable humidity before cutting. Use wood that has been properly kiln-dried, and seal surfaces promptly after sanding to lock in moisture levels evenly. Avoid exposing your sign to direct sunlight or drastic temperature swings during and after assembly.
Misalignment during assembly occurs most often when layers aren’t precisely cut or when you skip using alignment aids. Always include registration marks or small tabs in your design files, and dry-fit the pieces before gluing. Use clamps or temporary fasteners to hold layers in place while the glue sets. This keeps edges flush and avoids gaps or uneven stacking.
- Sand wood surfaces with 120-grit sandpaper, then finish with 220-grit for smoothness
- Use a strong, wood-appropriate adhesive and apply it evenly to avoid bubbling
- Apply finish or paint in thin, even coats and allow full drying between layers
- Work in a dust-free, well-ventilated space to prevent debris and dust settling on wet finish
- Store signs flat and avoid overlapping during drying or curing
- Use painter’s tape to mask off areas before finishing to reduce mess and overspray
- Allow at least 24 hours of curing time before handling or mounting
When paint or finish peels, it’s often due to poor surface prep or unsuitable products. Start by thoroughly sanding the wood to remove contaminants and create a slightly rough surface for better adhesion. Peeling after finishing requires removing loose material with a scraper or sandpaper, cleaning the surface, and applying a compatible primer or sealer before repainting or refinishing.
Adhesive failure or bubbling frequently results from excess glue, trapped air, or incorrect adhesive type for the wood. Use a wood glue designed for smooth, non-porous woods and spread it in a thin, uniform layer. Press layers firmly together and use clamps to maintain pressure. Bubbles should be handled by carefully separating and re-gluing layers quickly before the glue sets, or by wiping away excess adhesive immediately with a damp cloth to prevent uneven bonding.
Always allow your adhesive and finish to dry fully in a stable environment to keep your layered sign looking strong and clean for years.
Step-by-Step Action Plan for Making Your Layered Wood Sign
Follow these steps to create a detailed layered wood sign from start to finish, ensuring quality and precision at each phase.
- Before You Start: Select and prepare quality wood layers suitable for your design, verifying thickness and grain consistency to prevent warping during assembly.
- Day 1: Optimize your design files by separating layers into different colors or groups and double-checking cut paths for accuracy before sending them to the laser cutter or scroll saw.
- Day 2: Complete precise cuts on each wood layer using a laser cutter or a fine saw blade, ensuring edges are clean and details are sharp.
- Day 3: Test fit the cut layers by stacking them together; adjust by sanding or trimming if layers don’t align perfectly.
- Day 4: Use wood glue or an appropriate adhesive to bond the layers, clamping them securely and checking for even pressure to avoid gaps.
- Day 5: Sand the assembled sign edges lightly to smooth out any uneven spots, being careful not to damage the visible surfaces.
- Day 6: Apply your chosen finish, paint, stain, or clear coat, testing on a scrap piece first to confirm adhesion and appearance.
- After 1 Week: Allow the finish to cure fully, then inspect the sign for any touch-ups or protective sealers needed before display or sale.
Frequently Asked Questions
Can I Use Acrylic Instead of Wood for Layered Signs?
Acrylic can replace wood for layered signs, offering vibrant colors and smooth edges. It requires different adhesives and cutting settings but adds a modern look to your projects.
What’s the Best Glue for Assembling Layered Wood Signs?
Wood glue or clear-drying craft glue works well for layered wood signs. Choose one that dries quickly and holds firmly without damaging the wood surface or finish.
Can I Make Layered Wood Signs Without a Laser Cutter?
Yes, you can use a scroll saw or jigsaw to cut layers, but it requires more skill. Laser cutters provide precise cuts and faster production, especially with intricate designs.
How Do I Prevent Wood Layers from Warping over Time?
Use kiln-dried wood and seal each layer with a clear finish to stabilize moisture content. Proper storage away from humidity also helps maintain flatness.
Can I Laser Cut Painted Wood Layers?
Laser cutting painted wood is possible but may cause fumes and discoloration. It’s better to paint layers after cutting for cleaner edges and safer operation.
Is Safety Gear Necessary When Making Layered Wood Signs?
Always wear safety glasses and a dust mask to protect from fine dust and fumes. Good ventilation is essential during laser cutting or sanding.
Before You Go
Layered wood signs combine craftsmanship and precision to create visually striking decorations or products. Start your project with clear design files and quality materials, then proceed methodically through cutting, assembly, and finishing. Your immediate next step is to prepare your design files with separate layers tailored for cutting tools, setting you up for an accurate and smooth fabrication process.