How to Make Last Name Signs with Wood – Simple Steps for Personalized Decor
How to make last name signs starts with choosing the right wood and tools for your design. Simple wooden signs can be created using affordable materials like pallet wood and vinyl lettering. Starting with a clear design plan and the proper cutting tools speeds up the process and ensures a clean, personalized look.
Key Takeaways
- Use affordable pallet wood for a budget-friendly base costing under $10.
- Download SVG files to create precise 3D wooden letters with cutting machines.
- Keep letter size around 10 inches for a balanced and modern appearance on large wood pieces.
- Apply vinyl lettering for ease and versatility in personalizing last name signs.
- Design signs digitally first using an online monogram generator for faster layout approvals.
- The total time to make a sign varies but can be under a few hours with preparation.
What Materials and Tools Are Needed for Last Name Signs?
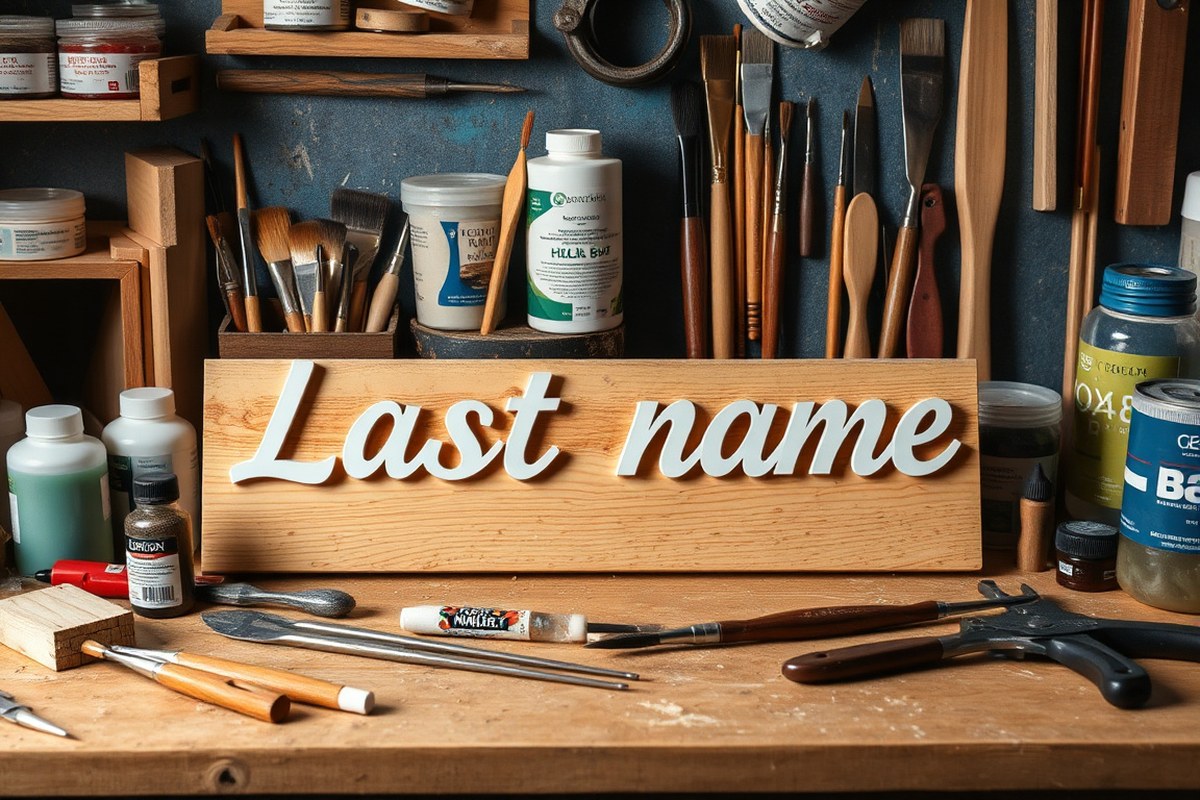
Wood is the most popular base for last name signs because it’s easy to work with, affordable, and looks great indoors or outdoors when sealed properly. Pine, cedar, or plywood panels are common choices. Pine is budget-friendly, costing around $10, $15 for a 12×12-inch board, while cedar offers natural weather resistance, which is useful if your sign will be outside. Canvas prints that mimic wood grain can also serve as lightweight, budget-friendly alternatives if you prefer not to handle raw wood.
Painting supplies significantly impact your sign’s final look. Acrylic paints dry quickly and come in many colors, making them ideal for wooden or canvas signs. Have a few brushes on hand: a 1-inch flat brush for background coverage, a fine-tip brush for detail work on letters, and a foam brush for smooth surfaces or stenciling. Paint pens or markers designed for wood can add precision for custom letters or monograms. Expect to spend about $5, $15 per paint set depending on brands and number of colors.
Cutting tools like jigsaws or laser cutters depend on the type of style you want. Jigsaws handle straight and curved cuts on wood and work well for DIYers with basic woodworking experience. Laser cutters produce precise detailed cutouts or engraved designs but are more expensive and usually found in maker spaces or specialty workshops rather than at home, these can cost $300 to $1000 or more. For a simple last name sign, you can skip heavy cutting tools entirely by choosing pre-cut letters or stencils.
- Essential materials: pine or cedar wood board, acrylic paints, fine and flat brushes, polyurethane sealant
- Optional materials: wood stain, canvas print base, paint pens, stencils
- Essential tools: sanding block or sandpaper (120-220 grit), pencil for sketching designs, measuring tape or ruler
- Optional tools: jigsaw for custom wood shapes, laser cutter for detailed engraving or precision cuts
- Adhesives: wood glue for attaching cut-out letters, strong double-sided tape for lightweight canvas-based signs
- Finishes: clear polyurethane to protect wooden signs from moisture and sun exposure
- Budget alternatives: use pre-cut wooden letters ($1, $3 each) and paint over inexpensive plywood or canvas ($10 or less for base)
You don’t need power tools to make a last name sign. Sanding and painting by hand with basic brushes and acrylic paint deliver good results at low cost. Using pre-cut letters glued or painted onto a board allows you to personalize a sign without cutting. If you decide to invest in tools, start small with a jigsaw, which costs about $40, and practice cutting on scrap wood before working on your sign piece.
Proper adhesives and finishes will extend your sign’s life, especially outdoors. Wood glue bonds cut-out letters firmly but needs clamping and drying time (usually 30 minutes to an hour). For faster application with lightweight materials, a strong double-sided tape rated for exterior use works well. After painting, apply two to three coats of clear polyurethane, letting each coat dry for at least 4 hours at room temperature. This prevents paint chipping and protects against weather and UV damage, preserving your family’s name on the sign for years.
How to Design and Personalize Your Last Name Sign

Designing and personalizing your last name sign starts with choosing fonts, layouts, and elements that reflect your style and family story. Selecting the right fonts balances readability with the sign’s aesthetic, while layout decisions guide how the information flows visually. Adding dates, quotes, or monograms gives the sign unique meaning and depth to your home décor.
Selecting Fonts and Styles for Your Sign
Choosing fonts depends on the style you want for your last name sign. For a rustic look, consider handwritten or script fonts with a slightly weathered feel. Modern signs benefit from clean sans-serif fonts, which offer simplicity and sharp lines. Make sure the font size supports readability from the distance where the sign will hang.
| Font Style | Best For | Readability | Example Use |
|---|---|---|---|
| Serif (e.g., Times New Roman) | Classic, formal | High at medium size | Established dates, formal quotes |
| Sans-Serif (e.g., Arial, Helvetica) | Modern, minimalist | Very high | Main family name, monograms |
| Script (e.g., Brush Script) | Rustic, farmhouse | Moderate, depends on complexity | Secondary elements, quotes |
| Handwritten | Casual, personal | Varies, test before finalizing | Personalized messages |
Test your font choices by printing a small version before committing. Some fonts may look great on screen but are hard to read when cut or painted.
Planning Layout for Readability and Style
The layout organizes your text and decorative elements. Centered layouts pair well with symmetrical fonts and give a balanced feel. Left-aligned or justified layouts often look more modern and clean. Leave enough spacing between the family name, date, and any quotes you include. Here are common layout options:
- Top line: Family name in large font with established date or quote below in smaller font
- Monogram centered with last name and date wrapped around or beneath it
- Side-by-side arrangement with the name on left and personalized message or established date on right
- Circle or oval shape layout for a modern/rustic blend
- Background watermark of a faded monogram behind the main text
Using contrasting font sizes and weights helps each section stand out and makes the sign more visually appealing.
Adding Established Dates and Meaningful Quotes
Dates like “Established 2024” or the year your family started are popular additions. Place these below the last name to keep the focus clear. You can also include short, meaningful quotes, this might be a family motto, Bible verse, or song lyric that resonates with your household.
Keep the text for quotes smaller and simpler to avoid crowding. Quotes with fewer than 10 words work best to maintain easy reading and clean design. Try this sample template for your sign text:
Example template: [Last Name] Established [Year] ” Your chosen quote or family motto here “
Monograms: Picking the Right Style
Monograms add personal flair and can vary widely to fit rustic or modern themes. For rustic signs, choose monograms with distressed edges, vintage scripts, or woodcut styles that appear handcrafted. For modern designs, clean geometric shapes or minimalist letter combinations work well.
Metal cutout monograms give an elegant, intricate look suitable for more detailed signs. A faded or lightly colored background monogram creates subtle texture without overwhelming the design. Use a free online monogram generator to test styles quickly and see what fits your sign’s style best.
Free Online Tools and Templates
Several free online resources help design last name signs with ease. These tools support font selection, layout planning, and adding decorative elements like monograms or dates:
- Family Name Sign Maker, Choose styles, fonts, and add established dates or quotes, then download printable designs.
- Canva, Create custom layouts using drag-and-drop with a wide font library.
- Monogram Maker, Generate and customize monograms fit for rustic or modern signs.
- Font Squirrel, Find free, downloadable fonts suitable for wood or metal signs.
- Vectr, A free vector graphic editor to design and export detailed sign layouts.
Templates vary from simple two-line family name and date signs to multi-element compositions including monograms and quotes. Test several templates before finalizing your design to see what fits your materials and home style best.
Step-by-Step Methods to Create Your Last Name Sign
Making last name signs involves transferring your design onto wood, then choosing how to bring it to life, whether by painting, stenciling, cutting, or layering letters. Each method has clear steps and options depending on your tools and skill level. Crafting without power tools is possible by leaning on painting and stenciling, while cutting methods typically need specialized equipment.
Painting and Stenciling Techniques
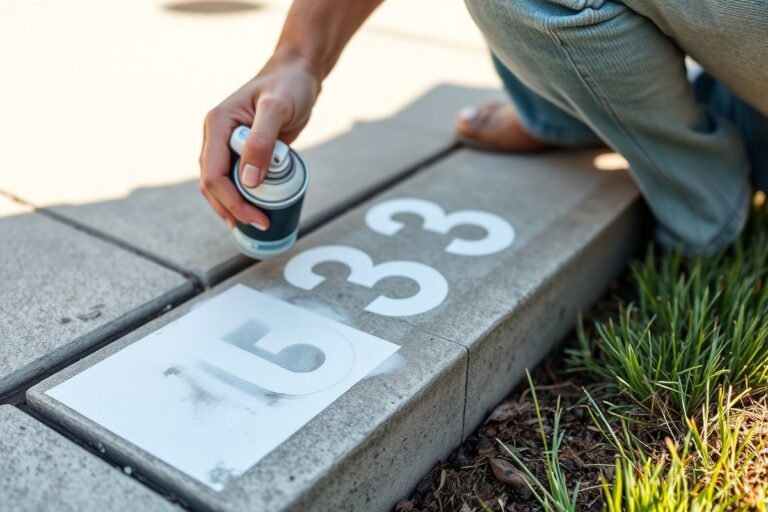
Painting your last name sign gives you control over colors and details. To start, transfer your design accurately using carbon paper or by printing your letters in reverse and tracing them onto the wood. Stenciling helps maintain clean edges, but paint bleeding is a common issue to prevent. Use a stencil adhesive or painter’s tape to keep your stencil firmly in place. Apply paint with a dry brush or foam pouncer in thin layers to avoid seepage underneath the stencil edges. Steps for painting and stenciling your sign:
- Prepare the wood by sanding to smooth the surface and remove dust.
- Transfer your design using carbon paper or trace the printout directly.
- Secure the stencil to the wood with low-tack spray adhesive or painter’s tape.
- Use a dry brush or foam pouncer to dab paint lightly onto the stencil, avoiding thick coats.
- Let the paint dry for at least 30 minutes before removing the stencil carefully.
- Touch up any bleed marks with a fine brush and base paint color.
- Seal the painted sign with a clear matte or satin finish to protect it.
Painting allows for multiple color layers and detailed customization. It also works well for last name signs featuring script fonts or decorative flourishes. Avoid heavy coats of paint to prevent blurring around edges.
Cutting and Laser Engraving Options
Cutting out your last name from wood delivers a bold, dimensional look. Laser cutting machines like the xTool P2 let you precisely cut letters up to 10 inches tall for modern, clean lines. You can also try scroll saws for hand-operated cutting if you want to avoid power lasers. Laser engraving adds subtle texture or designs onto the wood surface, giving your sign a rustic feel without removing material.
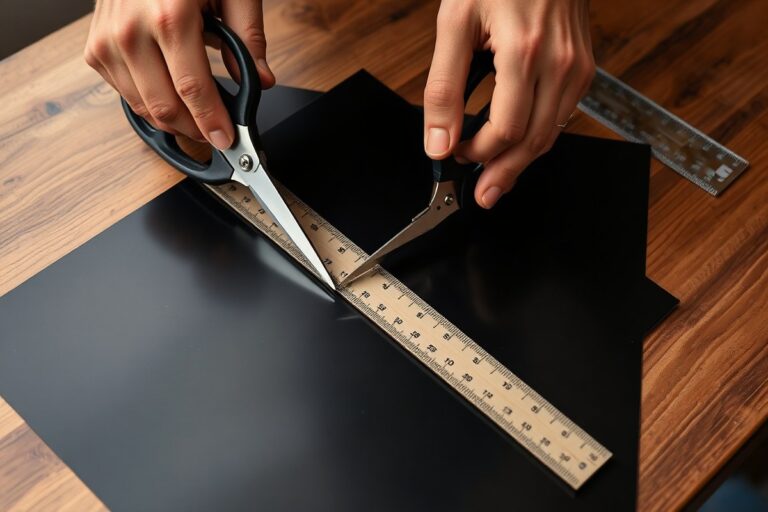
To transfer your design for cutting, use vinyl or adhesive-backed stencil paper. The cutting machine reads this file directly, so your design must be in a compatible format (SVG or DXF). For manual cutting, carefully trace your letters onto the wood with a pencil and ruler.
Because cutting involves physical removal of wood, safety goggles and a dust mask are essential. Laser cutters typically cost several hundred dollars for home models, while scroll saws can be found for $70, $150. Cutting machines also create leftover wood pieces you can repurpose.
Assembling and Layering Letters
Layered and 3D last name signs combine cutout letters with background shapes or mount letters onto a solid base for depth. Start by cutting all your pieces, you can use plywood or MDF for a sturdy backing. Paint or finish each piece separately before assembly to avoid mess. Align letters carefully, using spacers or a ruler to keep consistent gaps. Follow these steps to assemble a layered sign:
- Cut out all desired letters and background shapes from your wood.
- Paint each piece and let them dry fully.
- Place the backing on a flat surface and arrange the letters over it without gluing to check placement.
- Apply wood glue or strong double-sided tape to the backs of the letters.
- Press letters onto the backing firmly, using weights or clamps if needed.
- Allow glue to dry for 24 hours before handling.
- Seal the assembled sign with a clear coat if desired for protection.
This method works well for creating signs with a personalized monogram or layered initials featuring leaf designs. It adds visual interest and texture without requiring power tools if you pre-cut letters with a local shop or craft cutter.
How Long Does It Take to Make a Custom Last Name Sign?
Creating a custom last name sign typically takes between one to three days from start to finish, depending on the complexity and materials used. Design and preparation usually require the first few hours. This stage involves selecting your style, lettering, and any decorative elements. Digital design tools or sketching by hand can speed things up, but allow at least 1 to 2 hours to ensure a precise plan.
Cutting, carving, or assembling the sign can take several hours. Wood signs may need more time for cutting and sanding, plan for about 2 to 4 hours, while metal outlines or simpler designs might only take 1 to 2 hours. Assembly involves fastening pieces or mounting letters, and for most signs, setting this up professionally takes around 30 minutes to 1 hour. Efficient organization during this phase helps avoid delays.
Drying and curing times significantly affect the overall timeline. Paints and finishes often need at least 4 to 6 hours to dry to the touch, but curing can take 24 hours or more for full hardness and protection, especially for outdoor signs exposed to weather. Using quick-dry paints or water-based sealants can cut drying times but may require more coats. For example, applying a water-based polyurethane can dry in 2 hours, yet waiting overnight ensures durability.
To speed up the process without sacrificing quality, prepare all materials before starting and work in well-ventilated, warm areas, as heat can accelerate drying times. Using a heat gun or fan can reduce drying by 30, 50%, but keep the heat moderate to avoid bubbles or cracks in the finish. Also, plan multiple coats strategically; apply thin layers that dry faster rather than thick layers that take longer to cure.
A typical schedule would allot 1 to 2 hours for design, 3 to 5 hours for cutting and assembly, and at least 24 hours for paint and finish curing. Rushing the drying stage is common but leads to smudges, tacky surfaces, or degraded protection, which can necessitate rework. Taking your time ensures a durable, polished look that withstands outdoor conditions and keeps your family name sign looking its best for years.
Ways to Finish, Protect, and Style Your Family Name Sign
Choosing the right finish for your family name sign depends largely on where you plan to display it and the look you want to achieve. Staining wood highlights its natural grain and adds a rich, warm tone, making it ideal for indoor signs or covered outdoor spaces. Painting offers the most design flexibility with countless colors and styles, perfect if you want a bold, modern look or to match your home’s exterior. For outdoor signs exposed to rain, sun, or snow, adding a clear protective sealant or polyurethane is essential. These coatings act as barriers against moisture and ultraviolet damage, extending the life of your sign by years. Apply two to three thin coats of an outdoor-grade sealant after your stain or paint has fully dried, sanding lightly between coats for smoothness.
When protecting your sign, choose finishes labeled for exterior use if it will face weather challenges. Oil-based polyurethane offers durable protection but takes longer to dry, around 24 hours per coat, and has a stronger odor. Water-based polyurethanes dry faster, often within 2-4 hours, with low odor but may require more coats for the same durability. Prices vary from about $10 to $25 per quart, depending on brand and type, and a quart typically covers 125, 150 square feet. Indoor signs only need clear topcoats to resist dust and handling wear, so a simple acrylic sealer can be sufficient and cost less.
Framing can improve your sign’s appearance while adding extra protection, especially for wooden boards. A simple frame created from cedar or pine trim can be glued and nailed around the edges, pushing the clear coat or stain deeper beneath the frame for better weather resistance. Choose a frame color that complements your paint or stain, often a few shades darker or lighter. For indoor signs, decorative frames can include moldings or metal accents that add character but do not affect weatherproofing. Mounting hardware should match the sign’s weight and placement surface. Heavy signs need sturdy D-rings or metal brackets anchored to studs or masonry, while lighter signs can use sawtooth hangers or command strips.
Styling your sign involves balancing function and personal taste. For outdoor signs, use bold, contrasting colors to ensure visibility from a distance. High-gloss finishes can repel dirt and water better but highlight brush strokes, so spray-on clears might work better for smooth results. Indoor signs allow more delicate finishes, such as distressed paint or layered stains, to add rustic charm. Adding an “Established” date below your last name often adds a timeless family touch. Textured or 3D lettering brings depth and interest but may require extra sealing to protect edges from chipping.
| Finish Type | Best For | Durability | Cost (per quart) | Dry Time |
|---|---|---|---|---|
| Oil-based polyurethane | Outdoor signs, heavy wear | High | $15, $25 | 24 hours per coat |
| Water-based polyurethane | Outdoor and indoor signs | Moderate to high | $10, $20 | 2, 4 hours per coat |
| Acrylic clear sealer | Indoor signs | Low to moderate | $8, $15 | 1, 2 hours |
| Stain | Indoor or covered outdoor wood signs | Moderate | $5, $15 | 6, 8 hours drying |
| Paint (latex or acrylic) | Indoor or outdoor signs requiring color | Moderate | $10, $30 | 4, 6 hours drying |
Apply finishes in thin layers outside or in a well-ventilated area to avoid drips and ensure even coverage.
Common Mistakes and How to Fix Them When Making Signs
Paint bleeding under stencils usually happens when the wood surface is uneven or the paint is applied too thickly. To fix this, sand the area lightly with fine-grit sandpaper until smooth before repainting. Use a light coat of paint and dab with a sponge or stencil brush to avoid pushing paint under the stencil edges. Bleeding after drying can be handled by carefully scraping it off with a sharp craft knife or cleaning the edges using a small brush dipped in nail polish remover, avoiding damage to the wood stain.
Misaligned or crooked letters can disrupt the overall symmetry of your last name sign, especially if the name has an odd number of letters. Repositioning them may require gentle removal if the letters are glued or nailed. Warm the adhesive area slightly with a hairdryer to soften glue, then carefully pry the letters off using a flat tool. Re-measure and mark the layout using a ruler and level to ensure straightness before reattaching. Repainting requires covering surrounding areas with painter’s tape to ensure crisp lines.
Chips or scratches in wood or paint can make a sign look worn or unfinished. Minor wood chips can be filled with wood filler matching the wood color, then sanded once dry for an even surface. Touch up scratches in paint or stain by lightly sanding the area and applying matching paint or stain with a fine brush. For a deeper scratch, apply multiple thin coats, letting each dry fully, and sand between coats to blend the repair smoothly with the rest of the sign.
An uneven or patchy finish often results from improper drying conditions or inconsistent brush strokes. To fix this, wait until the finish is fully dry, then sand lightly with very fine sandpaper (320 grit or higher). Wipe clean with a tack cloth and apply an even second coat with a foam brush or spray finish for smoother coverage. Maintain consistent temperature and humidity, around 70°F and 50% humidity, for best drying results. Avoid applying finish in direct sunlight or on hot days, which can cause it to dry unevenly.
- Sand uneven wood surfaces before painting to prevent bleed-through
- Use a level and ruler to align letters precisely
- Warm glue for easier letter removal and repositioning
- Fill wood chips with colored wood filler before sanding
- Use thin paint layers and a stencil brush to avoid bleeding
- Sand and recoat patchy finishes after they dry fully
- Work in a controlled environment to ensure smooth drying
These steps usually take 10 to 30 minutes per fix but vary depending on drying times and repair size. Basic materials needed include fine-grit sandpaper ($5 to $10 for a pack), wood filler ($3 to $6 per tub), and matching paint or stain (starting around $7 per small bottle). Attention to detail during fixes improves the longevity and visual appeal of your last name sign, reflecting the personalized effort you put into crafting a meaningful gift or décor piece.
How to Mount and Display Your Last Name Sign Beautifully
Choose mounting hardware that fits the weight and material of your last name sign for secure hanging. Lightweight wooden or metal signs work well with picture hanging hooks or nails. Heavier signs, like those made from solid wood or slate, need wall anchors or toggle bolts to support their weight. For outdoor signs, corrosion-resistant screws or stainless steel hardware offer durability against weather effects.
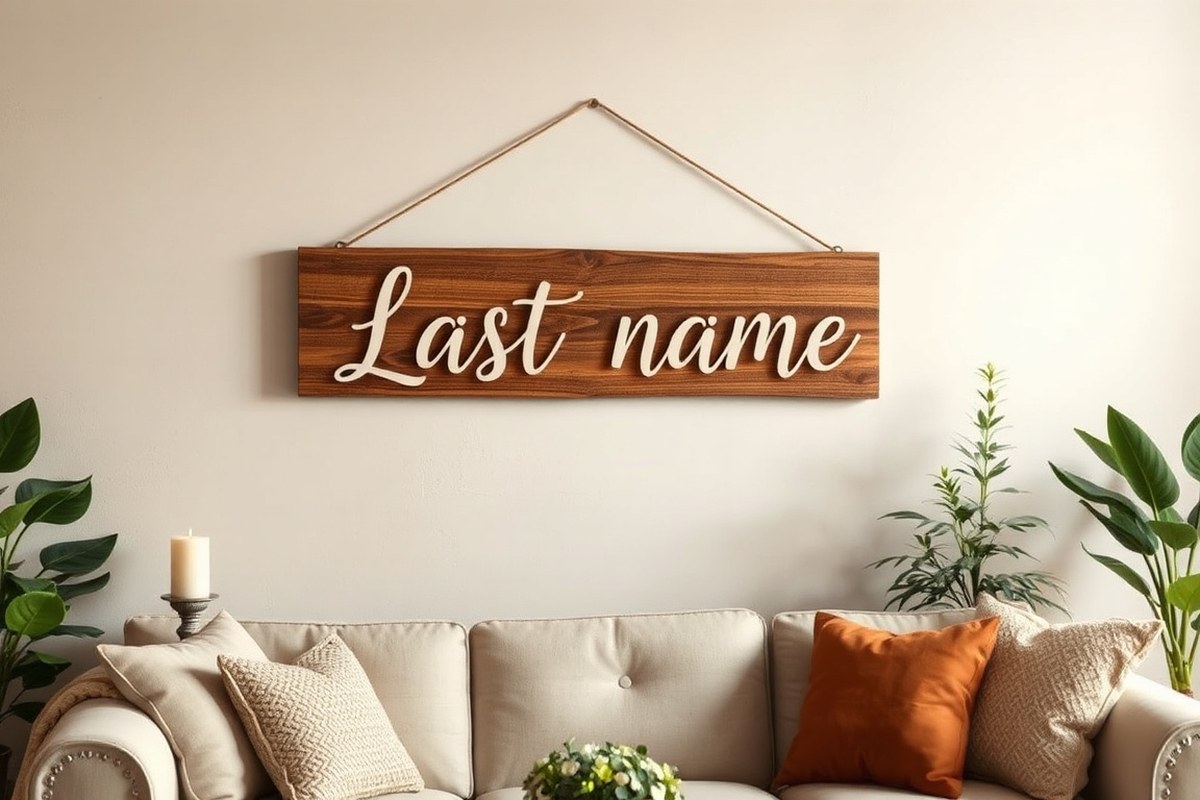
Positioning your sign at eye level between 57 to 60 inches from the floor typically maximizes visibility. Place it near the main entryway to make a welcoming statement. Avoid cluttering the space around the sign; clear wall space helps it stand out. If your last name sign is large, center it above furniture such as a mantel, sofa, or console table, keeping at least 6 to 12 inches of space between the top of the furniture and the bottom of the sign.
- Use corrosion-resistant or stainless steel screws for outdoor signs
- Choose anchors rated for at least 25% more weight than your sign
- Hang signs 57, 60 inches from the floor for best eye-level visibility
- Center signs above furniture with 6, 12 inches clearance
- Leave 2 to 4 inches of empty wall space around the sign for focus
- Consider weatherproof finishes if placing signs outdoors
- Use level tools to ensure straight hanging and professional look
Displaying your last name sign outdoors safely requires sealants or protective finishes to prevent moisture damage and fading from sunlight. Paint or wood sealant designed for exterior use preserves the appearance and lifespan. Mount your outdoor sign on a flat, sheltered surface like a porch wall or entryway pillar to reduce exposure to rain and wind. Check hardware regularly for signs of rust or loosening, tightening or replacing as needed.
Complement your last name sign with simple decor elements that support its style without overwhelm. Pair rustic signs with natural wood frames, a small potted plant, or vintage lanterns. Modern metal signs benefit from sleek, minimal surroundings like geometric wall shelves or monochrome photo frames. Matching colors or themes in surrounding pieces can tie the space together, creating a cohesive and personalized look aligned with your home’s decor.
Safety Tips and When to Seek Professional Help
Working safely with power tools, paints, and finishing chemicals is essential when making custom last name signs. Wearing the right protective gear, following safe tool handling methods, and managing ventilation will prevent injuries and health issues. Knowing when a professional should handle complex tasks can save you time and keep the project safe.
Protective Gear Essentials
Wearing the correct personal protective equipment (PPE) helps protect against cuts, dust, fumes, and splashes. Always wear safety glasses or goggles to shield your eyes from flying wood chips and dust particles. Gloves made for woodworking protect your hands from splinters and accidental cuts.
A dust mask or respirator rated N95 or higher can prevent you from breathing in fine wood dust and paint fumes. Hearing protection like earmuffs or earplugs is important if you use loud power tools like saws or sanders. Proper footwear with closed toes and good grip helps avoid foot injuries from dropped tools or sharp materials.
- Safety glasses or goggles
- Work gloves made for carpentry
- N95 or higher-rated dust mask/respirator
- Hearing protection (earmuffs or earplugs)
- Closed-toe, slip-resistant shoes
Wearing the right gear reduces risks of common woodworking injuries and inhalation hazards.
Tool Safety Practices
Power tools and sharp cutting devices require careful handling to avoid accidents. Always inspect tools for damage before use and never remove safety guards. Hold wood firmly with clamps rather than your hands when cutting or sanding.
Keep your work area organized to prevent tripping hazards. Disconnect power tools when changing blades or bits, and avoid loose clothing or jewelry near rotating parts. Familiarize yourself with your tools’ manuals and follow recommended operating speeds and pressures. Using push sticks can keep your fingers safe when guiding small pieces near blades.
Never rush a cut or force a tool; maintaining control prevents slips and serious injuries.
Regularly clean sawdust buildup to reduce fire risk and maintain clear visibility of your cuts. These safety habits keep your workspace safer and more efficient.
Chemical and Ventilation Safety
Paints, stains, and finishing chemicals often contain volatile organic compounds (VOCs) that can cause headaches, dizziness, or respiratory problems. Use these products in well-ventilated areas or outdoors to minimize fume inhalation. Open windows, doors, and use fans to create airflow away from your breathing zone.
Read all product labels carefully and follow the manufacturer’s instructions for application and disposal. Wear chemical-resistant gloves when handling finishes and avoid skin contact. Store leftover chemicals in clearly marked, sealed containers away from heat sources and out of reach of children.
Keep a fire extinguisher rated for chemical fires nearby, and never smoke while working with flammable products. For water-based paints, spillage cleanup is easier, but solvent-based products require special handling and disposal according to local regulations.
Knowing When to Hire Experts
Hiring a professional sign maker or contractor makes sense for large, complex projects or when specialized tools and skills are needed. If your design requires precise laser cutting, detailed carving, or custom metalwork, professionals have the equipment and training to deliver high-quality results safely.
Consider getting expert help if you’re uncomfortable using power tools or working with hazardous chemicals. Professionals also ensure your sign is mounted securely and complies with any local building codes or permits, especially for outdoor installations.
Costs for professional sign makers vary widely but expect to pay between $150 and $500 or more depending on materials and complexity. This investment helps avoid costly mistakes, injuries, and wasted materials.
- Complex or large-scale designs
- Use of advanced tools like lasers or CNC routers
- Lack of experience handling power tools safely
- Handling flammable or toxic finishing materials
- Installation requiring permits or structural work
Evaluating these factors lets you decide the safest and most efficient way to achieve your custom family name sign.
Step-by-Step Action Plan to Make Your Last Name Sign
Follow these key steps to start crafting your personalized last name sign with confidence and good results.
- Day 1: Choose Your Materials, Select wood, paint, and lettering supplies based on your design preference and location for display. Success means having everything ready for assembly.
- Day 2: Design Your Layout, Sketch your sign or use digital tools to finalize the font, size, and decoration. Your design is ready when you can clearly see the placement of each element.
- Day 3: Prepare Your Workspace, Organize your tools, protect surfaces, and ensure good lighting. You’ll know you’re set when your area is clean and safe for working.
- Day 4: Cut and Sand the Wood, Cut your base and letters to size, then sand smooth. The surface should feel even and splinter-free.
- Day 5: Paint and Personalize, Apply primer and paint your base, then add the letters and accents. Drying fully with no smudges means you’re on track.
- Day 6: Apply Finish, Use a clear sealant or varnish to protect your sign from weather and wear. A smooth, even coat signals proper application.
- Day 7: Mount Your Sign, Attach hanging hardware and display your sign in the spot you chose. It should hang securely and look level.
- After 1 Week: Inspect and Maintain, Check for any fading or wear, and touch up as needed. Your sign stays beautiful when it looks fresh and intact.
Frequently Asked Questions
What Are the Best Wood Types for Durable Last Name Signs?
Pine, cedar, and oak are popular for their durability and ease of finishing. Cedar resists weather well, making it a good choice for outdoor signs. Hardwoods like oak provide a sturdy, long-lasting option but may be harder to work with.
Can Laser Cutting Improve the Detail on Custom Last Name Signs?
Yes, laser cutting offers precise, clean edges for intricate designs. It’s ideal for elaborate fonts or cutout signs, improving the overall look and professionalism of the piece. This method, however, requires access to a laser cutter or a service.
How Can You Incorporate Family Heritage into a Last Name Sign?
Add symbols, dates, or motifs that reflect your family history or culture. This personal touch makes the sign more meaningful and unique. Using traditional styles and colors linked to your heritage can also improve this effect.
Are There Eco-Friendly Materials for Crafting Last Name Signs?
Bamboo, reclaimed wood, and recycled metals are sustainable choices. These materials reduce environmental impact while offering unique textures and appearances. Sourcing them locally further lowers your project’s carbon footprint.
What Lighting Options Work Best for Outdoor Last Name Signs?
Solar-powered LED lights are practical and cost-effective for illuminating signs at night. They don’t require wiring, making installation easier and safer. Position lights to avoid glare and highlight the sign without overpowering it.
Can Last Name Signs Be Weatherproofed for All Climates?
Yes, using outdoor-grade sealants and paints protects signs from moisture, sunlight, and temperature swings. Reapplying finishes every year or two keeps the wood or material looking fresh and prevents damage.
Final Thoughts
Making a custom last name sign lets you create meaningful decor that reflects your family’s style. Start with simple tools and a clear plan to make the process manageable. Take your first step today by picking your materials and sketching your design, you’ll soon see a unique sign coming to life in your home.