How to Make Kitchen Signs: A Complete Guide with Materials, Designs & Tips
Knowing how to make kitchen signs lets you add a personal touch to your space without overspending. Start by choosing simple materials like wood or reclaimed pallets that fit the size you want, typically around 11 by 14 inches. Planning your design and gathering key supplies upfront saves time and ensures a smooth crafting process.
Key Takeaways
- Choose wood boards cut to about 11 x 14 inches for standard kitchen sign size.
- Use paint brushes in the $5-$15 range for detailed lettering and decorations.
- Let paint cure for at least 24 hours before distressing or sealing for best results.
- Gather all your materials before starting to keep the project organized and efficient.
- Design letters or images on paper first, then transfer them onto wood for accuracy.
- Sand and clean your wood surface before painting to improve paint adhesion.
What Materials Are Best for Making Kitchen Signs?
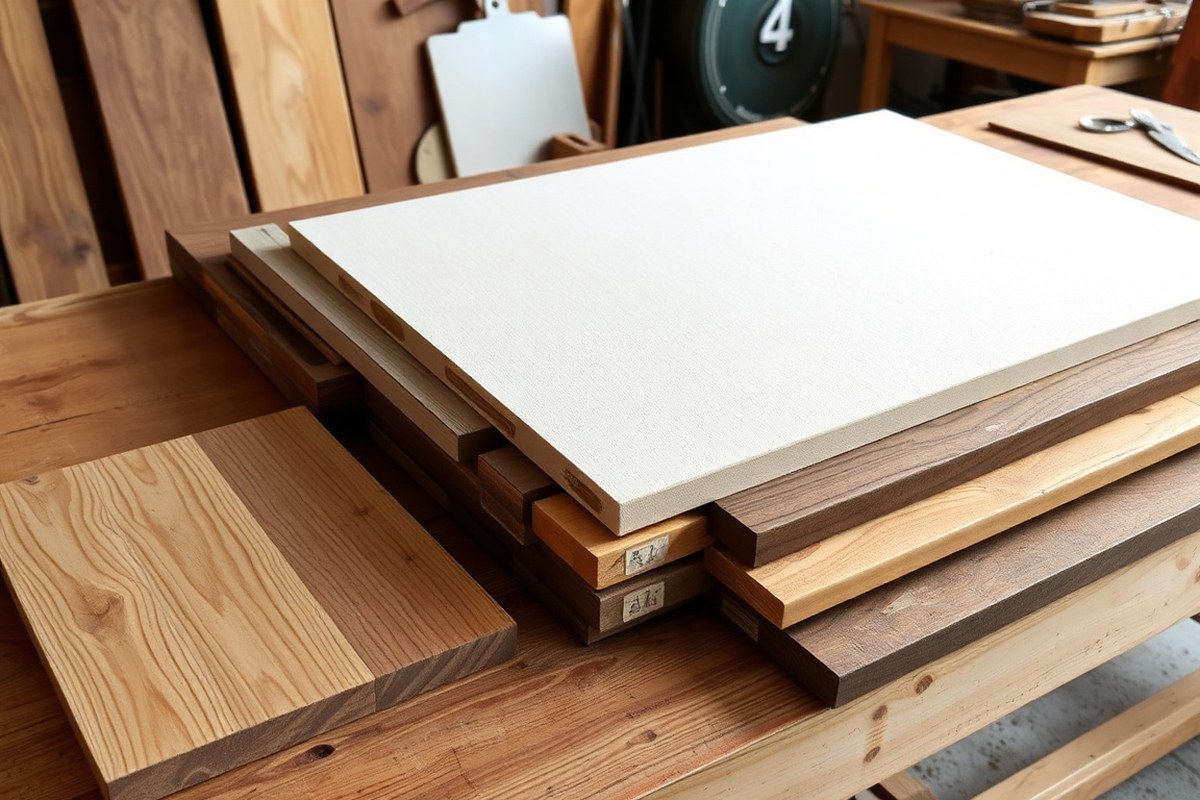
Wood is the top choice for kitchen signs because it offers warmth and durability. You can find suitable wood at craft stores or repurpose scrap wood and old kitchen items, which keeps costs low and adds a rustic or farmhouse charm. Popular wood types for signs include pine, cedar, and plywood sheets. Pine is affordable and easy to paint, while cedar is more weather-resistant and often smoother for detailed designs. Plywood offers a budget-friendly flat surface but can sometimes show layers at the edges if unfinished.
Metal bases, like thin sheets of aluminum or tin, are another option. They give a sleek, modern look and are easy to clean, but they often require special paints designed for metal and can be more expensive than wood. Cardboard or foam board is ideal for practice or temporary signs. These are inexpensive and lightweight but not durable enough for kitchen humidity or grease.
Reusing scrap wood or old kitchen items like cutting boards or unused cabinet doors works well both for cost savings and sustainability. These surfaces often already have a nice patina or texture that adds character. Just make sure to sand them smooth and seal them properly to avoid warping or moisture damage.
Budget-friendly sign makers often avoid buying new wood plaques. Instead, gather scrap pieces or reuse items destined for the trash. This approach saves money but requires some preparation time for cleaning and sanding. Also, sealing your finished sign with a clear protective coat is essential to defend against kitchen spills and steam, improving longevity.
| Material | Pros | Cons | Typical Cost Range | Sustainability Tips |
|---|---|---|---|---|
| Pine Wood | Affordable, easy to paint, widely available | Soft wood, can dent easily | $5, $15 for 1×12 board (8 ft) | Use scrap or old pine furniture pieces |
| Cedar Wood | More durable, smooth finish, natural resistance to moisture | Higher cost, less available in big box stores | $10, $20 per board foot | Source from reclaimed wood sellers |
| Plywood Sheet | Flat surface, cheap, easy to cut | Edges can peel, not as attractive raw | $15, $30 for 4×8 foot sheet | Use leftover plywood from other projects |
| Metal Sheets (Aluminum, Tin) | Durable, modern look, easy to clean | Requires metal paints, more costly | $10, $25 for 12×12 inch sheet | Repurpose old metal trays or signs |
| Cardboard/Foam Board | Very cheap, great for practice or temporary | Not durable, sensitive to moisture | Under $5 per sheet | Use scraps from packaging or store boxes |
When choosing materials, size matters too. Signs around 11 x 14 inches fit well in kitchens without crowding walls. To prepare your wood or base, clean the surface thoroughly and sand rough spots smooth. This helps paint stick better and gives a polished look. Applying a clear sealant after painting protects your kitchen sign from spills and humidity, common in cooking areas.
What Tools and Supplies Are Essential for DIY Kitchen Signs?
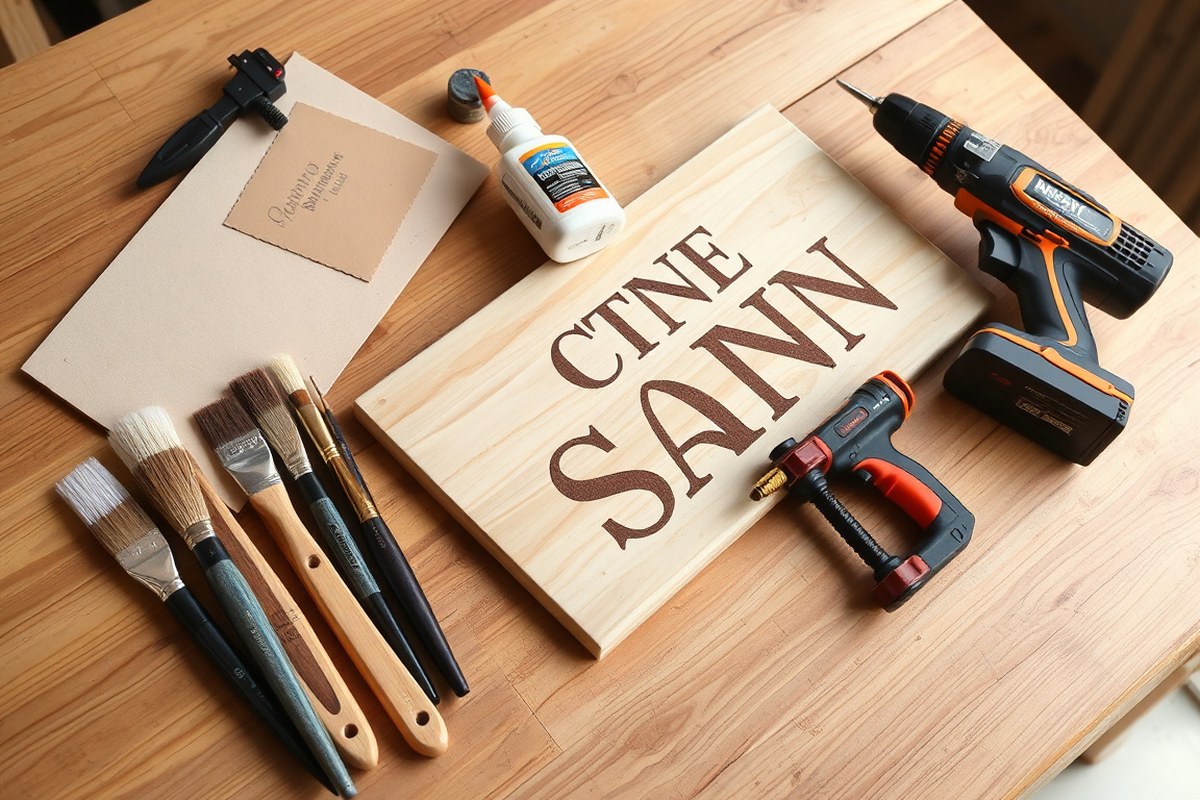
Essential tools for making kitchen signs include basic woodworking and painting supplies to ensure a smooth, attractive finish. For cutting your base material, a handsaw or jigsaw works well if you don’t have power tools. Sandpaper or a sanding block with a medium-grit (around 120 to 150) prepares the surface by removing rough spots, which is important for paint adhesion and clean lettering.
When painting, use acrylic paints or chalk paints designed for crafts. These paints dry quickly, usually within 15 to 30 minutes, and provide good coverage. For lettering, brushes with fine tips or stencil brushes help maintain control for neat lines. Clear sealer spray or polyurethane protects the finished sign from moisture and kitchen wear.
A Cricut machine or similar cutting device is not strictly necessary but can speed up the process, especially for intricate or repeated designs. With a Cricut, you can cut precision stencils or vinyl lettering. Vinyl, particularly permanent types like Cricut Premium Vinyl, offers a professional look and lasts longer on kitchen surfaces. You’ll also need transfer tape to apply vinyl decals smoothly.
Safety equipment is important when sanding or painting. Use a dust mask or respirator to avoid inhaling fine dust and paint fumes. Gloves protect your hands from chemicals and splinters. Working in a well-ventilated area reduces exposure to fumes and speeds drying times.
- Cutting tools: handsaw or jigsaw for shaping wood or board
- Sanding supplies: 120 to 150 grit sandpaper or sanding block
- Paints and brushes: acrylic or chalk paint, fine-tip brushes for details
- Vinyl cutting machine (optional) and permanent vinyl with transfer tape
- Clear sealer spray or polyurethane for finished protection
- Safety gear: dust mask, gloves, and ventilated workspace
Sand all surfaces thoroughly before painting to avoid paint chipping and to ensure sharp, clean lettering.
When working without a cutting machine, cut your letters or shapes from stencil paper by hand using an X-Acto knife after printing your design. Secure the stencil to the prepared base with painter’s tape before painting to avoid smudging. For best results, apply two thin paint layers, letting each dry 20 to 30 minutes between coats. Vinyl application requires a steady hand: use a scraper tool to press down the vinyl firmly and remove air bubbles before peeling off the backing.
Prices vary: a basic handsaw and sandpaper can run under $20 each, while a Cricut machine costs around $250 to $300. Acrylic paints cost about $3 to $5 per bottle, enough for several signs. Vinyl sheets typically cost $10 to $15 for 12 by 24 inches, enough for multiple decals. Invest in quality brushes and sealers to improve your final product’s durability and appearance.
Designing and Transferring Letters or Images to Your Sign
Designing and transferring letters or images onto your kitchen sign involves choosing the right method to suit your skill level and desired style. Options like stencils, freehand painting, vinyl decals, and printable templates each offer unique advantages and require specific steps to get a clean, professional look. Understanding how to create your design, pick a transfer method, and fix common issues ensures your sign looks just right.
Creating Your Design and Preparing Templates
Start by designing your kitchen sign text or images on a computer using programs like Canva, Word, or Adobe Illustrator. These tools let you choose fonts, sizes, and layouts that fit your kitchen’s style. Print your design on regular paper for use as a template or to create stencils.
Decide on the size of your sign to ensure the letters and images fit well. Crafting a template lets you preview your sign and adjust spacing or text before applying it to wood. For simplicity, print designs in black and white unless using color vinyl or templates.
Using Stencils, Freehand, or Vinyl Transfers
Stencils help achieve uniform letters and clean lines, ideal for beginners or those seeking a polished look. You can buy pre-made stencils or cut your own from stencil sheets and painters’ tape. Position the stencil on your prepared wood surface and secure it to prevent shifting.
For freehand painting, lightly sketch your letters with a pencil or use carbon paper to trace your design. Use small detail brushes and thicker acrylic paint to avoid paint bleeding and jagged edges. Freehand offers a handmade feel but requires a steady hand and patience.
Vinyl transfers work well with craft machines like Cricut or Silhouette. After cutting your vinyl design, apply transfer tape by holding it in a “U” shape, touching the middle of the design first to avoid air bubbles. Press the tape evenly over the vinyl, then peel off the backing paper. Place the vinyl on your sign and rub firmly before lifting transfer tape.
- Design your text or image on computer software.
- Print or cut your template or stencil.
- Prepare the wood by sanding and cleaning.
- Secure stencils or position vinyl with transfer tape.
- Paint over stencils with thick acrylic paint or apply vinyl firmly.
- Allow paint to dry fully, then remove stencils carefully.
- Touch up any uneven spots with a small detail brush.
Troubleshooting Common Transfer Issues
| Problem | Possible Cause | Fix |
|---|---|---|
| Paint won’t stick | Oily or dusty surface | Re-sand and clean surface thoroughly before painting |
| Transfer too light | Not enough chalk or graphite used for tracing | Retrace with more pressure or add extra chalk before painting |
| Letters jagged | Rough brushes or shaky hand | Use painter’s tape for sharp edges; switch to fine detail brushes |
| Paint bleeding outside lines | Paint too watery or unsealed surface | Use thicker paint and seal wood before painting |
Uneven lettering often comes from rushing or using the wrong paint consistency. Slow down and apply paint in thin layers to avoid drips. When working with vinyl, insufficient pressure on transfer tape causes parts of the decal not to stick, apply firm even pressure and consider a credit card to smooth out bubbles.
Preparing and Finishing the Wood or Base Surface
Achieving the perfect finish on your kitchen sign involves sanding, painting or staining, distressing, and sealing the wood base. These steps help your sign look polished while protecting it from kitchen moisture and wear. The right preparation and finish will give you the durability and style you want, whether that’s rustic farmhouse charm or a clean painted look.
Sanding and Surface Preparation
Sanding ensures a smooth surface for paint or stain to adhere well and avoids rough patches that can chip or peel. Start with a medium-grit sandpaper (around 120 grit) to remove any rough areas or splinters on the wood. Follow with a finer grit like 220 to create an even, smooth finish. If you’re using reclaimed wood, sanding also removes dirt or old finishes that might interfere with your new design.
Before painting or staining, wipe down the wood with a damp cloth to remove sanding dust and allow it to dry completely. This helps your finish stick better and prevents blotchy spots. For a more rustic look, lightly sanding edges and corners after finishing can simulate natural wear and make the sign feel lived-in.
Painting and Staining Techniques
Choose paint or stain based on the look you want. Stain highlights the wood grain for a natural, warm appearance typical of farmhouse styles. Apply stain evenly with a brush or cloth, let it sit for 5 to 15 minutes depending on shade depth, and then wipe off excess to avoid sticky spots. Test stain on a scrap piece of wood to see the color before applying it to your sign.
For painted signs, use acrylic paint in matte or satin finish for durability and a soft look. White or muted pastels work well for farmhouse themes. Distressing is easy with paint: apply a base coat, then a contrasting topcoat, and sand some edges or surfaces gently after drying to reveal the colors underneath.
Use thin, even coats of paint or stain to prevent drips and uneven drying. Allow each layer to dry fully, usually 1 to 2 hours, before adding another.
- Sand the wood surface with 120 grit, then 220 grit sandpaper.
- Wipe off dust with a damp cloth and let dry.
- Apply wood stain evenly; wait 5 to 15 minutes; wipe excess off.
- Paint your chosen colors in thin coats, letting each dry 1 to 2 hours.
- For distressing, lightly sand edges and selected areas after paint dries.
Sealing and Protecting Your Sign
Kitchen signs face moisture and heat, especially near sinks or stoves, so sealing is essential for longevity. Use a clear acrylic sealer in matte or satin finish to protect both paint and wood without making the sign too shiny or artificial. Spray sealers provide an even coat and dry quickly, while brush-on sealers can offer more control in textured or detailed areas.
Apply 2 to 3 thin coats of sealer, allowing at least 30 minutes dry time between coats. For signs exposed to more moisture, consider a polycrylic water-based topcoat designed for indoor wood surfaces. Avoid oil-based sealers if the sign will be indoors near food prep areas due to fumes.
Proper sealing helps maintain color vibrancy and prevents chipping or swelling from humidity. Signs finished this way hold up well with standard kitchen cleaning, but always wipe gently with mild soap and water rather than abrasive cleaners.
Step-by-Step Process to Make Your Own Kitchen Sign
Making a kitchen sign involves clear, organized steps you can follow to get a polished result. Start by cutting and preparing the wood, then add your design, finish the surface, and finally prepare the sign for hanging. With basics like sanding, gluing, and attaching hooks, you’ll create a personalized decoration for your kitchen. Expect to spend about 3 to 5 hours on the entire project, spread over a day or two to accommodate drying times.
- Cut and assemble your wood base: Choose your wood, such as a reclaimed pallet strip. Line up planks and use wood glue in the grooves to join them. Clamp and let dry for about 1 hour to ensure a stable base.
- Sand the surface: Start with 150-grit sandpaper to smooth rough areas, then finish with 220-grit to remove scratches. Sanding takes 15 to 30 minutes, depending on wood condition. Skipping the fine grit will leave visible scratches after staining.
- Apply paint or stain: Choose a color or clear wood stain and apply evenly. Allow 1 to 2 hours drying time, depending on the product and humidity. Avoid thick coats that can drip or take longer to dry.
- Attach letters or designs: Use wood glue to fix each letter or image to your sign. Press firmly and wipe away excess glue. Let dry for at least 30 minutes. Check for misaligned letters early to adjust easily.
- Add mounting hardware: Glue four small wood blocks to the back corners for spacing, then attach D-ring picture hooks to the top two blocks. This process takes about 30 minutes. Ensure hooks line up evenly to hang straight.
- Final touch-ups: Inspect your sign for rough spots, glue marks, or loose parts. Use fine sandpaper or a small brush as needed. Quick fixes at this stage avoid damage after hanging.
- Hang your sign: Choose a sturdy wall hook or nail rated for your sign’s weight. Measure twice before installing to ensure proper placement. Hanging usually takes 10 to 15 minutes.
Make sure to finish sanding with 220-grit sandpaper, or your sign will show scratches after staining that are difficult to fix later.
Creative Styles and Ideas for Kitchen Signs
Choosing the right phrase and style for your kitchen sign sets the tone and complements your kitchen’s design. Popular sayings range from warm and inviting to clever and practical, fitting various décor themes from rustic farmhouse to modern minimalism. Adding unique elements like 3D details or mixed materials can make your sign stand out, and thoughtful design choices help create pieces suitable for gifts or sales.
Farmhouse and Rustic Inspirations
Farmhouse-style kitchen signs often feature simple, warm messages with a rustic look that adds charm and homeliness. Words like “Farmhouse,” “EAT,” or short welcoming phrases create that cozy feel. These signs work well with classic elements such as subway tile backsplashes or distressed wooden surfaces.
To make a farmhouse sign, choose wood with a weathered finish or lightly sand smooth boards and stain them in warm brown or whitewash tones. Painting letters in black or muted colors on these surfaces adds contrast without overpowering the rustic vibe. Hanging several small signs around the kitchen can create a story-like flow, making everyday moments feel special.
Humorous and Functional Sign Ideas
Signs that offer a pinch of humor or useful reminders express your personality and make your kitchen inviting. Phrases like “This Kitchen is for Dancing,” “Coffee Served Here,” or “Wash Your Hands” are popular choices that double as fun conversation starters or gentle prompts.
When creating humorous or functional signs, keep the text clear and easy to read. Bold fonts in black or dark gray on light backgrounds usually work best. You can also customize signs with your family’s favorite sayings or cooking tips, which makes them more personal and meaningful.
- “Today’s Menu: Eat It or Starve”
- “Whip It, Whisk It, Taste It”
- “Espresso Yourself”
- “Seasoned with Love”
- “Keep Calm and Cook On”
- “Don’t Be a Grater, Wash Your Hands”
Functional signs like measurement conversions or kitchen rules can also be great as gifts or for selling. The key is creating clean, attractive designs printed or hand-painted on durable materials, keeping the size under 12 inches wide for versatility in placement.
Incorporating 3D and Mixed Materials
Adding three-dimensional or mixed media elements can improve your kitchen sign beyond a flat decoration. Pieces like raised wooden letters, metal accents, or small chalkboard panels add texture and a tactile quality that draws attention. These features allow your sign to interact with your kitchen’s overall aesthetic, whether modern, industrial, or eclectic.
To create signs with mixed materials, start with a sturdy wooden base and attach 3D letters made from wood or metal using strong adhesive or small nails. Consider combining chalkboard paint on a section of the sign for changeable messages or using wire to form word shapes.
Using these techniques increases the time and cost slightly, expect to spend $5 to $15 more for specialty elements, but the result is a unique piece that can also be a higher-value gift or product for sale. Ensure all attachments are secure and smooth any sharp edges to keep the sign safe and durable for kitchen use.
Displaying and Hanging Your Kitchen Sign Safely and Attractively
To hang or display your kitchen sign securely and attractively, start by considering the weight and size of the sign along with the type of wall you have. Large or vertical signs typically need stronger, more supportive hardware like wall anchors or screws driven into studs. Lightweight signs can often be mounted with adhesive strips or small hooks, which allow for easy repositioning without damaging your walls. Choosing the right method ensures your sign stays put and complements your kitchen’s decor.
For secure mounting, use metal hooks or D-ring hangers attached to the back of wooden signs. These provide a sturdy hold and keep your sign flush against the wall. Twine or wire can add a rustic farmhouse look but makes the sign slightly less stable, so only use this style for signs positioned where minimal disturbance occurs, like above the stove or pantry. Magnetic strips are a convenient option for metal or magnetic-backed signs, allowing you to change placement without holes, but they work best on metal surfaces such as refrigerators or metal backsplash panels.
Safety is key when hanging kitchen signs, especially on drywall, plaster, or tile. Drywall often needs anchors or screws to prevent nails from pulling out over time. Avoid hanging signs over sinks or stoves where steam and heat can damage the sign or hardware. Tile walls require special masonry anchors or adhesive hooks rated for tile to avoid cracking or falling. When drilling or inserting anchors, use a level and measure twice to get the placement right and avoid unnecessary holes.
- Check the sign’s weight and choose mounting hardware rated for at least twice that weight.
- Use wall anchors or screws into studs for signs heavier than 5 pounds.
- Adhesive strips work for signs under 2 pounds and smooth, clean wall surfaces.
- Consider magnetic strips for easy repositioning on metal surfaces.
- Use a level and pencil to mark placement before drilling or hammering.
- Keep signs away from high-heat or moist areas to prolong their life.
- For tile walls, use masonry anchors or remove adhesive residue with rubbing alcohol.
Signs hung securely will stay in place and add an attractive focal point that matches your kitchen style. Take care to handle your hardware gently and check mounts periodically for wear. Signs that shift, lean, or drop can damage your wall or the sign itself. By following these steps, you ensure a safe and lasting display that improve your kitchen’s personality and looks.
Common Problems and How to Fix Them When Making Signs
Paint bleeding is a common issue when lettering kitchen signs, especially if you use stencils or uneven brushes. It happens because the paint is too thin or the stencil edge isn’t secured tightly. To fix this, wait until the paint is mostly dry, then carefully clean up the edges with a small, angled brush dipped in the background color. Next time, use painter’s tape or reposition the stencil more firmly. Applying a thin base coat of clear acrylic sealer before painting can help prevent bleeding by sealing the wood surface.
Uneven lettering usually comes from rushed painting strokes or inconsistent brush size. When you see uneven letters, allow the paint to dry completely before going back with a fine-tip paint pen or a small brush to fix them. Practice your hand lettering on scrap wood before applying it on the final sign to gain steadiness. Using a paint pen designed for wood creates sharper lines and avoids the blotchy look that can happen with extra-large brushes.
Peeling and fading mostly happen when paint isn’t sealed or the wood wasn’t prepared properly. Kitchen environments expose signs to steam, grease, and sunlight, which wear down unprotected surfaces fast. Apply at least two coats of a clear waterproof sealer once the paint is completely dry. Polyurethane spray is a popular choice and costs around $10 to $15. Reapply the sealer every few years to maintain the sign’s look and prevent damage.
Should you transfer part of your design poorly or off-center, wait for the paint to dry, then carefully smooth the area with fine-grit sandpaper (220 grit or finer). Then repaint the section carefully. For pencil transfers, you can erase the outlines softly before painting. For carbon paper transfers, avoid pressing too hard to reduce smudging, and always test on scrap wood first to perfect your method.
Wood warping or cracking happens when moisture content is uneven or the wood wasn’t conditioned properly. Using kiln-dried wood and storing it in a stable, dry place before painting helps prevent this. When a crack shows up, fill it with wood filler or putty, sand it smooth, and repaint the spot once it has dried. Avoid placing signs near heat sources or windows where direct sunlight heats the wood unevenly.
Always let each paint and sealer coat dry completely before adding another to avoid tackiness and peeling later.
Step-by-Step Action Plan for Making Your Kitchen Sign
Follow these steps to create a custom kitchen sign that fits your style and space.
- Day 1: Choose Your Materials, Pick a suitable wood type or base surface that matches your kitchen’s look. Ensure the wood is smooth and free of damage.
- Day 2: Gather Your Tools and Supplies, Collect essential items like paint, brushes, stencils or transfer paper, and protective finish. Confirm you have everything to avoid interruptions during crafting.
- Day 3: Design Your Sign, Create or select your lettering and imagery. Print and transfer your design using your chosen method, checking that lines are clear before painting.
- Day 4: Prepare the Surface, Sand and clean the wood thoroughly. A clean, even surface ensures paint adheres well and lasts.
- Day 5: Paint and Personalize, Apply base paint if desired, then carefully paint your design. Allow each layer to dry fully to prevent smudging.
- Day 6: Apply a Protective Finish, Use a clear sealant appropriate for kitchens to protect your sign from moisture and stains. Test a small area first to ensure no discoloration.
- Day 7: Hang Your Sign Safely, Install secure hooks or adhesive strips suited to your wall type. Check the sign level and stability after hanging.
- After One Week: Inspect and Maintain, Look for any peeling or fading. Touch up as needed to keep your sign looking fresh.
Frequently Asked Questions
What Size Should I Make My Kitchen Sign for the Best Fit?
A good size for kitchen signs is around 11 x 14 inches, which fits well in most kitchen wall spaces. This size is big enough for clear lettering but still compact enough to suit various kitchen layouts.
Can I Use Free Fonts for My Kitchen Sign Designs?
Yes, free fonts like Times New Roman and Courier New work well and add a classic touch. These fonts are in the public domain, making them easy for DIY projects without licensing issues.
What Is the Easiest Way to Transfer My Design to the Sign Surface?
Using a Cricut machine to cut your design from vinyl is simple and precise. This method works best for beginners and produces clean, professional-looking lettering.
How Do I Create a Vintage Look on My Kitchen Sign?
Distressing the wood with sanding and using faded paint helps achieve a vintage farmhouse look. This technique gives your sign character and a timeless feel in rustic décor.
Can I Make Kitchen Signs Without Wood?
Yes, materials like metal or chalkboard are alternatives for unique textures. They allow you to customize the sign to fit different kitchen styles beyond traditional wood.
Is Sealing Necessary for Kitchen Signs?
Sealing with clear varnish or polyurethane protects your sign from moisture and wear. This step prolongs the life of your sign, especially in humid kitchen environments.
Before You Go
Making your own kitchen sign lets you add a personal touch to your cooking space with satisfying results. Choose quality materials and take your time transferring and painting your design for the best look and durability. Start by sketching your design today to bring your kitchen’s style to life with a handmade sign that’s truly yours.