How to Make a Sign Stand: 8 Proven Ways for Stable Displays
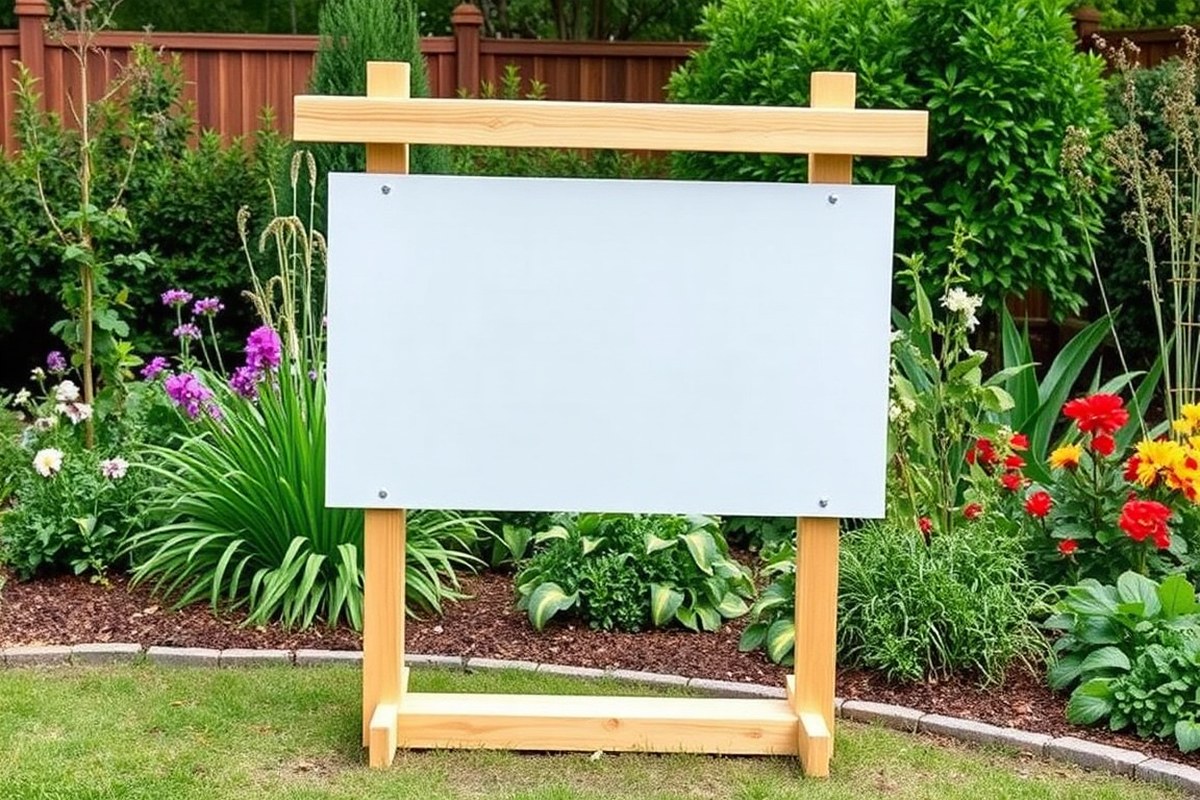
The first step in crafting a sign stand involves picking a solid design and materials suitable for your sign’s dimensions and spot. A wooden stand with a base depth around two-thirds of the sign’s height provides good stability, especially outdoors with wind. Start by choosing durable wood such as a 4×4 post and design the base depth to help prevent tipping, aligning it with your sign’s height.
Key Takeaways
- Use a 24×48 inch sign as a benchmark when building a wooden stand about 5 feet tall and 3 feet wide.
- Build a sign base roughly 3 feet deep for stability in outdoor wind conditions.
- Cut a 1×2 pine strut at 31 degrees to create a stable easel-back support for sheltered spots.
- Angle your sign stand at about 70 degrees for optimal visibility and balance.
- Choose a hinged A-frame or slotted 2×4 base to improve wind resistance outdoors.
- Use sturdy 4×4 wood for the main post to support heavy or large signs securely.
1. How to Build a Wooden Sign Stand Step-By-Step
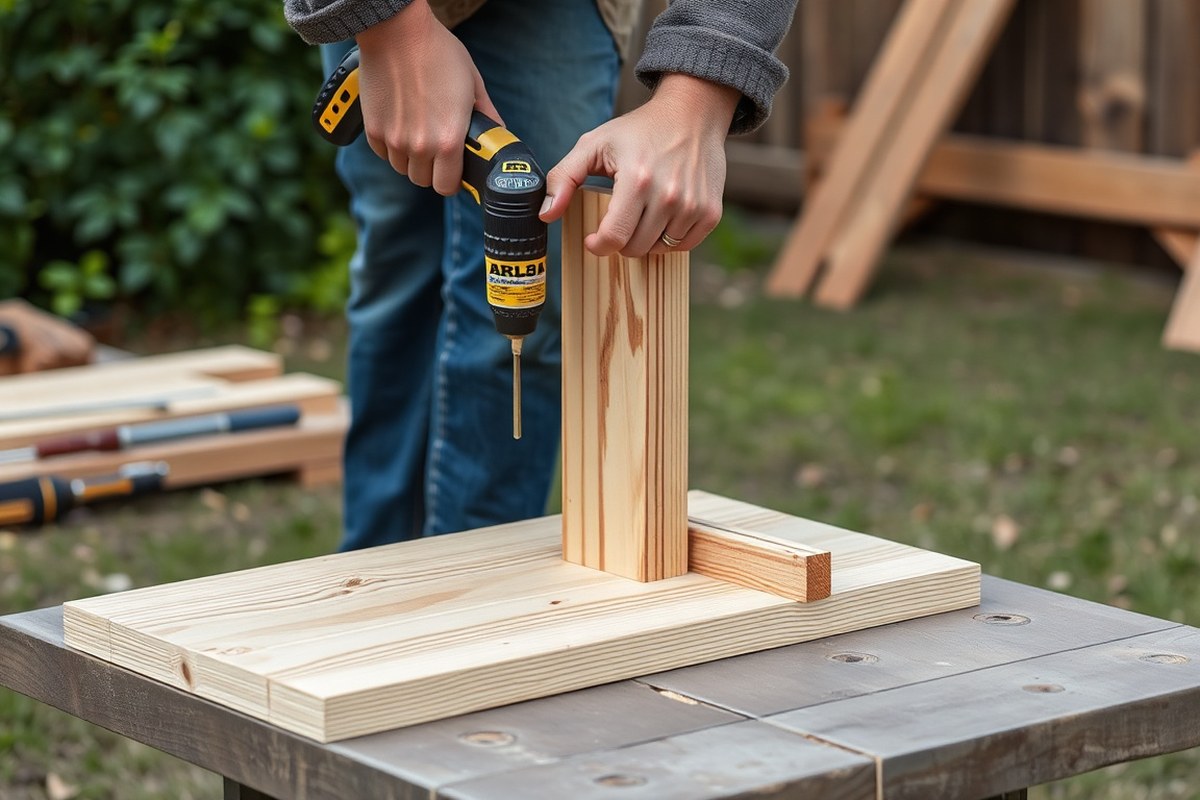
Building a wooden sign stand involves precise measuring, cutting, and assembling to ensure it is stable and durable. Accurate measurements cater to the size of your sign and the environment where it will stand, especially if outdoor exposure and wind are factors. Using sturdy wood like a 4×4 for the support post and creating a solid base prevents tipping. Attach support beams securely with screws rather than nails to maintain long-term strength.
Gather these tools and materials before starting: a measuring tape, pencil, saw (circular or handsaw), power drill with screwdriver bits, wood screws (2-3 inch), sandpaper or electric sander, a level, and a wood sealant or paint for weather protection. You’ll also need lumber: one 4×4 post cut to your sign height, base pieces (typically 2×4s), and support struts for additional stability. Follow this step-by-step process to create your wooden sign stand:
- Measure the sign and decide dimensions. Determine the height and width of your sign. Plan the post length to be about 5 feet for typical signage. The base depth should be about two thirds of the sign height to resist tipping, for example, roughly 3 feet deep.
- Cut the lumber. Use a saw to cut your 4×4 post to the chosen height. Cut two or more base pieces from 2×4s to create a platform or cross-shaped base to screw the post onto. Cut any support struts at an angle if you plan an easel-back design.
- Sand all edges. Smooth cut edges with sandpaper to avoid splinters and prepare surfaces for sealant or paint.
- Assemble the base and post. Position the base pieces flat on the ground in a cross or rectangular shape. Stand the post upright in the center and attach it using 3-inch wood screws through the base into the post. Use a level to ensure the post is perfectly vertical before final tightening.
- Attach support struts if using an easel design. Connect angled struts from the back of the post to the base or ground using screws and hinges if you want foldability. Position the strut foot about 10 inches behind the post and at a 15-degree angle for good balance.
- Secure the sign to the post. Hold the sign so it sits flush on the post and mark where mounting holes will go. Pre-drill holes in the sign and post, then use wood screws to attach the sign firmly, avoiding over-tightening to prevent wood splitting.
- Apply a wood sealant or paint. Coat all exposed wood with sealant to protect against weather damage. Allow to dry fully before setting the stand outside.
Good results show the sign stand standing straight without wobble, supporting the sign securely. Poor results involve leaning posts, loose joints, or base instability, often caused by incorrect base size, insufficient screws, or uneven assembly. Adjust the base depth and secure all joints firmly to correct these issues.
2. Choosing the Best Materials for Different Sign Stand Needs
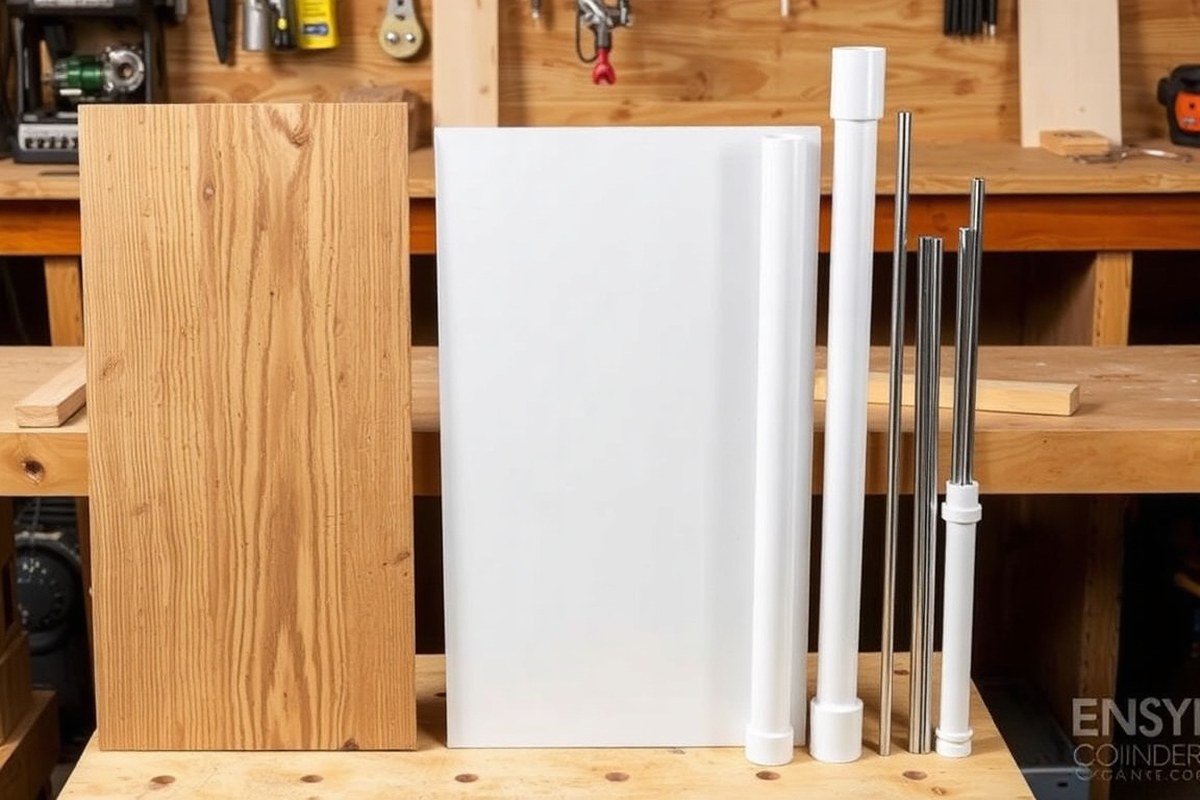
Choosing the right material affects how long your sign stand lasts, how much upkeep it needs, and if you can build it yourself without special tools. Wood, PVC, metal, and combinations each serve different purposes depending on where the sign will go and what look you want.
Wood often appeals for its natural and customizable feel. Treated wood handles outdoor conditions like rain and humidity better than untreated versions. A rustic sign for a farmer’s market matches well with reclaimed wood, which also reduces waste. Wood’s downside is that it can warp, rot, or splinter if left unprotected and may require regular sealing or painting. It’s easier to work with simple hand tools and fasteners, making it a good pick for those new to sign stands. Expect to spend $10 to $40 for quality treated wood, depending on size and type.
PVC pipe stands are lightweight, affordable, and resistant to moisture without extra treatment. Prices typically range from $5 to $20 for a basic PVC setup. They are suitable for temporary outdoor events or indoor use. Since PVC is plastic, it won’t fade or rust, but strong winds can bend or topple it if not secured properly. Assembly usually involves cutting pipe sections and using connectors; no special carpentry skills are required, which favors DIY projects.
Metal stands like aluminum or steel provide strength and can last many years outdoors with minimal care, especially when powder-coated to resist rust. Costs tend to be higher, from $30 to $100 or more, depending on thickness and finish. Metal supports heavier or larger signs and looks modern and sleek, but it demands tools for cutting and welding or specialized fasteners. It suits long-term installations where durability outweighs ease of building.
Mixing materials, such as a metal frame with wooden panels or a wooden stand with PVC connectors, can balance aesthetics, cost, and durability. This approach lets you customize your stand to fit your sign style and environment. However, make sure the attachment methods suit each material to avoid failures. Below is a summary comparison to guide your choice:
| Material | Durability | Cost Range | Ease of DIY Build | Best Use | Maintenance |
|---|---|---|---|---|---|
| Wood (Treated/Reclaimed) | Moderate to High (if sealed) | $10, $40 | Easy (basic tools) | Rustic, outdoor or indoor | Occasional sealing/painting |
| PVC Pipe | Moderate (weather-resistant) | $5, $20 | Very easy (cut/connect) | Temporary outdoor, indoor, lightweight | Minimal (check joints) |
| Metal (Aluminum/Steel) | High (rust-resistant if coated) | $30, $100+ | Challenging (requires tools) | Long-term outdoor, heavy signs | Low (occasional rust check) |
| Mixed Materials | Varies (depends on mix) | Varies | Moderate | Custom aesthetic and function | Depends on materials used |
Match the stand material to your sign style and environment; using untreated wood outdoors without sealing causes quick damage.
Your sign’s location drives the choice. For outdoor use, prioritize treated wood, metal, or sturdy PVC to resist weather effects. Indoor signs can use untreated wood or lighter, less expensive materials. Pick materials you can easily work with based on your tool access and skills. Combining materials maximizes benefits but demands attention to secure connections. Good results show a stand that supports the sign without leaning or tipping and blends well with your sign’s design and intended setting.
3. Design Options for Sign Stands That Resist Wind and Tipping
Sign stands designed for outdoor use need to balance visibility with wind resistance and stability. Among common styles, wooden A-frame stands offer strong stability for larger signs and gusts up to about 21 mph. Weighted bases, including those anchored in concrete, provide superior tipping resistance when wind conditions are stronger. Easel-back and slotted-bottom stands work well for sheltered or light-use areas, holding steady against gentle breezes while folding flat for storage.
Wooden A-Frame Stands for Stability
A wooden A-frame stand consists of two hinged panels forming an inverted “V” shape. This geometry spreads the weight laterally and lowers the center of gravity, giving excellent resistance against tipping in winds up to 21 mph for signs around 24 by 36 inches. Its folding design allows for easy transport and storage.
The panels should be connected by strong metal hinges and can include cross-bracing for extra rigidity. Base depth here is less important than overall width, but 12-inch legs or feet on each panel improve stability. Angling the panels at approximately 60 degrees from horizontal maximizes visibility while maintaining balance.
For outdoor sidewalk or event signage, an A-frame is often the best all-around choice because it balances size, stability, and portability. Larger signs benefit especially, since the two-panel setup distributes wind loads more evenly than a single post.
Weighted Base and Concrete Anchor Options
A weighted base stand uses a vertical post mounted on a heavy flat base, often constructed from wood and filled with weight such as sand or concrete. Adding at least 12 inches of depth to the base on either side of the vertical sign post helps resist tipping from moderate winds (around 20 mph for a typical 24 by 18 inch sign).
Concrete bases are a highly effective way to anchor larger or decorative signs placed for long durations, such as storefronts or wedding signage. A wooden post can be set into a bucket of concrete or attached to a wide concrete slab. The heavy base lowers the center of gravity and allows some movement in the wind without toppling.
Signs designed with vents or gaps help wind flow through or around them, boosting their stability against strong blasts. Proper force distribution across the base is key; for example, placing weight evenly about 4 inches from each edge on a 3-foot by 2-foot base prevents the sign from tipping or sagging.
- Use a wooden or metal post securely mounted on the weighted base
- Fill the base with sand or concrete for maximum weight
- Keep base depth at least 12 inches beyond sign edges
- Allow gaps or perforations in the sign face to reduce wind load
- Ensure the base rests on a flat, stable surface to maximize contact
- Check the center of gravity to be as low and central as possible
- Consider anchoring the base with stakes or screws in windy areas
This design works best outdoors where gusts can be frequent, but requires a flat base area and often more materials and effort compared to simpler stands.
Easel-Back and Slotted-Bottom Stands for Light-Use Spots
Easel-back stands feature a single vertical support with a rear strut to form a three-point stance. This setup folds flat for storage and provides good stability in sheltered areas like porches or indoor tables. The 24 by 18 inch sign example withstands wind gusts of roughly 14 mph from behind and 23 mph from the front, making it suitable for light outdoor use in protected spots.
Slotted-bottom stands use two parallel wooden 2×4 feet, about 12 inches deep, with a slot for inserting the sign panel. This arrangement resists winds up to 20 mph and works well in yard displays or market signs where the stand does not need to fold but easy sign removal is important.
Both designs prioritise portability and ease of use over heavy-duty wind resistance. Matching the stand type to your local conditions, such as using easel-backs indoors or in calm zones and slotted-bottom stands in semi-protected yards, will optimize both function and convenience.
4. How to Add Weight and Anchor Your Sign Stand Securely
Stabilizing your sign stand effectively depends on adding sufficient weight at the base and securing it to the ground when needed. The best place to add weight is low and within the footprint of the base. This prevents tipping without risking damage to the sign itself. Attaching weight directly to the sign can cause stress on the mounting mechanism and possibly harm the sign’s structure.
Using heavy materials like sandbags, concrete blocks, or a tray filled with sand inside a base box works well. A layer of glued 2×4 lumber beneath the feet of the stand adds both height and mass where it helps most. For example, pine weighs about 30 pounds per cubic foot, so adding a second 2×4 layer underneath can significantly increase stability by raising the weight right at the base.
Sign size and expected wind load strongly influence how much weight you’ll need. A base weight of 20 pounds can resist tipping in winds up to 35 mph, while a lighter 5-pound base only withstands gusts around 23 mph. Larger signs require heavier bases or wider base extensions to prevent tipping. The general rule is to have a base depth about two-thirds the height of the sign for stability against typical breezes near 20 mph.
Ground anchors provide an extra layer of security, especially for freestanding signs used in windy or uneven outdoor areas. Long wooden stakes or metal posts driven deep into the soil keep the sign from shifting or uprooting. Anchors are particularly useful if the sign is tall, top-heavy, or if you expect strong gusts. They aren’t necessary for small, lightweight signs on stable hard surfaces.
- Use sandbags, concrete blocks, or filled trays placed inside the sign base for added weight.
- Glue a second layer of 2×4 lumber under each foot of the stand to increase weight low at the base.
- Attach weights only to the base, never directly to the sign, to avoid damage.
- Match base size and weight to the sign’s height and expected wind pressure; larger signs need heavier, wider bases.
- Drive wooden or metal stakes deep into the ground to anchor stands safely in soft soil.
- Extend the base depth to about two-thirds the sign height for typical outdoor conditions.
Adding weight at the base improves load-bearing capacity and prevents tipping hazards. Proper placement and avoiding direct attachment to the sign protects your materials and mounting hardware. Using ground anchors gives added security against uplift and lateral shifts, particularly in windy or exposed areas. These techniques help your sign stand remain stable, safe, and visible through various weather conditions and events.
5. Weatherproofing and Finishing Your Outdoor Sign Stand
Protecting your outdoor sign stand from rain, sun, and wear is essential to keep it looking good and lasting for years. Using sealants, paint, and drainage ensures the wood or other materials resist rot, fading, and damage from weather exposure.
Applying Sealants and Protective Coatings
Wood sealants and varnishes provide a waterproof layer that prevents moisture from penetrating the wood fibers. This stops rot and warping caused by rain and humidity. Choose a clear, outdoor-rated sealant or marine varnish for the best protection. Apply two to three coats, allowing each coat to dry completely. Reapply every few years to maintain the barrier.
For non-wood materials like metal or plastic, use a rust-resistant primer or UV-protective coatings to reduce corrosion and sun damage. Sealants designed for exterior use typically cost between $15 and $30 per quart, covering about 200 square feet.
- Clean the wood surface with mild soap and water, letting it dry fully to remove dirt and mildew.
- Sand any rough spots lightly to open the wood grain for better sealant absorption.
- Apply the first coat of sealant evenly with a brush or sprayer, following the grain.
- Allow the first coat to dry for 12 to 24 hours, depending on temperature and humidity.
- Lightly sand with fine-grit sandpaper for a smooth finish between coats.
- Apply a second coat and let it dry completely; add a third coat if extra protection is needed.
- Inspect annually and reapply as needed to keep the protective layer intact.
Tip: Avoid applying sealants in direct sunlight or rainy conditions to prevent bubbling and improper drying.
Painting and Decorating for Durability and Style
Using paint designed for outdoor use adds both color and protection to your sign stand. Choose bright acrylic latex or exterior enamel paint, which resist fading from sun exposure and moisture damage. Paint also shields the wood from UV rays that cause cracking and discoloration.
Applying a primer designed for wood first improves paint adhesion and durability. Two coats of paint over primer usually work well for standout colors. For a more natural look, consider wood oils like tung or teak oil to seal and enrich the grain without hiding it. These oils also repel moisture and protect from sun damage but require more frequent reapplication, often annually.
Adding Drainage and Structural Protections
Good drainage prevents water from pooling around the base of the stand, which can accelerate rot and rust. Drill small drainage holes in the bottom panel if your sign stand has a box or covered base. These holes should be about 1/4 inch wide and spaced evenly to allow water to escape but keep debris out.
Raising the feet about 3 inches from each end of the bottom panel can also reduce ground contact, improving air circulation to dry moisture. A removable bottom panel design helps lift the sign for storage during wet seasons. These steps reduce wear and keep the stand plumb and stable over time.
6. Common Mistakes and How to Fix Unstable Sign Stands
Sign stands often tip over because their base is either too small, too light, or not properly secured. Stability depends heavily on matching the base size to the sign’s dimensions and expected wind conditions. For example, a 24 x 18 inch sign requires a base roughly 12 inches deep to withstand winds of 20 mph. Undersized bases increase the chance of tipping, especially outdoors. Using a shallow or lightweight base won’t counteract the force of wind or accidental bumps.
Improper measurements also hurt stability. When the sign panel is thin plywood instead of a thicker plank, plan for a deeper base because doubling the panel thickness nearly halves the base depth needed. Using inaccurate measurements or ignoring this relationship can make your stand wobble or break sooner than expected. Signs from 12 to 48 inches high need progressively deeper bases, from about 8 inches for small signs at 12 inches tall up to 32 inches for large signs at 48 inches tall at moderate wind speeds. Smaller bases won’t hold when gusts pick up.
Common mistakes causing instability include ignoring the base shape and weight, using wrong connectors, and poor installation of cross-pieces or feet. A horizontal pipe attached at the base with T-connectors creates feet that distribute weight and increase resistance to tipping. Lightweight bases should be weighted with sandbags or concrete blocks to add necessary ballast, especially in windy locations.
- Using a base too shallow for the sign height leads to frequent tipping; increase base depth according to sign size.
- Ignoring panel thickness causes incorrect base sizing; double thickness reduces needed base depth by about 50%.
- Attaching the base poorly without horizontal supports fails to spread load; add horizontal pipes with T-connectors to form stable feet.
- Choosing a base too light for outdoor windy conditions speeds wear and instability; add weight via sandbags or concrete.
- Skipping measurements or estimating roughly can cause mismatch; measure sign dimensions precisely before construction.
- Using mismatched material strength, thin plywood with light frame, results in bending and extra stress on the base.
Fixing an unstable stand starts with improving the base size and weight. Measure your sign accurately and then choose a base depth appropriate for your location’s wind speed, for instance, a deeper base for areas with frequent 30 mph winds can be more than double what a calm zone needs. Add horizontal stabilizers if missing to increase the footprint. When the base is too light but already set up, adding sandbags or heavy bricks helps keep it stable and prevents tipping. Check that connectors are tight and that vertical and horizontal pipes align correctly to avoid wobbling.
Proper setup results in a sign stand that resists tipping during normal wind conditions and accidental impacts. Signs appear upright and secure, maintaining their visual presence longer. Poor setups show quick wear, wobbling, and failed fasteners, often requiring complete rebuilding. Adapting base depth and weight to actual sign size and environment prevents these issues and extends the life of your project.
7. Creative and Portable Sign Stand Ideas for Events
Lightweight and portable sign stands suit event setups where easy transport and quick assembly matter most. Using PVC pipe, repurposed household items, and modular designs, you can create stands tailored to your sign’s size and style. These options offer custom dimensions, visual appeal, and the flexibility to match different event themes without breaking your budget.
Modular PVC Pipe Stands with Connectors
PVC pipe stands are a popular choice for portability and customization. They use lightweight but sturdy PVC tubing joined by connectors to form frames that hold signs firmly. This system allows you to cut pipes to your preferred length and assemble or disassemble the stand quickly, making transport and storage easy.
You can build a basic rectangular frame for a poster or banner that stands freely. PVC pipe parts typically cost $1 to $3 per foot, with connectors around $1 each, so total expenses remain low compared to commercial stands. Accurate measurements of your sign and display location ensure a balanced design that looks neat and holds up well. Follow these steps to make a simple PVC pipe sign stand:
- Measure your sign’s width and height to determine pipe lengths.
- Cut four vertical pipes to the sign’s height and two horizontal pipes to its width.
- Attach the vertical and horizontal pipes using 90-degree elbow connectors to form a rectangle frame.
- Add additional PVC T-connectors in the corners to connect two long base pipes parallel to the ground for stability.
- Secure the sign to the frame with zip ties or Velcro straps.
- Paint or tape the pipes to match your event’s color scheme if desired.
This stand is ideal for indoor use and protected outdoor events. Using modular parts, you can easily swap pipe lengths to fit different sign sizes or event requirements.
Repurposed Household and Garden Stands
You can craft effective sign stands by repurposing items you already have or can find inexpensively. Old wooden crates, ladders, metal plant stands, or even broom handles can form the skeleton of a stand with a creative twist. This method reduces waste and adds a unique look to your display.
Repurposed stands work best for smaller signs or directional signage at community events where a casual style fits. Secure signs to these objects with clamps, hooks, or twine. Adding a sturdy base or weight keeps them upright. The main challenge is ensuring stable support, so test your setup before the event.
Decorative Finishes to Suit Event Themes
Visual appeal impacts how your sign and message connect with viewers. Customizing the stand’s finish helps blend or contrast with the event’s aesthetic. For example, wrap PVC pipes with colorful electrical or washi tape to match branding colors. Painting repurposed wood with chalkboard paint creates a reusable surface for changing messages.
Fabric drapes, bunting, or artificial greenery can soften a utilitarian stand’s look for weddings or garden parties. Using lightweight materials means decorating won’t add much weight, preserving portability. Keep decorations weather appropriate for outdoor events to avoid damage or extra cleanup.
8. Safety and Maintenance for Long-Lasting Sign Stands
Taking safety precautions during the construction and installation of your sign stand helps prevent accidents and ensures durability. Use precisely drilled pilot holes to improve stability and reduce the risk of wood splitting. Secure joints tightly with appropriate screws or bolts, loose fasteners can cause wobbling or collapse in windy conditions. Position the sign at a slight backward lean, around 25 degrees, to increase wind resistance without compromising visibility; this adjustment can raise the tipping wind speed from about 14 to 18 mph. Always assemble your stand on a stable, level surface, and wear protective gear like gloves and eye protection.
Regular inspection and maintenance are essential to extend the lifespan of your sign stand and keep it safe. Check for loose screws, damaged wood, or signs of warping at least once every three months, or more often if the stand is exposed to extreme weather changes. In regions with large temperature swings, expect expansions and contractions that may weaken joints or crack materials. Address these issues promptly to avoid tipping or structural failure. Cleaning the stand with mild soap and water every few months removes dirt and prevents moisture buildup that leads to rot.
- Inspect joints and fasteners every 3 months
- Clean the stand seasonally with mild soap and water
- Adjust or straighten the sign if it leans unevenly
- Replace cracked or warped wood promptly
- Reapply weatherproof sealant annually in harsh climates
- Store the sign stand indoors during severe weather or winter
- Keep the grounding or anchoring devices tight and secure
Perform repairs as soon as you notice instability or damage. Tightening loose screws can restore stability at low cost and effort. Replace any broken or severely warped components to prevent accidents. Reapplying a weatherproof finish once a year can protect the wood from moisture and sun damage, adding years to the stand’s life. In extreme climates, choosing better materials initially reduces frequent maintenance needs.
Always test the stability of your sign stand by gently pushing it before final installation, if it wobbles, reinforce the base or check fasteners immediately.
Step-by-Step Action Plan
Follow these steps to build your sign stand efficiently and ensure it meets your needs for stability and durability.
- Before you start: Choose the right materials based on the sign’s size and location. Test durability by checking for water resistance or wind strength as needed.
- Day 1: Cut your wooden pieces to the desired dimensions and assemble the base frame. Confirm stability by seeing if the base sits flat without wobbling.
- Day 2: Attach the vertical support and cross braces to prevent tipping. Check strength by gently pushing the stand from different angles.
- Day 3: Apply weatherproofing treatments such as waterproof paint or sealant. Wait for the recommended drying time and confirm no moisture soaks into the wood.
- Day 4: Add weights or anchor points to secure the stand. Test by placing the sign outdoors in a windy spot and monitor for any movement.
- Day 5: Install your sign using appropriate fasteners suited to your material to avoid damage. Ensure the sign is level and firmly attached.
- After use: Perform regular maintenance by inspecting for damage or loose parts. Tighten fasteners and touch up weatherproofing every 6 months or as needed.
Frequently Asked Questions
What Tools Do I Need to Make a Sign Stand?
You’ll need basic woodworking tools like a saw, drill, screws, measuring tape, and sandpaper. These allow you to cut, assemble, and smooth your wooden parts for a sturdy sign stand.
Can I Make a Sign Stand Without Wood?
Yes, using PVC pipes or metal tubing can create lightweight and weather-resistant stands. They are budget-friendly and simple to assemble with connectors.
How Do I Paint or Decorate a DIY Sign Stand?
Use exterior-grade paint or stain to protect the wood and add color. You can also apply vinyl decals or use waterproof markers for personalized designs.
What Size Sign Fits Best with a Homemade Stand?
A 24″x48″ sign works well with a 3-foot wide, 5-foot tall stand, providing good visibility and balance. Adjust base depth for wind stability.
How Do I Store My Sign Stand Between Uses?
Disassemble if possible, or keep it in a dry, shaded place to avoid warping and weather damage. Use protective covers for longevity.
Can I Make a Sign Stand with Wheels for Easy Movement?
Attaching casters to the base lets you move the stand smoothly at events. Choose lockable wheels for stability when stationary.
Wrapping Up
Creating a functional and attractive sign stand takes attention to materials, design, and security. Start by selecting a build that fits your specific needs and environment. Next, prioritize stability and weatherproofing so your sign stands firm and looks good over time. Begin today by gathering materials and sketching a design suited to your location and sign size.